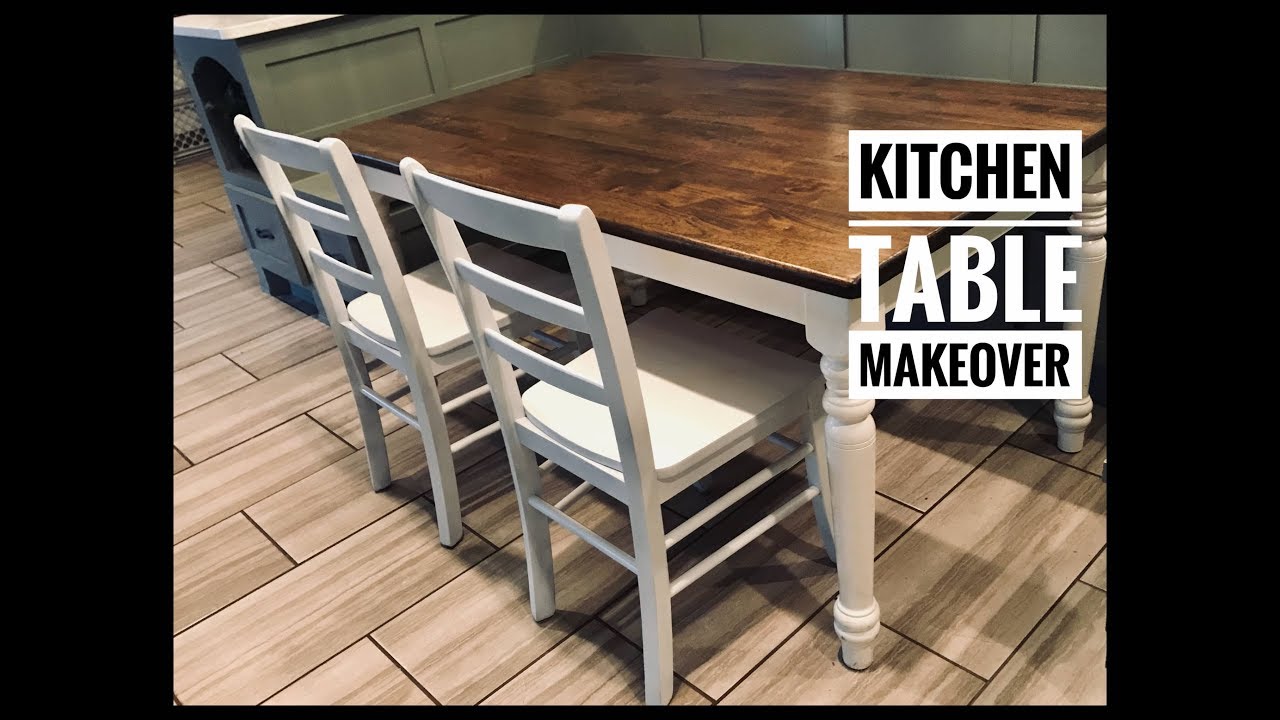
Are you tired of the worn-out look of your kitchen table? Do you cringe every time you see scratches and stains marring its surface? It may be time for a makeover. Sanding and refinishing your kitchen table can give it a fresh, new look and make it the centerpiece of your dining area once again. And the best part? You can do it all yourself with just a few simple tools and some elbow grease. Follow this step-by-step guide to learn how to sand and refinish your kitchen table like a pro.How to Sand and Refinish a Kitchen Table

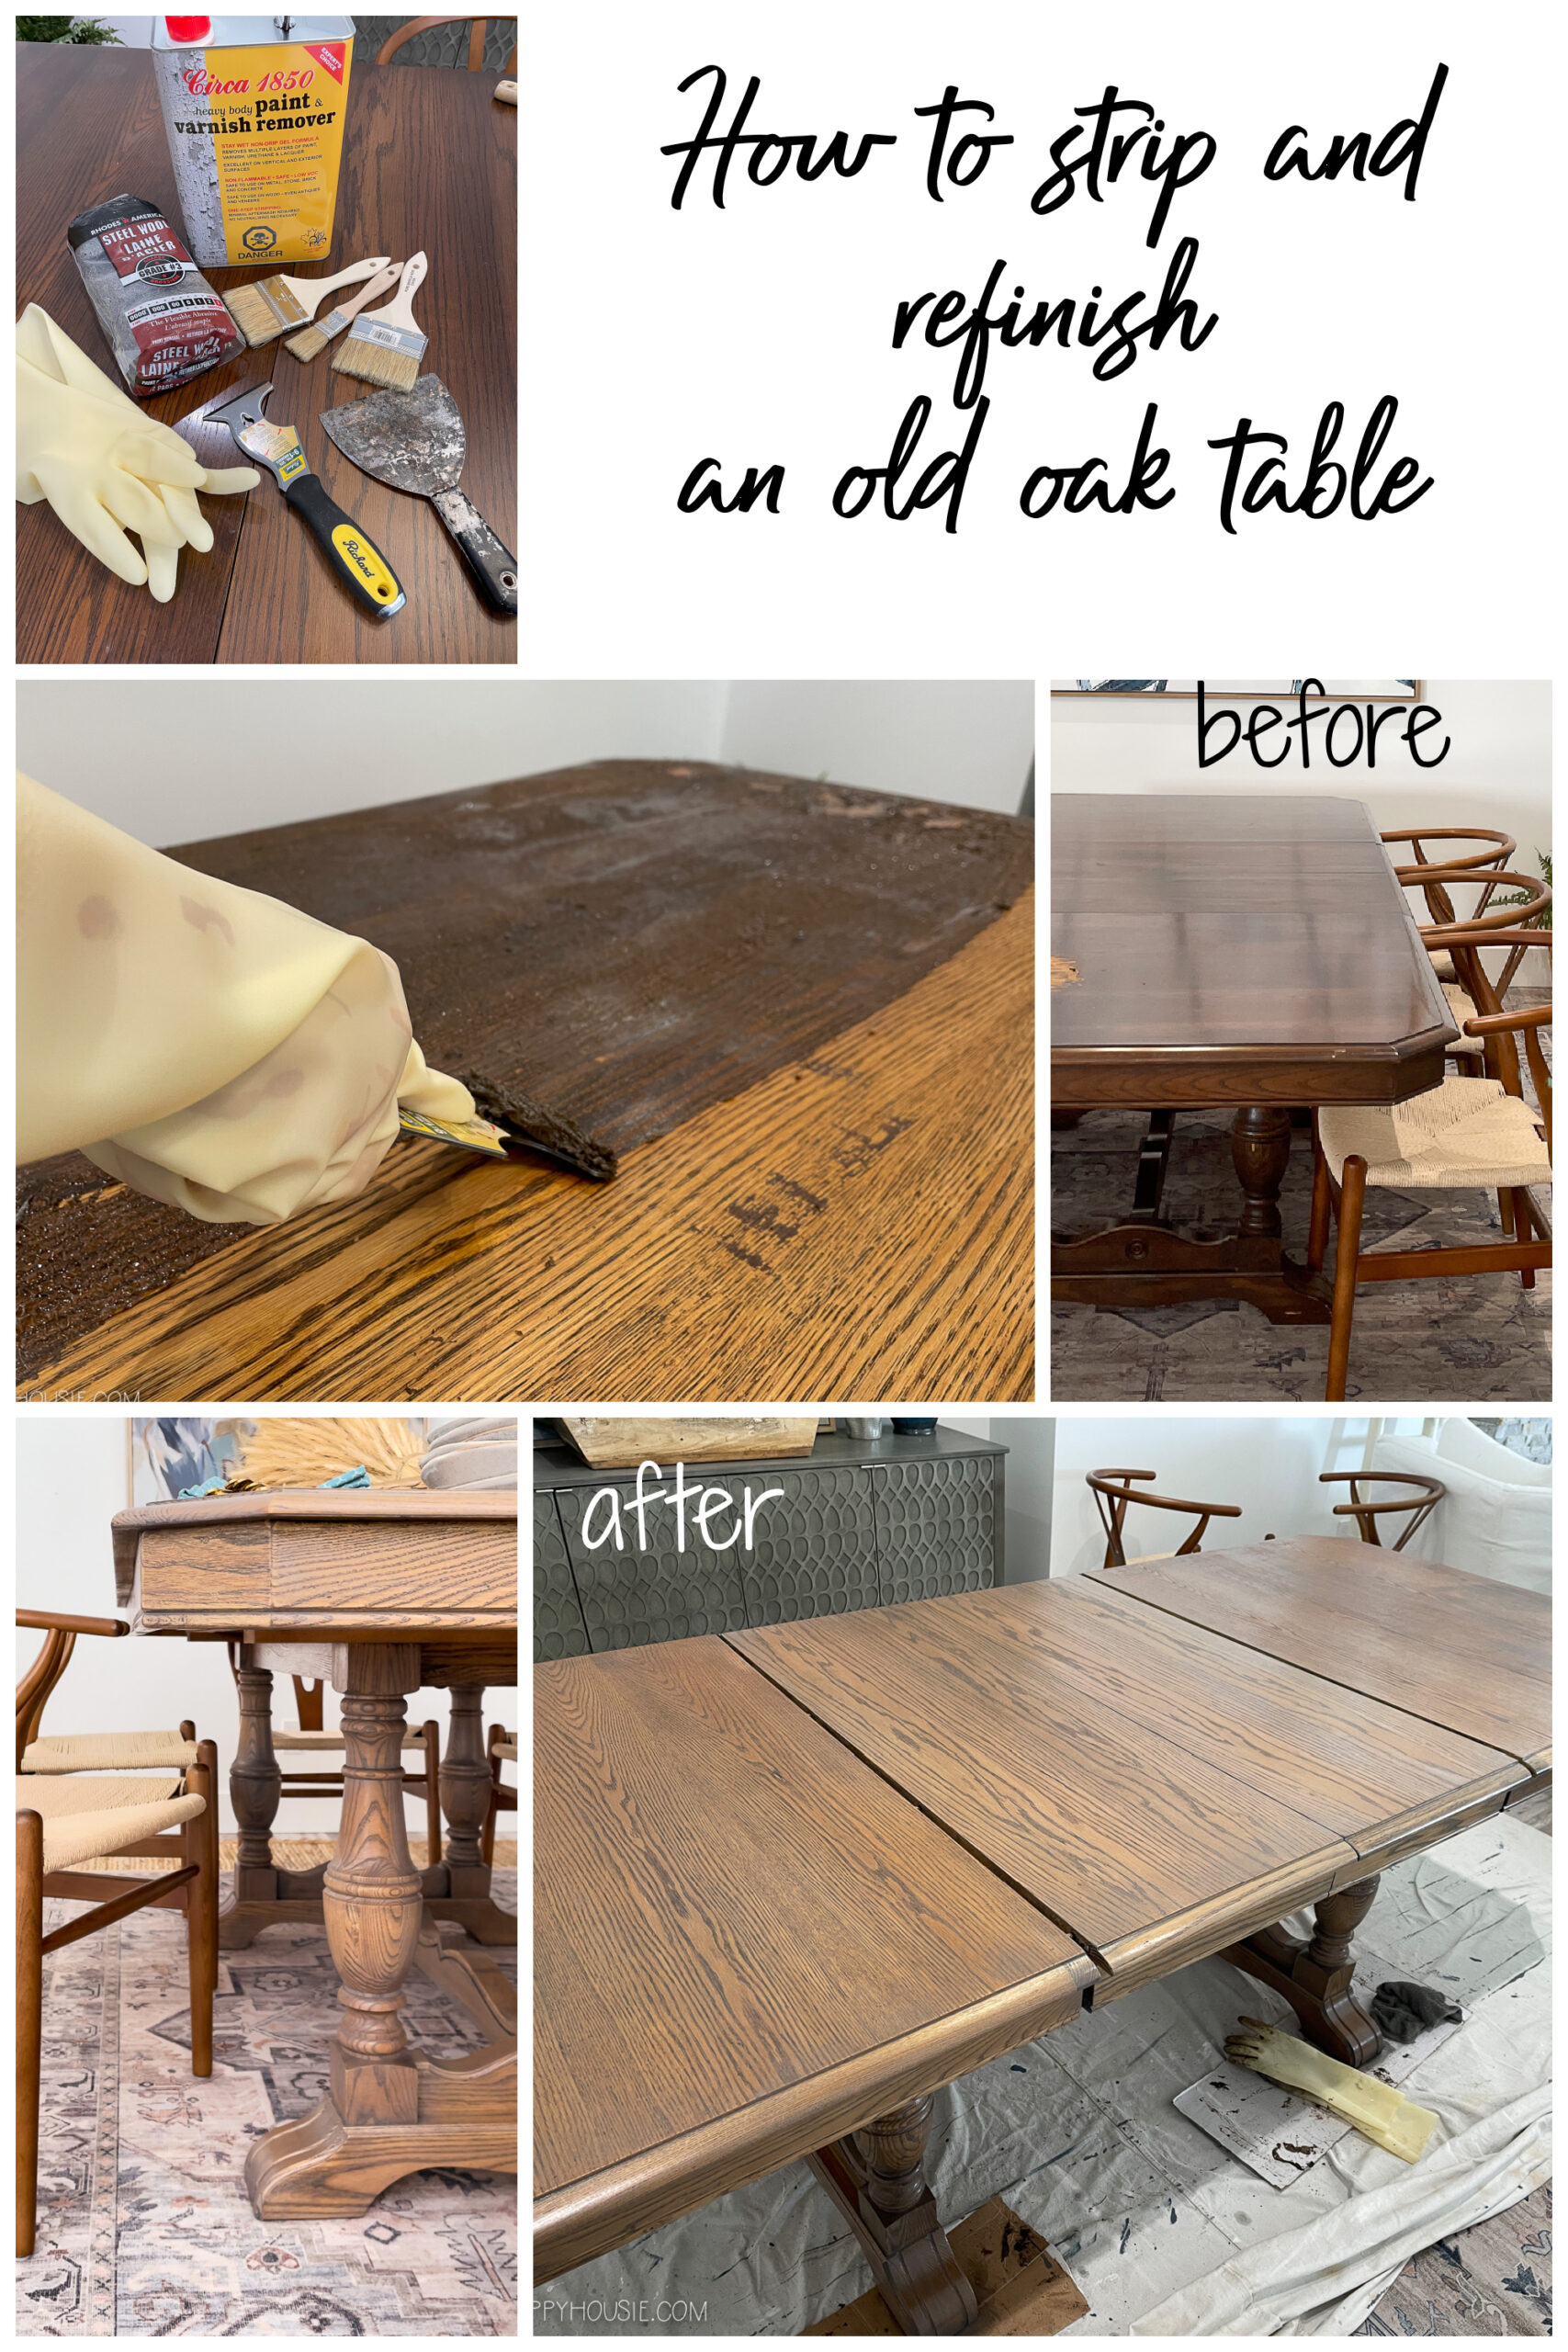

How to Sand and Refinish a Kitchen Table


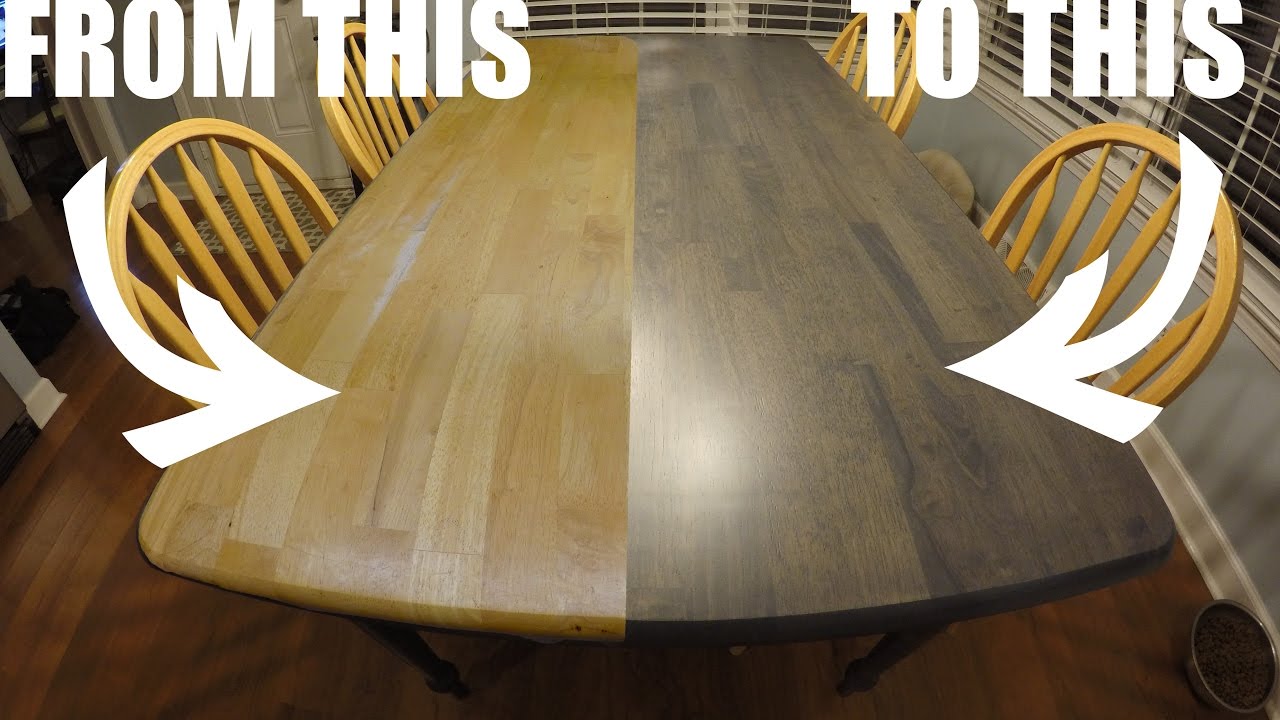
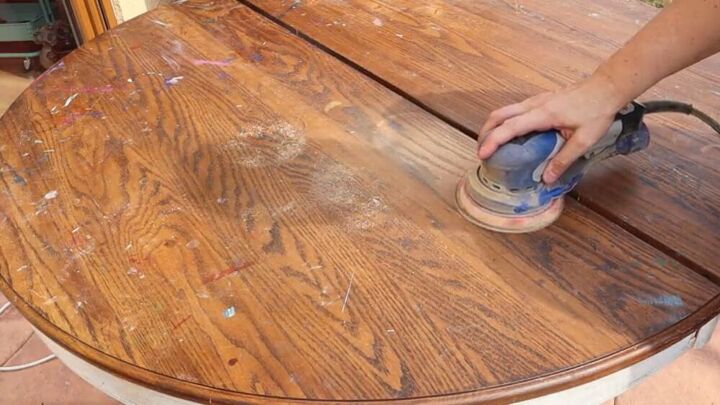


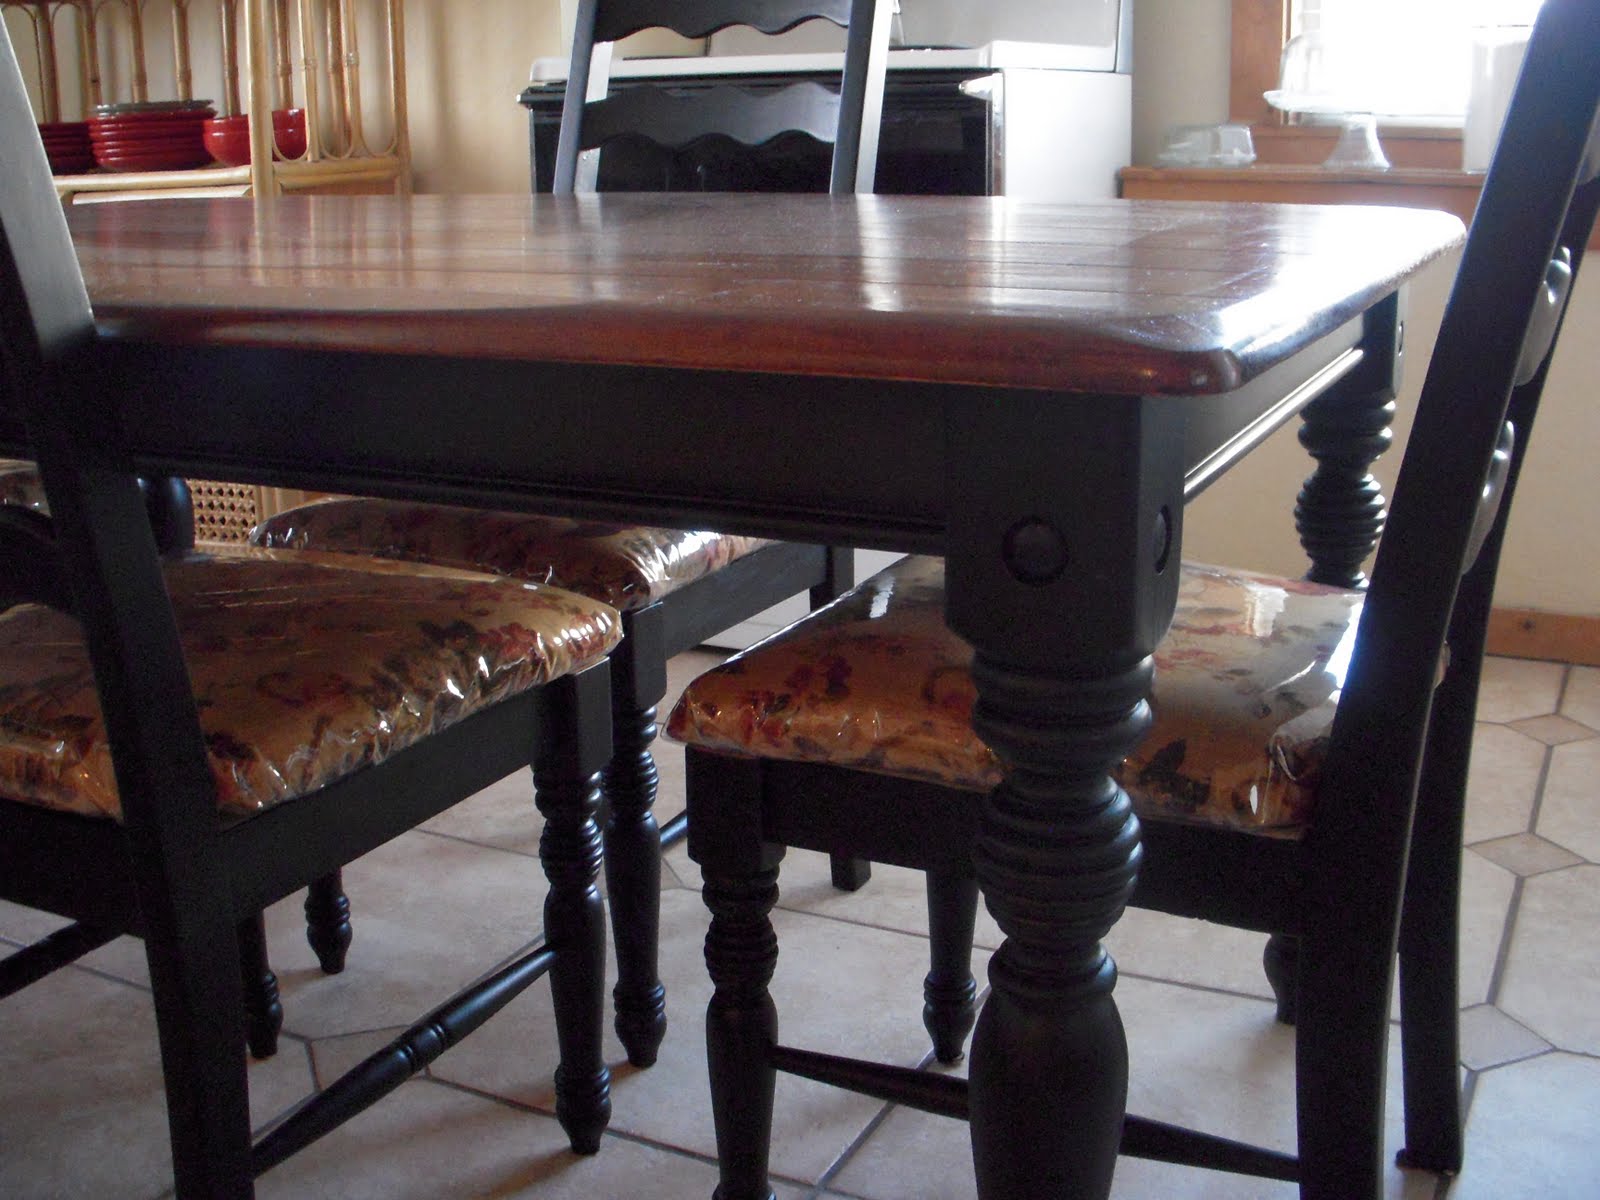
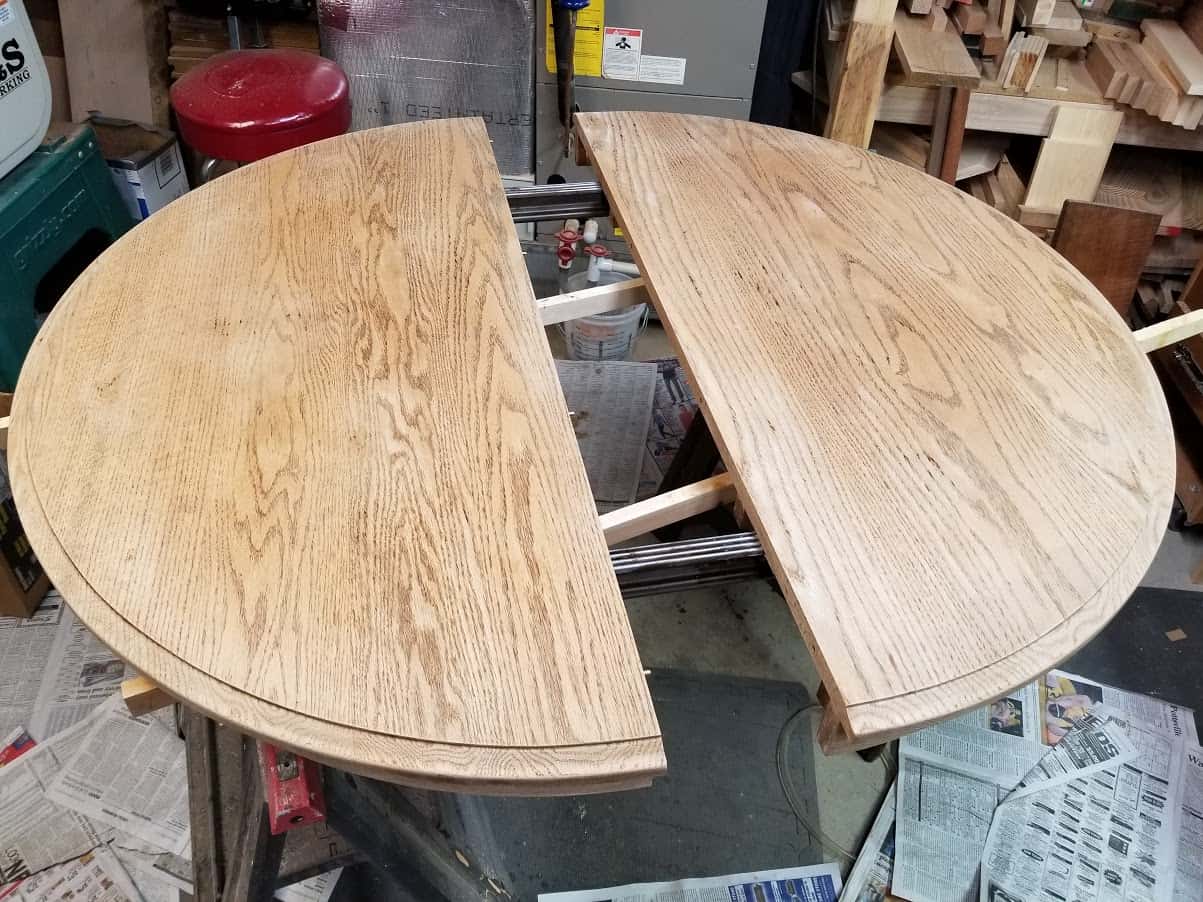
Transforming your kitchen table from drab to fab doesn't have to be a daunting task. With a little DIY know-how, you can easily give your table a complete makeover. The first step in this process is sanding. Sanding is an essential part of refinishing any wooden surface, as it helps to remove old finishes, scratches, and imperfections, leaving behind a smooth and even surface for the new finish to adhere to.DIY Kitchen Table Makeover - Sanding and Staining


DIY Kitchen Table Makeover - Sanding and Staining


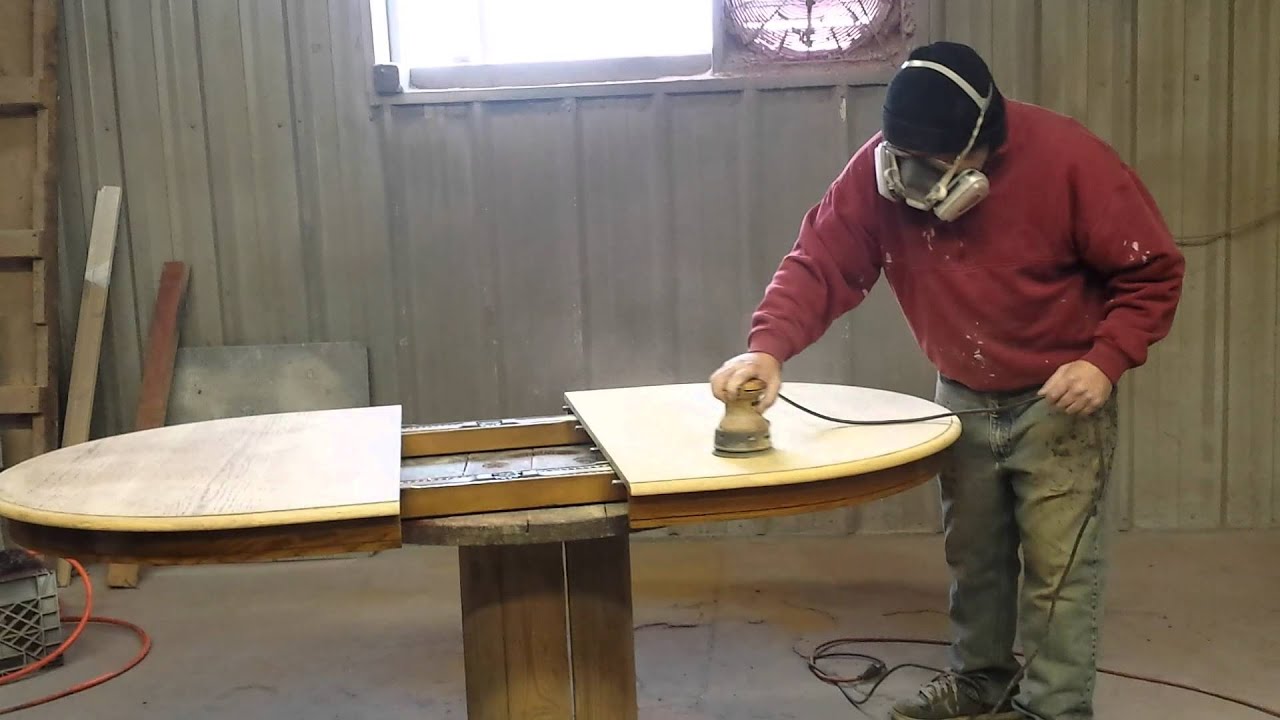
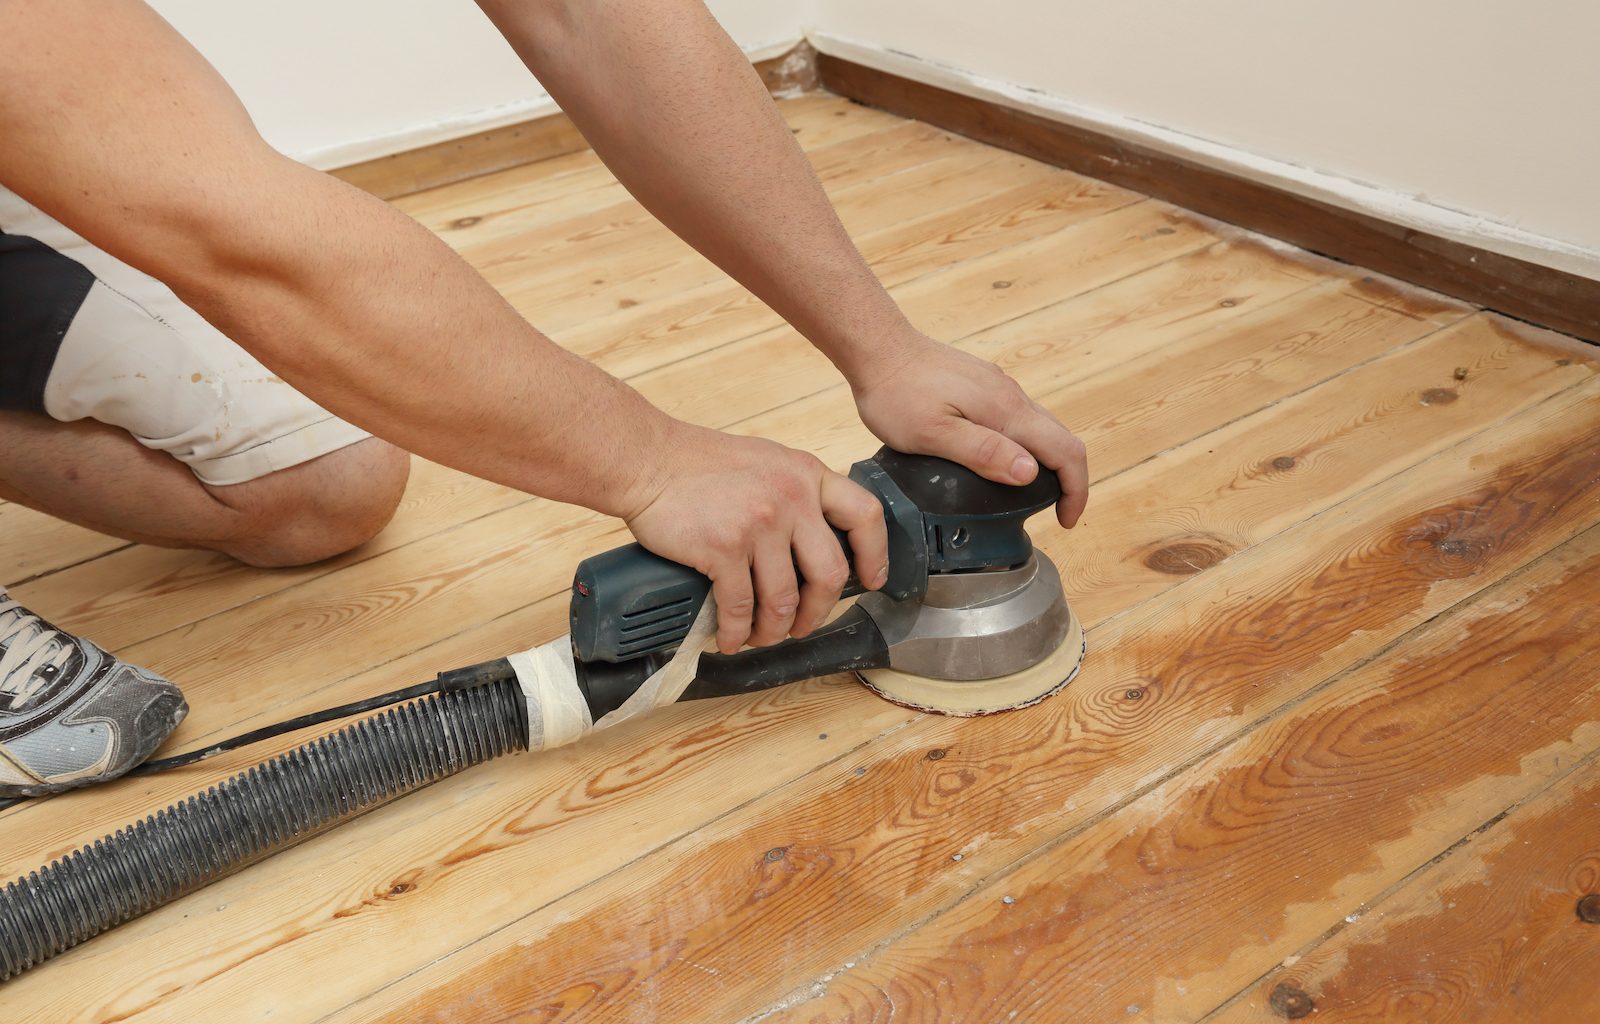
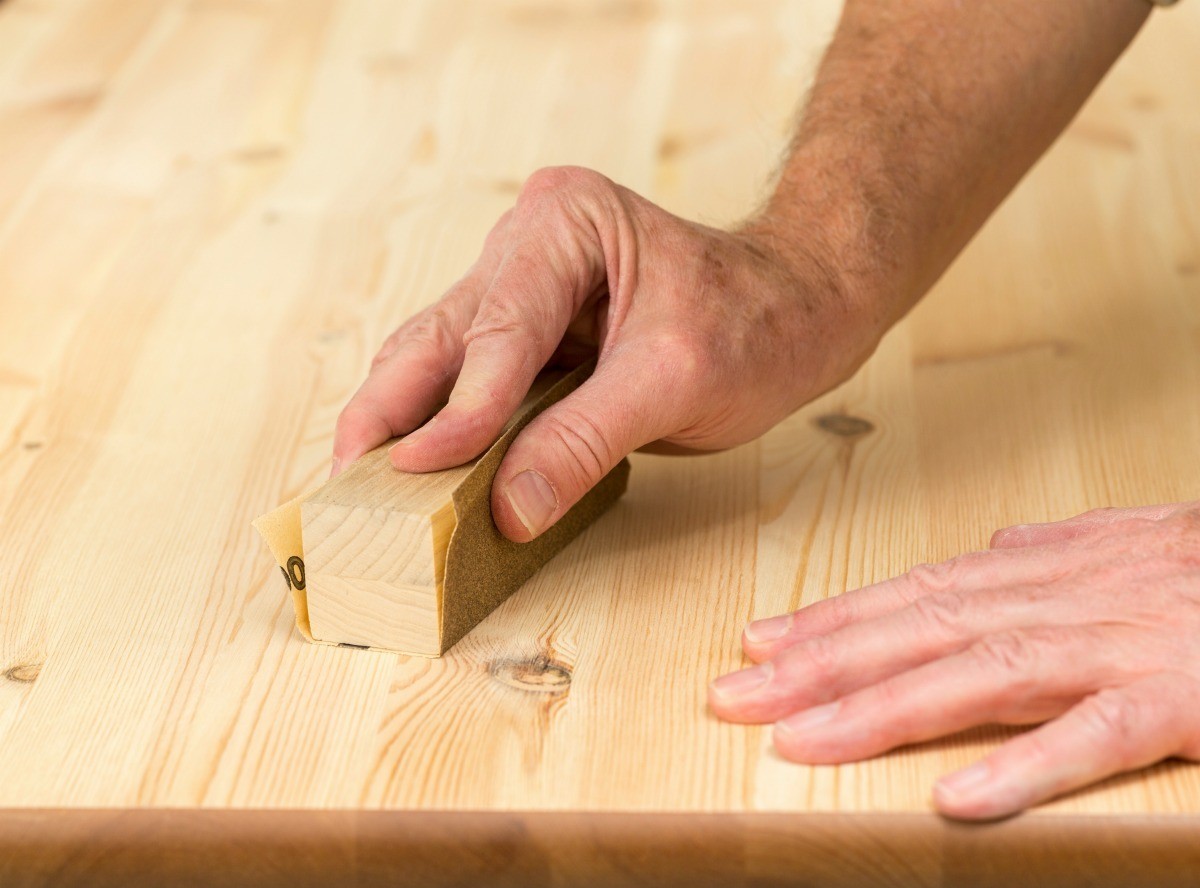
Before you get started, gather all the necessary tools and materials. You will need sandpaper, an electric sander or sanding block, wood stain, a brush or cloth, and a clear finish. Begin by removing any hardware or accessories from the table, such as legs or knobs. Then, use a coarse-grit sandpaper to sand the entire surface of the table, going with the grain of the wood. This will remove any old finish and scratches. Once you have a smooth surface, switch to a finer grit sandpaper and sand the table again to achieve a smooth and even finish.DIY Sanding and Staining a Table
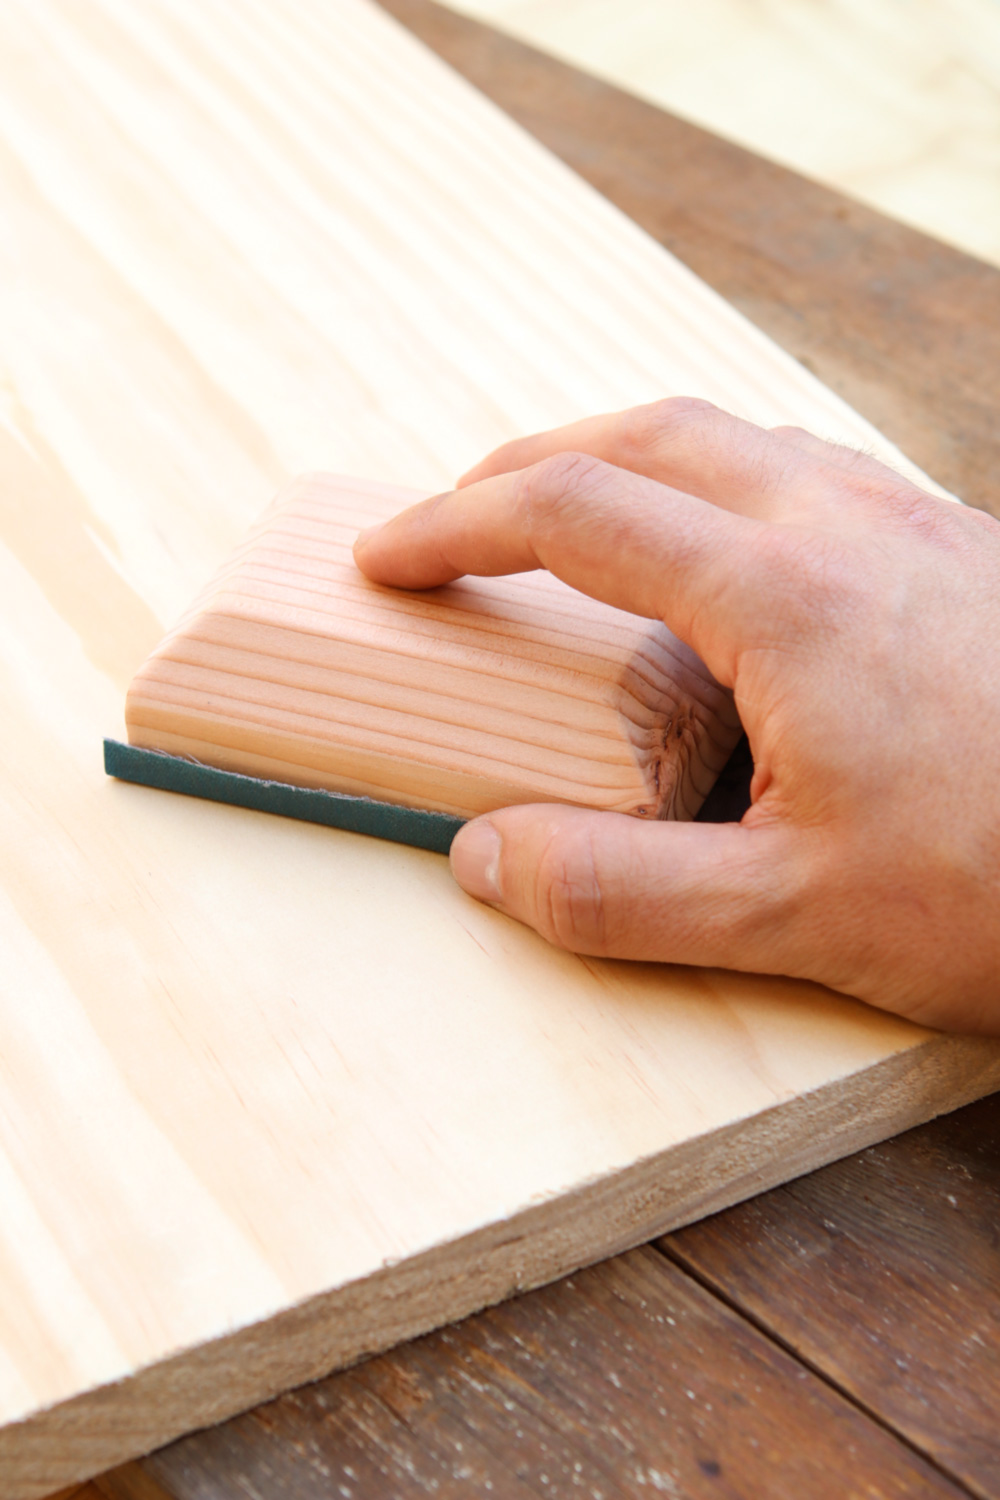


DIY Sanding and Staining a Table


.jpg)

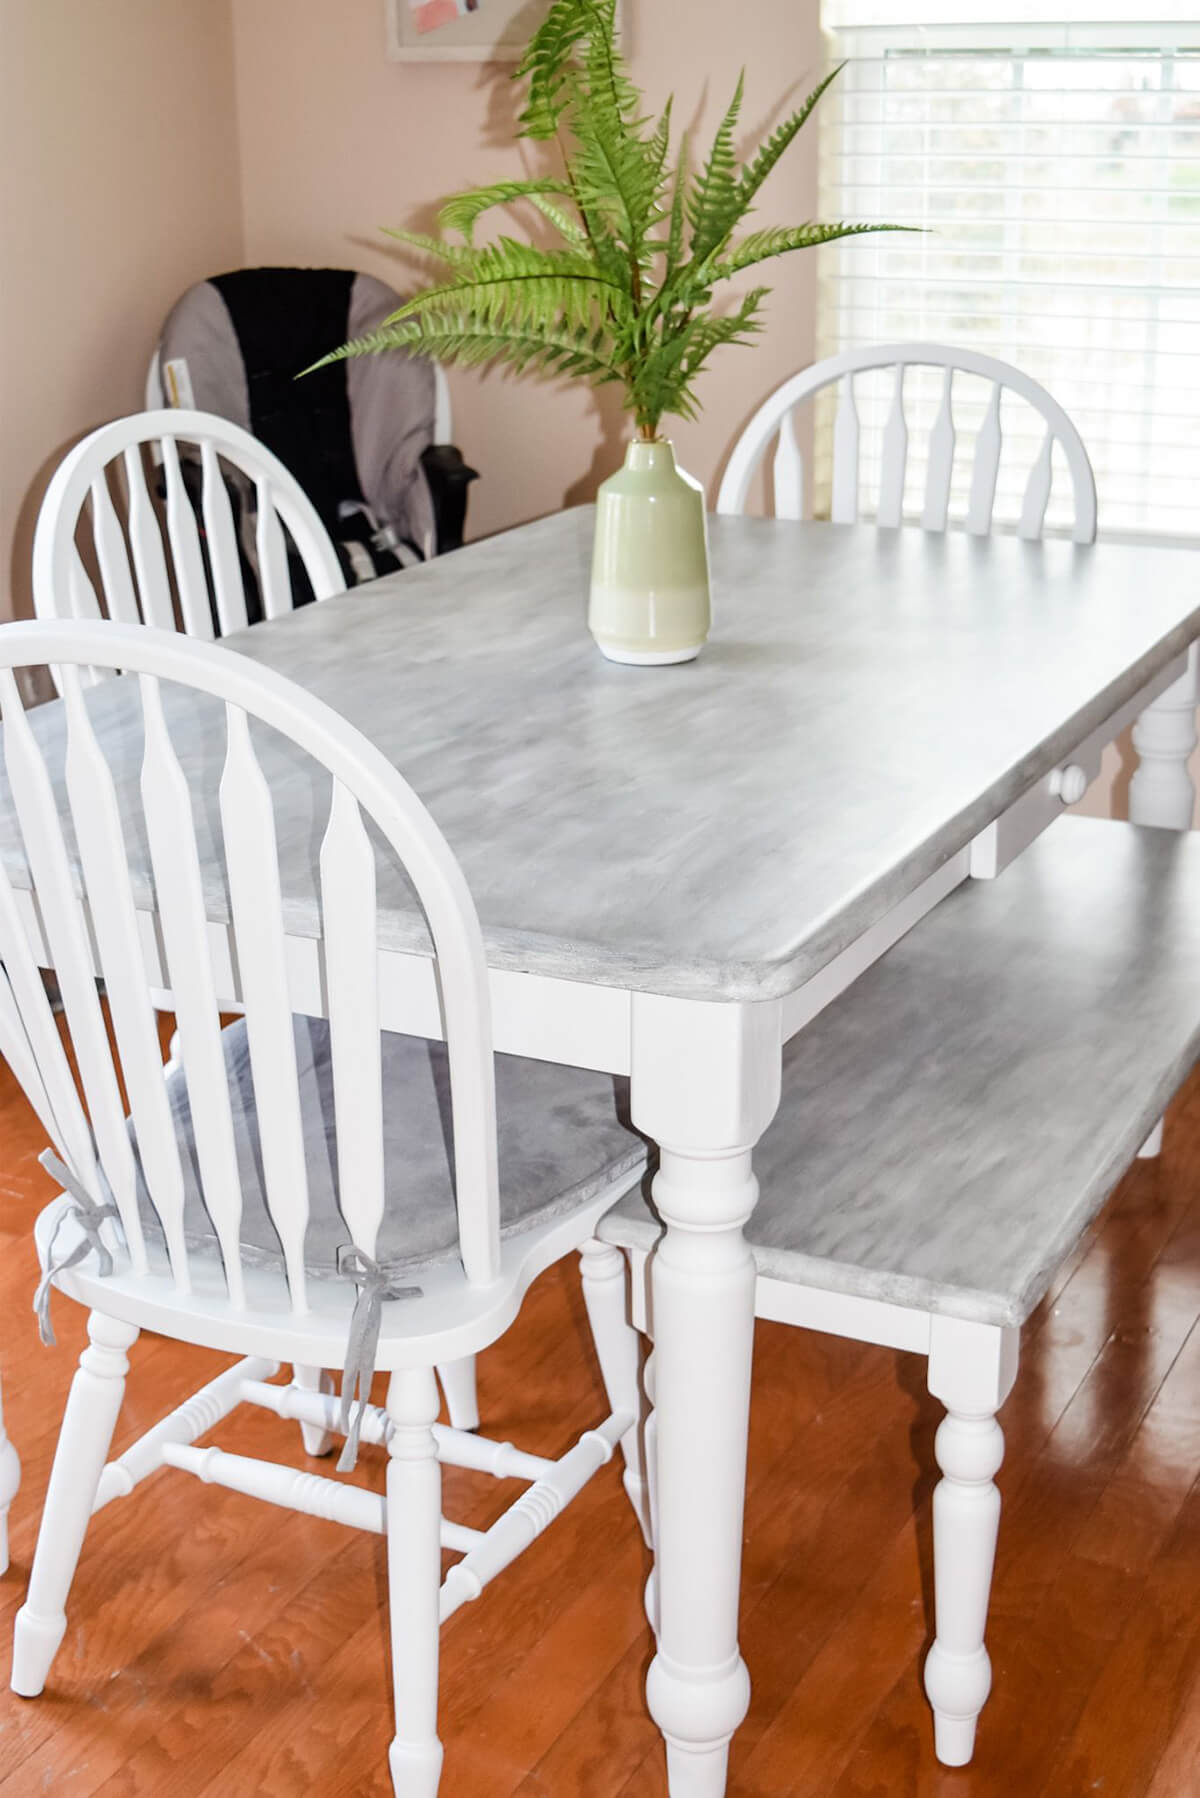
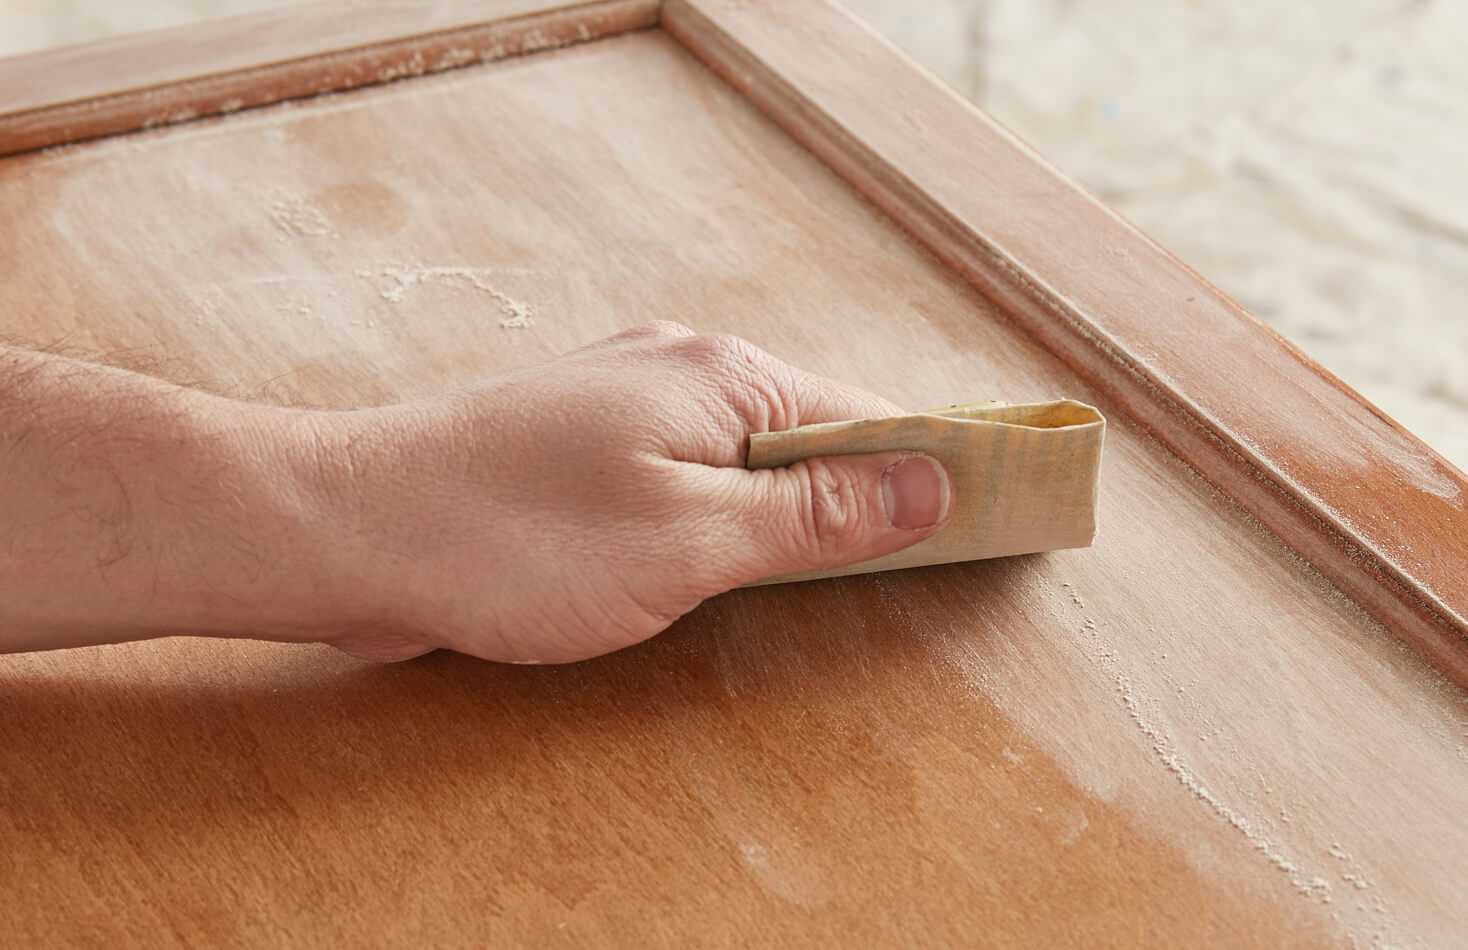
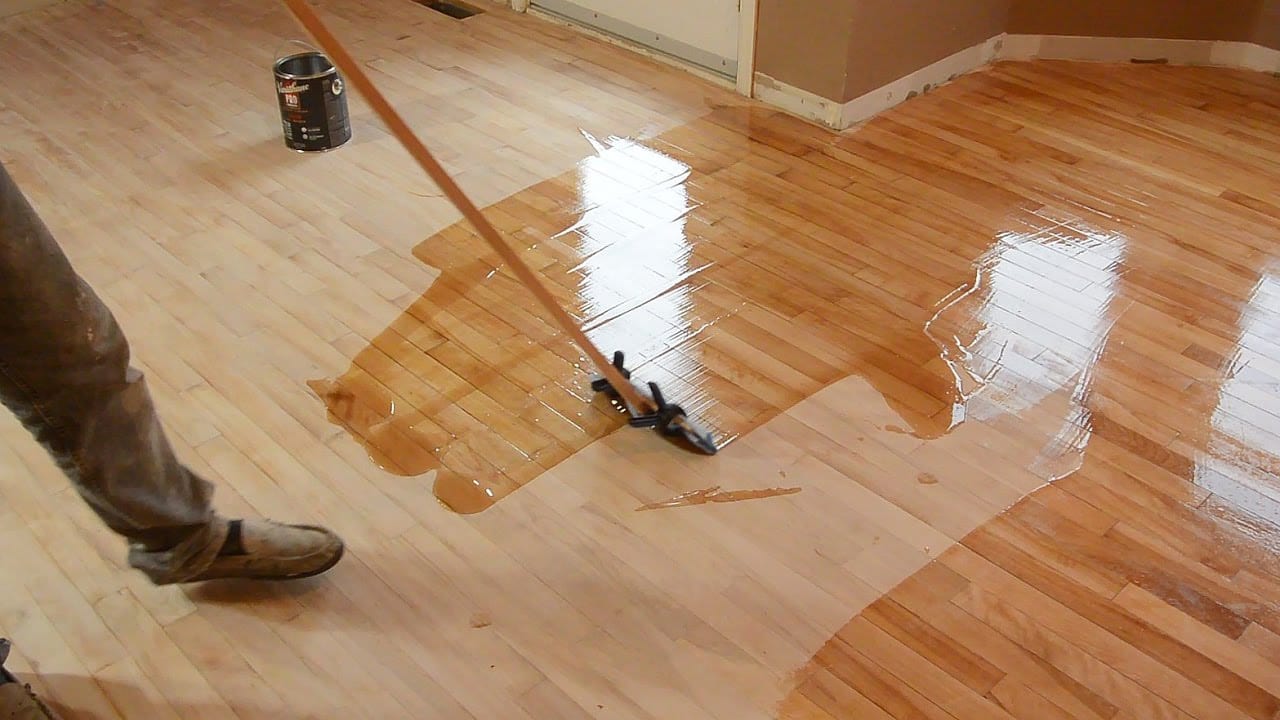
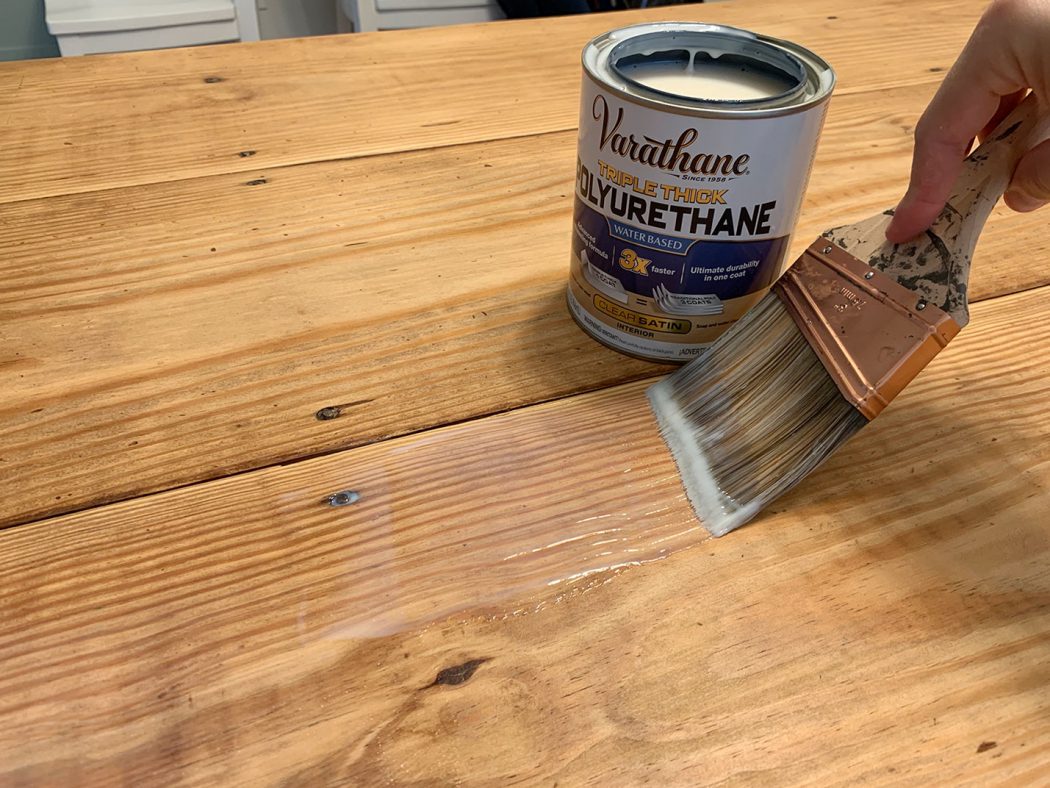
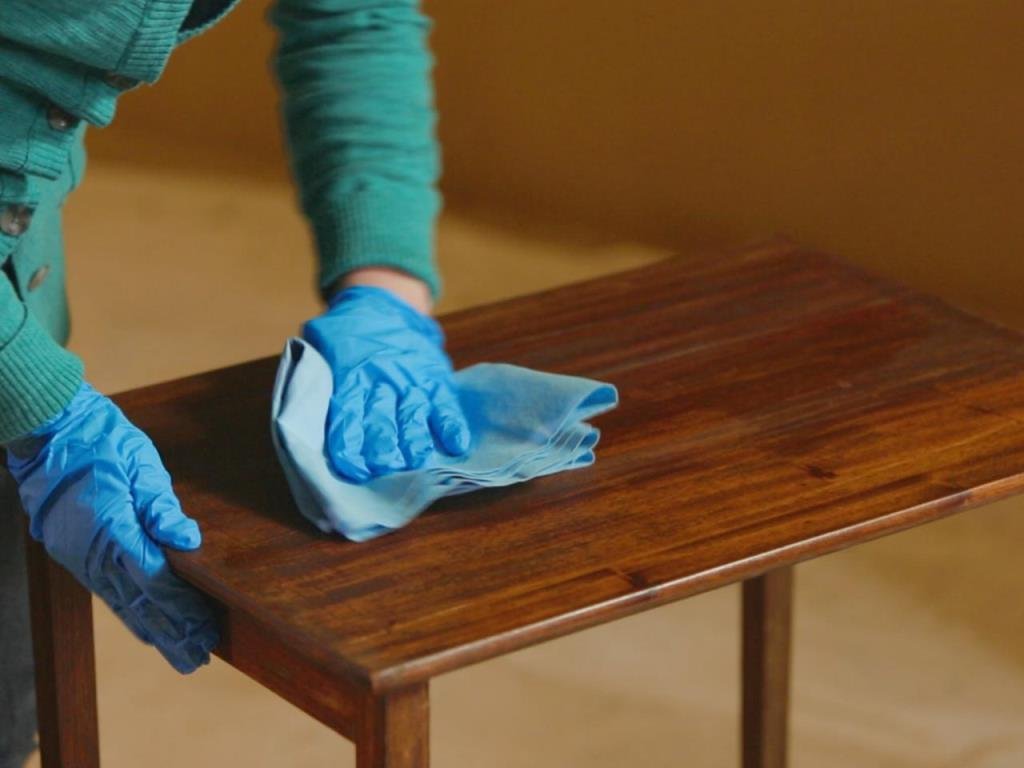
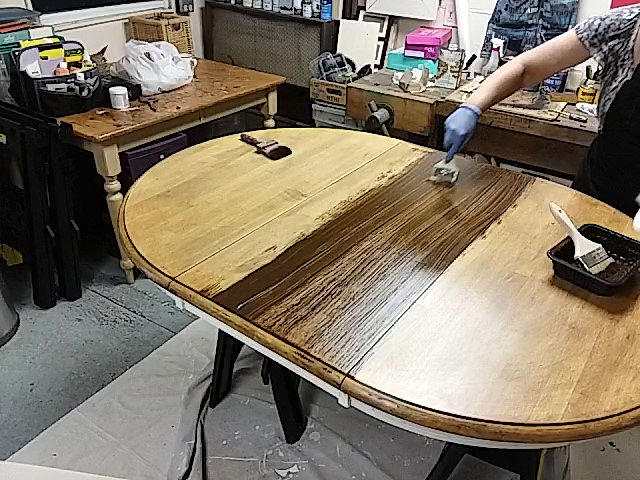
After sanding, use a cloth to wipe away any dust and debris from the table. Then, it's time to stain. Choose a stain that complements your kitchen decor and apply it with a brush or cloth, following the instructions on the product. Allow the stain to dry completely before applying a second coat, if desired. Once the stain has dried, apply a clear finish to protect and seal the wood. Let it dry completely before reattaching any hardware and putting your newly refinished table back in place.Step-by-Step Guide to Sanding and Refinishing a Kitchen Table


Step-by-Step Guide to Sanding and Refinishing a Kitchen Table


Here are a few tips to keep in mind while sanding and refinishing your kitchen table:DIY Kitchen Table Refinishing: Sanding and Staining Tips


DIY Kitchen Table Refinishing: Sanding and Staining Tips


If you're new to DIY projects, don't be intimidated by the idea of sanding and refinishing your kitchen table. With a little practice and patience, you can achieve professional-looking results. Just remember to take your time, follow the steps, and don't be afraid to ask for help if you need it.Sanding and Staining a Kitchen Table: A Beginner's Guide


Sanding and Staining a Kitchen Table: A Beginner's Guide


Restoring an old kitchen table can be a satisfying and rewarding project. It not only saves you money but also gives you the opportunity to add a personal touch to your furniture. Sanding and finishing techniques are essential to achieving a beautiful and long-lasting finish. So, be sure to follow the steps and take your time to ensure the best results.DIY Kitchen Table Restoration: Sanding and Finishing Techniques


DIY Kitchen Table Restoration: Sanding and Finishing Techniques


When it comes to sanding and staining a wooden kitchen table, the key is to be patient and thorough. Take your time to sand the table evenly and apply the stain and finish carefully for a smooth and professional finish. With the right tools and techniques, you can transform your old and worn-out table into a stunning piece of furniture that will last for years to come.How to Sand and Stain a Wooden Kitchen Table


How to Sand and Stain a Wooden Kitchen Table


Refinishing your kitchen table can seem like a daunting task, but with the right approach, it can be a simple and enjoyable DIY project. By following the steps outlined in this guide and using the right tools and techniques, you can achieve a beautiful and durable finish that will make your kitchen table the envy of all your guests.DIY Kitchen Table Refinishing: Sanding and Finishing Made Easy


DIY Kitchen Table Refinishing: Sanding and Finishing Made Easy


To achieve a professional finish when sanding and staining your kitchen table, be sure to follow the steps carefully and use quality materials. Additionally, try out different sanding techniques and experiment with different stains to find the perfect look for your table. With a little effort and creativity, you can give your kitchen table new life and create a stunning focal point for your dining area.Sanding and Staining a Kitchen Table: Tips and Tricks for a Professional Finish


Sanding and Staining a Kitchen Table: Tips and Tricks for a Professional Finish

The Importance of Sanding Your Kitchen Table

Why Sanding is Necessary
 When it comes to house design, the kitchen is often considered the heart of the home. It is where meals are prepared, memories are made, and families gather. As such, it is important to keep this space well-maintained and aesthetically pleasing. One way to achieve this is by regularly
sanding
your kitchen table. Sanding is the process of using
abrasive materials
to smooth out and remove imperfections on the surface of wood. This is crucial for maintaining the
quality and appearance
of your kitchen table.
When it comes to house design, the kitchen is often considered the heart of the home. It is where meals are prepared, memories are made, and families gather. As such, it is important to keep this space well-maintained and aesthetically pleasing. One way to achieve this is by regularly
sanding
your kitchen table. Sanding is the process of using
abrasive materials
to smooth out and remove imperfections on the surface of wood. This is crucial for maintaining the
quality and appearance
of your kitchen table.
Benefits of Sanding Your Kitchen Table
 Over time, kitchen tables can become
worn, scratched, and discolored
due to constant use and exposure to food and liquids. Sanding can help to
restore
the original
beauty and shine
of your table by removing these imperfections. It also helps to
prevent further damage
and prolong the lifespan of your kitchen table. Additionally, sanding creates a smooth surface, making it easier to
clean and maintain
your table.
Over time, kitchen tables can become
worn, scratched, and discolored
due to constant use and exposure to food and liquids. Sanding can help to
restore
the original
beauty and shine
of your table by removing these imperfections. It also helps to
prevent further damage
and prolong the lifespan of your kitchen table. Additionally, sanding creates a smooth surface, making it easier to
clean and maintain
your table.
DIY Sanding vs Professional Sanding
 Some may choose to
hire a professional
to sand their kitchen table, while others may opt for a
DIY approach
. While professional sanding may yield more
precise and efficient results
, it can also be
costly
. DIY sanding, on the other hand, may take more time and effort, but it can be a
cost-effective
option.
It all depends on your budget and preference
. However, with the right tools and techniques, DIY sanding can be just as effective as professional sanding.
Some may choose to
hire a professional
to sand their kitchen table, while others may opt for a
DIY approach
. While professional sanding may yield more
precise and efficient results
, it can also be
costly
. DIY sanding, on the other hand, may take more time and effort, but it can be a
cost-effective
option.
It all depends on your budget and preference
. However, with the right tools and techniques, DIY sanding can be just as effective as professional sanding.
Conclusion
 In conclusion, sanding your kitchen table is an essential part of
maintaining
and
enhancing
the overall look and
functionality
of your kitchen. It is a cost-effective way to
restore
and
protect
your table, ensuring that it remains a beautiful and functional centerpiece in your home. Whether you choose to do it yourself or hire a professional, regular sanding will
keep your kitchen table looking its best
. So why not give it a try and see the difference it can make in your kitchen?
In conclusion, sanding your kitchen table is an essential part of
maintaining
and
enhancing
the overall look and
functionality
of your kitchen. It is a cost-effective way to
restore
and
protect
your table, ensuring that it remains a beautiful and functional centerpiece in your home. Whether you choose to do it yourself or hire a professional, regular sanding will
keep your kitchen table looking its best
. So why not give it a try and see the difference it can make in your kitchen?