When it comes to creating a comfortable and welcoming living room, seating is key. But what if you're limited on space? That's where the genius of DIY recessed seating comes in. By building seating into your walls and floor, you can maximize your living room's space while also adding a unique design element. From built-in benches to cozy nooks, here are 10 ideas for DIY recessed seating in your living room.DIY Recessed Seating Living Room: 10 Ideas for a Cozy and Functional Space


diy recessed seating living room

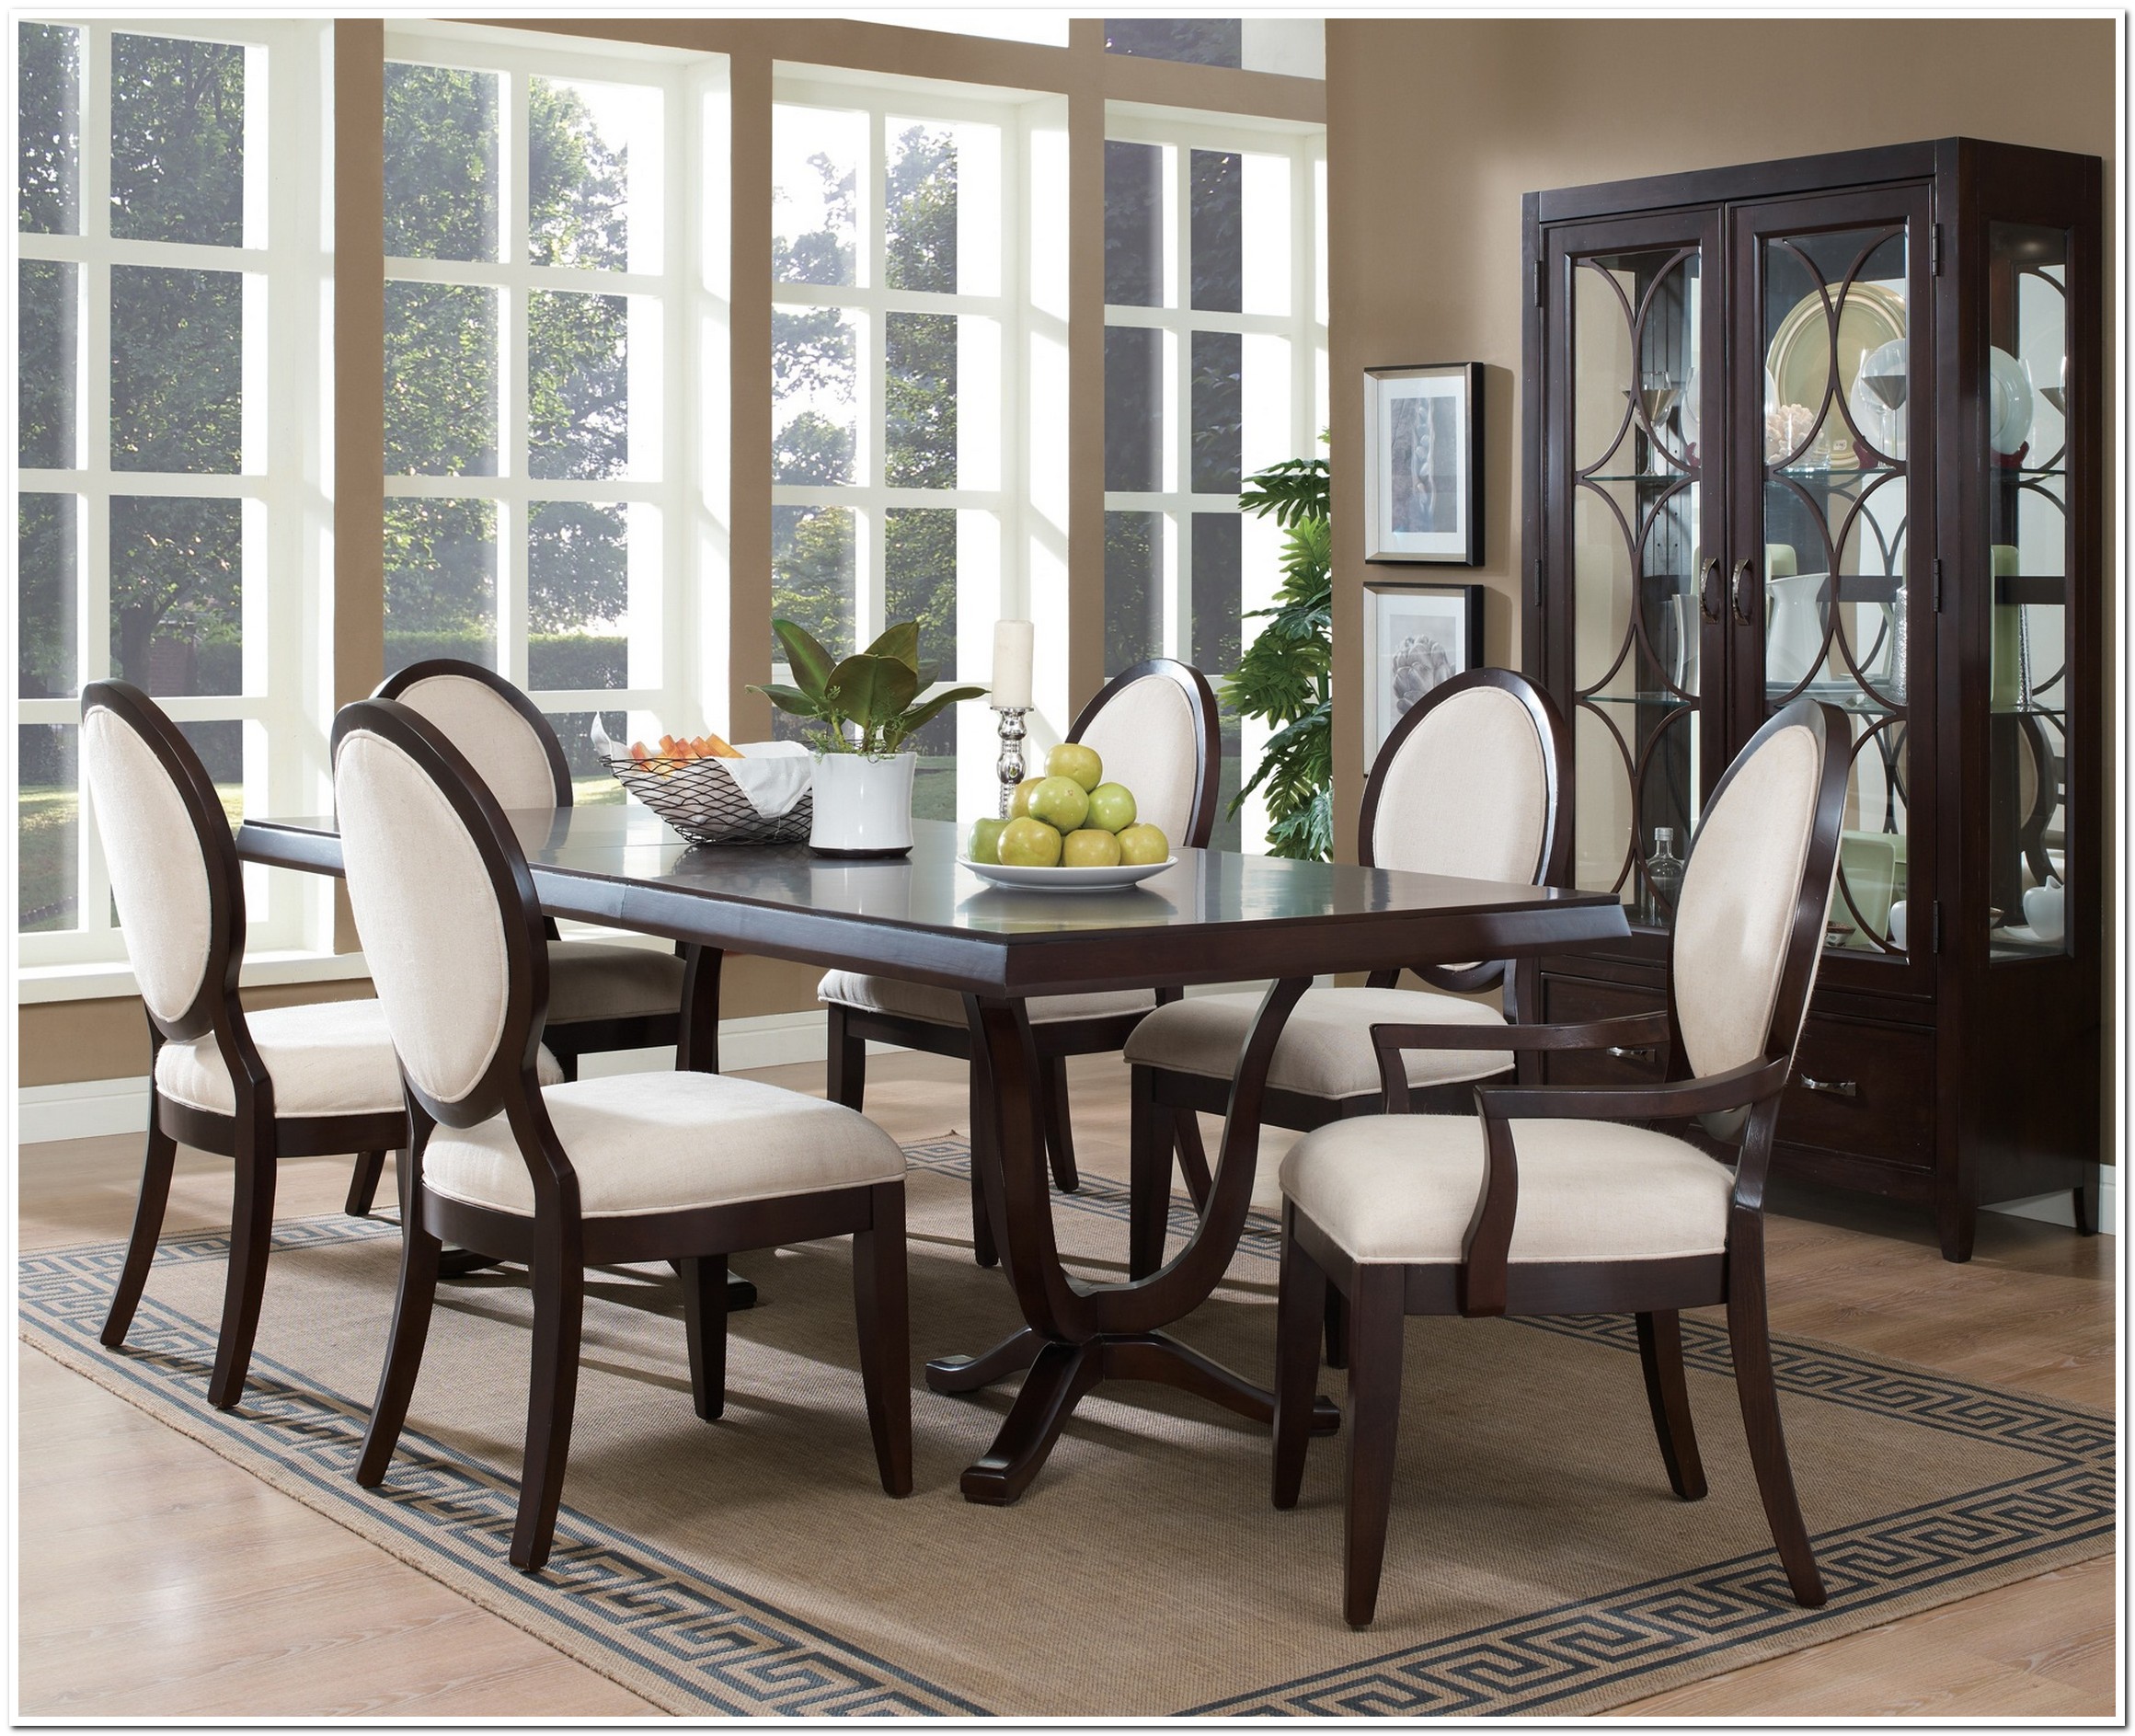
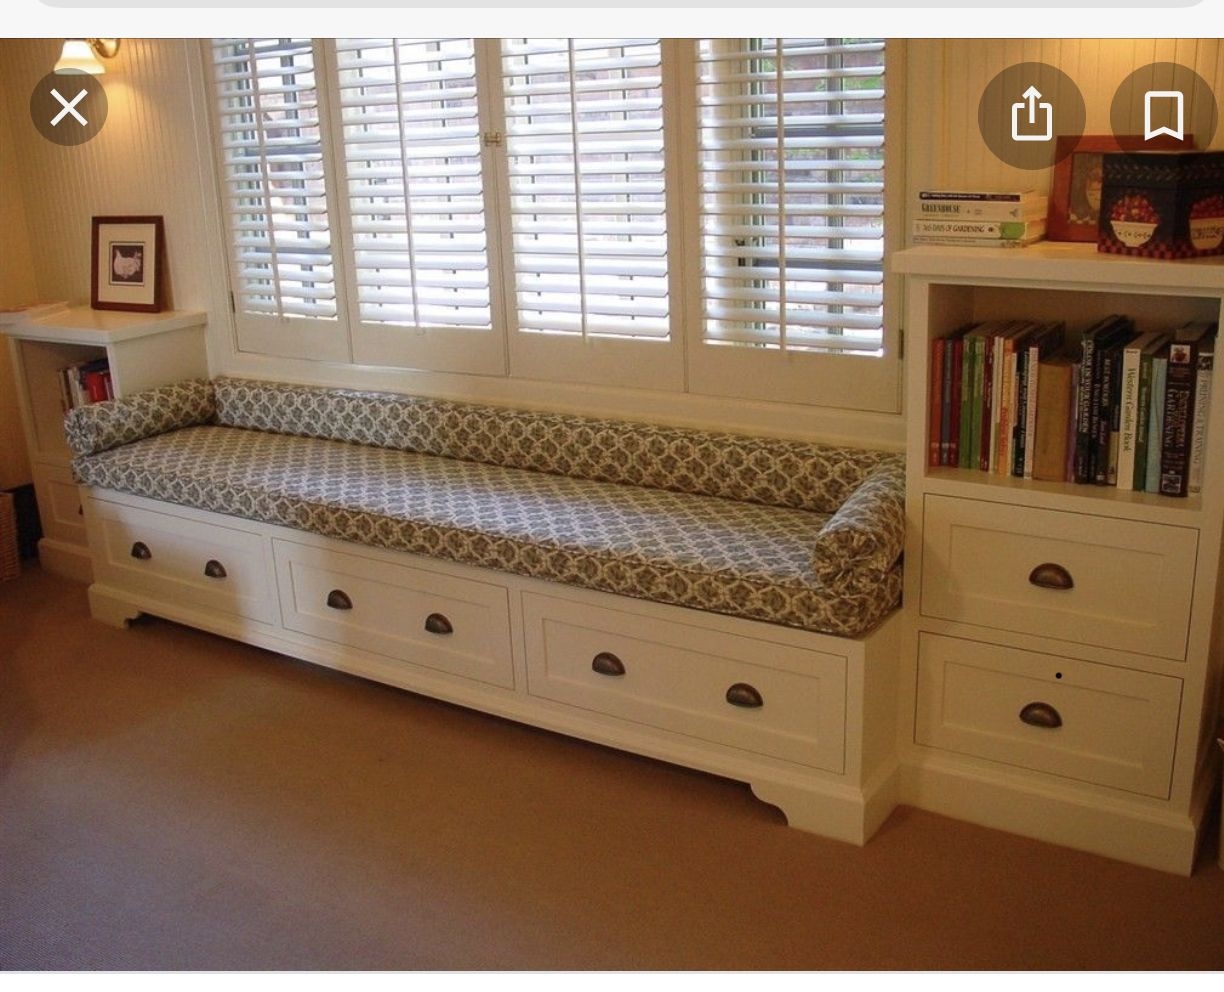
One of the most popular ways to incorporate recessed seating in your living room is by building a bench or couch directly into the wall. This not only provides extra seating for guests, but it also creates a sleek and streamlined look. To achieve this, you can use plywood or MDF boards to create the base, then cover it with your choice of padding and fabric. Finish it off with some throw pillows and you'll have a cozy and functional seating area that blends seamlessly into your living room's design.1. DIY Built-In Seating Living Room: A Functional and Stylish Solution


diy built-in seating living room


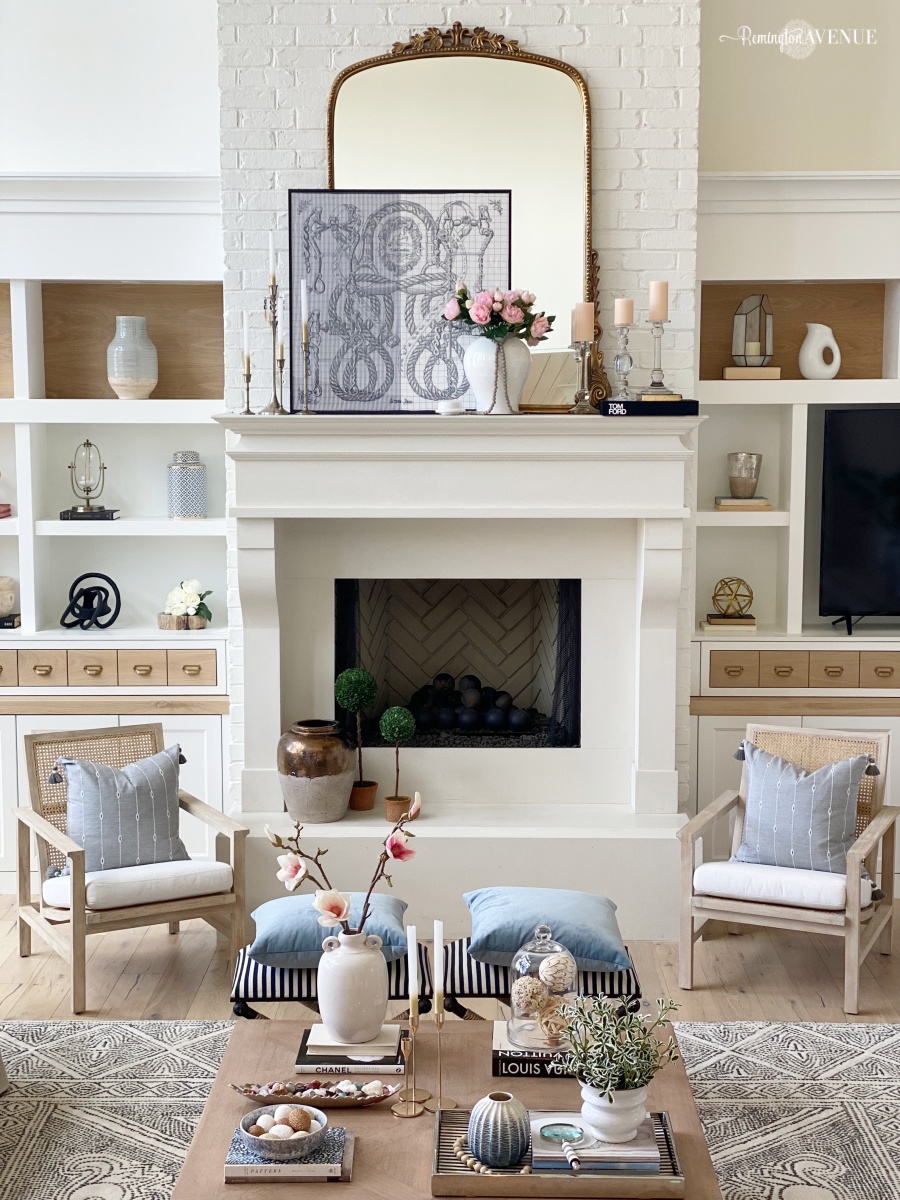
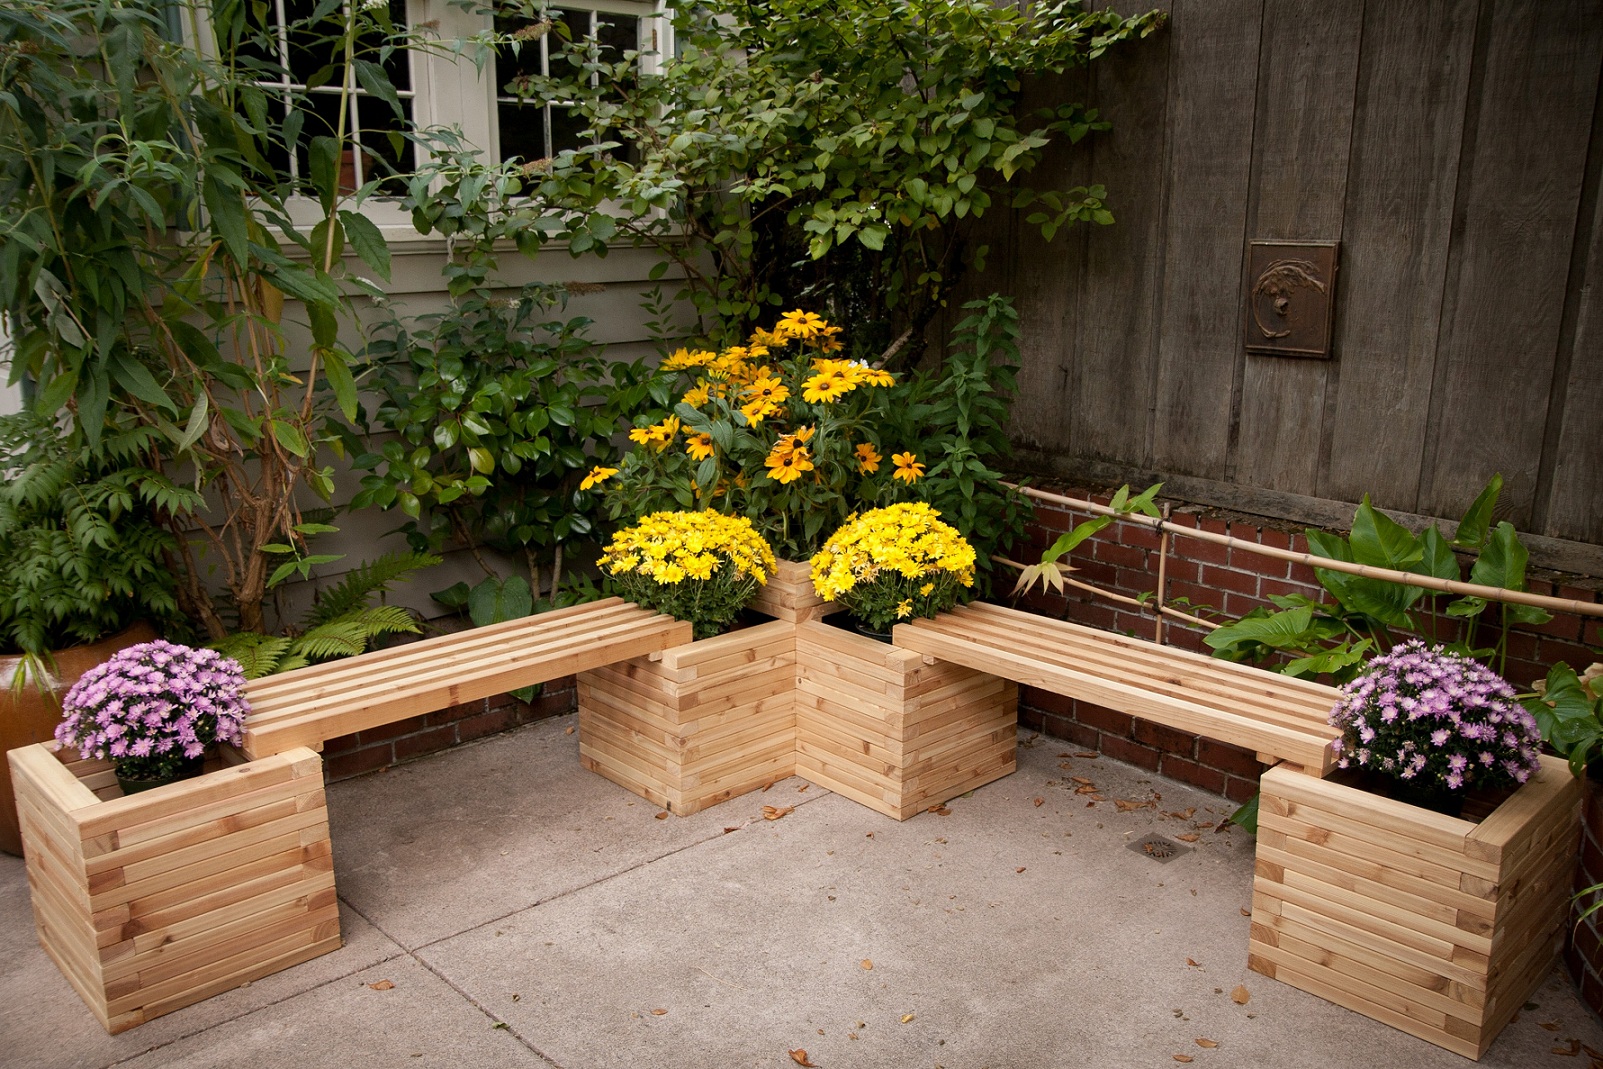
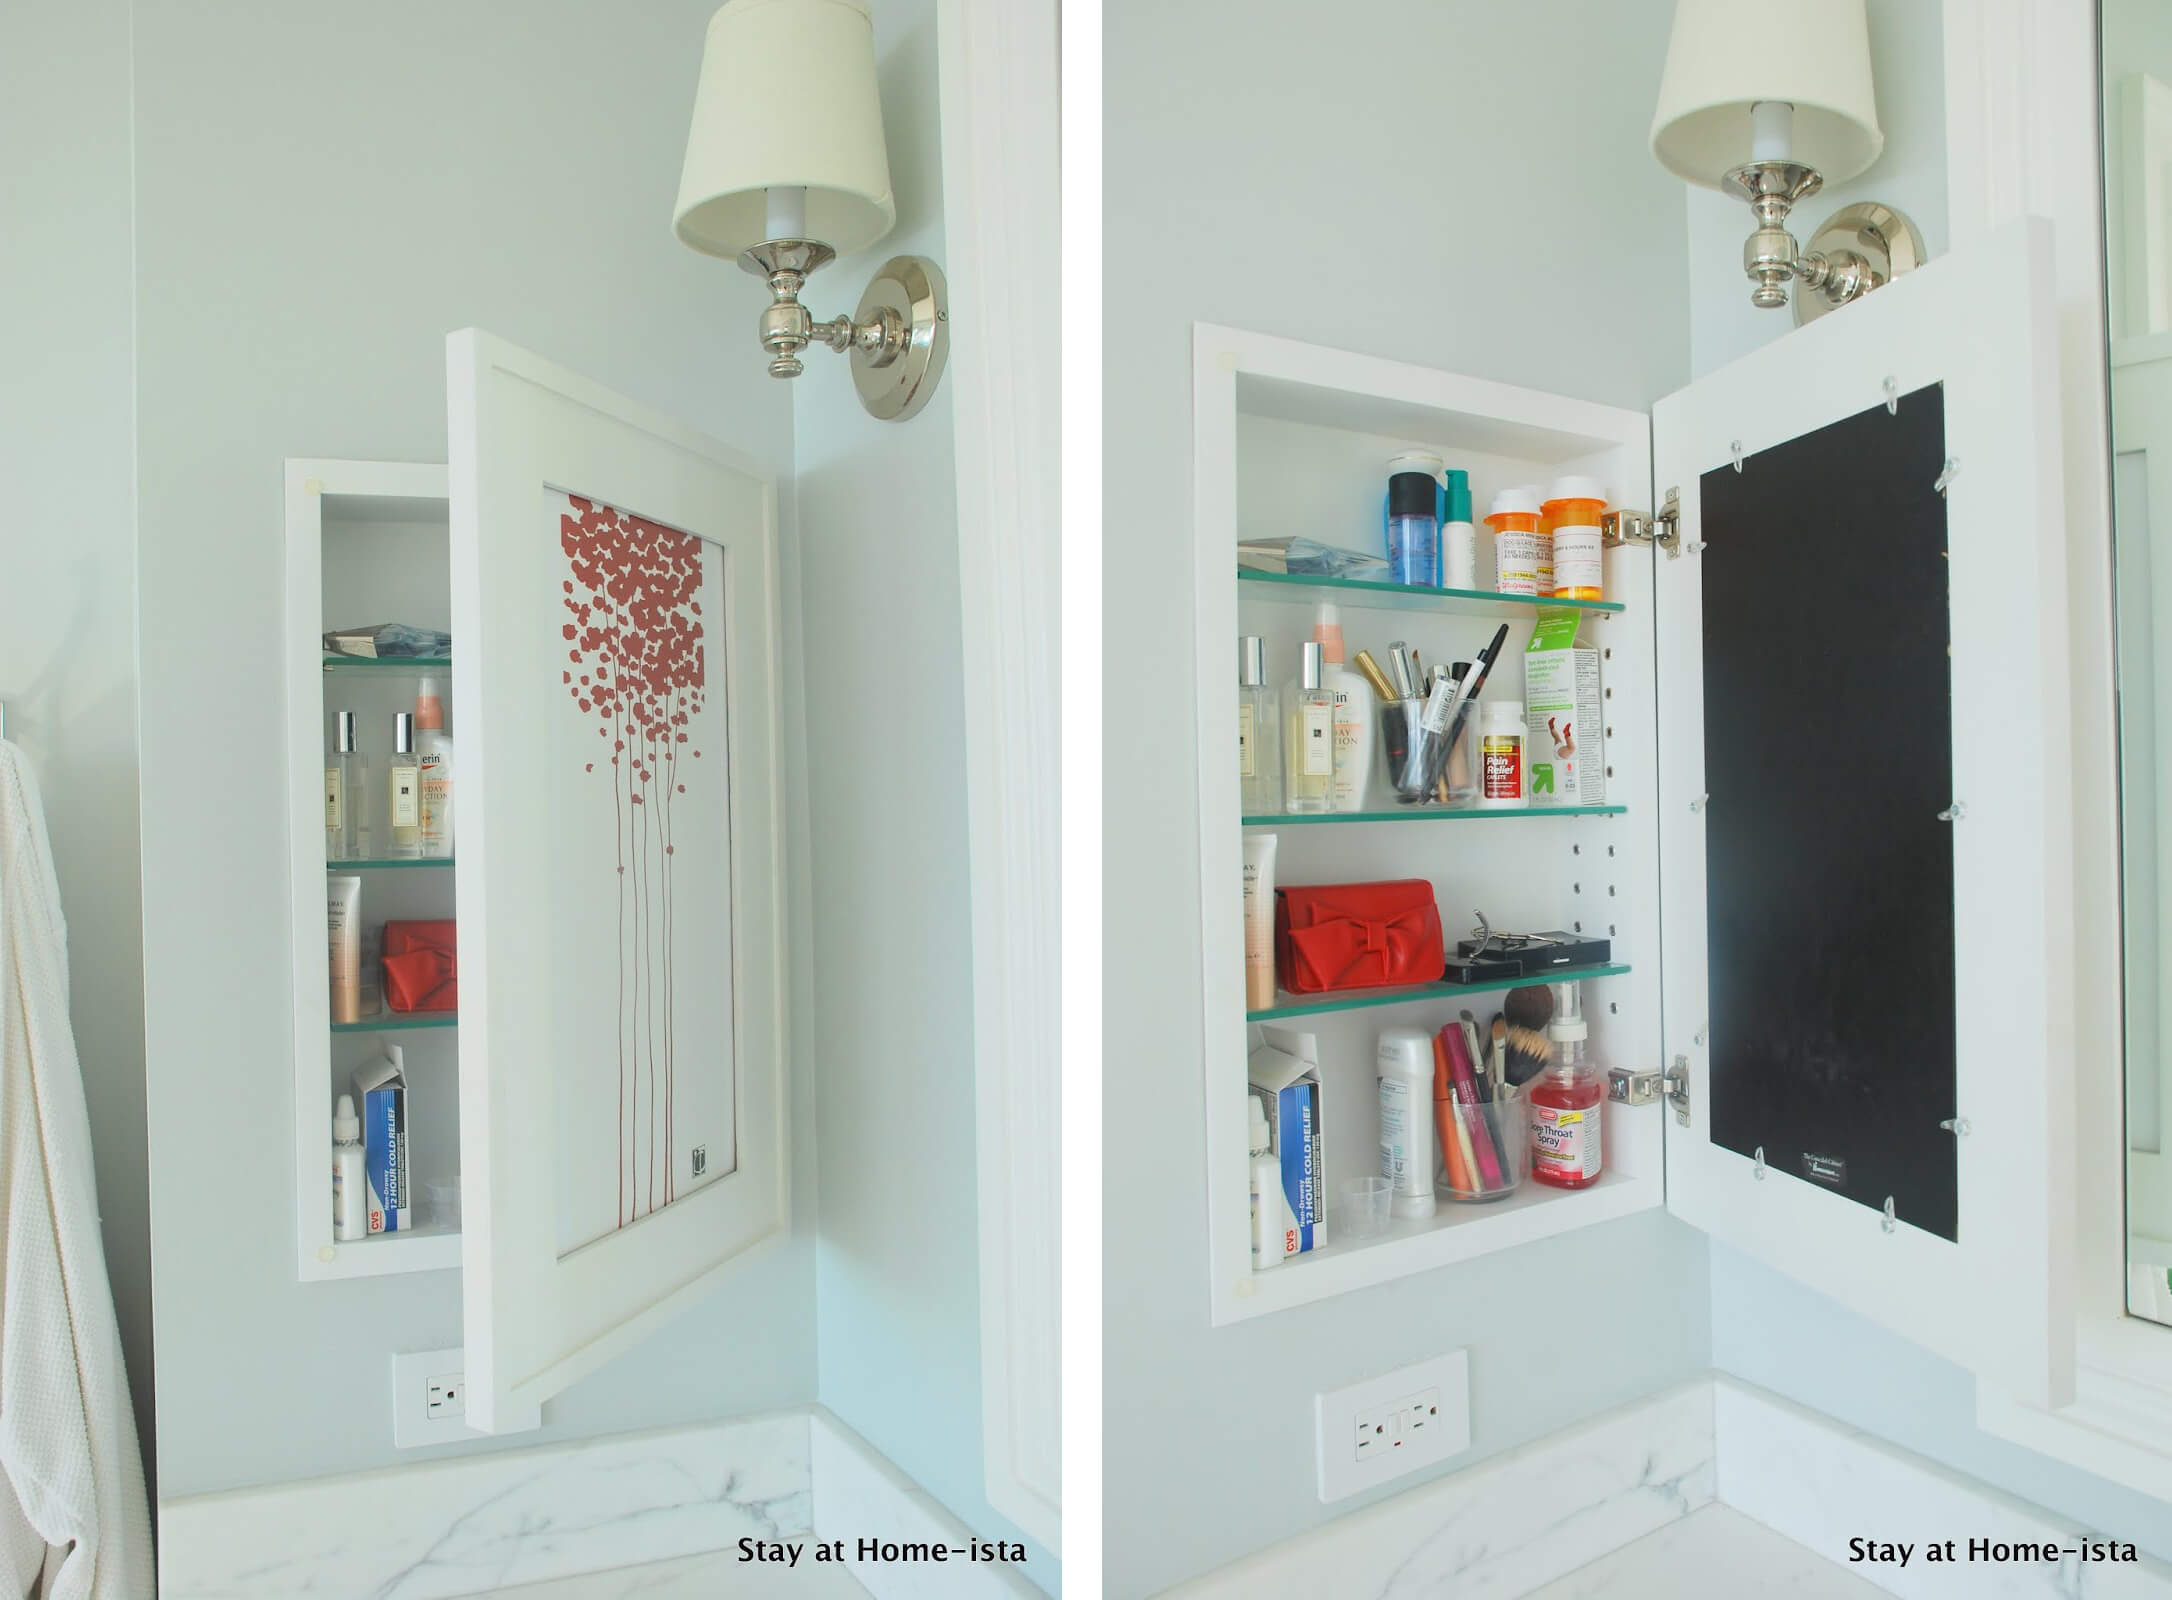
When it comes to DIY recessed seating, the possibilities are endless. While traditional built-in benches and couches are popular choices, you can also get creative with the materials you use. Consider using wooden crates or pallets to create a rustic and unique seating area. Or, if you want a more modern look, try using concrete blocks and a wooden plank to create an industrial-style bench.2. DIY Recessed Seating Ideas: Get Creative with Materials


diy recessed seating ideas


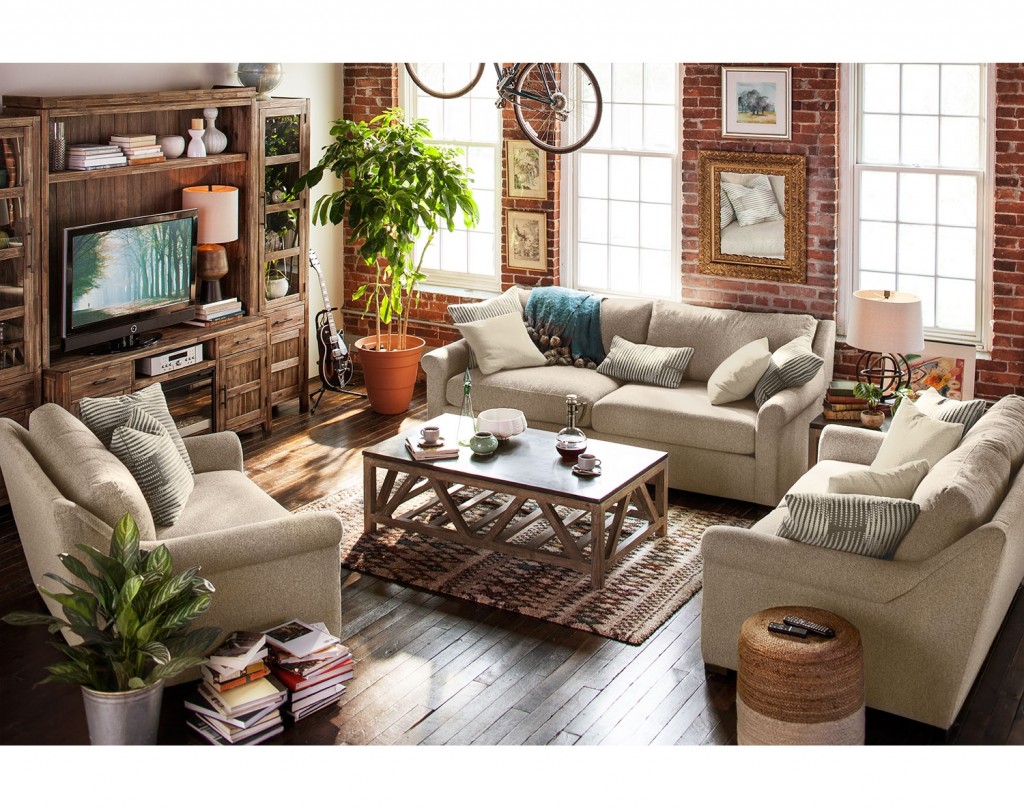
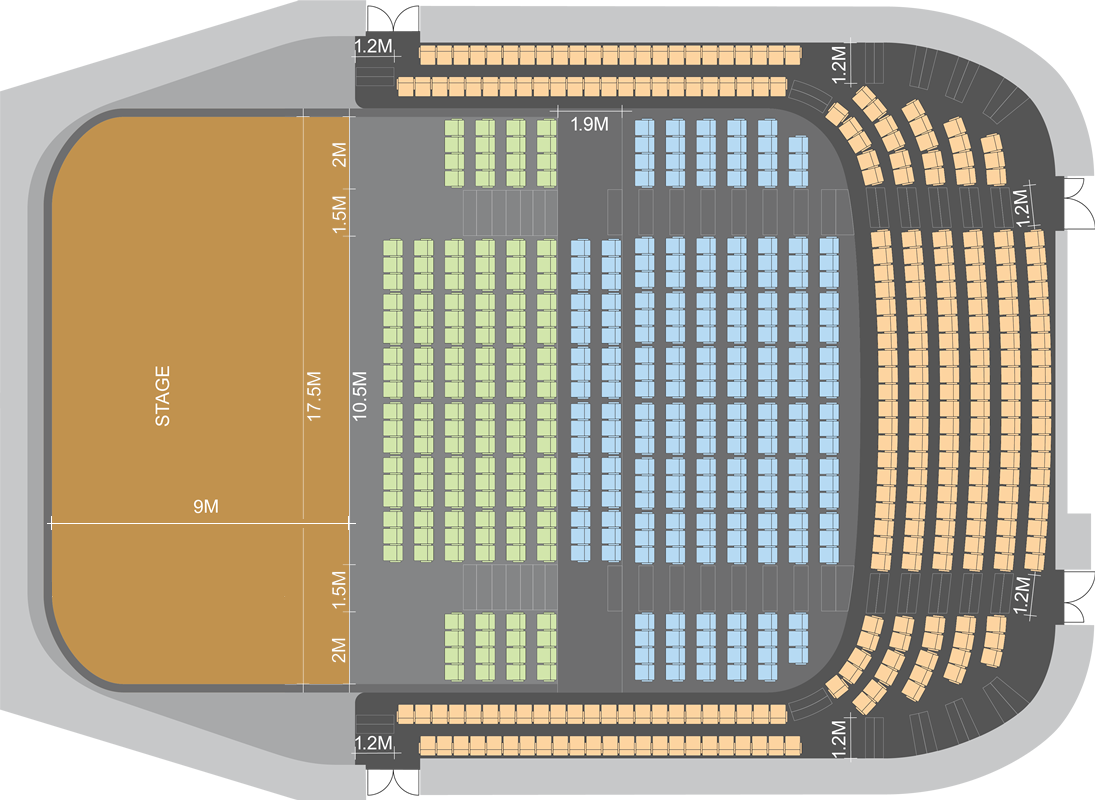
One of the best things about DIY recessed seating is that you can customize it to fit your specific living room space. If you have a small or awkwardly shaped room, you can create a corner bench that follows the contours of the walls. Or, if you have a larger room, you can build a longer bench or even a wrap-around seating area. By creating your own plans, you can ensure that your recessed seating fits perfectly in your living room.3. DIY Recessed Seating Plans: Customize to Your Space


diy recessed seating plans


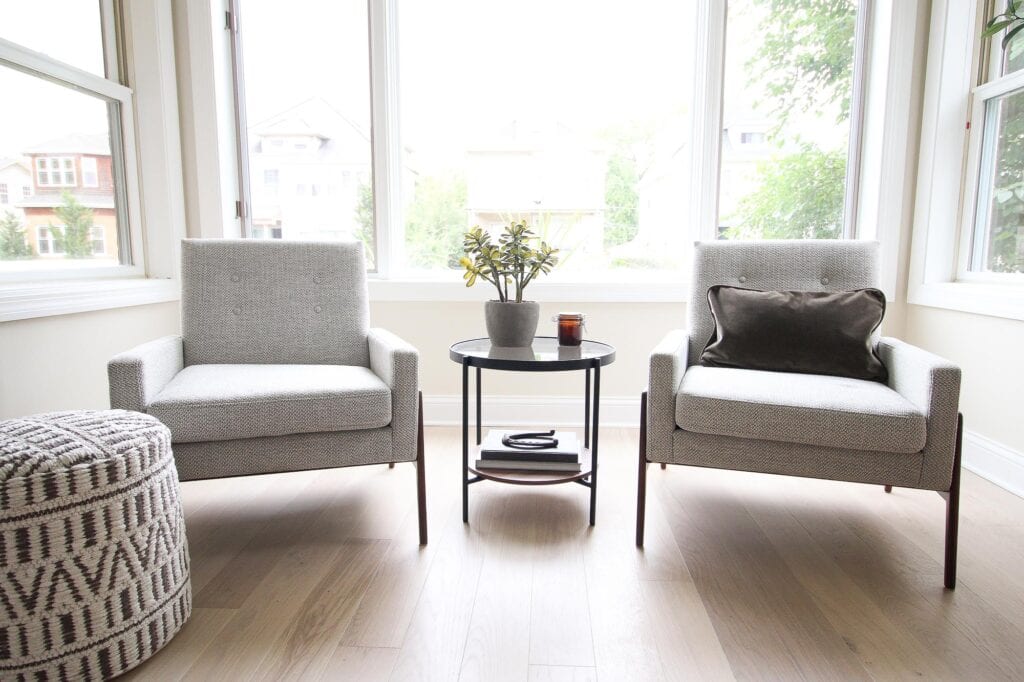
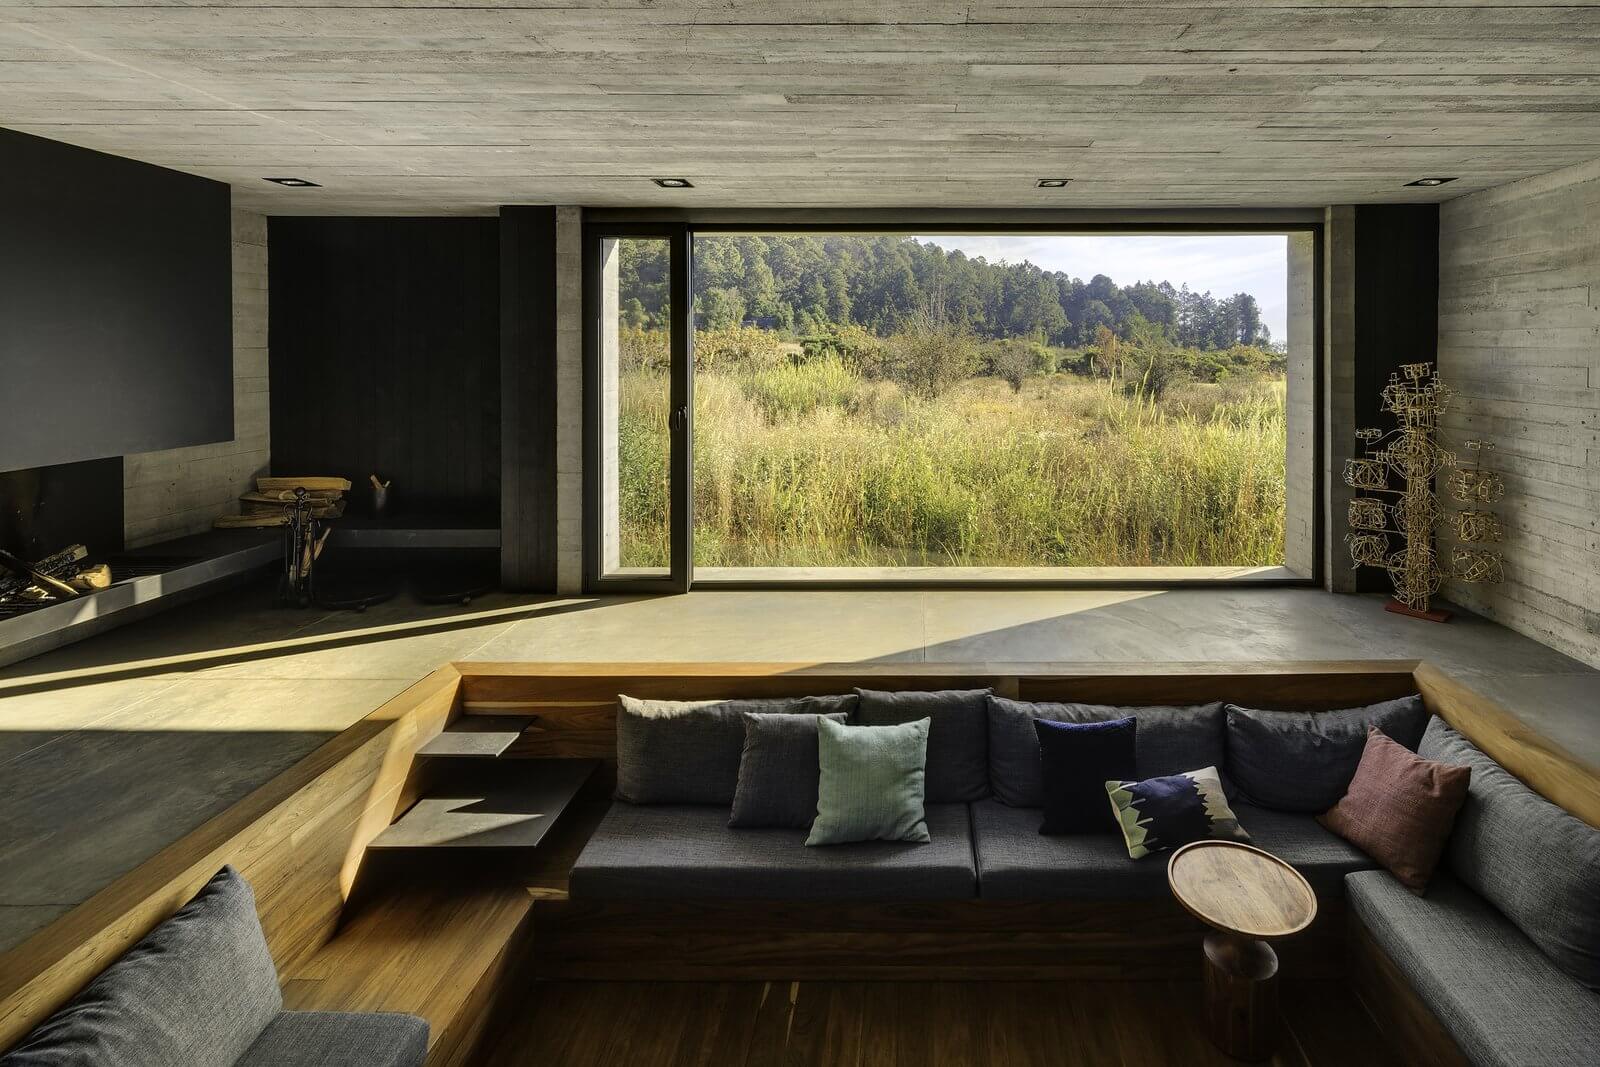
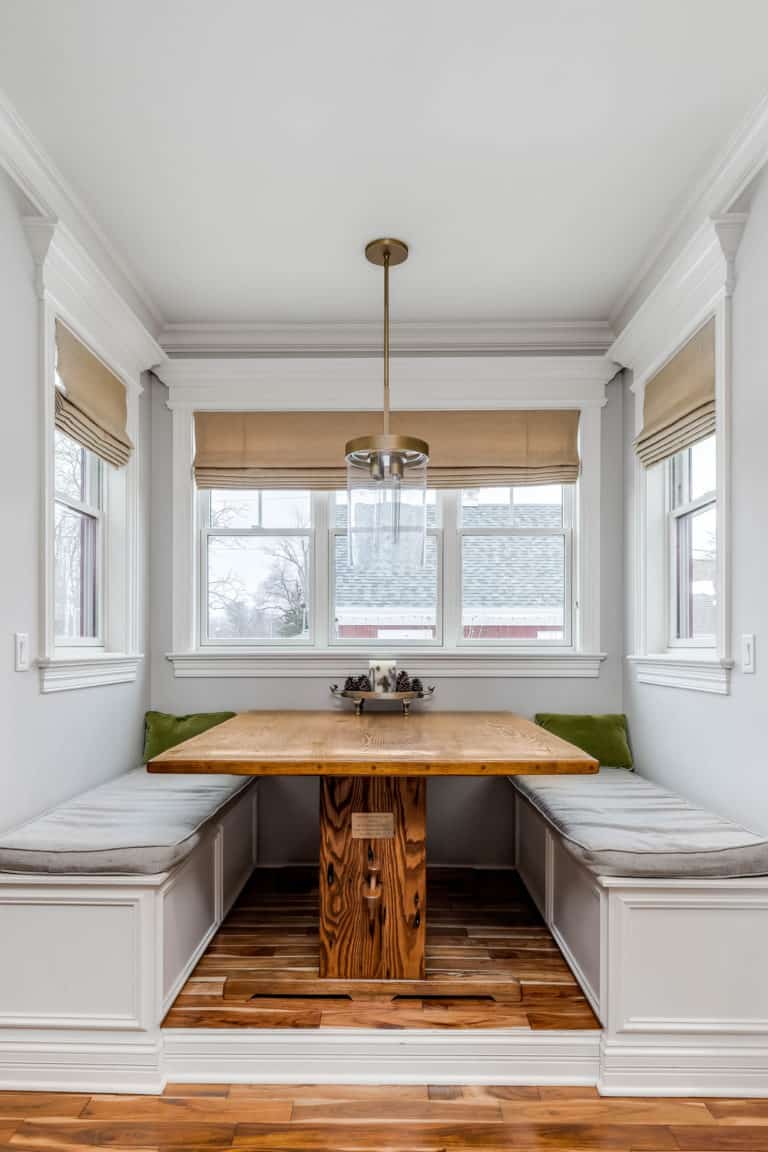
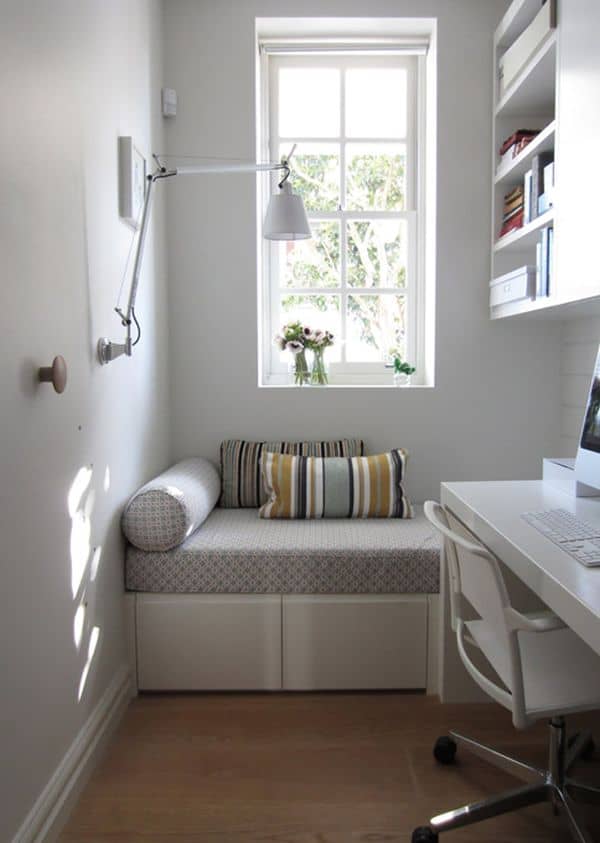
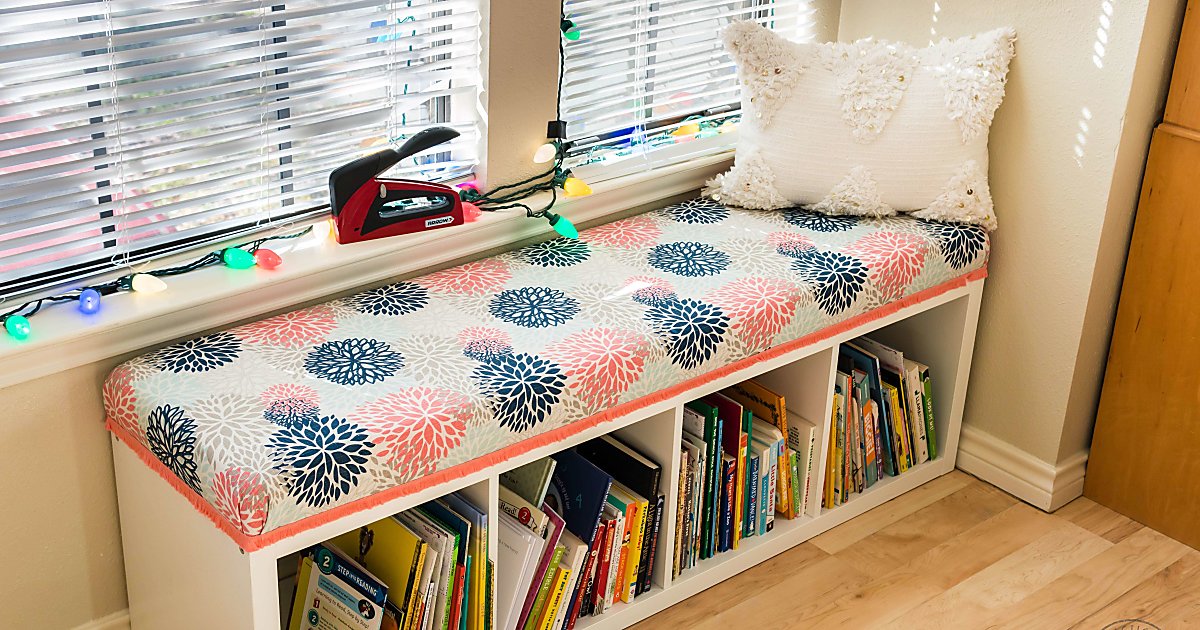
If you have a window or nook in your living room, why not turn it into a cozy recessed seating area? By building a bench or daybed into the space, you can create the perfect spot for reading, napping, or simply enjoying the view. Add some plush cushions, pillows, and a blanket for the ultimate relaxation spot in your living room.4. DIY Recessed Seating Area: A Cozy Nook for Relaxing


diy recessed seating area


If you're working with a small living room, every inch of space counts. That's where a DIY recessed seating bench comes in handy. By building a bench into the wall, you can save valuable floor space while still providing ample seating for your guests. Plus, you can use the space underneath the bench for extra storage.5. DIY Recessed Seating Bench: A Space-Saving Solution


diy recessed seating bench


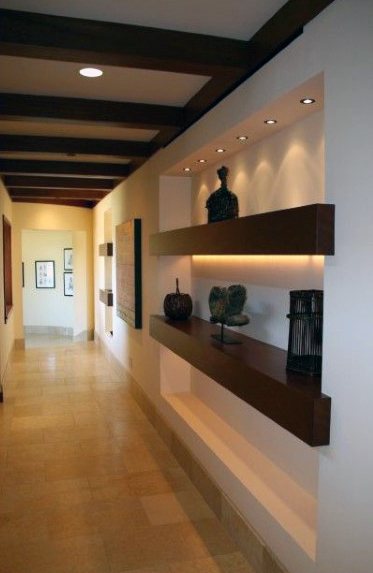
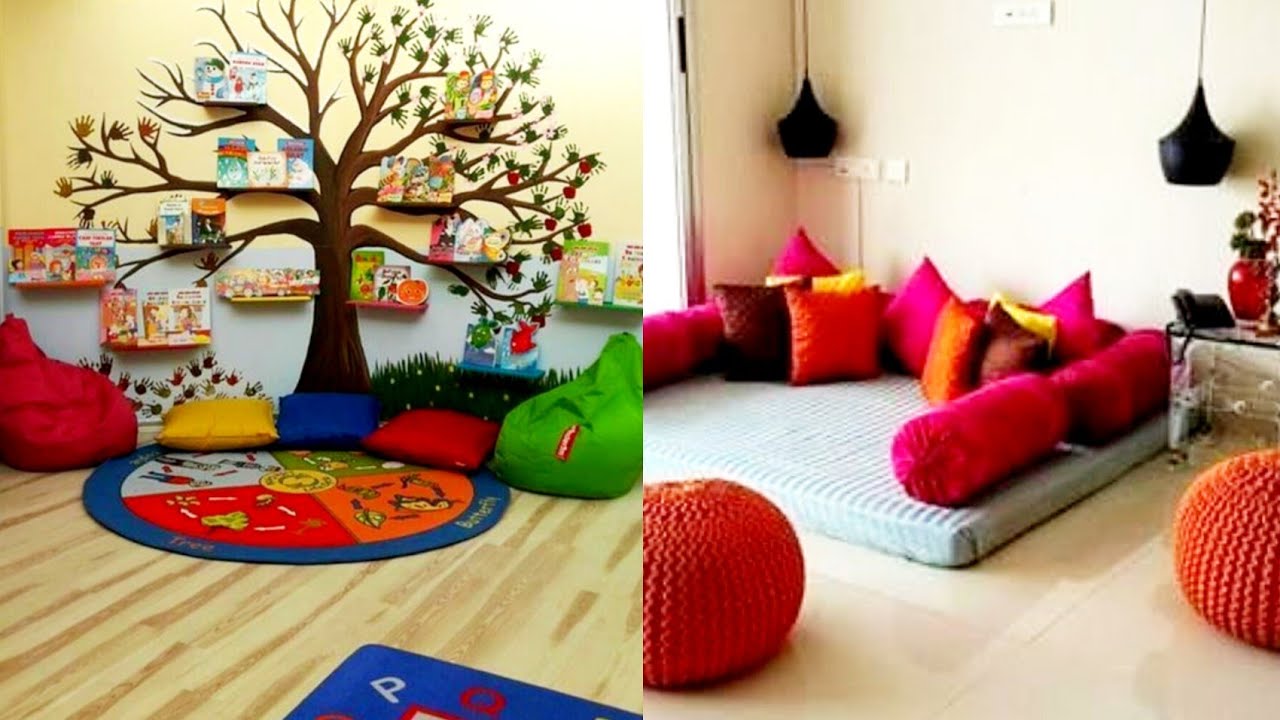
For a playful and unique touch, consider creating a recessed seating nook in your living room. This can be built into a corner or even under a staircase. Use colorful cushions, pillows, and lighting to make the nook stand out as a fun and functional addition to your living room.6. DIY Recessed Seating Nook: A Fun and Functional Addition

diy recessed seating nook


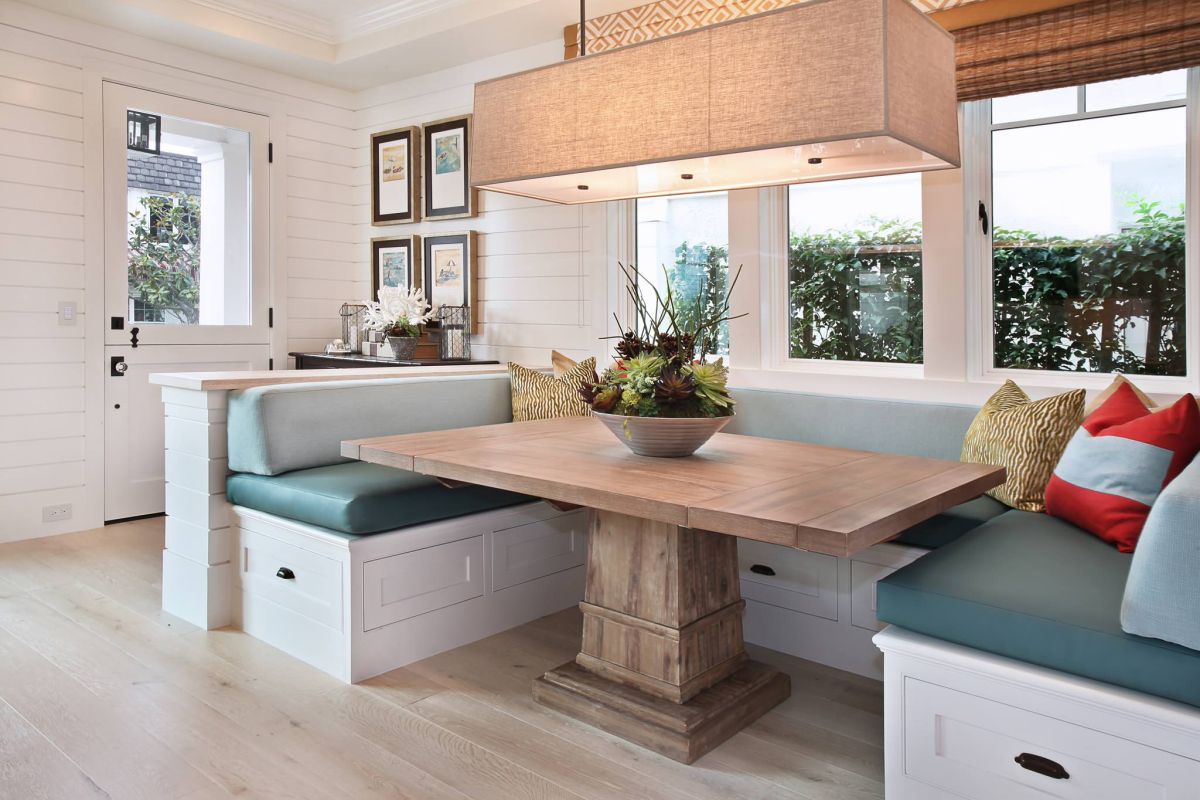


Storage is often a challenge in small living rooms, but with DIY recessed seating, you can have the best of both worlds. By building your seating area with hinged lids, you can use the space underneath for storing blankets, pillows, or even books. This not only frees up valuable closet space, but it also keeps your living room clutter-free.7. DIY Recessed Seating with Storage: Dual-Purpose Furniture


diy recessed seating with storage


Small living rooms can often feel cramped and cluttered, but with DIY recessed seating, you can open up your space and make it feel larger. By building seating into your walls and floor, you can free up floor space and create a more open and airy feel. Plus, you won't have to worry about bulky furniture taking up valuable real estate in your living room.8. DIY Recessed Seating for Small Spaces: Make the Most of Your Room


diy recessed seating for small spaces


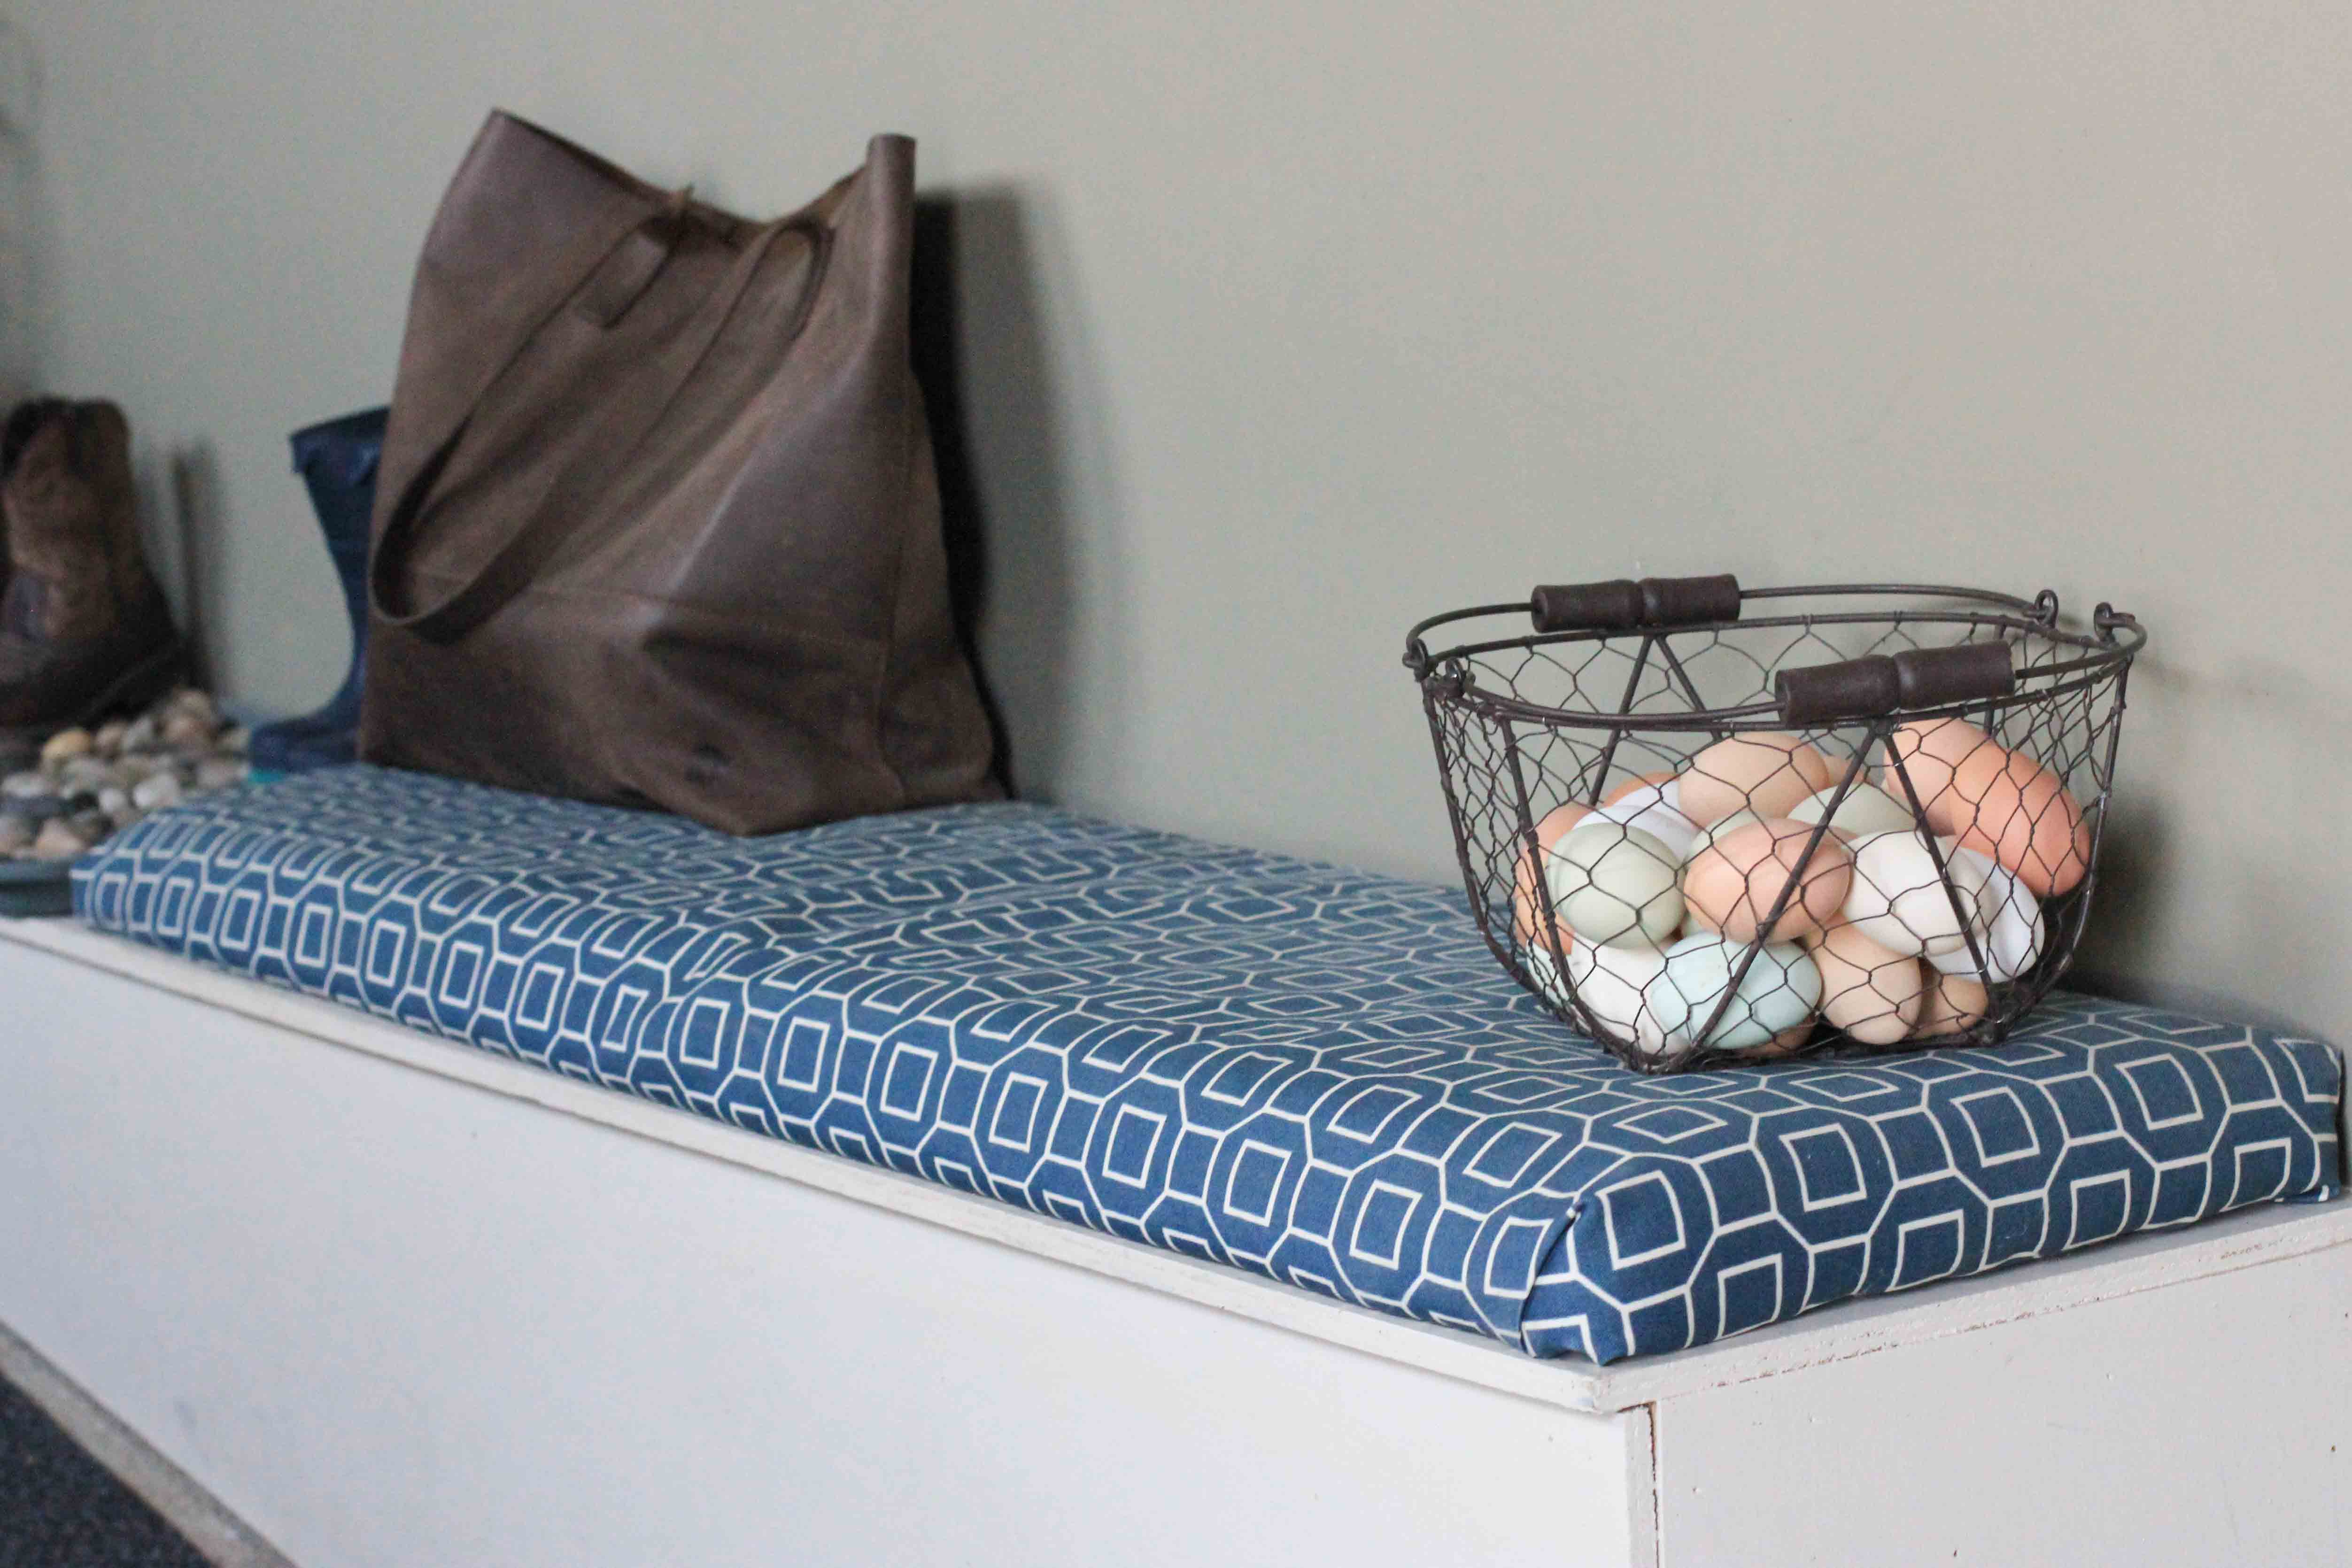
When it comes to DIY recessed seating, comfort is key. By adding plush cushions to your seating area, you can create a cozy and inviting space for you and your guests to relax in. You can also use cushions to add a pop of color or pattern to your living room's design, making your seating area a focal point in the room.9. DIY Recessed Seating with Cushions: Add Comfort and Style


diy recessed seating with cushions


Transform Your Living Room with DIY Recessed Seating
/living-room-large-area-rug-bcf9729c-14f549116b444f129b52258baf998392.jpg)
Creating a Cozy and Stylish Space
 When it comes to designing your living room, there are endless possibilities to make it a comfortable and stylish space. However, one feature that is often overlooked is incorporating
recessed seating
. This
DIY
project not only adds a unique design element to your room, but it also maximizes the use of space and creates a cozy atmosphere for your family and guests. Here's how you can transform your living room with
DIY recessed seating
.
When it comes to designing your living room, there are endless possibilities to make it a comfortable and stylish space. However, one feature that is often overlooked is incorporating
recessed seating
. This
DIY
project not only adds a unique design element to your room, but it also maximizes the use of space and creates a cozy atmosphere for your family and guests. Here's how you can transform your living room with
DIY recessed seating
.
Step 1: Plan and Measure
 Before starting any DIY project, it is important to plan and measure the space you have available. Consider the layout of your living room and where the recessed seating will fit in best. You can choose to have it against a wall, in a corner, or even in the middle of the room. Once you have a clear idea of where you want the seating to go, measure the dimensions of the space to determine the size of your project.
Step 2: Gather Materials
 To create your
DIY recessed seating
, you will need the following materials: plywood, wood screws, foam padding, fabric of your choice, and a staple gun. You can also use extra features such as built-in storage or cushions for added comfort. Make sure to choose high-quality materials that will withstand daily use and add to the overall aesthetic of your living room.
To create your
DIY recessed seating
, you will need the following materials: plywood, wood screws, foam padding, fabric of your choice, and a staple gun. You can also use extra features such as built-in storage or cushions for added comfort. Make sure to choose high-quality materials that will withstand daily use and add to the overall aesthetic of your living room.
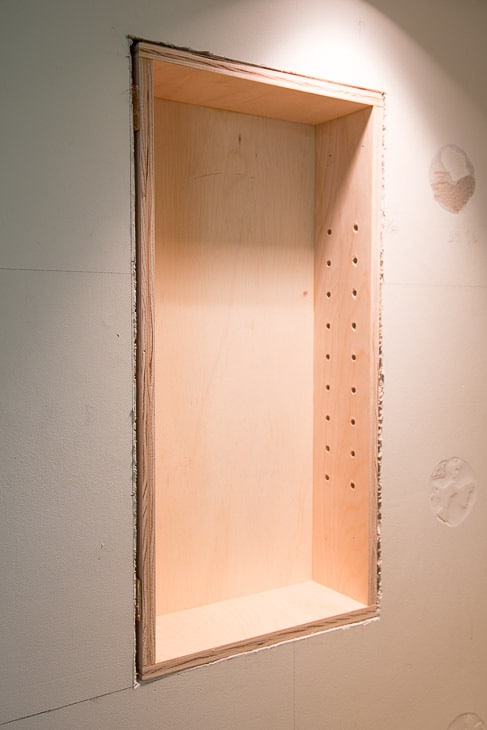
Step 3: Build the Frame
 Using the measurements you took earlier, cut the plywood into the desired shape and size for your seating. Then, assemble the frame using the wood screws. This is where you can get creative and add any extra features, such as a bookshelf or drawers, to your frame. Once the frame is complete, attach it securely to the wall or floor.
Step 4: Add Padding and Upholstery
 Next, add foam padding to the frame to make your seating comfortable. You can use a variety of foam thicknesses to achieve the desired level of comfort. Then, cut and staple the fabric of your choice to the frame, covering the foam completely. This is where you can add a pop of color or pattern to your living room, making it a statement piece.
Step 5: Finishing Touches
 To complete your
DIY recessed seating
, add any final touches such as throw pillows or cushions for added comfort and style. You can also add lighting above or around the seating to create a cozy ambiance. Don't be afraid to experiment with different elements to make it truly unique and reflective of your personal style.
In conclusion,
DIY recessed seating
is a great way to elevate the design of your living room while making the most of your space. By following these simple steps, you can create a cozy and stylish seating area that will be the envy of all your guests. So, put on your DIY hat and get ready to transform your living room into a welcoming and functional space.
To complete your
DIY recessed seating
, add any final touches such as throw pillows or cushions for added comfort and style. You can also add lighting above or around the seating to create a cozy ambiance. Don't be afraid to experiment with different elements to make it truly unique and reflective of your personal style.
In conclusion,
DIY recessed seating
is a great way to elevate the design of your living room while making the most of your space. By following these simple steps, you can create a cozy and stylish seating area that will be the envy of all your guests. So, put on your DIY hat and get ready to transform your living room into a welcoming and functional space.