1. How to Install a Porcelain Kitchen Sink
Installing a porcelain kitchen sink may seem like a daunting task, but with the right tools and some DIY know-how, it can be a straightforward process. The first step is to carefully measure the opening for the sink and ensure that it will fit properly. Next, remove the old sink and clean the area thoroughly.
Once the area is prepped, it's time to install the new sink. Apply a thin layer of silicone caulk around the edge of the sink and carefully lower it into the opening. Secure the sink in place with clips or brackets, and then attach the plumbing and drainage connections. Finally, let the caulk dry completely before using the sink.
By following these steps, you can successfully install a porcelain kitchen sink on your own and save money on professional installation.
2. DIY Kitchen Sink Replacement
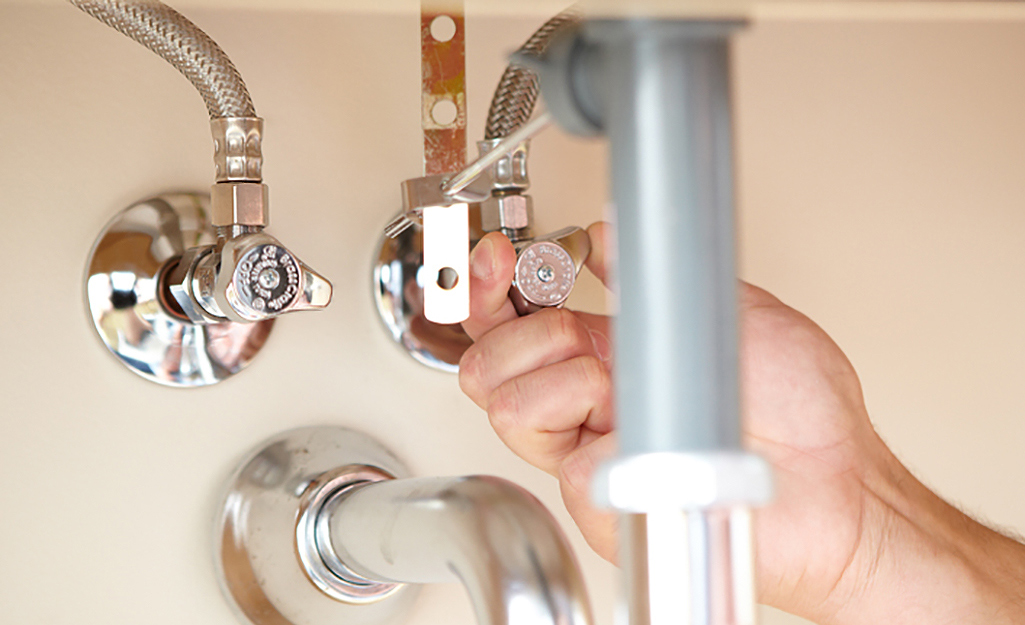
If your old kitchen sink is damaged or outdated, replacing it with a new porcelain sink can give your kitchen a fresh look. Before starting the replacement process, make sure to turn off the water supply and disconnect any plumbing and drainage connections.
Next, remove the old sink and clean the area thoroughly. Measure the opening for the new sink and purchase one that will fit properly. Follow the same steps as installing a new sink (mentioned in heading 1) to secure the new porcelain sink in place.
DIY kitchen sink replacement can be a cost-effective way to update your kitchen and give it a whole new look.
3. Tips for Cleaning a Porcelain Kitchen Sink
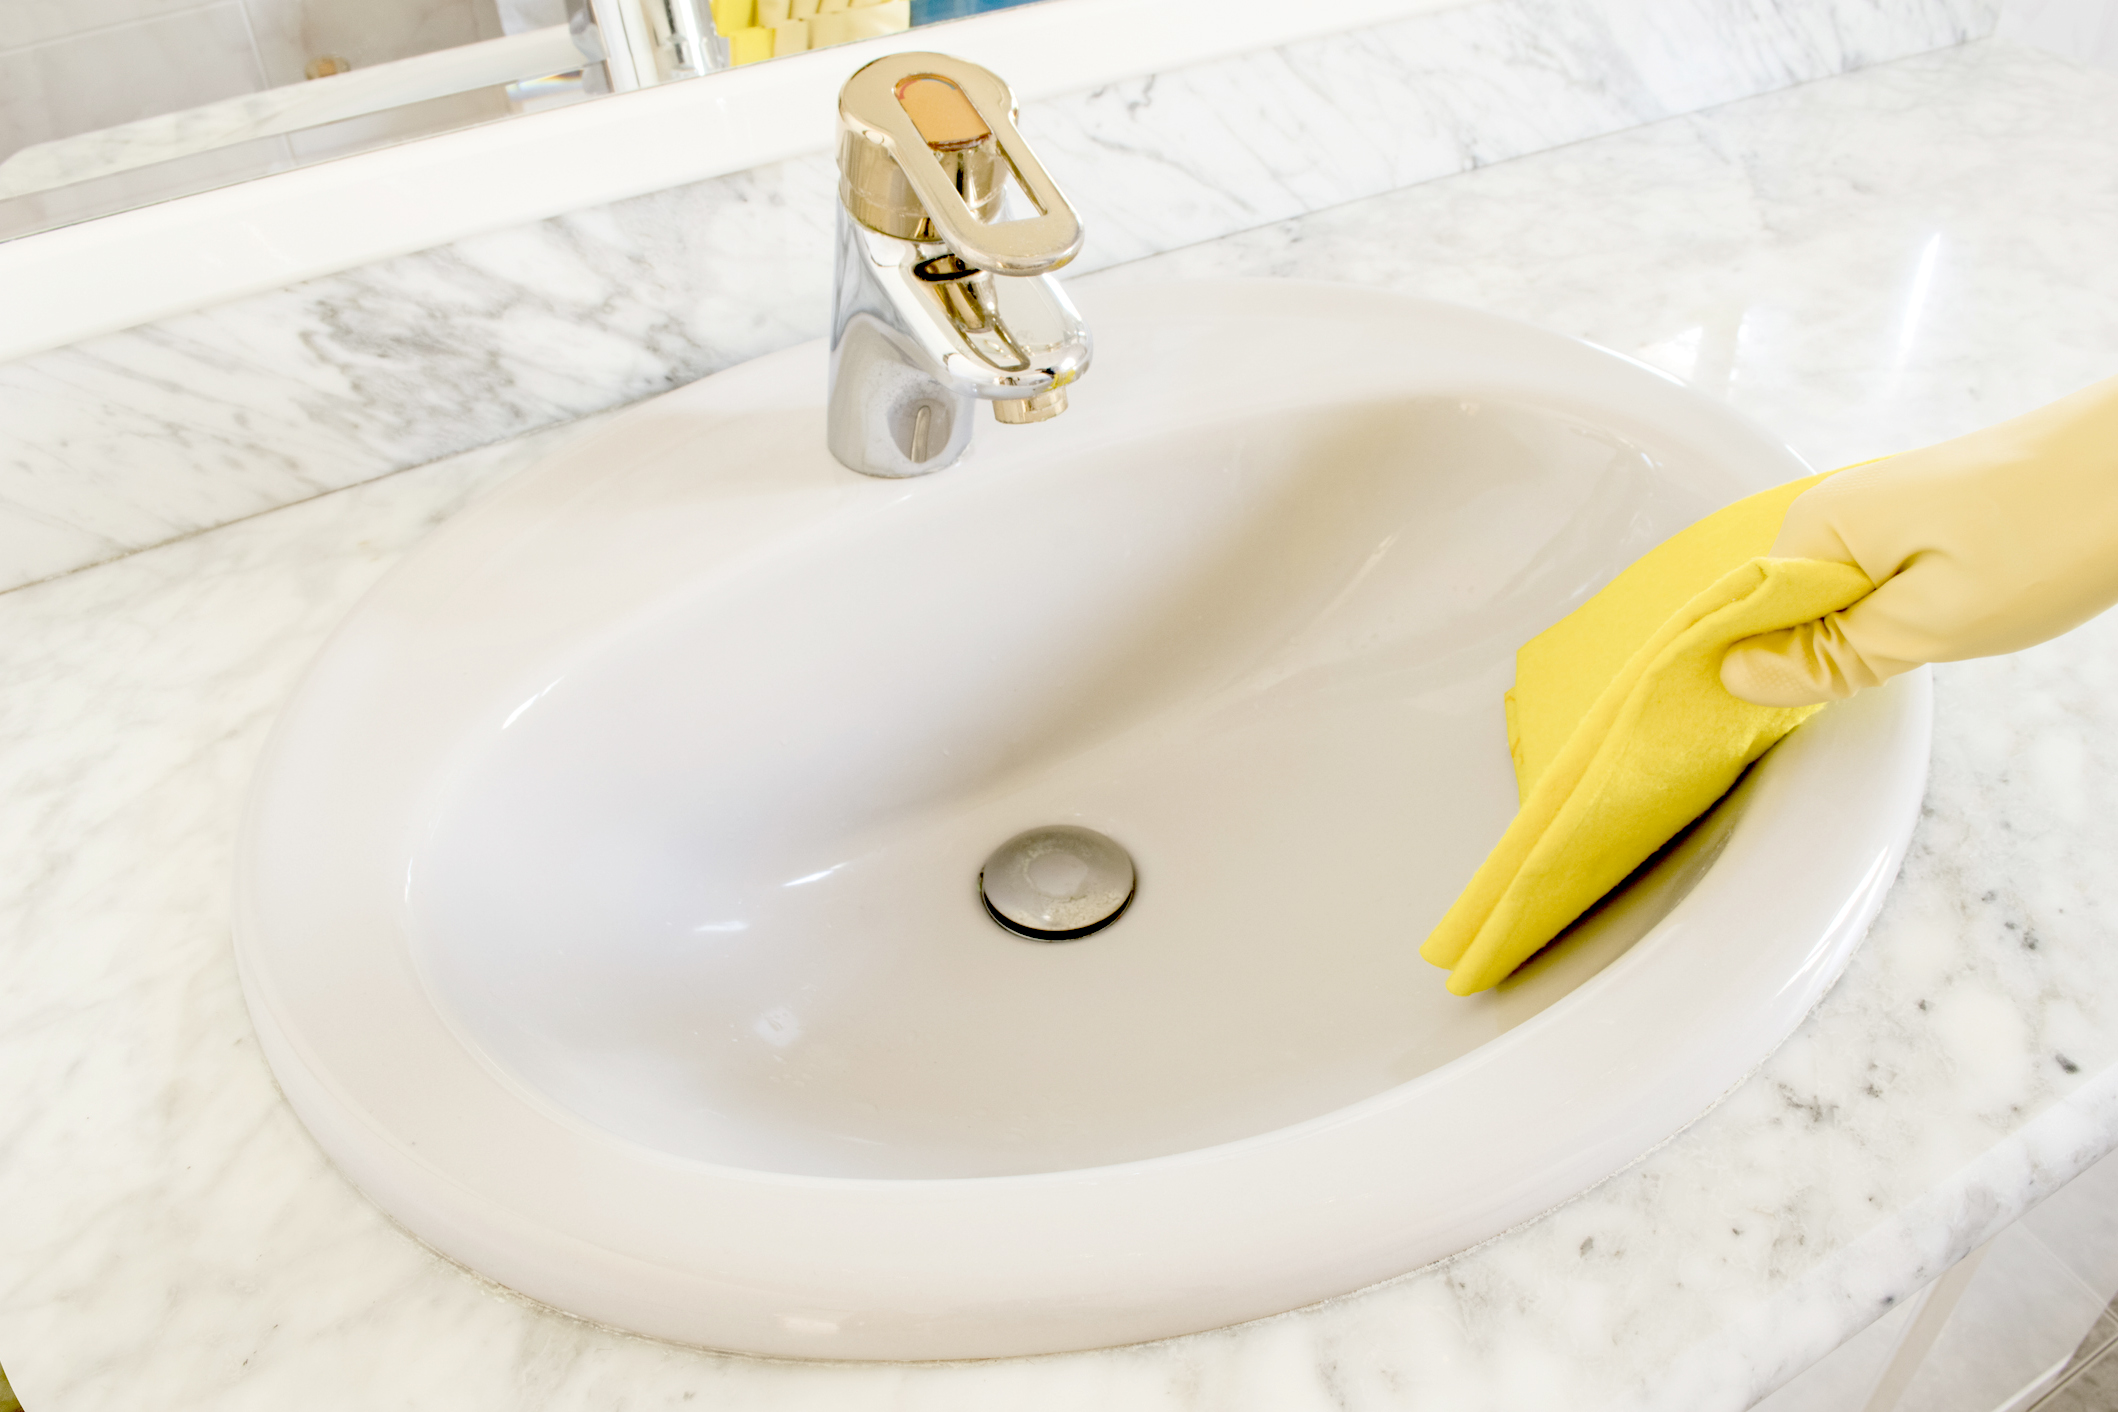
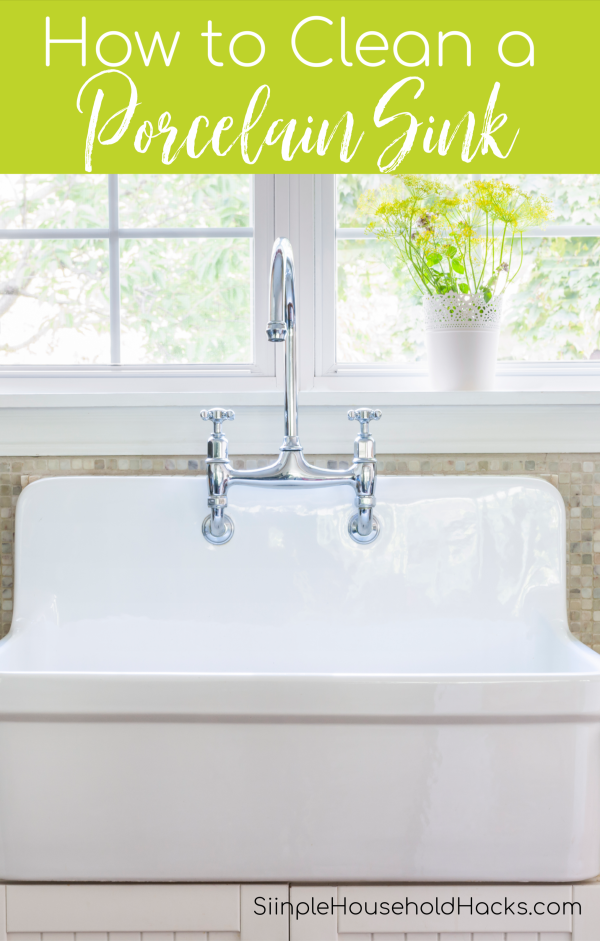
Porcelain sinks are known for their durability and low maintenance, but they still require regular cleaning to keep them looking their best. To clean a porcelain kitchen sink, start by rinsing it with hot water and then scrubbing it with a mixture of mild dish soap and water.
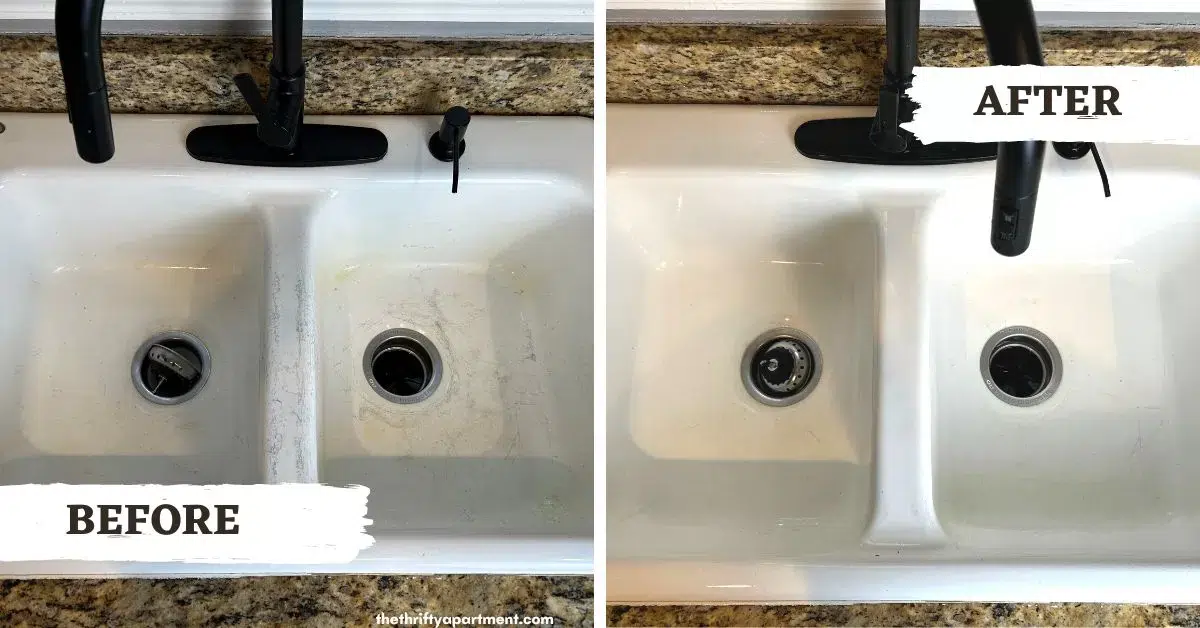
If there are any tough stains, you can use a mixture of baking soda and water to gently scrub them away. Avoid using harsh chemicals or abrasive cleaners, as these can damage the porcelain finish. After cleaning, rinse the sink thoroughly and dry it with a clean cloth to prevent water spots.
With proper care and regular cleaning, your porcelain kitchen sink will stay shiny and clean for years to come.
4. How to Repair a Chipped Porcelain Sink
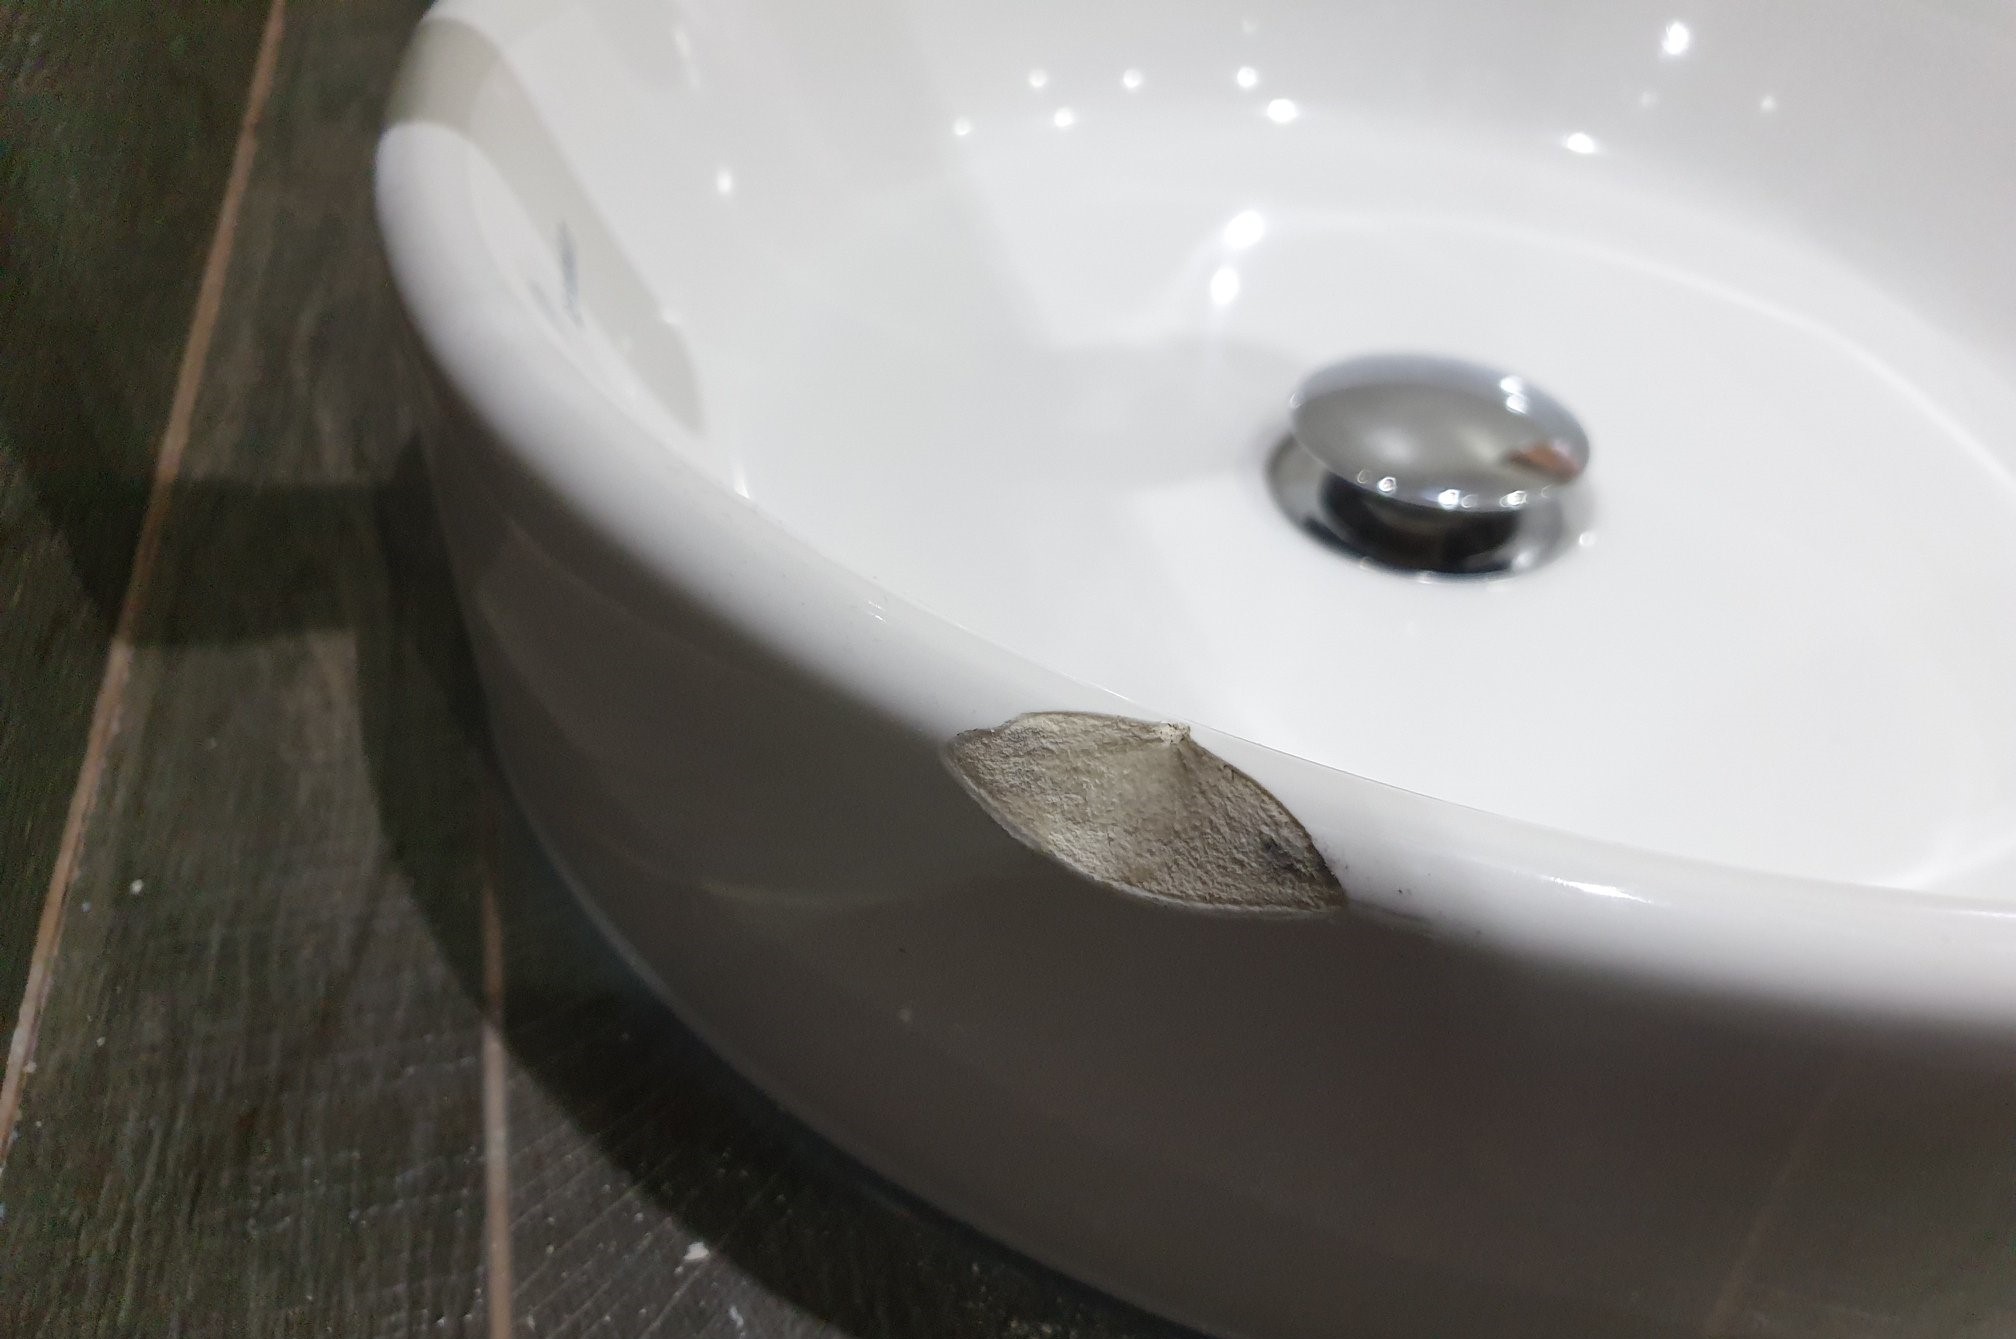
Accidents can happen, and if your porcelain sink gets chipped, you may be wondering if it can be repaired. The good news is that minor chips and scratches can be fixed with a porcelain repair kit.
To repair a chipped porcelain sink, start by cleaning the damaged area and then applying the repair compound according to the instructions on the kit. Once the compound is dry, sand it down to match the surrounding surface. Finally, buff the area with a soft cloth to restore the shine.
With a little bit of effort, you can easily repair a chipped porcelain sink and restore it to its original condition.
5. DIY Kitchen Sink Refinishing
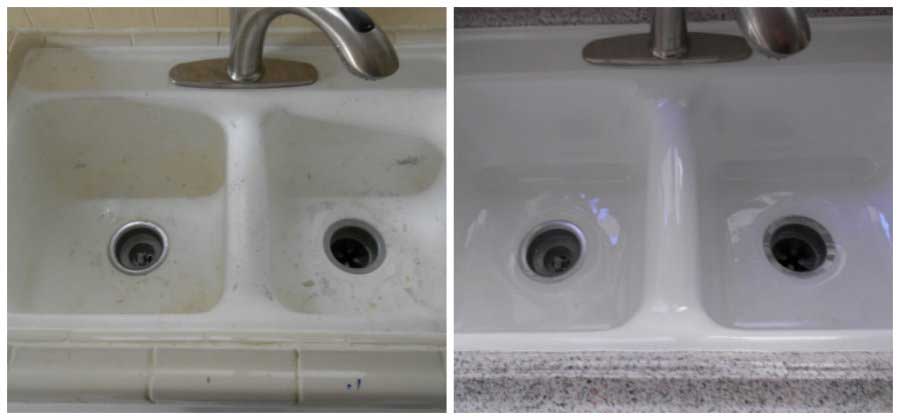
If your porcelain sink is looking dull and stained, instead of replacing it, you can refinish it to give it a new lease on life. Refinishing a porcelain sink involves sanding down the surface to remove any scratches or stains, and then applying a new finish.
There are DIY refinishing kits available that include all the necessary materials and instructions. It's important to follow the instructions carefully and allow the sink to dry completely before using it again. With a fresh coat of finish, your porcelain sink will look as good as new.
6. The Benefits of a Porcelain Kitchen Sink
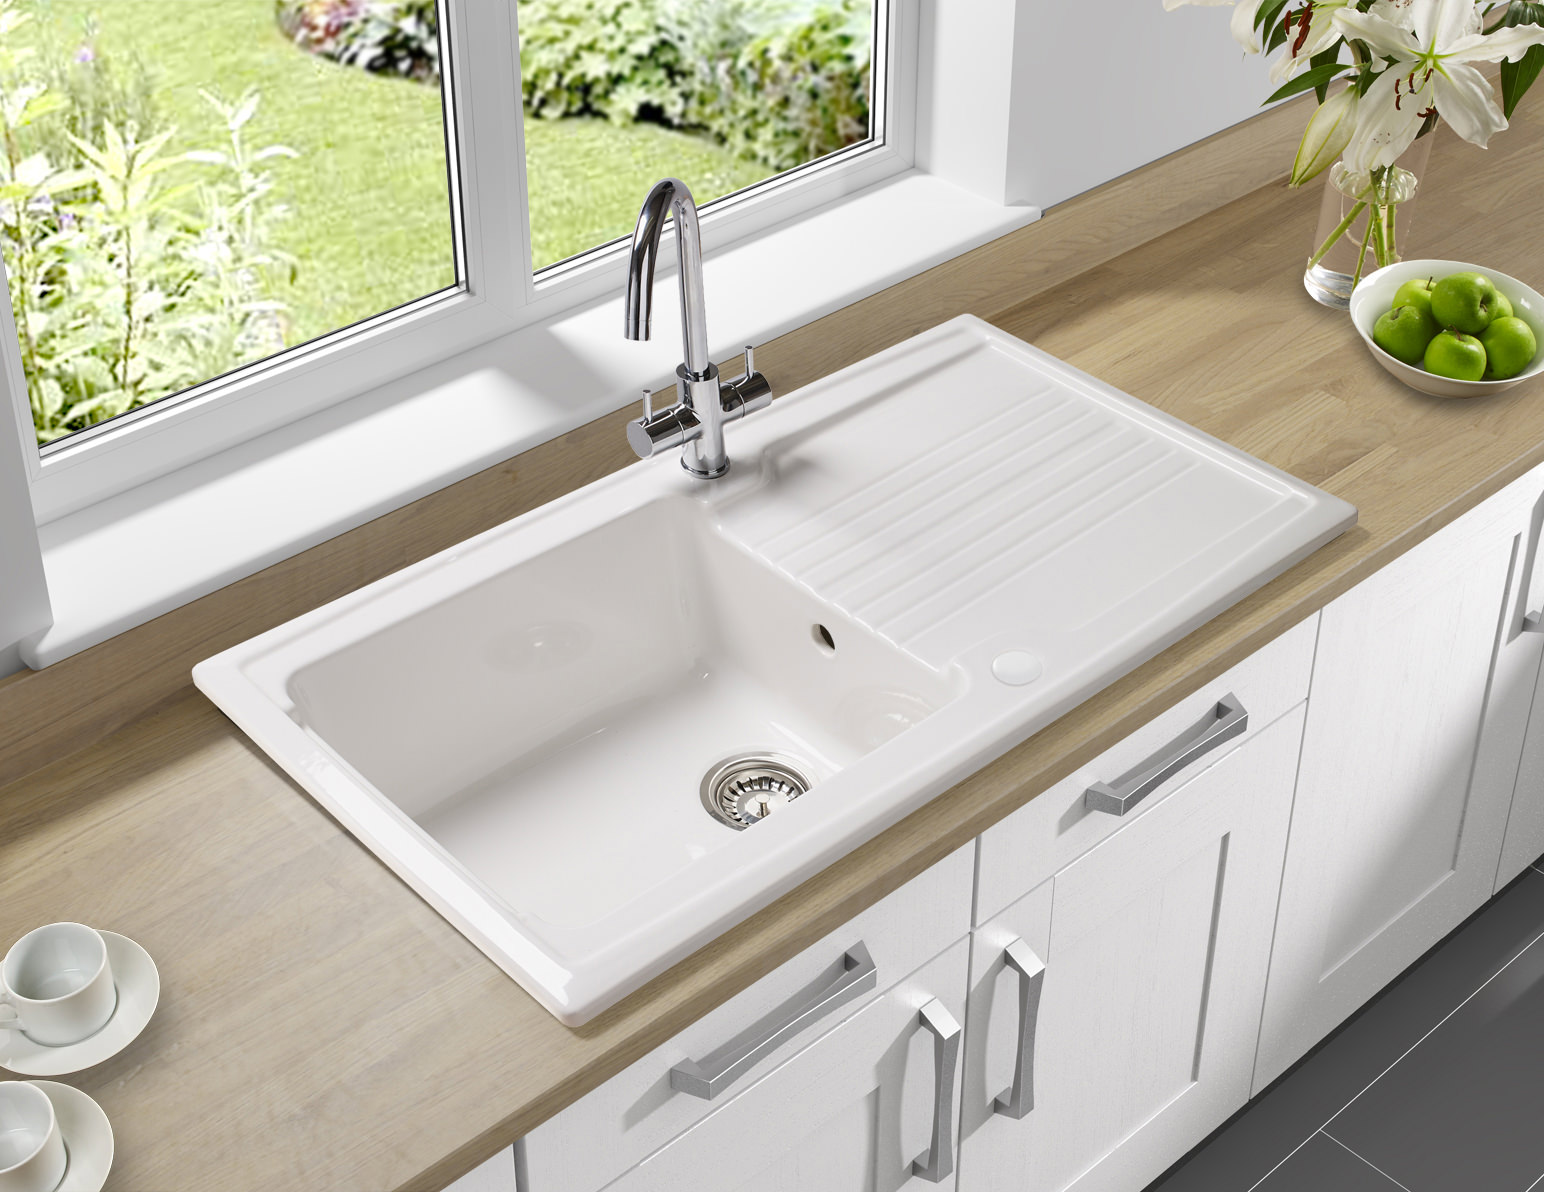
When it comes to choosing a kitchen sink, porcelain is a popular and timeless choice. Porcelain sinks are known for their durability, as they are resistant to scratches, stains, and heat. They also come in a variety of colors and styles, making it easy to find one that fits your kitchen's aesthetic.
Porcelain sinks are also easy to clean and maintain, making them a low-maintenance option. They are also budget-friendly, making them a great choice for those on a tight budget. With all these benefits, it's no wonder why porcelain kitchen sinks remain a top choice for homeowners.
7. How to Remove Stains from a Porcelain Sink
Despite their durability, porcelain sinks can still get stained over time. To remove stains from a porcelain sink, start by mixing equal parts of baking soda and water to form a paste. Apply the paste onto the stained areas and let it sit for a few minutes.
Next, scrub the stains with a soft-bristled brush or sponge. For tougher stains, you can add a few drops of lemon juice or white vinegar to the paste. Rinse the sink thoroughly and dry it with a clean cloth. With this DIY stain-removing method, your porcelain sink will look as good as new.
8. DIY Kitchen Sink Drain Repair
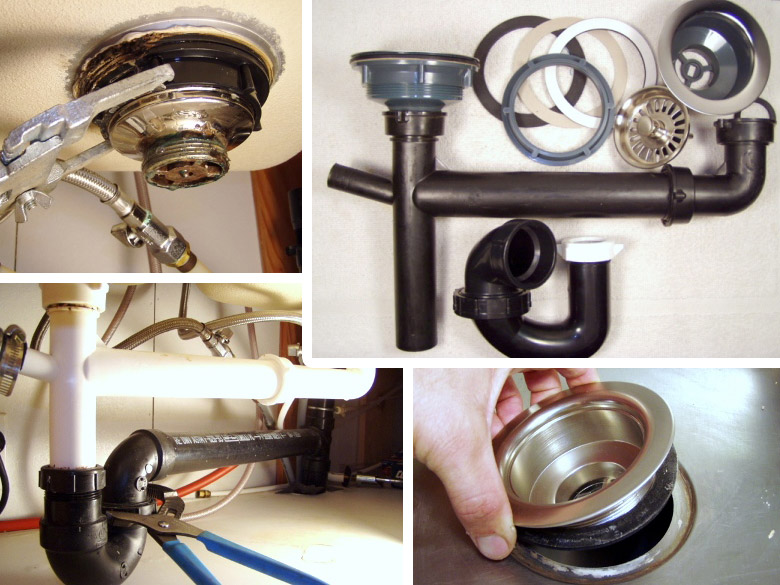
If you notice that your kitchen sink is draining slowly or there is a foul odor coming from the drain, it may be time to repair the drain. To DIY a kitchen sink drain repair, start by removing the drain cover and cleaning out any debris that may be causing the blockage.
If the issue persists, you may need to remove the drain pipe and clean it with a drain snake or plunger. If the problem is with the drain stopper, you can easily unscrew it and clean it before reattaching it. By following these simple steps, you can fix a clogged or slow-draining kitchen sink without having to call a plumber.
9. Choosing the Right Porcelain Kitchen Sink for Your Home
When shopping for a porcelain kitchen sink, there are a few things to consider to ensure you choose the right one for your home. First, measure the opening for the sink to make sure you purchase one that fits properly.
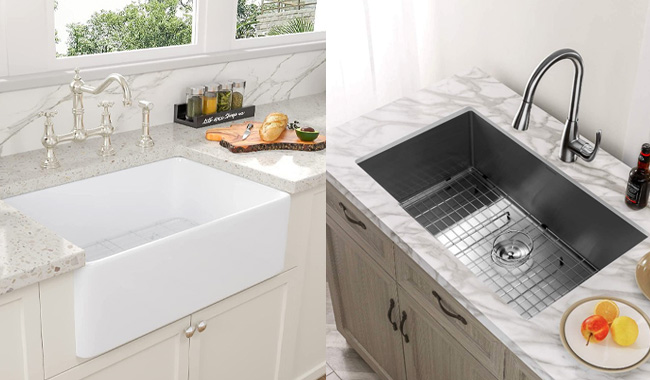
Next, consider the style and color that will best complement your kitchen. Porcelain sinks come in a variety of styles, including undermount, top-mount, and farmhouse sinks. Lastly, consider your budget and look for options that offer the best value for your money. With these factors in mind, you can find the perfect porcelain kitchen sink for your home.
10. How to Install a New Faucet on a Porcelain Sink
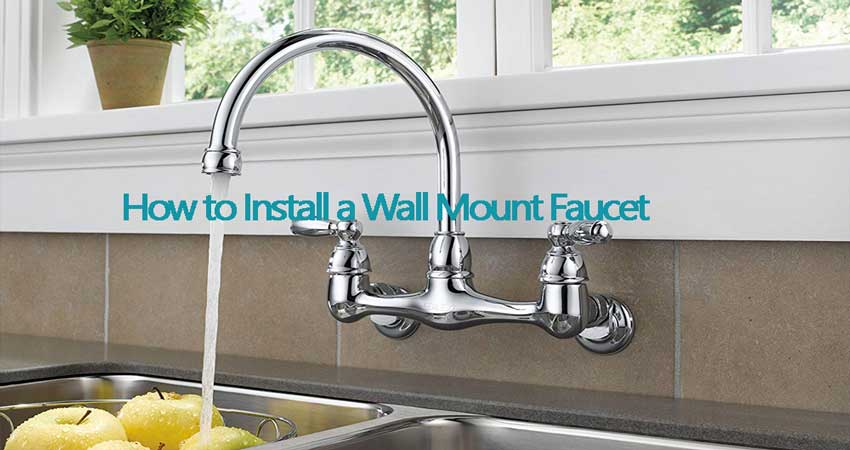
If you're looking to update your kitchen sink, replacing the faucet can make a big difference. To install a new faucet on a porcelain sink, start by turning off the water supply and disconnecting the old faucet. Next, clean the area and measure the distance between the holes on the sink for the new faucet.
Install the new faucet according to the manufacturer's instructions, and be sure to use a silicone caulk to seal the base of the faucet to the sink. Once the faucet is securely in place, reconnect the water supply and test the new faucet. With this DIY project, you can easily give your porcelain sink a fresh and modern look.
Choosing the Right Material for Your Kitchen Sink

The Importance of Material in Kitchen Design
 When it comes to designing your dream kitchen, every detail matters. From the cabinets to the countertops, every element contributes to the overall aesthetic and functionality of the space. One often overlooked but essential aspect of kitchen design is the sink. Not only is it a necessary component, but it also plays a significant role in the overall look and feel of your kitchen. When choosing a kitchen sink, the material is crucial.
Porcelain
is a popular option for many homeowners, and for good reason.
The Benefits of a Porcelain Kitchen Sink
 DIY porcelain kitchen sinks
have become increasingly popular due to their durability, versatility, and timeless appeal. Porcelain is a type of ceramic material that is fired at high temperatures, resulting in a strong and non-porous surface. This makes it resistant to scratches, stains, and heat, making it an ideal choice for a high-traffic area like the kitchen.
Porcelain sinks
are also available in a variety of colors, making it easy to find one that complements your kitchen design.
How to Care for a Porcelain Sink
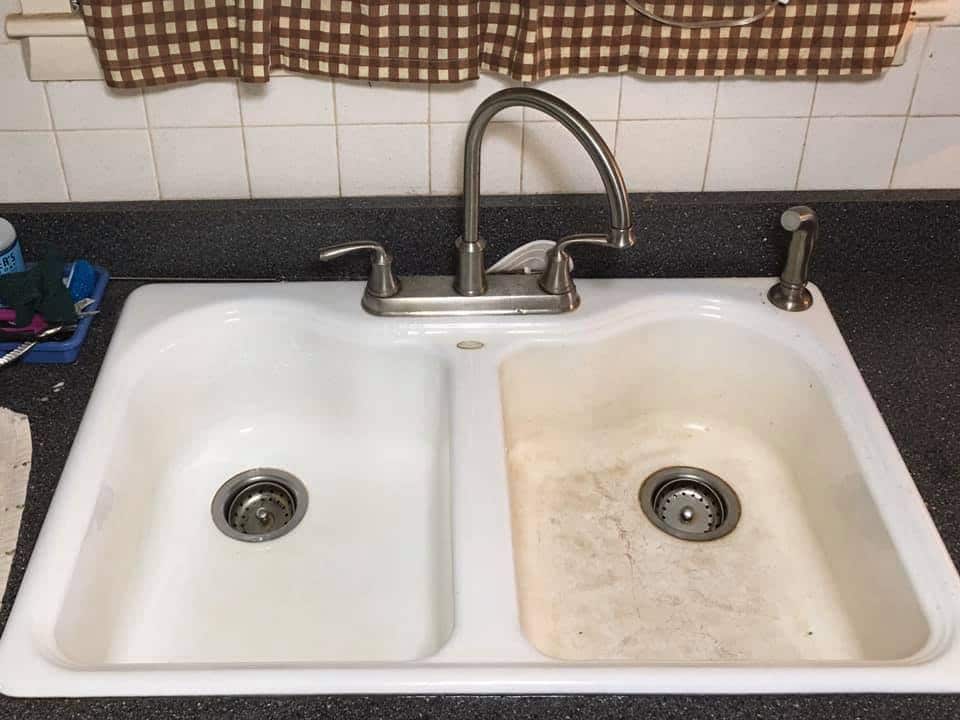 While porcelain sinks are known for their durability, proper care is still necessary to maintain their beauty and functionality.
Regular cleaning
with a mild soap and water is usually enough to keep your porcelain sink looking pristine. Avoid using harsh chemicals or abrasive cleaners, as they can damage the surface. It is also essential to avoid leaving heavy or sharp objects in the sink, as they can cause cracks or chips. With proper care, a porcelain kitchen sink can last for many years, making it a wise investment for any homeowner.
Conclusion
 When it comes to choosing the right material for your kitchen sink, porcelain is an excellent choice for its durability, versatility, and timeless appeal. With proper care, it can be a beautiful and functional addition to your kitchen for many years to come. So if you're looking to upgrade your kitchen sink, consider a
DIY porcelain kitchen sink
for a touch of elegance and practicality.




























:max_bytes(150000):strip_icc()/how-to-clean-a-copper-sink-4767276-05-a54b0d47425048cb89ccb81cc5bc868d.jpg)

