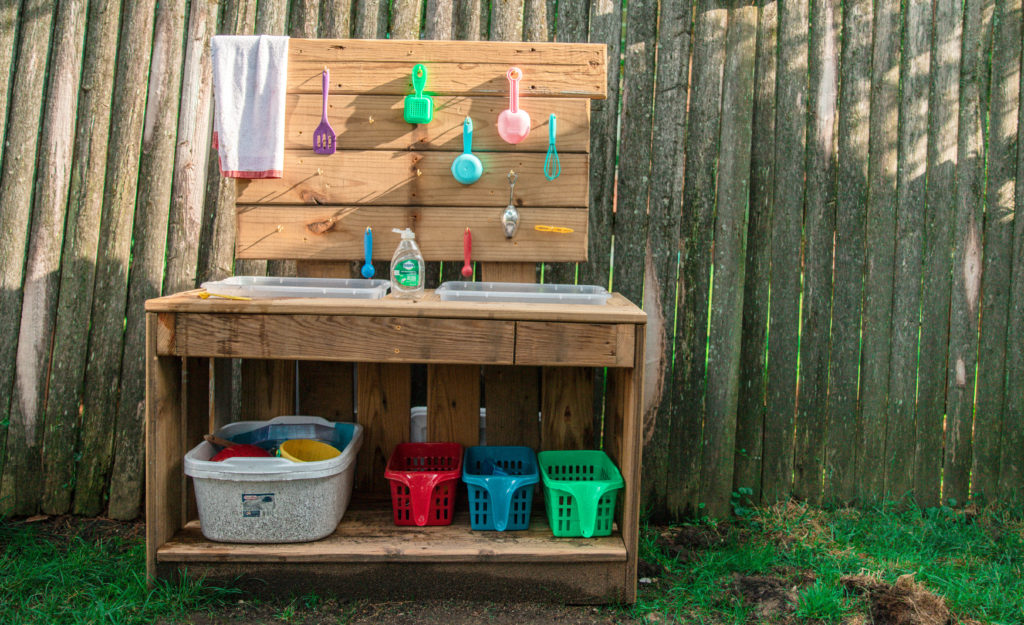
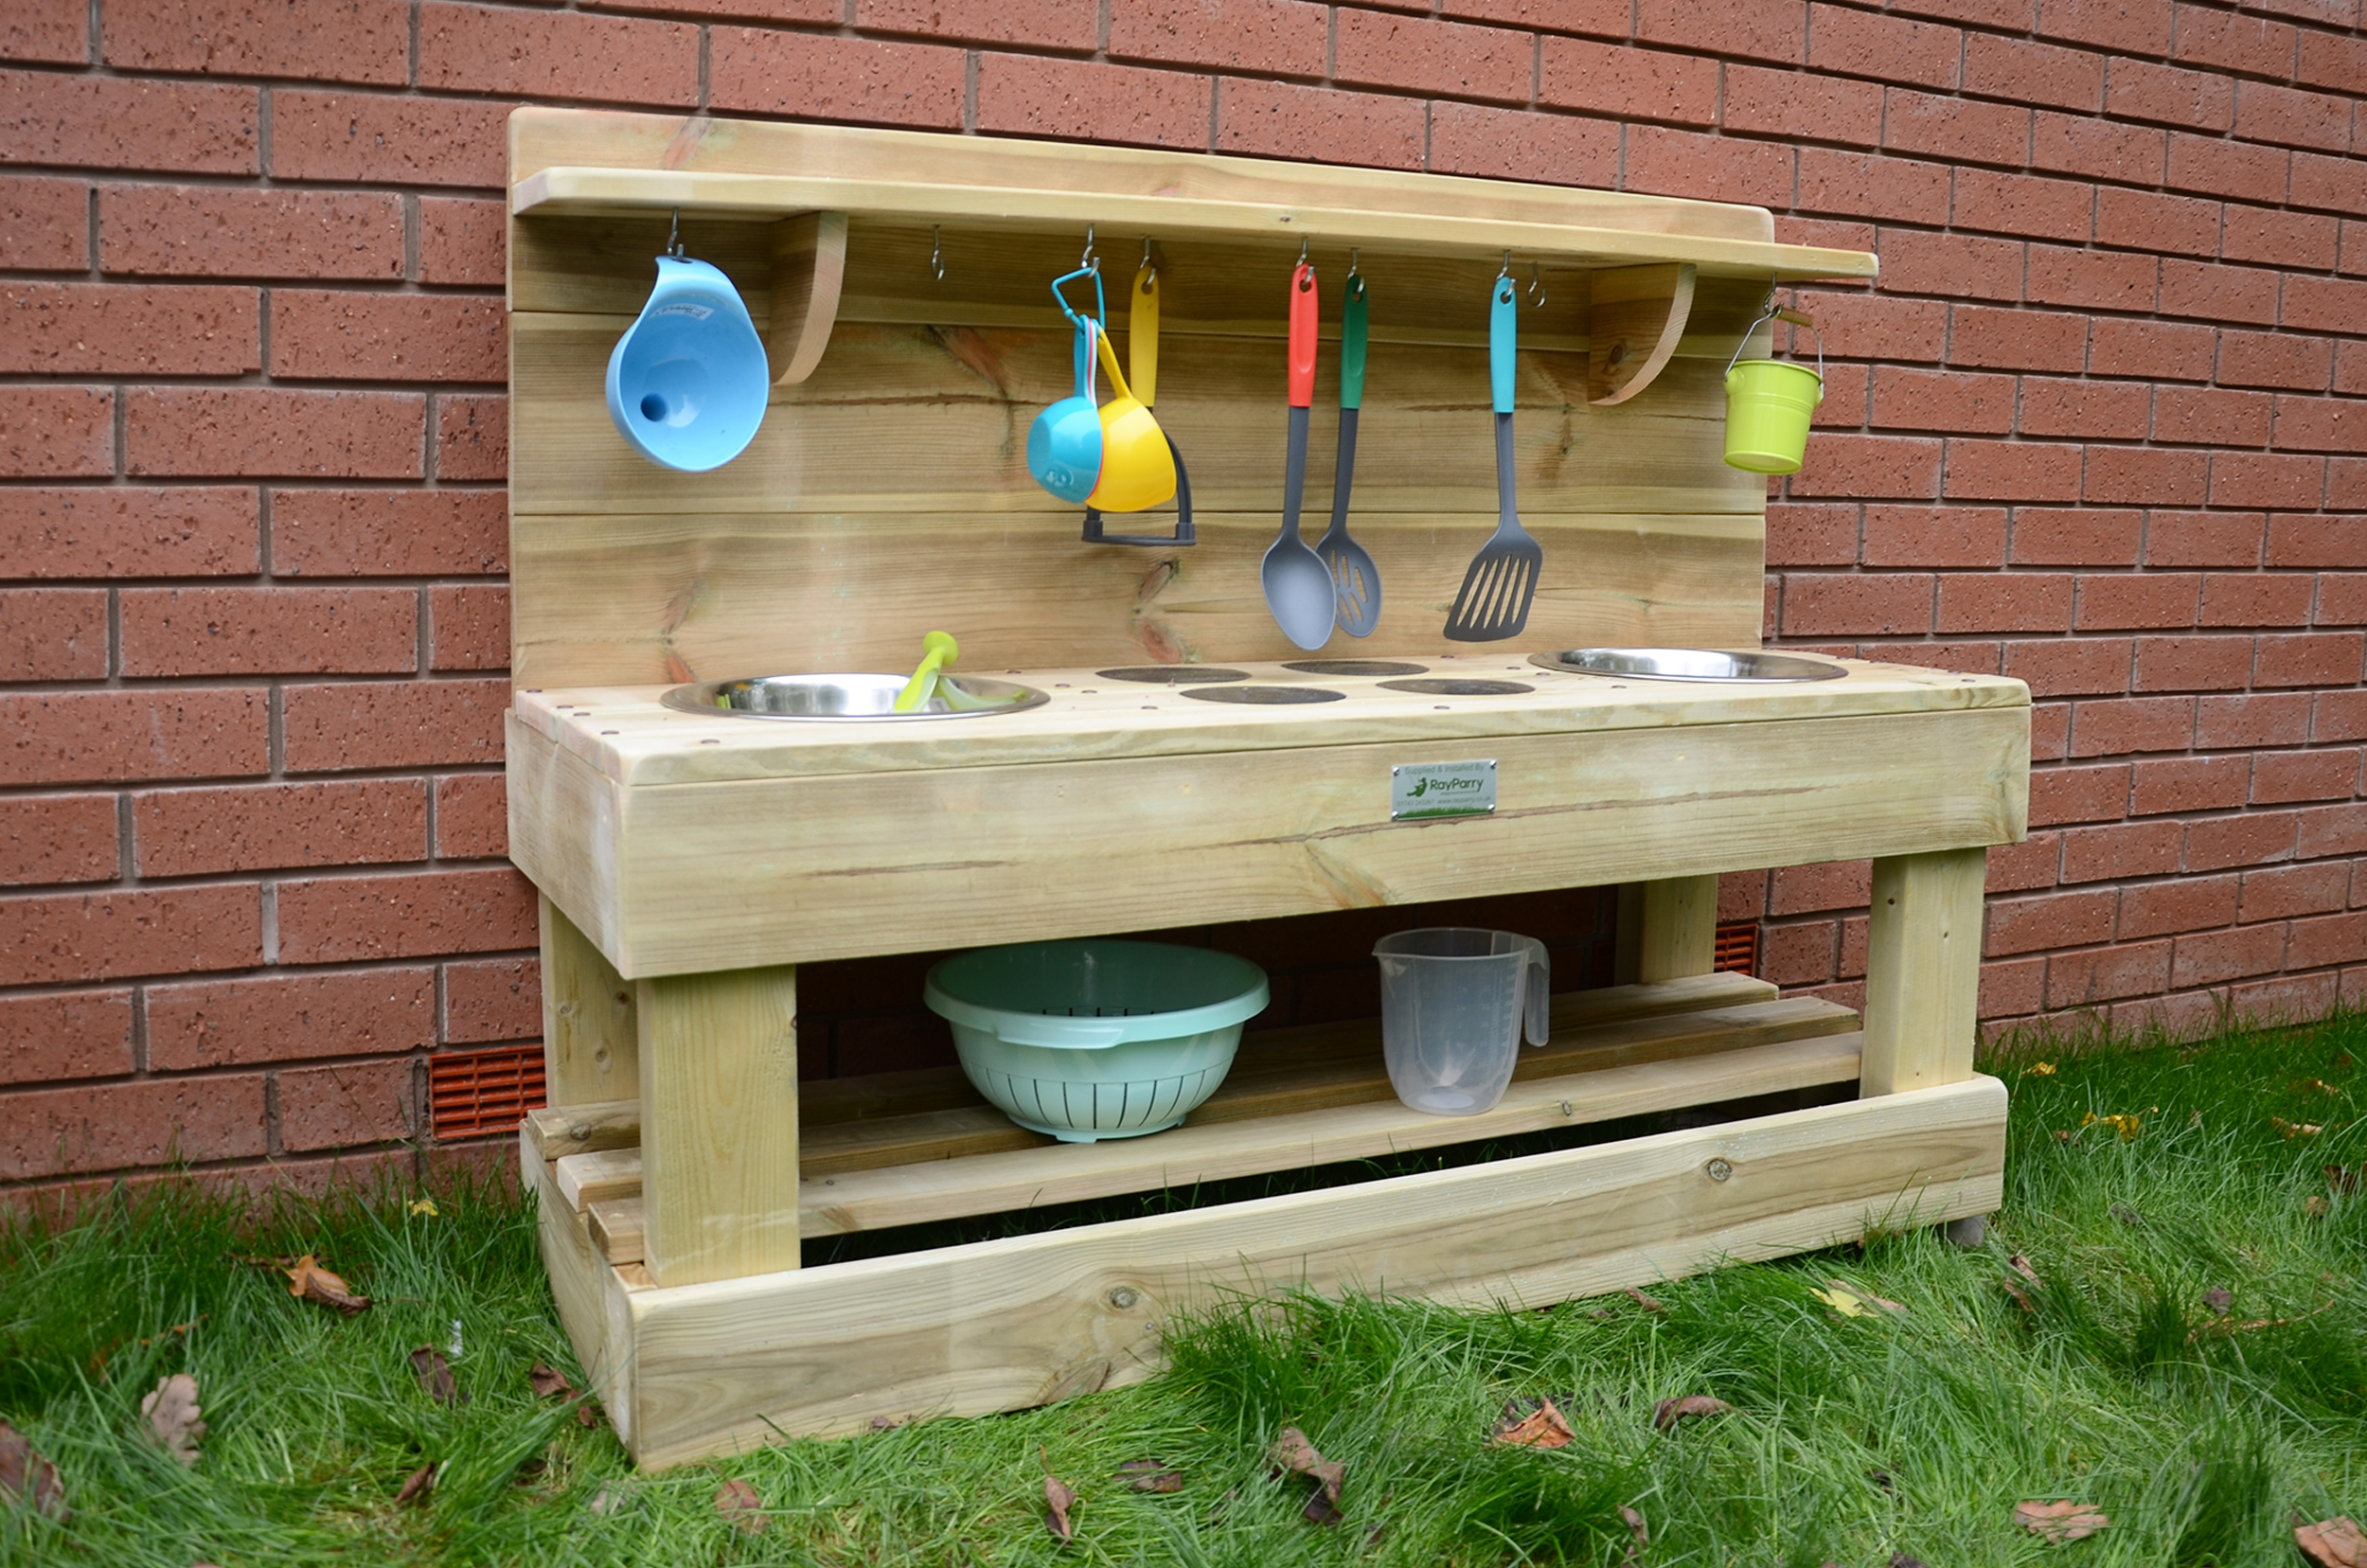
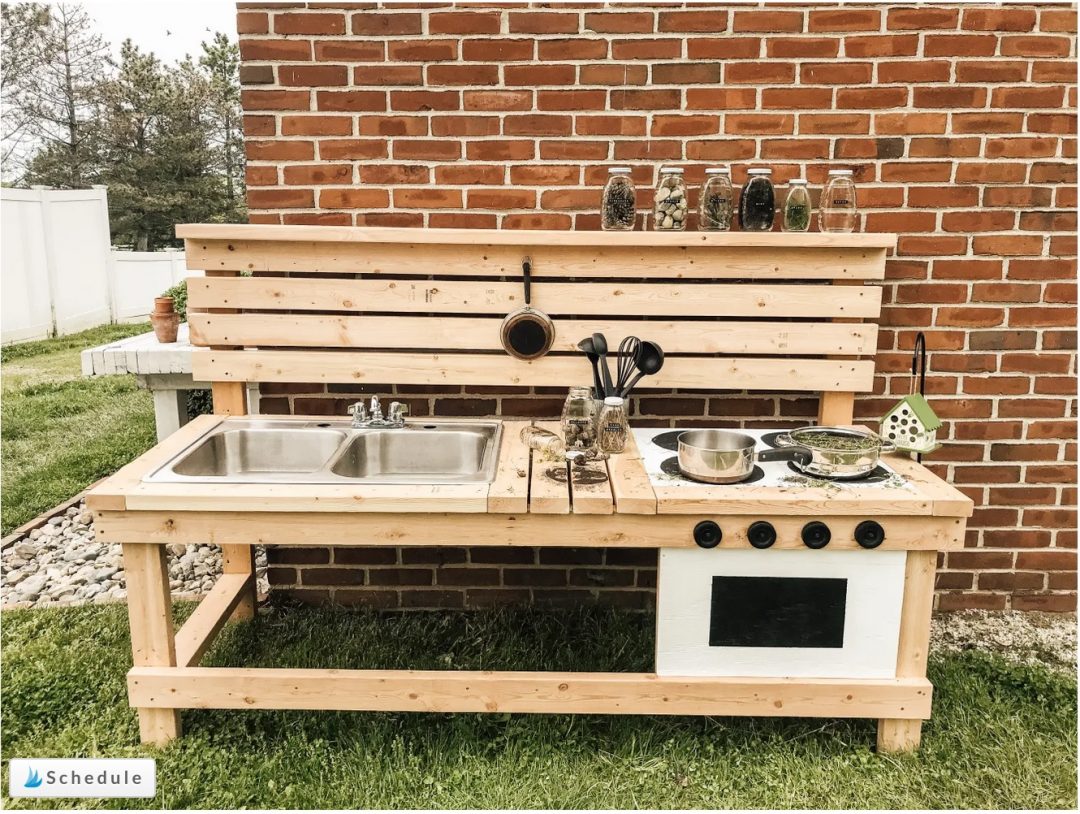
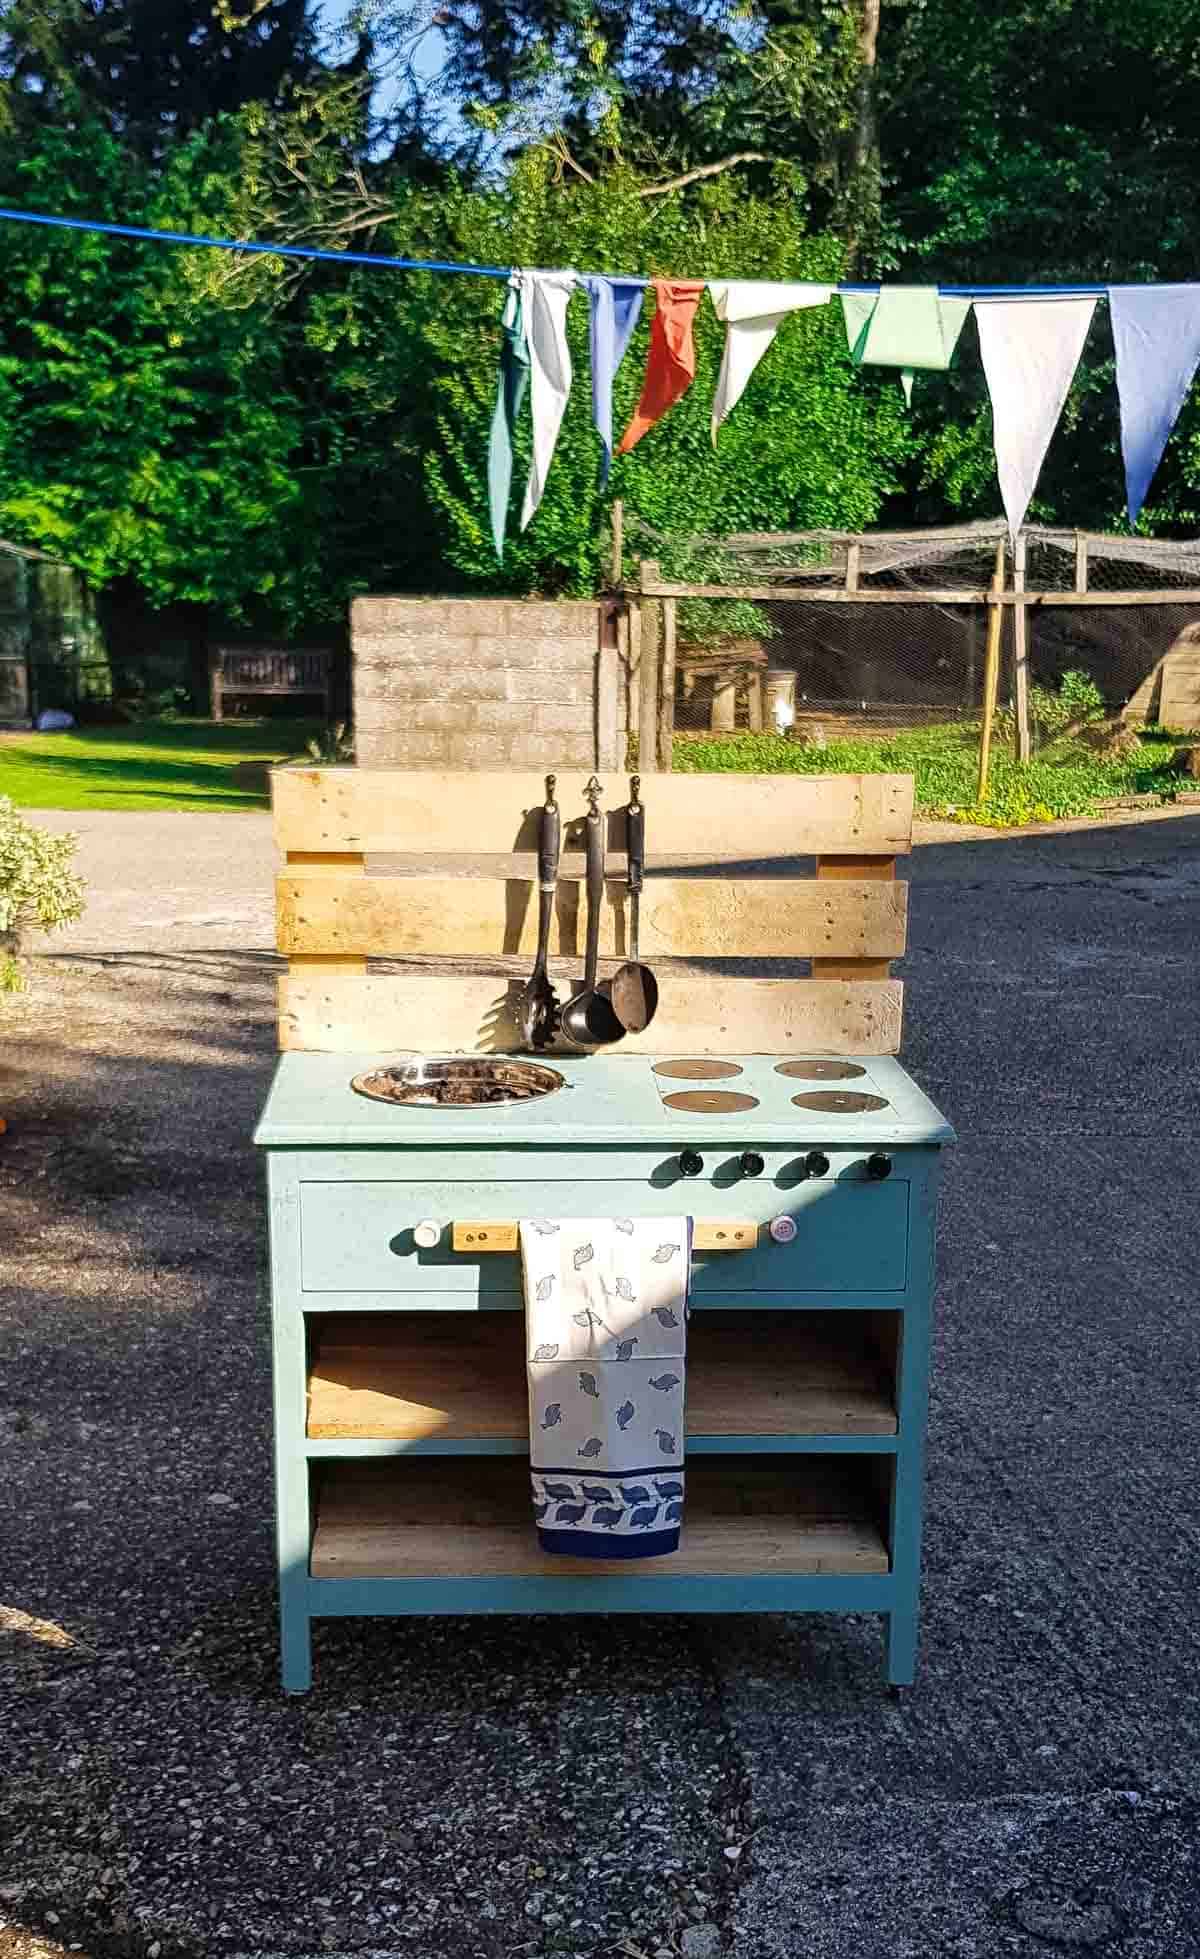
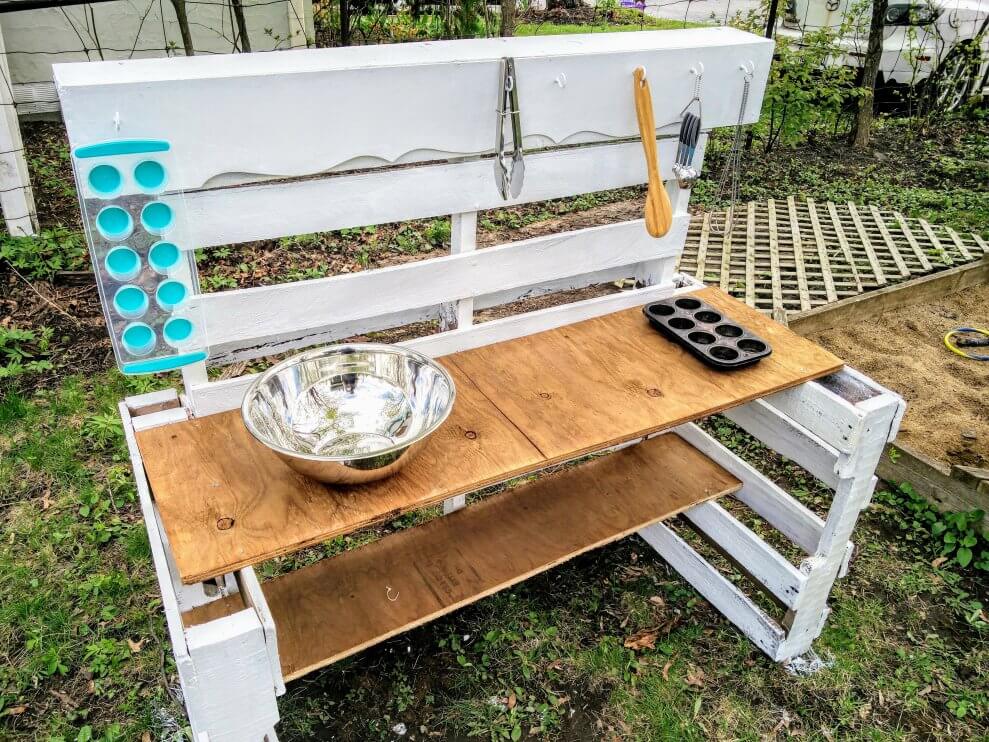
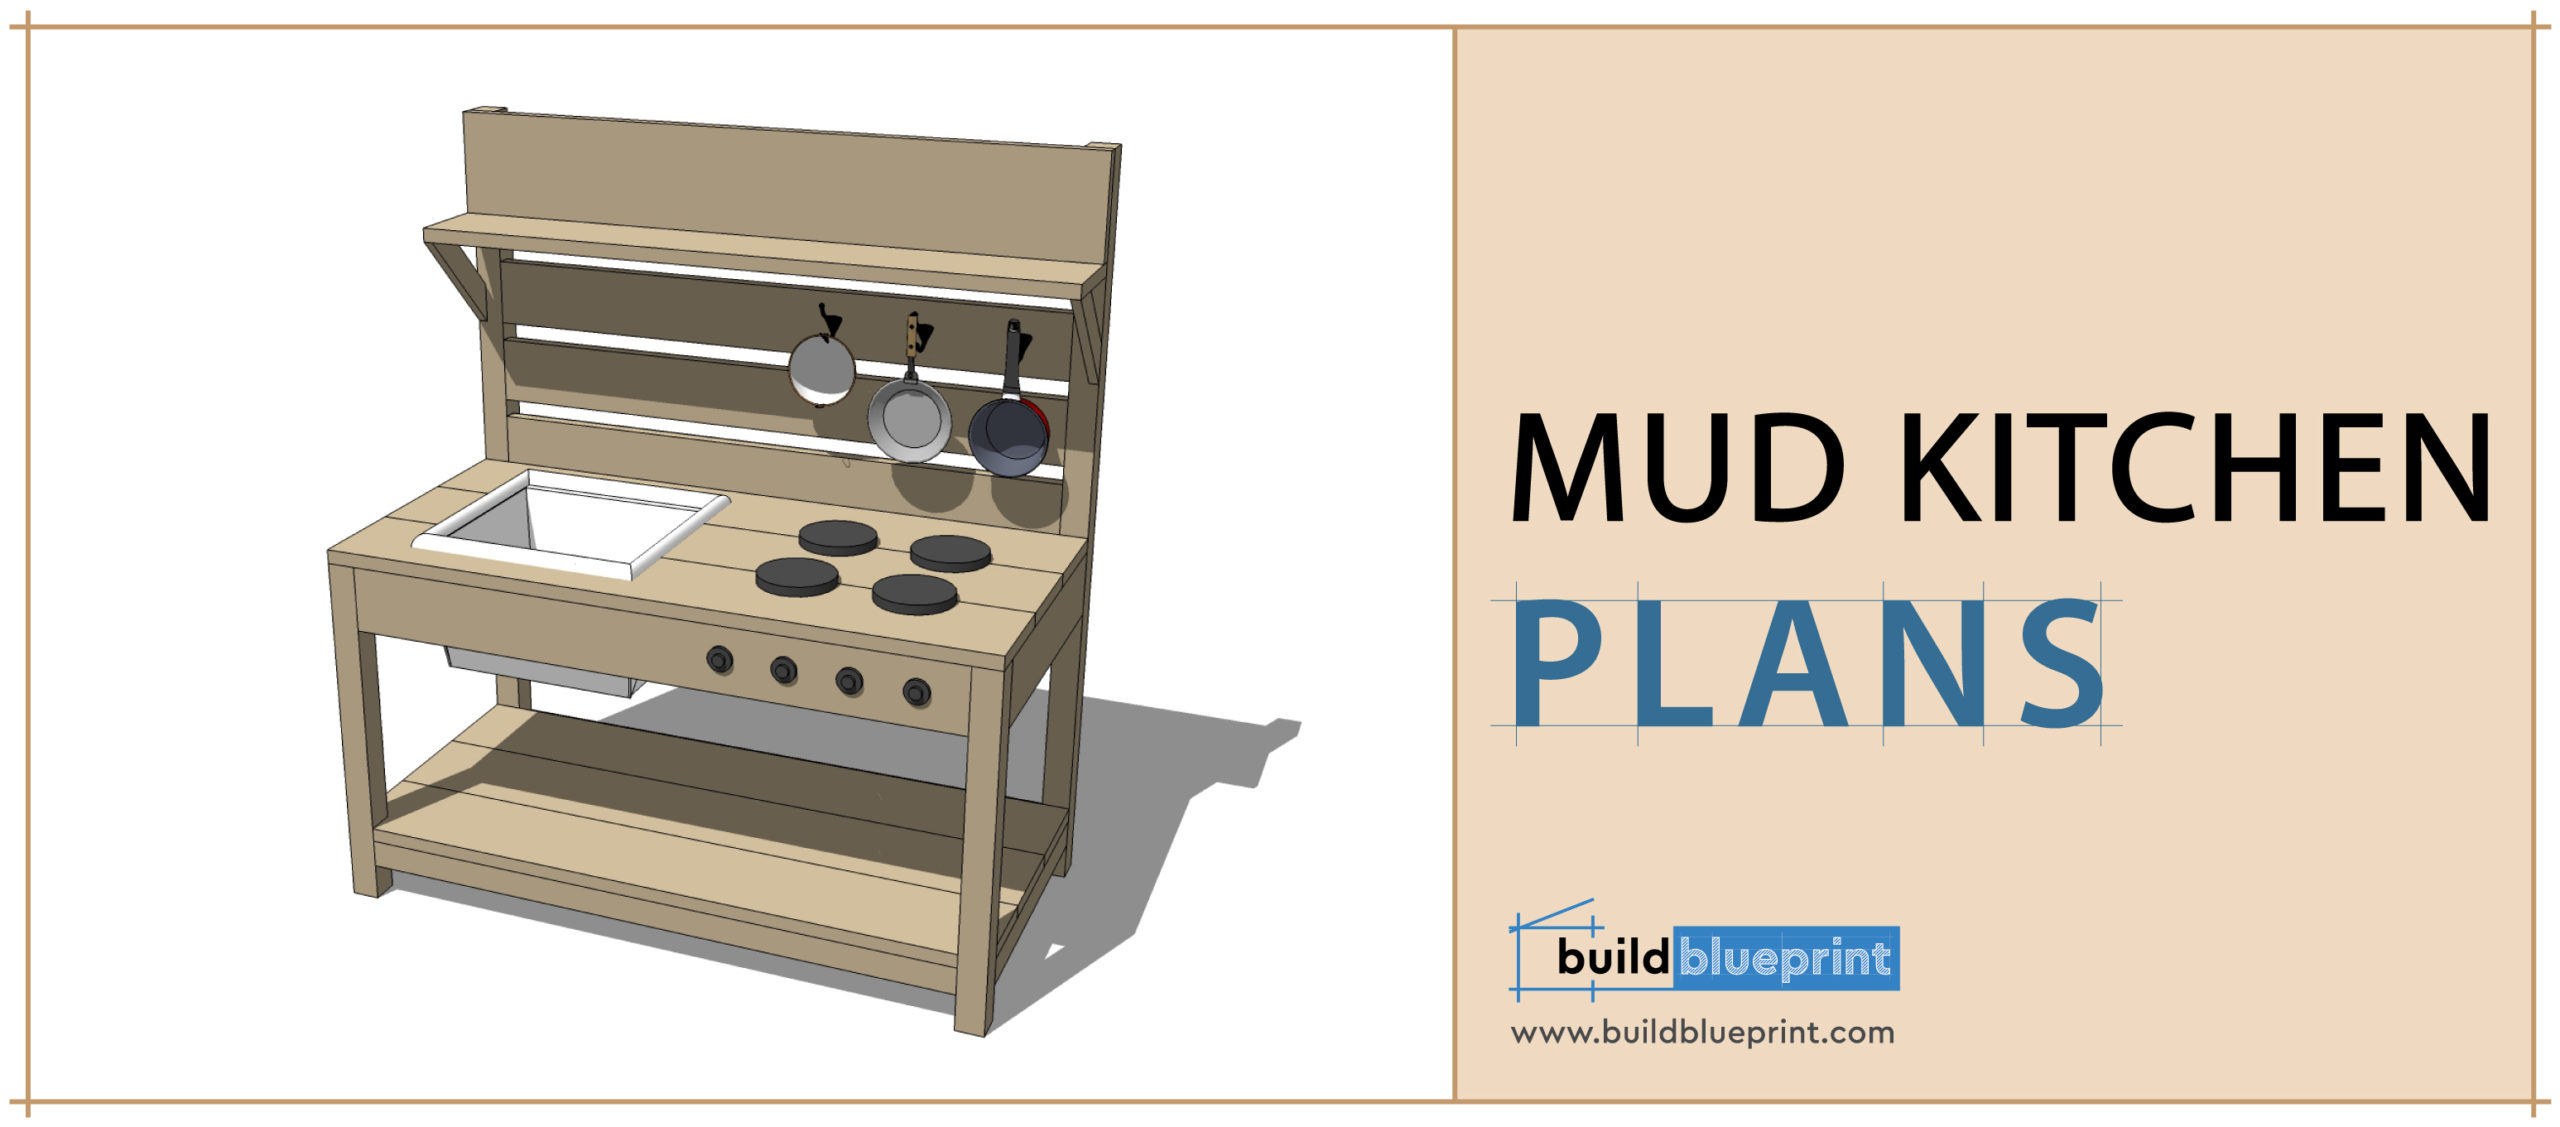
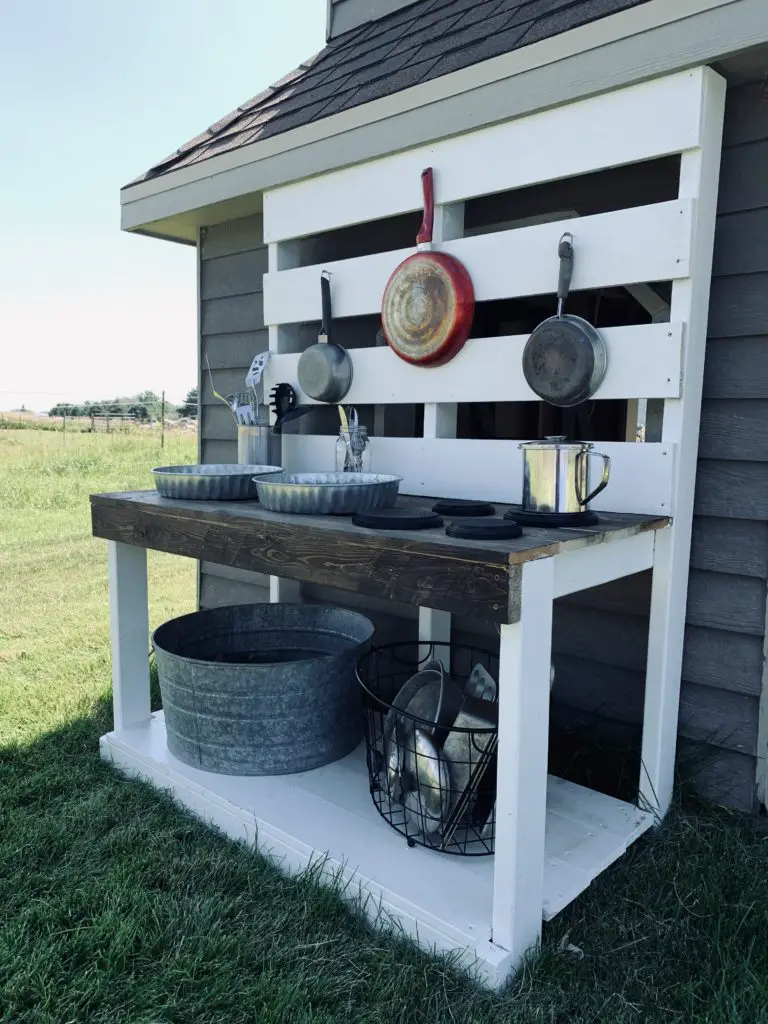
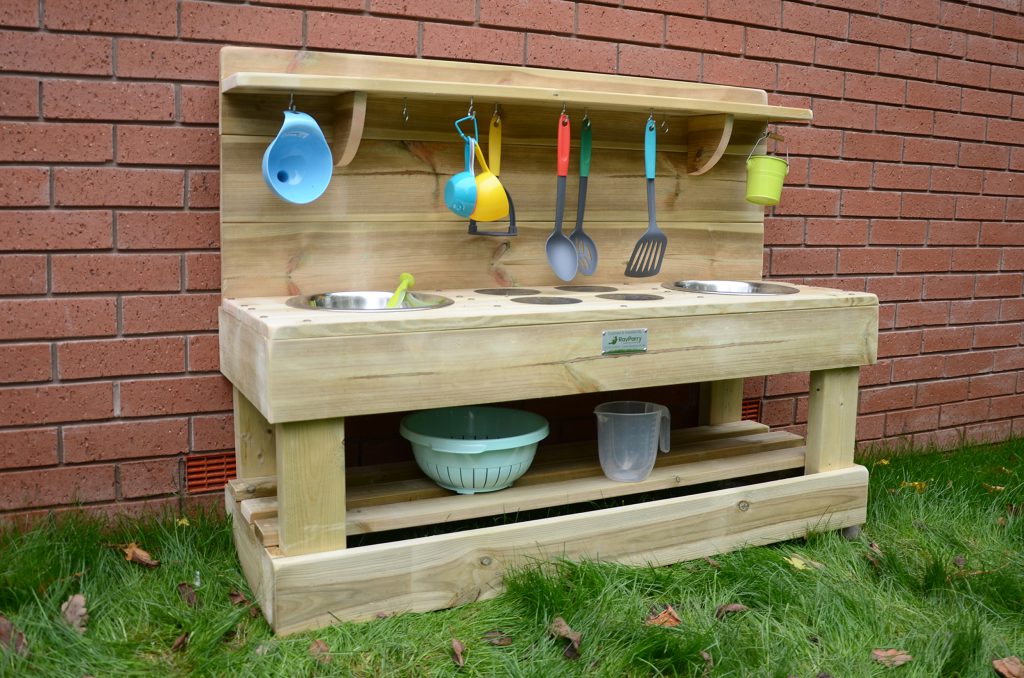
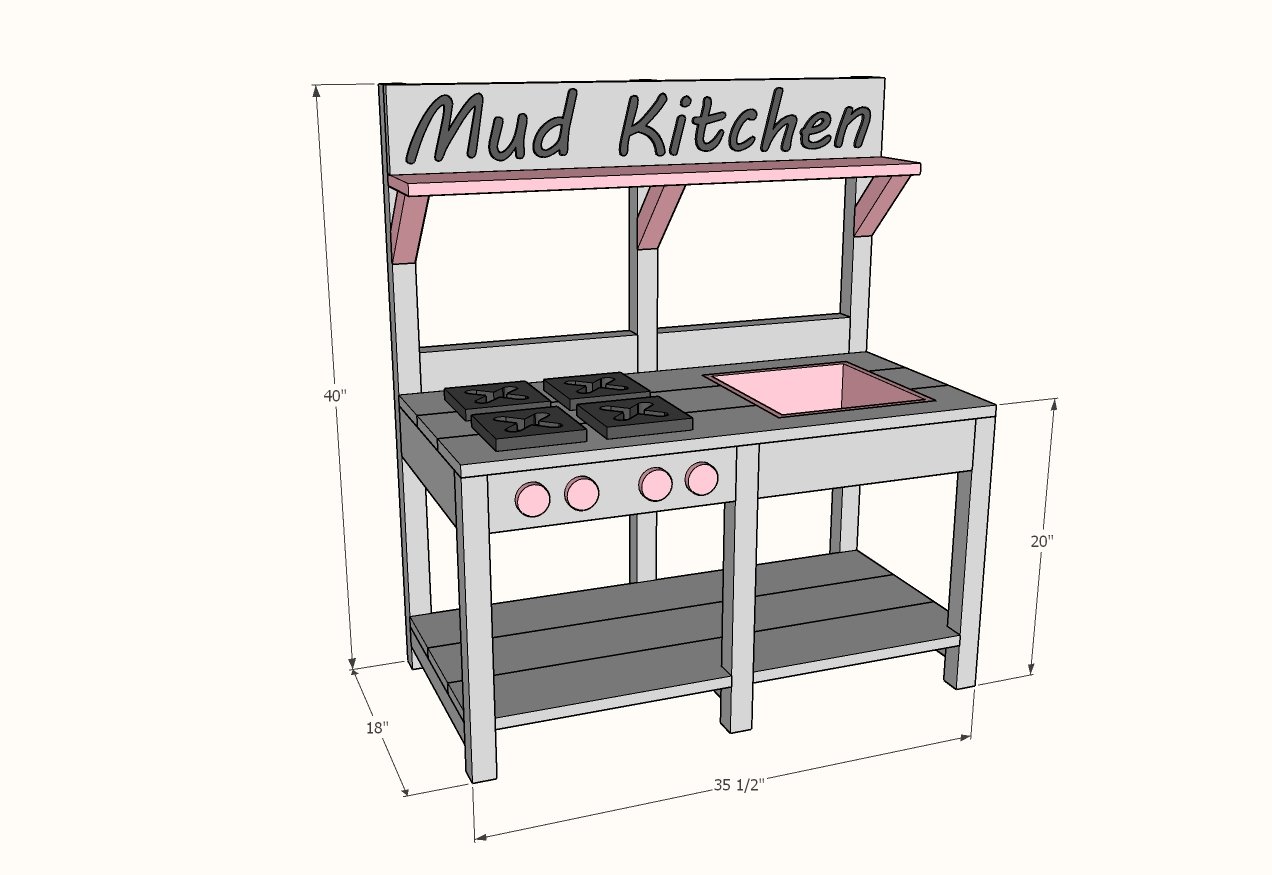
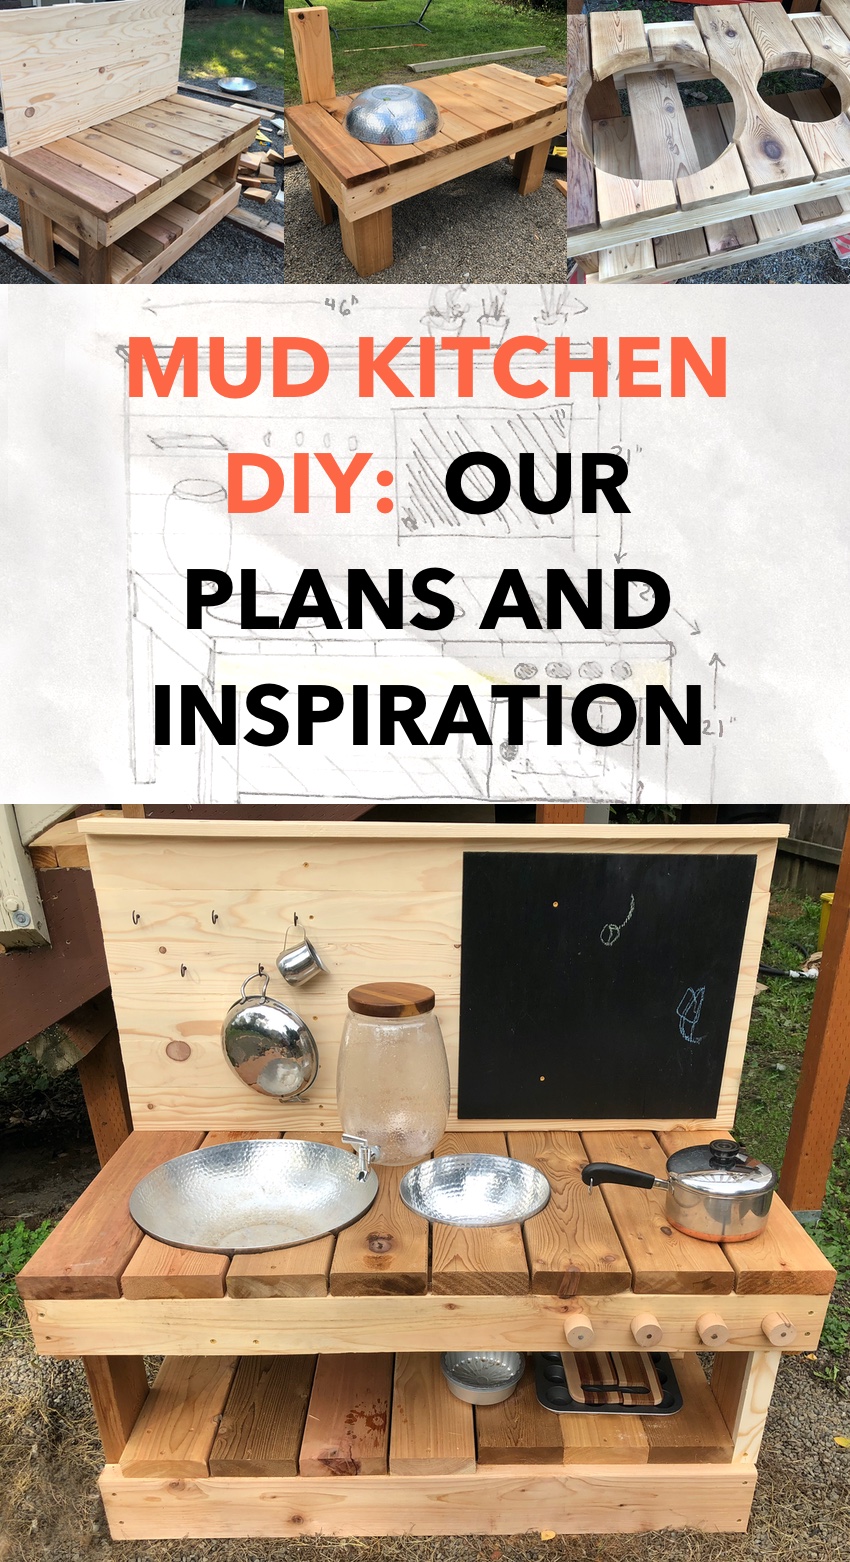
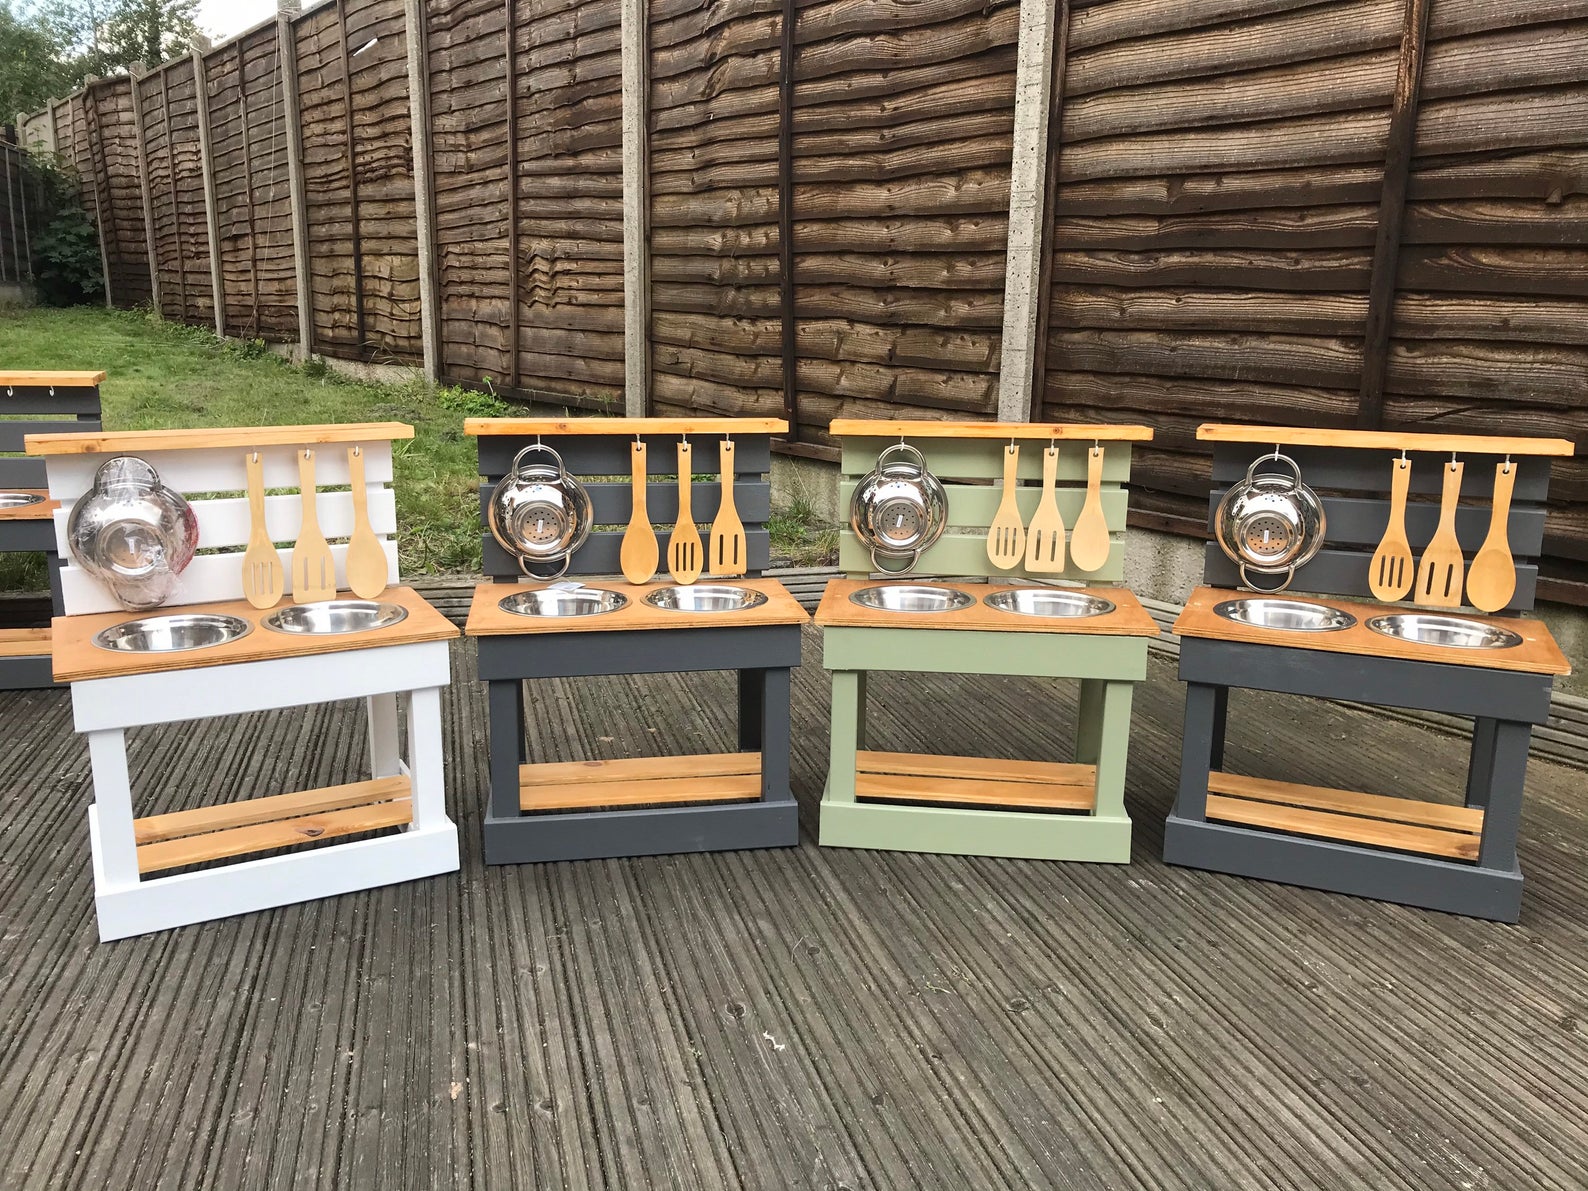
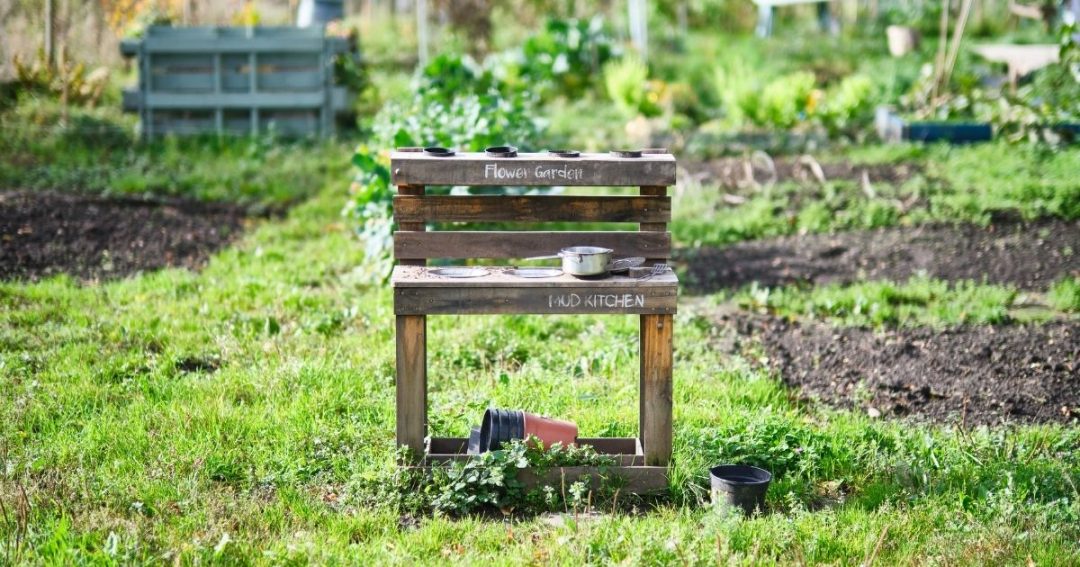
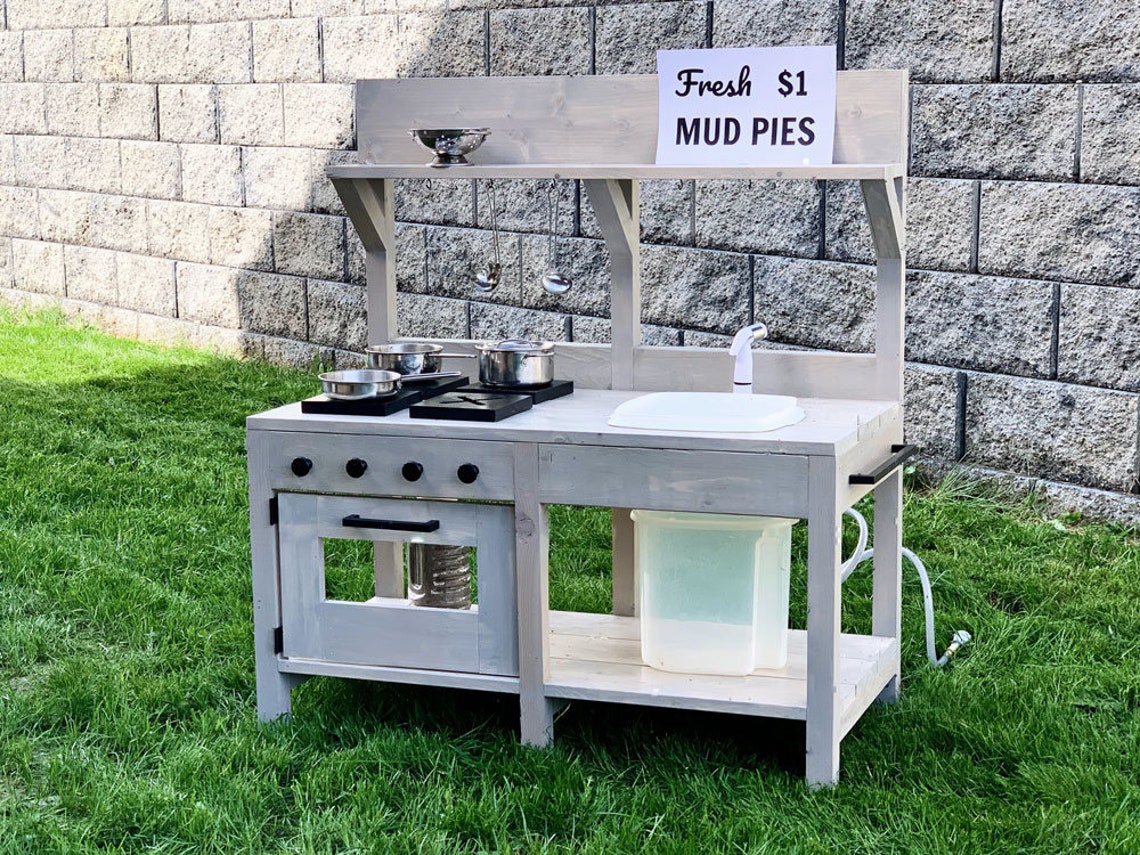
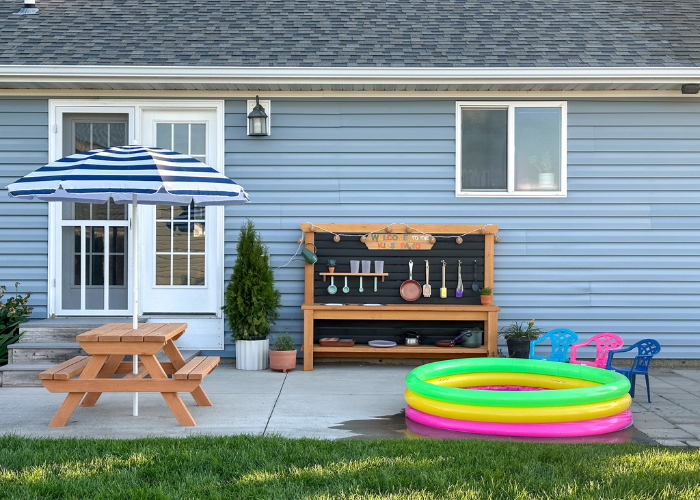
Looking for a fun and messy outdoor activity for your kids? Why not build a DIY mud kitchen! Not only is it a great way to keep your little ones entertained, but it also promotes imaginative play and sensory experiences. To get started, you'll need to gather some materials. These can include old pots and pans, utensils, containers, and a sturdy table or outdoor surface. You can also add in natural elements like rocks, sticks, and leaves for added creativity. Once you have your materials, it's time to start building. Use the table or outdoor surface as the base of your mud kitchen and arrange the pots and pans on top. You can also add shelves or hooks to hang utensils for a more organized setup. Next, it's time to make the mud! You can use dirt, sand, and water to create different textures and consistencies. Encourage your kids to use their hands and imagination to mix and play with the mud. Finally, let the fun begin! Your kids can use the mud kitchen to cook up mud pies, soups, and other imaginative dishes. And don't worry about the mess, it's all part of the fun!1. How to Build a DIY Mud Kitchen for Kids
Looking for some inspiration for your DIY mud kitchen? Here are 10 ideas to get you started: 1. Natural Elements: Use natural elements like rocks, sticks, and leaves to add a touch of nature to your mud kitchen. 2. Recycled Materials: Get creative with recycled materials like old tires, crates, and pallets to build your mud kitchen. 3. Colorful and Bright: Paint your mud kitchen in bright and vibrant colors to make it a fun and inviting space for play. 4. Miniature Garden: Add a mini garden to your mud kitchen with small plants and flowers for a touch of whimsy. 5. Mud Kitchen Barbecue: Turn your mud kitchen into a barbecue area with a grill and "food" made from mud. 6. Beach-Themed: Use sand and seashells to create a beach-themed mud kitchen for some seaside fun. 7. Fairy Garden: Create a magical fairy garden with fairy figurines and miniature furniture in your mud kitchen. 8. Mud Kitchen Bakery: Let your kids play bakery with mud cakes, cookies, and other delights in their mud kitchen. 9. Water Play: Add in water elements like a sink or water table to your mud kitchen for even more sensory experiences. 10. Rustic Charm: Use old, weathered materials to create a rustic and charming mud kitchen for outdoor play.2. 10 DIY Mud Kitchen Ideas for Outdoor Play
Ready to start building your own mud kitchen? Follow these simple steps to create your very own outdoor play space: Step 1: Gather Materials: Collect all the necessary materials, including a table or outdoor surface, pots and pans, utensils, and natural elements for decoration. Step 2: Arrange Materials: Set up the table or surface as the base of your mud kitchen and arrange the pots and pans on top. You can also add shelves or hooks for utensil storage. Step 3: Make the Mud: Use a combination of dirt, sand, and water to create different textures and consistencies of mud for play. Step 4: Let the Fun Begin: Encourage your kids to use their hands and imagination to play and create with the mud in their new mud kitchen. Step 5: Clean Up: After playtime, make sure to clean up and put away any materials to keep your mud kitchen tidy and ready for the next play session.3. Mud Kitchen DIY: A Step-by-Step Guide
If you're looking to take your mud kitchen to the next level, here are some tips and tricks for building the ultimate mud kitchen: 1. Add Levels: Use crates or shelves to create different levels and surfaces for your mud kitchen, providing more play options for your kids. 2. Incorporate Water Features: Consider adding a water table or sink for even more sensory experiences and messy play. 3. Include Storage: Use containers or shelves to store materials and keep the mud kitchen organized and clutter-free. 4. Use Natural Elements: Incorporate natural elements like rocks, sticks, and leaves for added creativity and a touch of nature. 5. Make it Portable: If you don't have a designated outdoor play area, you can make your mud kitchen portable by using a trolley or cart. 6. Let Your Kids Help: Get your kids involved in the building process by having them help with tasks like painting or arranging materials. 7. Change it Up: Switch out materials and elements in your mud kitchen to keep playtime fresh and exciting for your kids. 8. Embrace the Mess: Don't worry about the mess, embrace it! The messier the play, the more fun and beneficial it can be for your child's development.4. The Ultimate Guide to Building a Mud Kitchen
One of the best things about a DIY mud kitchen is the opportunity for fun and messy outdoor play. Playing with mud allows kids to engage their senses, develop fine motor skills, and use their imagination. The mess is also a crucial part of the experience. Children can learn about cause and effect, problem-solving, and risk-taking through their play with mud. Plus, the mess is temporary and can easily be cleaned up afterward. So don't be afraid to let your kids get a little dirty and have some fun in their mud kitchen!5. DIY Mud Kitchen: Fun and Messy Outdoor Play
Building a mud kitchen can be a fun and rewarding experience, but it can also come with its challenges. Here are some tips and tricks for success when creating your own mud kitchen: 1. Use Sturdy Materials: Make sure to use sturdy and durable materials that can withstand outdoor play and weather. 2. Involve Your Kids: As mentioned before, involve your kids in the building process to make it a fun and educational experience for them. 3. Consider Safety: While playing with mud can be messy and fun, make sure to consider safety precautions like wearing closed-toe shoes and having a designated handwashing area. 4. Let Your Kids Lead: Allow your kids to take the lead in their play and follow their imagination and interests. 5. Keep it Simple: Don't feel pressured to create a fancy or elaborate mud kitchen. Sometimes, the simplest setups can provide the most fun and imaginative play.6. Mud Kitchen DIY: Tips and Tricks for Success
Looking for even more inspiration? Here are 15 creative DIY mud kitchen designs to spark your creativity: 1. Chalkboard Mud Kitchen: Paint your mud kitchen with chalkboard paint for even more creative play options. 2. Mud Kitchen with Sink: Add a real sink to your mud kitchen for a more realistic and immersive play experience. 3. Farmhouse Mud Kitchen: Use old wooden crates and a farmhouse sink to create a charming and rustic mud kitchen. 4. Mud Kitchen with Mud Pit: Create a separate mud pit for your kids to play in, keeping the main mud kitchen area more organized. 5. Mud Kitchen on Wheels: Build a mud kitchen on a trolley or cart for easy portability and storage. 6. Mud Kitchen with Stove: Use old stove elements to create a mini stove for your mud kitchen. 7. Mud Kitchen with Shelving Unit: Use a shelving unit as the base of your mud kitchen, providing plenty of storage space for materials. 8. Pirate-Themed Mud Kitchen: Use a wooden barrel and pirate-themed materials to create a fun and adventurous mud kitchen. 9. Mud Kitchen with Herb Garden: Incorporate a small herb garden into your mud kitchen for a touch of nature and additional sensory experiences. 10. Mud Kitchen with Outdoor Sink: If you have an outdoor sink, use it as part of your mud kitchen for even more water play options. 11. Mud Kitchen with Roof: Build a small roof over your mud kitchen to provide shade and protection from the elements. 12. Pallet Mud Kitchen: Use old pallets to build a budget-friendly mud kitchen with a rustic charm. 13. Fairy Tale Mud Kitchen: Create a magical fairy tale-themed mud kitchen with whimsical decorations and elements. 14. Mud Kitchen with Mud Oven: Use a pizza box and foil to create a mini mud oven for your kids to cook up some "mud pizzas". 15. Mud Kitchen with Mud Wall: Add a mud wall to your mud kitchen for even more creative and messy play opportunities.7. 15 Creative DIY Mud Kitchen Designs
Ready to get started on your own DIY mud kitchen? Follow this step-by-step tutorial to create your very own outdoor play space: Step 1: Gather Materials: Collect all the necessary materials, including a table or outdoor surface, pots and pans, utensils, and natural elements for decoration. Step 2: Arrange Materials: Set up the table or surface as the base of your mud kitchen and arrange the pots and pans on top. You can also add shelves or hooks for utensil storage. Step 3: Make the Mud: Use a combination of dirt, sand, and water to create different textures and consistencies of mud for play. Step 4: Let the Fun Begin: Encourage your kids to use their hands and imagination to play and create with the mud in their new mud kitchen. Step 5: Clean Up: After playtime, make sure to clean up and put away any materials to keep your mud kitchen tidy and ready for the next play session.8. How to Make a Mud Kitchen: DIY Tutorial
One of the best things about a DIY mud kitchen is that it can be budget-friendly! You can use recycled materials, natural elements, and basic household items to create a fun and engaging outdoor play space for your kids. Not only will you save money, but you'll also be teaching your kids the value of repurposing and being resourceful.9. DIY Mud Kitchen: Budget-Friendly Outdoor Fun
Here's a list of materials and tools you'll need to build your own mud kitchen: Materials: - Table or outdoor surface - Pots and pans - Utensils - Natural elements (rocks, sticks, etc.) - Water - Dirt/sand - Paint (optional) Tools: - Hammer - Nails - Drill - Saw - Paintbrush (optional) Instructions: 1. Gather all materials and tools. 2. Arrange pots and pans on the table or surface. 3. Use hammer and nails to secure shelves or hooks for utensil storage (if desired). 4. Mix together dirt and water to create mud. 5. Add natural elements for decoration. 6. Let the fun begin! 7. Clean up and put away materials after playtime.10. Mud Kitchen DIY: Materials, Tools, and Instructions
The Benefits of Adding a DIY Mud Kitchen to Your Outdoor Space
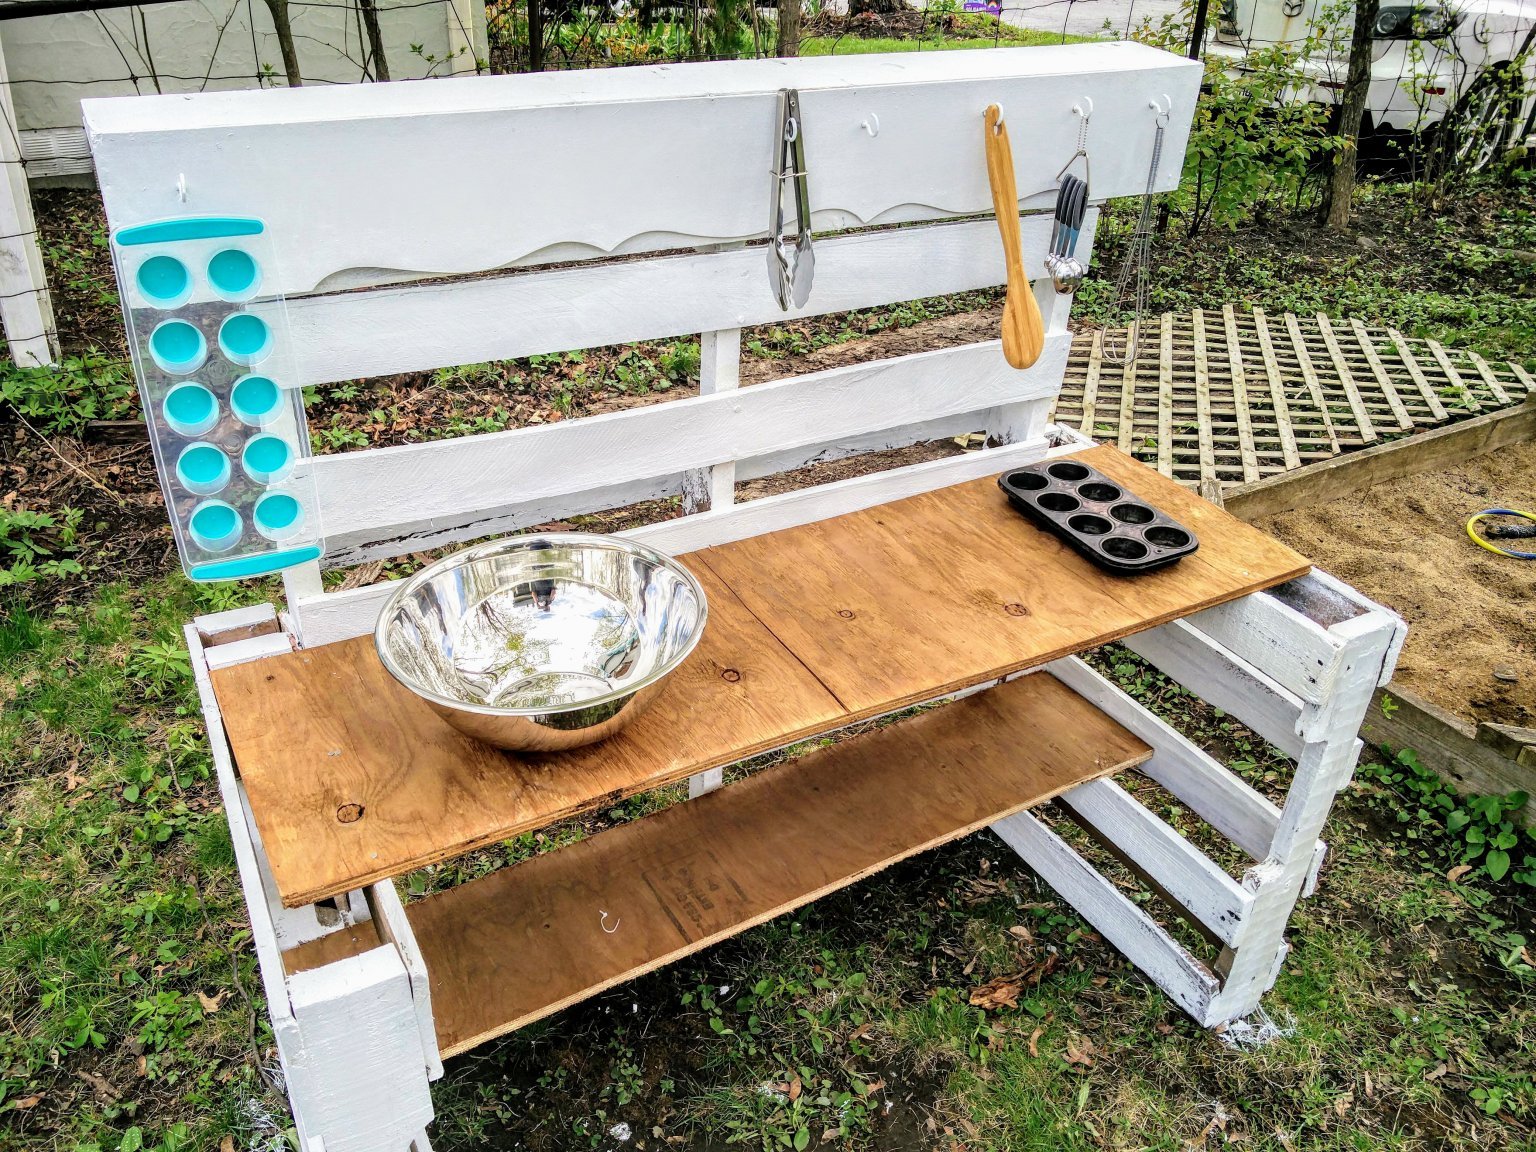
Creating a Functional and Engaging Play Area
Adding a Unique and Personal Touch to Your Yard
 A DIY mud kitchen is a great way to add a unique and personal touch to your yard. You can customize it to your liking, whether that means adding your child's name or using your favorite colors. You can also incorporate
recycled materials
into your mud kitchen, making it an eco-friendly addition to your home. Not only will your children love playing with it, but it will also be a unique and eye-catching feature in your outdoor space.
Encouraging Outdoor Time and Physical Activity
 In today's digital age, it can be challenging to get children to spend time outdoors and engage in physical activity. However, a DIY mud kitchen can help with this. Children are naturally drawn to mud and messy play, and a mud kitchen provides the perfect opportunity for them to get outside and get their hands dirty. They can mix, pour, and create to their heart's content, all while getting some much-needed fresh air and exercise.
A Budget-Friendly and Fun Project
 One of the best things about a DIY mud kitchen is that it is a budget-friendly project. You can use materials you already have on hand or purchase affordable supplies from your local hardware store. It is also a great
family project
, allowing you and your children to work together to build and design the perfect mud kitchen for your yard. It's a fun and creative activity that the whole family can enjoy.
Conclusion
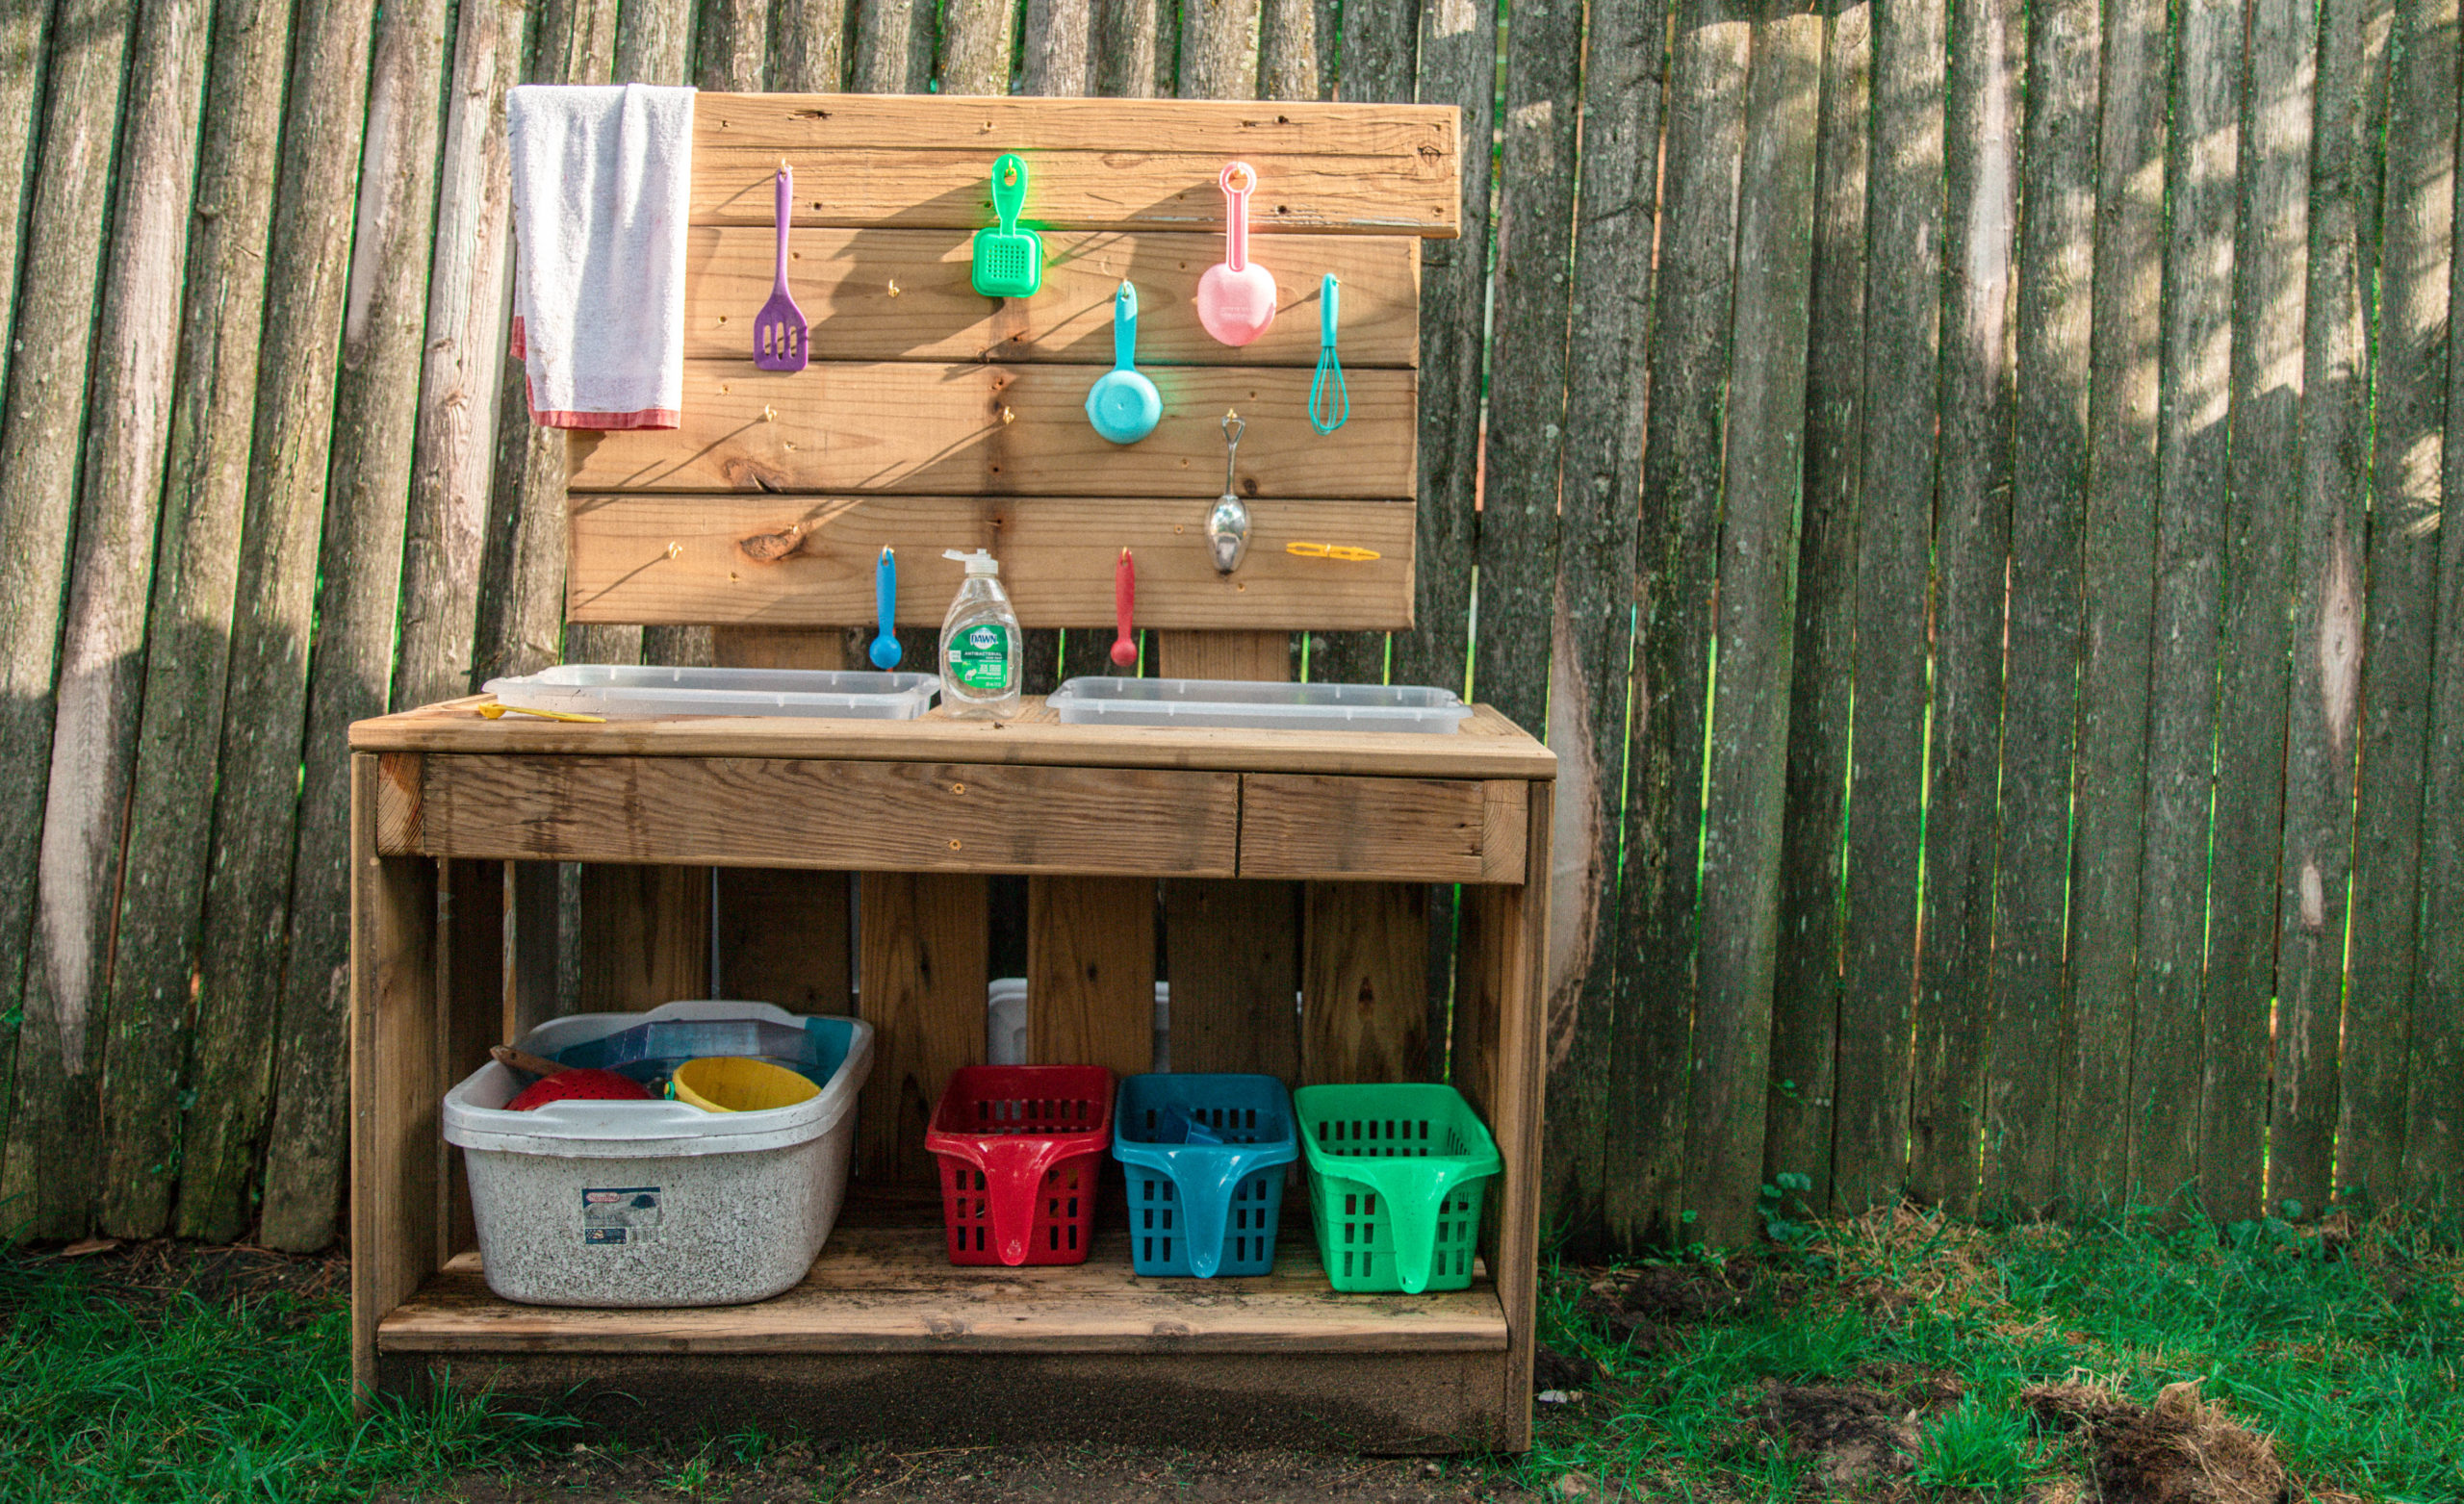 In conclusion, adding a DIY mud kitchen to your outdoor space is a fantastic way to create a functional and engaging play area for your children, add a unique touch to your yard, encourage outdoor time and physical activity, and have a budget-friendly and fun project for the whole family to enjoy. So gather your materials, get your hands dirty, and watch your children's faces light up as they play in their very own mud kitchen.


