Kitchen sinks are an essential part of any home, but over time, the mounting clips that hold them in place can become loose or break. This can lead to a wobbly sink that can cause leaks and other issues. If you have an old type of kitchen sink with mounting clips, it may be time to replace them. Luckily, this is a DIY project that can be easily completed with a few tools and some basic knowledge. In this article, we'll discuss the top 10 DIY tips for replacing old kitchen sink mounting clips and keeping your sink secure for years to come.DIY Kitchen Sink Old Type Mounting Clips


DIY Kitchen Sink Old Type Mounting Clips

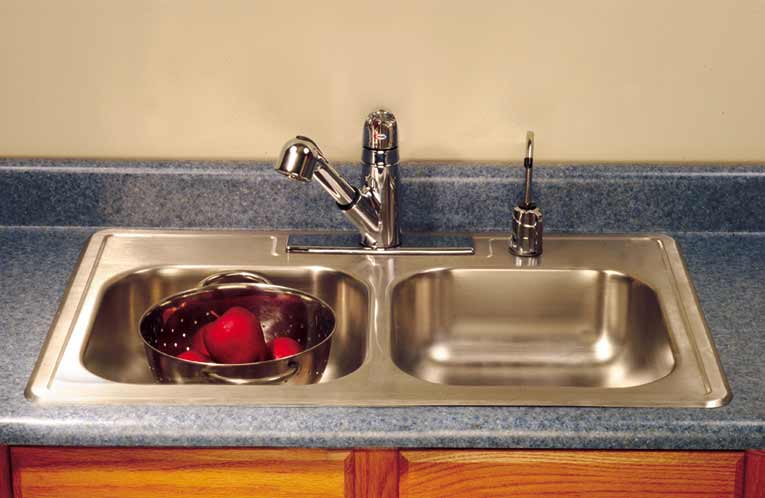
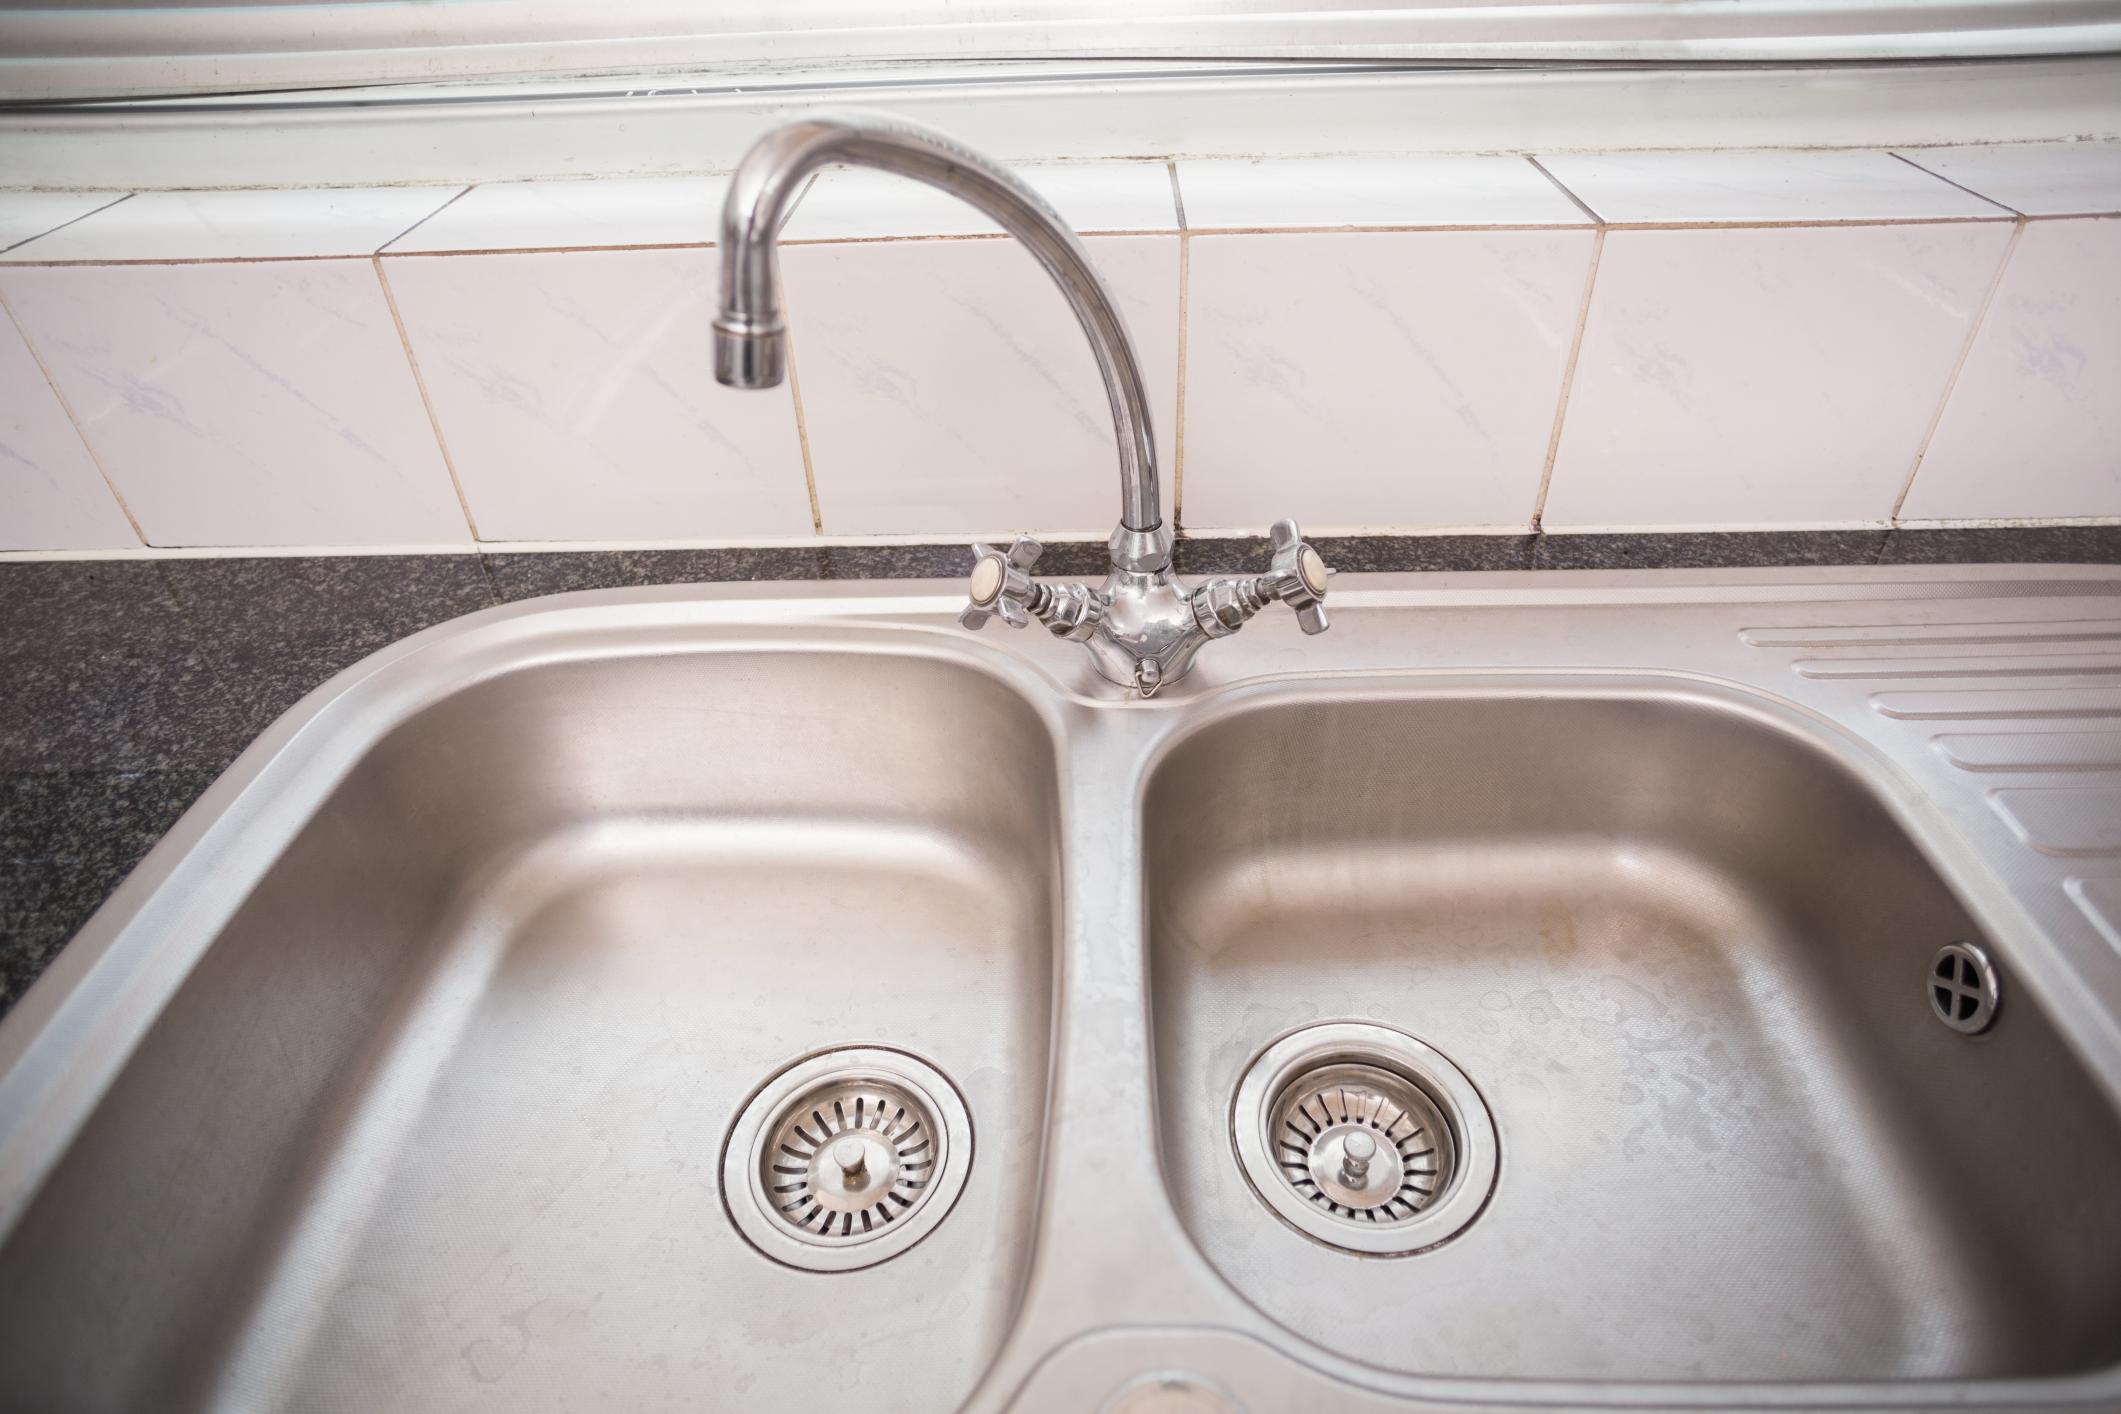
Before we dive into replacing the mounting clips, let's quickly go over the process of installing a kitchen sink. This will give you a better understanding of how the clips work and why it's important to keep them in good condition. To install a kitchen sink, you'll need to first measure the opening in your countertop and purchase a sink that fits snugly. Then, you'll need to create a seal around the edges of the sink with a silicone adhesive. Finally, the sink will need to be secured in place with the mounting clips. If you're unsure of how to install a kitchen sink, there are plenty of online tutorials and guides available.How to Install a Kitchen Sink


How to Install a Kitchen Sink


:no_upscale()/cdn.vox-cdn.com/uploads/chorus_asset/file/19495086/drain_0.jpg)


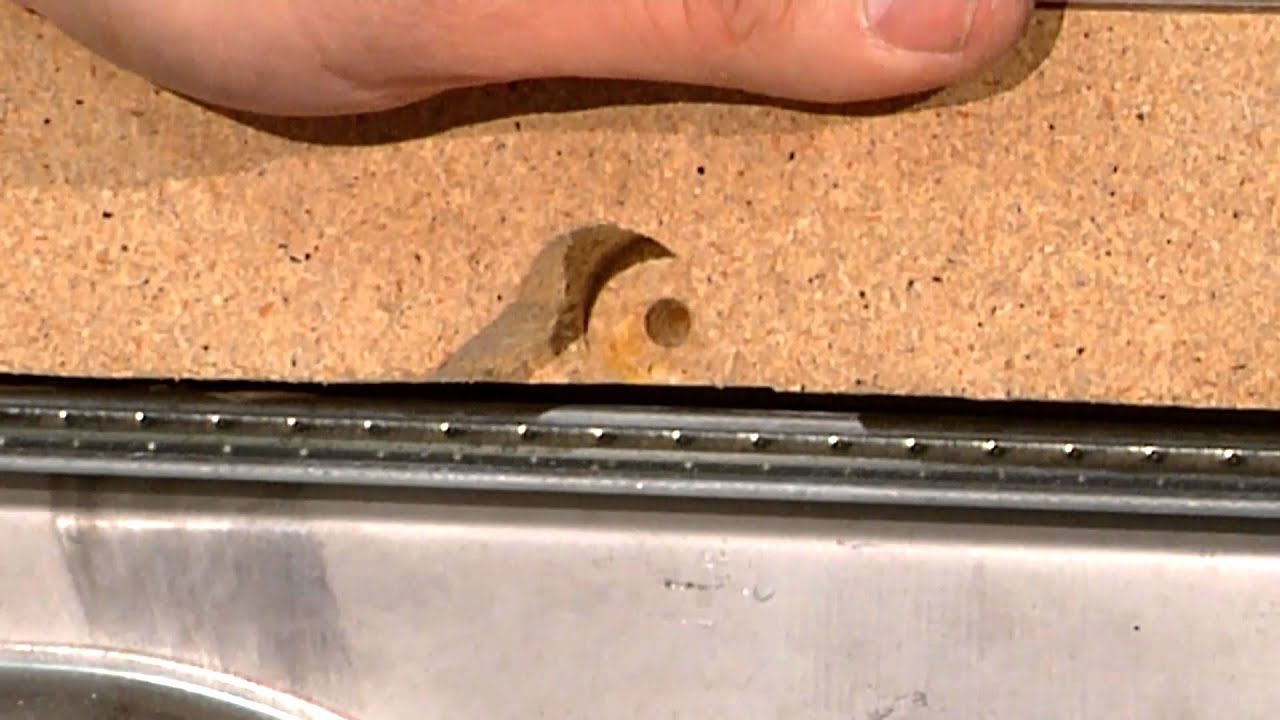
If your sink is wobbly or the mounting clips are visibly damaged, it's time to replace them. The first step is to remove the old clips and clean the area where the new ones will go. This can be done with a damp cloth and some mild cleaning solution. Once the area is clean, you can install the new mounting clips. Simply place them in the designated spots and screw them into place. Make sure they are tight and secure, but not too tight as this can cause damage to the sink.Replacing Old Kitchen Sink Mounting Clips


Replacing Old Kitchen Sink Mounting Clips


:max_bytes(150000):strip_icc()/replacing-existing-surface-mounted-sink-1824896-06-d8eb6b67fe4f451b90c415551f75ad0f.jpg)


Repairing your kitchen sink is a DIY project that can save you time and money. If you notice any leaks or wobbliness in your sink, it's important to address it as soon as possible to prevent further damage. This can usually be fixed by tightening or replacing the mounting clips. If the damage is more severe, you may need to replace the entire sink. Either way, it's important to have a basic understanding of how your sink is installed and how to maintain it.DIY Kitchen Sink Repair


DIY Kitchen Sink Repair


If you're unsure of how to replace your kitchen sink mounting clips, here is a step-by-step guide to help you through the process:Step-by-Step Guide for Replacing Kitchen Sink Mounting Clips


Step-by-Step Guide for Replacing Kitchen Sink Mounting Clips


If you're installing a new kitchen sink, it's important to have the right tools and knowledge to do it correctly. This includes understanding how to install the mounting clips. While it may seem like a small detail, proper installation of the mounting clips is crucial for the stability and longevity of your sink. If you're unsure of how to install a kitchen sink, it's always best to consult a professional or do extensive research before attempting the project yourself.DIY Kitchen Sink Installation


DIY Kitchen Sink Installation


Over time, the mounting clips on your kitchen sink may become loose. This can cause your sink to wobble and potentially lead to leaks. If you notice this issue, it's important to address it as soon as possible. The first step is to tighten the existing mounting clips. If this doesn't solve the problem, you may need to replace the clips altogether. It's also important to regularly check the tightness of your mounting clips to prevent any future issues.Fixing Loose Kitchen Sink Mounting Clips

Fixing Loose Kitchen Sink Mounting Clips


When replacing your kitchen sink mounting clips, there are a few tips to keep in mind to ensure a successful installation:Tips for Replacing Old Kitchen Sink Mounting Clips


Tips for Replacing Old Kitchen Sink Mounting Clips

To keep your kitchen sink in top condition, it's important to regularly maintain it. This includes checking for any loose or damaged mounting clips, cleaning the sink and surrounding area, and fixing any issues as soon as they arise. With proper maintenance, your kitchen sink can last for many years.DIY Kitchen Sink Maintenance

DIY Kitchen Sink Maintenance


To ensure your kitchen sink mounting clips are secure, make sure they are tightened properly but not too tight. You can also use a silicone adhesive around the edges of the sink for added stability. Regularly checking the tightness of the clips and fixing any issues immediately will also help keep your sink secure. In conclusion, replacing old kitchen sink mounting clips is a DIY project that can save you time and money. By following these top 10 tips, you can ensure your sink stays secure and in good condition for years to come. Remember to regularly maintain your sink and address any issues as soon as they arise to prevent further damage. Now that you have a better understanding of how to replace and maintain your kitchen sink mounting clips, you can confidently tackle this project on your own.How to Secure Kitchen Sink Mounting Clips
How to Secure Kitchen Sink Mounting Clips


Upgrade Your Kitchen Sink: Tips for Replacing Old Type Mounting Clips

The Importance of Proper Sink Mounting
 When it comes to renovating your kitchen, one of the most important aspects to consider is the sink. Not only is it a functional element, but it also has a significant impact on the overall design of your kitchen. A properly mounted sink not only ensures its stability and durability but also enhances the aesthetic appeal of the space. Unfortunately, many older homes still have sinks with outdated mounting clips, which can cause various issues over time. In this article, we will discuss the importance of upgrading to newer mounting clips and provide tips on how to replace them yourself.
The Drawbacks of Old Type Mounting Clips
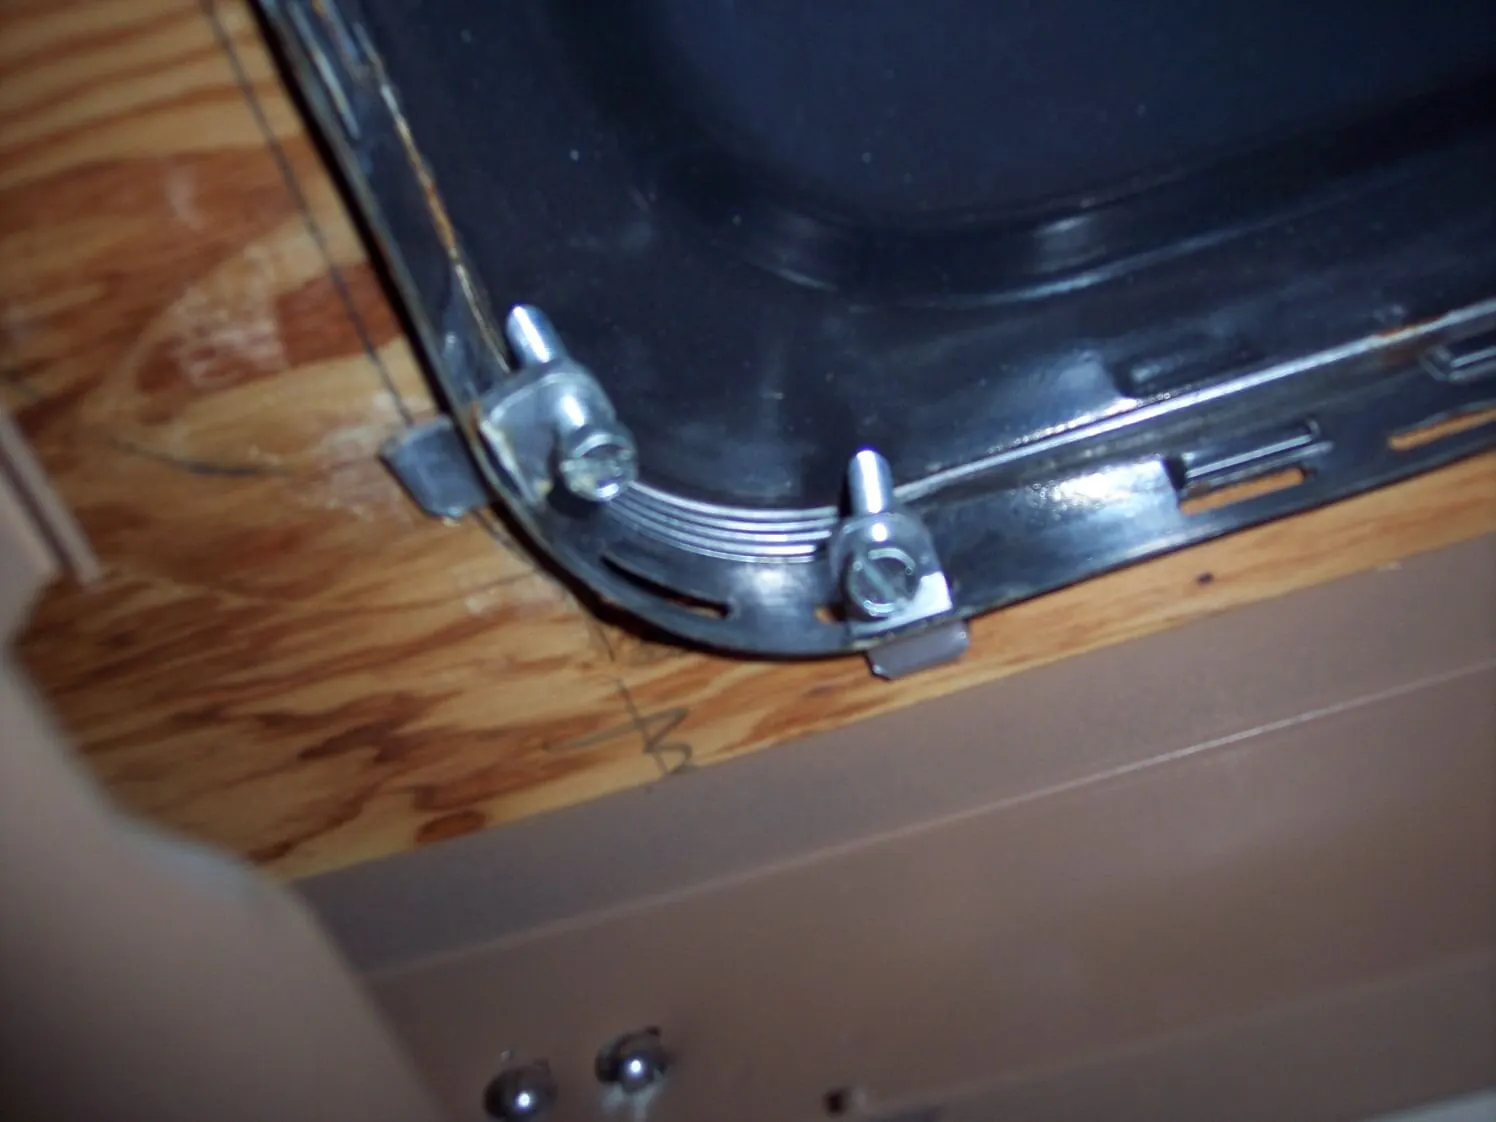
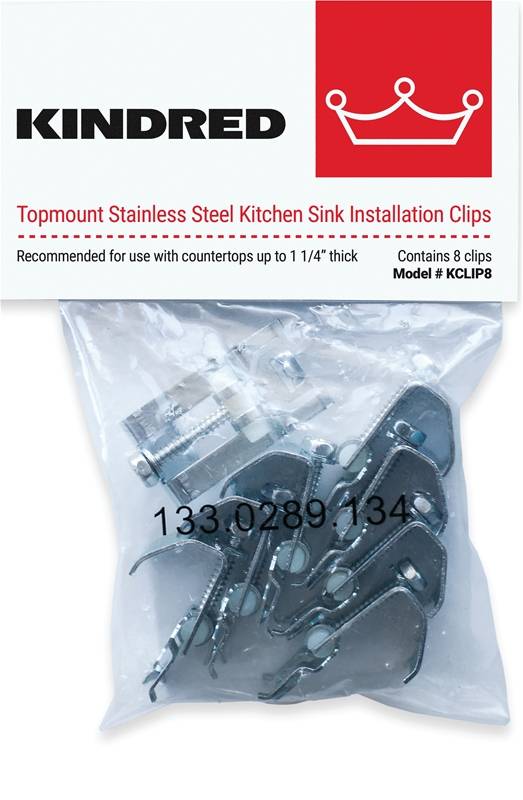
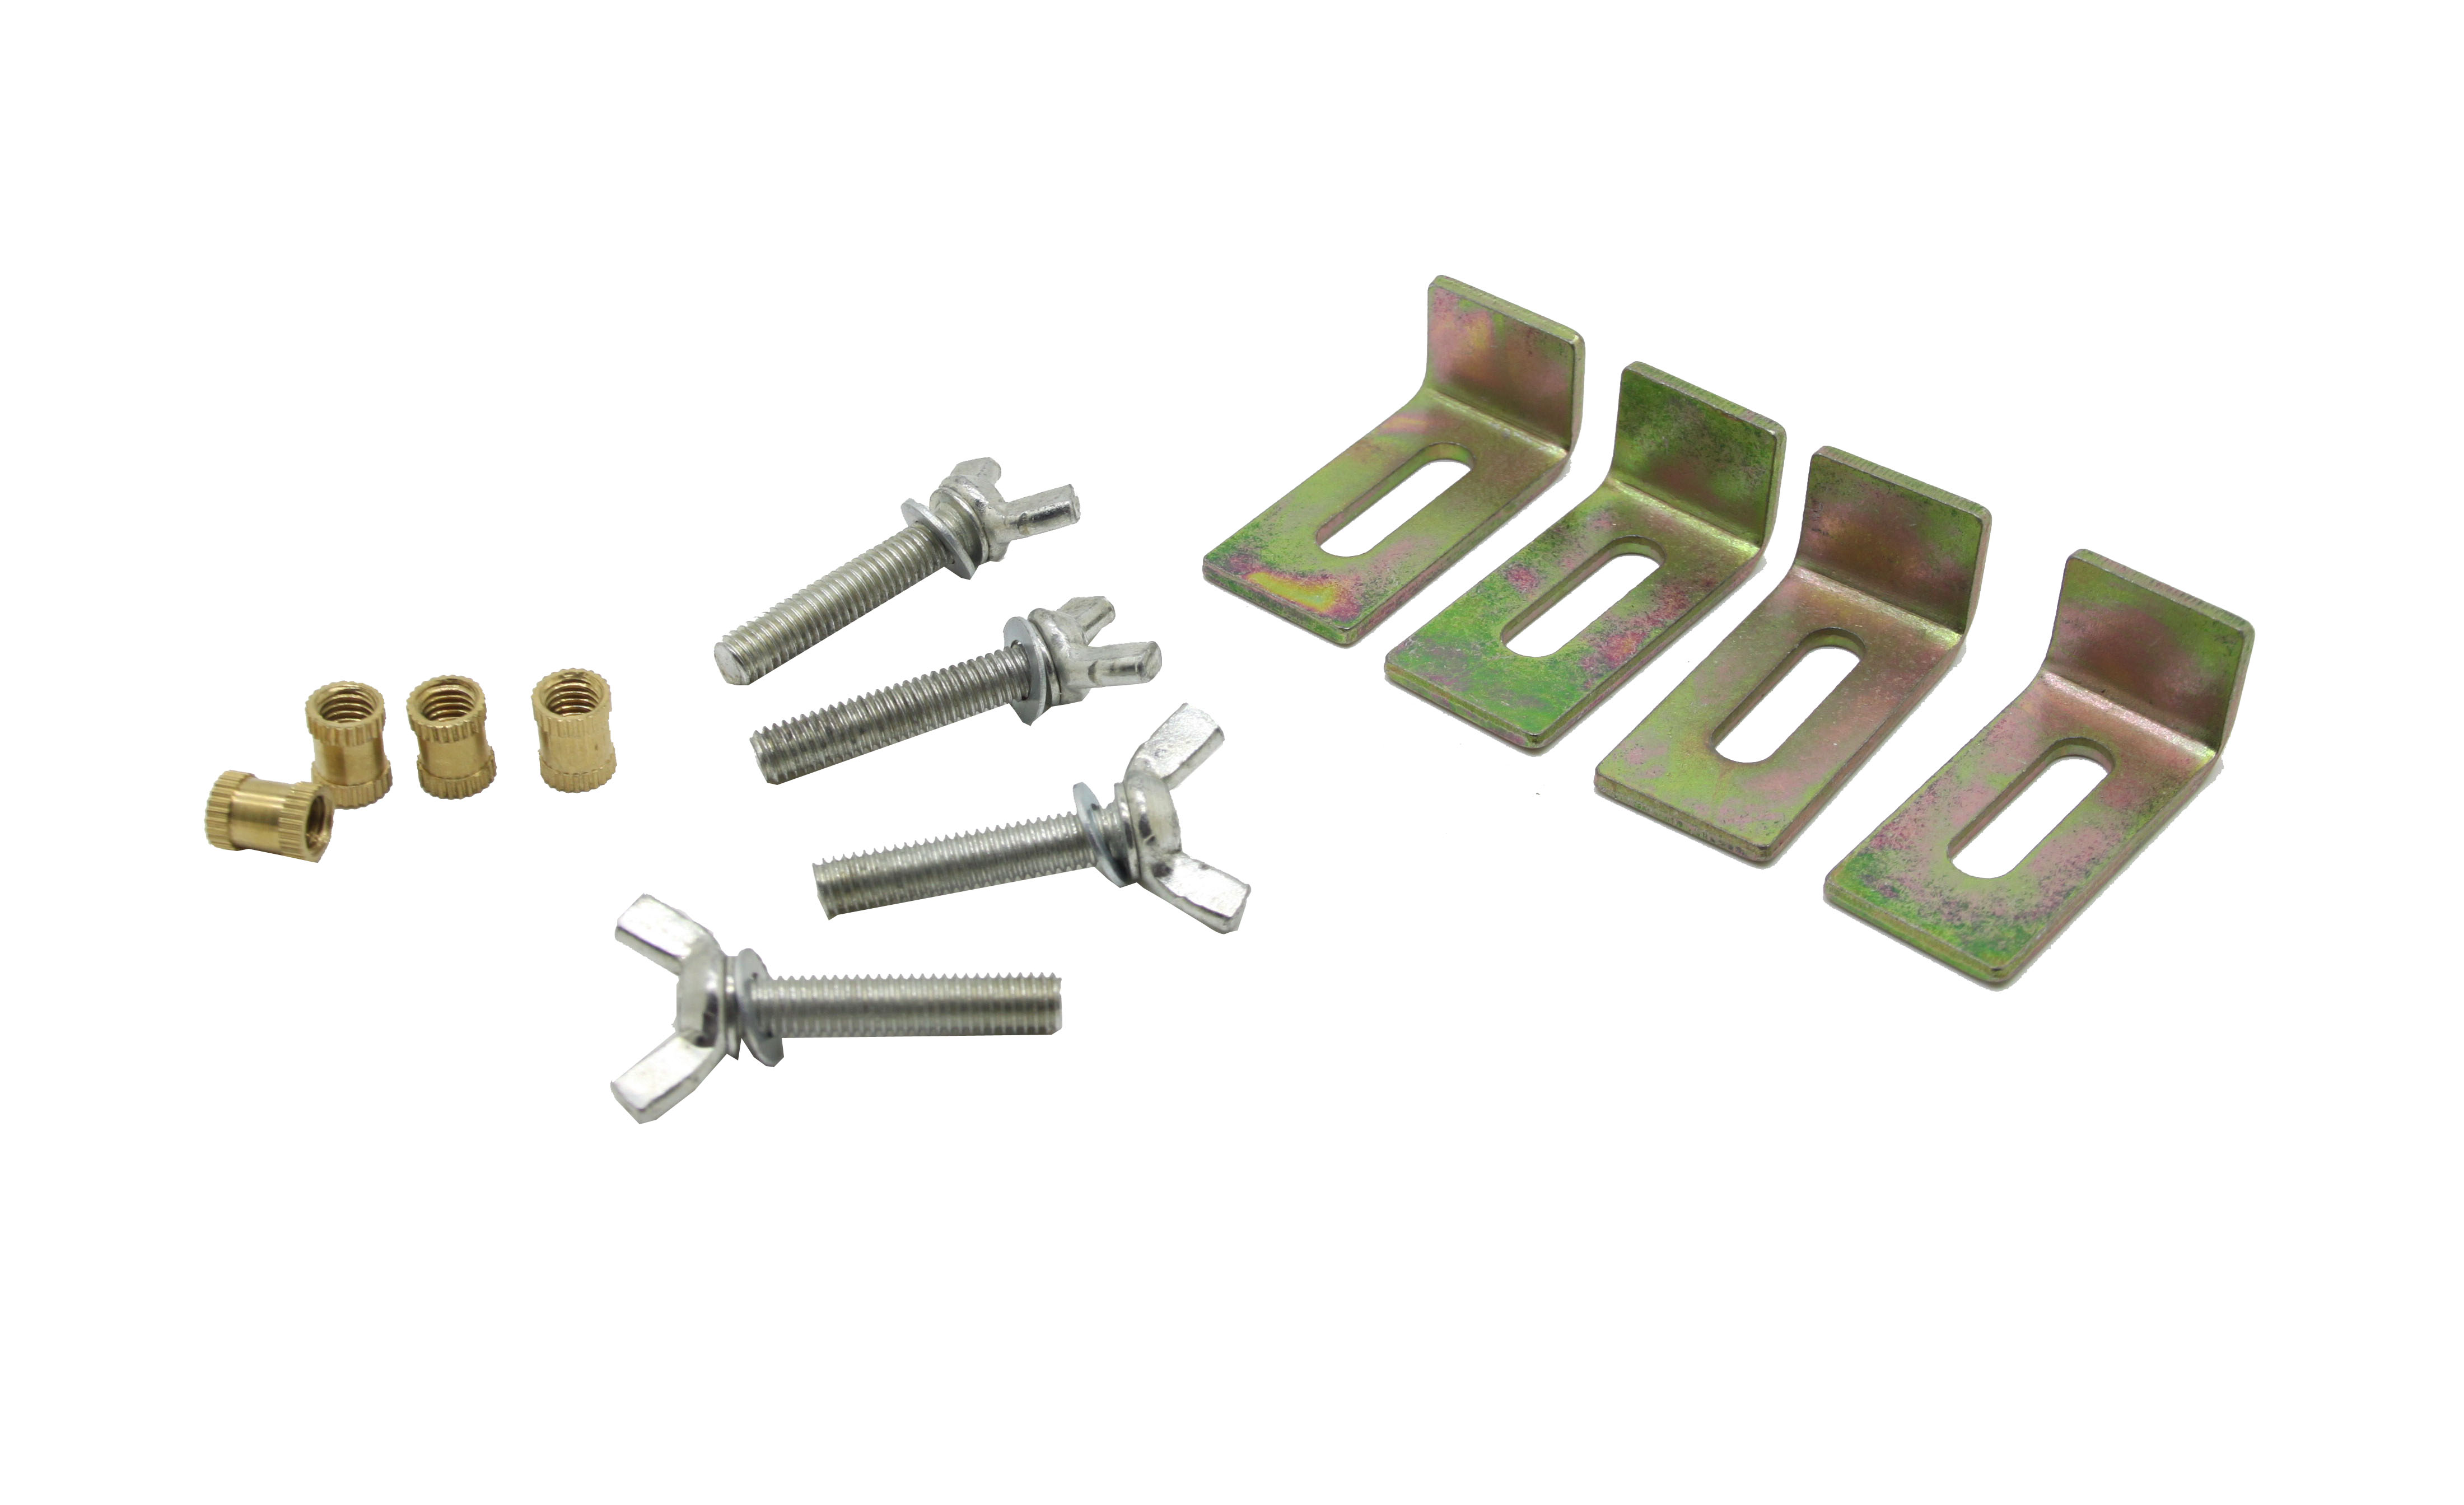
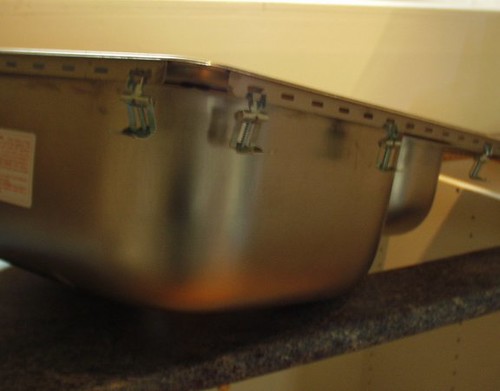
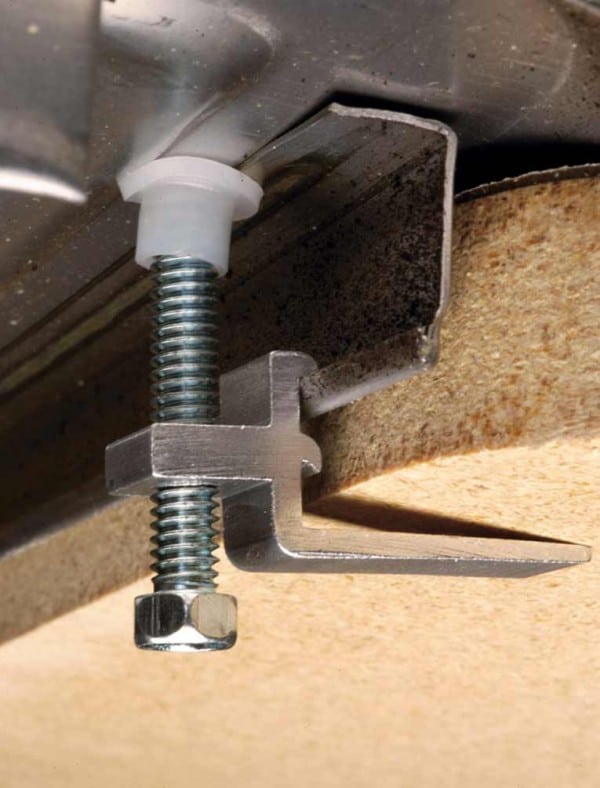
 Old type mounting clips, also known as "C-clips", are commonly found in older homes and are used to secure the sink to the countertop. These clips are usually made of metal and have a C-shaped design, which requires the sink to be lifted and placed on top of them. While this may seem like a simple and effective method, it has several drawbacks. Firstly, it can be challenging to properly align the sink with the clips, leading to an uneven and unstable installation. Additionally, over time, the metal clips can rust or become loose, causing the sink to shift and potentially causing damage to the countertop.
The Benefits of Upgrading to Newer Mounting Clips
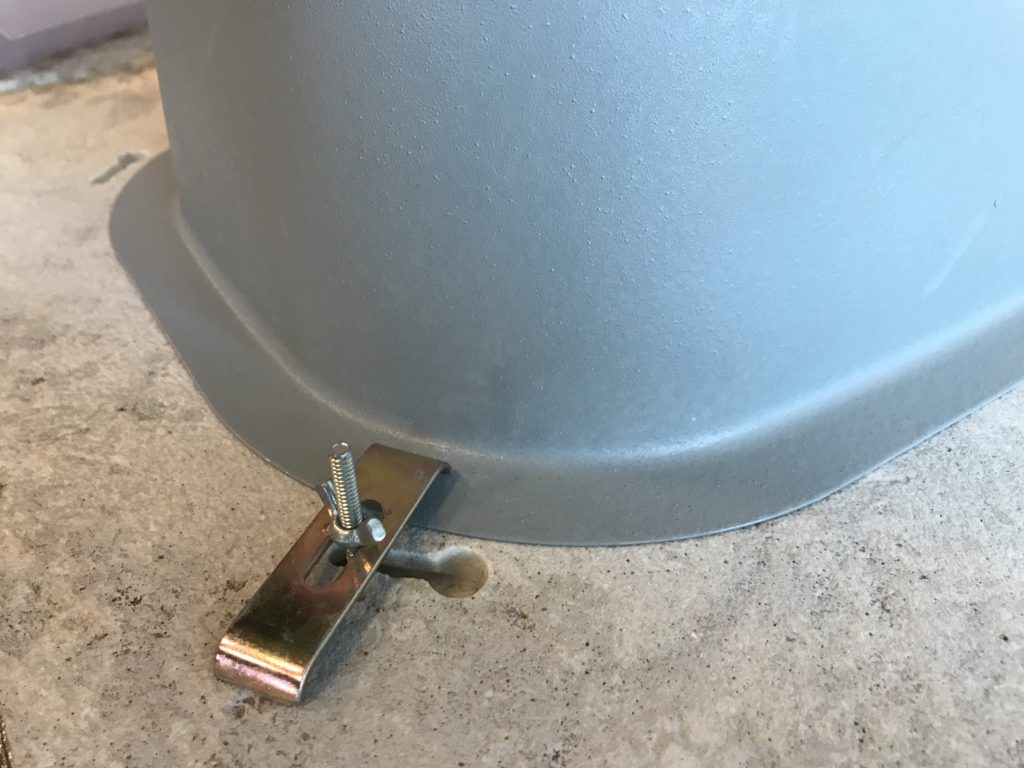
 Thankfully, there are newer and more efficient mounting clips available on the market today. These clips, also known as "top mount clips", are made of durable and corrosion-resistant materials such as stainless steel or plastic. Unlike C-clips, these top mount clips are installed from above, eliminating the need to lift and place the sink. This not only makes the installation process easier but also ensures a more secure and stable mounting. Furthermore, top mount clips are adjustable, allowing for a precise and level installation, resulting in a more professional and aesthetically pleasing finish.
Tips for Replacing Old Type Mounting Clips
 Now that you know the benefits of upgrading to newer mounting clips, you may be wondering how to replace them yourself. The good news is, it's a relatively simple DIY project that can be completed in just a few steps. Firstly, you will need to remove the old clips using pliers or a screwdriver. Next, clean the mounting area and apply a bead of silicone caulk around the edges to create a waterproof seal. Finally, position the new top mount clips on the countertop and secure them with screws. Once the clips are in place, you can easily install your new sink.
In conclusion, upgrading to newer mounting clips for your kitchen sink is a smart and practical choice. Not only do they offer better stability and durability, but they also enhance the overall design of your kitchen. By following these tips and replacing your old type mounting clips with newer ones, you can easily improve the functionality and aesthetic appeal of your kitchen.
Now that you know the benefits of upgrading to newer mounting clips, you may be wondering how to replace them yourself. The good news is, it's a relatively simple DIY project that can be completed in just a few steps. Firstly, you will need to remove the old clips using pliers or a screwdriver. Next, clean the mounting area and apply a bead of silicone caulk around the edges to create a waterproof seal. Finally, position the new top mount clips on the countertop and secure them with screws. Once the clips are in place, you can easily install your new sink.
In conclusion, upgrading to newer mounting clips for your kitchen sink is a smart and practical choice. Not only do they offer better stability and durability, but they also enhance the overall design of your kitchen. By following these tips and replacing your old type mounting clips with newer ones, you can easily improve the functionality and aesthetic appeal of your kitchen.