If you own a Tuft and Needle mattress, you know how important it is to keep it clean and fresh. Over time, your mattress cover may become dirty or stained, and you may need to remove it for cleaning or replacement. However, removing the cover from a Tuft and Needle mattress can be tricky if you're not sure how to do it correctly. In this guide, we'll walk you through the process step-by-step to ensure a smooth and easy removal of your mattress cover.How to Remove the Cover from a Tuft and Needle Mattress

How to Remove the Cover from a Tuft and Needle Mattress


Before you begin, make sure you have all the necessary tools and materials. You'll need a flat surface to work on, such as a bed or table, and a pair of scissors or a seam ripper. It's also helpful to have someone to assist you, especially if you have a larger mattress. Step 1: Start by removing all bedding and pillows from your mattress. Step 2: Locate the zipper on the side of your mattress cover. It should be near the bottom, but may vary depending on the model of your Tuft and Needle mattress. Step 3: Once you've located the zipper, unzip it all the way around the mattress. This will open up the cover, but it will still be attached at the corners. Step 4: Carefully lift the cover off the mattress and lay it flat on your working surface.Removing the Cover from a Tuft and Needle Mattress: Step-by-Step Guide

Removing the Cover from a Tuft and Needle Mattress: Step-by-Step Guide


Step 5: At each corner of the cover, you'll notice a small piece of fabric connecting the top and bottom layers. This is called a "tack" and it helps to keep the cover in place. Use your scissors or seam ripper to carefully cut through the tack and separate the top and bottom layers. Step 6: Once all four tacks have been cut, you can fully remove the cover from the mattress. Step 7: If you're planning to wash the cover, follow the manufacturer's instructions for cleaning. If you're replacing the cover, simply discard the old one and prepare to put the new cover on.Easy Steps to Remove the Cover from a Tuft and Needle Mattress
Easy Steps to Remove the Cover from a Tuft and Needle Mattress
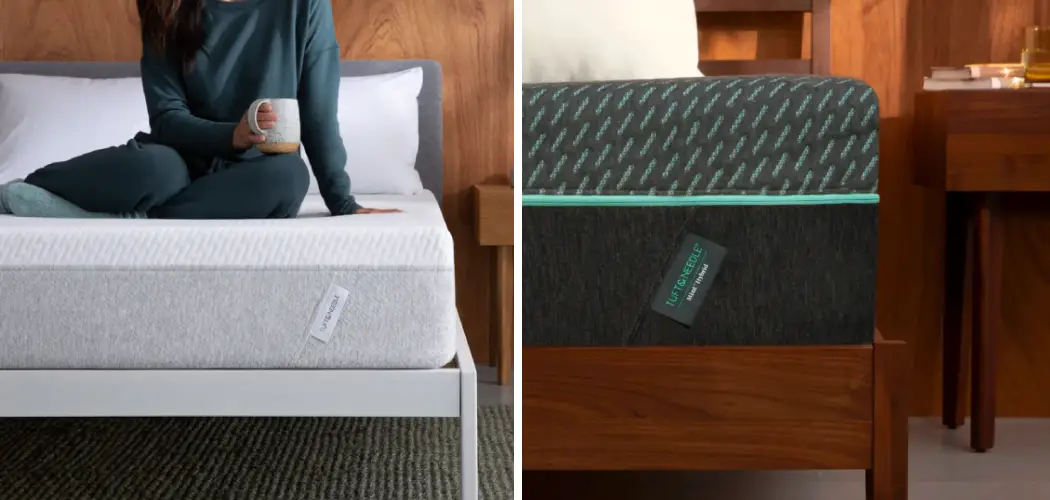

Now that you know the basic steps for removing the cover from your Tuft and Needle mattress, let's dive into some more detailed instructions and tips. Tip #1: If you're having trouble locating the zipper, check both sides of your mattress. Some models have zippers on both sides for easier removal. Tip #2: It's important to be gentle when cutting the tacks at the corners. Make sure to only cut through the top layer of fabric and not the bottom layer, as this could damage the cover. Tip #3: If you're working on a larger mattress, it can be helpful to have someone hold one side of the cover while you cut the tacks on the other side. This will prevent the cover from slipping and potentially ripping.Removing the Cover from a Tuft and Needle Mattress: A Comprehensive Guide


Removing the Cover from a Tuft and Needle Mattress: A Comprehensive Guide

Step 1: Remove all bedding and pillows from your mattress. Step 2: Locate the zipper and unzip it all the way around the mattress. Step 3: Carefully lift the cover off the mattress and lay it flat on your working surface. Step 4: Cut through the tacks at each corner to separate the top and bottom layers of fabric. Step 5: Fully remove the cover from the mattress. Step 6: Follow instructions for cleaning or replacing the cover.Step-by-Step Instructions for Removing the Cover from a Tuft and Needle Mattress


Step-by-Step Instructions for Removing the Cover from a Tuft and Needle Mattress


Tip #4: If you're planning to wash the cover, it's best to do so in a front-loading washing machine to prevent any damage to the cover. Tip #5: Allow the cover to air dry completely before putting it back on your mattress. Do not put it in the dryer as this can cause shrinkage. Tip #6: To make putting the cover back on easier, try rolling it up from the zipper side before placing it on the mattress. This will help prevent any wrinkles or bunching.Removing the Cover from a Tuft and Needle Mattress: Tips and Tricks

Removing the Cover from a Tuft and Needle Mattress: Tips and Tricks


Now that you know the steps and tips for removing the cover from your Tuft and Needle mattress, you can confidently keep your mattress clean and fresh. Remember to always follow the manufacturer's instructions for cleaning or replacing the cover to ensure the longevity of your mattress.How to Properly Remove the Cover from a Tuft and Needle Mattress


How to Properly Remove the Cover from a Tuft and Needle Mattress
Mistake #1: Cutting through the bottom layer of fabric when removing the tacks. Mistake #2: Putting the cover in the dryer, which can cause shrinkage. Mistake #3: Attempting to remove the cover without unzipping it first.Removing the Cover from a Tuft and Needle Mattress: Common Mistakes to Avoid

Removing the Cover from a Tuft and Needle Mattress: Common Mistakes to Avoid


Step 1: Remove all bedding and pillows from your mattress. Step 2: Locate the zipper and unzip it all the way around the mattress. Step 3: Carefully lift the cover off the mattress and lay it flat on your working surface. Step 4: Cut through the tacks at each corner to separate the top and bottom layers of fabric. Step 5: Fully remove the cover from the mattress. Step 6: Follow instructions for cleaning or replacing the cover.Quick and Easy Guide to Removing the Cover from a Tuft and Needle Mattress


Quick and Easy Guide to Removing the Cover from a Tuft and Needle Mattress


Now that you have a better understanding of how to remove the cover from your Tuft and Needle mattress, you can keep it clean and comfortable for years to come. Remember to always be gentle when cutting the tacks and to follow the manufacturer's instructions for cleaning or replacing the cover. And with these easy steps and tips, you'll have your cover off and back on in no time! Removing the Cover from a Tuft and Needle Mattress: What You Need to Know

Removing the Cover from a Tuft and Needle Mattress: What You Need to Know


Why Removing Your Tuft and Needle Mattress Cover is Essential for a Clean and Healthy Home

Protecting Your Mattress
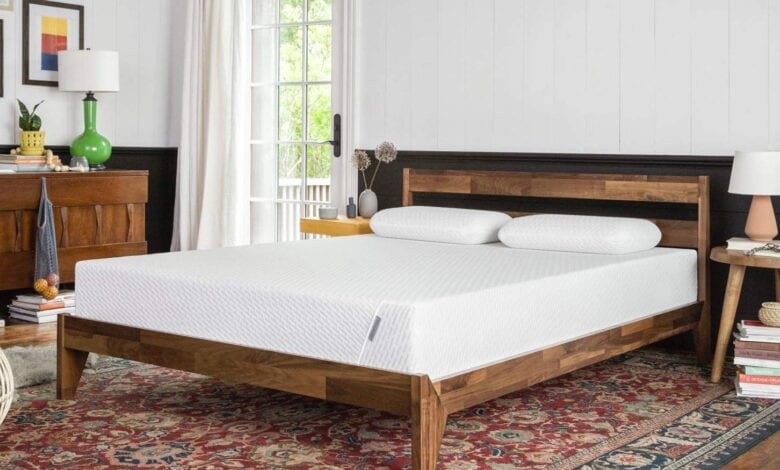
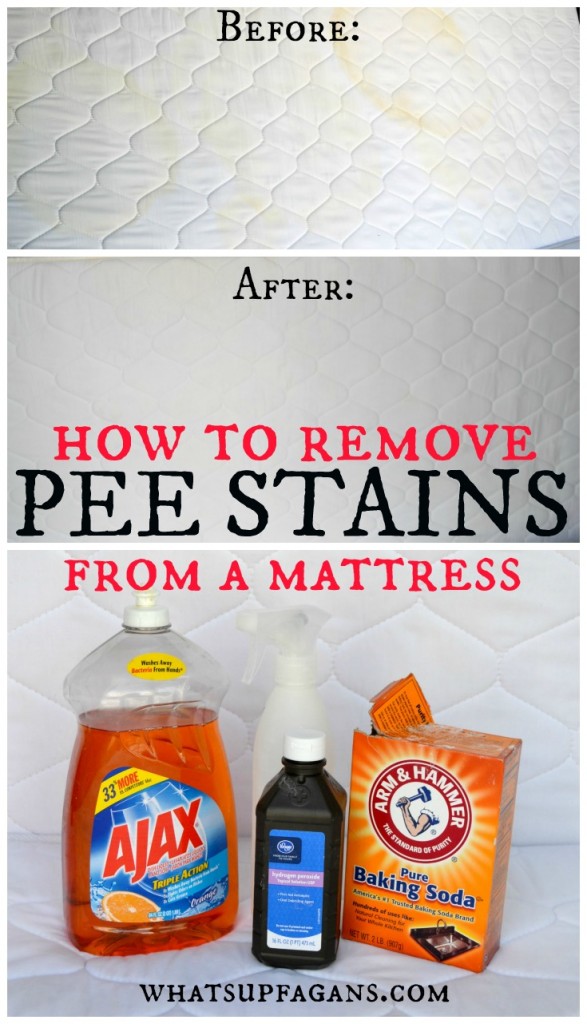
 A mattress is a significant investment, and it's essential to take care of it to ensure its longevity and maintain its quality. One way to protect your mattress is by using a mattress cover. The tuft and needle mattress cover is a popular choice for its durability and comfort. However, over time, the cover can accumulate dust, sweat, and even bacteria, making it necessary to remove and clean it regularly.
Promoting Hygiene in Your Bedroom
 The bedroom is a space for relaxation and rest, and it's crucial to maintain a clean and hygienic environment in this room. The tuft and needle mattress cover can act as a barrier between your body and the mattress, preventing sweat, dead skin cells, and other bodily fluids from seeping into the mattress. However, if the cover is not removed and washed regularly, it can become a breeding ground for bacteria and other allergens, compromising the hygiene of your bedroom.
Preventing Allergic Reactions
 Dust mites and other allergens can build upon the surface of your mattress cover, which can cause allergic reactions and respiratory issues. By removing and washing your tuft and needle mattress cover, you can eliminate these allergens and prevent any potential health problems.
Extending the Lifespan of Your Mattress
 Regularly removing and washing your tuft and needle mattress cover can also help extend the lifespan of your mattress. The cover acts as a protective layer, and by keeping it clean, you can prevent any damage or stains from reaching the mattress itself. This can save you money in the long run by avoiding the need to replace your mattress prematurely.
Keeping Your Home Clean and Fresh
 A clean and fresh home is essential for your overall well-being. By removing and washing your tuft and needle mattress cover, you not only maintain the cleanliness of your bedroom but also contribute to the overall cleanliness of your home. A dirty mattress cover can emit an unpleasant odor, affecting the air quality in your home. Regularly washing the cover can keep your bedroom smelling fresh and clean.
In conclusion, removing and washing your tuft and needle mattress cover is crucial for maintaining a clean and healthy home. By protecting your mattress, promoting hygiene, preventing allergic reactions, and extending the lifespan of your mattress, you can create a comfortable and safe sleeping environment. Make sure to add this task to your regular cleaning routine to keep your home and mattress in top condition.
A clean and fresh home is essential for your overall well-being. By removing and washing your tuft and needle mattress cover, you not only maintain the cleanliness of your bedroom but also contribute to the overall cleanliness of your home. A dirty mattress cover can emit an unpleasant odor, affecting the air quality in your home. Regularly washing the cover can keep your bedroom smelling fresh and clean.
In conclusion, removing and washing your tuft and needle mattress cover is crucial for maintaining a clean and healthy home. By protecting your mattress, promoting hygiene, preventing allergic reactions, and extending the lifespan of your mattress, you can create a comfortable and safe sleeping environment. Make sure to add this task to your regular cleaning routine to keep your home and mattress in top condition.