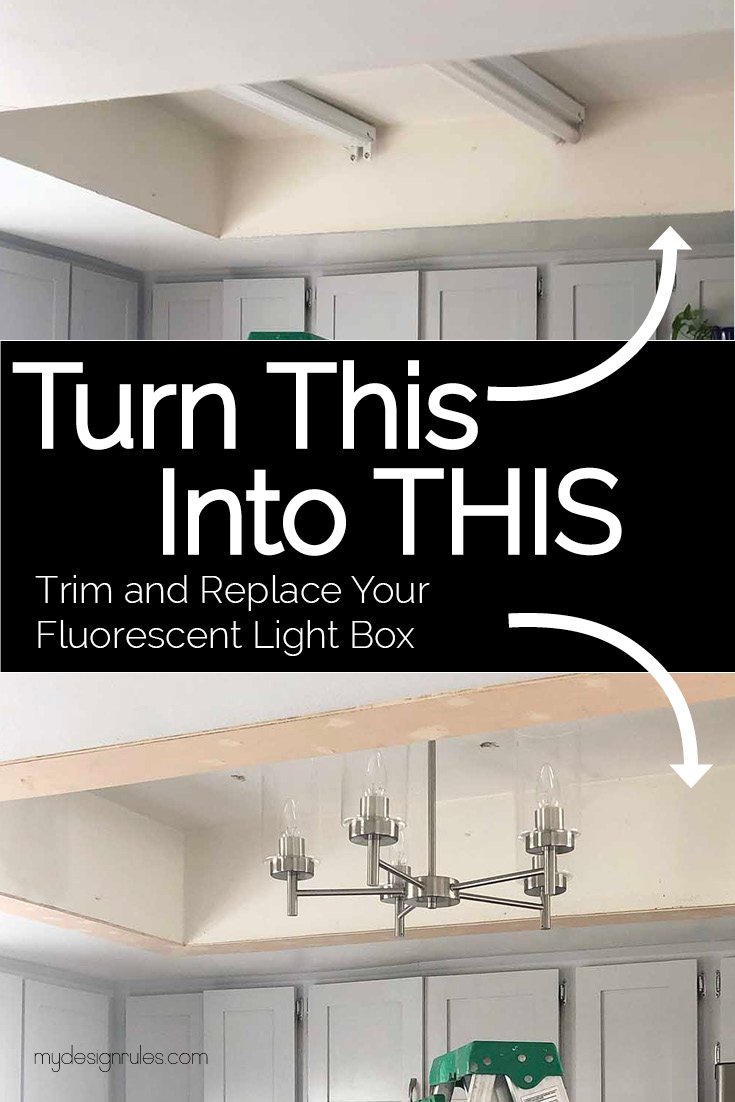
How to Replace a Fluorescent Light Ballast
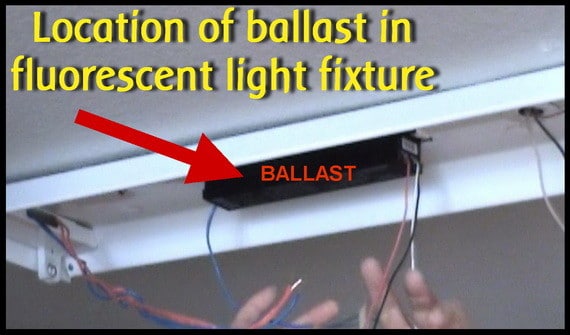
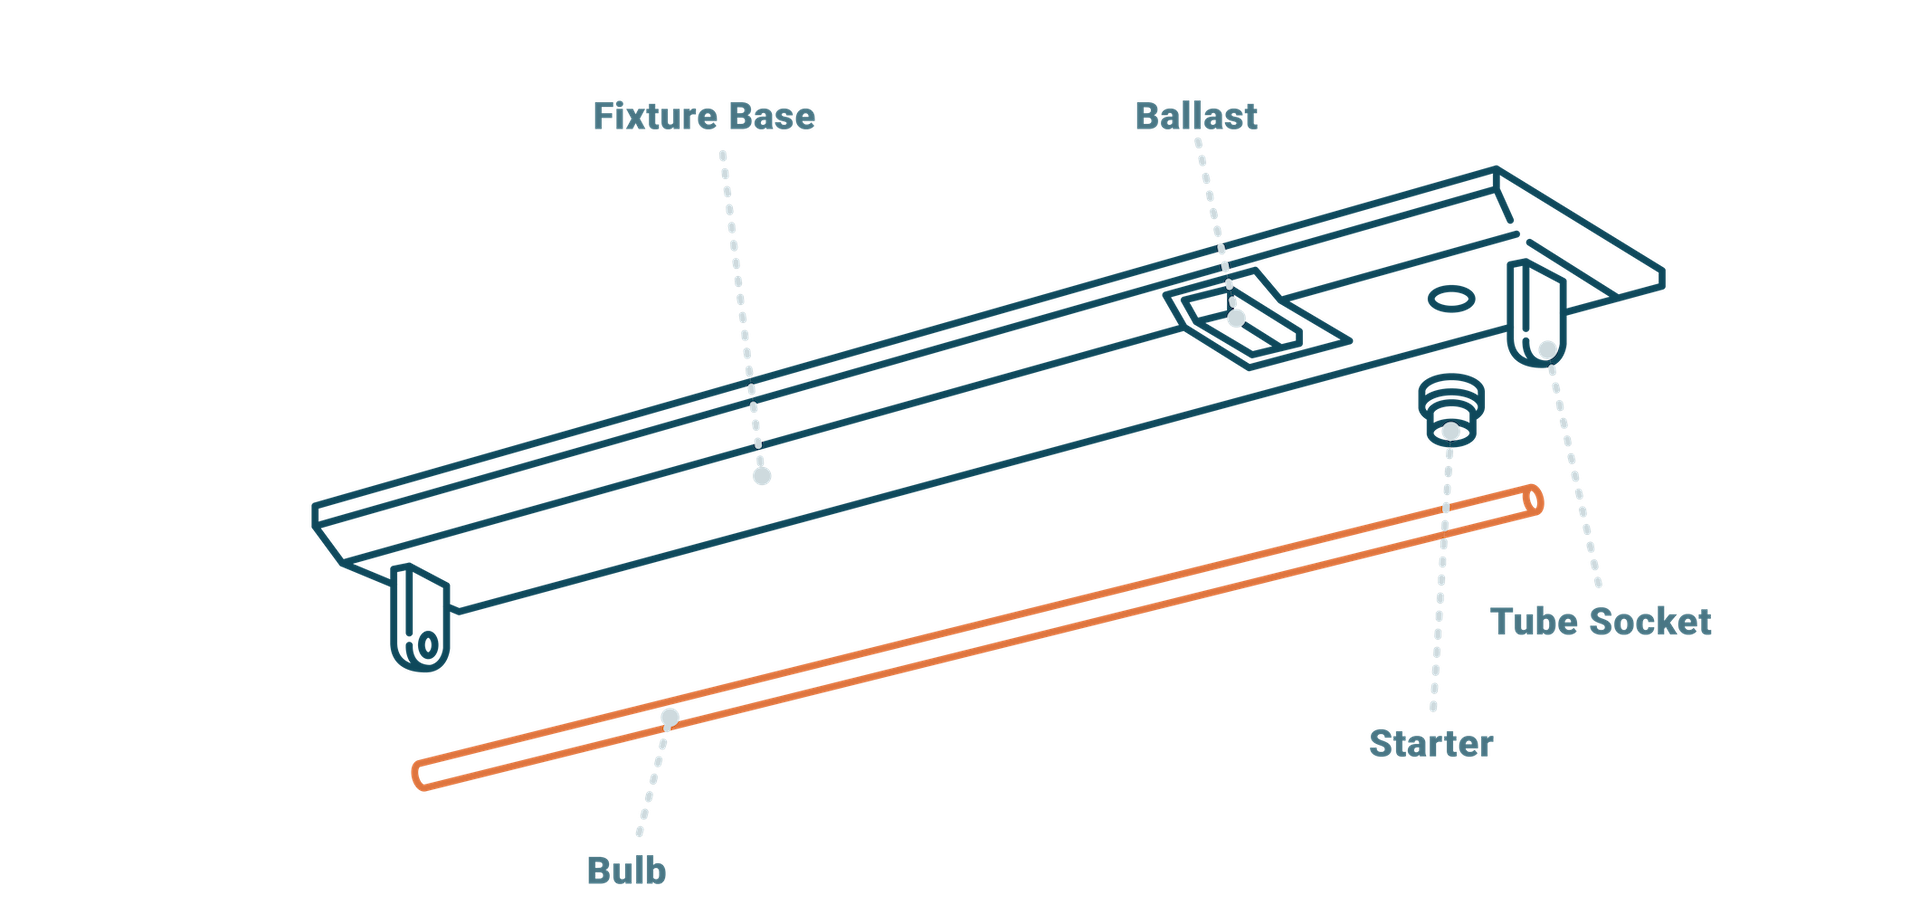
If you have a fluorescent light in your kitchen that is flickering or not working at all, it may be time to replace the ballast. The ballast is an essential component that regulates the flow of electricity to the light. Over time, it can wear out and need to be replaced. Here's a step-by-step guide on how to replace a fluorescent light ballast in your kitchen.


How to Replace a Fluorescent Light Ballast


How to Replace a Fluorescent Light Ballast in a Kitchen
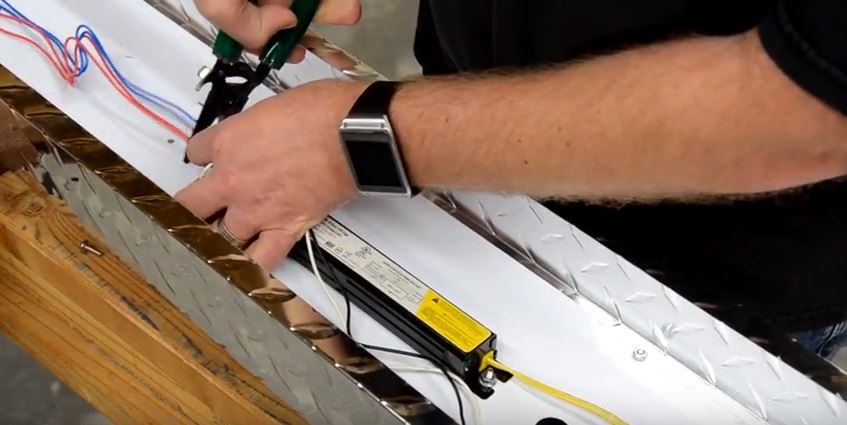
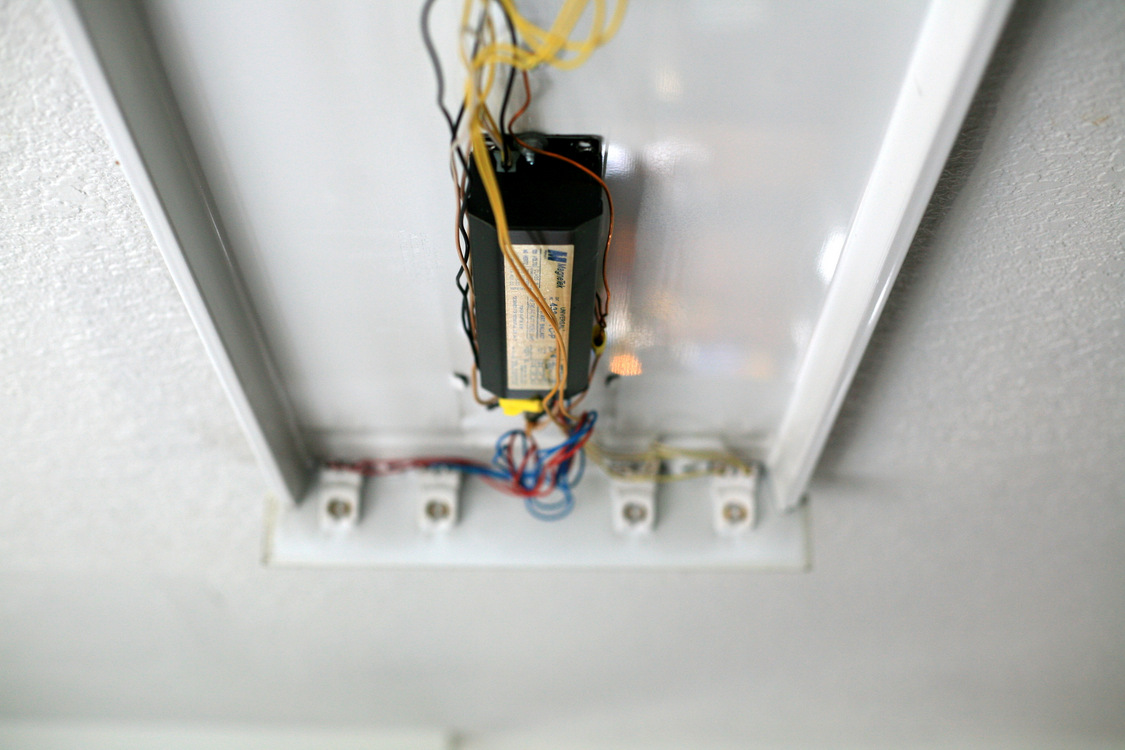
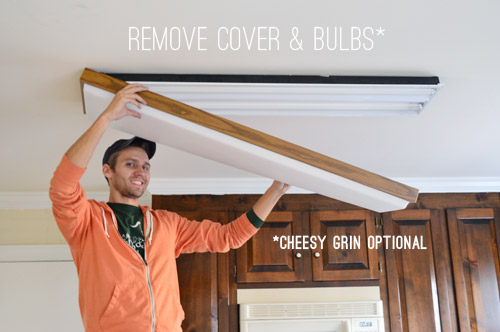
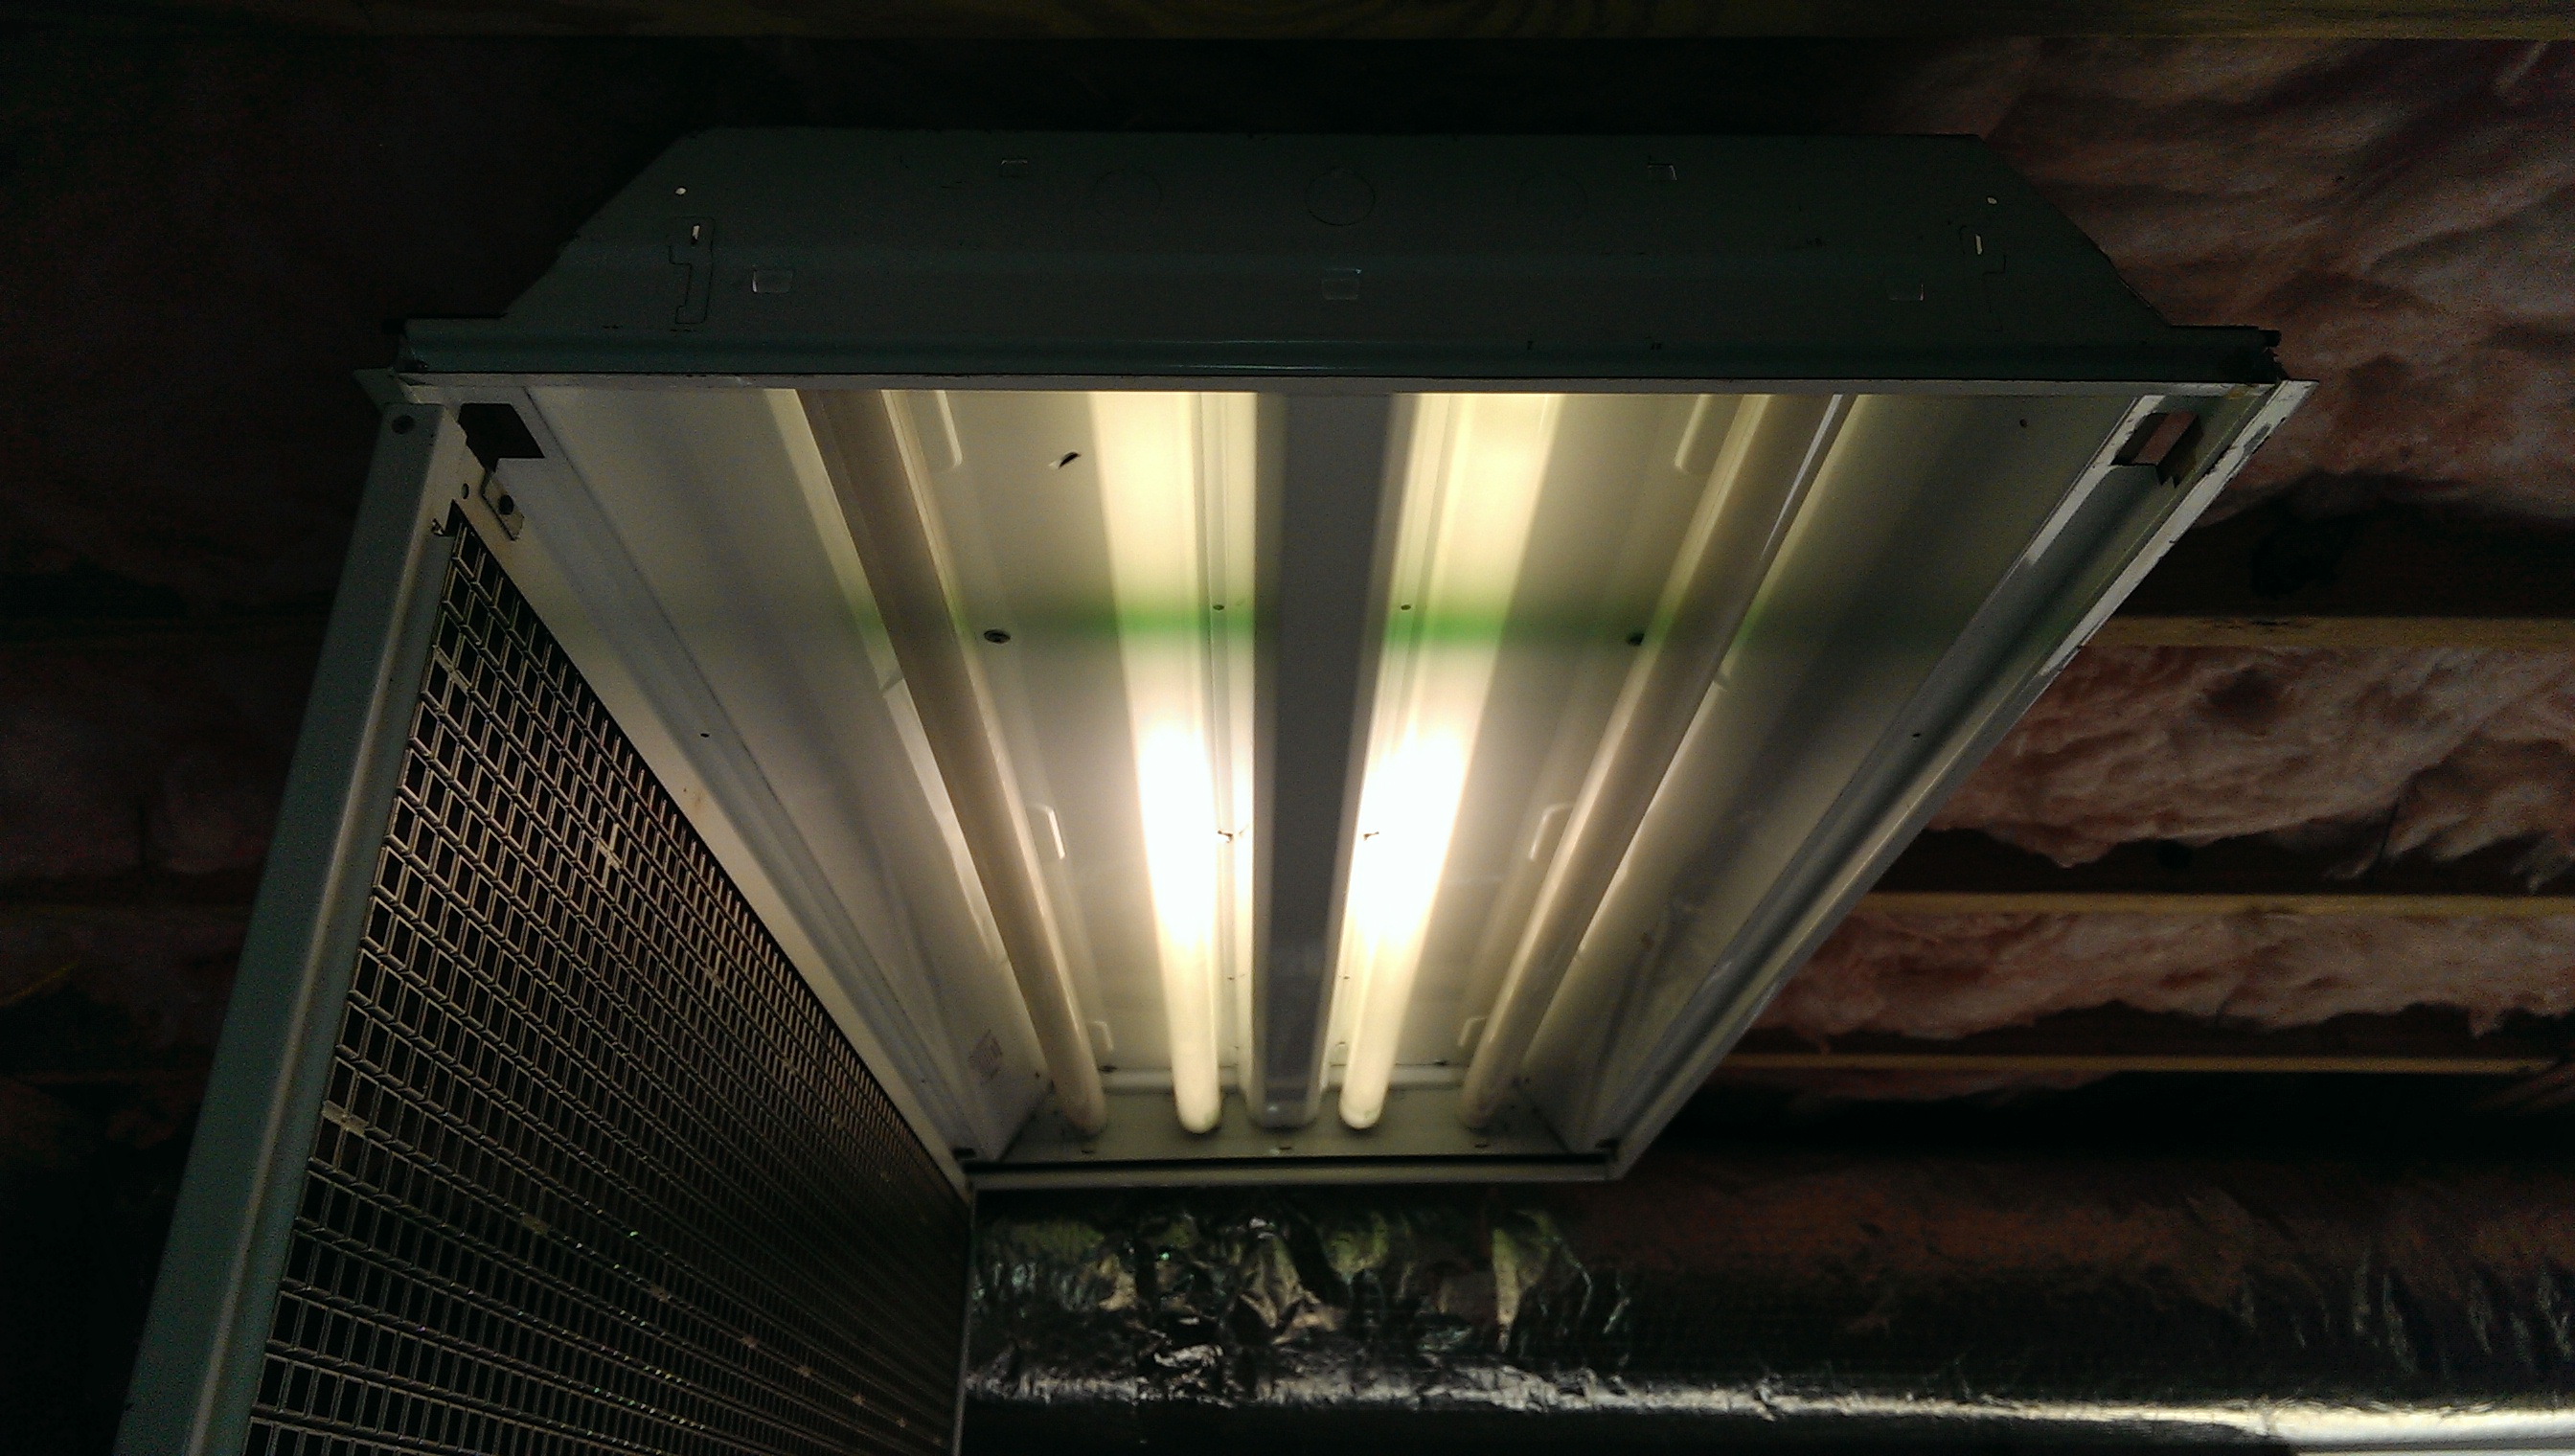
The first step is to turn off the power to the light. You can do this by flipping the switch on the circuit breaker or removing the fuse. Once the power is off, you can safely remove the light cover and bulbs. Then, you will need to remove the old ballast by unscrewing it from the fixture. Make sure to disconnect any wires attached to it.


How to Replace a Fluorescent Light Ballast in a Kitchen


DIY Kitchen Fluorescent Light Ballast Replacement
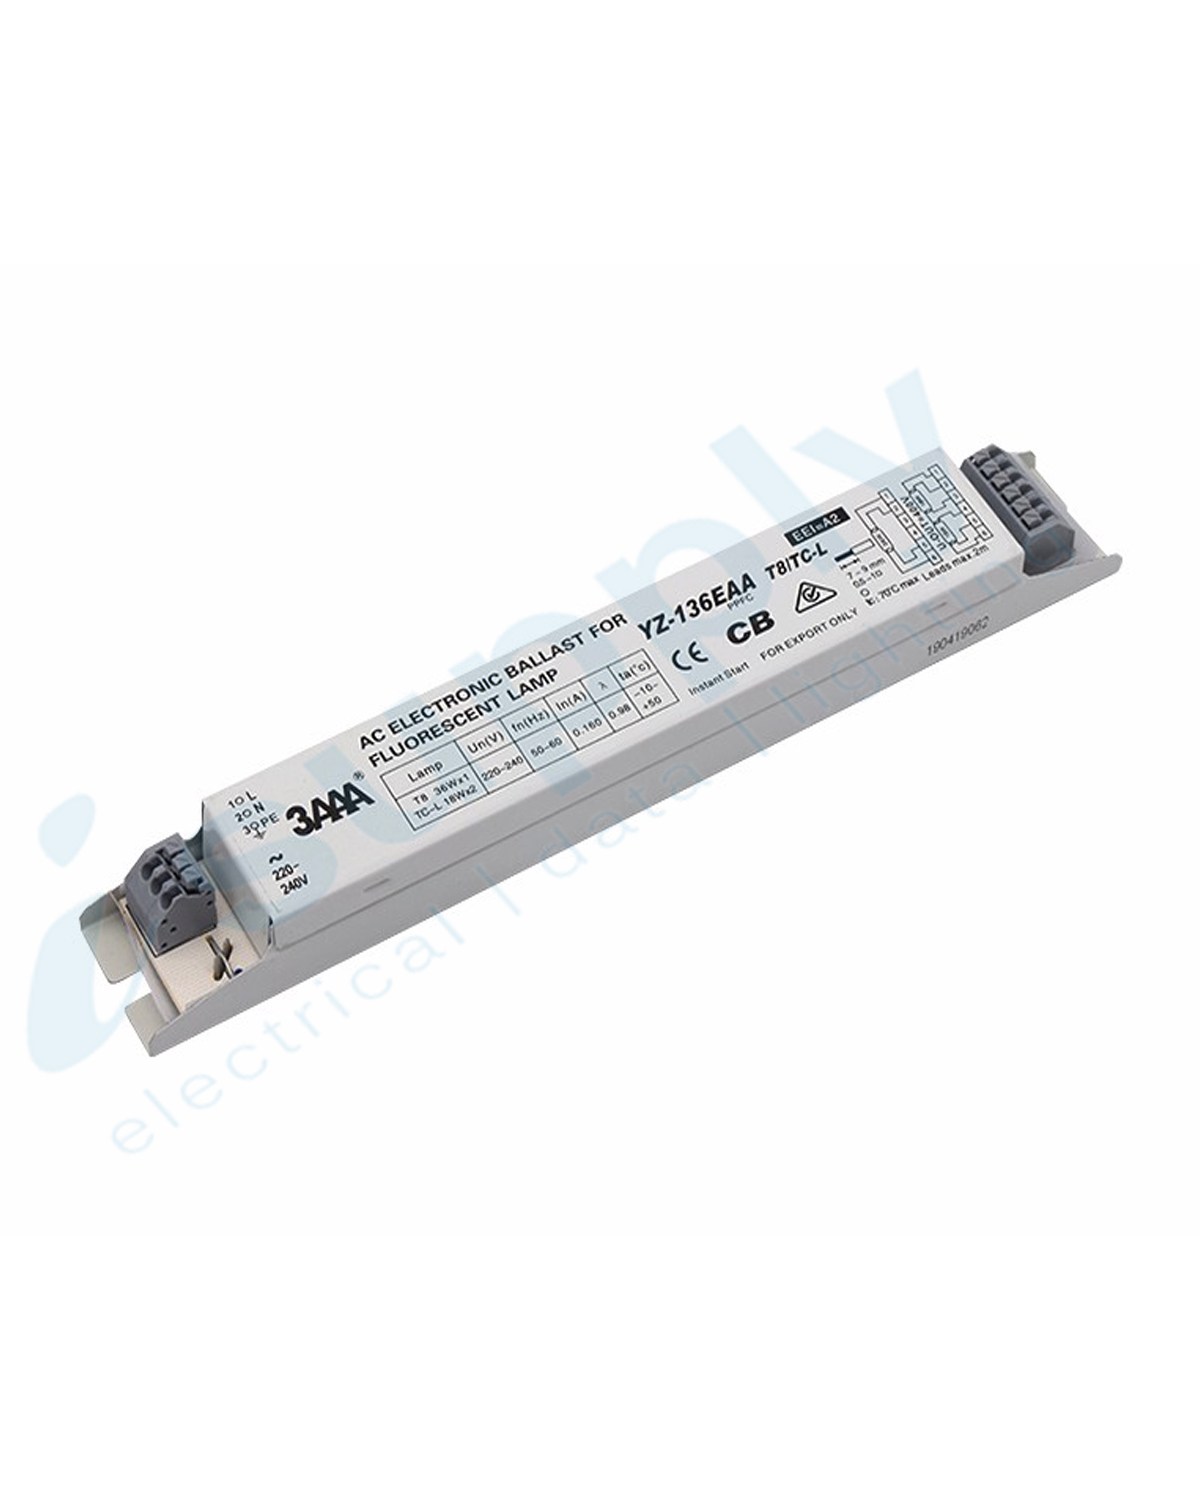
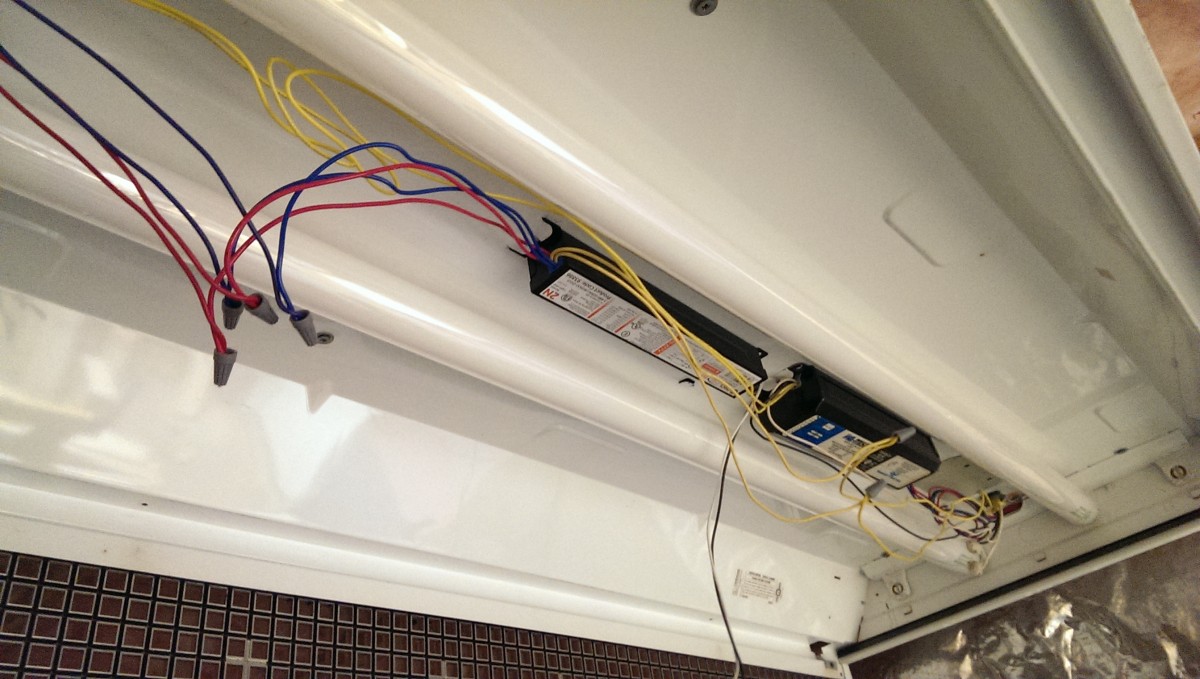
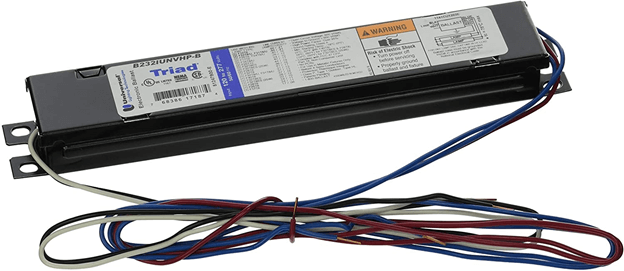
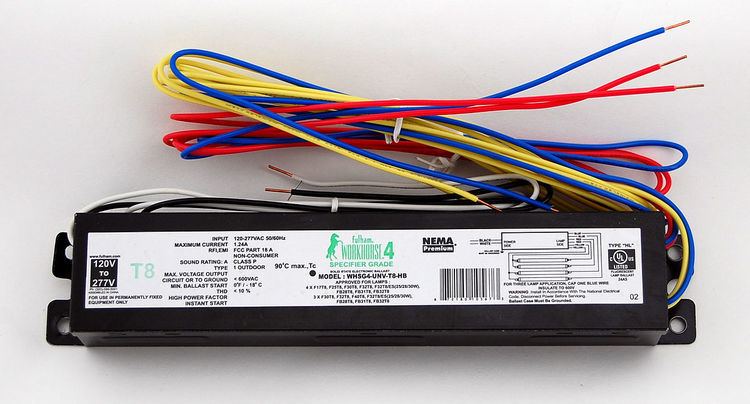
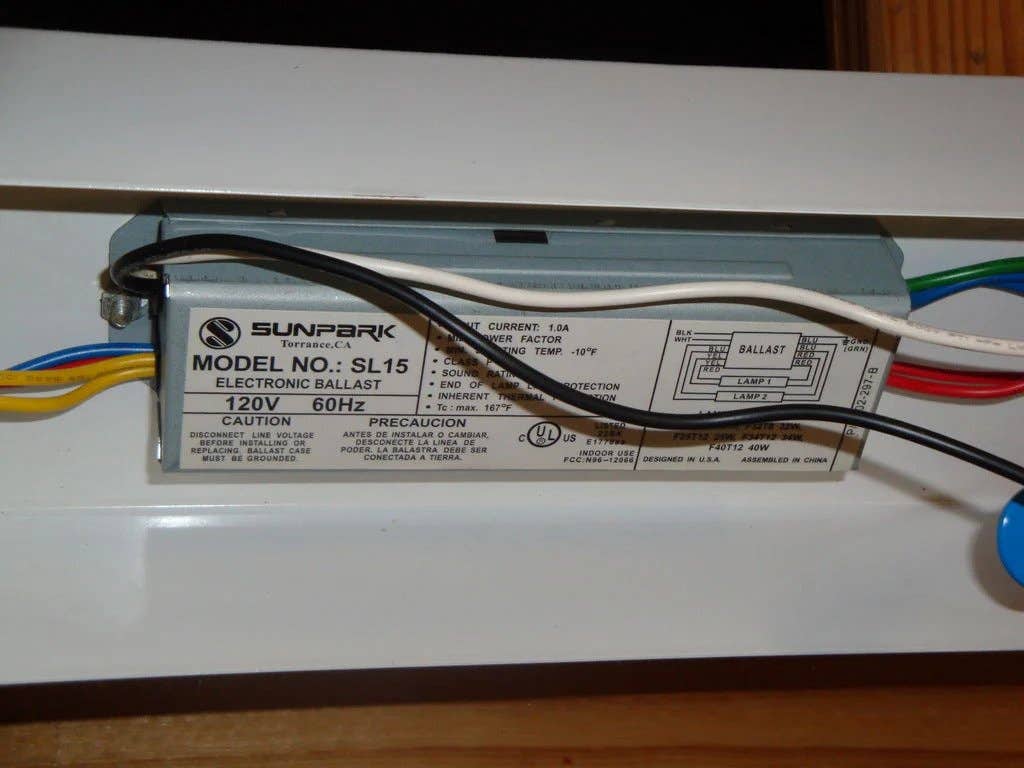
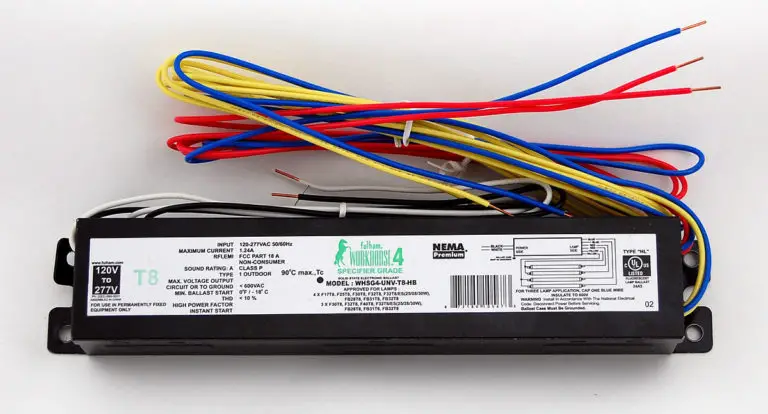
Now it's time to install the new ballast. Make sure to purchase a ballast that is compatible with your light fixture and the number of bulbs it has. You can find this information on the old ballast or in the manual for your light fixture. Follow the instructions provided with the new ballast to secure it to the fixture and connect the wires.

DIY Kitchen Fluorescent Light Ballast Replacement

Step-by-Step Guide for Replacing a Fluorescent Light Ballast
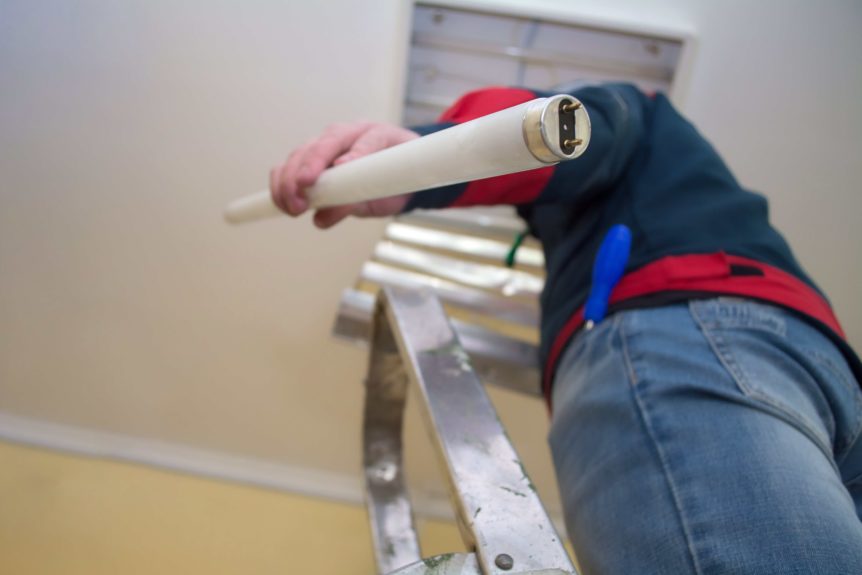
After the new ballast is installed, it's time to replace the bulbs and put the cover back on. Once everything is back in place, you can turn the power back on and test the light. If it still doesn't work, double-check all the connections and make sure the ballast is securely in place.


Step-by-Step Guide for Replacing a Fluorescent Light Ballast


:max_bytes(150000):strip_icc()/SPR-ballast-gone-ballistic-1152461-hero-f0a1c039d31a4d9aa074ed25f4675762.jpg)


DIY Kitchen Lighting Upgrade: Replacing Fluorescent Light Ballast
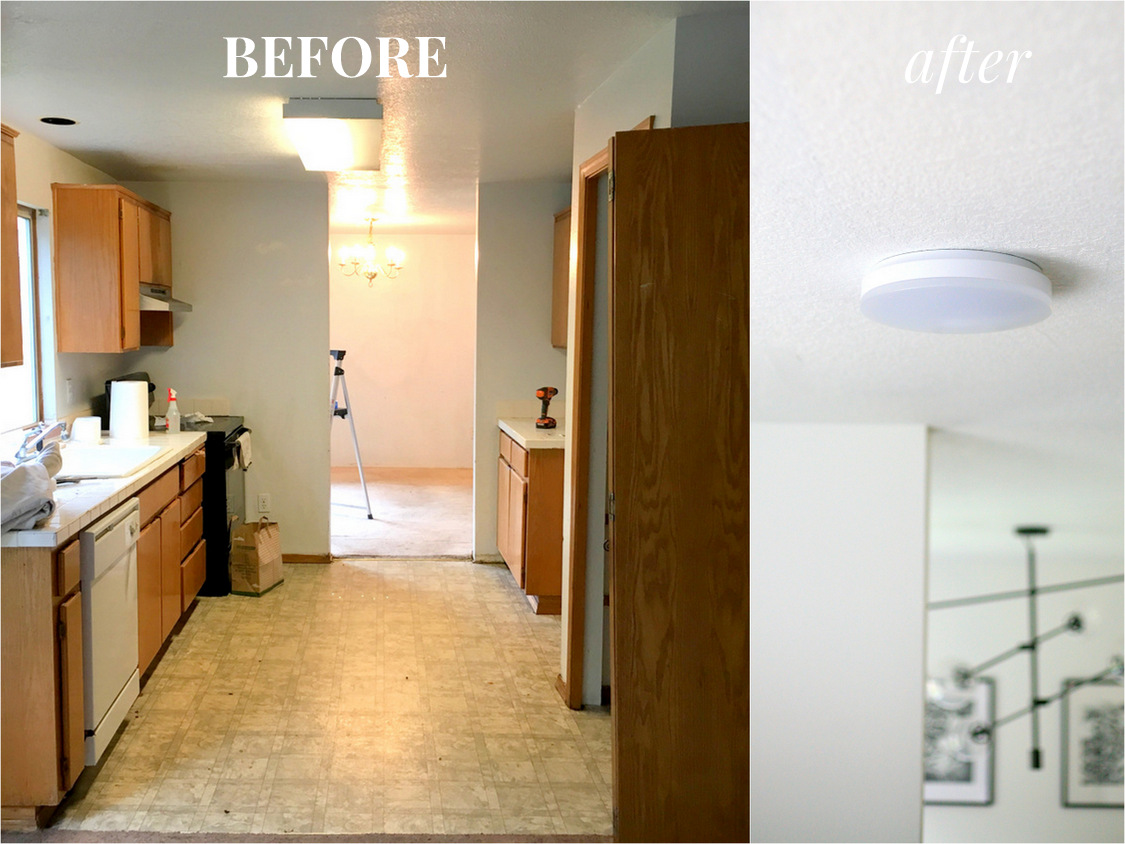
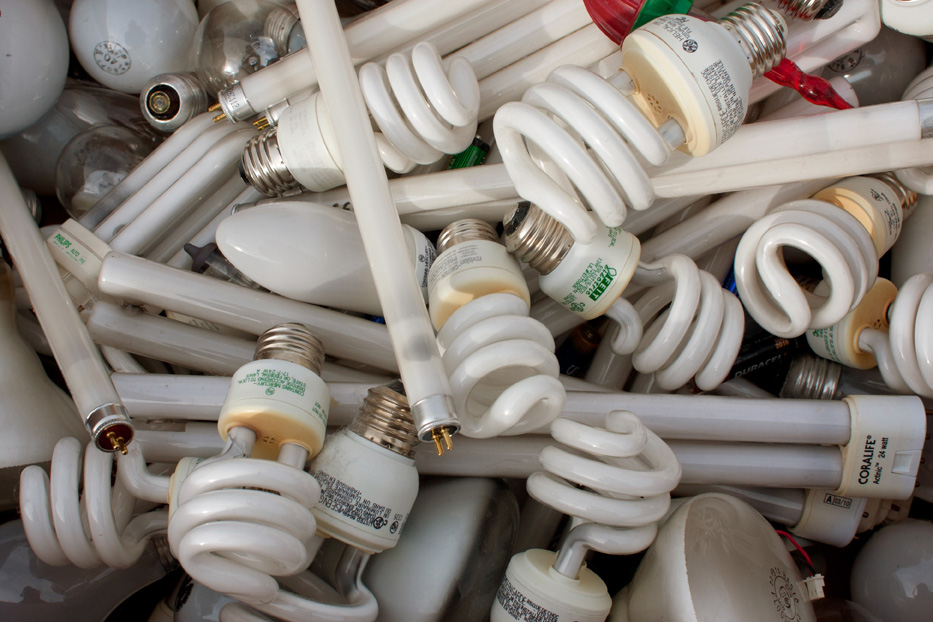
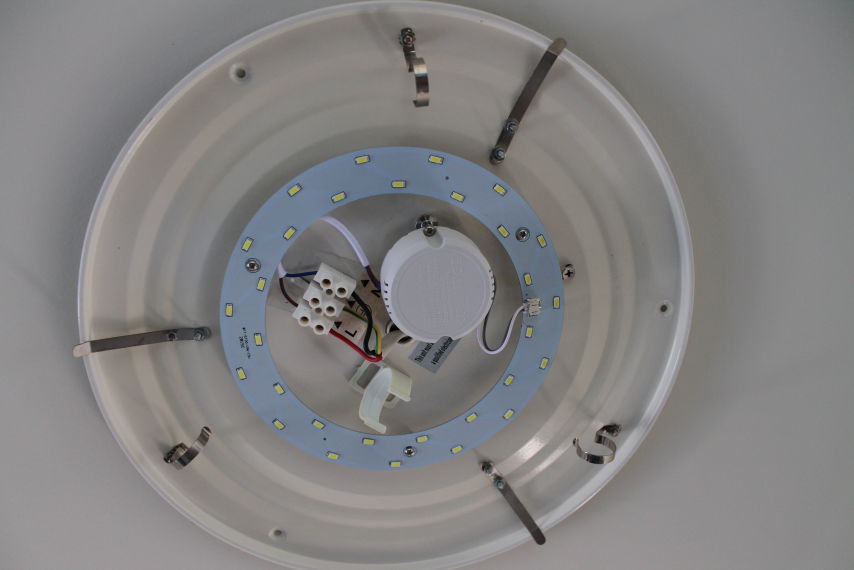
Replacing a fluorescent light ballast in your kitchen is not only a necessary maintenance task, but it can also be a great opportunity to upgrade your lighting. Instead of using traditional fluorescent bulbs, consider switching to LED bulbs. They are more energy-efficient, have a longer lifespan, and can provide better lighting for your kitchen.


DIY Kitchen Lighting Upgrade: Replacing Fluorescent Light Ballast


:max_bytes(150000):strip_icc()/SPR-ballast-gone-ballistic-1152461-hero-f0a1c039d31a4d9aa074ed25f4675762.jpg)


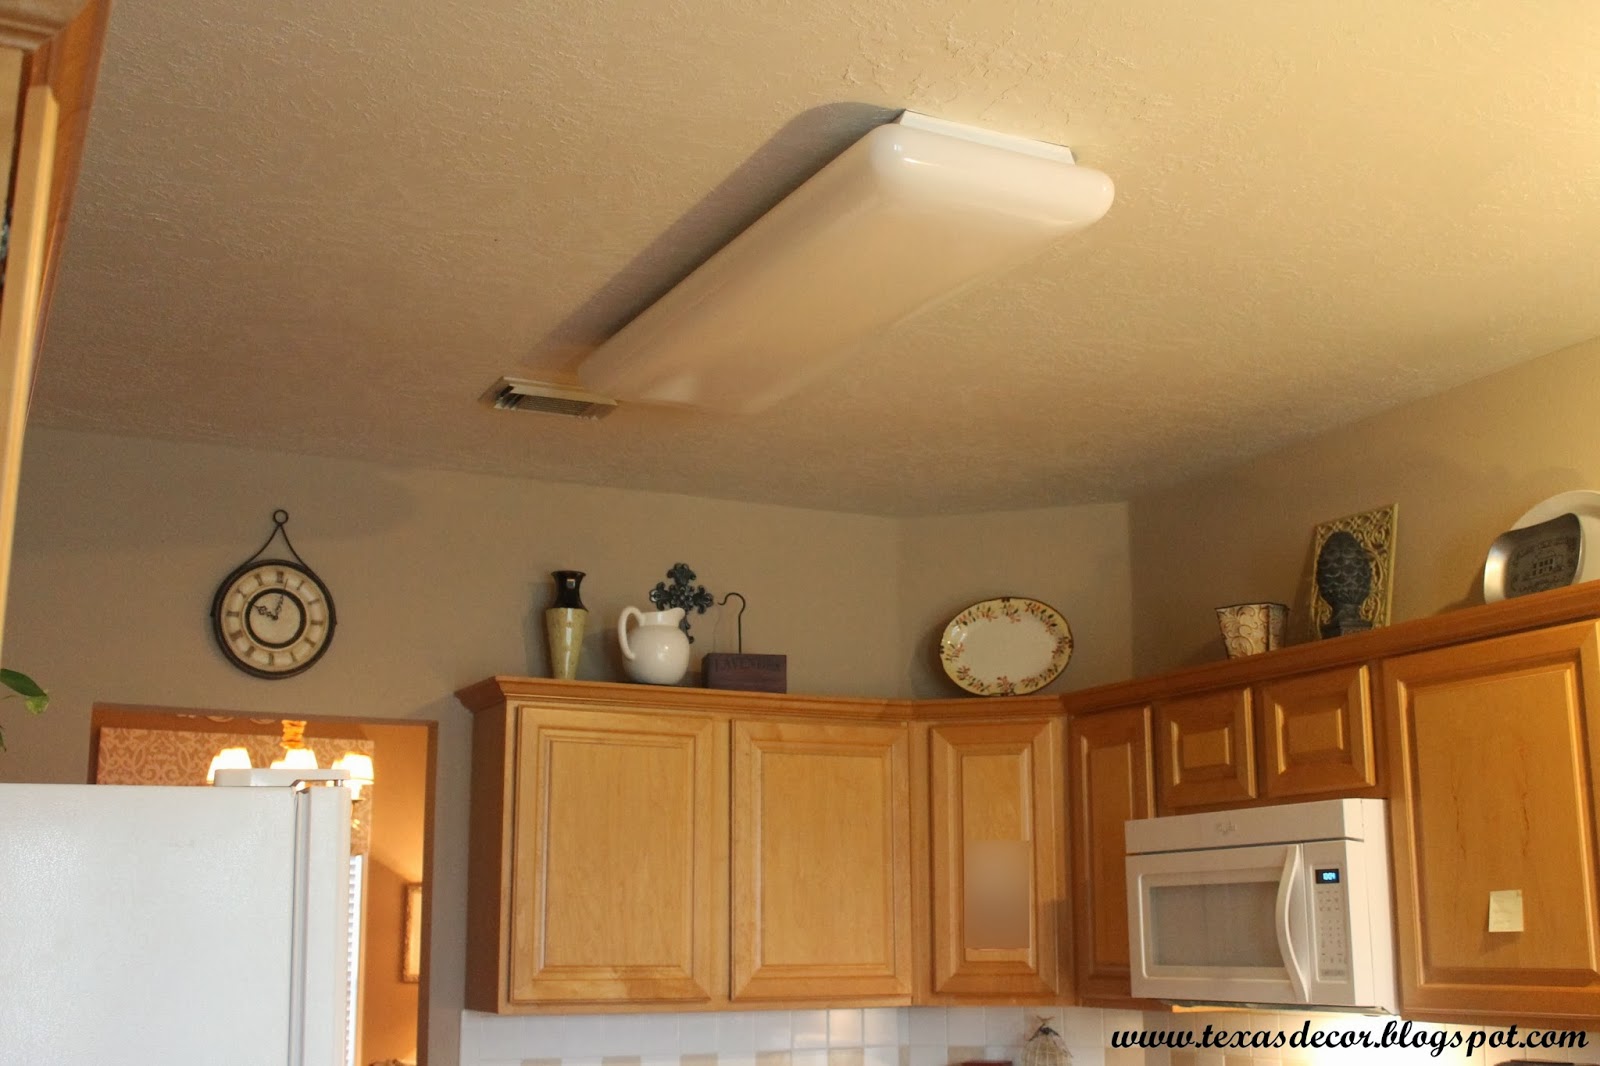
Common Problems with Fluorescent Light Ballasts in Kitchens
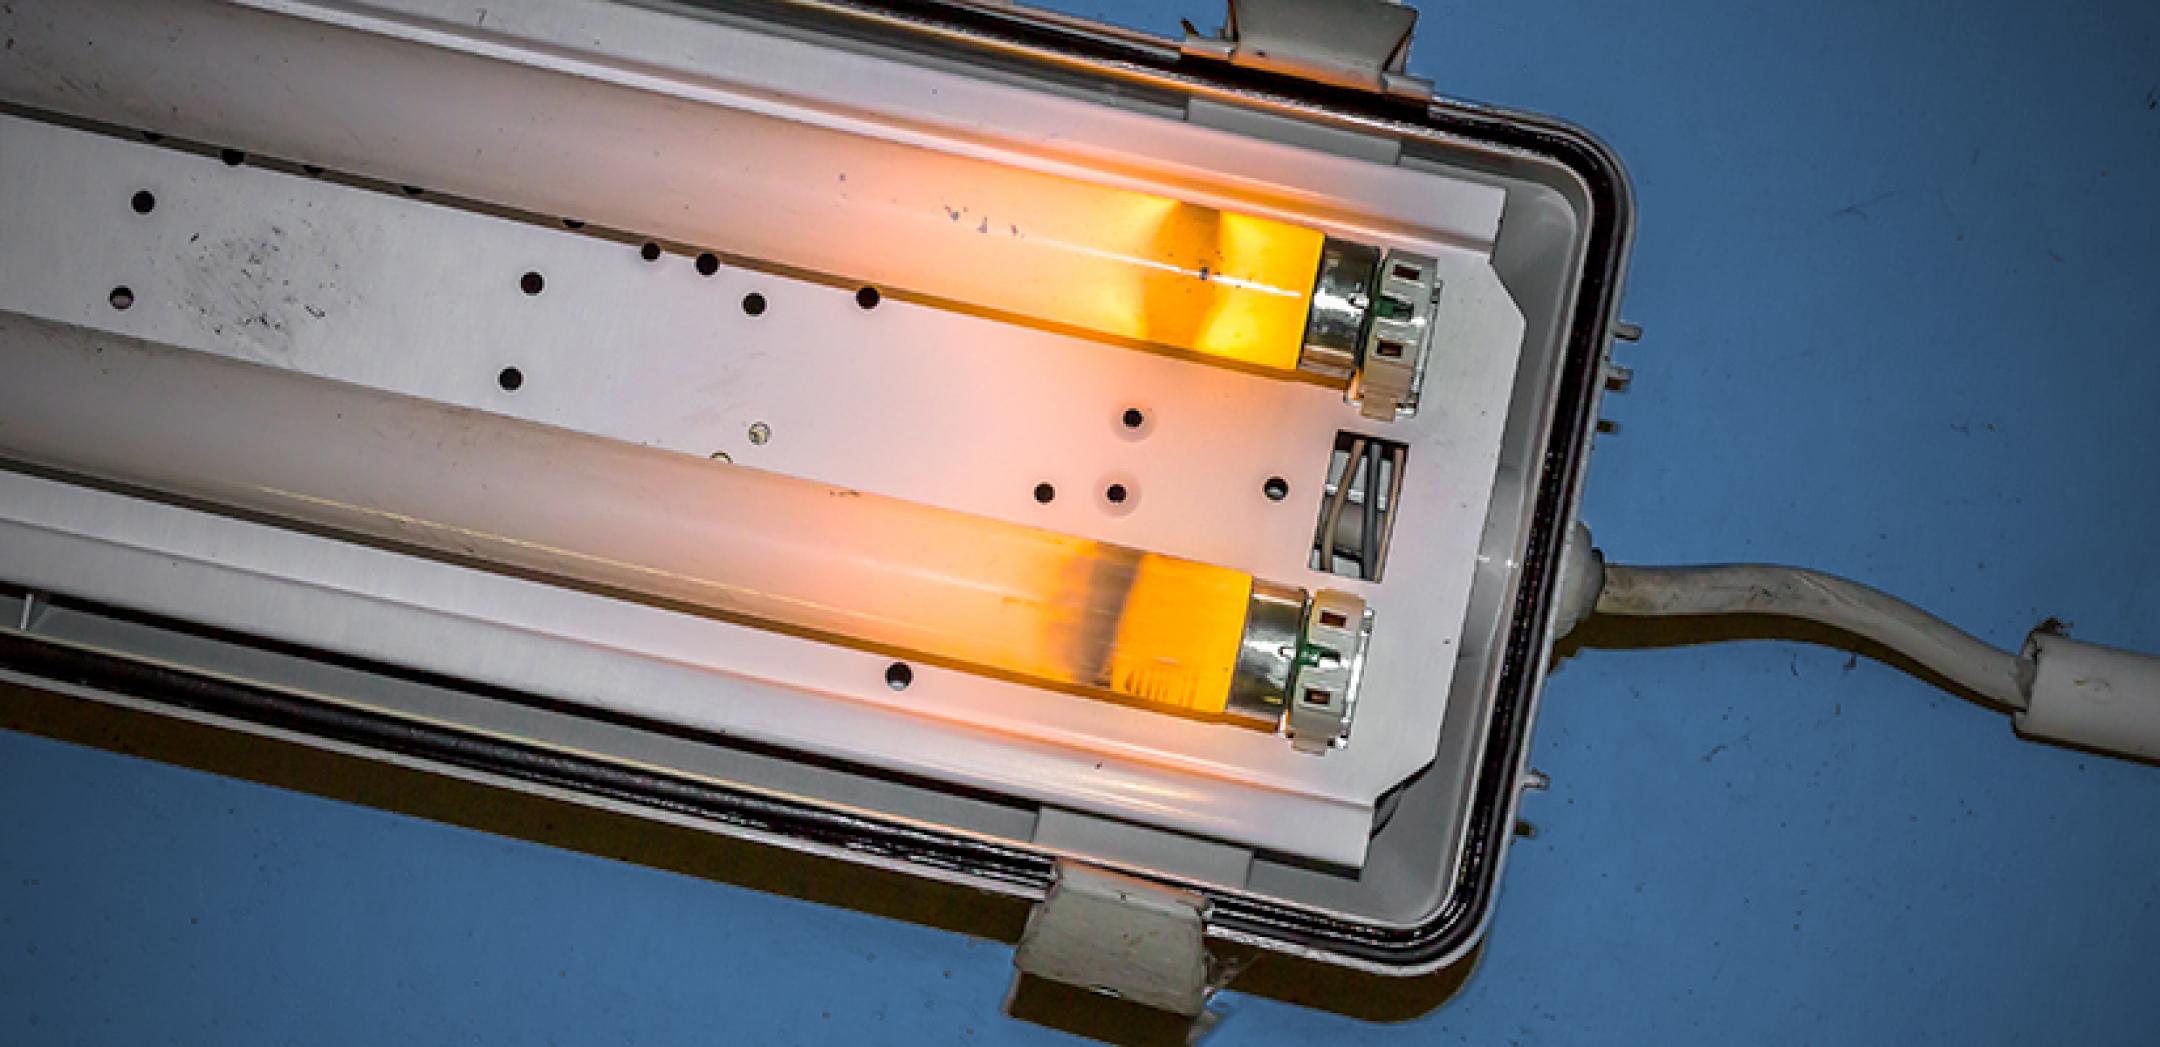
Some common problems with fluorescent light ballasts in kitchens include flickering lights, buzzing noises, and lights that won't turn on. These issues can be caused by a faulty ballast, loose connections, or expired bulbs. It's important to regularly check and replace your ballast to avoid these issues and ensure your kitchen has proper lighting.


Common Problems with Fluorescent Light Ballasts in Kitchens


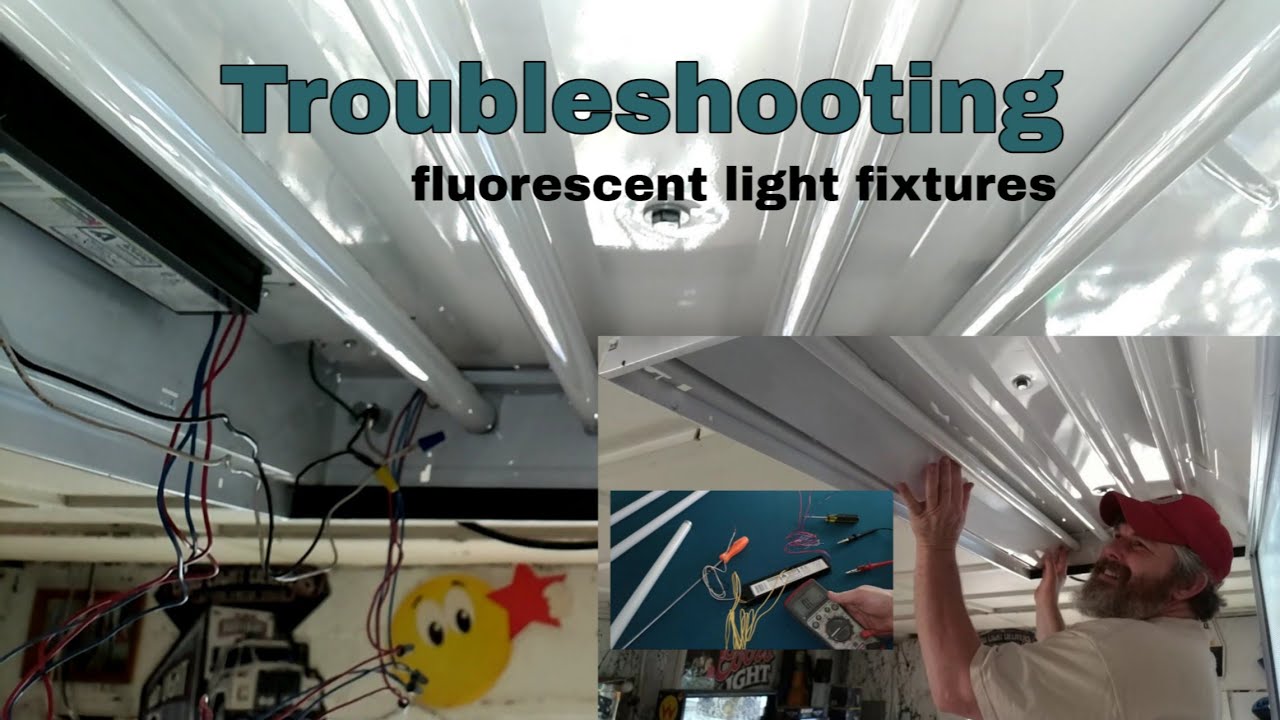
How to Troubleshoot and Repair a Kitchen Fluorescent Light Ballast
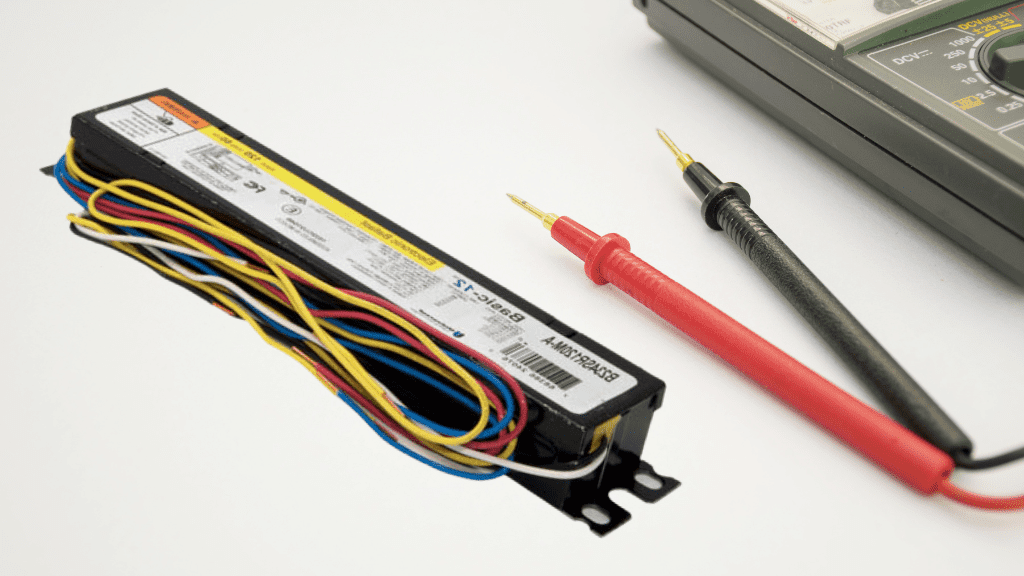
If you're having issues with your fluorescent light ballast, there are a few troubleshooting steps you can take before replacing it. First, try replacing the bulbs to see if that solves the problem. If not, check all the connections to make sure they are secure. You can also use a multimeter to test the ballast and see if it is still functioning properly.

How to Troubleshoot and Repair a Kitchen Fluorescent Light Ballast


DIY Kitchen Lighting: Upgrading to LED from Fluorescent
As mentioned earlier, upgrading to LED bulbs is a great option for your kitchen lighting. Not only do they provide better lighting, but they also have a longer lifespan and are more energy-efficient. You can easily make the switch by purchasing LED bulbs that are compatible with your light fixture.


DIY Kitchen Lighting: Upgrading to LED from Fluorescent


How to Install a New Fluorescent Light Ballast in Your Kitchen
If you're installing a new fluorescent light ballast in your kitchen, make sure to follow the instructions provided with the new ballast carefully. It's important to match the wires correctly and secure the ballast properly to avoid any future issues. If you're unsure, it's always best to consult a professional for help.


How to Install a New Fluorescent Light Ballast in Your Kitchen


Tips and Tricks for DIY Kitchen Fluorescent Light Ballast Replacement
Here are a few tips and tricks to keep in mind when replacing a fluorescent light ballast in your kitchen:


Tips and Tricks for DIY Kitchen Fluorescent Light Ballast Replacement

Diy Kitchen Fluorescent Light Ballast: A Simple and Cost-Effective Solution for Your Kitchen Design

Why You Should Consider Installing a DIY Kitchen Fluorescent Light Ballast
 If you're looking to update your kitchen design without breaking the bank, installing a DIY kitchen fluorescent light ballast may be the perfect solution. Fluorescent lighting is known for its energy efficiency and bright, clean light. By replacing your old ballast, you can improve the lighting in your kitchen while also saving money on your electricity bill.
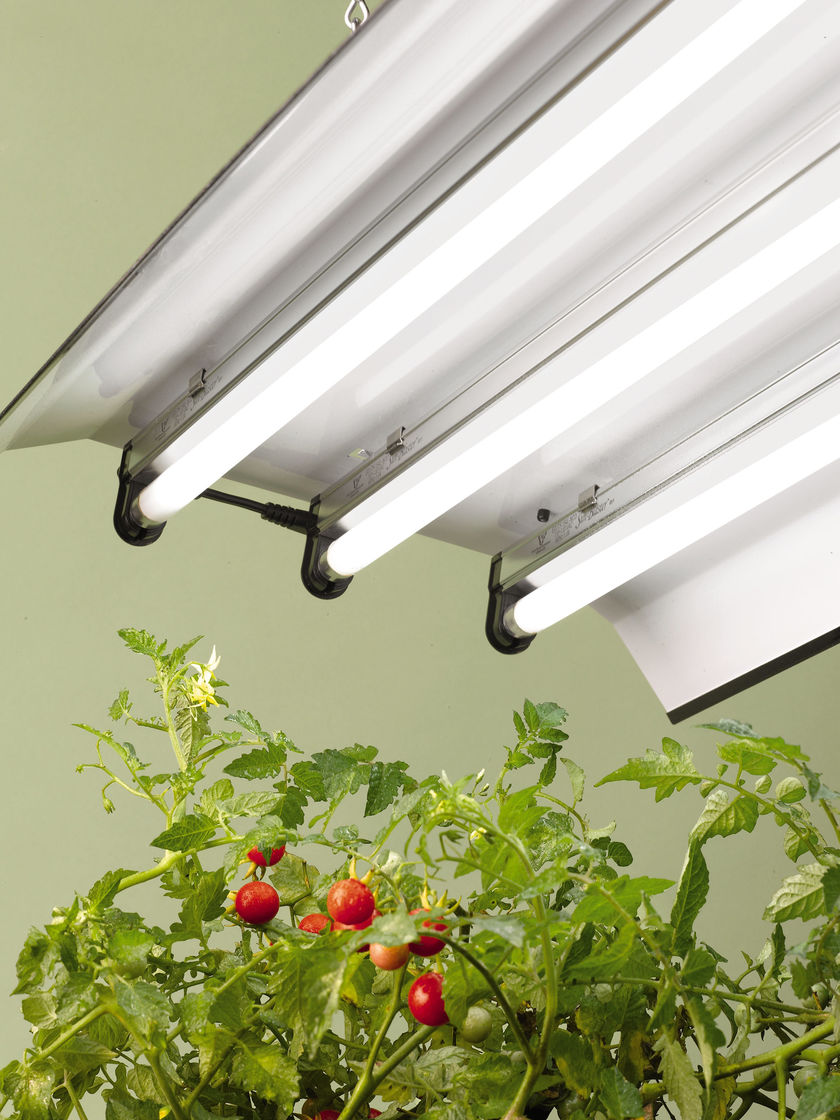
The Benefits of Fluorescent Lighting in Your Kitchen
 Fluorescent lighting has numerous benefits that make it a popular choice for kitchens. First and foremost, it provides bright and even light, making it easier to see and work in the kitchen. This is especially important for tasks such as cooking and food preparation. Additionally, fluorescent lighting is energy efficient, using up to 75% less energy than traditional incandescent bulbs. This not only helps the environment but also saves you money on your monthly energy bill.
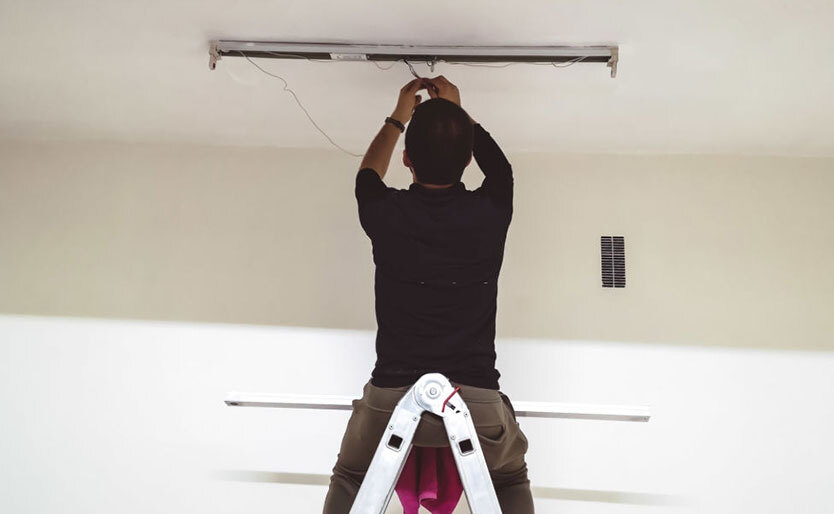
How to Install a DIY Kitchen Fluorescent Light Ballast
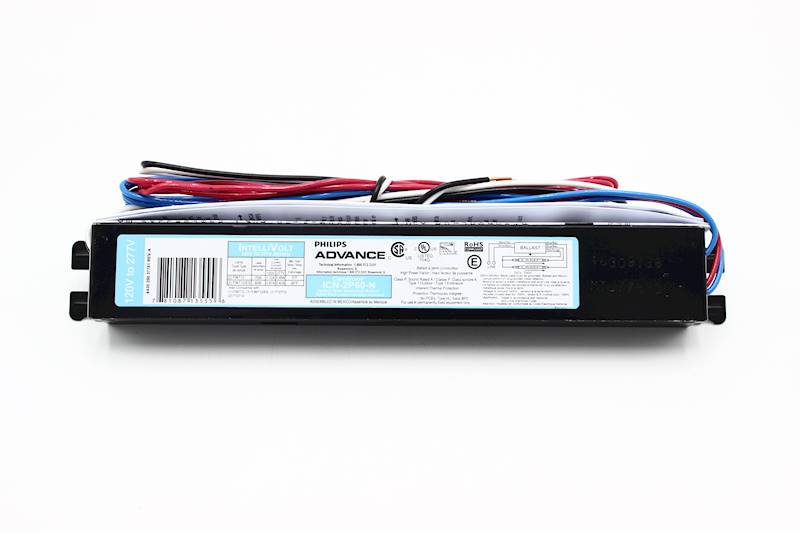
 Installing a DIY kitchen fluorescent light ballast is a simple and straightforward process that can be completed in just a few steps. First, turn off the power to the kitchen light at the circuit breaker. Remove the old ballast and make note of the wiring configuration. Next, connect the new ballast according to the manufacturer's instructions. Finally, reinstall the light fixture and turn the power back on. With just a few tools and some basic electrical knowledge, you can have your new kitchen fluorescent light ballast installed in no time.
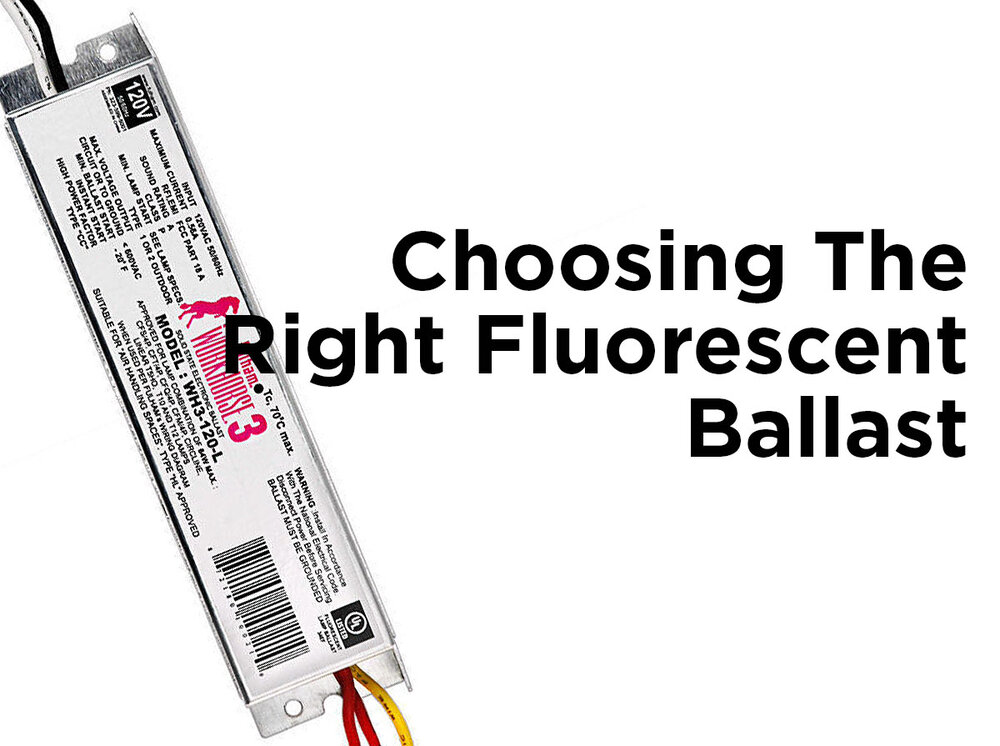
Choosing the Right Ballast for Your Kitchen
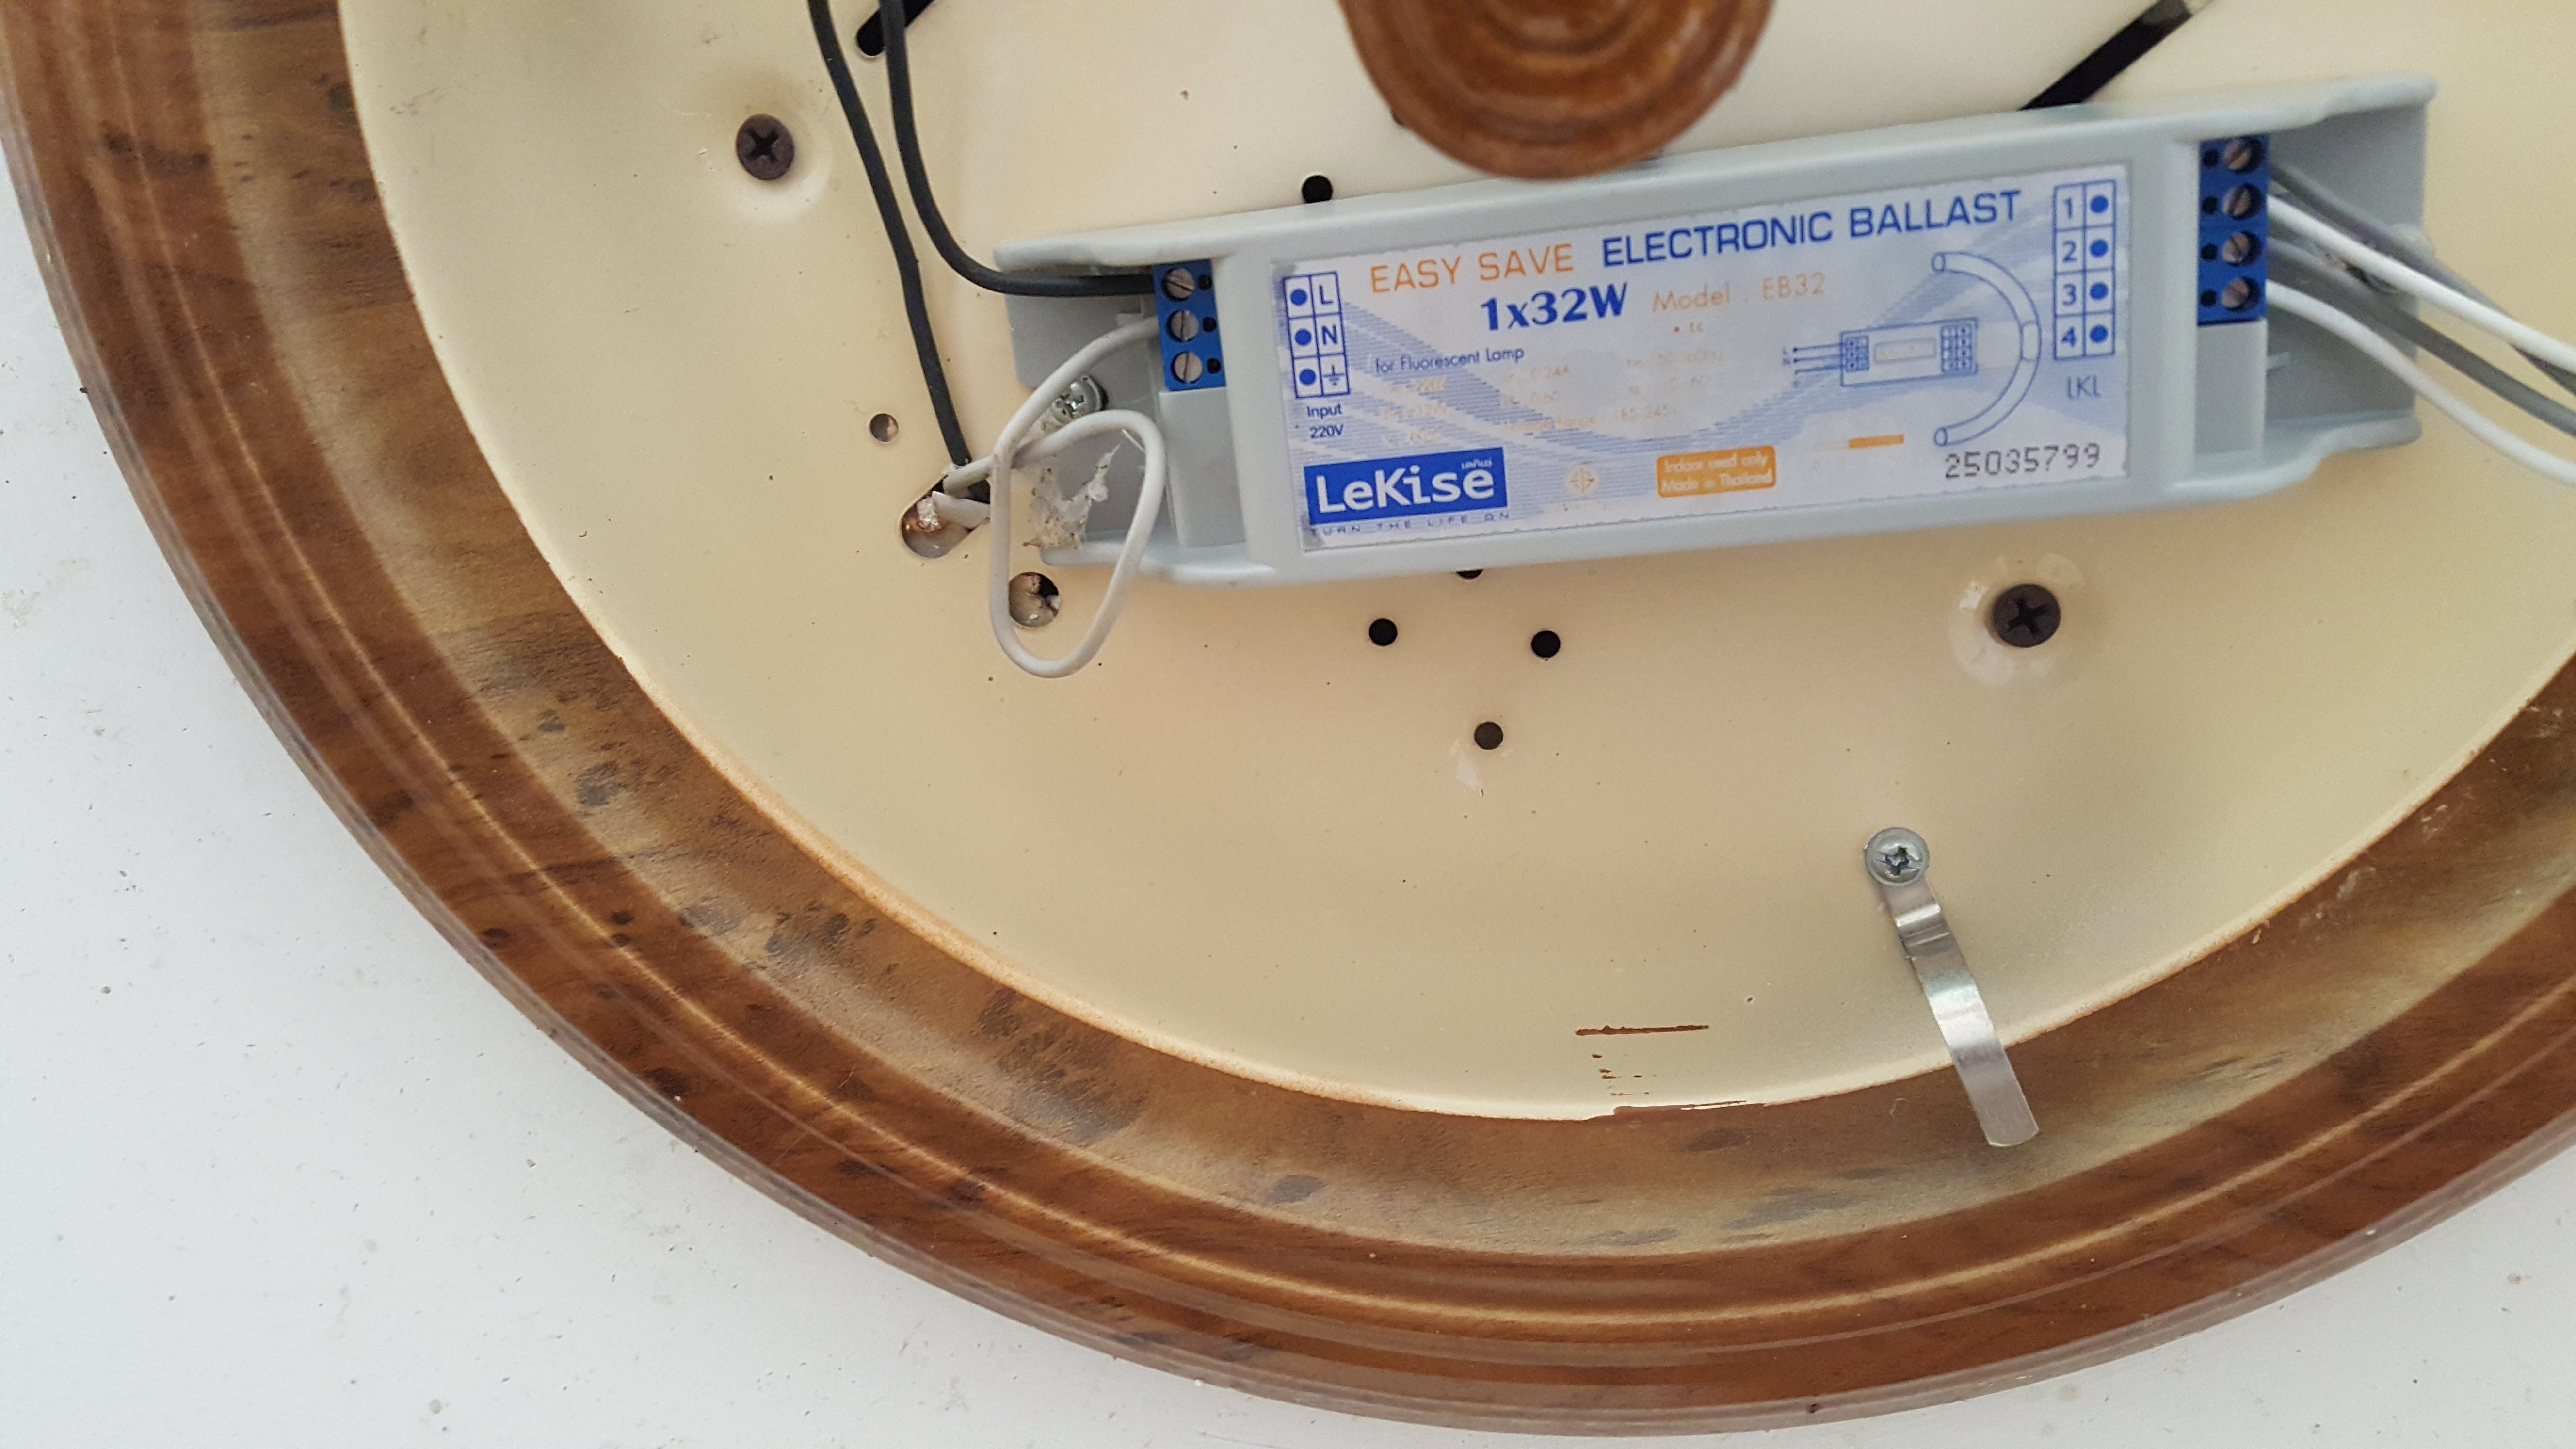
 When it comes to choosing the right DIY kitchen fluorescent light ballast, there are a few things to keep in mind. Make sure to choose a ballast that is compatible with your existing light fixture and the type of bulbs you plan to use. It's also important to consider the wattage and voltage of the ballast to ensure it can handle the amount of light needed in your kitchen. Lastly, look for a ballast that is energy efficient and has a long lifespan to get the most out of your investment.
In conclusion, installing a DIY kitchen fluorescent light ballast is a simple and cost-effective solution for updating your kitchen design. With its energy efficiency and bright, clean light, fluorescent lighting is a practical choice for any kitchen. By following a few simple steps, you can easily replace your old ballast and enjoy improved lighting in your kitchen. So why wait? Upgrade your kitchen design today with a DIY kitchen fluorescent light ballast.
When it comes to choosing the right DIY kitchen fluorescent light ballast, there are a few things to keep in mind. Make sure to choose a ballast that is compatible with your existing light fixture and the type of bulbs you plan to use. It's also important to consider the wattage and voltage of the ballast to ensure it can handle the amount of light needed in your kitchen. Lastly, look for a ballast that is energy efficient and has a long lifespan to get the most out of your investment.
In conclusion, installing a DIY kitchen fluorescent light ballast is a simple and cost-effective solution for updating your kitchen design. With its energy efficiency and bright, clean light, fluorescent lighting is a practical choice for any kitchen. By following a few simple steps, you can easily replace your old ballast and enjoy improved lighting in your kitchen. So why wait? Upgrade your kitchen design today with a DIY kitchen fluorescent light ballast.