If you're looking to upgrade your kitchen table and give it a unique and durable finish, an epoxy resin table may be just what you need. With its glossy finish and customizable design, an epoxy resin table can add a touch of elegance to your kitchen while also being practical and long-lasting. To make your own epoxy resin kitchen table, you will need some basic materials and tools such as wood or an existing table, epoxy resin, hardener, a mixing container, and a spreader. You can also add featured keywords such as pigments, glitter, or other decorative elements to personalize your table.1. How to Make an Epoxy Resin Table | DIY Kitchen Table


1. How to Make an Epoxy Resin Table


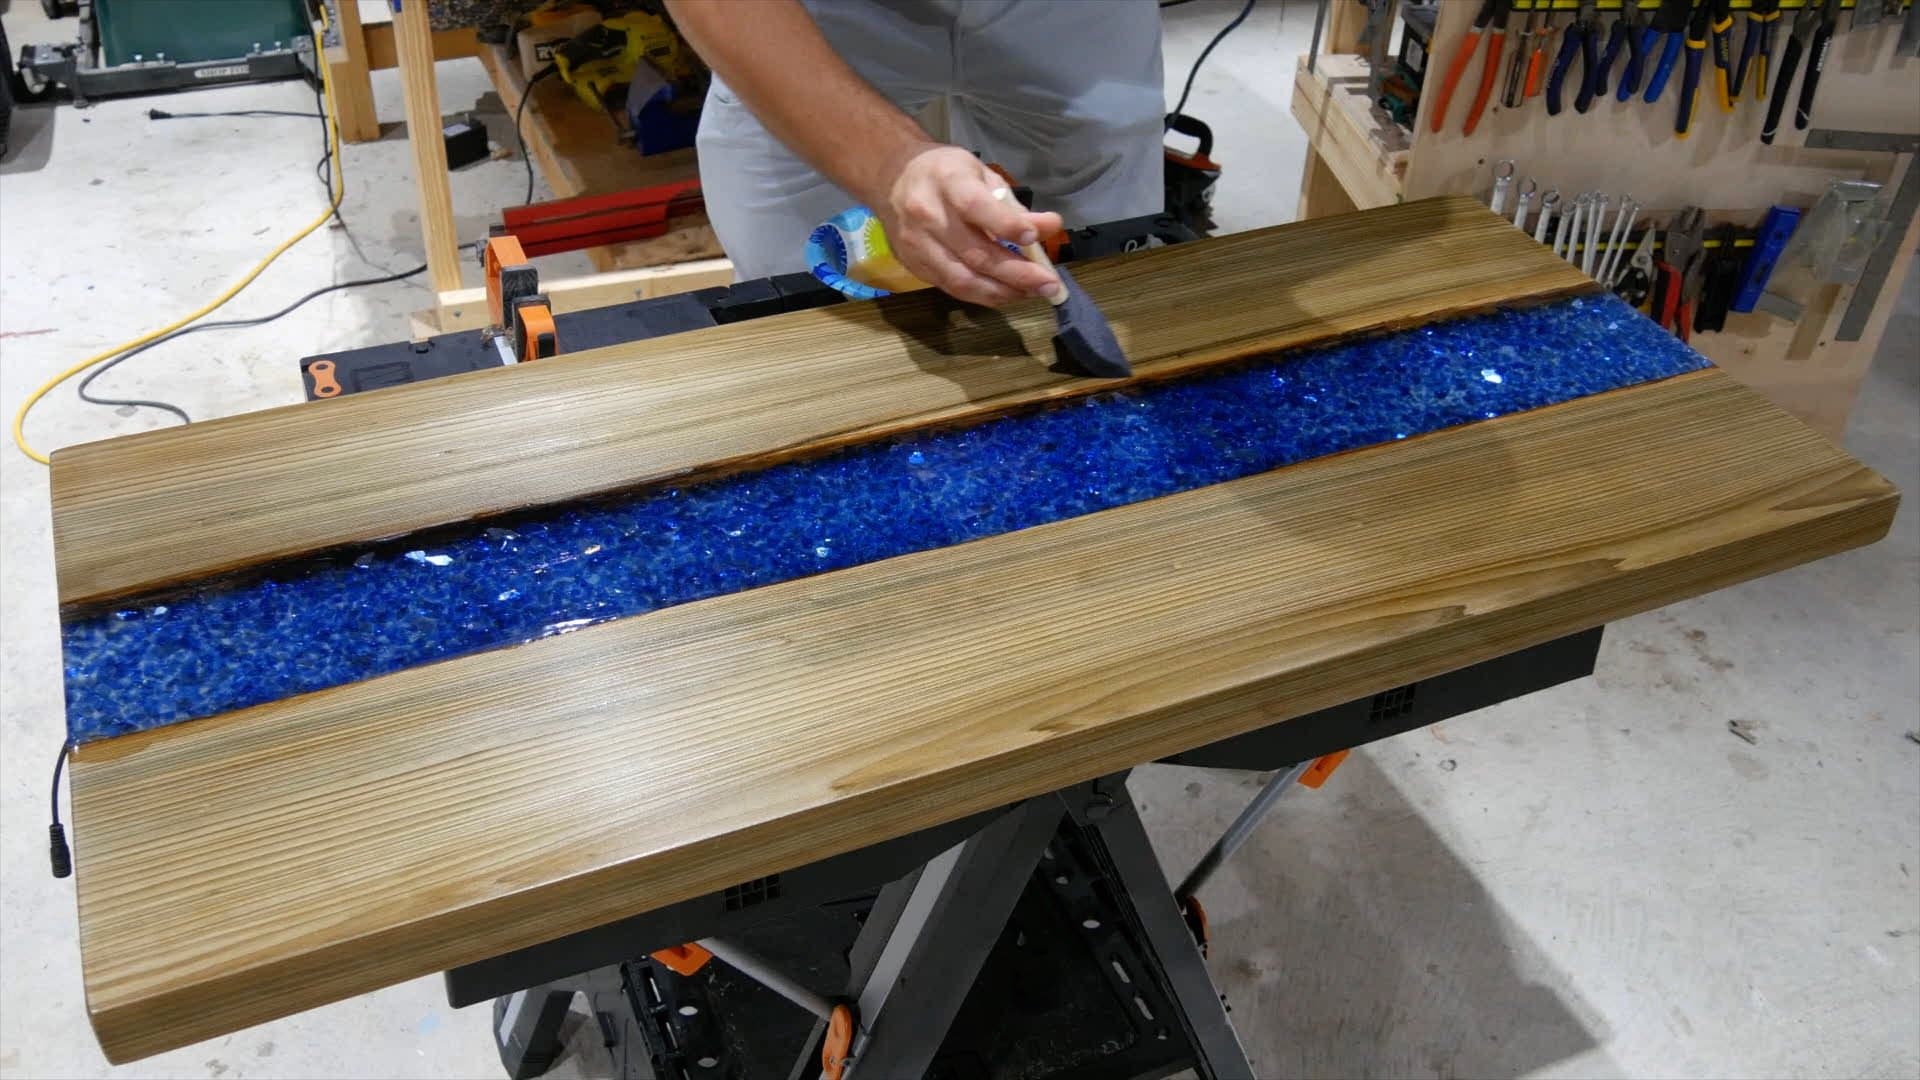
Before starting your project, make sure you have a well-ventilated workspace and protective gear, such as gloves and a mask, as the fumes from epoxy resin can be harmful. Begin by sanding your table to create a smooth surface for the resin to adhere to. You can also use a wood filler to fill in any gaps or imperfections. Next, mix the epoxy resin and hardener according to the manufacturer's instructions. You can also add bold keywords such as UV protection or heat resistance to your resin mix for added durability. Then, pour the resin mixture onto the table and spread it evenly with a spreader. You can also use a torch to remove any air bubbles that may have formed.2. DIY Epoxy Resin Kitchen Table Tutorial


DIY Kitchen Table
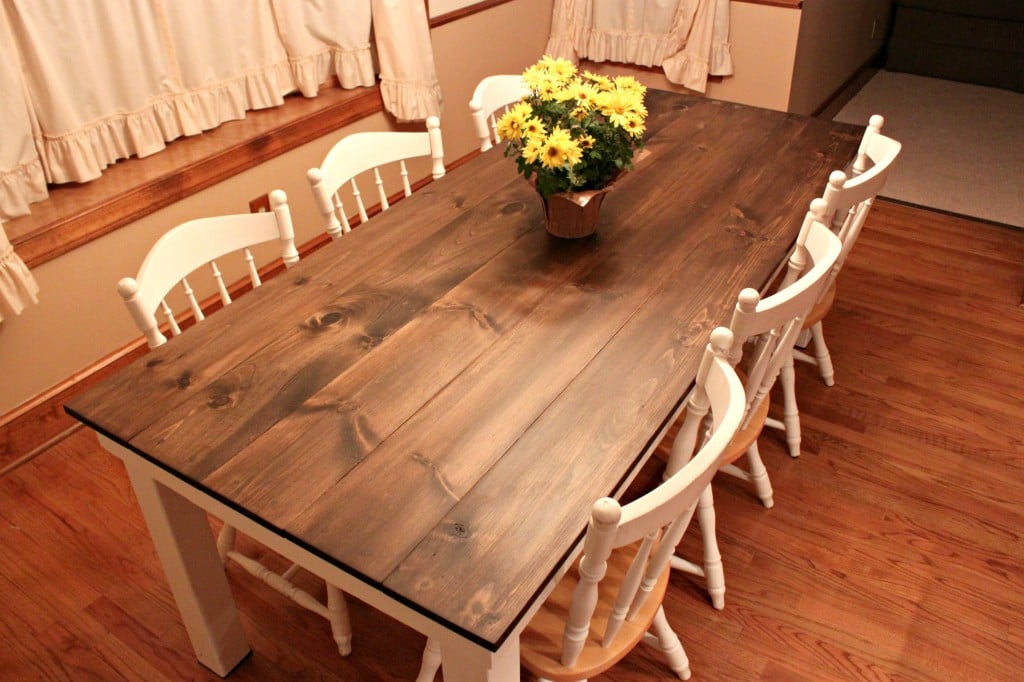


As the resin cures, it will create a hard and glossy finish that is resistant to scratches and stains, making it perfect for a kitchen table. You can also add multiple layers of resin for a thicker finish or to embed decorative elements. Make sure to let each layer cure completely before adding the next one. Once the resin has fully cured, sand the surface to remove any imperfections or unevenness. You can also use a polishing compound to give your table an extra shine. Finally, seal the edges of the table with epoxy resin for a clean and professional-looking finish.3. Epoxy Resin Kitchen Table DIY - Step by Step Guide


2. DIY Epoxy Resin Kitchen Table Tutorial


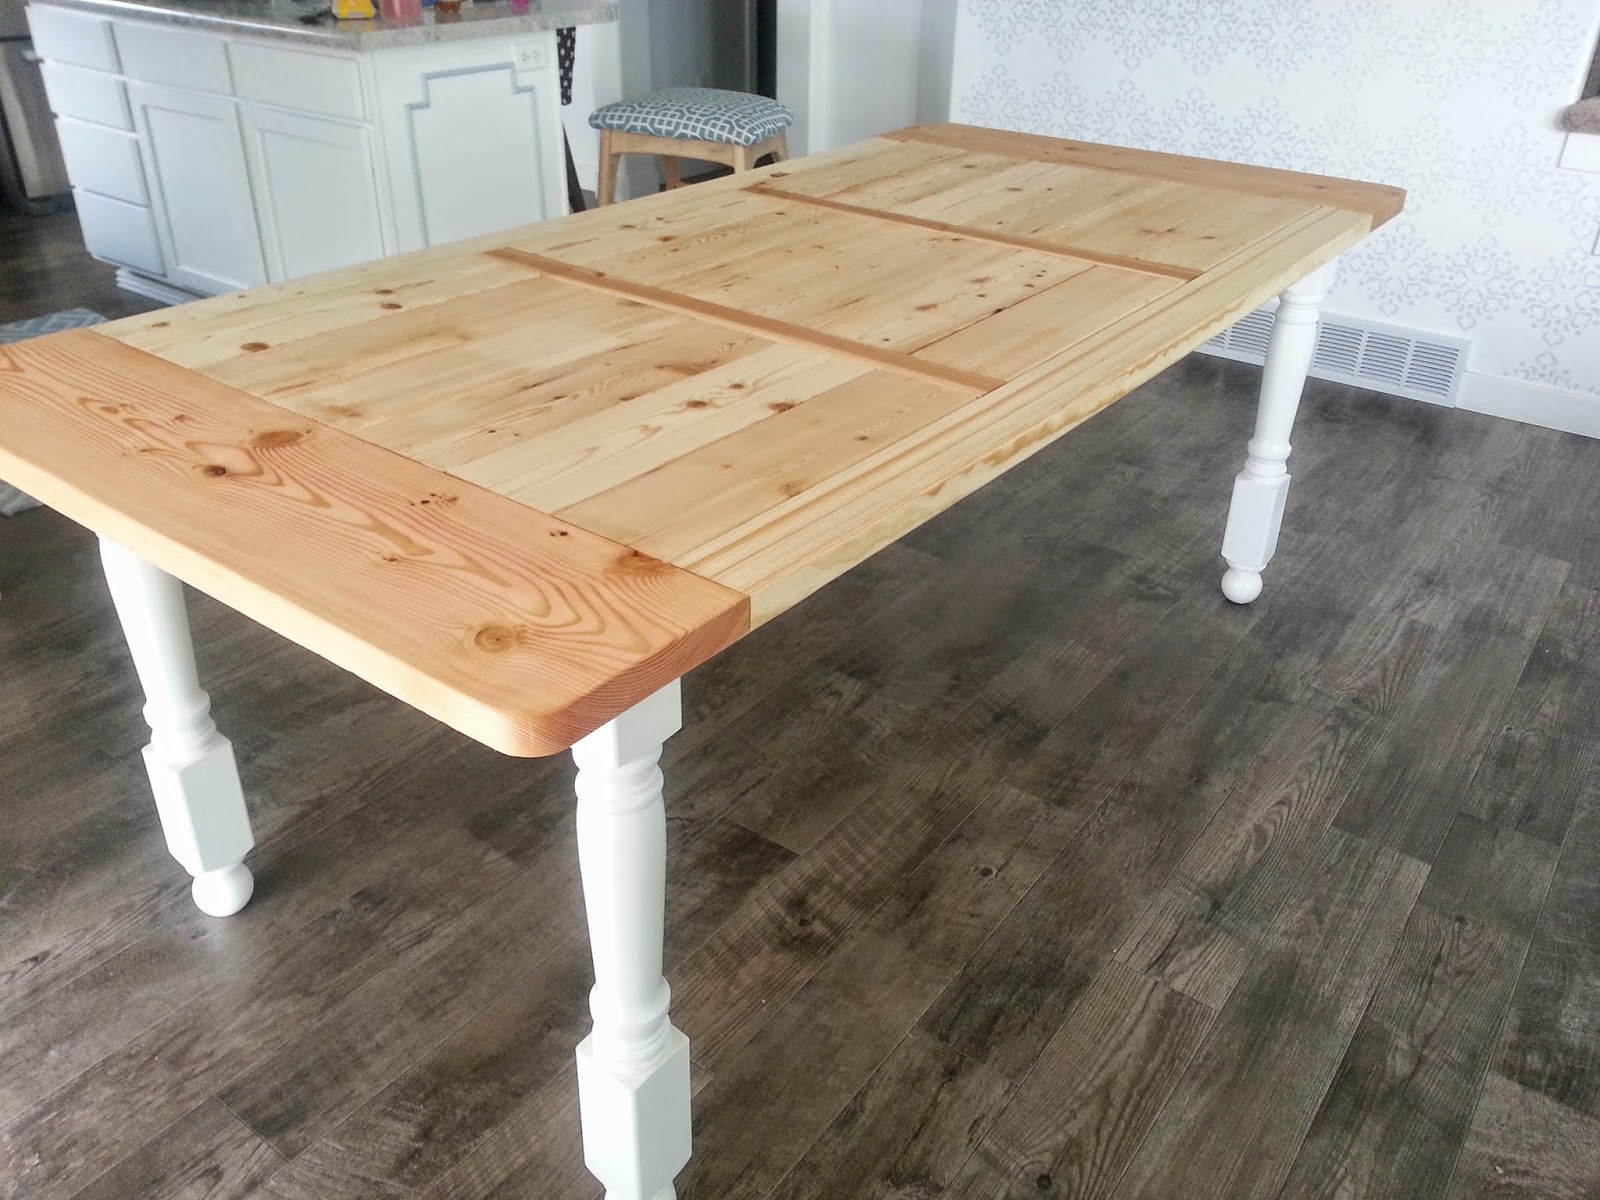
If you already have a kitchen table that you love but want to give it a new look, you can also use epoxy resin to create a table top. This process is similar to making an epoxy resin table from scratch, but you will need to measure and cut the resin to fit your existing table. For a unique touch, you can also add featured keywords such as dried flowers, photos, or memorabilia between layers of resin to create a personalized and one-of-a-kind table top.4. DIY Epoxy Table Top - Kitchen Table Makeover


3. Epoxy Resin Kitchen Table DIY - Step by Step Guide


Here are a few tips and tricks to keep in mind when making your own epoxy resin kitchen table:5. Epoxy Kitchen Table DIY - Tips and Tricks


4. DIY Epoxy Table Top - Kitchen Table Makeover


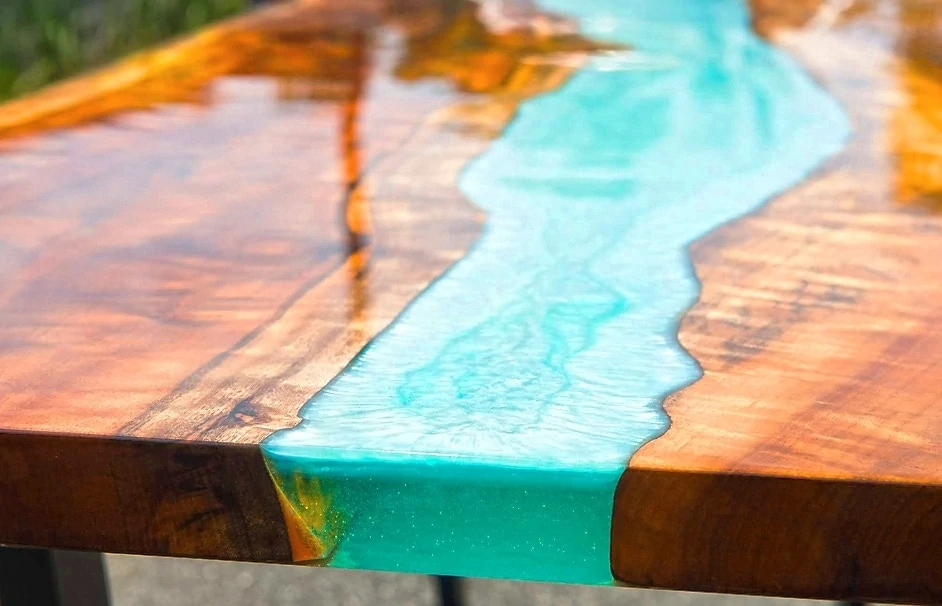
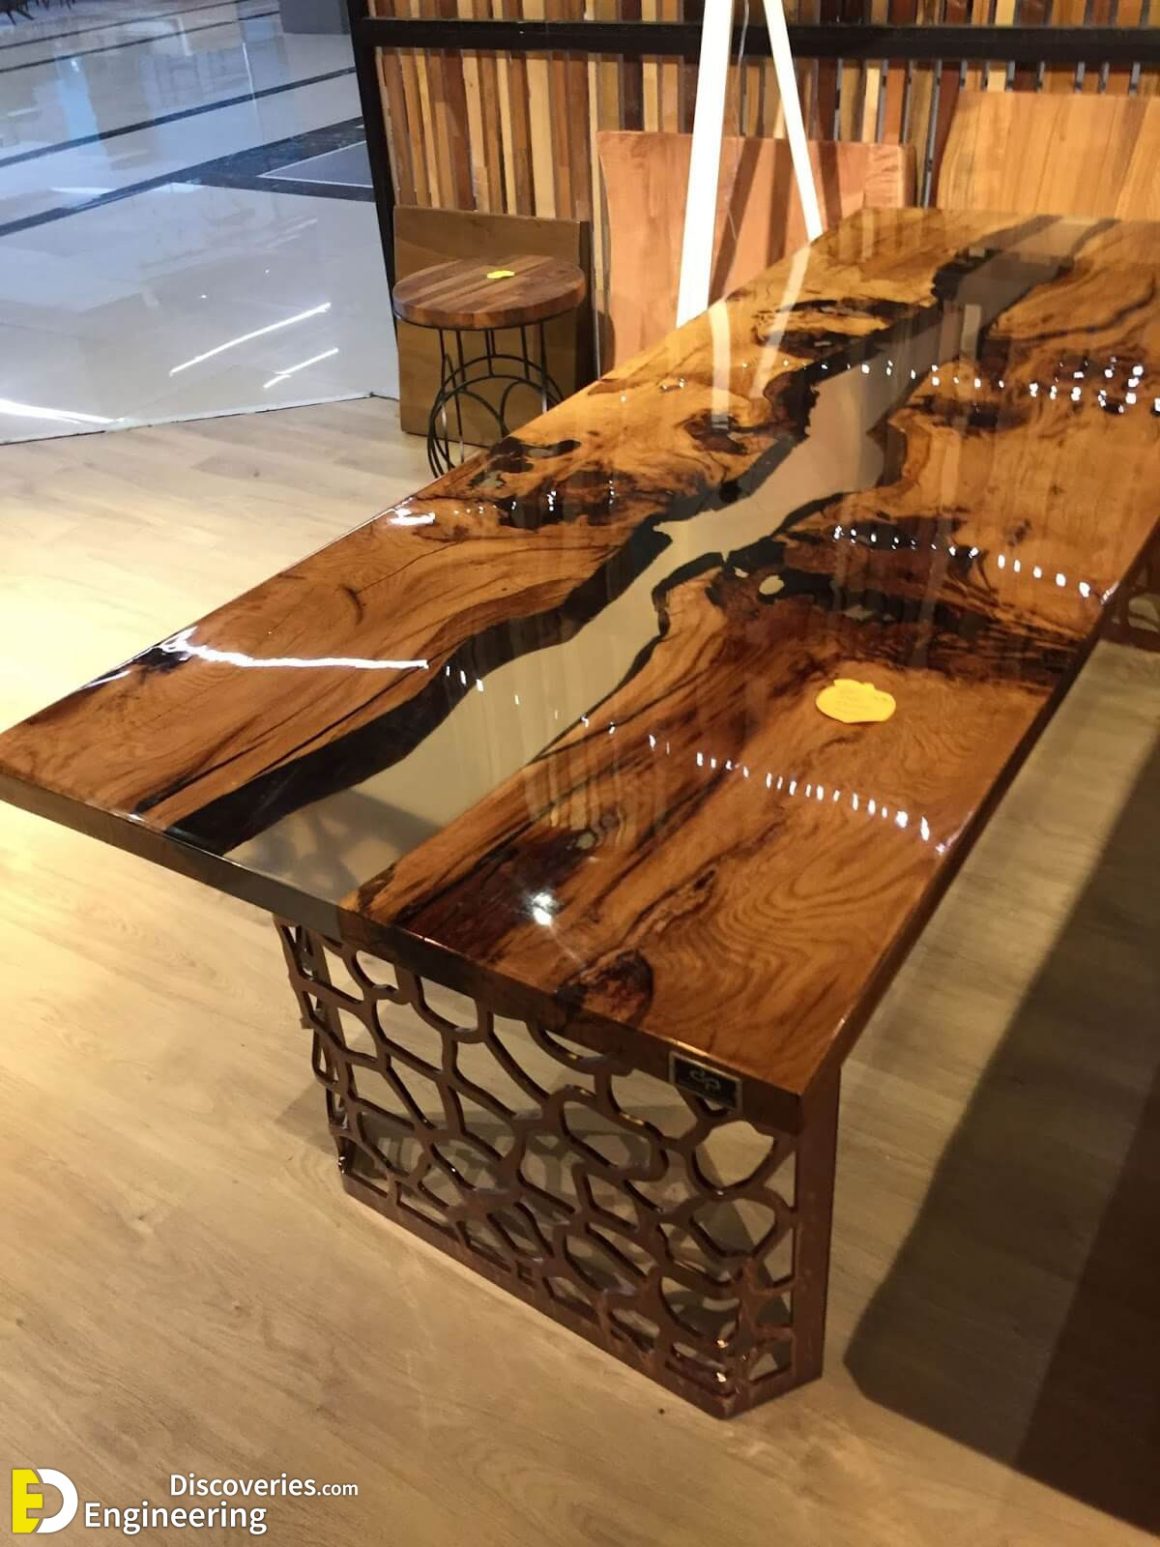
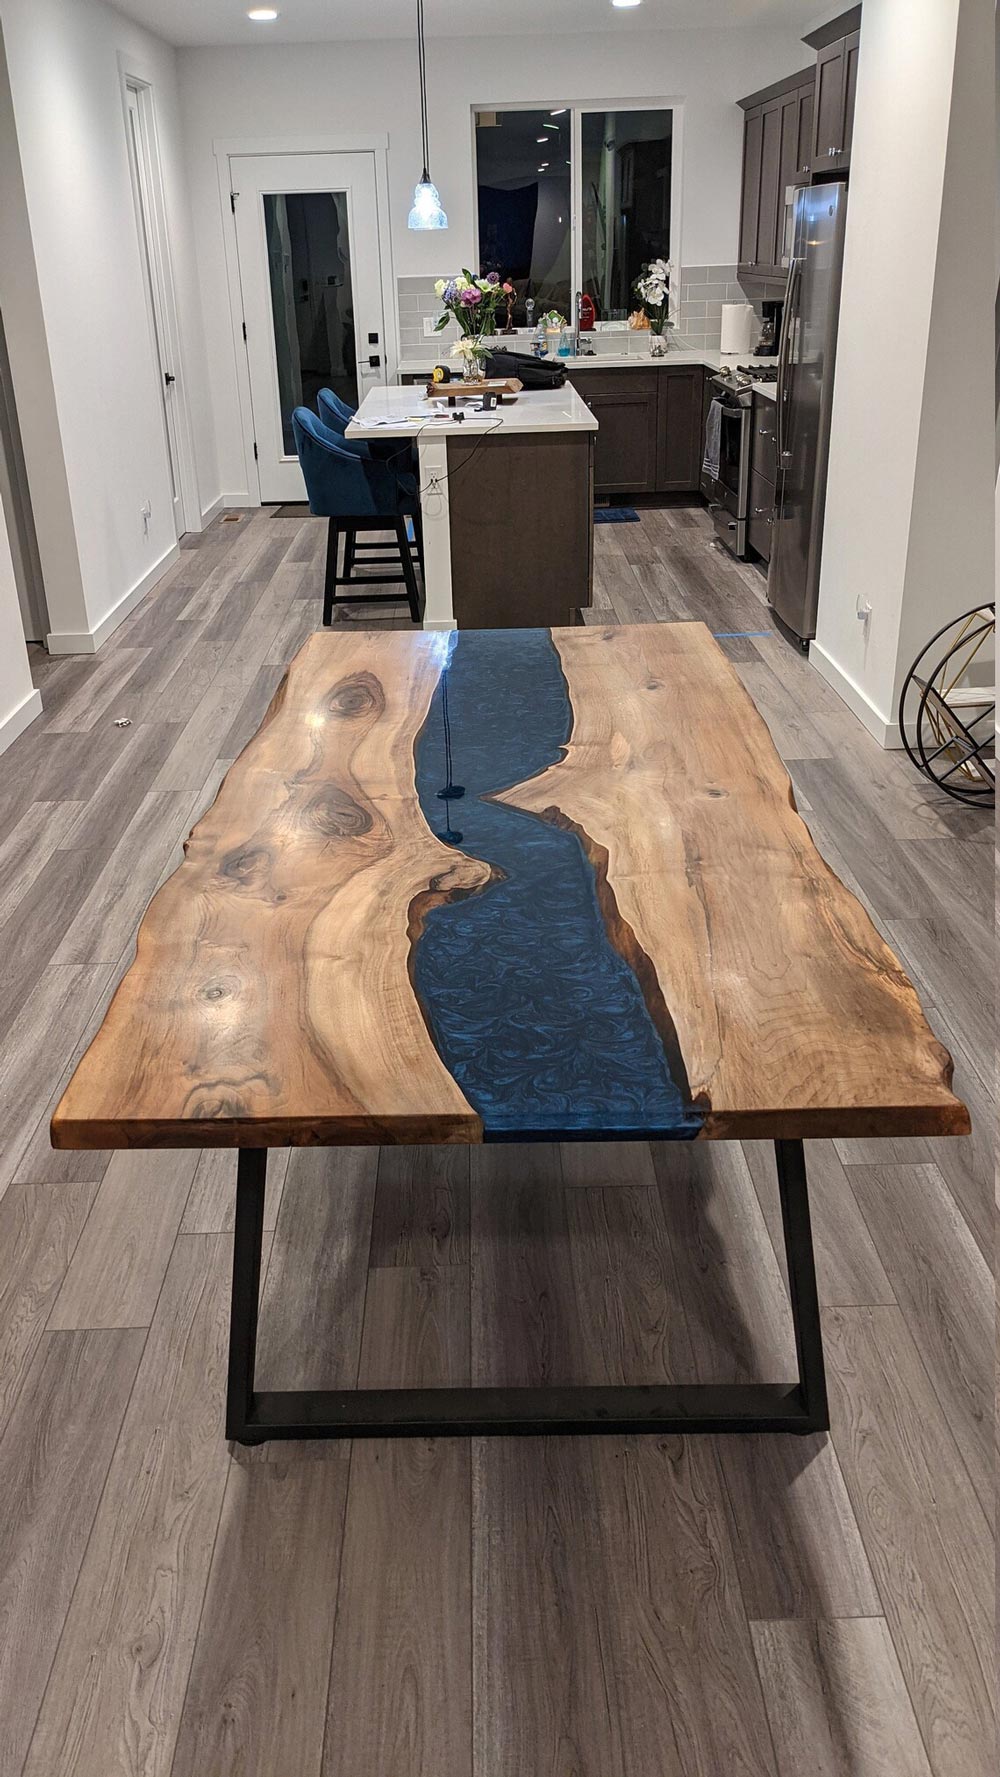
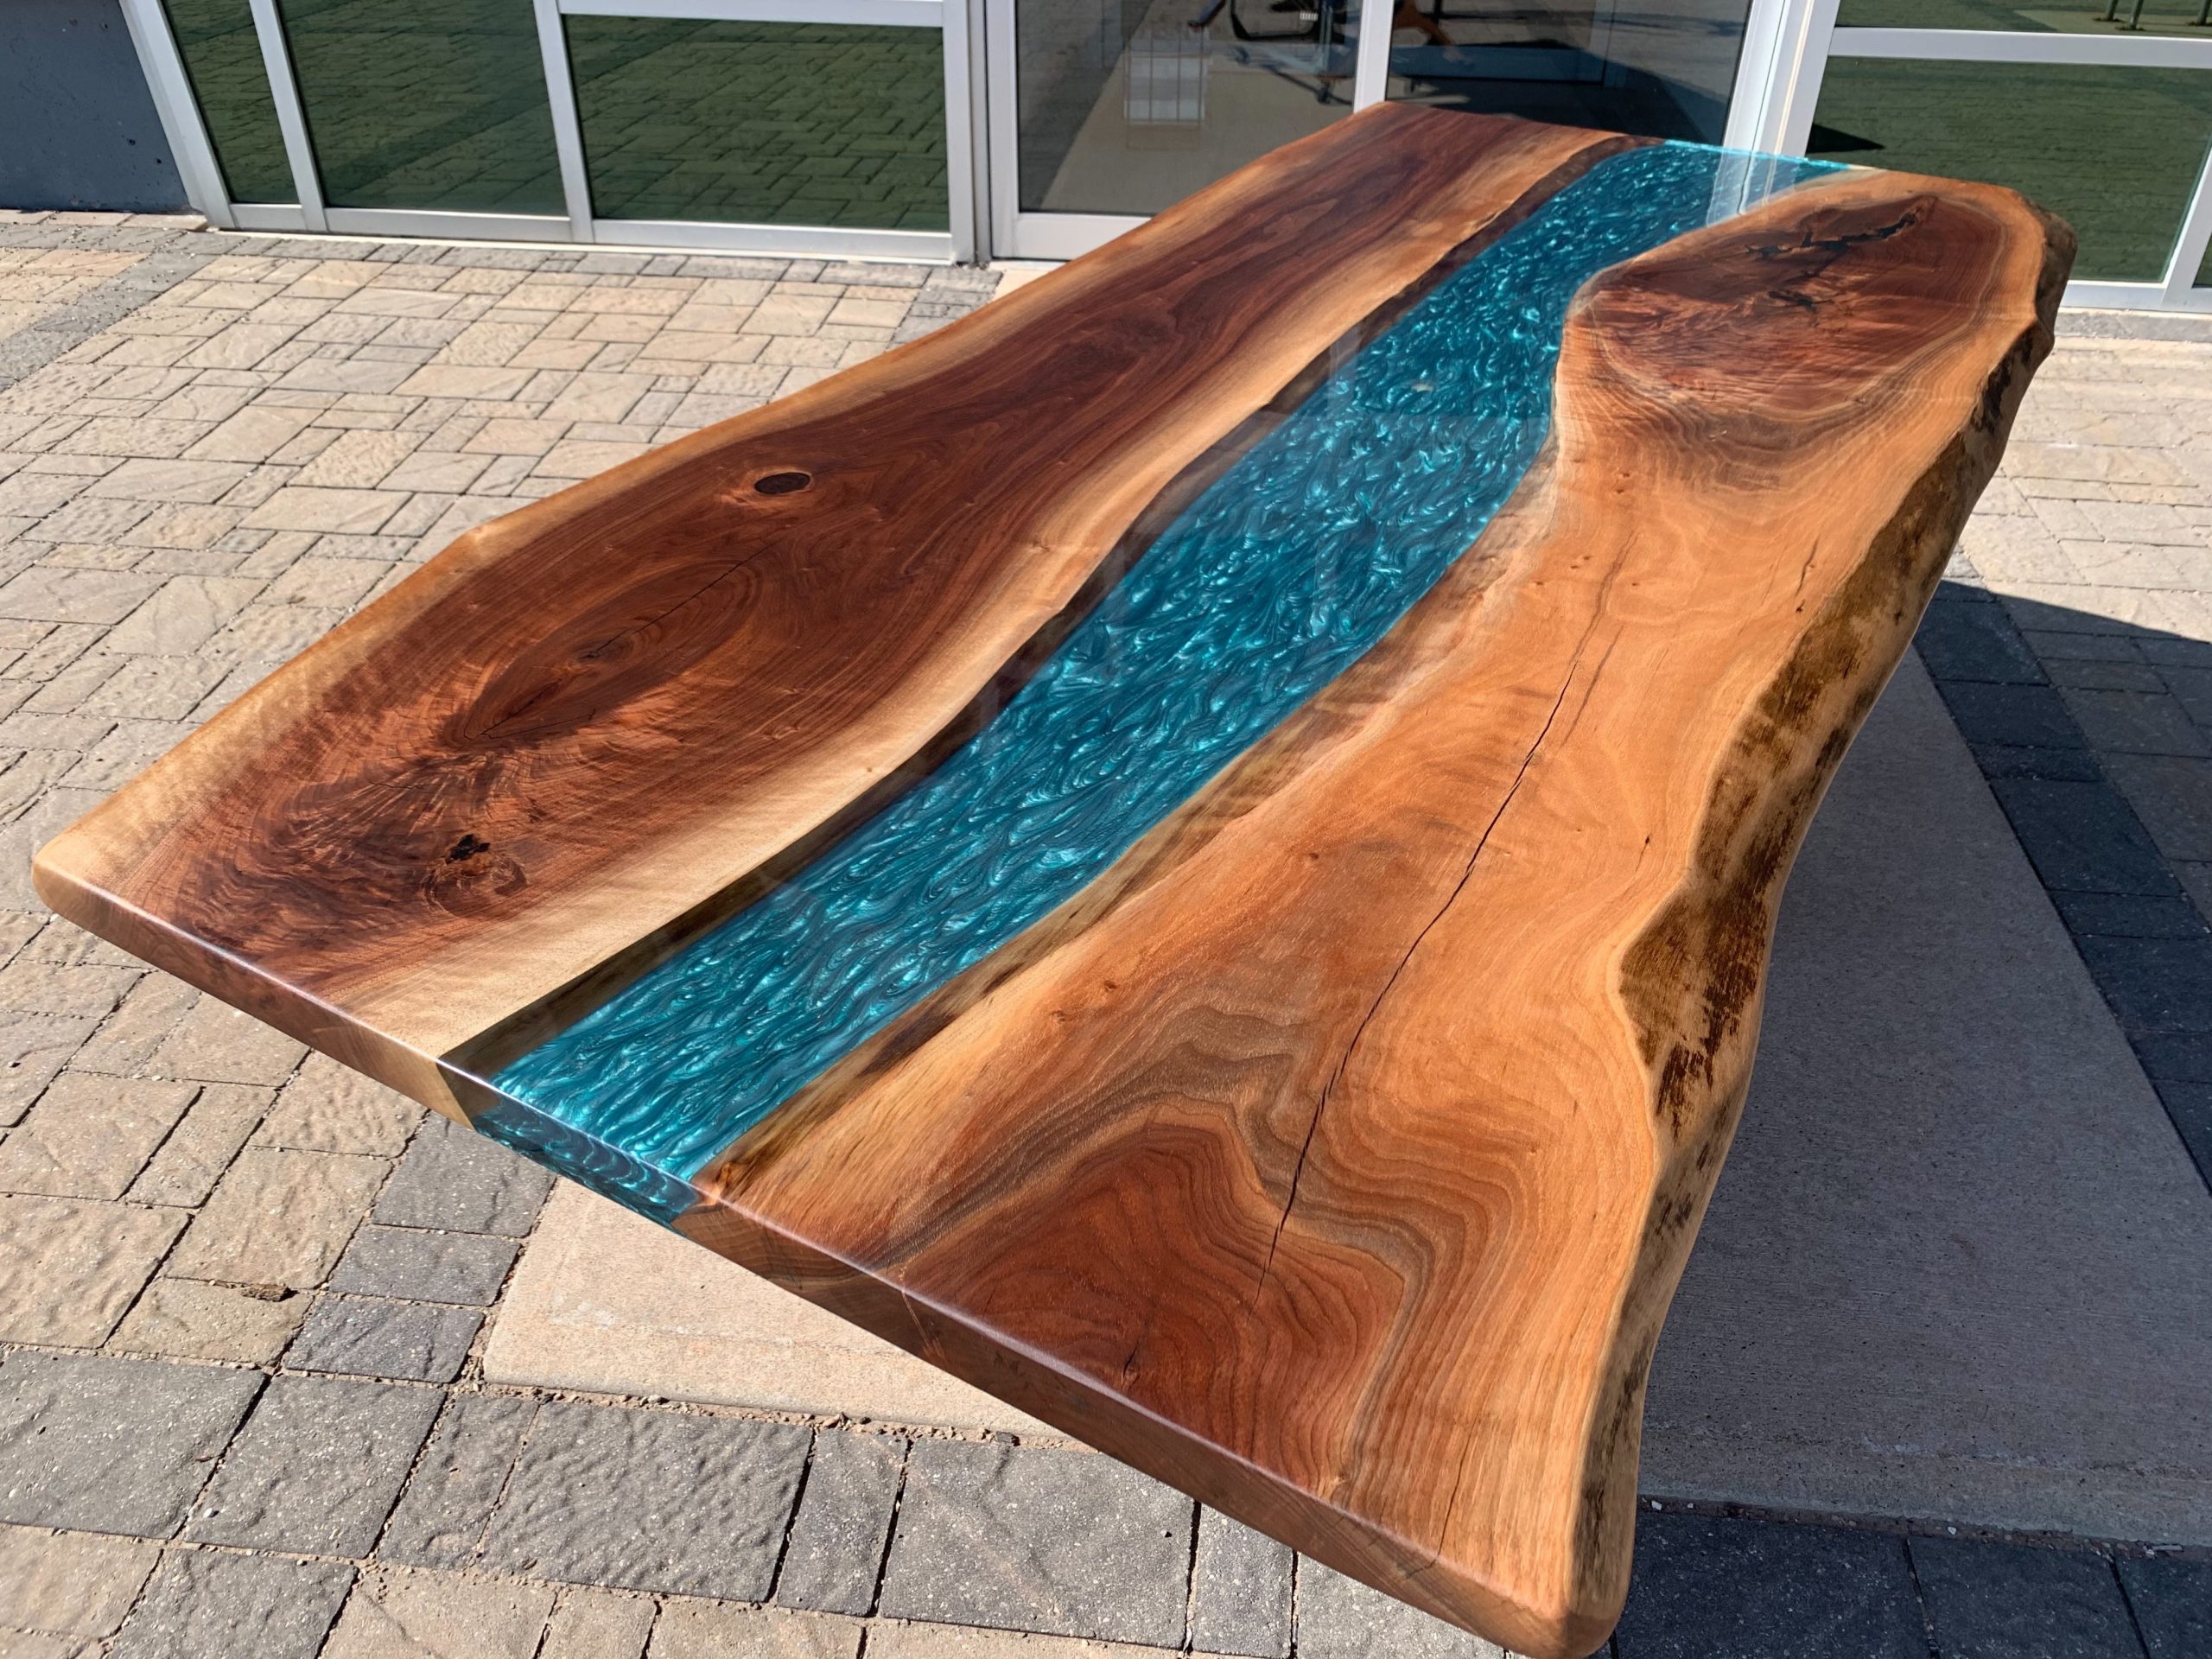
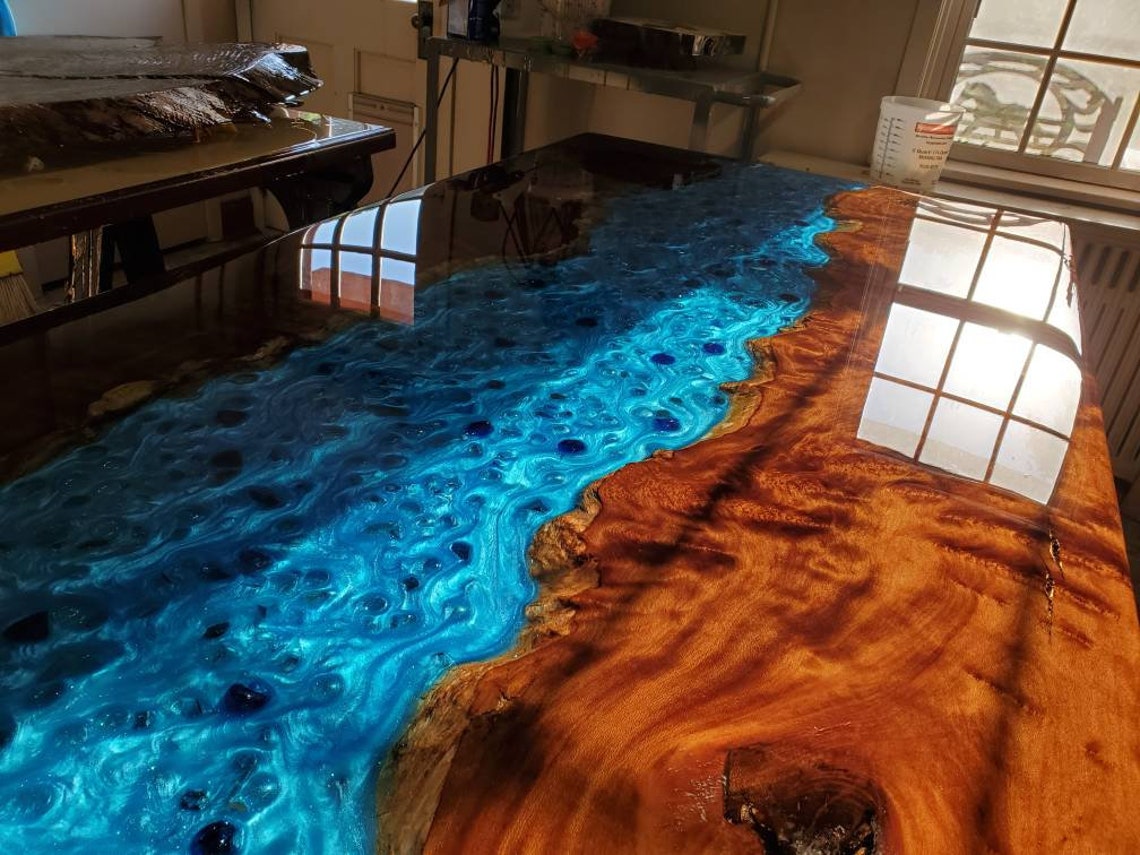
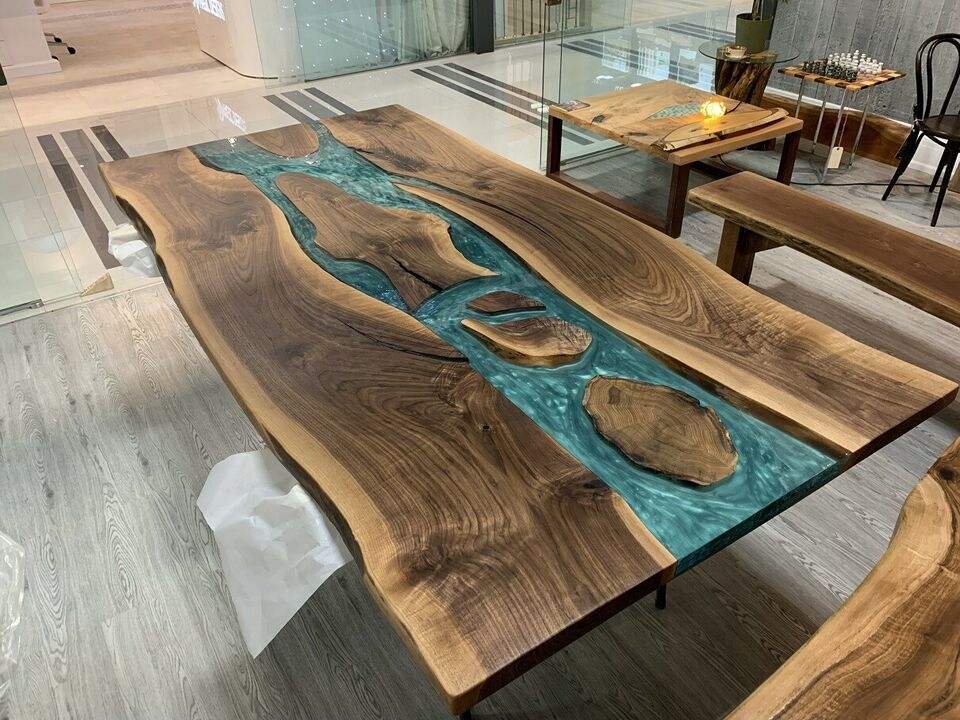
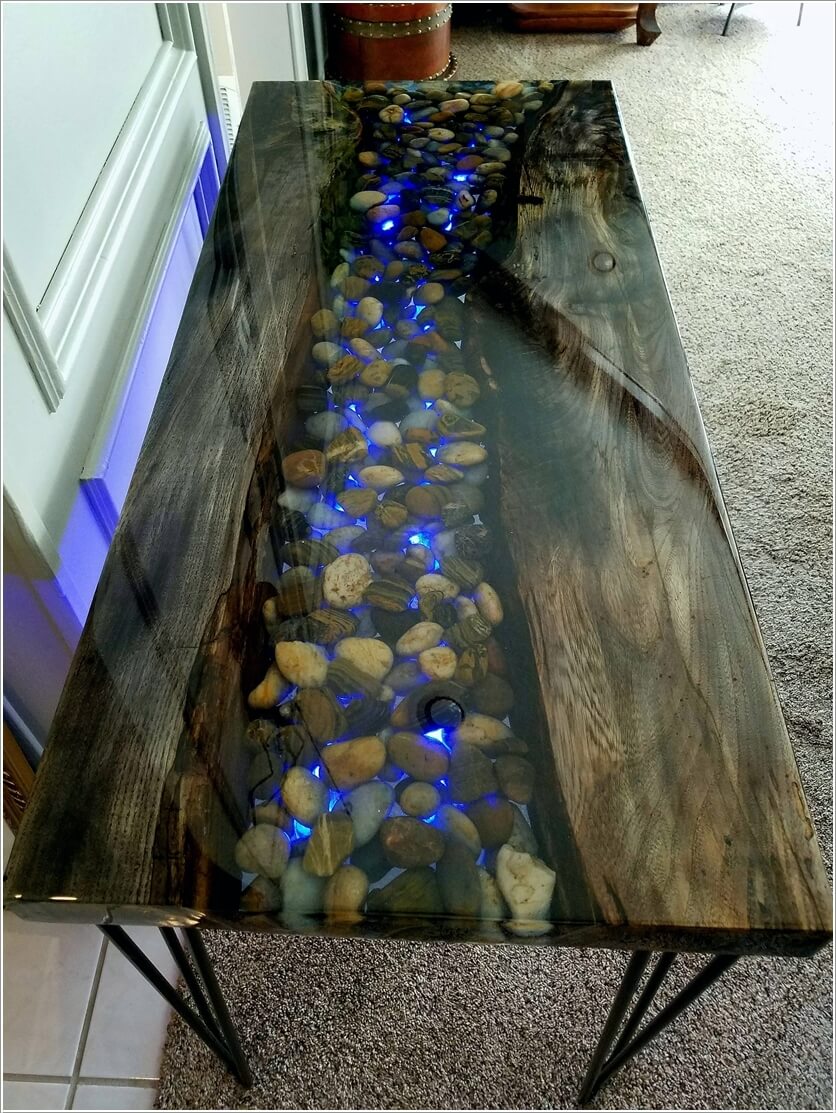
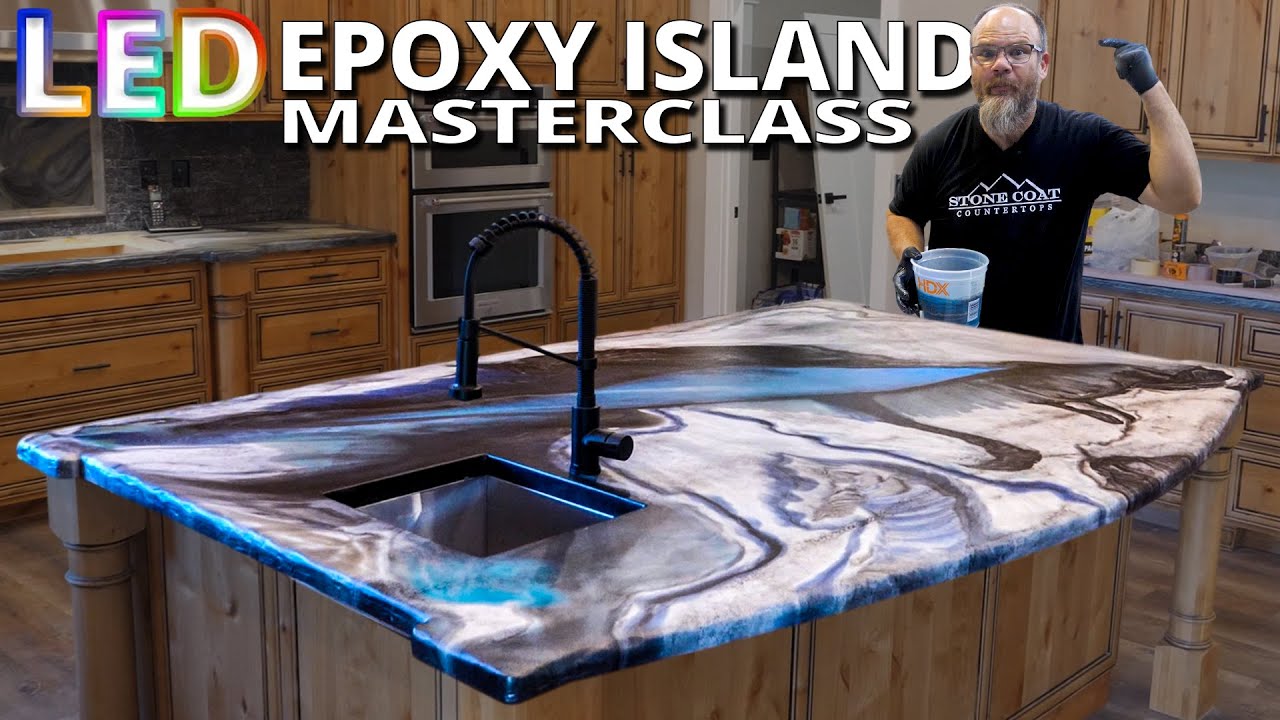
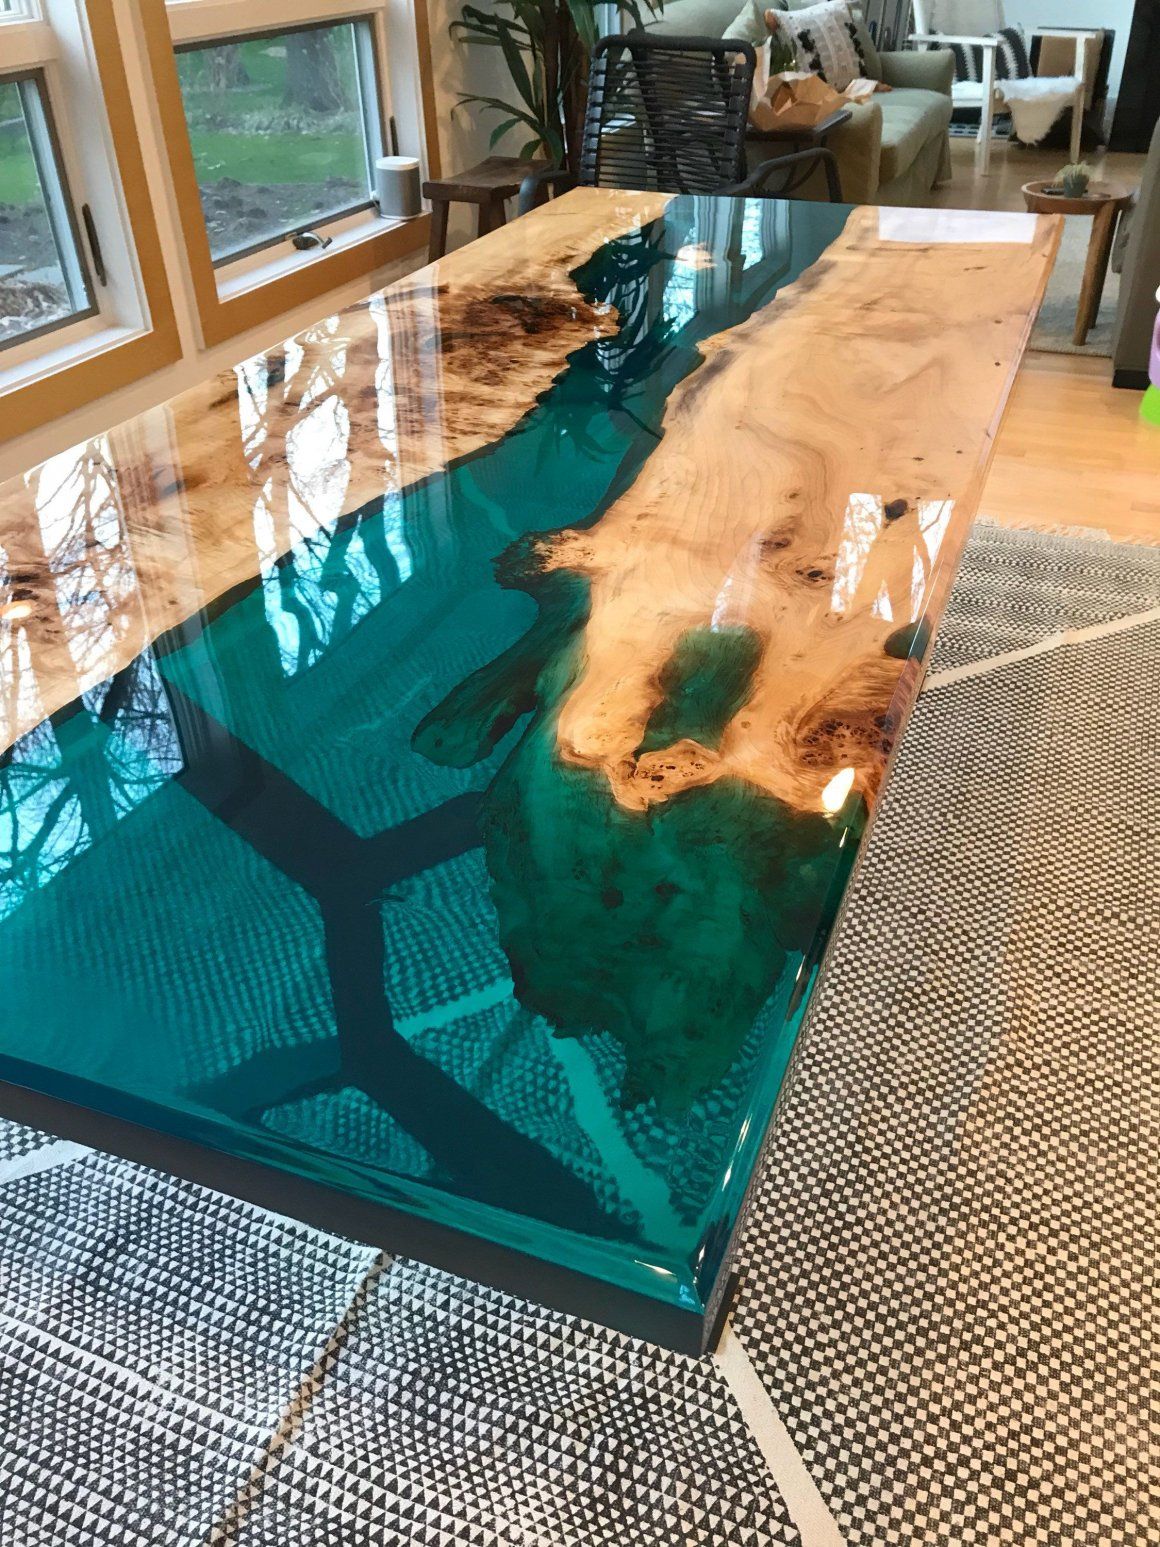
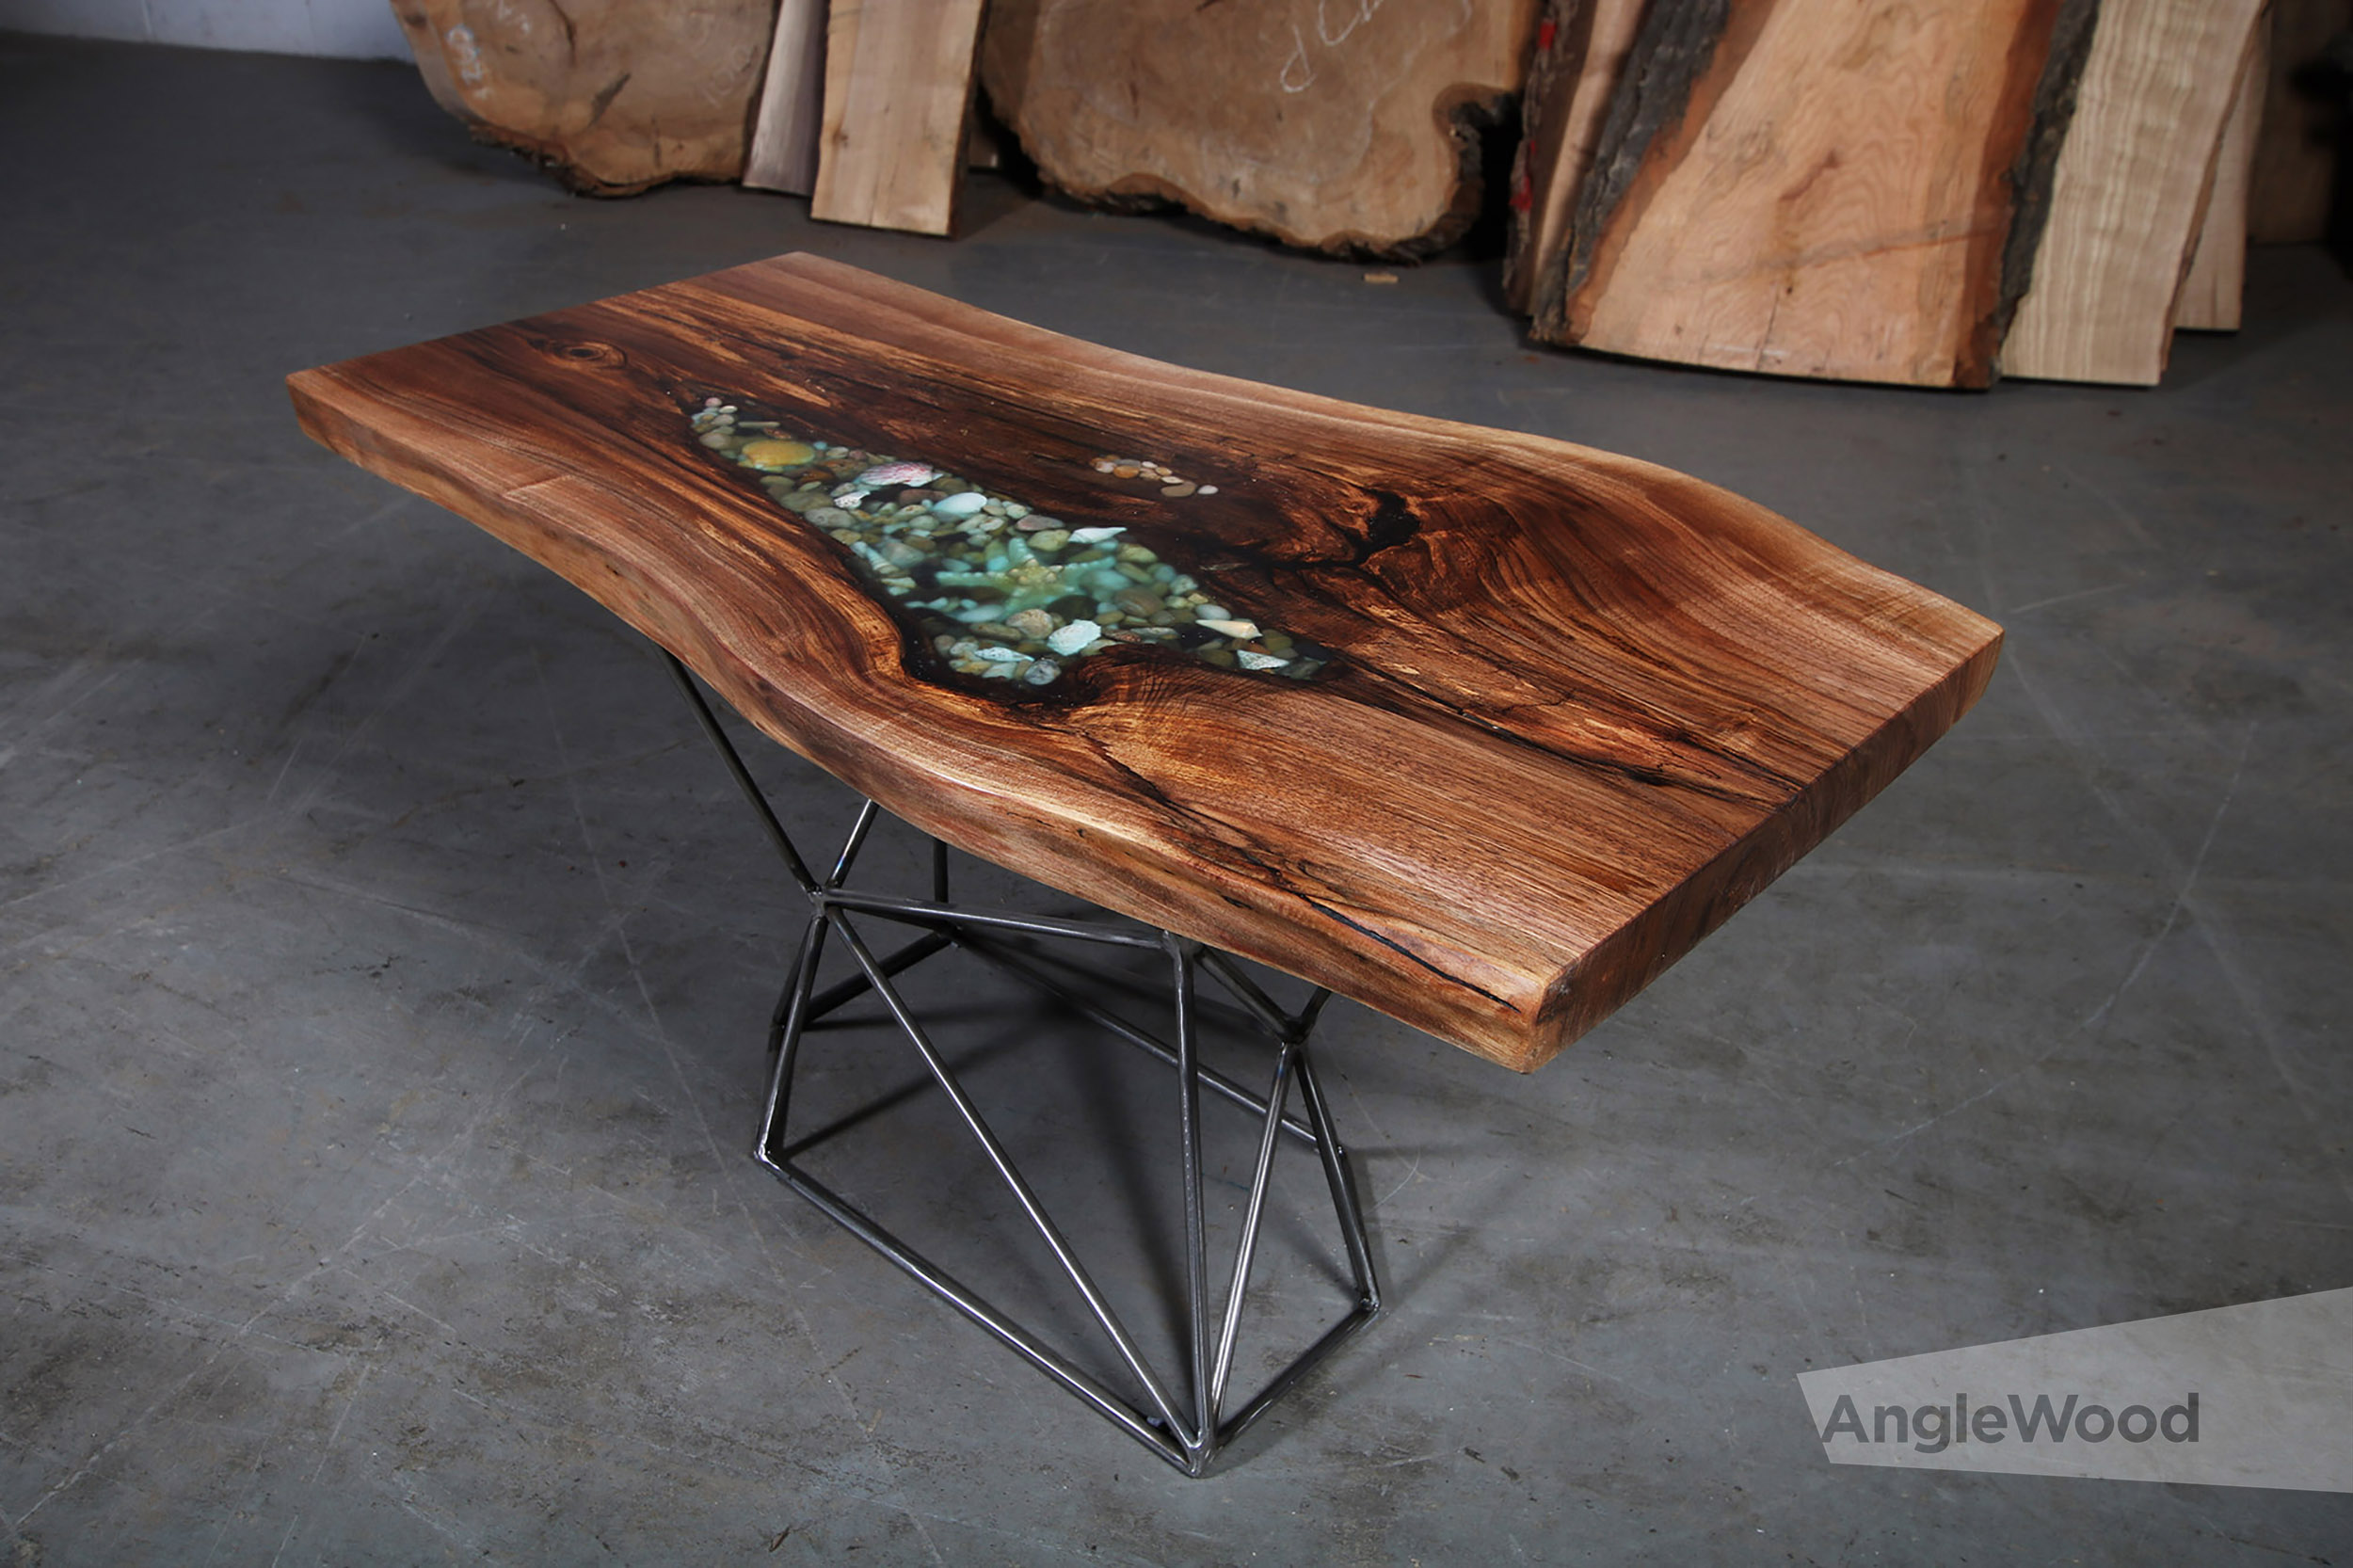
If you want to take your epoxy resin kitchen table to the next level, you can try creating a river table. This design involves creating a gap between two pieces of wood and filling it with epoxy resin to create the look of a river running through your table. You can use different types of wood and bold keywords such as burls, live edges, or reclaimed wood to add texture and interest to your river table. This design is sure to be a conversation starter in your kitchen.6. DIY Epoxy River Table - Kitchen Table Design

5. Epoxy Kitchen Table DIY - Tips and Tricks




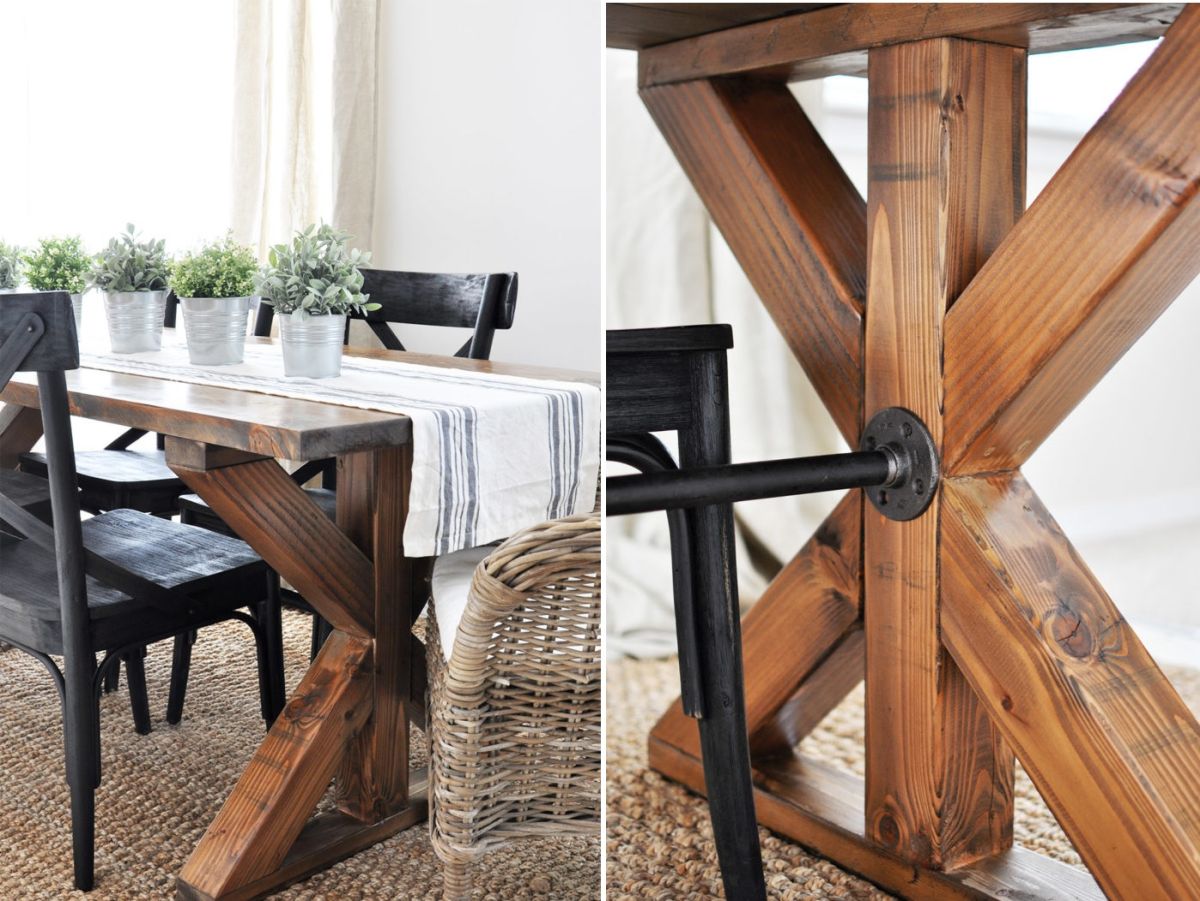
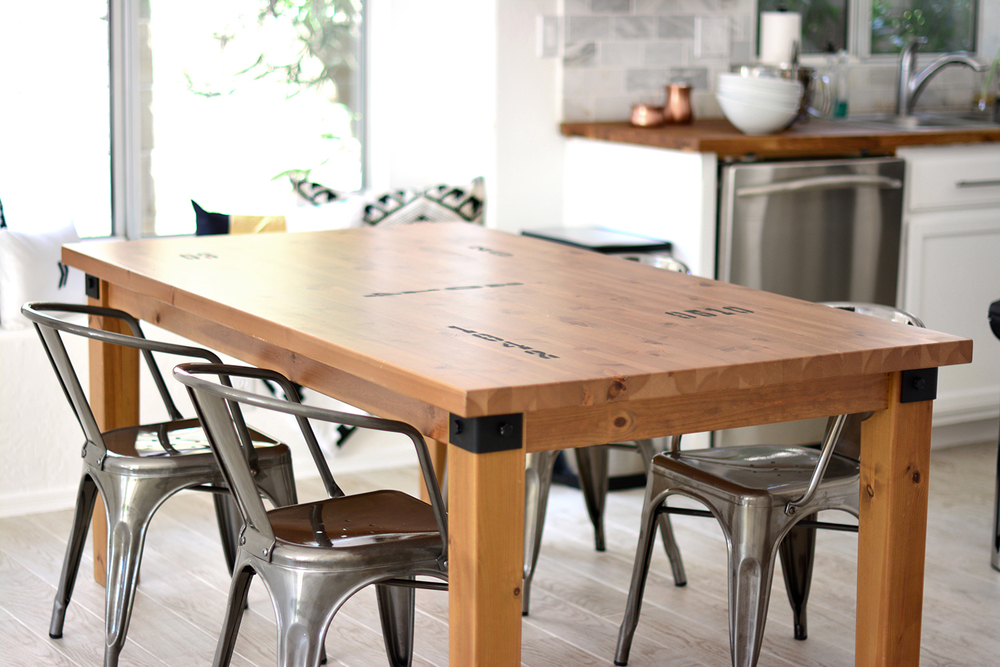
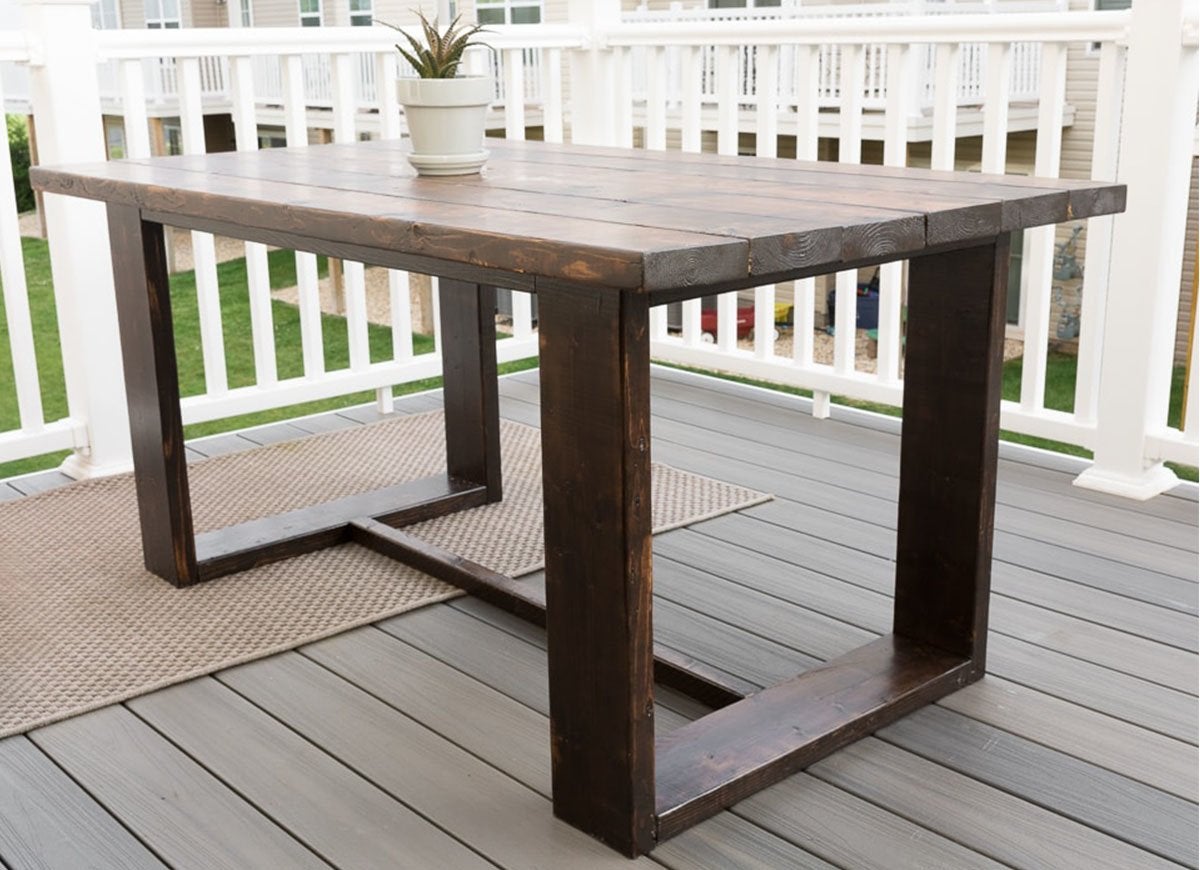
If you're feeling adventurous, you can also build your own table frame using wood and add an epoxy resin top. This will give you complete control over the size and design of your table, and you can also add featured keywords such as built-in shelves or drawers for added functionality. Make sure to seal the wood frame with a coat of resin before pouring the final layer on top to prevent any moisture from seeping in and causing damage.7. How to Build an Epoxy Resin Table - DIY Kitchen Table


6. DIY Epoxy River Table - Kitchen Table Design


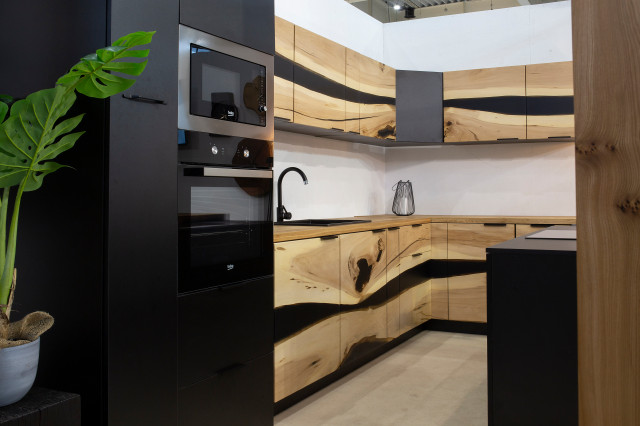
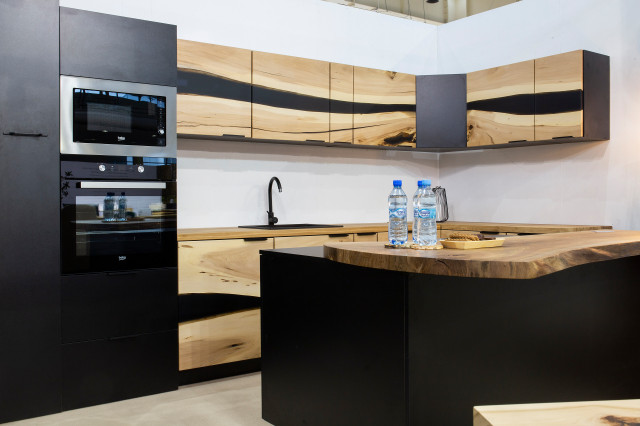
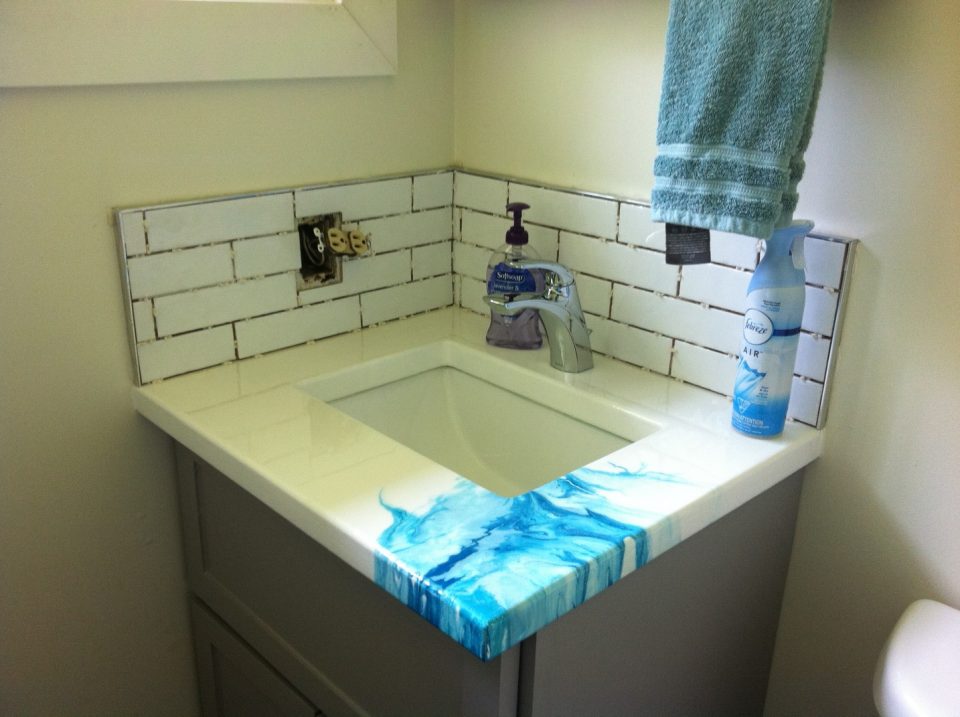
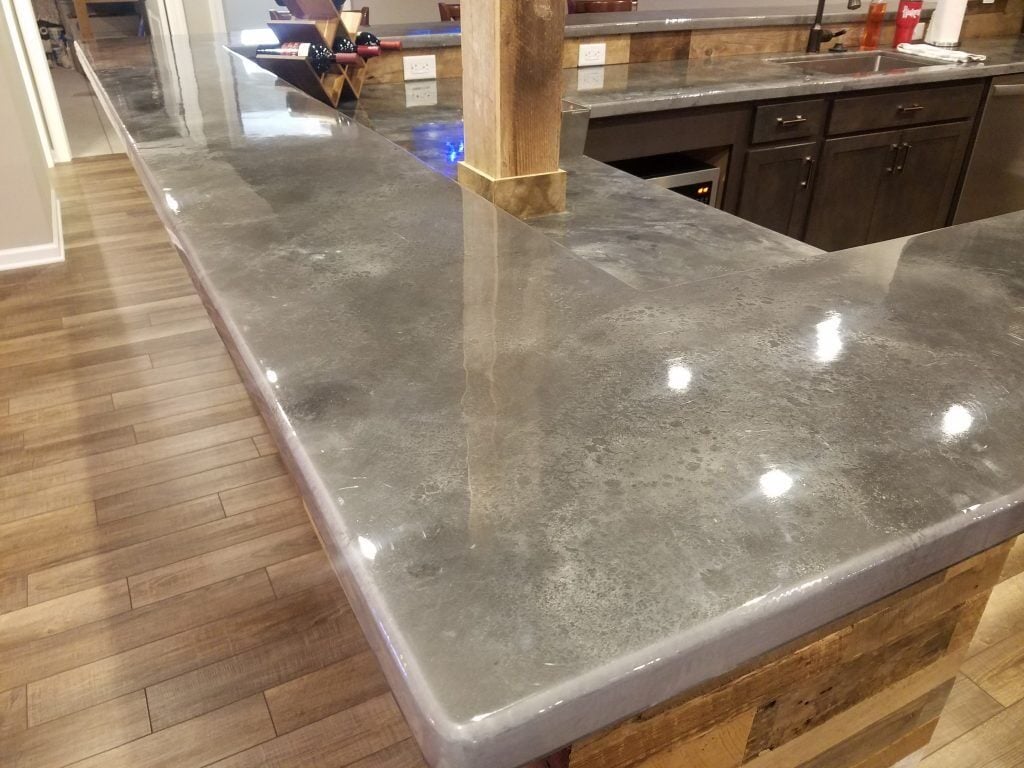
Another way to use epoxy resin in your kitchen is by transforming your existing countertops into beautiful and durable surfaces. This process is similar to making an epoxy resin table top, but make sure to sand and clean your countertops thoroughly before applying the resin. You can also add bold keywords such as heat resistance or food-safe sealant to your resin mix for practicality and peace of mind in the kitchen.8. Epoxy Kitchen Countertop DIY - Transform Your Table

7. How to Build an Epoxy Resin Table - DIY Kitchen Table


If you're on a budget but still want to give your kitchen table a new look, using epoxy resin can be a cost-effective option. You can find affordable resin kits online or in craft stores, and you can also use an existing table or thrift store find to save even more money. With some creativity and a little bit of effort, you can transform an old and outdated kitchen table into a modern and stylish piece of furniture with the help of epoxy resin.9. DIY Epoxy Table - Affordable Kitchen Table Upgrade


8. Epoxy Kitchen Countertop DIY - Transform Your Table


There are endless possibilities when it comes to creating a DIY epoxy resin kitchen table. From adding featured keywords such as seashells or crystals to creating intricate designs and patterns, you can let your imagination run wild and create a truly unique and stunning kitchen table. Not only will you have a one-of-a-kind piece of furniture, but you will also have the satisfaction of knowing that you made it yourself. So why settle for a plain and ordinary kitchen table when you can have a beautiful and durable epoxy resin table that reflects your personal style and creativity?10. Epoxy Resin Table DIY - Unique Kitchen Table Ideas


9. DIY Epoxy Table - Affordable Kitchen Table Upgrade


Creating a Beautiful and Durable Kitchen Table with DIY Epoxy

Why Choose Epoxy for Your Kitchen Table
 When it comes to designing your dream kitchen, the choice of materials plays a crucial role in achieving the perfect balance of both style and functionality. In recent years, epoxy has become a popular choice for kitchen tables due to its unique properties and versatility. This two-part resin is known for its durability, resistance to stains and heat, and its ability to create a stunning, glossy finish. Plus, with the rise of the DIY trend, creating your own epoxy kitchen table has become easier and more affordable than ever before.
Step-by-Step Guide to Creating Your Own Epoxy Kitchen Table
 Step 1: Choose Your Base
The first step in creating your own epoxy kitchen table is to choose the base material. While traditional kitchen tables are usually made of wood, you can also use other materials such as concrete or metal. Keep in mind that the base will be visible through the transparent epoxy, so choose a material that complements your kitchen's overall design and aesthetic.
Step 2: Prepare the Surface
Before applying the epoxy, it is essential to prepare the surface of your base material. This involves sanding down any rough areas and cleaning the surface thoroughly to remove any dust, dirt, or grease. This will ensure that the epoxy adheres properly and creates a smooth, flawless finish.
Step 3: Mix the Epoxy
Next, it's time to mix the two parts of the epoxy resin according to the manufacturer's instructions. This usually involves mixing equal parts of resin and hardener, and then stirring the mixture for a specific amount of time. It's important to follow the instructions carefully to achieve the best results.
Step 4: Pour and Spread the Epoxy
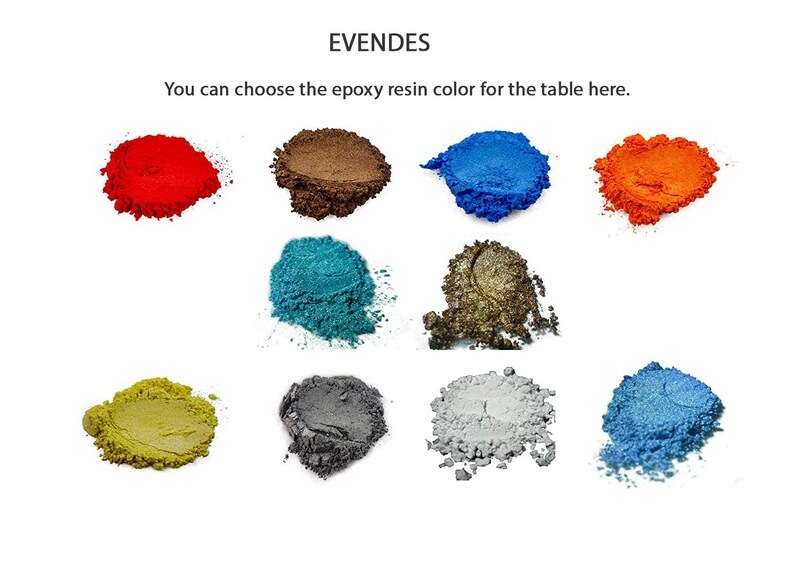
Once the epoxy is mixed, carefully pour it onto the prepared surface. Use a spreader or a foam brush to evenly spread the epoxy, making sure to cover all edges and corners. This is where you can get creative and add
featured keywords
such as
color pigments
or
metallic flakes
to give your kitchen table a unique and personalized touch.
Step 5: Remove Air Bubbles
To ensure a smooth and professional finish, it's important to remove any air bubbles that may have formed in the epoxy. This can be done by gently running a heat gun or blow dryer over the surface, or by using a blowtorch on a low setting. Be careful not to overheat the epoxy, as this can cause it to yellow or crack.
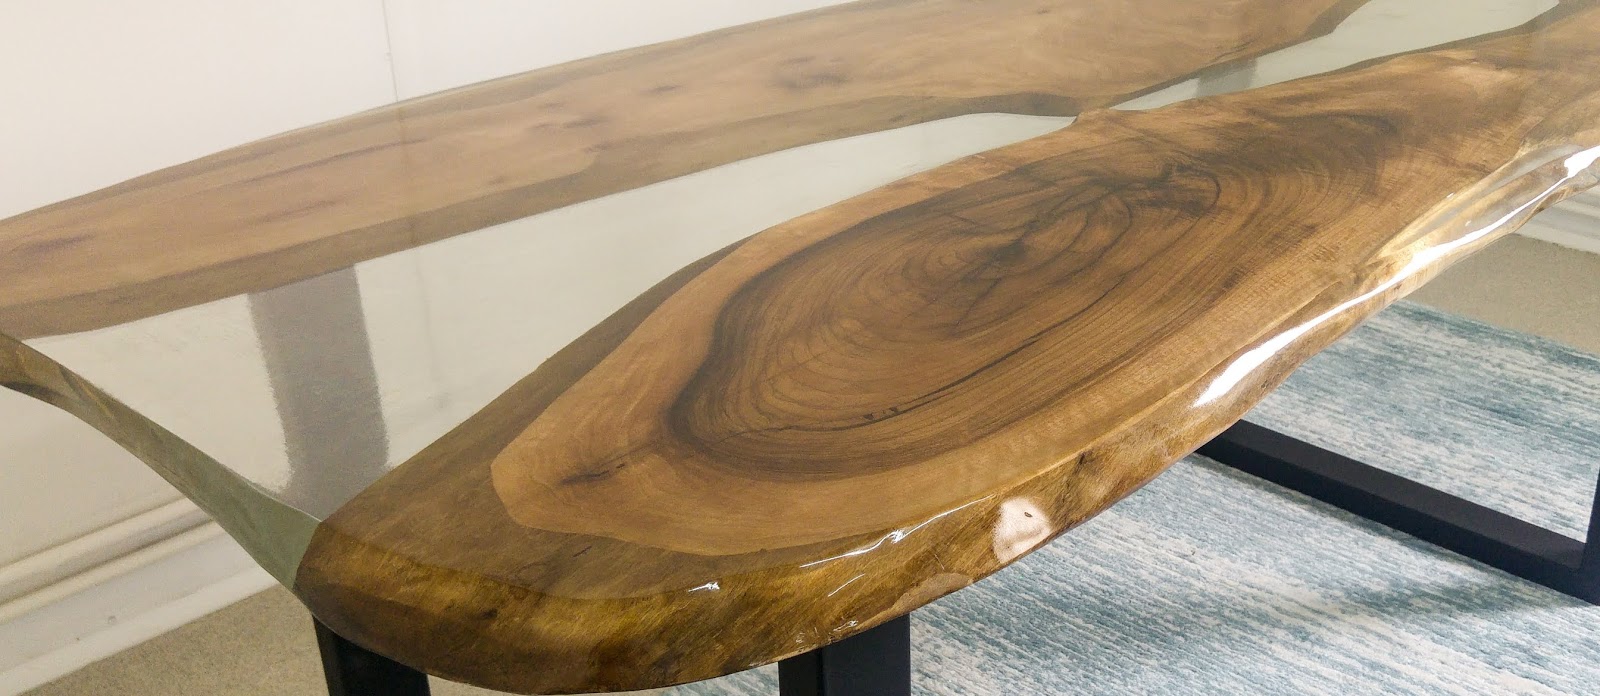
Step 6: Let it Cure
Finally, allow your epoxy kitchen table to cure for at least 24 hours before using it. The curing time may vary depending on the brand of epoxy used, so be sure to read the instructions carefully. Once the epoxy has fully cured, you will be left with a stunning, durable, and one-of-a-kind kitchen table that will be the envy of all your friends and family.
Step 1: Choose Your Base
The first step in creating your own epoxy kitchen table is to choose the base material. While traditional kitchen tables are usually made of wood, you can also use other materials such as concrete or metal. Keep in mind that the base will be visible through the transparent epoxy, so choose a material that complements your kitchen's overall design and aesthetic.
Step 2: Prepare the Surface
Before applying the epoxy, it is essential to prepare the surface of your base material. This involves sanding down any rough areas and cleaning the surface thoroughly to remove any dust, dirt, or grease. This will ensure that the epoxy adheres properly and creates a smooth, flawless finish.
Step 3: Mix the Epoxy
Next, it's time to mix the two parts of the epoxy resin according to the manufacturer's instructions. This usually involves mixing equal parts of resin and hardener, and then stirring the mixture for a specific amount of time. It's important to follow the instructions carefully to achieve the best results.
Step 4: Pour and Spread the Epoxy
Once the epoxy is mixed, carefully pour it onto the prepared surface. Use a spreader or a foam brush to evenly spread the epoxy, making sure to cover all edges and corners. This is where you can get creative and add
featured keywords
such as
color pigments
or
metallic flakes
to give your kitchen table a unique and personalized touch.
Step 5: Remove Air Bubbles
To ensure a smooth and professional finish, it's important to remove any air bubbles that may have formed in the epoxy. This can be done by gently running a heat gun or blow dryer over the surface, or by using a blowtorch on a low setting. Be careful not to overheat the epoxy, as this can cause it to yellow or crack.
Step 6: Let it Cure
Finally, allow your epoxy kitchen table to cure for at least 24 hours before using it. The curing time may vary depending on the brand of epoxy used, so be sure to read the instructions carefully. Once the epoxy has fully cured, you will be left with a stunning, durable, and one-of-a-kind kitchen table that will be the envy of all your friends and family.
Final Thoughts
 With a little bit of creativity and some
DIY epoxy skills
, you can transform your kitchen table into a beautiful and functional centerpiece that reflects your personal style. Whether you choose to use bold colors, add
geometric designs
, or keep it simple with a clear finish, the possibilities are endless with epoxy. So why settle for a standard kitchen table when you can create your own masterpiece?
With a little bit of creativity and some
DIY epoxy skills
, you can transform your kitchen table into a beautiful and functional centerpiece that reflects your personal style. Whether you choose to use bold colors, add
geometric designs
, or keep it simple with a clear finish, the possibilities are endless with epoxy. So why settle for a standard kitchen table when you can create your own masterpiece?