Transforming your bathroom space can be a fun and rewarding project, especially when you can save money by doing it yourself. One way to elevate the look of your bathroom is by installing a concrete counter over your bathroom sink. Not only does it give a modern and sophisticated touch, but it is also a budget-friendly option compared to traditional materials like marble or granite. In this article, we'll show you how to create a stunning DIY concrete counter for your bathroom sink.1. Creating a Stunning DIY Concrete Counter for Your Bathroom Sink
Concrete has become a popular choice for countertops due to its durability, versatility, and affordability. It can be poured into any shape and size, making it perfect for customizing to fit your bathroom sink. It also comes in a variety of colors and finishes, giving you the opportunity to create a unique and personalized look for your space.2. Why Choose Concrete for Your Bathroom Counter?
The first step in creating your DIY concrete counter is choosing the right mix. You can opt for a pre-mixed concrete specifically made for countertops or create your own mix using cement, sand, and gravel. It's important to choose a high-quality mix that will provide strength and durability to your counter.3. Choosing the Right Concrete Mix
Before you begin the installation process, make sure to prepare the area where you will be pouring the concrete. This includes measuring and marking the dimensions of your counter, ensuring a level surface, and covering the surrounding area with plastic or drop cloths to protect it from any spills.4. Preparing the Area
The next step is creating the mold for your counter. This can be done using melamine boards or any other material that will provide a smooth and non-porous surface. Cut the boards to the desired size and assemble them using screws or silicone caulk. Make sure to seal any gaps or cracks to prevent the concrete from leaking.5. Creating the Mold
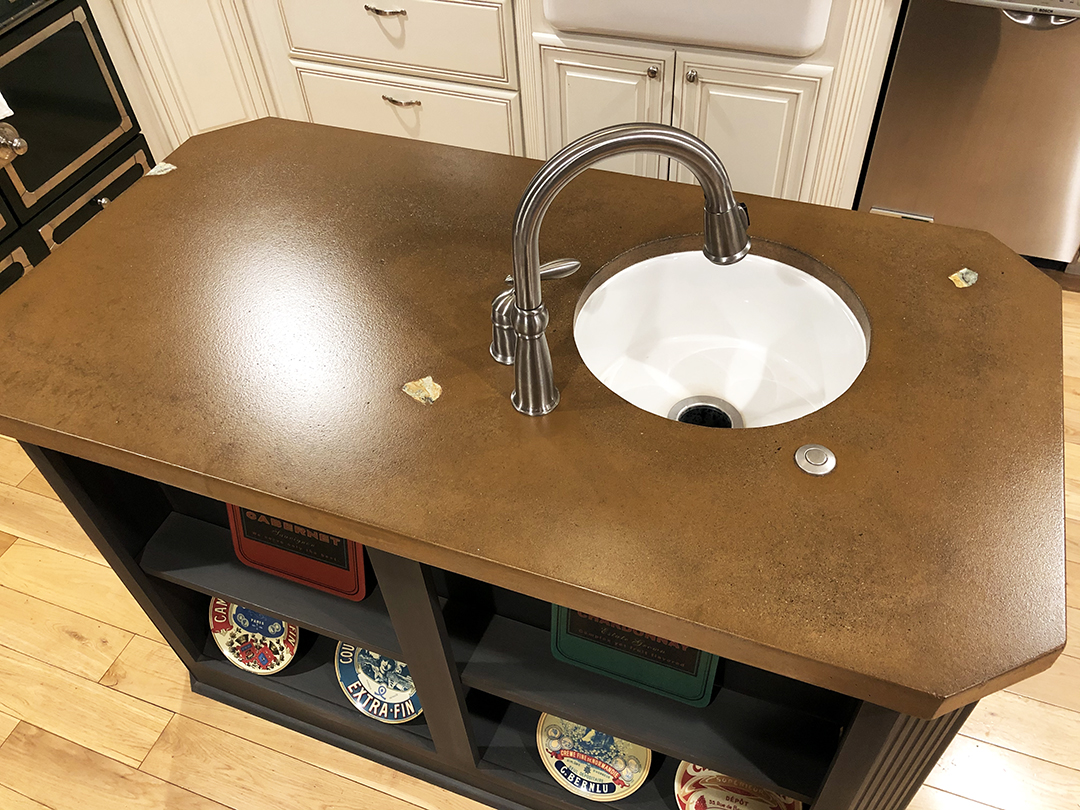
Now it's time to mix the concrete according to the manufacturer's instructions or your own recipe. Once the mix is ready, pour it into the mold, making sure to fill all the corners and edges. Use a trowel to smooth out the surface and remove any air bubbles. You can also add decorative elements like colored pigments or embedded stones to enhance the look of your counter.6. Mixing and Pouring the Concrete
After pouring the concrete, it needs to cure for at least 48 hours. This allows the concrete to harden and strengthen. Once cured, you can remove the mold and sand the surface to achieve a smooth finish. You can also add a sealant to protect the concrete from stains and water damage.7. Curing and Finishing
After the concrete is fully cured and finished, it's time to install it over your bathroom sink. Apply a thin layer of adhesive on the back of the counter and carefully place it on top of the sink. Make sure to level it and secure it in place. Allow the adhesive to dry completely before using the sink.8. Installing the Counter
To keep your DIY concrete counter looking its best, it's important to maintain it properly. Avoid using harsh chemicals or abrasive cleaners that can damage the surface. Instead, use a mild soap and water to clean it regularly. You can also reseal the counter every few years to maintain its shine and durability.9. Maintaining Your DIY Concrete Counter
With just a few materials and some DIY skills, you can create a stunning concrete counter for your bathroom sink that will elevate the look of your space. Not only is it a budget-friendly option, but it also adds a touch of modernity and uniqueness to your bathroom. So go ahead, give it a try and enjoy your beautiful and budget-friendly DIY concrete counter!10. Enjoy Your Beautiful and Budget-Friendly Bathroom Counter
Benefits of DIY Concrete Counters in Bathroom Design

Unique and Customizable
 One of the main draws of
DIY concrete counters
in bathroom design is their uniqueness and customizability. Unlike traditional
countertop
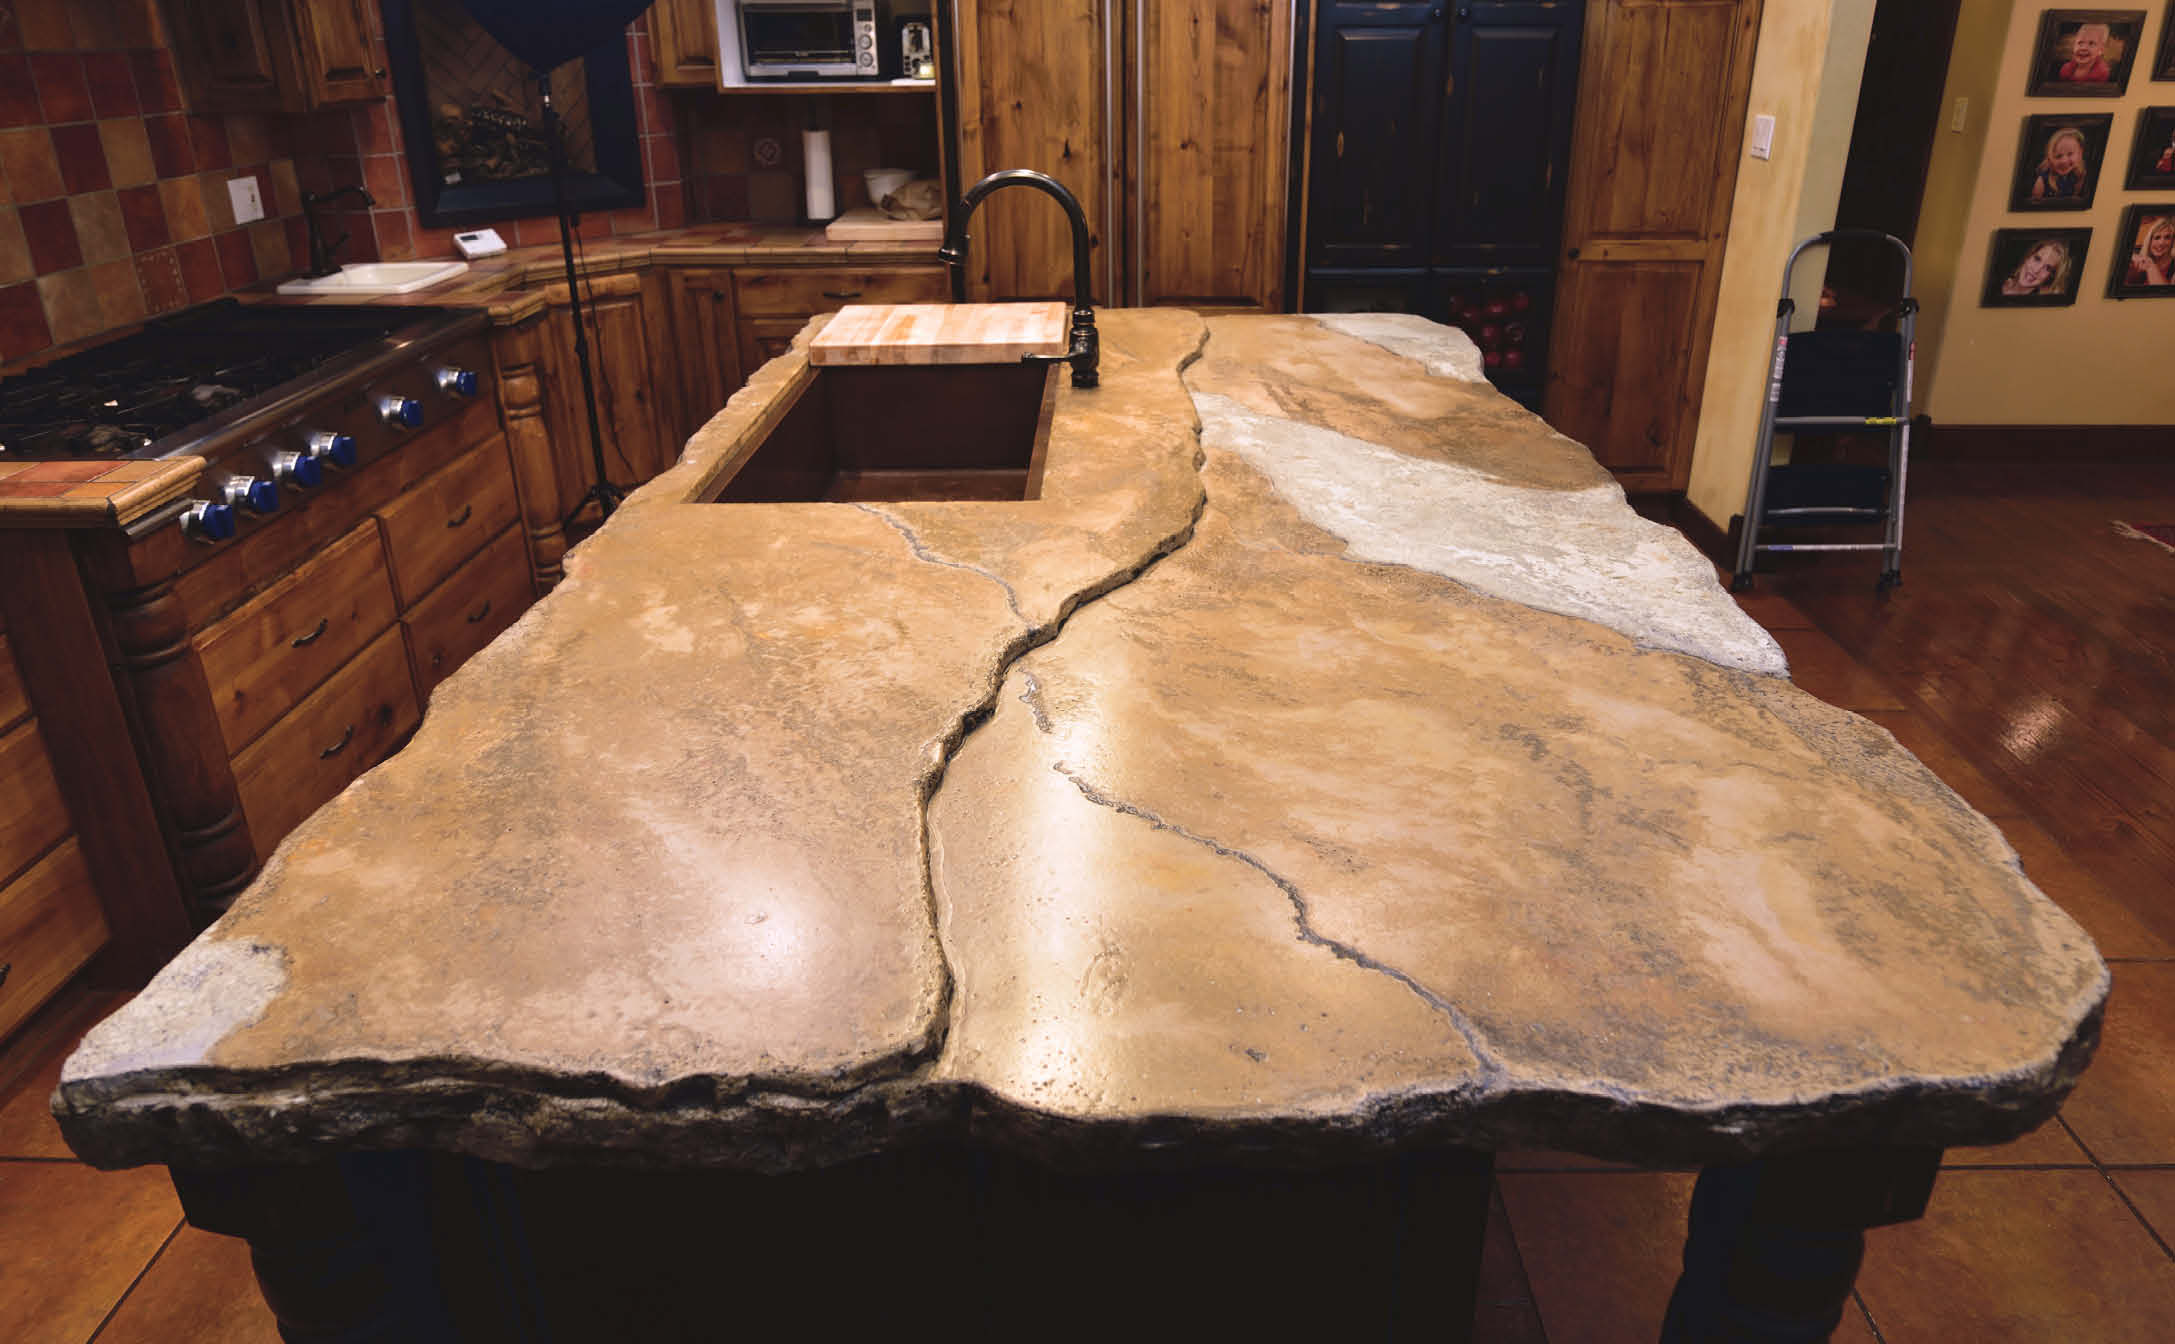
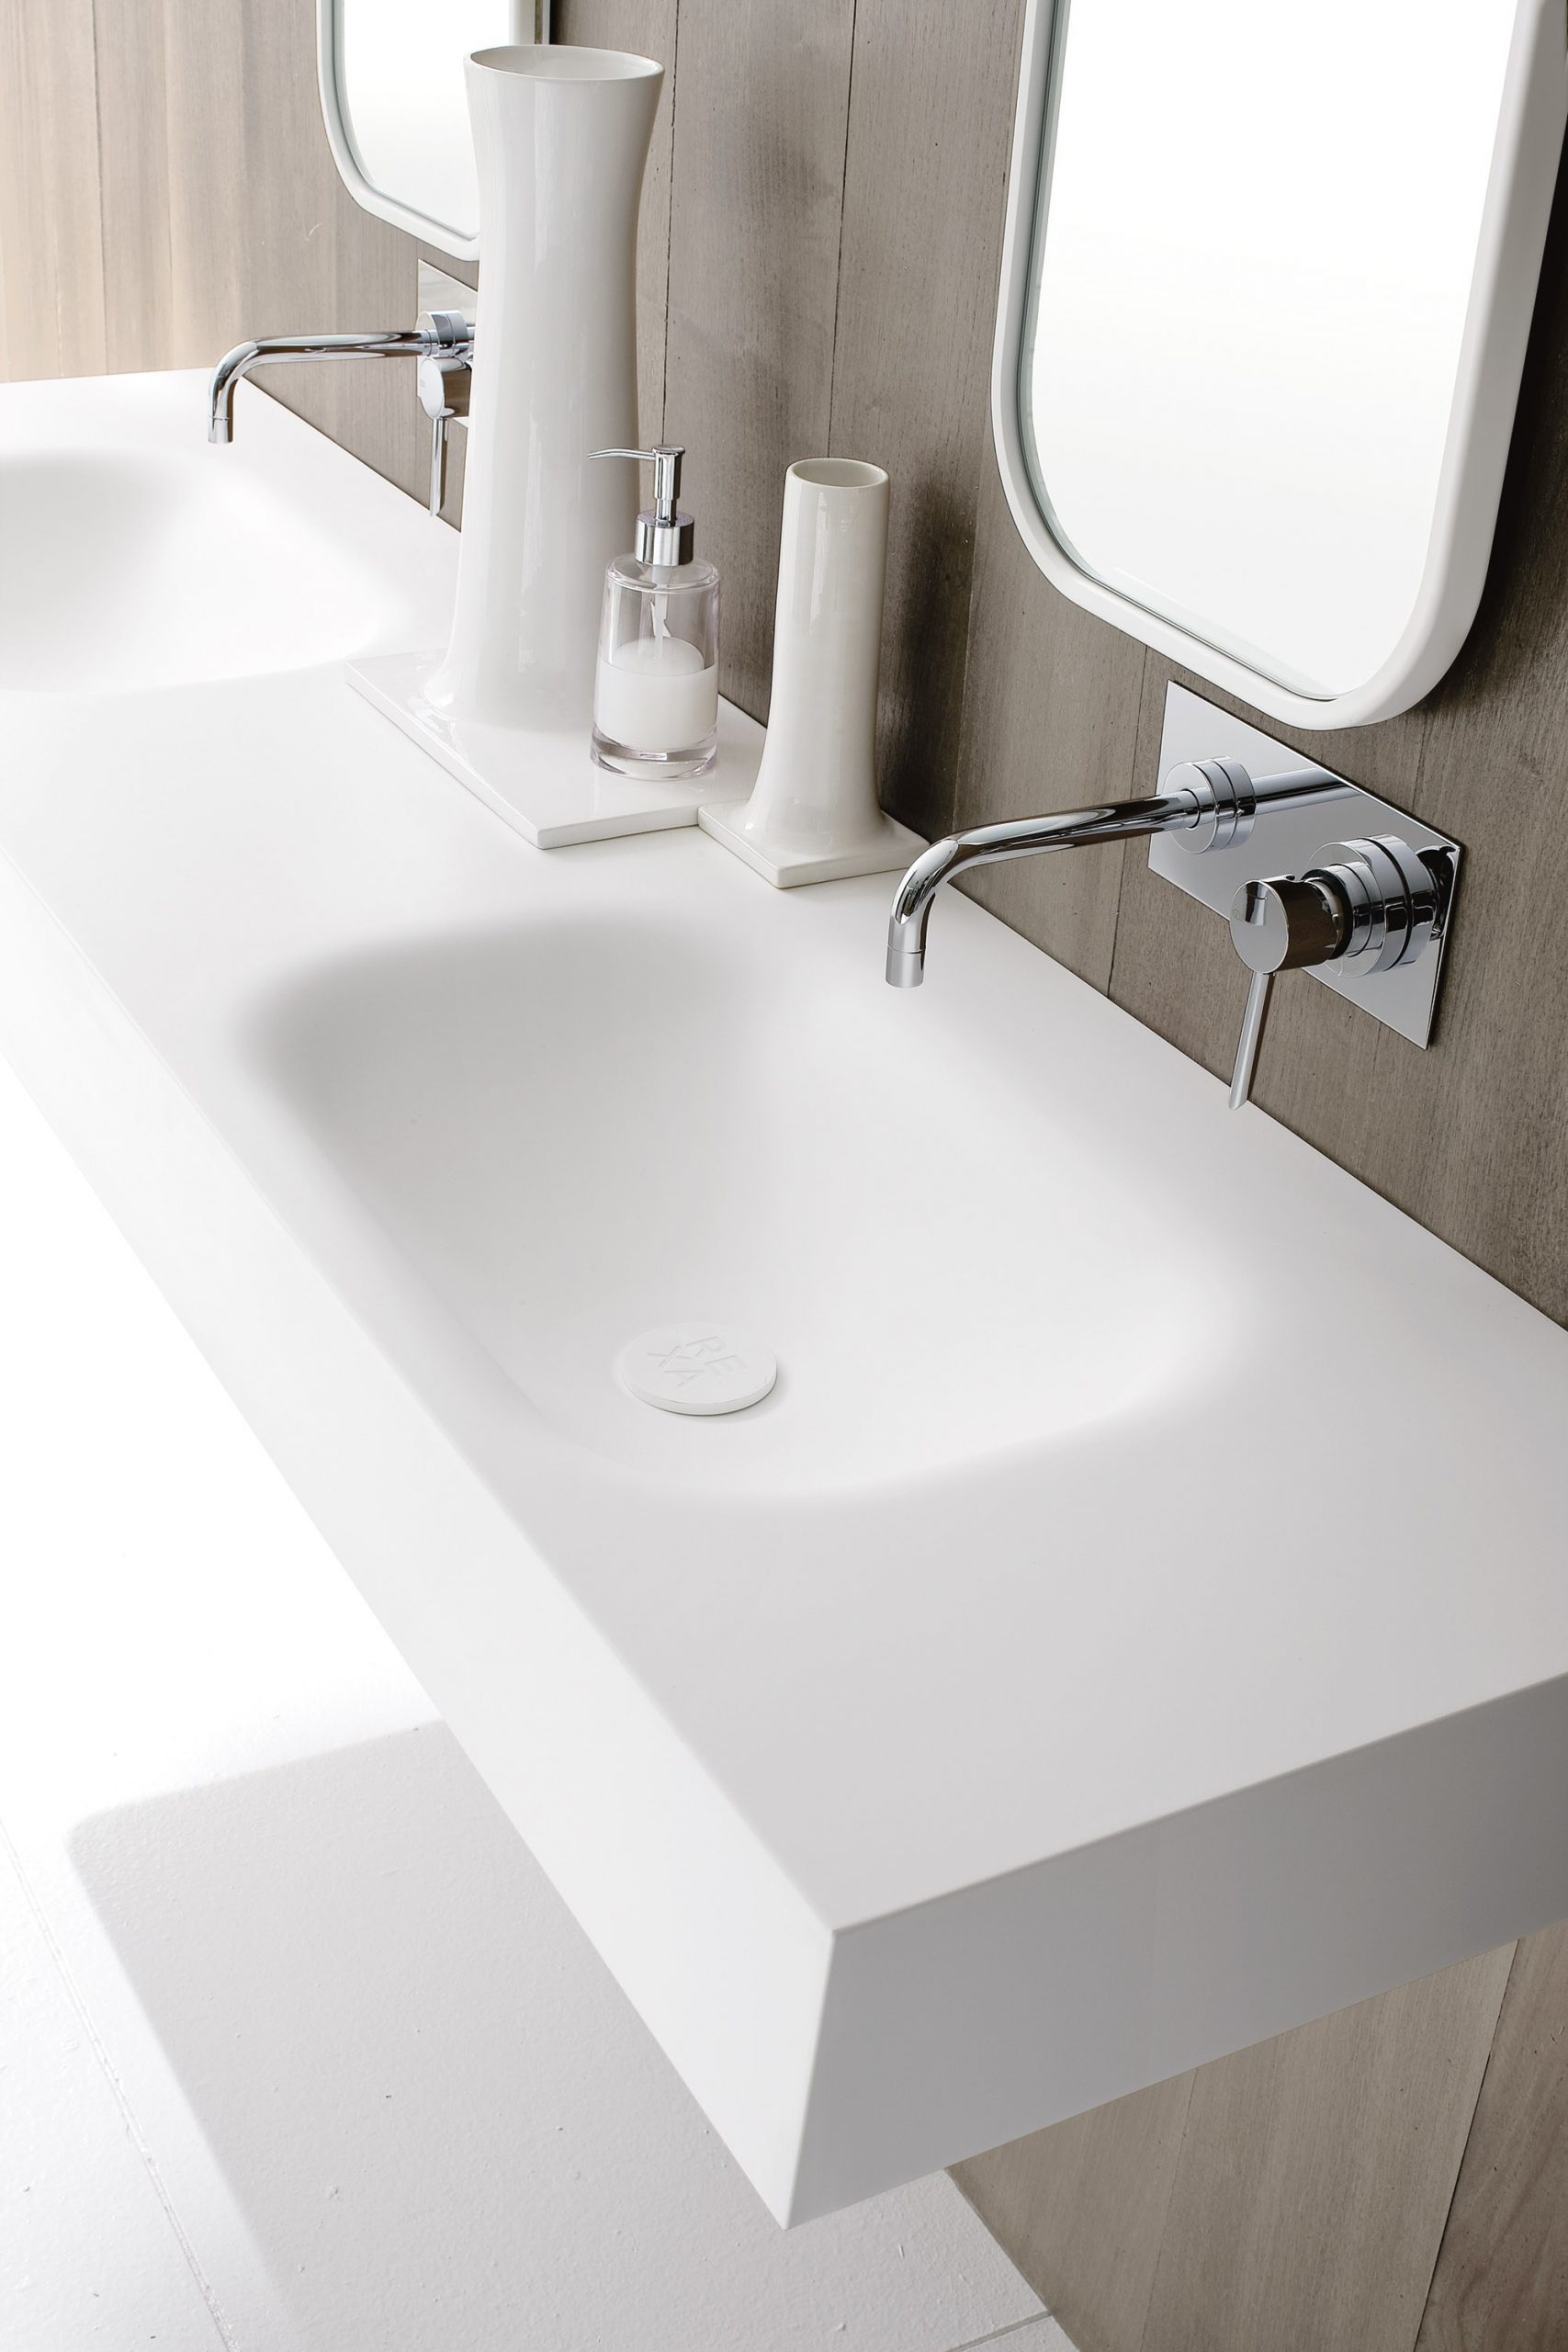
materials like granite or marble, concrete counters can be created and molded to fit any size and shape, making them ideal for
bathroom sinks
with unconventional dimensions. Not only that, but
DIY concrete counters
allow for endless design possibilities, with the ability to add personalized touches such as embedded objects, colored pigments, and various finishes. This gives homeowners the opportunity to truly make their bathroom counters one-of-a-kind and reflective of their personal style.
Durable and Long-Lasting
 Another benefit of
DIY concrete counters
in bathroom design is their durability and longevity. Concrete is a strong and resilient material, making it resistant to scratches, stains, and heat. This is especially important in the bathroom, where counters are exposed to various products and hot styling tools. When properly sealed and maintained,
DIY concrete counters
can last for years without the need for replacement, making them a cost-effective option in the long run.
Cost-Effective
 Speaking of cost,
DIY concrete counters
are also a budget-friendly choice for bathroom design. Compared to other
countertop
materials, such as granite or quartz, concrete is relatively inexpensive, and the DIY aspect allows for even more savings. With the right materials and tools, homeowners can create their own
DIY concrete counters
at a fraction of the cost of hiring a professional contractor.
Easy to Maintain
 Maintaining
DIY concrete counters
in the bathroom is also a breeze. Unlike materials like marble or wood, which require special cleaning products and maintenance, concrete can be easily cleaned with mild soap and water. Additionally, resealing the counters every 1-2 years will help maintain their durability and prevent any potential staining.
Conclusion
 Overall,
DIY concrete counters
are a versatile and practical option for bathroom design. They offer unique and customizable design possibilities, while also being durable, cost-effective, and easy to maintain. With the right techniques and materials, homeowners can create their own personalized
DIY concrete counters
for a stylish and functional addition to their bathroom.
















/Epoxy-DIY-Countertops-Via-Smallspaces.about.com-56d33a003df78cfb37d23f47.jpg)












/bathroom-sink-184112687-5887c27c5f9b58bdb367dd56.jpg)
