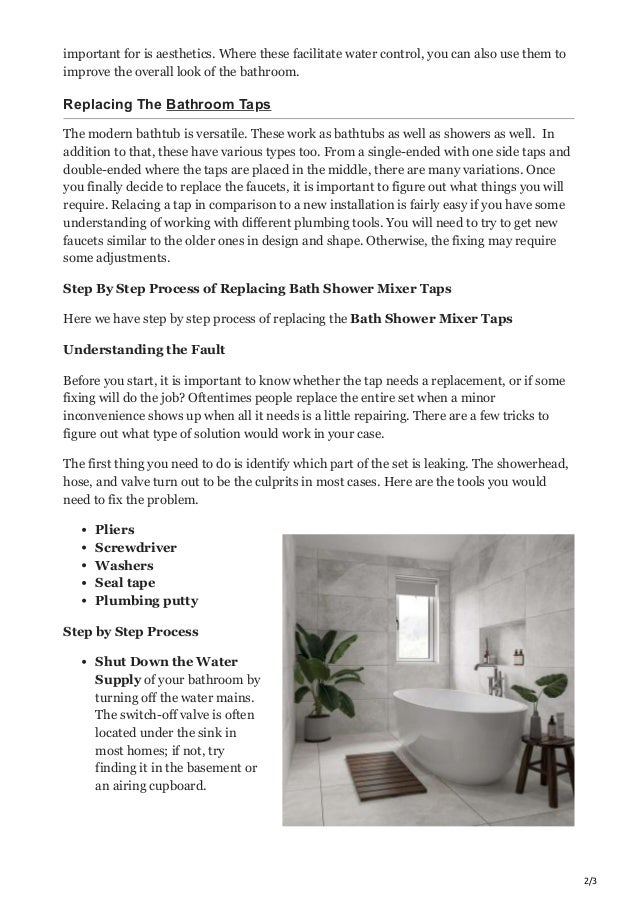
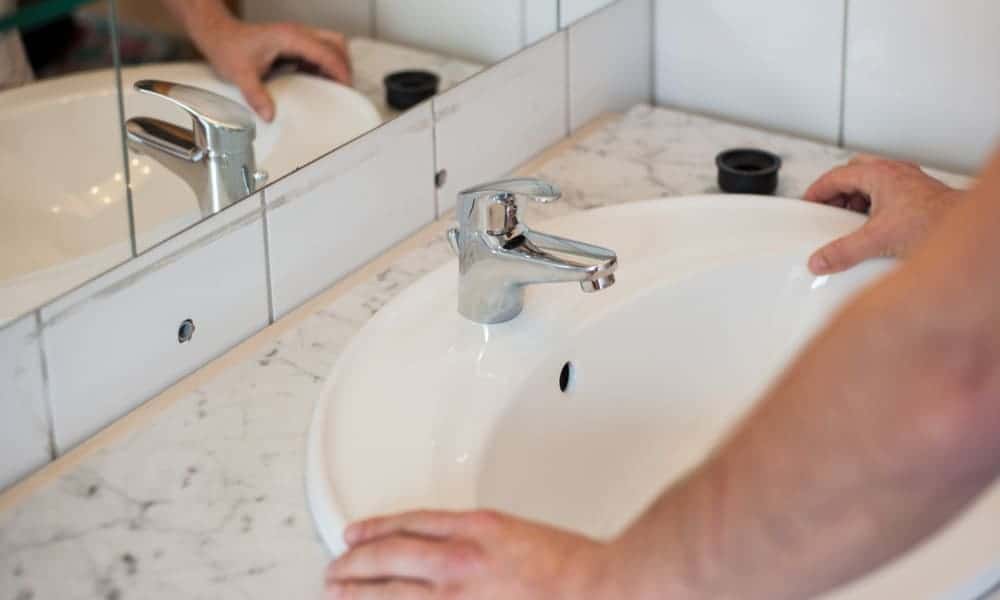
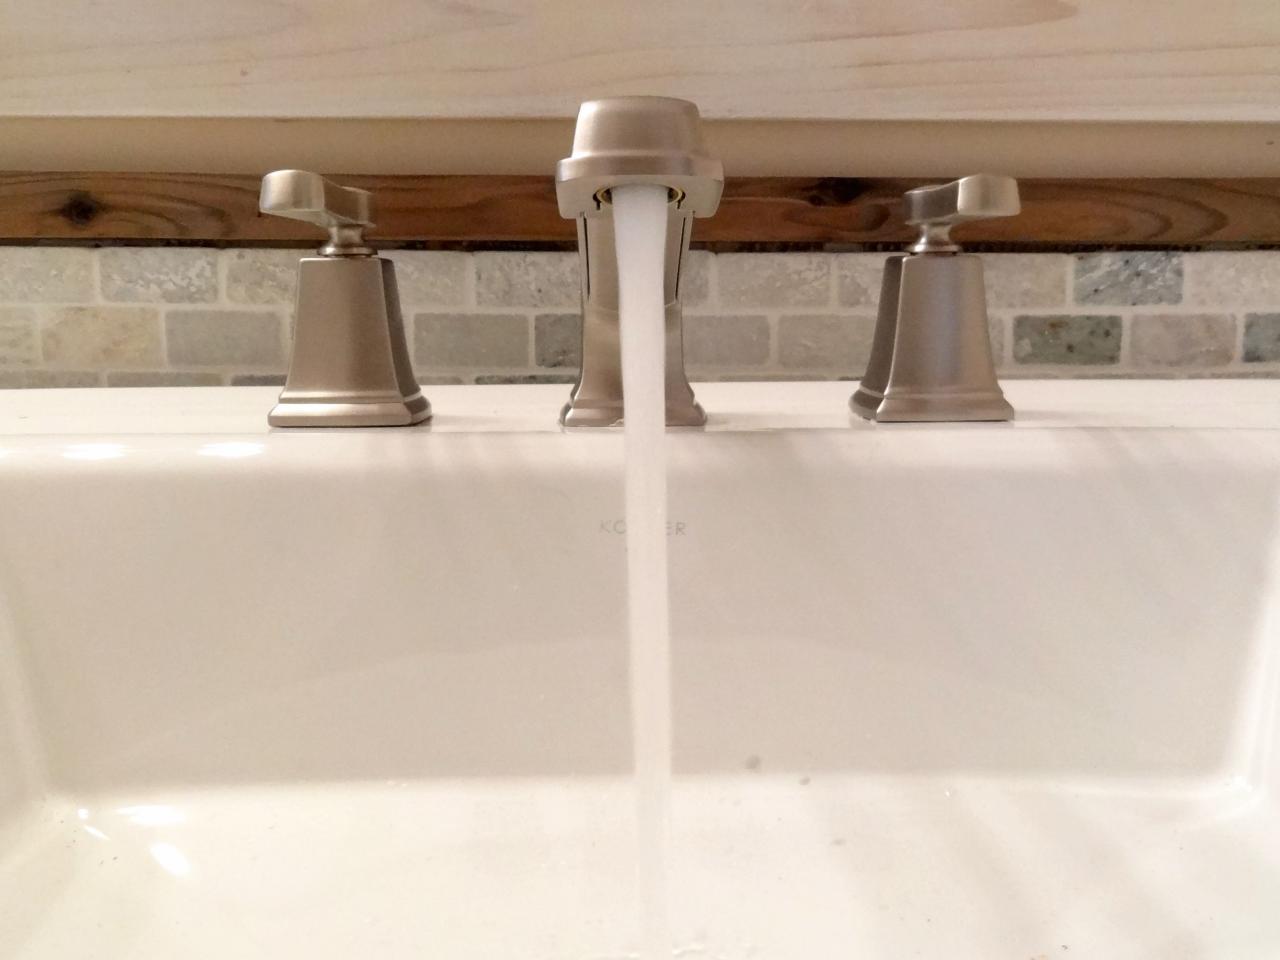
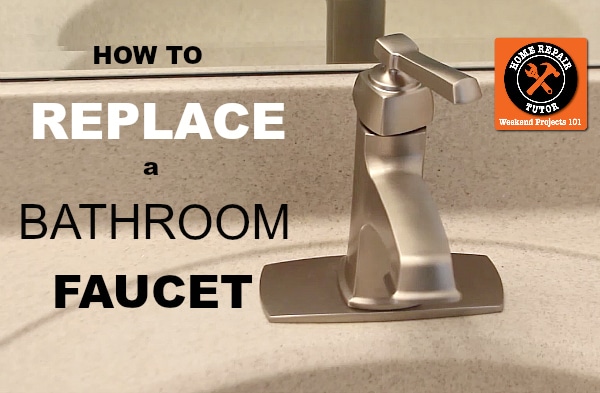
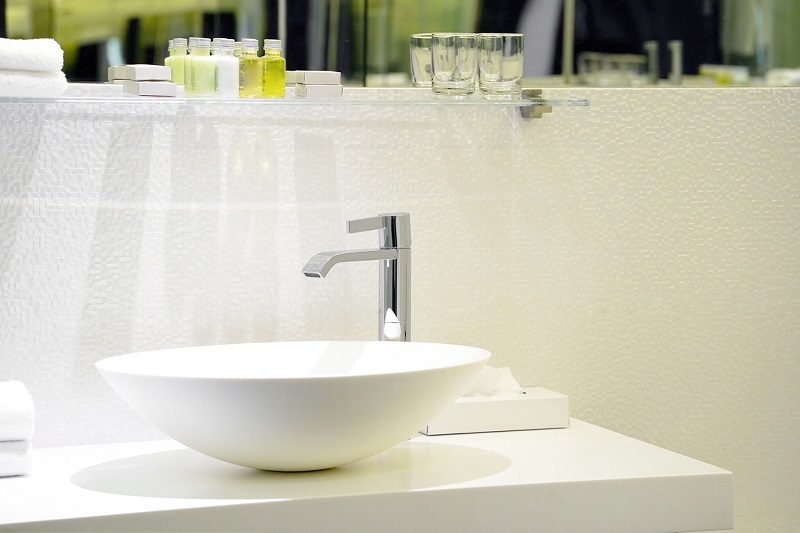
Are you tired of that old, leaky bathroom sink faucet? Want to give your bathroom a quick and easy upgrade? Look no further – we’ve got you covered. In this article, we’ll show you how to change a bathroom sink faucet in 10 simple steps. With some basic tools and a little bit of know-how, you can have a brand new faucet in no time.DIY Bathroom Sink Faucet Replacement
Replacing a bathroom sink faucet may seem like a daunting task, but with the right instructions, it can be a breeze. Follow these steps to successfully change your bathroom sink faucet:How to Change a Bathroom Sink Faucet
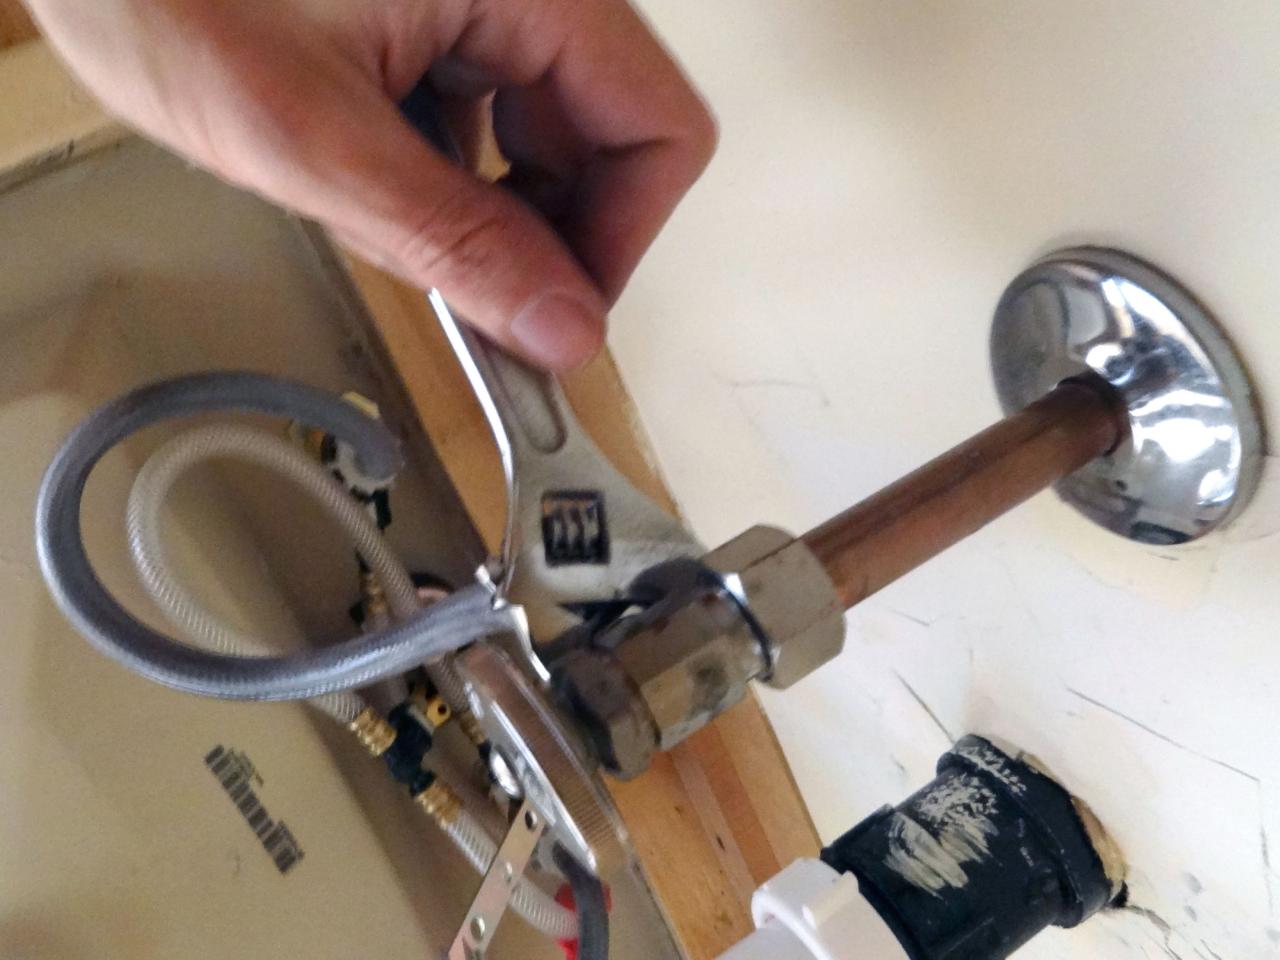
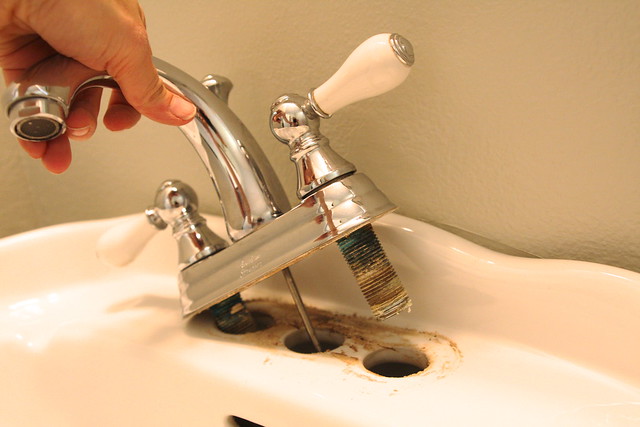
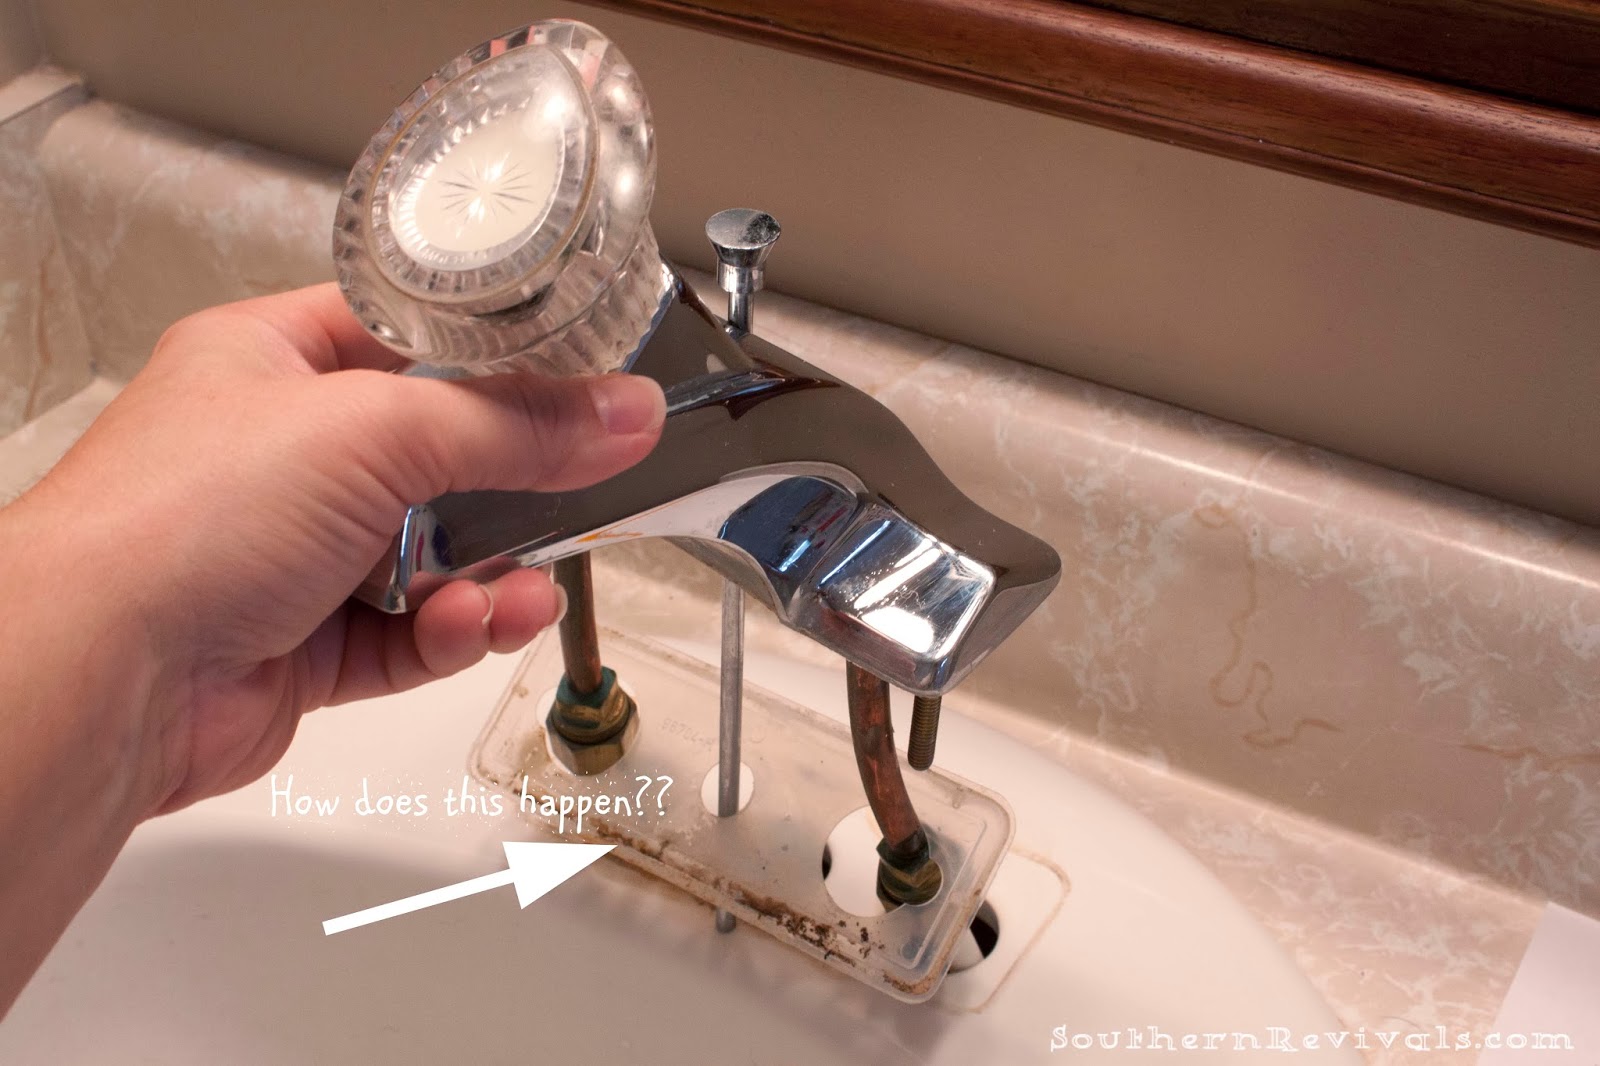
Step 1: Gather your tools and materials. You will need a new faucet, adjustable wrench, basin wrench, pliers, screwdrivers, and plumber’s tape. Step 2: Turn off the water supply to your sink. This can usually be done by shutting off the valves under the sink. Step 3: Remove the old faucet by unscrewing the nuts and disconnecting the water supply lines. Use a basin wrench to reach tight spaces. Step 4: Clean the sink surface and remove any old putty or caulk. Step 5: Install the new faucet according to the manufacturer’s instructions. Use plumber’s tape on the threads to prevent leaks. Step 6: Connect the water supply lines to the new faucet and tighten with pliers. Step 7: Install the new drain assembly and tighten with pliers. Step 8: Turn the water supply back on and check for leaks. Step 9: Adjust the faucet handles and aerator to your desired position. Step 10: Clean up any excess putty or caulk and enjoy your new faucet!Step-by-Step Guide for Replacing a Bathroom Sink Faucet
Replacing a bathroom sink faucet is a relatively simple DIY project that can save you time and money. By following the steps above, you can easily install a new faucet and give your bathroom a fresh look.DIY Bathroom Sink Faucet Installation
If you’re new to DIY projects, changing a bathroom sink faucet is a great place to start. It requires minimal tools and can be completed in just a few hours. Plus, the satisfaction of completing the project yourself is unbeatable.Replacing a Bathroom Sink Faucet: A Beginner's Guide
Tools: Adjustable wrench, basin wrench, pliers, screwdrivers Materials: New faucet, plumber’s tape, putty or caulkTools and Materials Needed for Changing a Bathroom Sink Faucet
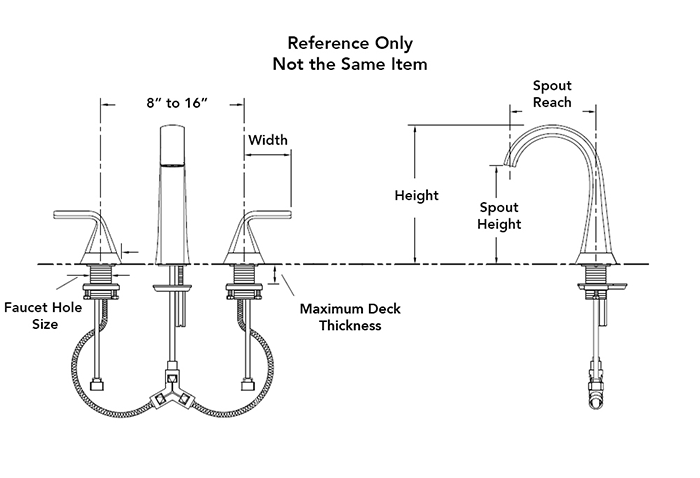
- Double check the measurements of your old faucet before purchasing a new one to ensure a proper fit. - Use a towel or cloth to protect the surface of your sink while removing the old faucet. - Have a bucket or towel nearby to catch any excess water when disconnecting the water supply lines. - If your new faucet has multiple pieces, assemble them before installing to make the process easier.Tips and Tricks for a Successful Bathroom Sink Faucet Replacement
- Not turning off the water supply before starting the project. - Forgetting to use plumber’s tape on the threads, resulting in leaks. - Overtightening the supply lines or drain assembly, which can cause damage. - Not properly cleaning the sink surface before installing the new faucet, leading to a poor seal.Common Mistakes to Avoid When Changing a Bathroom Sink Faucet
Not looking to spend a lot of money on a new faucet? Consider these budget-friendly options: - Look for sales or discounts on faucets at home improvement stores. - Consider purchasing a used faucet from a thrift store or online marketplace. - Instead of replacing the entire faucet, just update the handles or aerator for a fresh look.Budget-Friendly Ways to Upgrade Your Bathroom Sink Faucet
When choosing a new bathroom sink faucet, consider the style and design of your bathroom. You want the faucet to match the overall aesthetic and also fit the sink properly. Don’t be afraid to ask for help from a store associate if you’re unsure about which faucet to choose. Now that you have all the information you need, go ahead and tackle that bathroom sink faucet replacement. With these tips and tricks, you’ll have a beautiful new faucet in no time. Happy DIY-ing!How to Choose the Right Bathroom Sink Faucet for Your DIY Project
Choosing a New Faucet for Your Bathroom Sink

Factors to Consider
 When it comes to changing your bathroom sink faucet, one of the first things you'll need to do is choose a new one. With so many options available, it can be overwhelming to know where to start. However, there are a few factors to consider that will help you narrow down your choices and find the perfect faucet for your bathroom.
Style:
Think about the overall style of your bathroom and choose a faucet that complements it. If you have a modern bathroom, you may want to opt for a sleek, minimalistic design. For a more traditional bathroom, a faucet with more intricate details may be a better fit.
Functionality:
Consider how you use your sink and what features are important to you. Do you need a faucet with a high arc for washing large pots and pans? Or do you prefer a low arc for a more streamlined look? Do you want a single handle or separate handles for hot and cold water? These are all important factors to consider when choosing a new faucet.
Budget:
Faucets come in a wide range of prices, so it's important to set a budget before you start shopping. Keep in mind that a higher price doesn't always equal better quality, so do your research and read reviews before making a decision.
Installation
 Once you've chosen your new faucet, it's time to install it. The process may seem daunting, but with the right tools and a little patience, it can be done easily.
Gather Your Tools:
Before you start, make sure you have all the necessary tools on hand. This may include a wrench, pliers, screwdriver, and plumber's tape.
Shut off the Water:
Before you begin removing the old faucet, be sure to shut off the water supply to your sink. This can usually be done by turning the shut-off valves under the sink clockwise.
Remove the Old Faucet:
Use your wrench or pliers to remove the nuts and bolts holding the old faucet in place. You may also need to use a screwdriver to remove any screws.
Install the New Faucet:
Follow the manufacturer's instructions to install the new faucet. This may involve attaching the new faucet to the sink and connecting the water supply lines.
Test and Adjust:
Once the new faucet is installed, turn on the water supply and test for any leaks. If there are any, use plumber's tape to seal them.
With these tips in mind, you'll be able to choose and install a new bathroom sink faucet with ease. Remember to take your time and choose a faucet that not only looks great but also meets your functional needs and budget. Happy DIY-ing!


