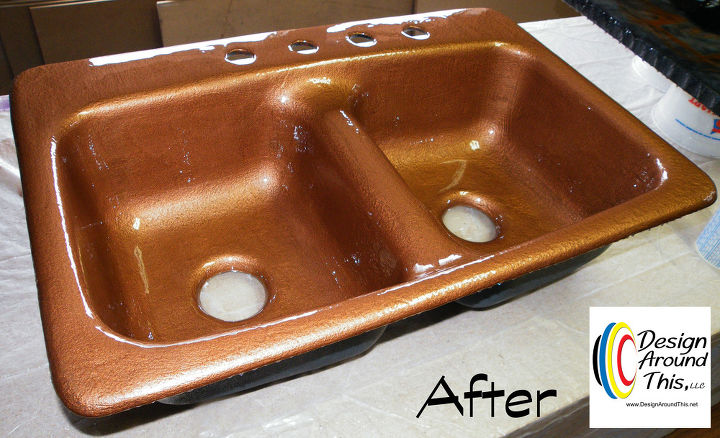
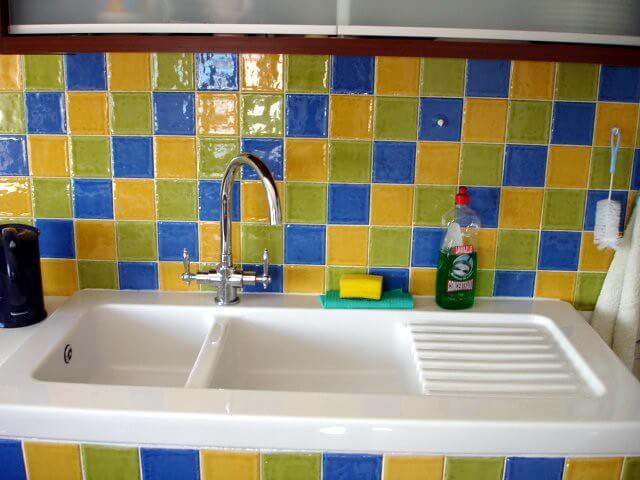
Refinishing a cast iron sink can be a cost-effective way to update your kitchen without having to replace the entire sink. With a few simple tools and materials, you can give your old cast iron sink a fresh new look. Here's how to refinish a cast iron sink in three easy steps. Step 1: Prep the Sink The first step in refinishing a cast iron sink is to properly prepare the surface. Start by cleaning the sink thoroughly with a mild cleaner and warm water. Make sure to remove any soap scum, grease, or other residue that may have built up over time. Rinse the sink well and dry it with a clean cloth. Next, use a fine-grit sandpaper to lightly sand the surface of the sink. This will help to remove any remaining residue and create a rough surface for the new finish to adhere to. Be sure to wear gloves and a mask to protect yourself from any dust or debris. Once you have sanded the entire surface, wipe it down with a damp cloth to remove any dust. Step 2: Apply the Primer The next step is to apply a primer to the cast iron sink. This will help to ensure that the new finish adheres properly and lasts for a long time. Use a high-quality, oil-based primer and apply it with a paintbrush or roller. Make sure to cover the entire surface of the sink, including the edges and corners. Allow the primer to dry completely before moving on to the next step. Step 3: Add the Finishing Touches Once the primer is dry, you can add the final layer of finish to your cast iron sink. You can choose to paint the sink with a color of your choice or apply a porcelain enamel finish for a more traditional look. Whichever option you choose, be sure to follow the manufacturer's instructions for the best results. After the final coat of finish has been applied, allow the sink to dry completely before using it. This may take a few hours, so plan accordingly. Once the sink is dry, you can install it back in your kitchen and enjoy your newly refinished cast iron sink.How to Refinish a Cast Iron Sink

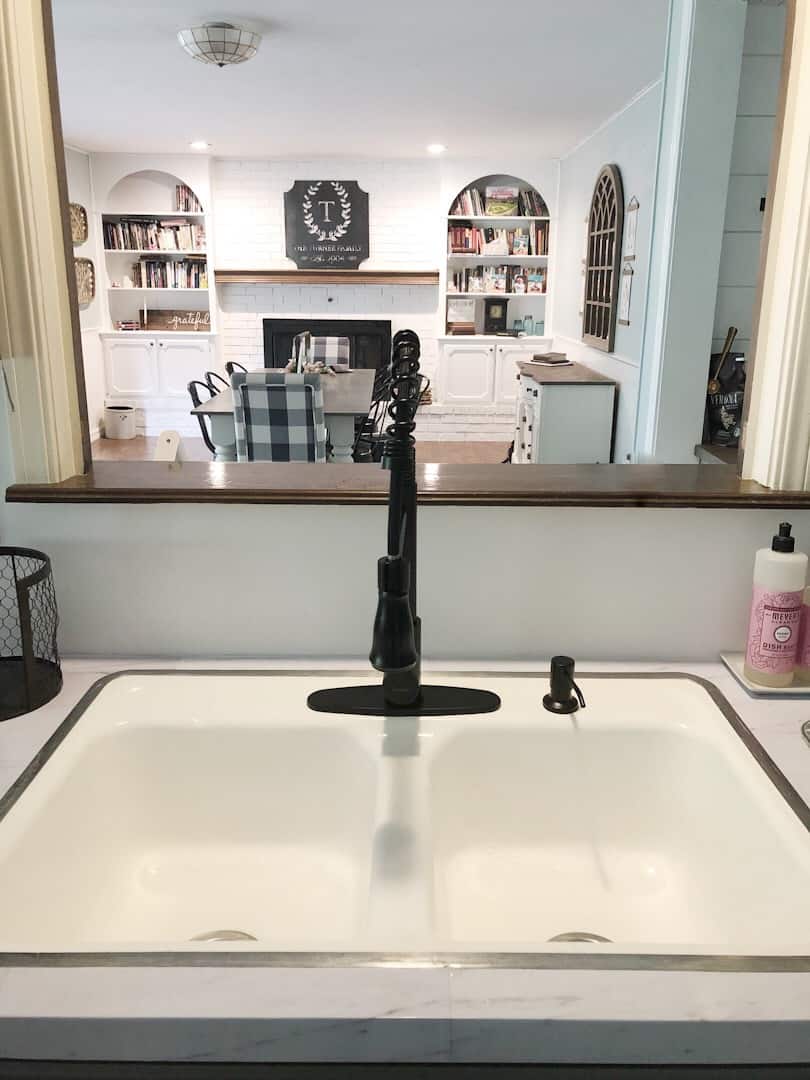

How to Refinish a Cast Iron Sink


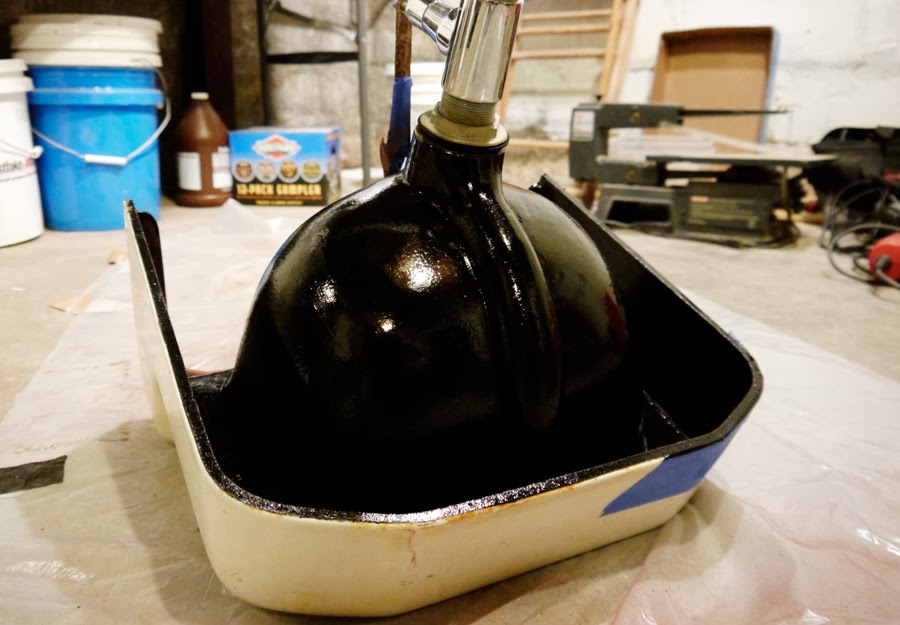
If you want to give your cast iron sink a fresh new look, painting it is a great option. This is a simple and budget-friendly way to update your kitchen without having to replace the entire sink. Here's how to paint a cast iron sink in four easy steps. Step 1: Prep the Sink The first step in painting a cast iron sink is to properly prepare the surface. Start by cleaning the sink thoroughly with a mild cleaner and warm water. Make sure to remove any soap scum, grease, or other residue that may have built up over time. Rinse the sink well and dry it with a clean cloth. Next, use a fine-grit sandpaper to lightly sand the surface of the sink. This will help to remove any remaining residue and create a rough surface for the paint to adhere to. Be sure to wear gloves and a mask to protect yourself from any dust or debris. Once you have sanded the entire surface, wipe it down with a damp cloth to remove any dust. Step 2: Apply the Primer The next step is to apply a primer to the cast iron sink. This will help to ensure that the paint adheres properly and lasts for a long time. Use a high-quality, oil-based primer and apply it with a paintbrush or roller. Make sure to cover the entire surface of the sink, including the edges and corners. Allow the primer to dry completely before moving on to the next step. Step 3: Paint the Sink Once the primer is dry, you can start painting the sink. Choose a paint specifically designed for use on metal surfaces. Apply the paint in thin, even coats, using a paintbrush or roller. Be sure to cover the entire surface and allow each coat to dry completely before adding another layer. This will help to prevent drips and ensure a smooth finish. Step 4: Seal the Paint After the final coat of paint has been applied and dried, seal it with a clear coat to protect the surface from wear and tear. This is especially important for a sink that will be used frequently. Allow the clear coat to dry completely before using the sink. With these simple steps, you can give your cast iron sink a fresh new look with a coat of paint. Remember to choose a high-quality paint and take your time for best results.How to Paint a Cast Iron Sink


How to Paint a Cast Iron Sink

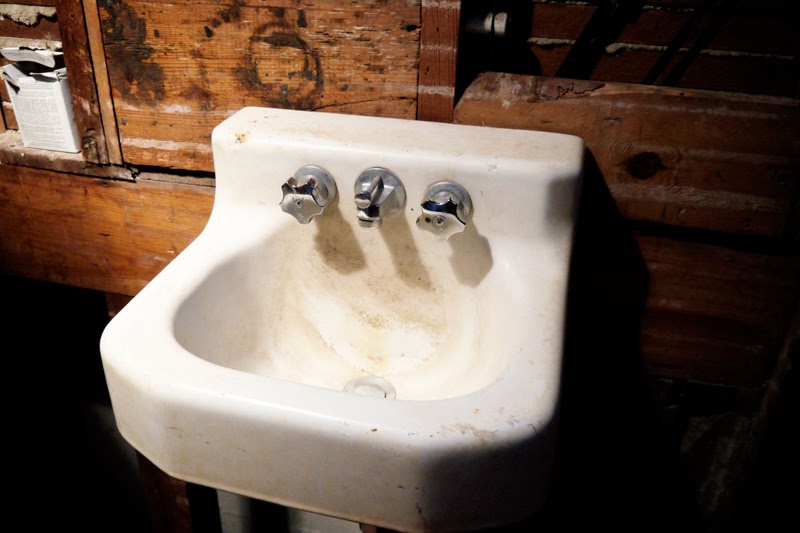


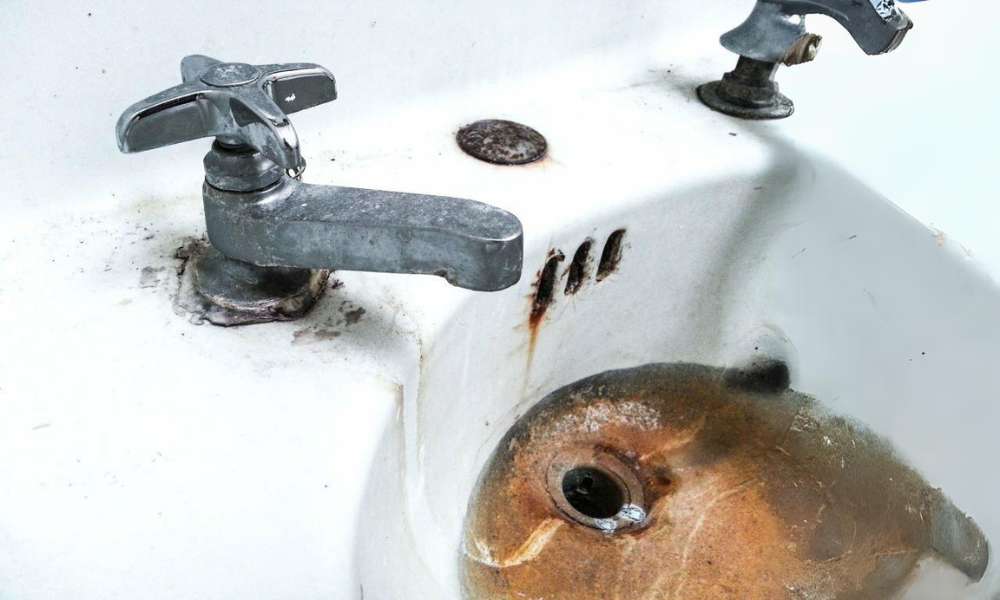
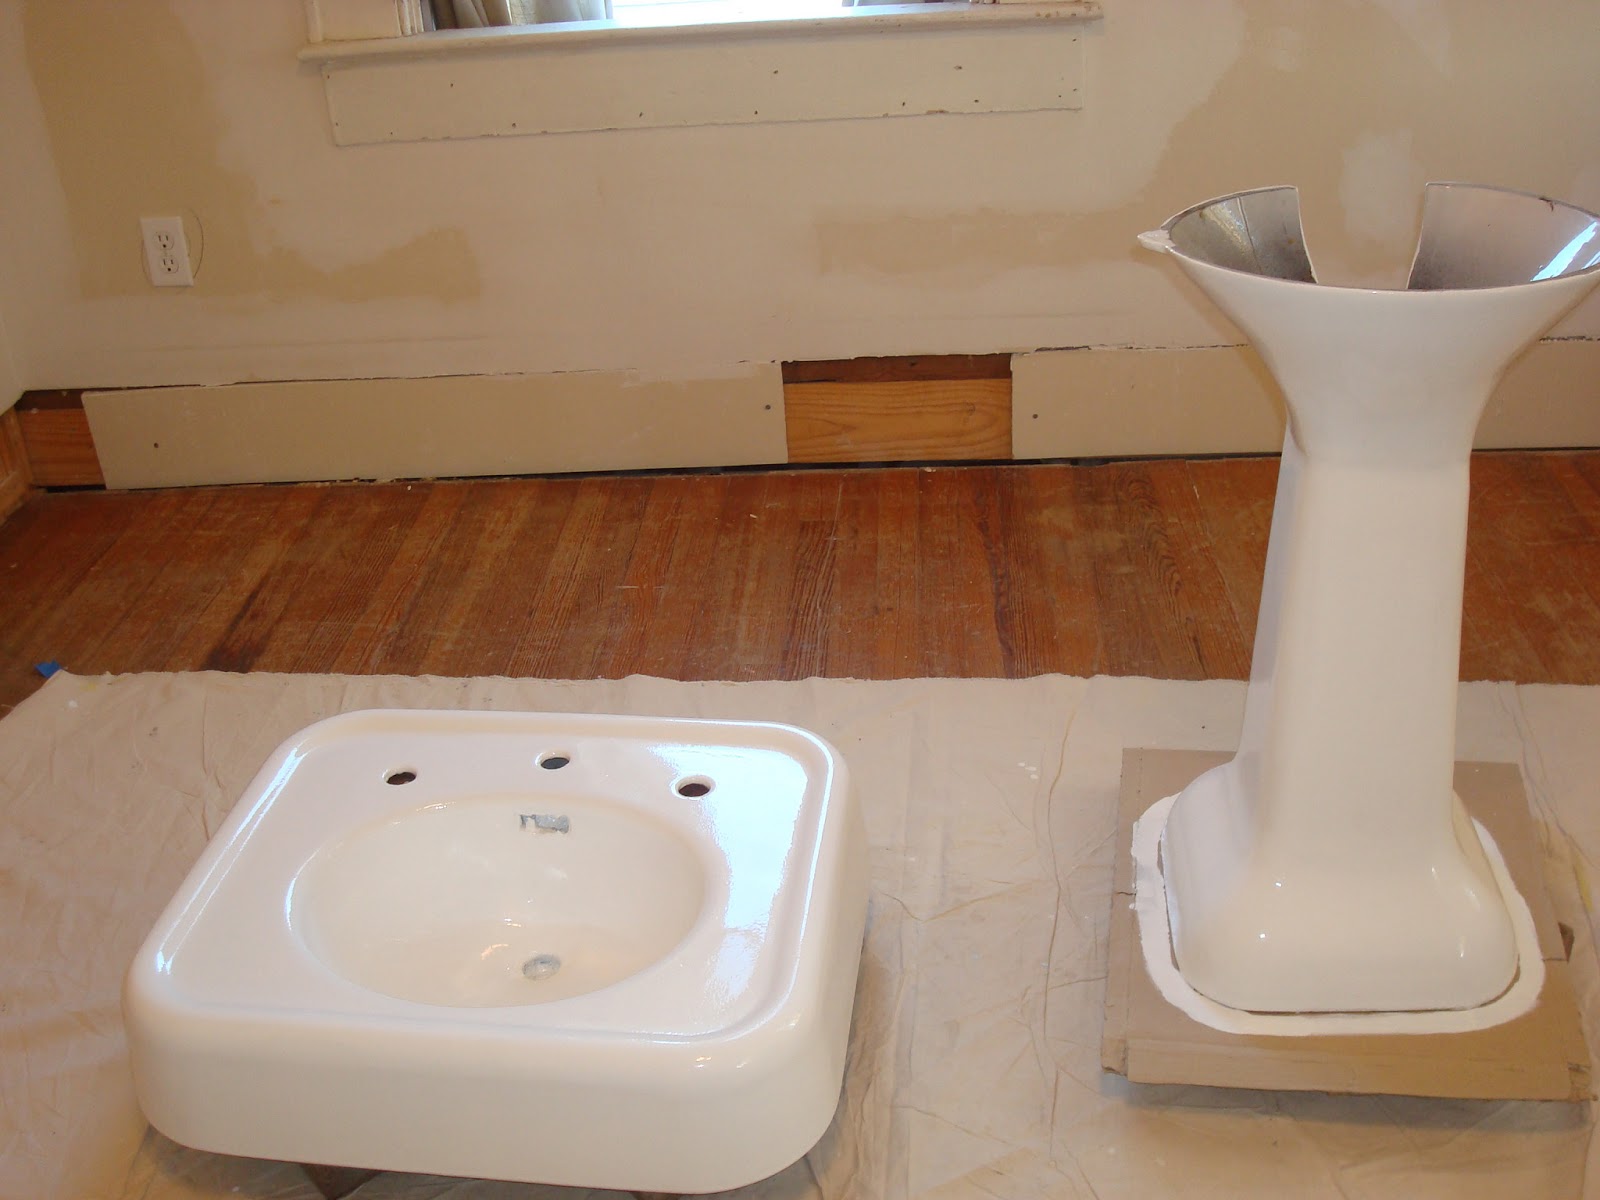
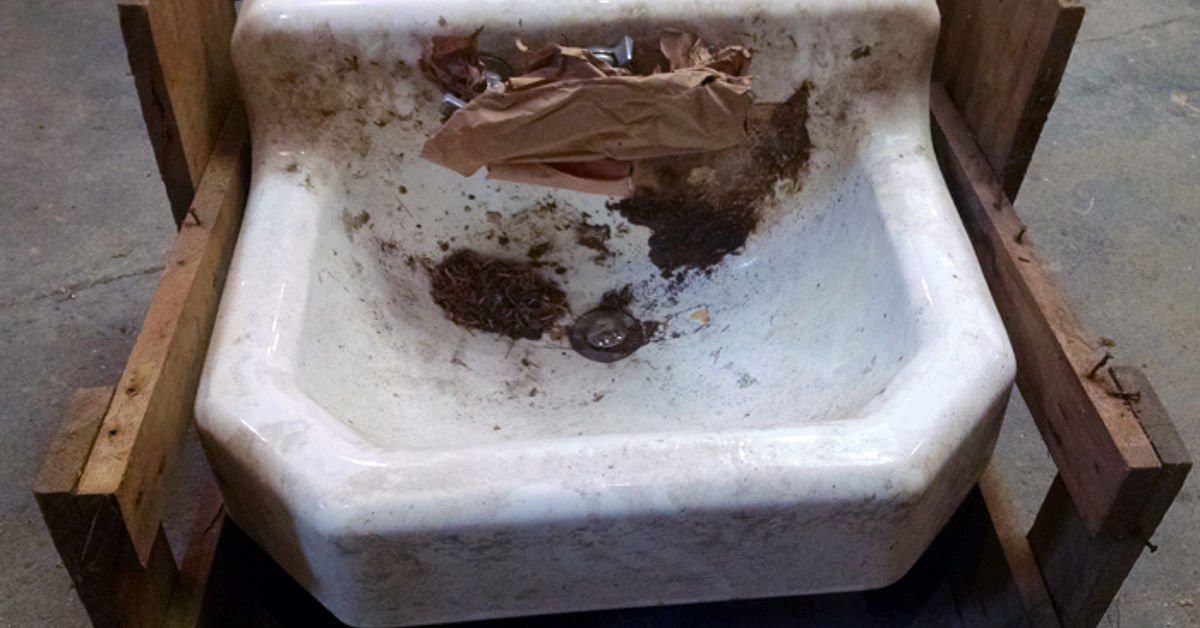
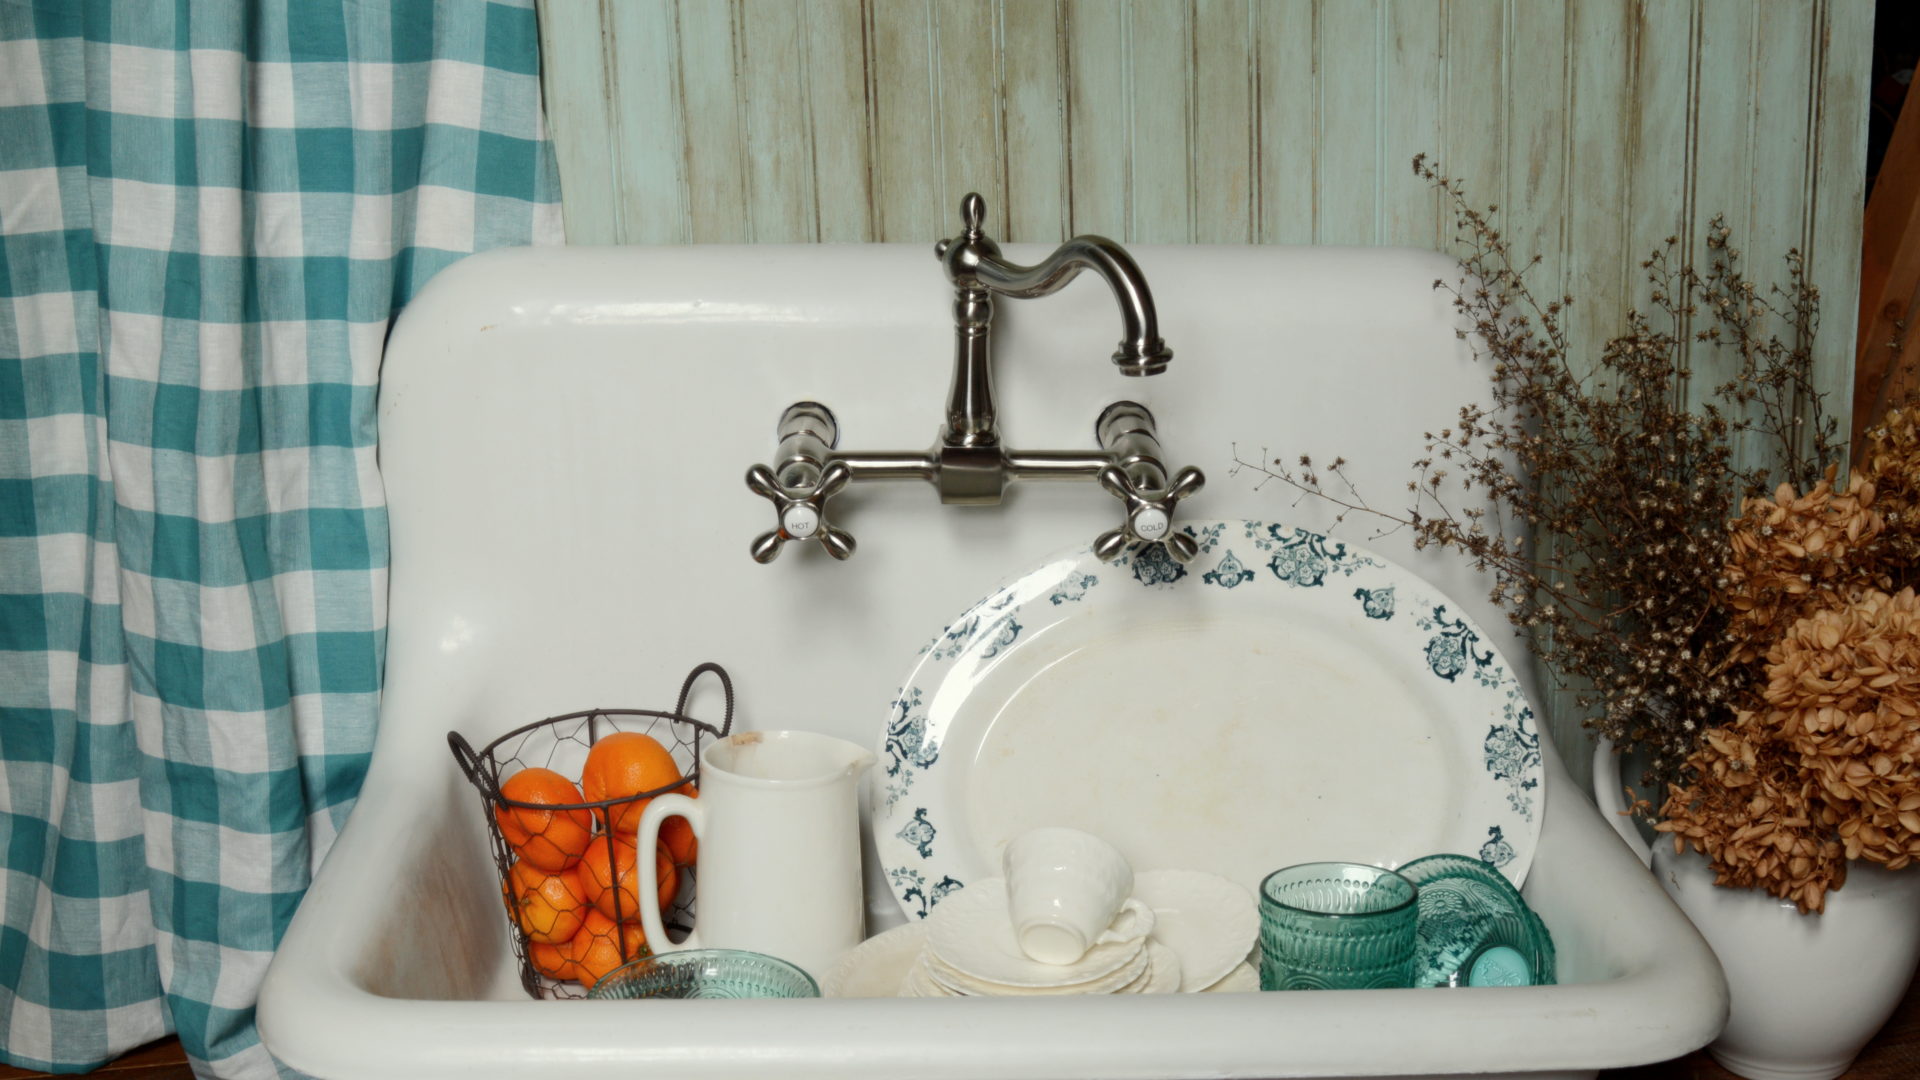
If your cast iron sink is looking worn or damaged, restoring it can bring it back to its former glory. This is a great option if you want to keep your vintage or antique sink but want it to look like new. Here's how to restore your cast iron sink in five easy steps. Step 1: Clean the Sink The first step in restoring a cast iron sink is to clean it thoroughly. Use a mild cleaner and warm water to remove any dirt, grime, or stains that may have accumulated over time. You may need to use a scrub brush or sponge to remove tough stains. Rinse the sink well and dry it with a clean cloth. Step 2: Remove Rust If your cast iron sink has rust spots, you will need to remove them before moving on to the next step. Use a rust remover or a mixture of equal parts water and vinegar to dissolve the rust. Apply the solution to the affected areas and let it sit for a few minutes before scrubbing it with a brush or sponge. Rinse the sink well and dry it with a clean cloth. Step 3: Sand the Surface Next, use a fine-grit sandpaper to lightly sand the surface of the sink. This will help to remove any remaining residue and create a smooth surface for the new finish to adhere to. Be sure to wear gloves and a mask to protect yourself from any dust or debris. Once you have sanded the entire surface, wipe it down with a damp cloth to remove any dust. Step 4: Apply the Finish Now it's time to add the finishing touches to your restored cast iron sink. You can choose to paint the sink with a color of your choice or apply a porcelain enamel finish for a more traditional look. Whichever option you choose, be sure to follow the manufacturer's instructions for the best results. Allow the finish to dry completely before using the sink. Step 5: Seal the Surface After the final coat of finish has been applied and dried, seal it with a clear coat to protect the surface from wear and tear. This is especially important for a sink that will be used frequently. Allow the clear coat to dry completely before using the sink. With these five simple steps, you can restore your cast iron sink and give it a fresh new look. Remember to take your time and follow the instructions carefully for best results.DIY Cast Iron Sink Restoration


DIY Cast Iron Sink Restoration


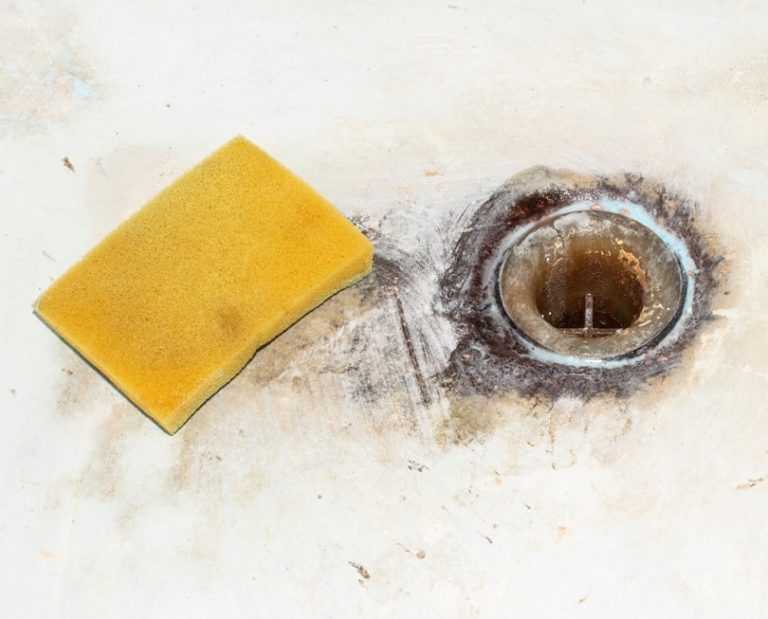
Keeping your cast iron sink clean is essential for maintaining its beauty and longevity. With regular cleaning, you can prevent stains, scratches, and other damage. Here's how to clean your cast iron sink in four simple steps. Step 1: Rinse and Wipe The first step in cleaning a cast iron sink is to rinse it with warm water and wipe it down with a clean cloth. This will help to remove any loose dirt and debris. You can also use a mild cleaner if needed. Be sure to wipe the sink dry with a clean cloth to prevent water spots. Step 2: Remove Stains If your sink has any tough stains, you may need to use a cleaner specifically designed for cast iron or a mixture of equal parts water and vinegar. Apply the solution to the stained area and let it sit for a few minutes before scrubbing it with a brush or sponge. Rinse the sink well and dry it with a clean cloth. Step 3: Prevent Scratches To prevent scratches, avoid using harsh abrasives or steel wool to clean your cast iron sink. These can damage the surface and cause scratches. Instead, use a soft sponge or cloth to clean the sink. Step 4: Maintain the Finish To maintain the finish of your cast iron sink, avoid using harsh chemicals or acidic cleaners. These can damage the surface and cause discoloration. Stick to mild cleaners and rinse the sink well after each use to prevent buildup. By following these simple steps, you can keep your cast iron sink clean and in good condition for years to come.How to Clean a Cast Iron Sink


How to Clean a Cast Iron Sink


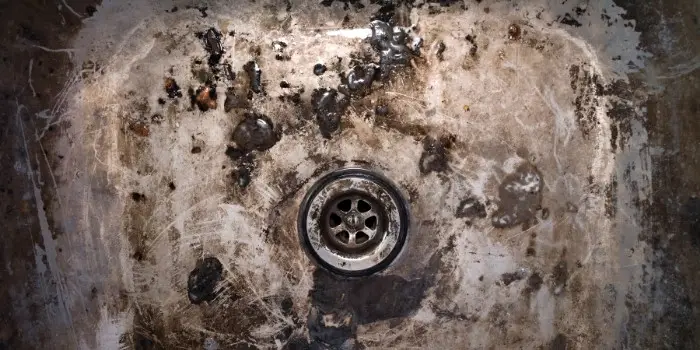
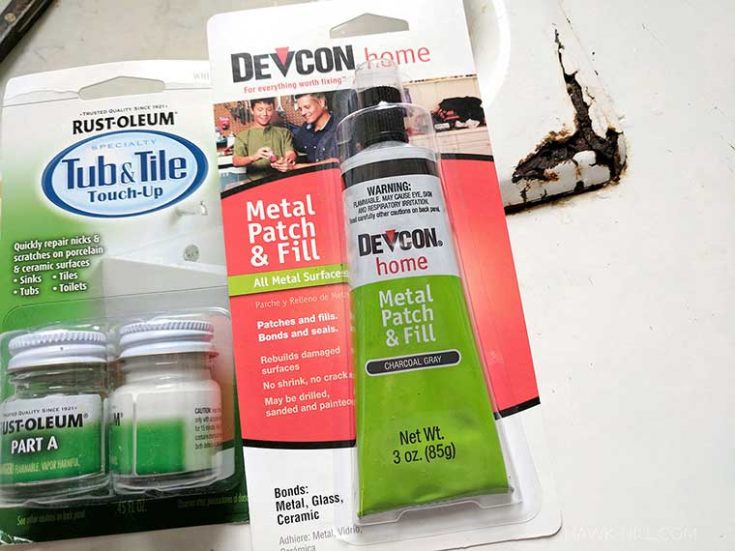
Over time, even the most durable cast iron sinks can develop chips, cracks, or other damage. Instead of replacing the entire sink, you can repair it yourself with a few simple tools and materials. Here's how to repair a cast iron sink in four easy steps. Step 1: Assess the Damage The first step in repairing a cast iron sink is to assess the damage. If the damage is minor, you may be able to fix it with a DIY repair kit. For larger or more extensive damage, you may need to hire a professional. Take note of the type and location of the damage to determine the best course of action. Step 2: Sand the Area Next, use a fine-grit sandpaper to sand the damaged area. This will create a smooth surface for the repair material to adhere to. Be sure to wear gloves and a mask to protect yourself from any dust or debris. Once you have sanded the area, wipe it down with a damp cloth to remove any dust. Step 3: Apply the Repair Material Follow the instructions on your DIY repair kit to mix and apply the repair material to the damaged area. Be sure to fill in all cracks and chips and smooth out the surface as much as possible. Allow the repair material to dry completely before moving on to the next step. Step 4: Sand and Finish the Area Once the repair material is dry, use a fine-grit sandpaper to sand the area until it is smooth and even with the rest of the surface. Wipe away any dust with a damp cloth. Now you can apply a primer and finish to the repaired area to match the rest of the sink. With these simple steps, you can repair your cast iron sink and make it look like new again. Remember to take your time and follow the instructions carefully for best results.DIY Cast Iron Sink Repair


DIY Cast Iron Sink Repair


Installing a cast iron kitchen sink may seem like a daunting task, but with the right tools and instructions, you can do it yourself. Here's how to install a cast iron kitchen sink in five easy steps. Step 1: Prepare the Area The first step in installing a cast iron kitchen sink is to prepare the area. Make sure the cabinet and countertop are strong enough to support the weight of the sink. You may need to reinforce the cabinet if it is not sturdy enough. Be sure to also measure the space to ensure the sink will fit properly. Step 2: Install the Faucet and Drain Next, install the faucet and drain according to the manufacturer's instructions. Make sure to follow the correct measurements and use the appropriate tools. Once the faucet and drain are installed, you can move on to the next step. Step 3: Place the Sink With the help of a friend or family member, carefully place the cast iron sink into the designated space. You may need to use a silicone adhesive to secure the sink to the countertop. Make sure the sink is level and centered before moving on to the next step. Step 4: Secure the SinkHow to Install a Cast Iron Kitchen Sink


How to Install a Cast Iron Kitchen Sink


Benefits of a DIY Cast Iron Kitchen Sink
Enhances Aesthetic Appeal
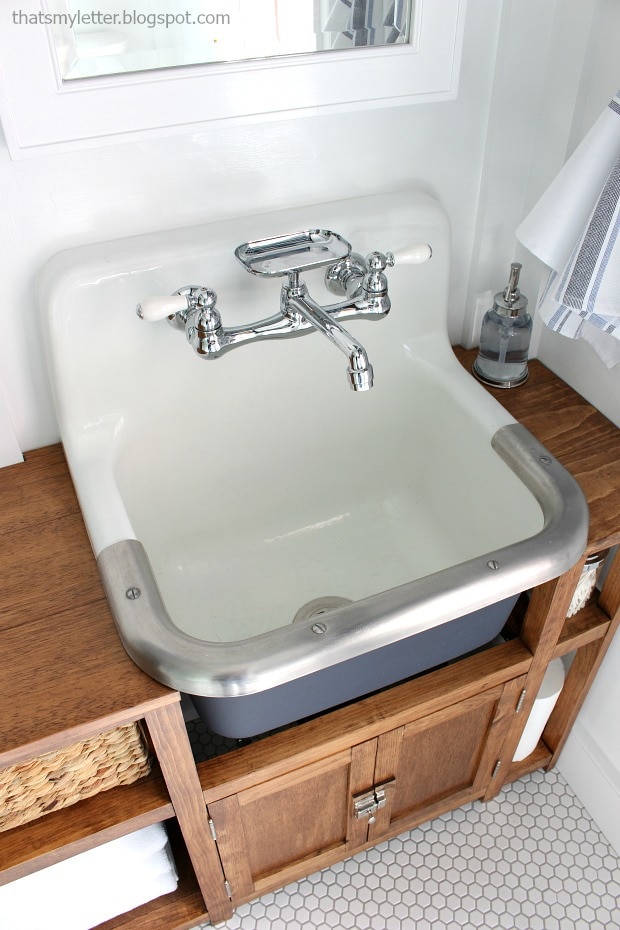
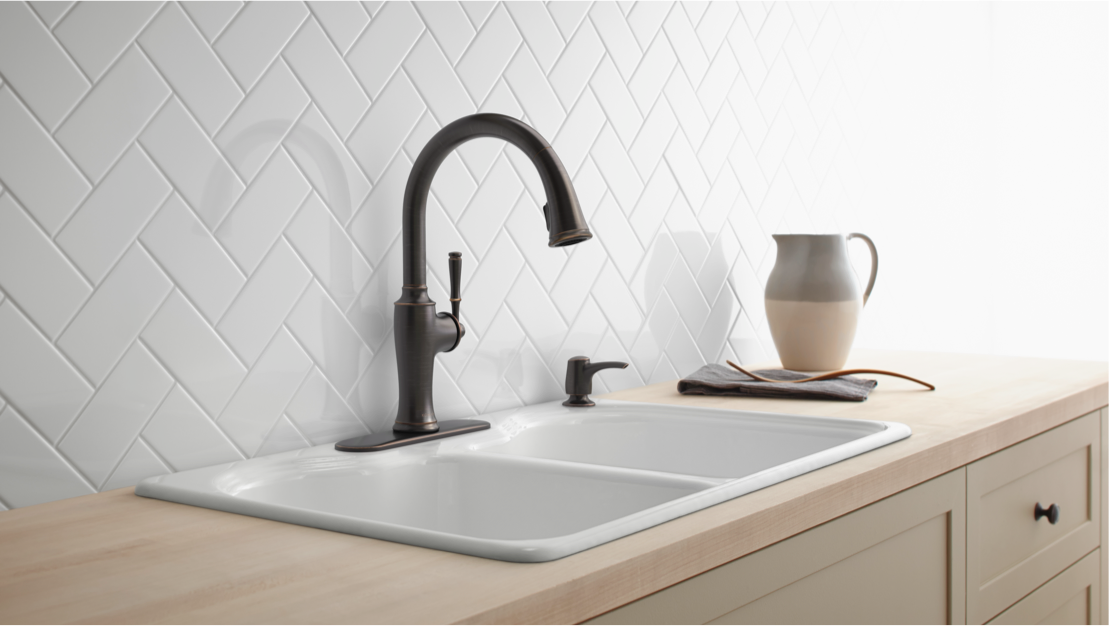
 A cast iron kitchen sink can add a touch of elegance and charm to any kitchen design. With its sleek and timeless look, it can complement both modern and traditional kitchen styles. The glossy finish of a cast iron sink adds a touch of sophistication to your kitchen, making it a focal point of the space. Additionally, cast iron sinks come in a variety of colors, giving you the option to match it with your kitchen's color scheme and create a cohesive look.
Durable and Long-Lasting
 One of the major benefits of a DIY cast iron kitchen sink is its durability. It is made from solid iron material, making it resistant to scratches, dents, and chips. It can withstand heavy use and is not easily damaged by hot pots or pans. This makes it an ideal choice for busy households and those who love to cook. A cast iron sink can last for decades with proper care, making it a long-term investment for your home.
Easy to Maintain
 Keeping your DIY cast iron kitchen sink looking clean and shiny is a breeze. The non-porous surface of a cast iron sink makes it resistant to stains and rust, making it easy to maintain its pristine appearance. Regular cleaning with mild soap and water is all that is needed to keep it looking brand new. In case of any stubborn stains, you can use a gentle abrasive cleaner without worrying about damaging the sink's surface.
Versatile in Design and Functionality
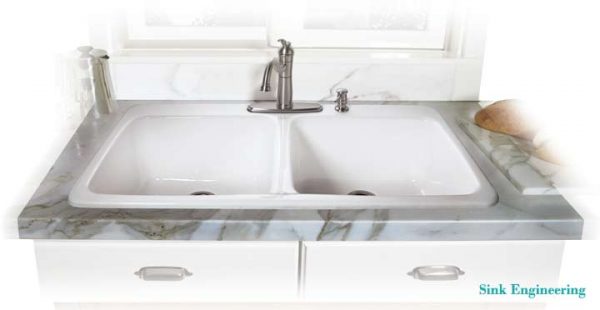
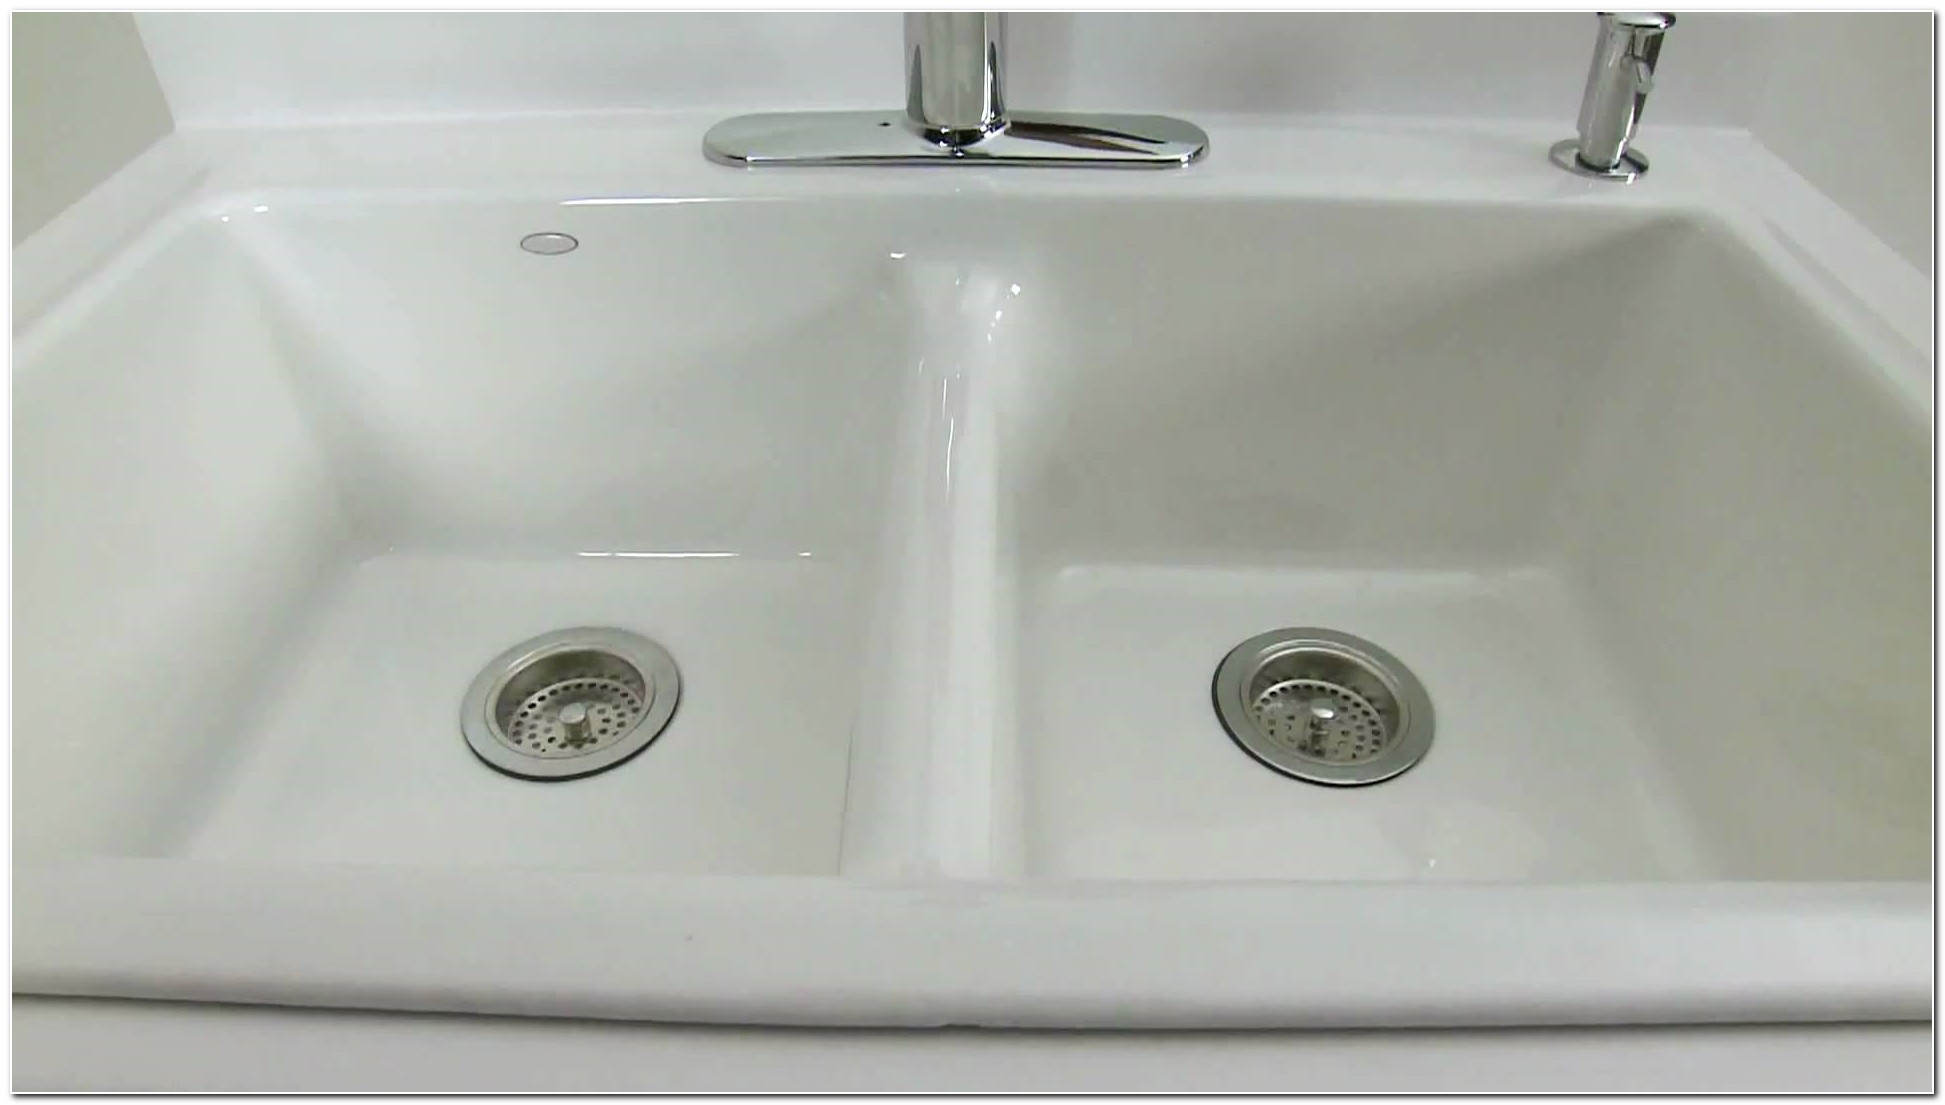
 Cast iron kitchen sinks come in a variety of sizes and styles, making them versatile in design and functionality. You can choose from single, double, or triple bowl sinks, depending on your needs. Some models also come with additional features such as a built-in drainboard or a low divider between the bowls, providing added convenience and functionality. With a DIY cast iron kitchen sink, you can customize it to fit your specific needs and preferences.
In conclusion, a DIY cast iron kitchen sink is a wise investment for any homeowner looking to enhance the look and functionality of their kitchen. Its timeless beauty, durability, and easy maintenance make it a popular choice among homeowners. With a little DIY knowledge and some creativity, you can easily install a cast iron sink and enjoy its numerous benefits for years to come.
Cast iron kitchen sinks come in a variety of sizes and styles, making them versatile in design and functionality. You can choose from single, double, or triple bowl sinks, depending on your needs. Some models also come with additional features such as a built-in drainboard or a low divider between the bowls, providing added convenience and functionality. With a DIY cast iron kitchen sink, you can customize it to fit your specific needs and preferences.
In conclusion, a DIY cast iron kitchen sink is a wise investment for any homeowner looking to enhance the look and functionality of their kitchen. Its timeless beauty, durability, and easy maintenance make it a popular choice among homeowners. With a little DIY knowledge and some creativity, you can easily install a cast iron sink and enjoy its numerous benefits for years to come.