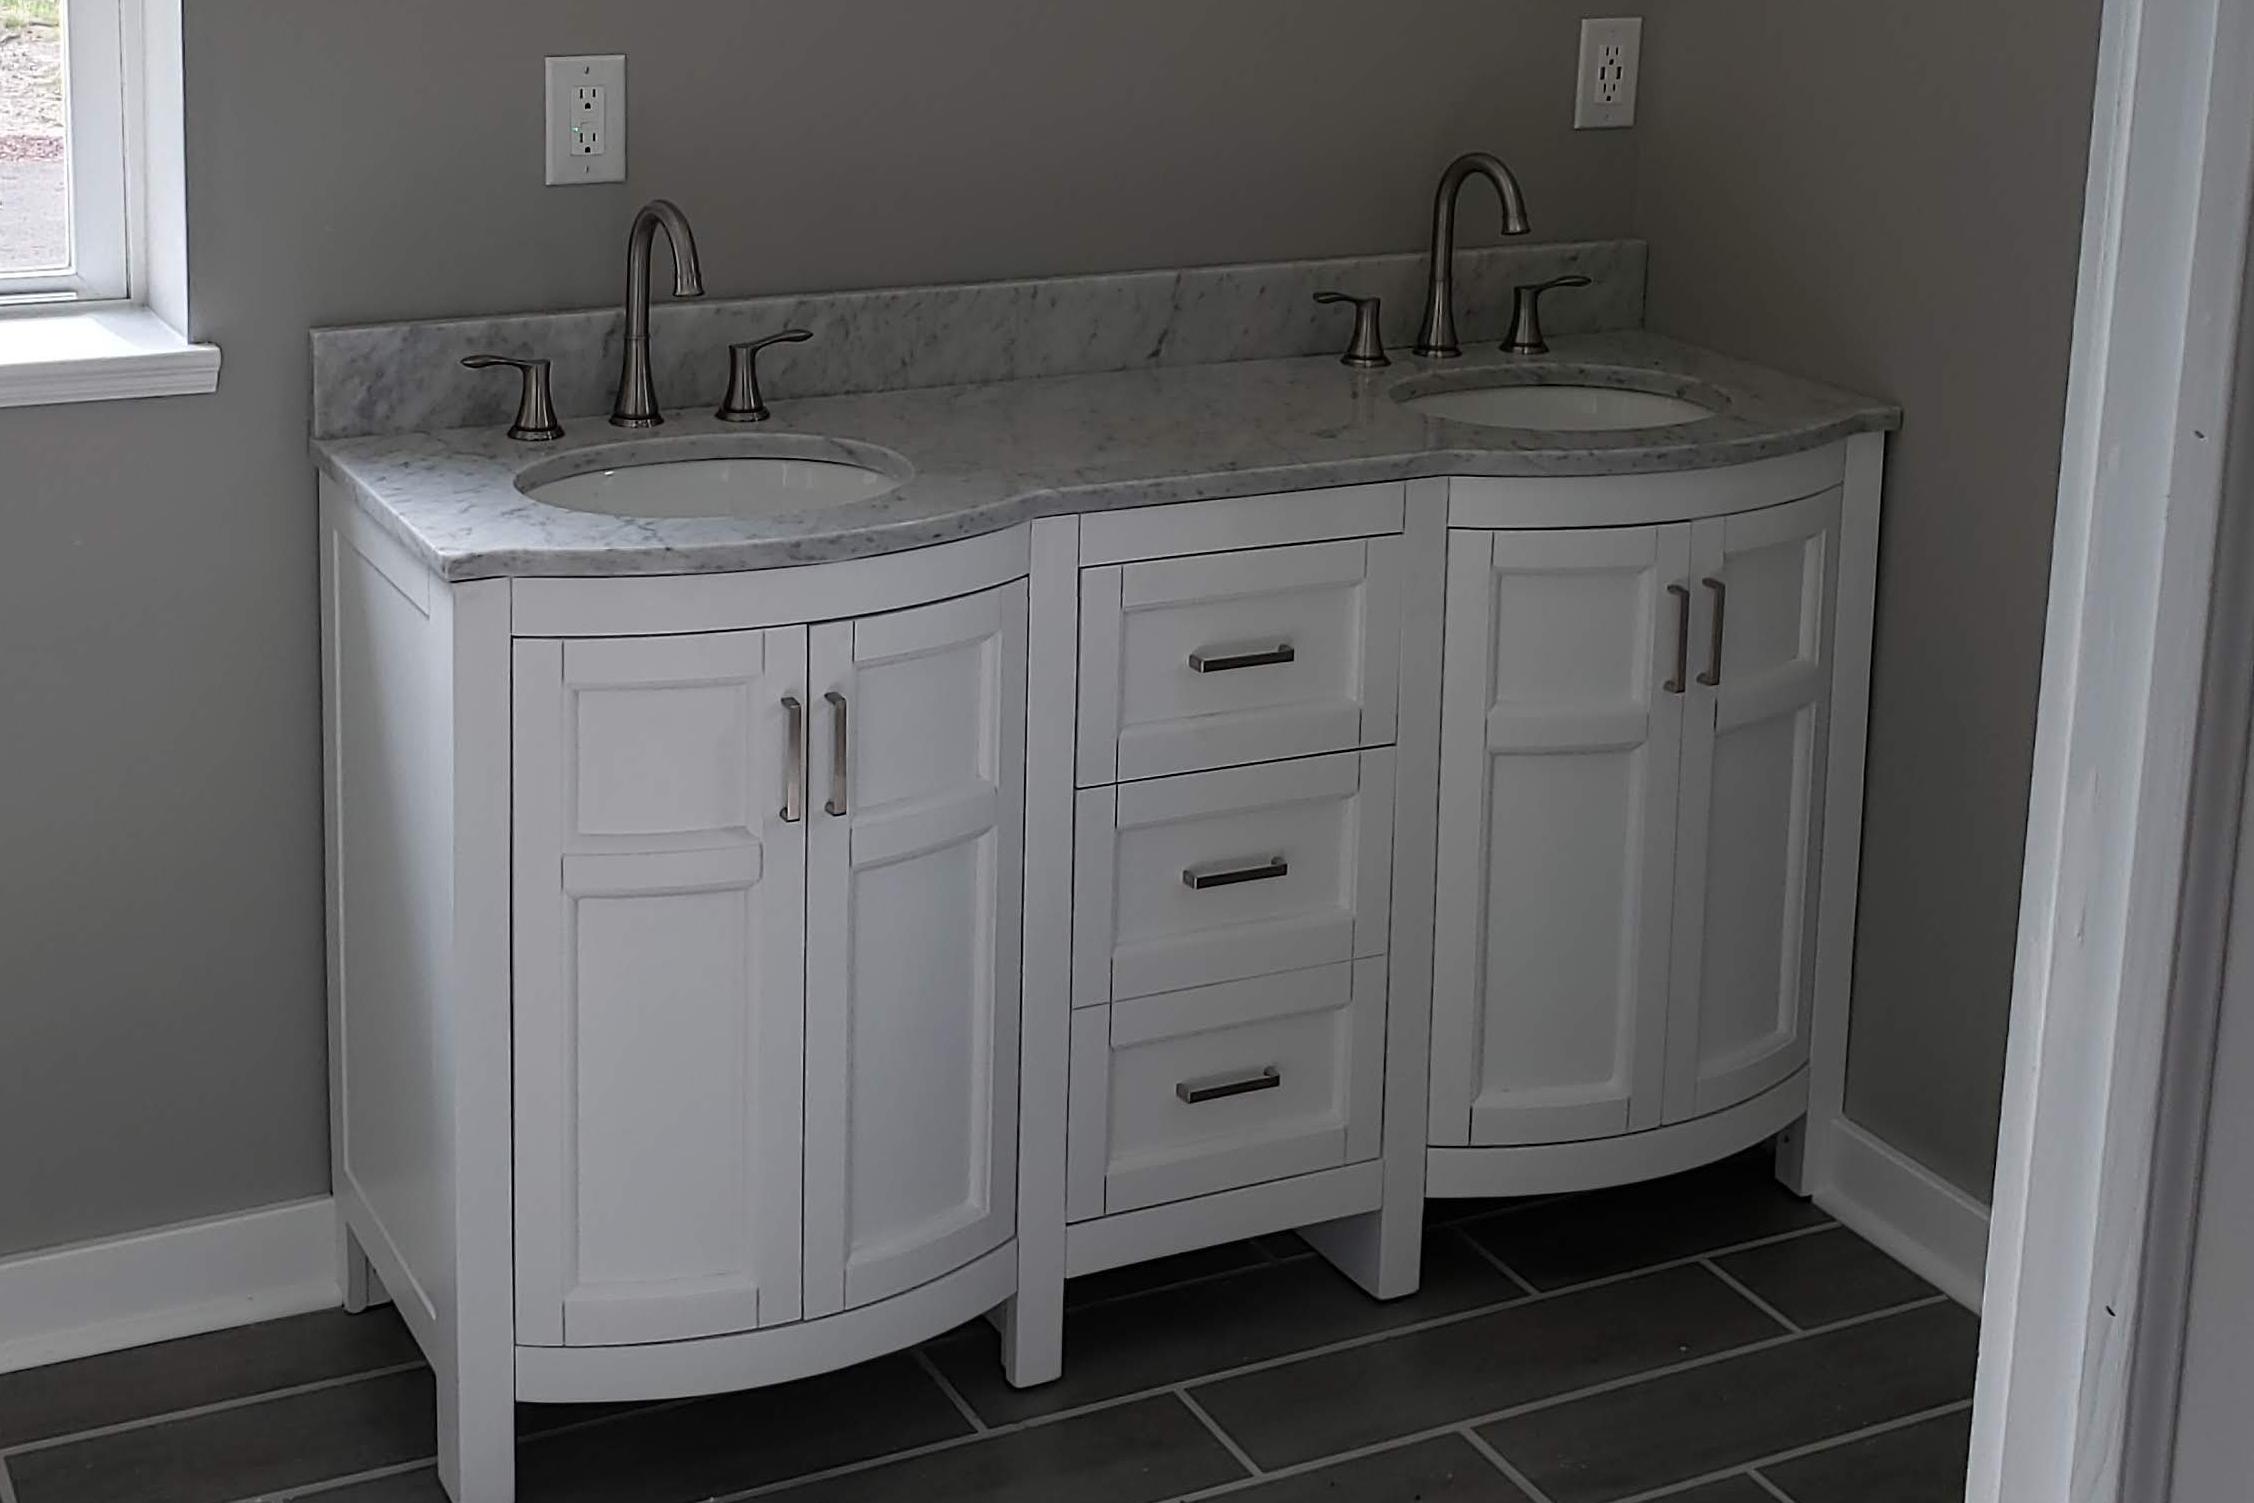
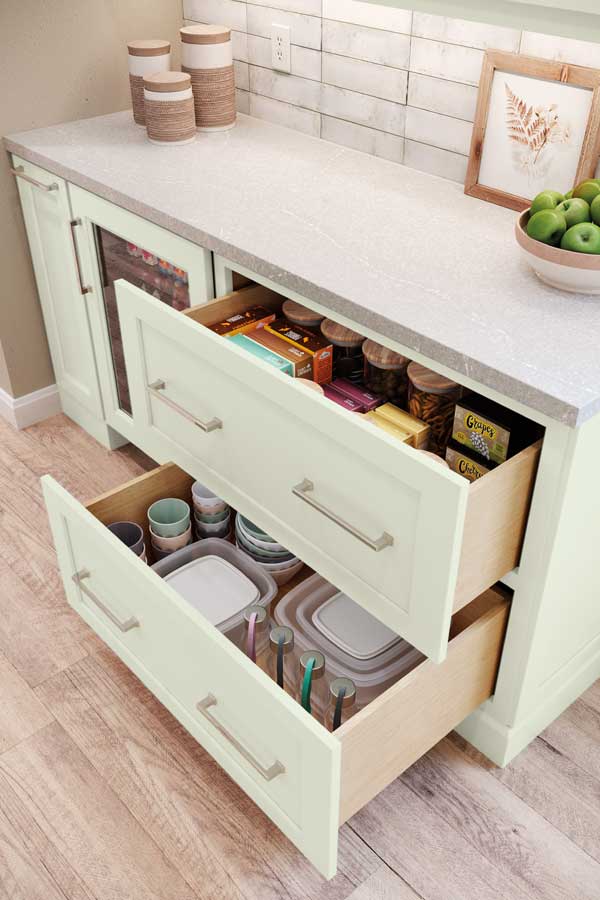
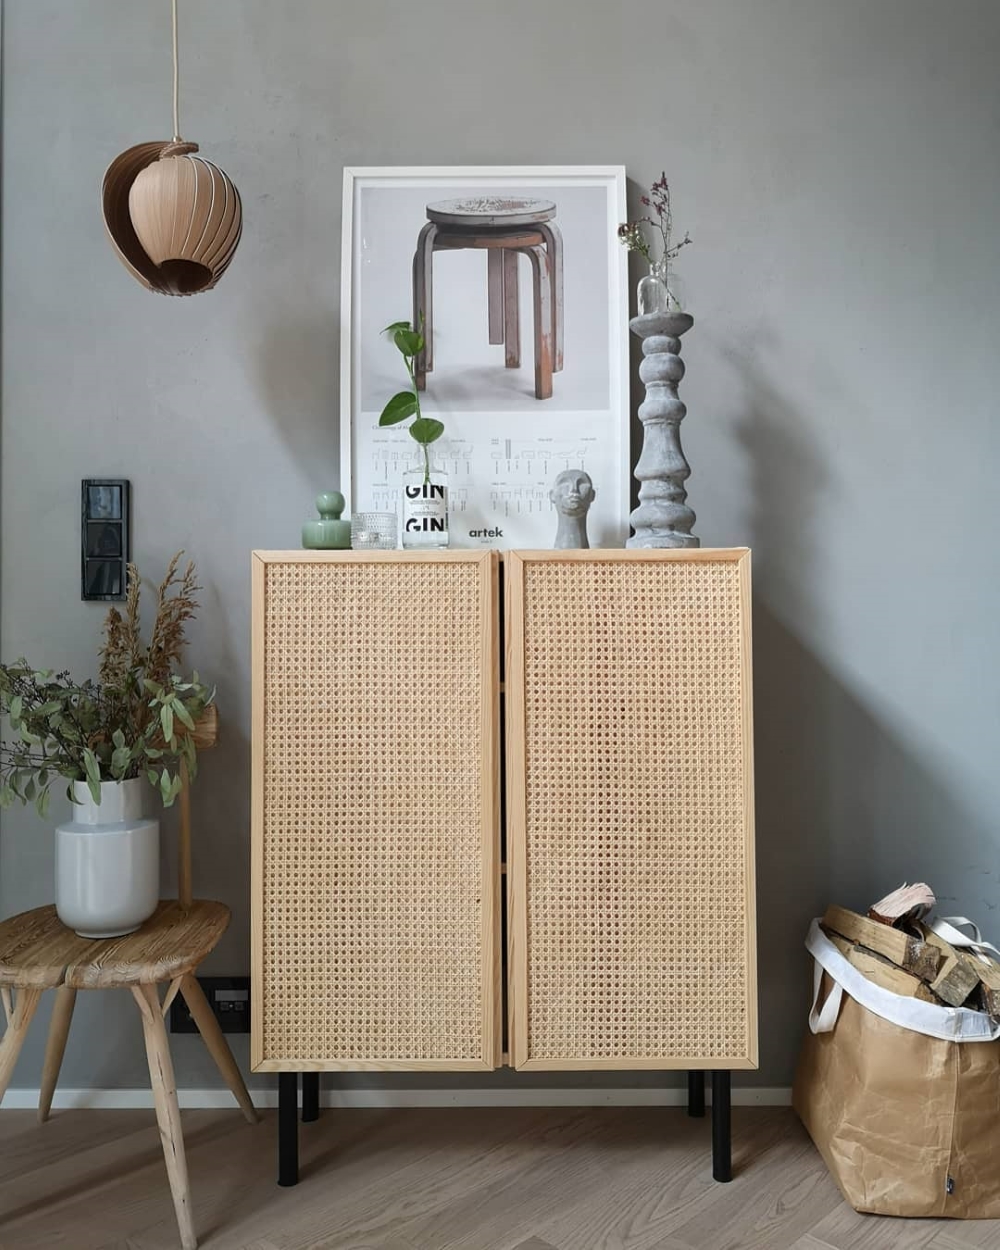
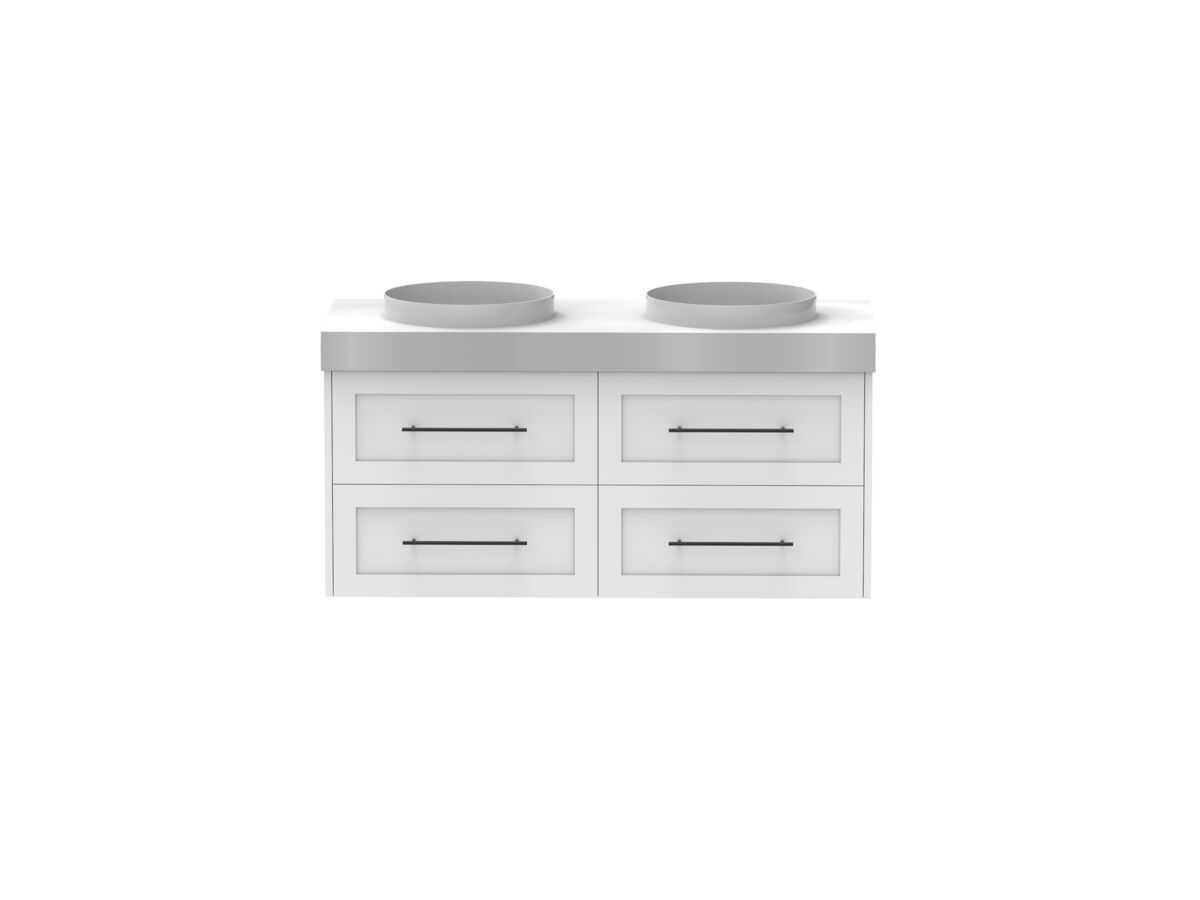
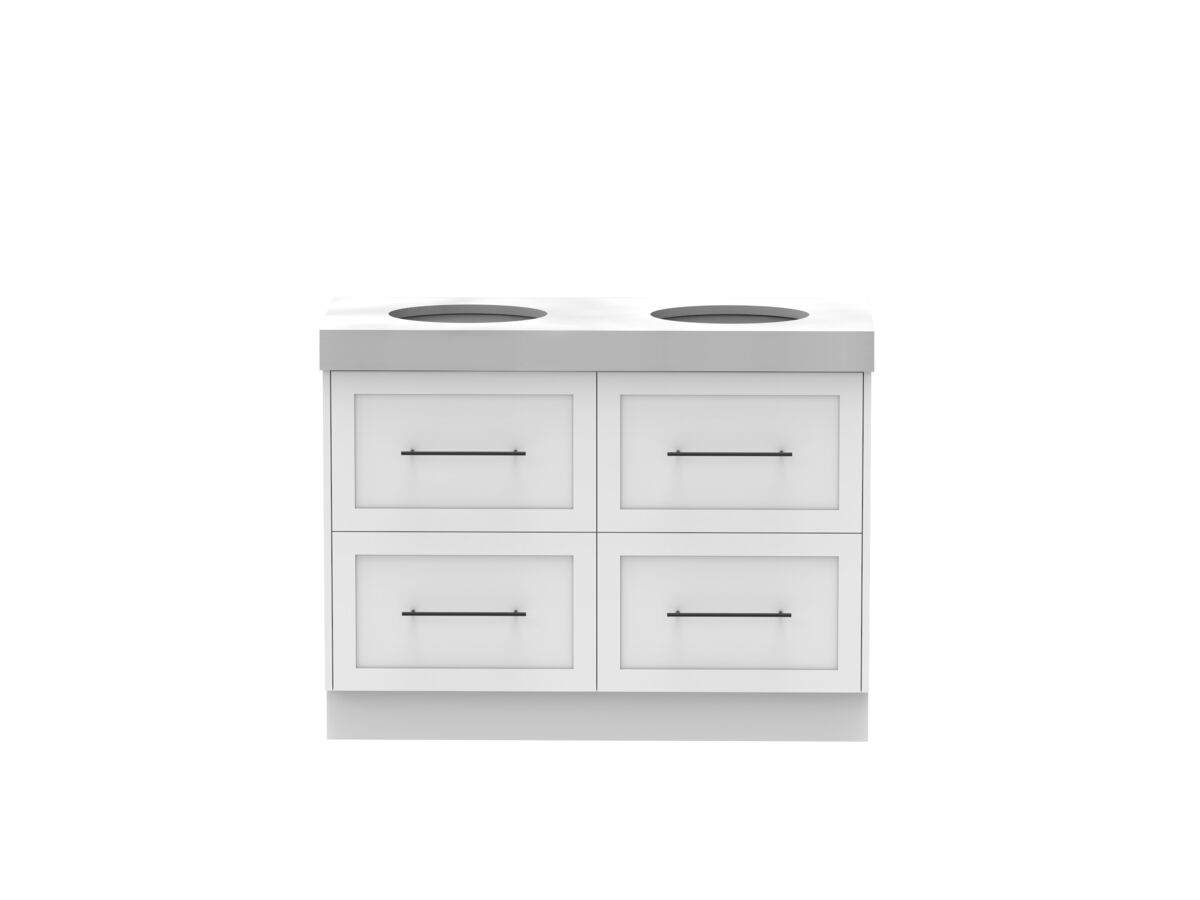
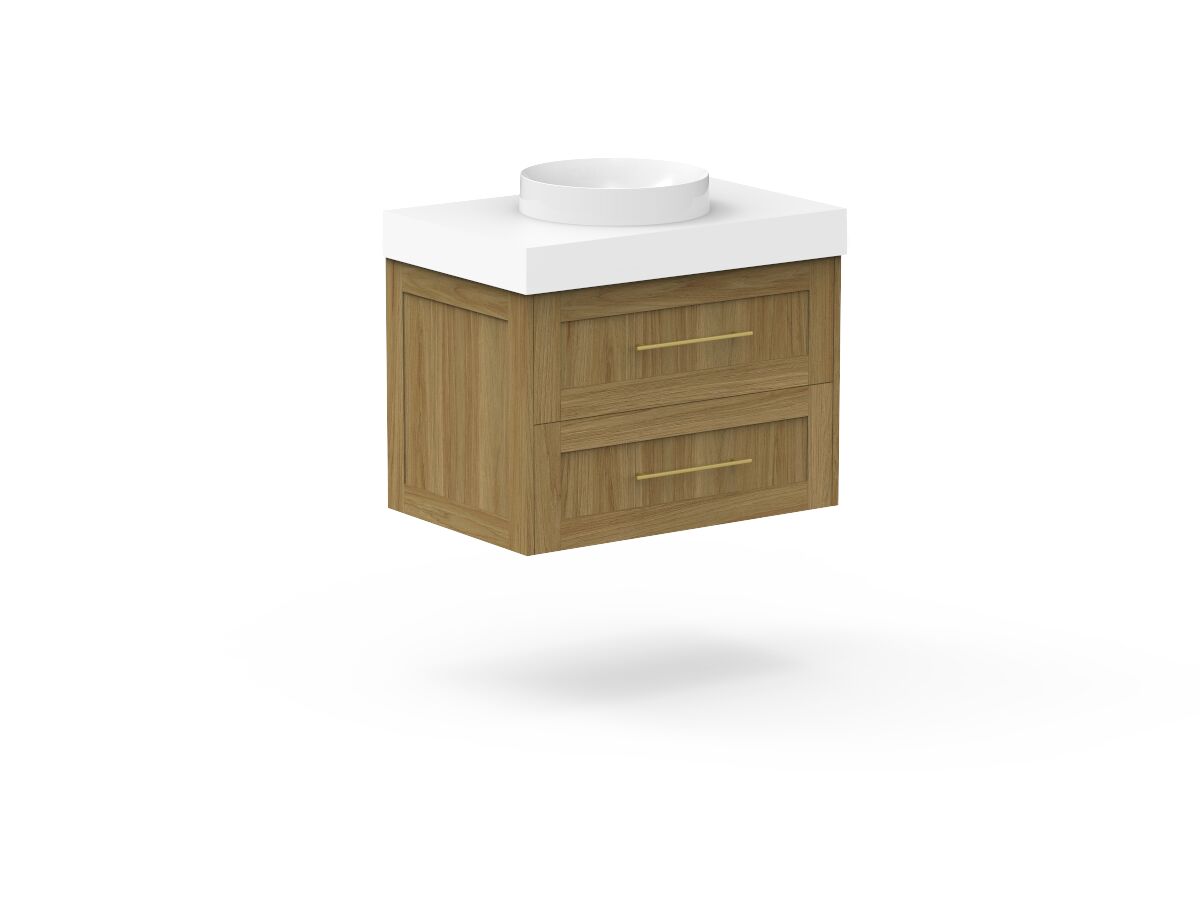
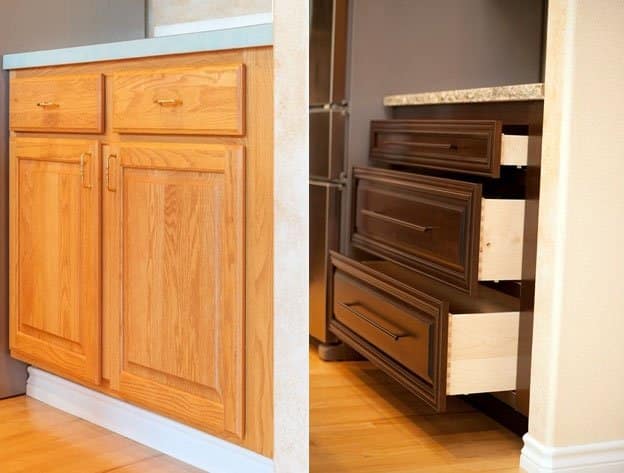
Are you looking to give your bathroom a new look without breaking the bank? Look no further than a DIY bathroom vanity makeover! One of the most impactful and cost-effective ways to update your bathroom is by converting your old cabinets into drawers. Not only will this add more storage space, but it will also give your bathroom a modern and sleek look. Follow our step-by-step guide to create your own DIY vanity cabinet with drawers.DIY Bathroom Vanity: Transforming Cabinets into Drawers
If you're on a tight budget, a cabinet to drawer conversion is the perfect solution. Instead of purchasing a brand new vanity cabinet, you can repurpose your existing one and save money. This project is also a great way to reuse and recycle old materials, making it an eco-friendly option for your bathroom remodel.Cabinet to Drawer Conversion: A Budget-Friendly Solution
The first step in your bathroom vanity makeover is to empty out your cabinet and remove it from the wall. You can also choose to leave the cabinet in place and work on it while it's still attached to the wall, but removing it will give you more space to work and make the process easier.Bathroom Vanity Makeover: Where to Begin
Before you can start adding drawers to your vanity cabinet, you'll need to make sure it's properly prepped. This includes removing any shelves, doors, or hardware that may be in the way. You'll also need to measure the inside of the cabinet to determine the size of the drawers you'll be adding.DIY Vanity Cabinet: Preparing the Cabinet for Drawers
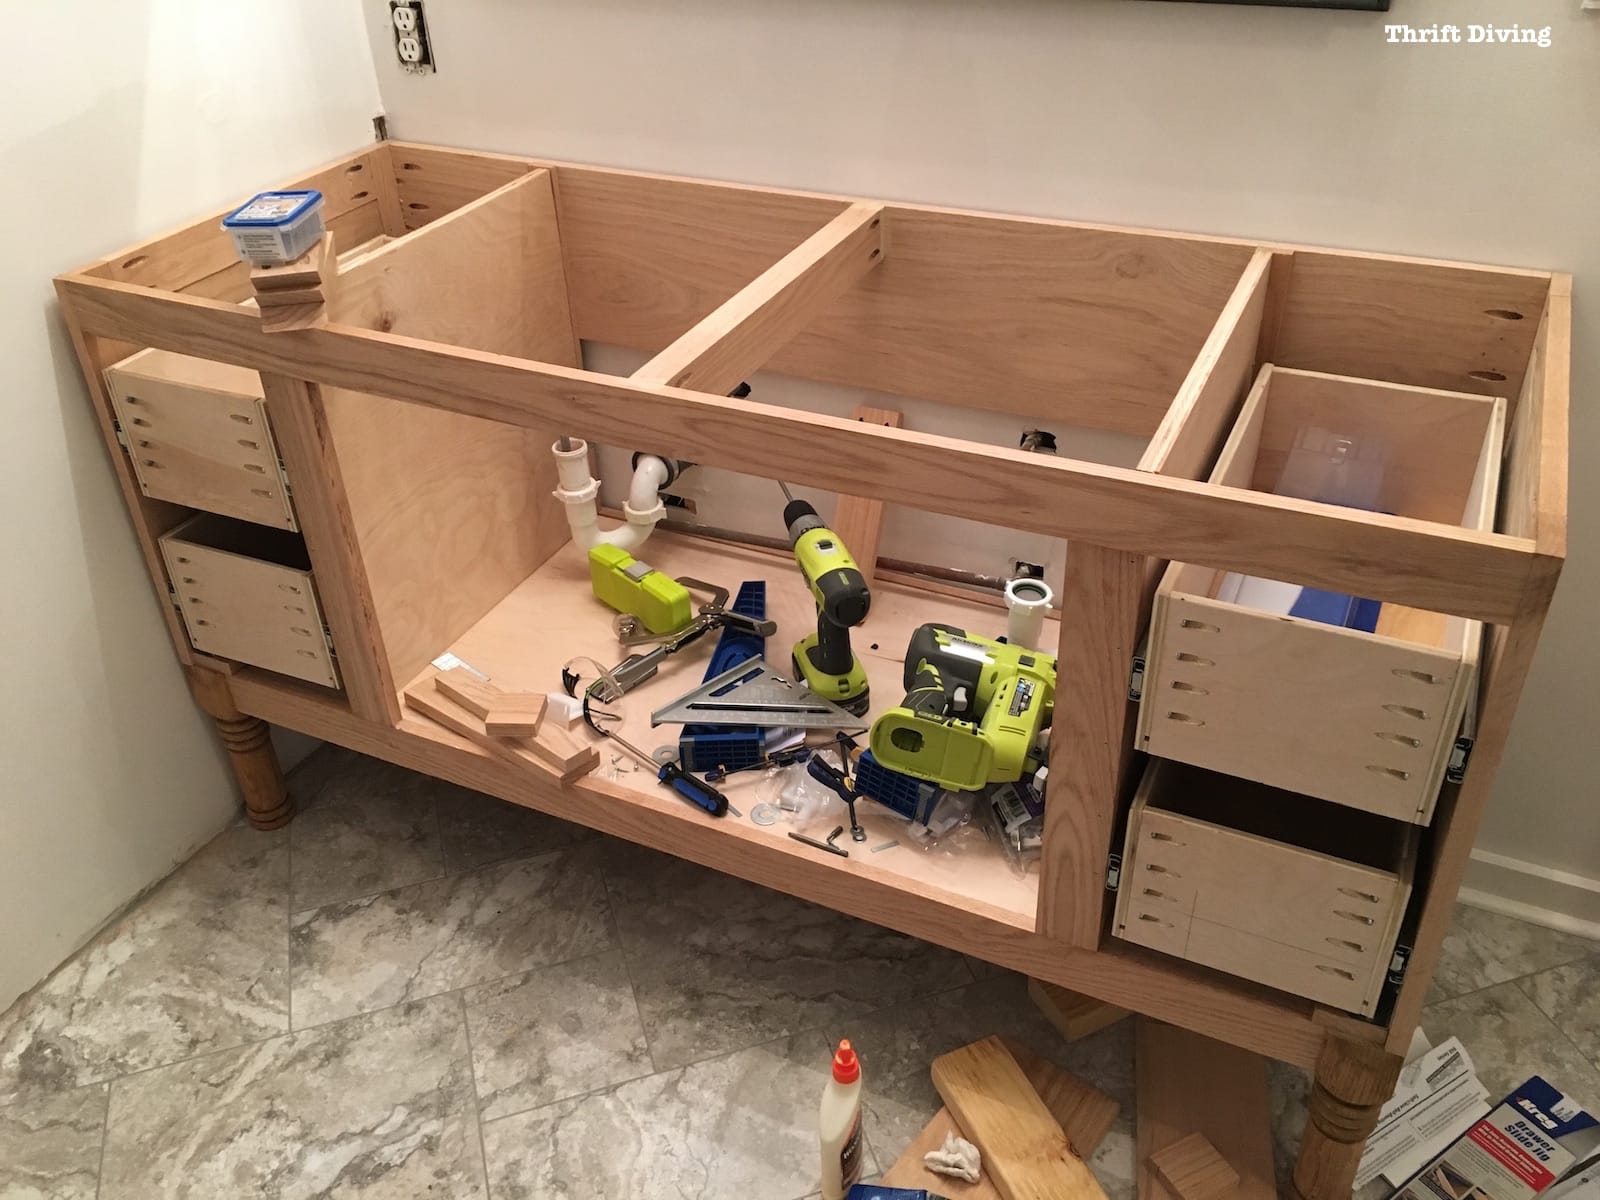
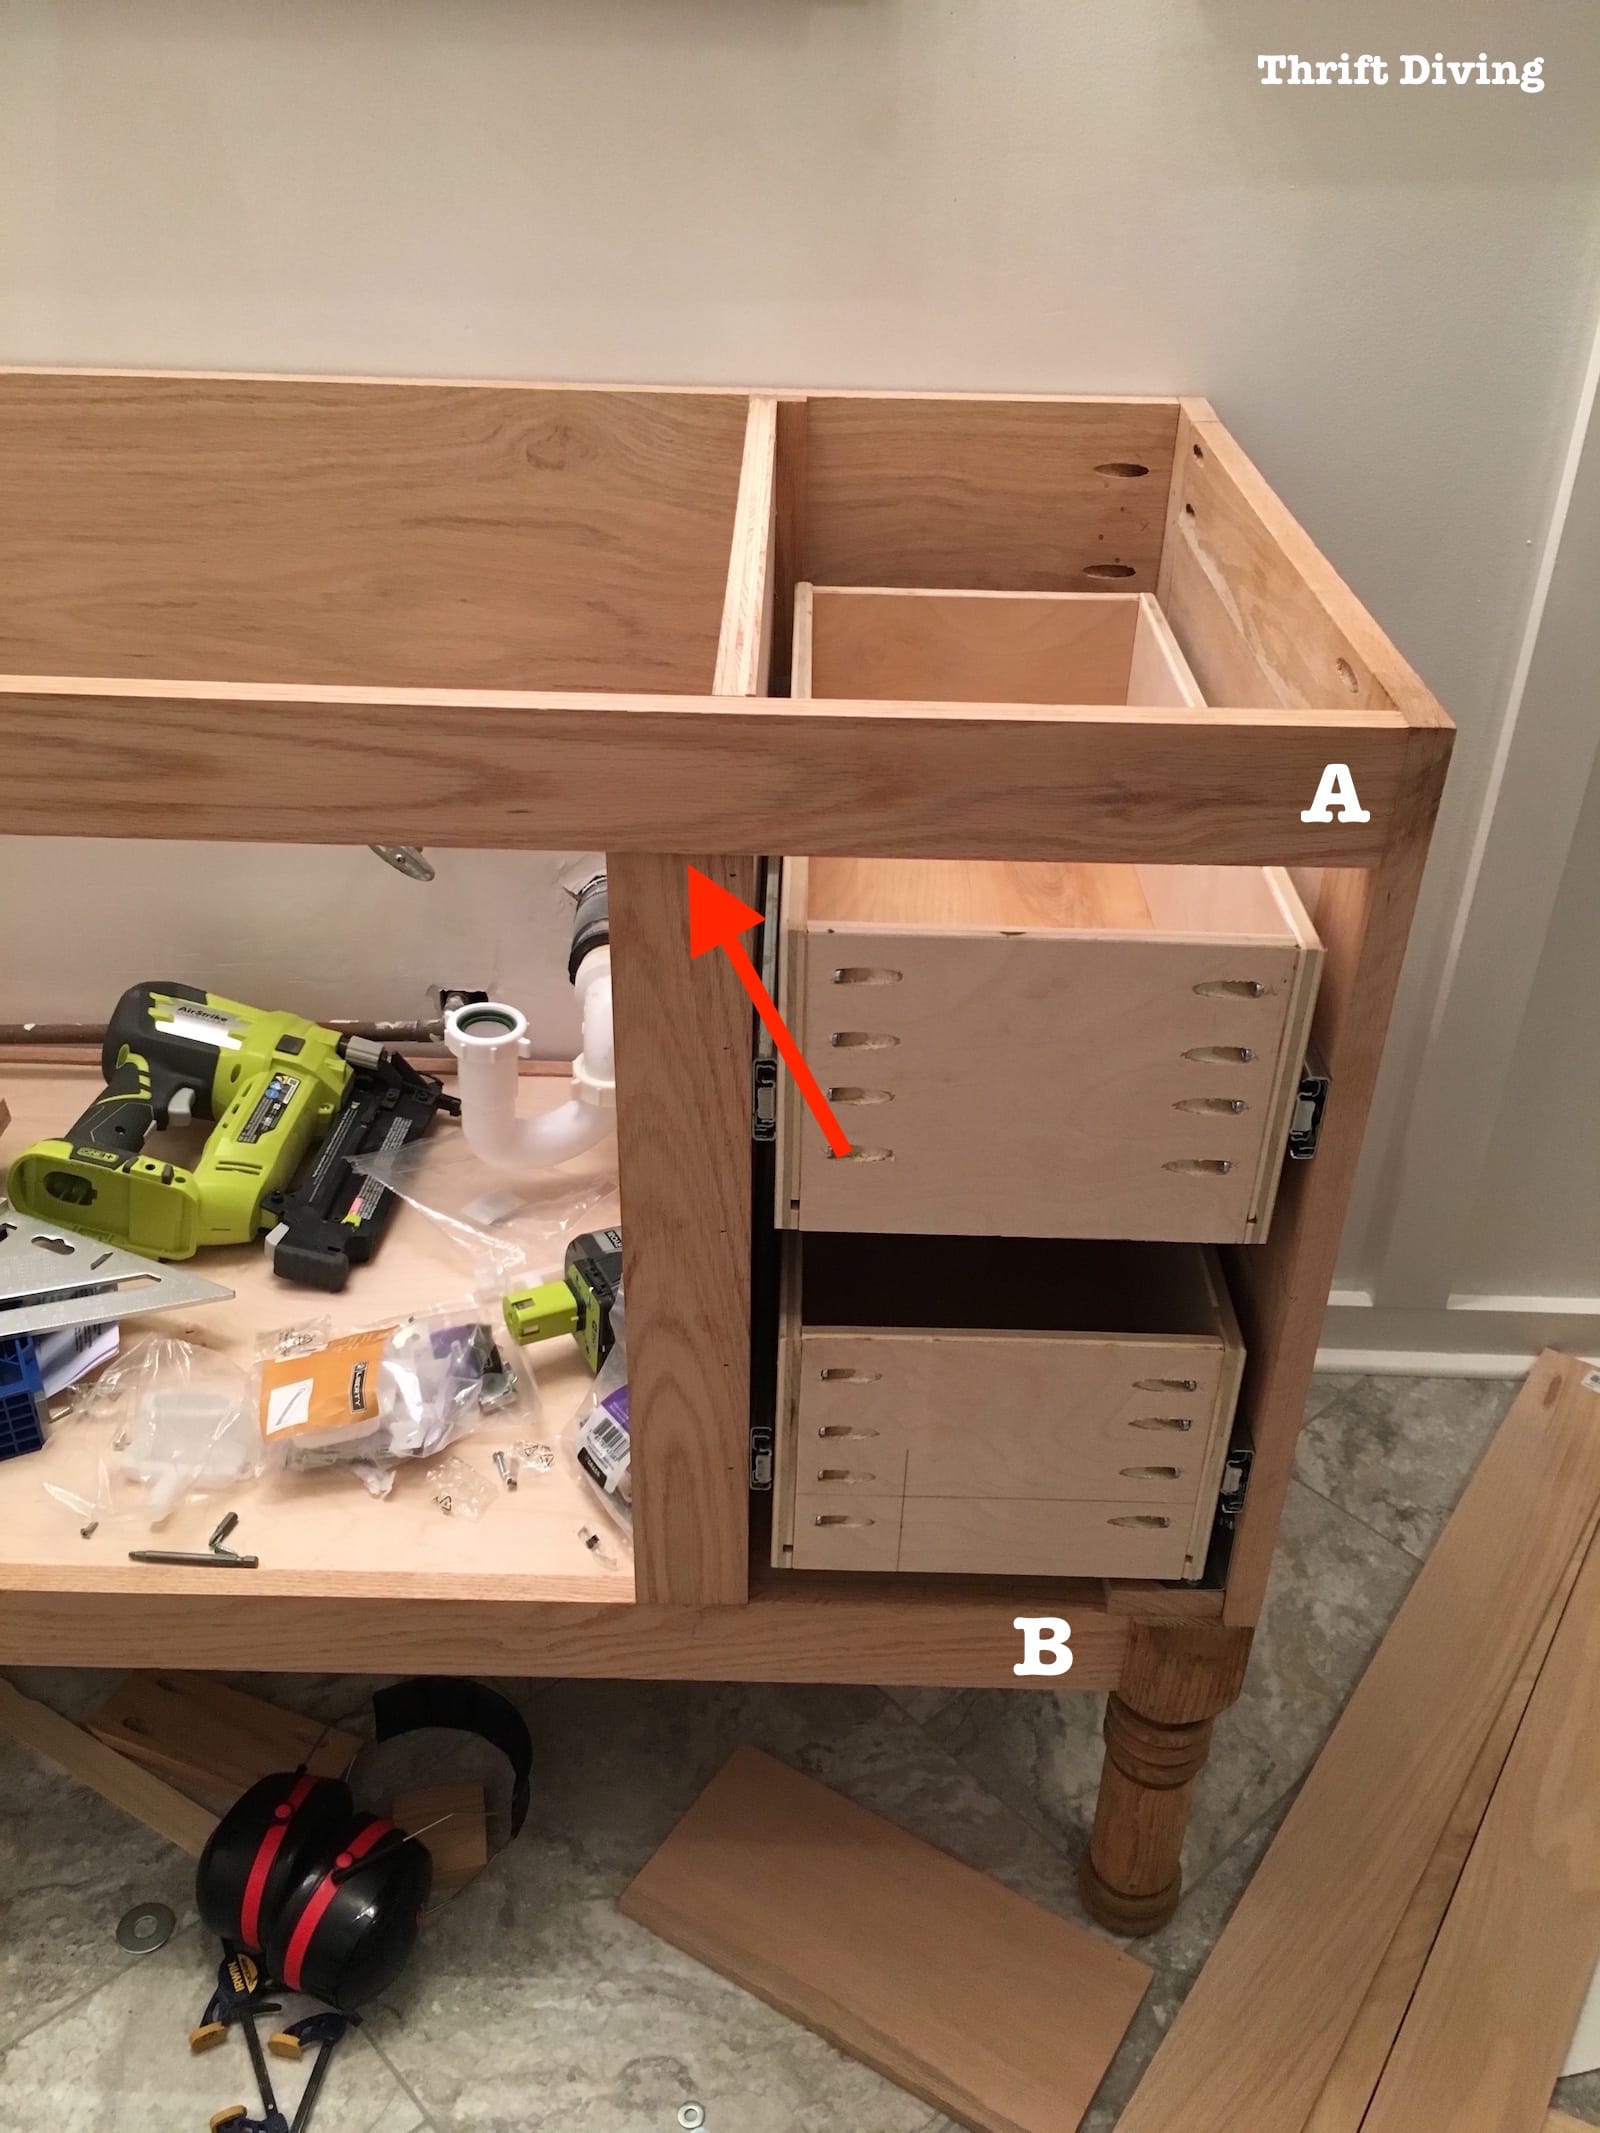
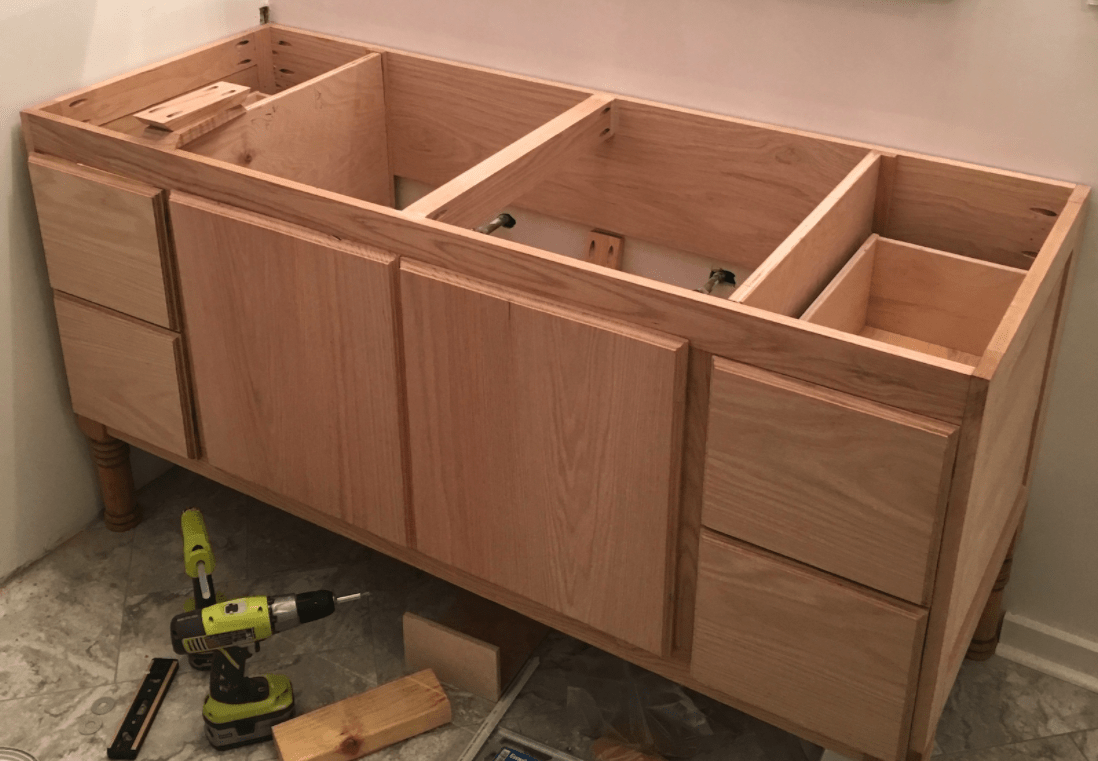
Now it's time to build your drawers! You can use either plywood or MDF (medium-density fiberboard) for the drawer fronts and sides. Cut the pieces to the appropriate size, making sure they fit snugly inside the cabinet. You can also use premade drawer fronts if you prefer. Assemble the drawers using wood glue and screws, and let them dry before moving on to the next step.Bathroom Cabinet Redo: Building Your Drawers
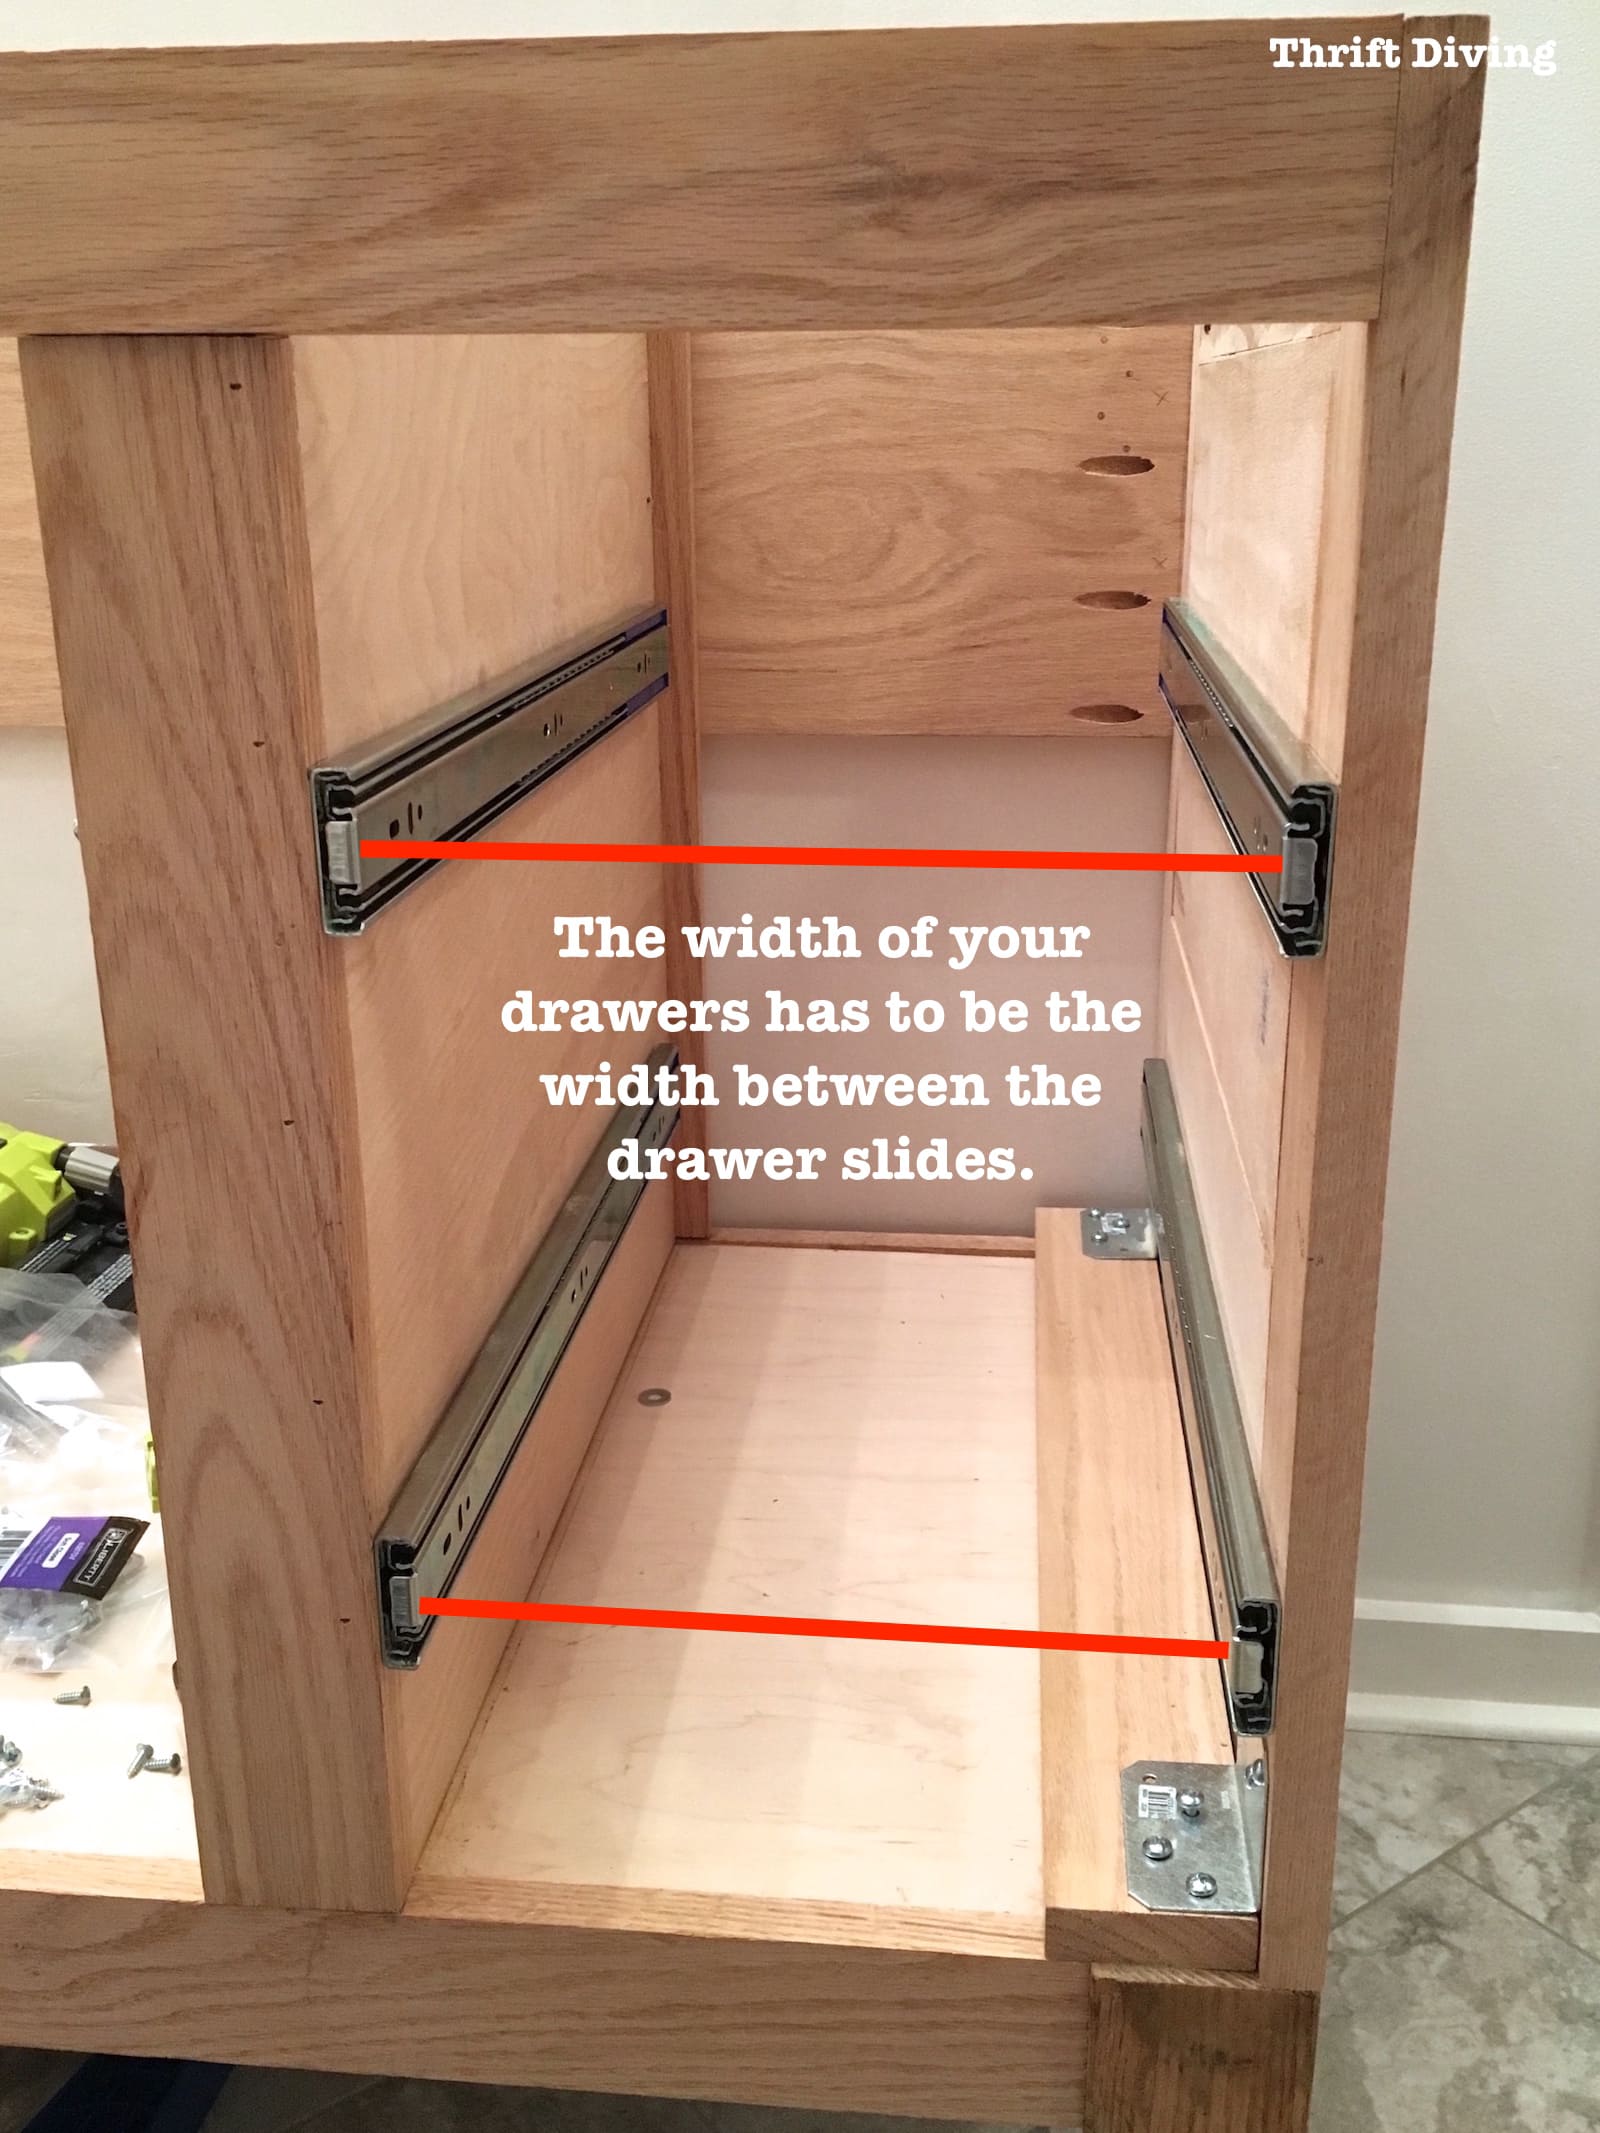
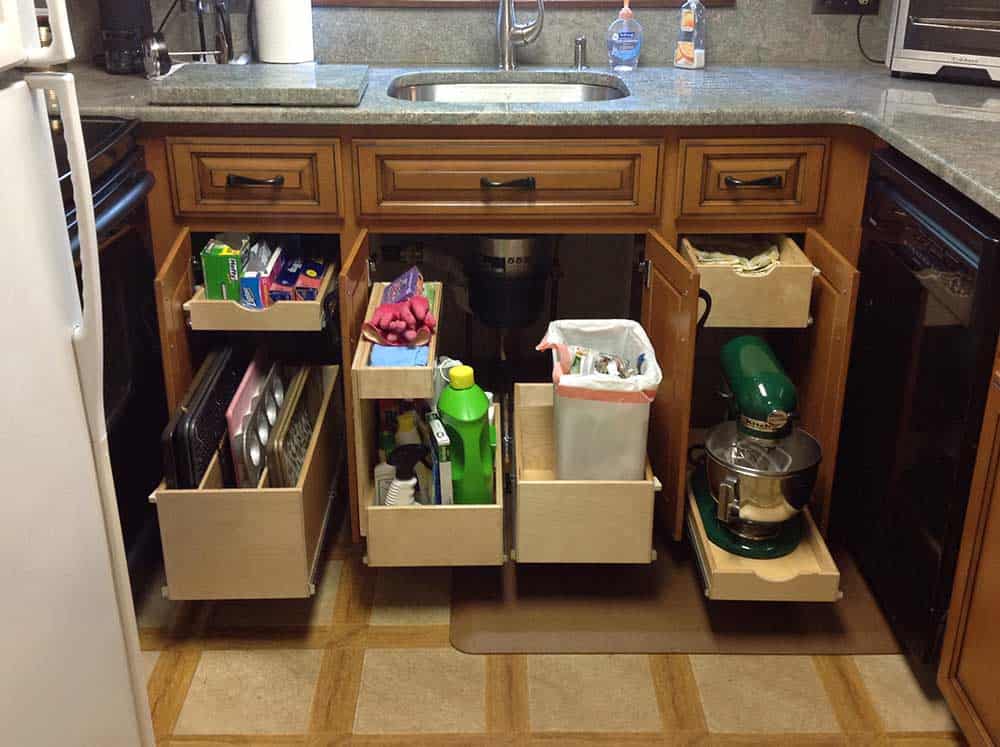
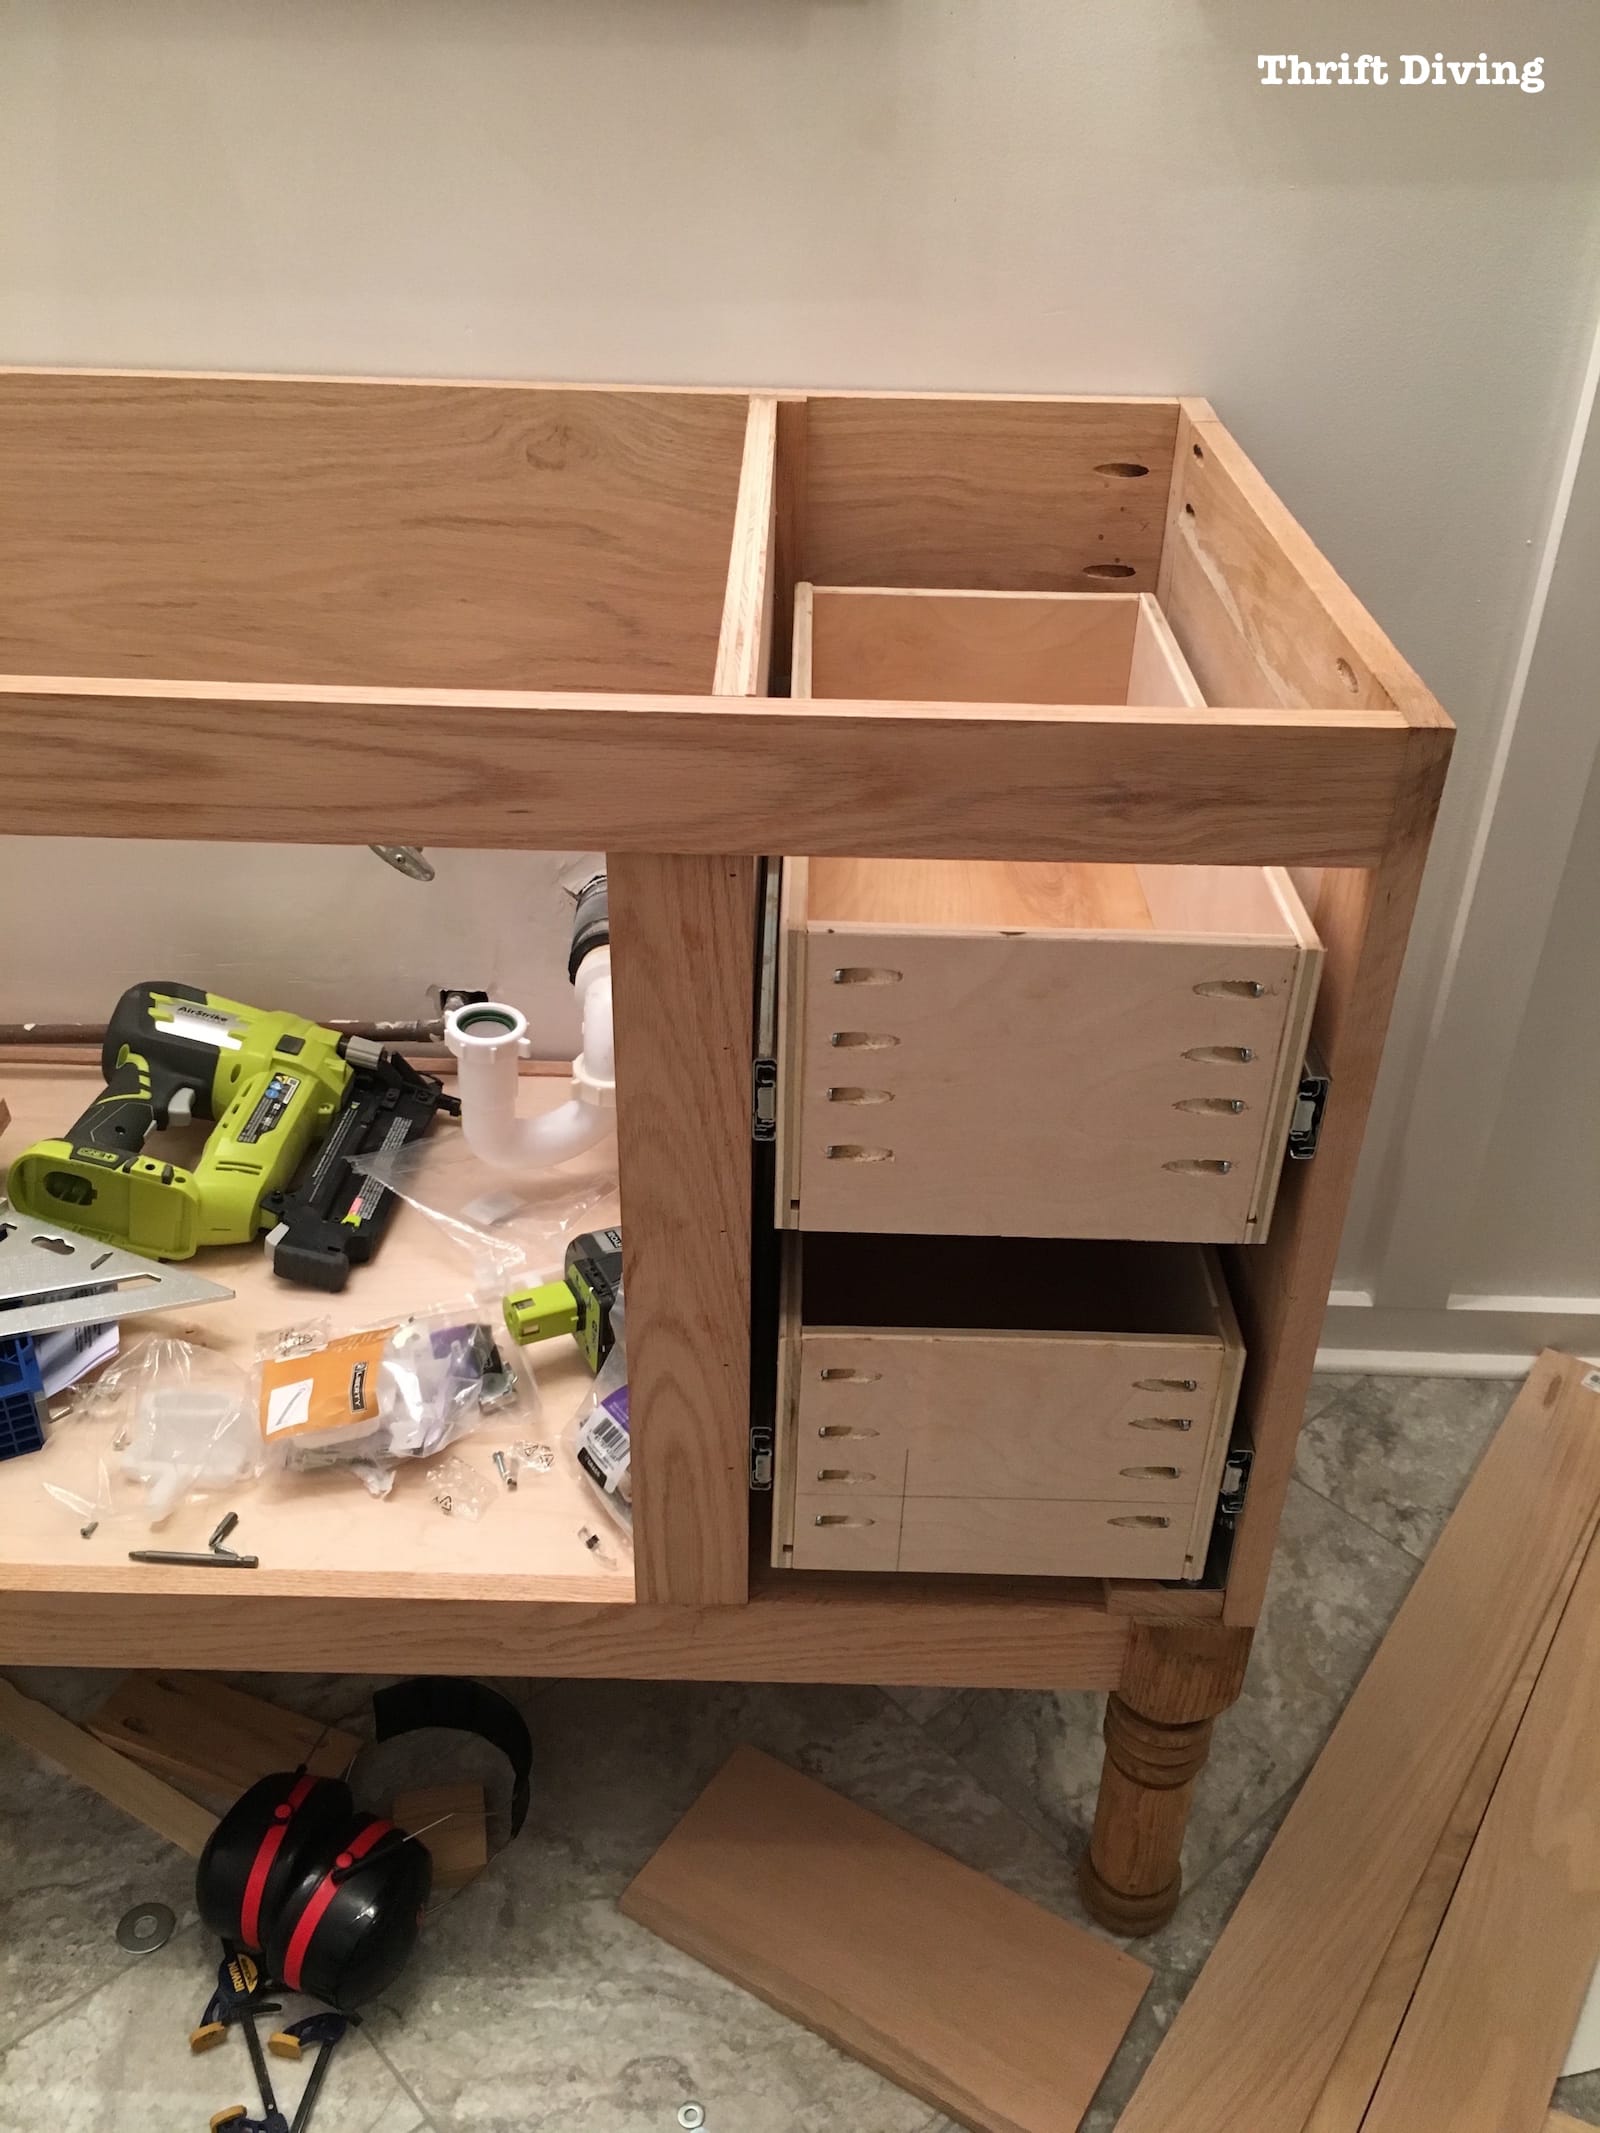
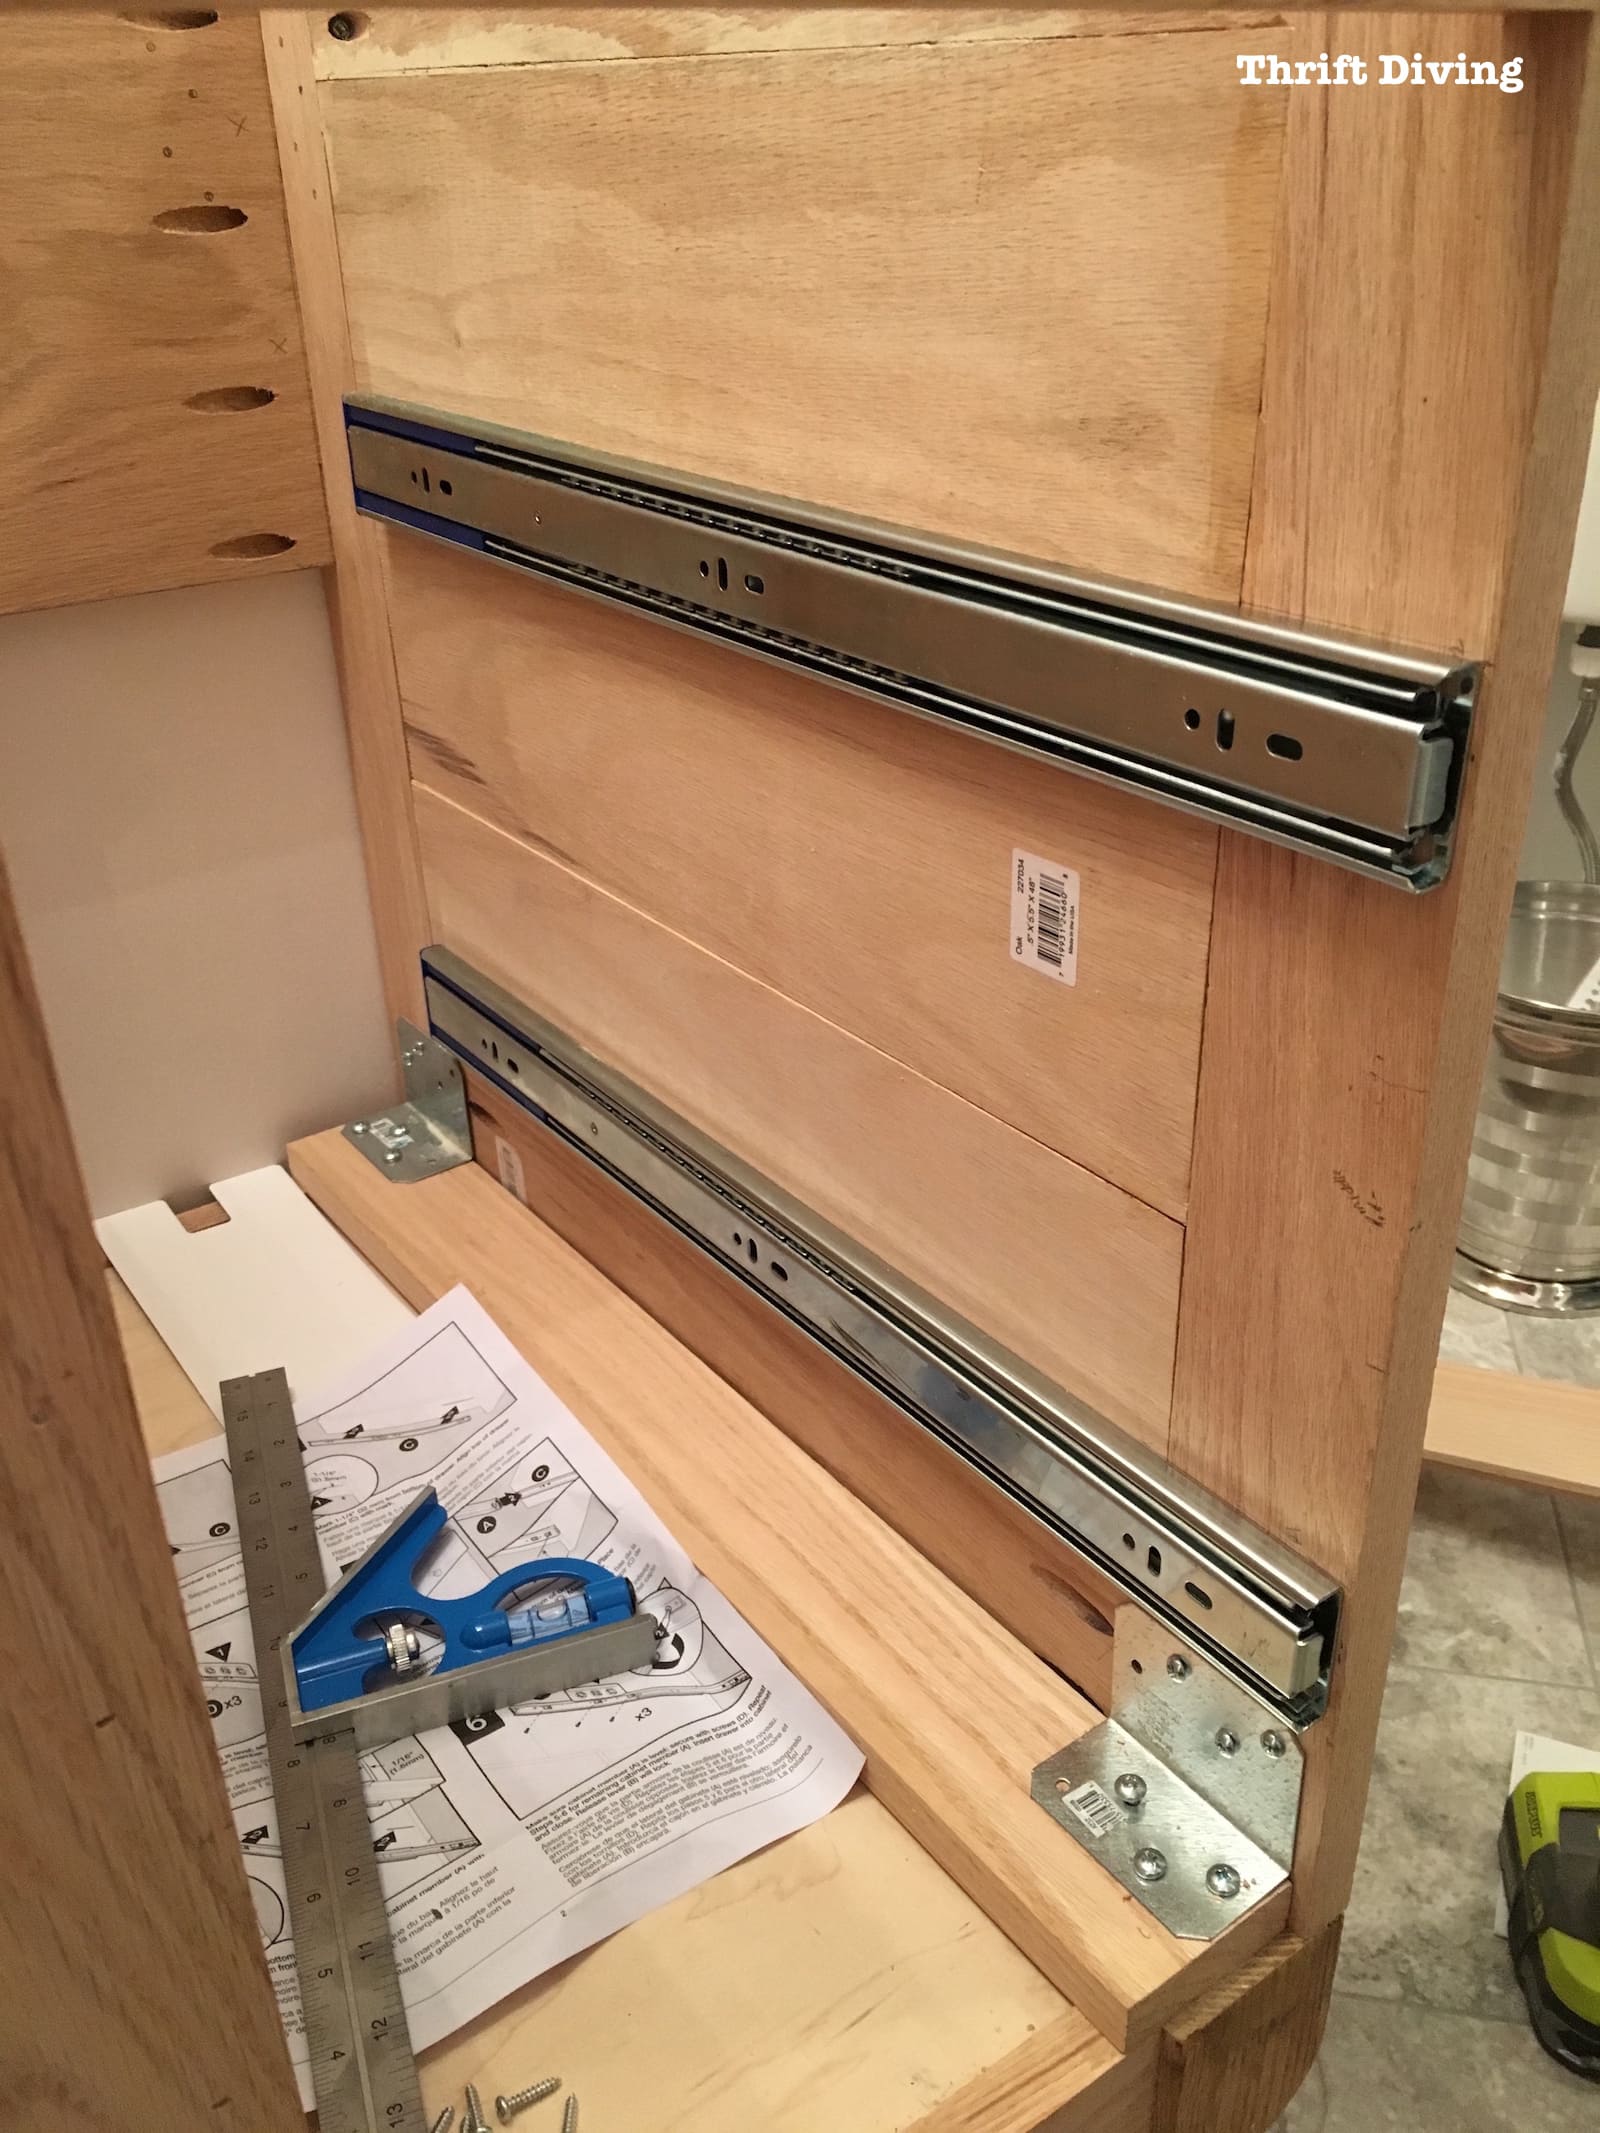
The next step is to install the drawer slides and handles. Measure and mark where the slides will be placed on the inside of the cabinet and attach them using screws. Then, attach the other side of the slides to the sides of the drawers. Add handles to the front of the drawers, making sure they are evenly spaced and secured tightly.DIY Vanity Drawers: Installing Slides and Handles
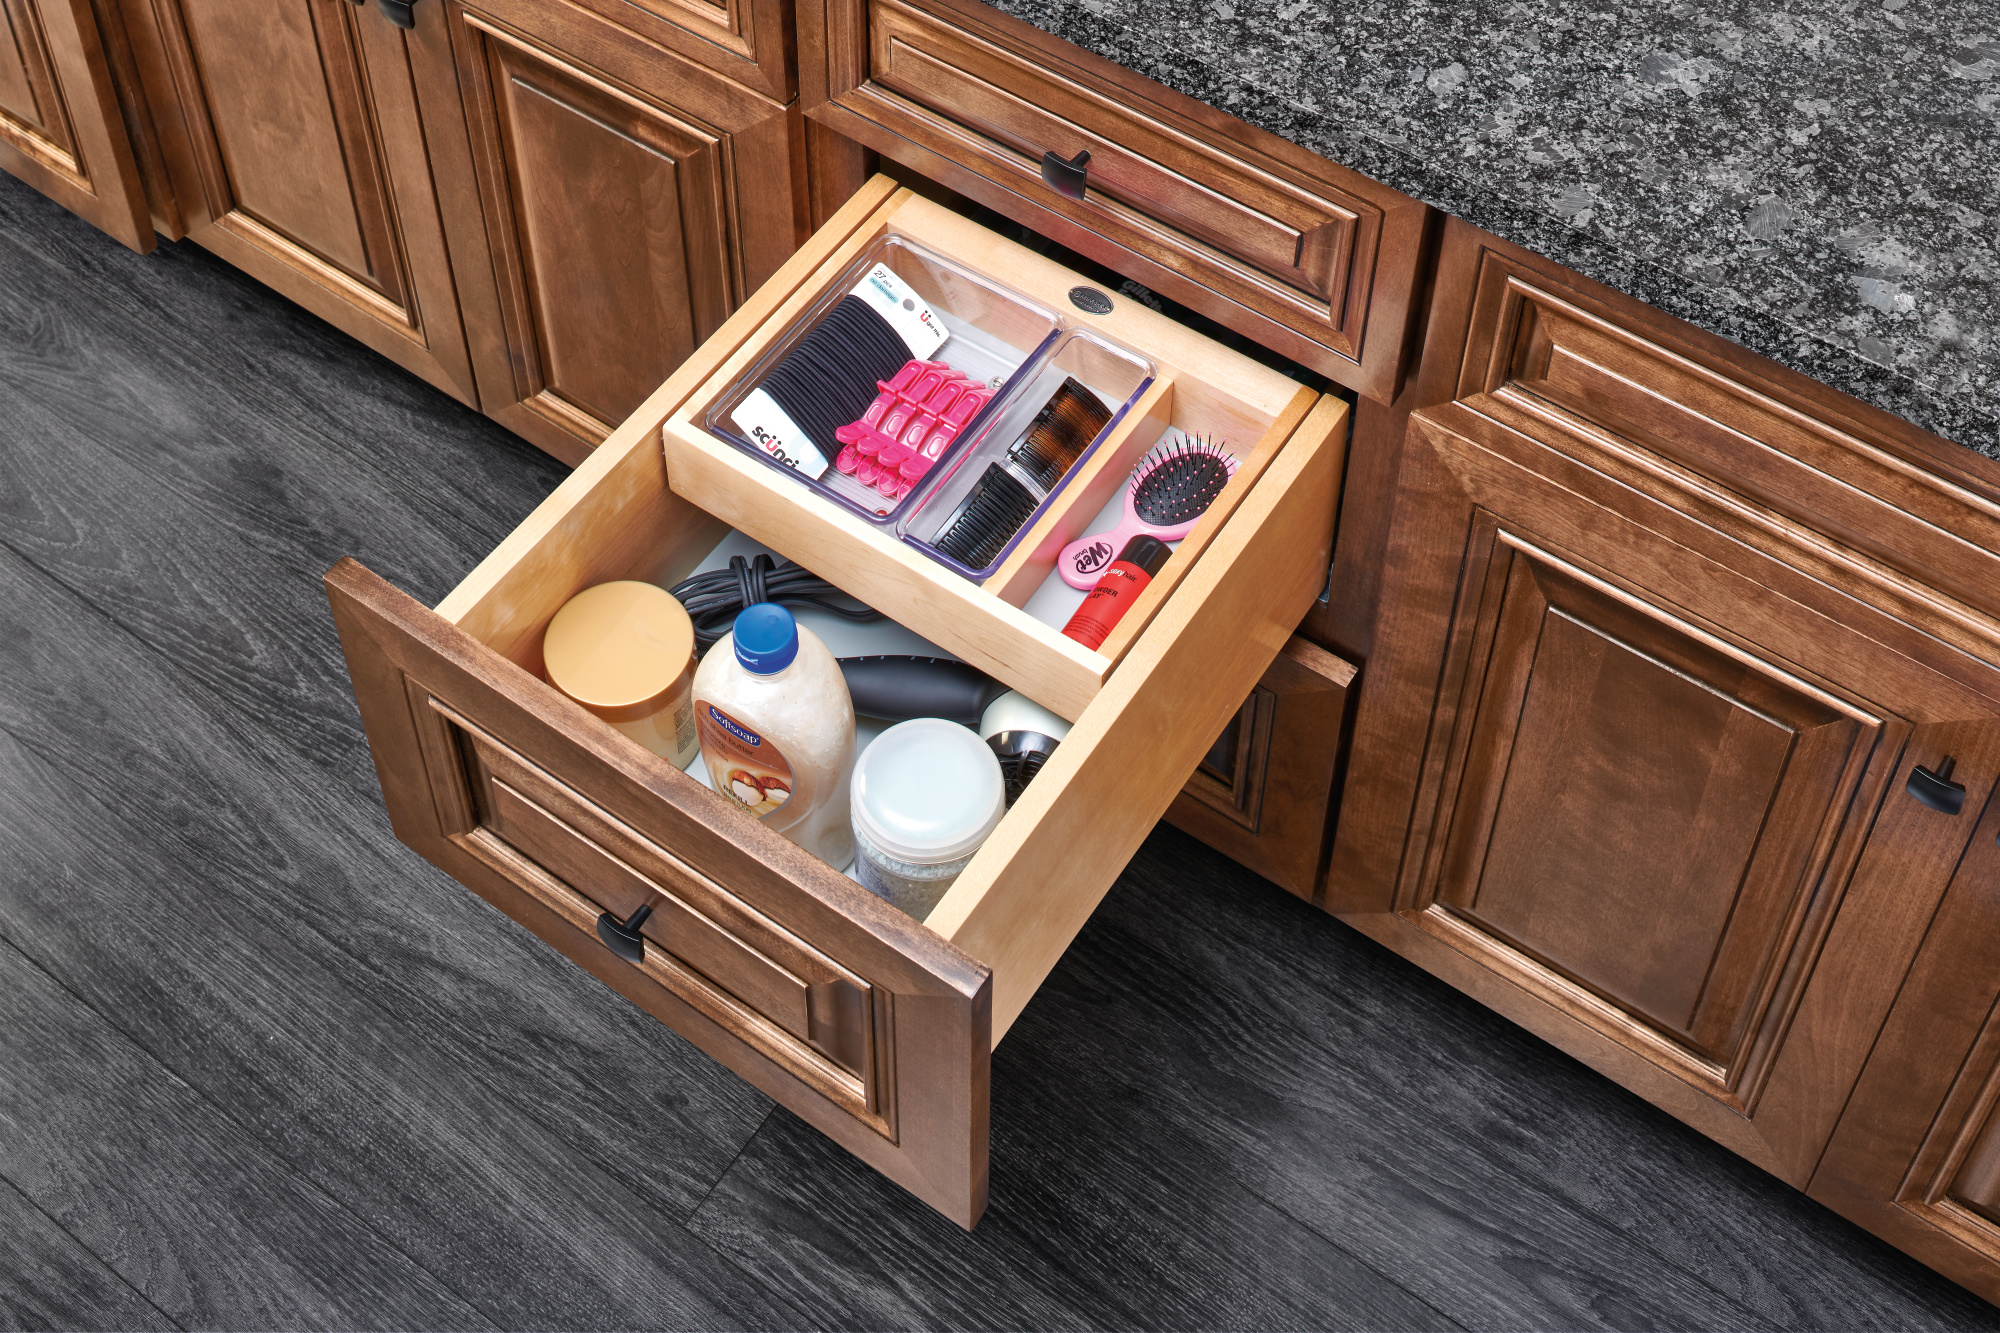
With the slides and handles in place, it's time to install the drawers into the cabinet. Slide them in carefully, making sure they glide smoothly on the slides. Adjust as needed to ensure they are level and aligned properly.Bathroom Vanity Remodel: Installing the Drawers
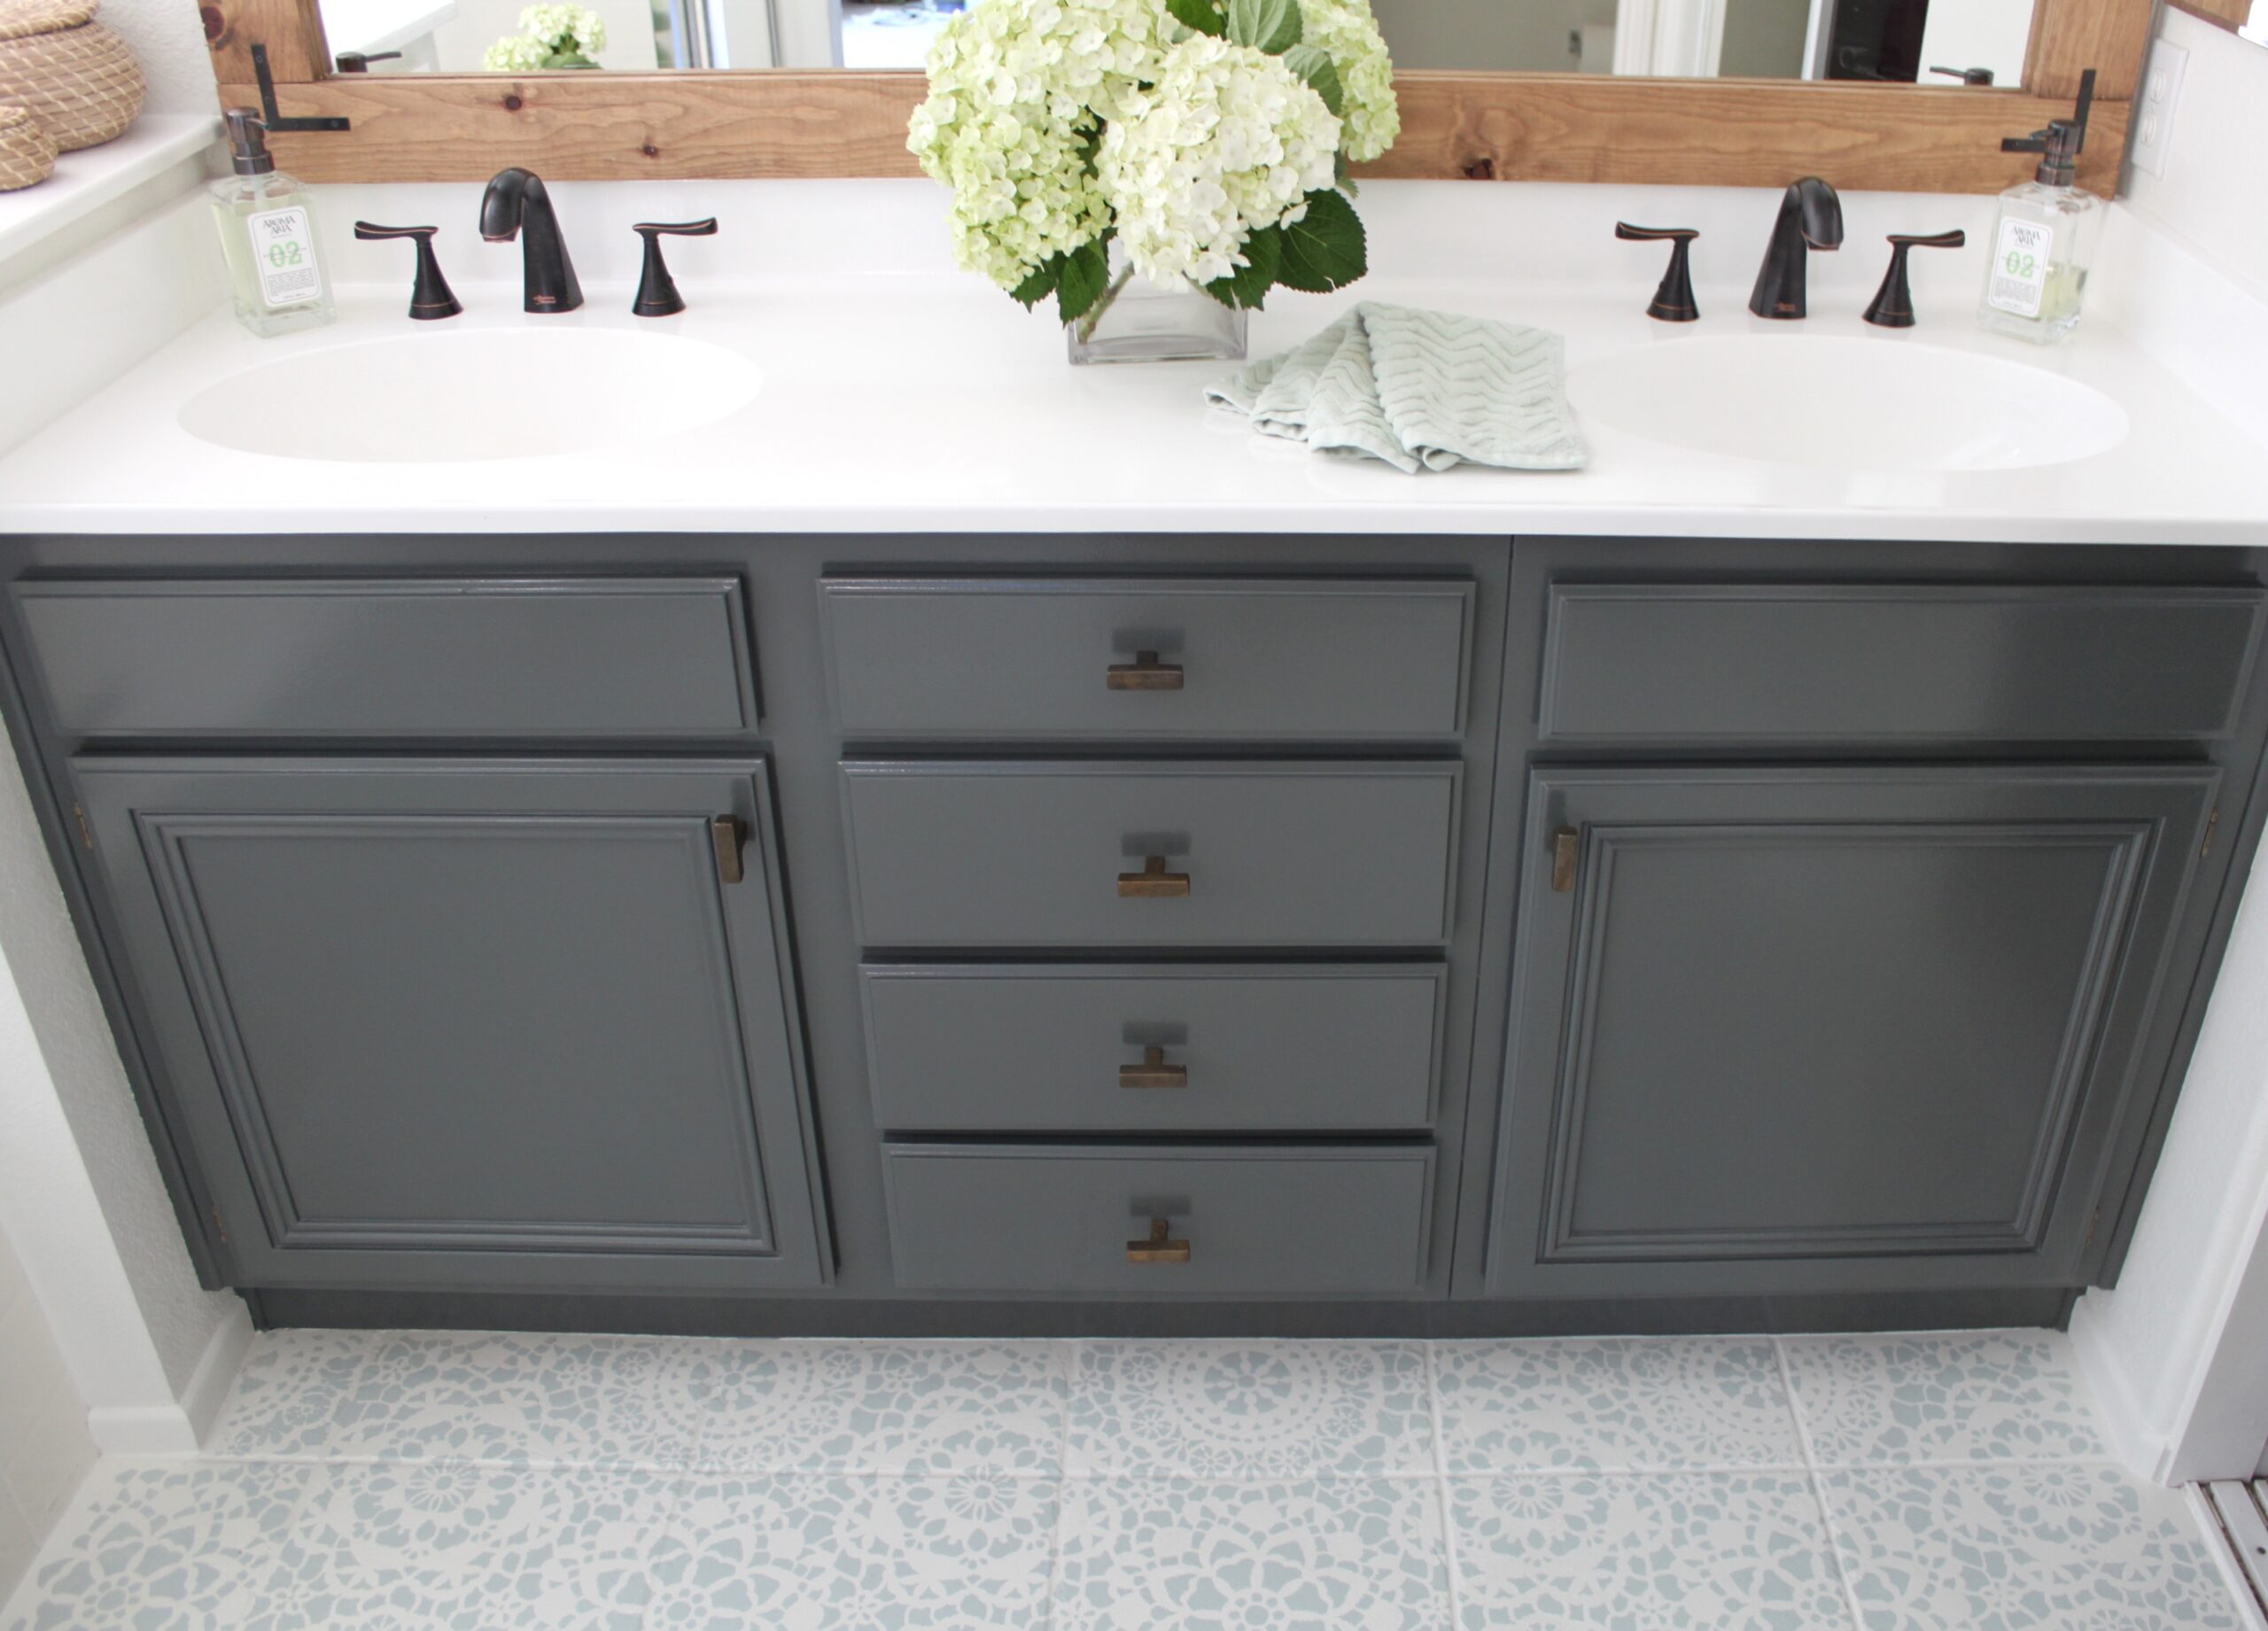
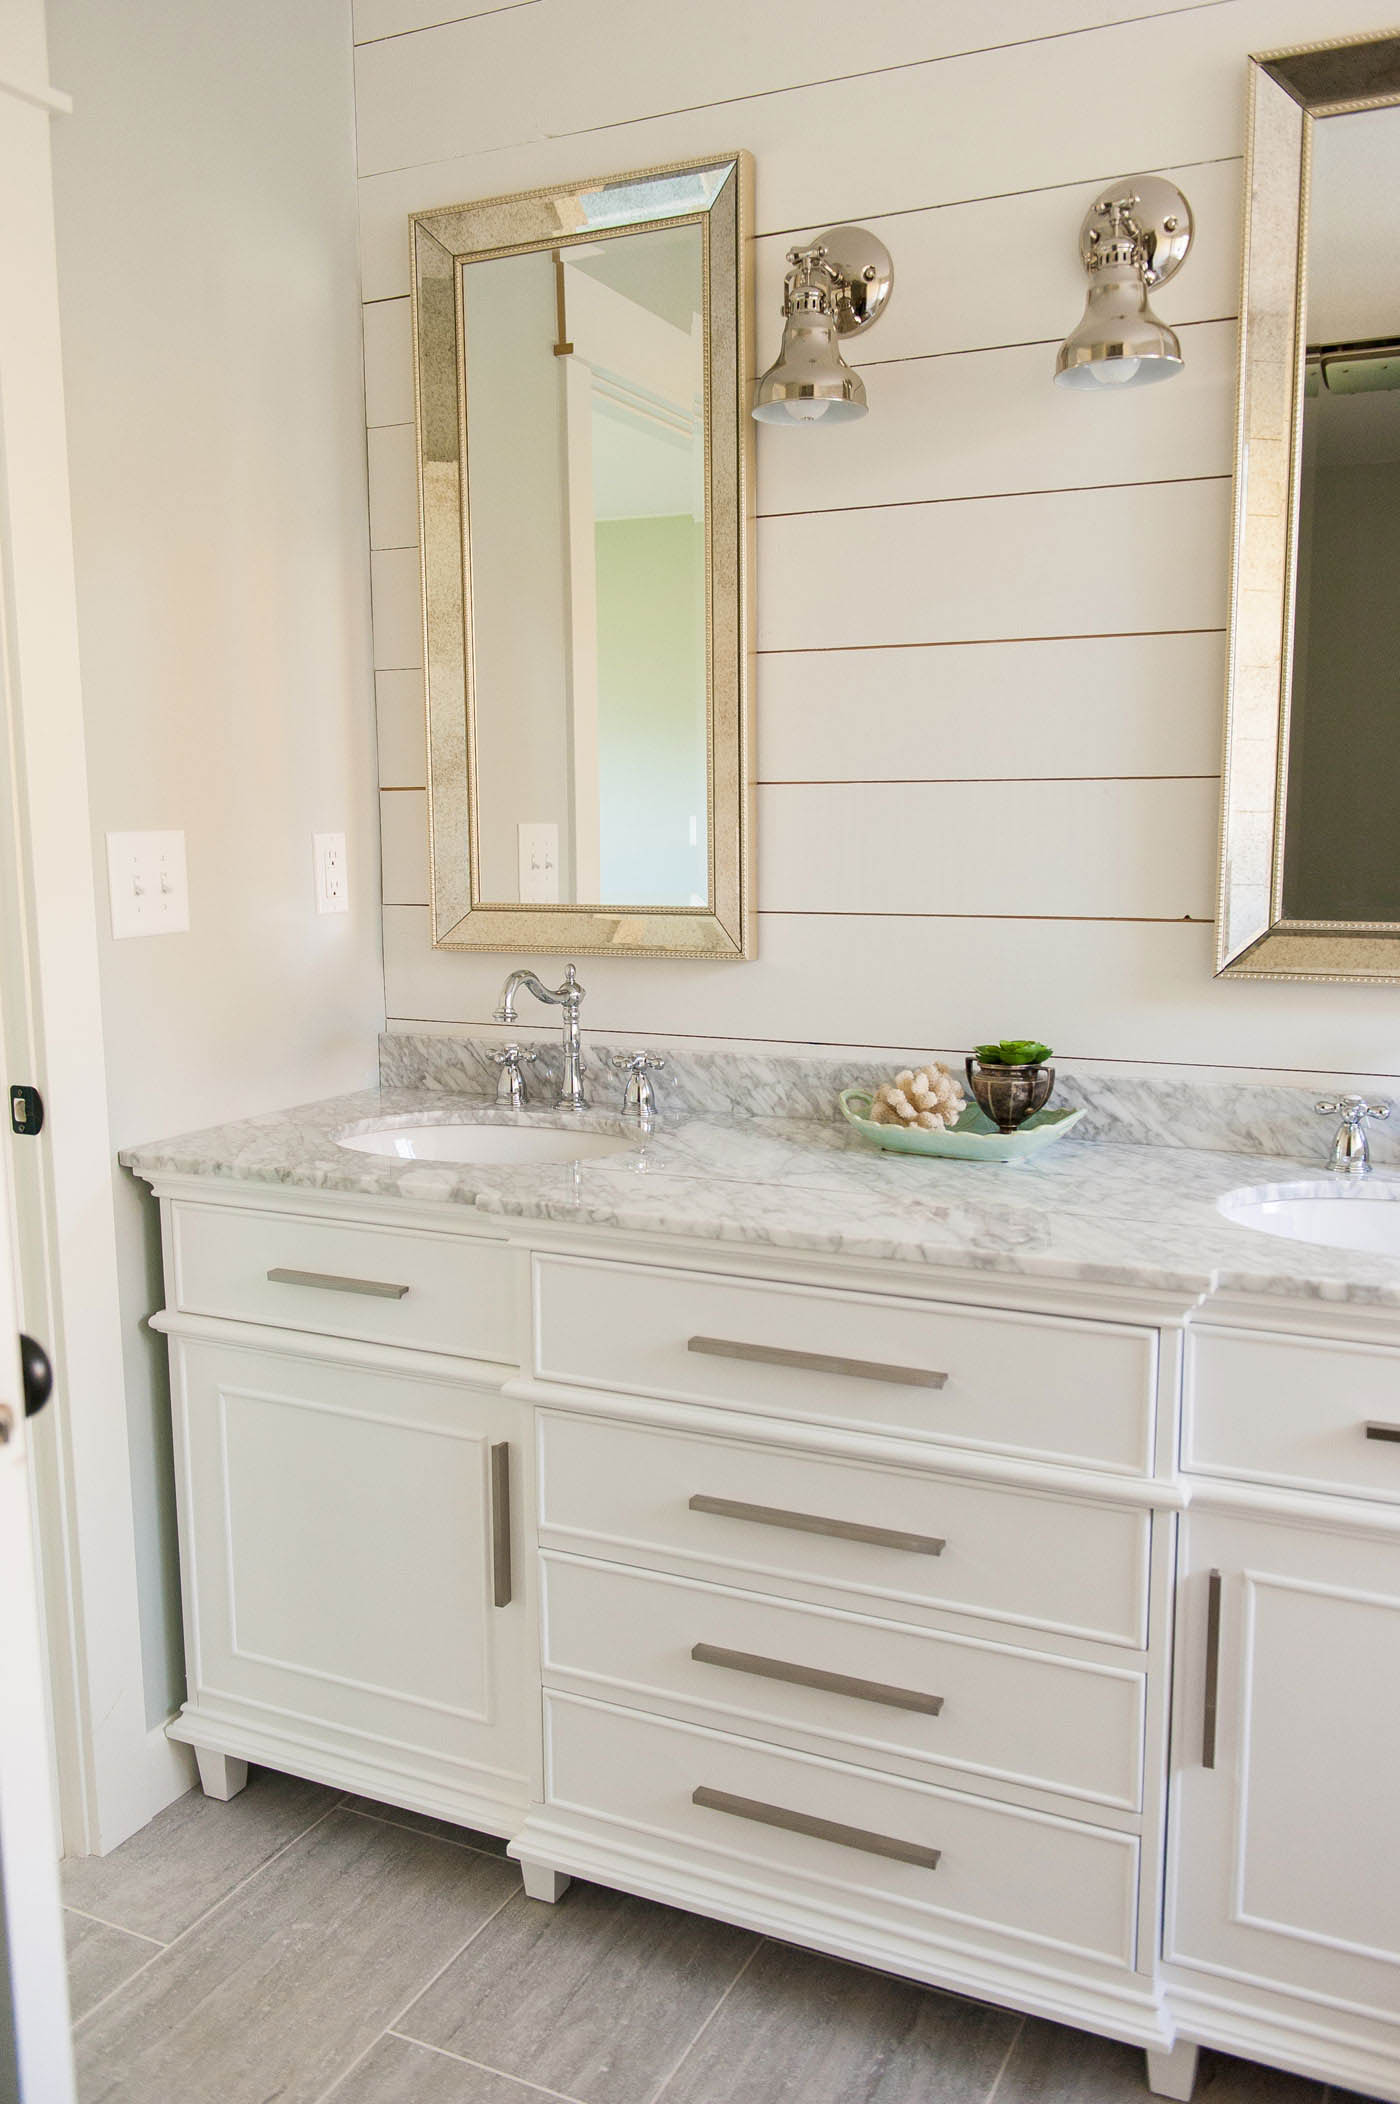
Now that your drawers are installed, it's time to add the finishing touches to your bathroom vanity remodel. You can paint or stain the drawers to match the rest of the cabinet, or you can choose a different color for a pop of contrast. You can also add new hardware for a more modern look.Cabinet to Drawer Transformation: Finishing Touches
Congratulations, you have successfully transformed your old bathroom cabinet into a stylish and functional vanity with drawers! Step back and admire your work, and enjoy the extra storage space and updated look in your bathroom. Not only did you save money, but you also created a unique piece that adds character to your space.DIY Bathroom Cabinet Makeover: Enjoy Your New Vanity
With our step-by-step guide, you can easily convert your old cabinets into drawers and give your bathroom a makeover on a budget. Remember to measure carefully, use quality materials, and take your time to ensure your DIY vanity cabinet turns out just the way you want it. Happy renovating!Drawer Vanity Tutorial: Give Your Bathroom a New Look Today
How to Transform Your Bathroom with a DIY Vanity From Cabinets to Drawers
The Importance of a Well-Designed Vanity in Your Bathroom
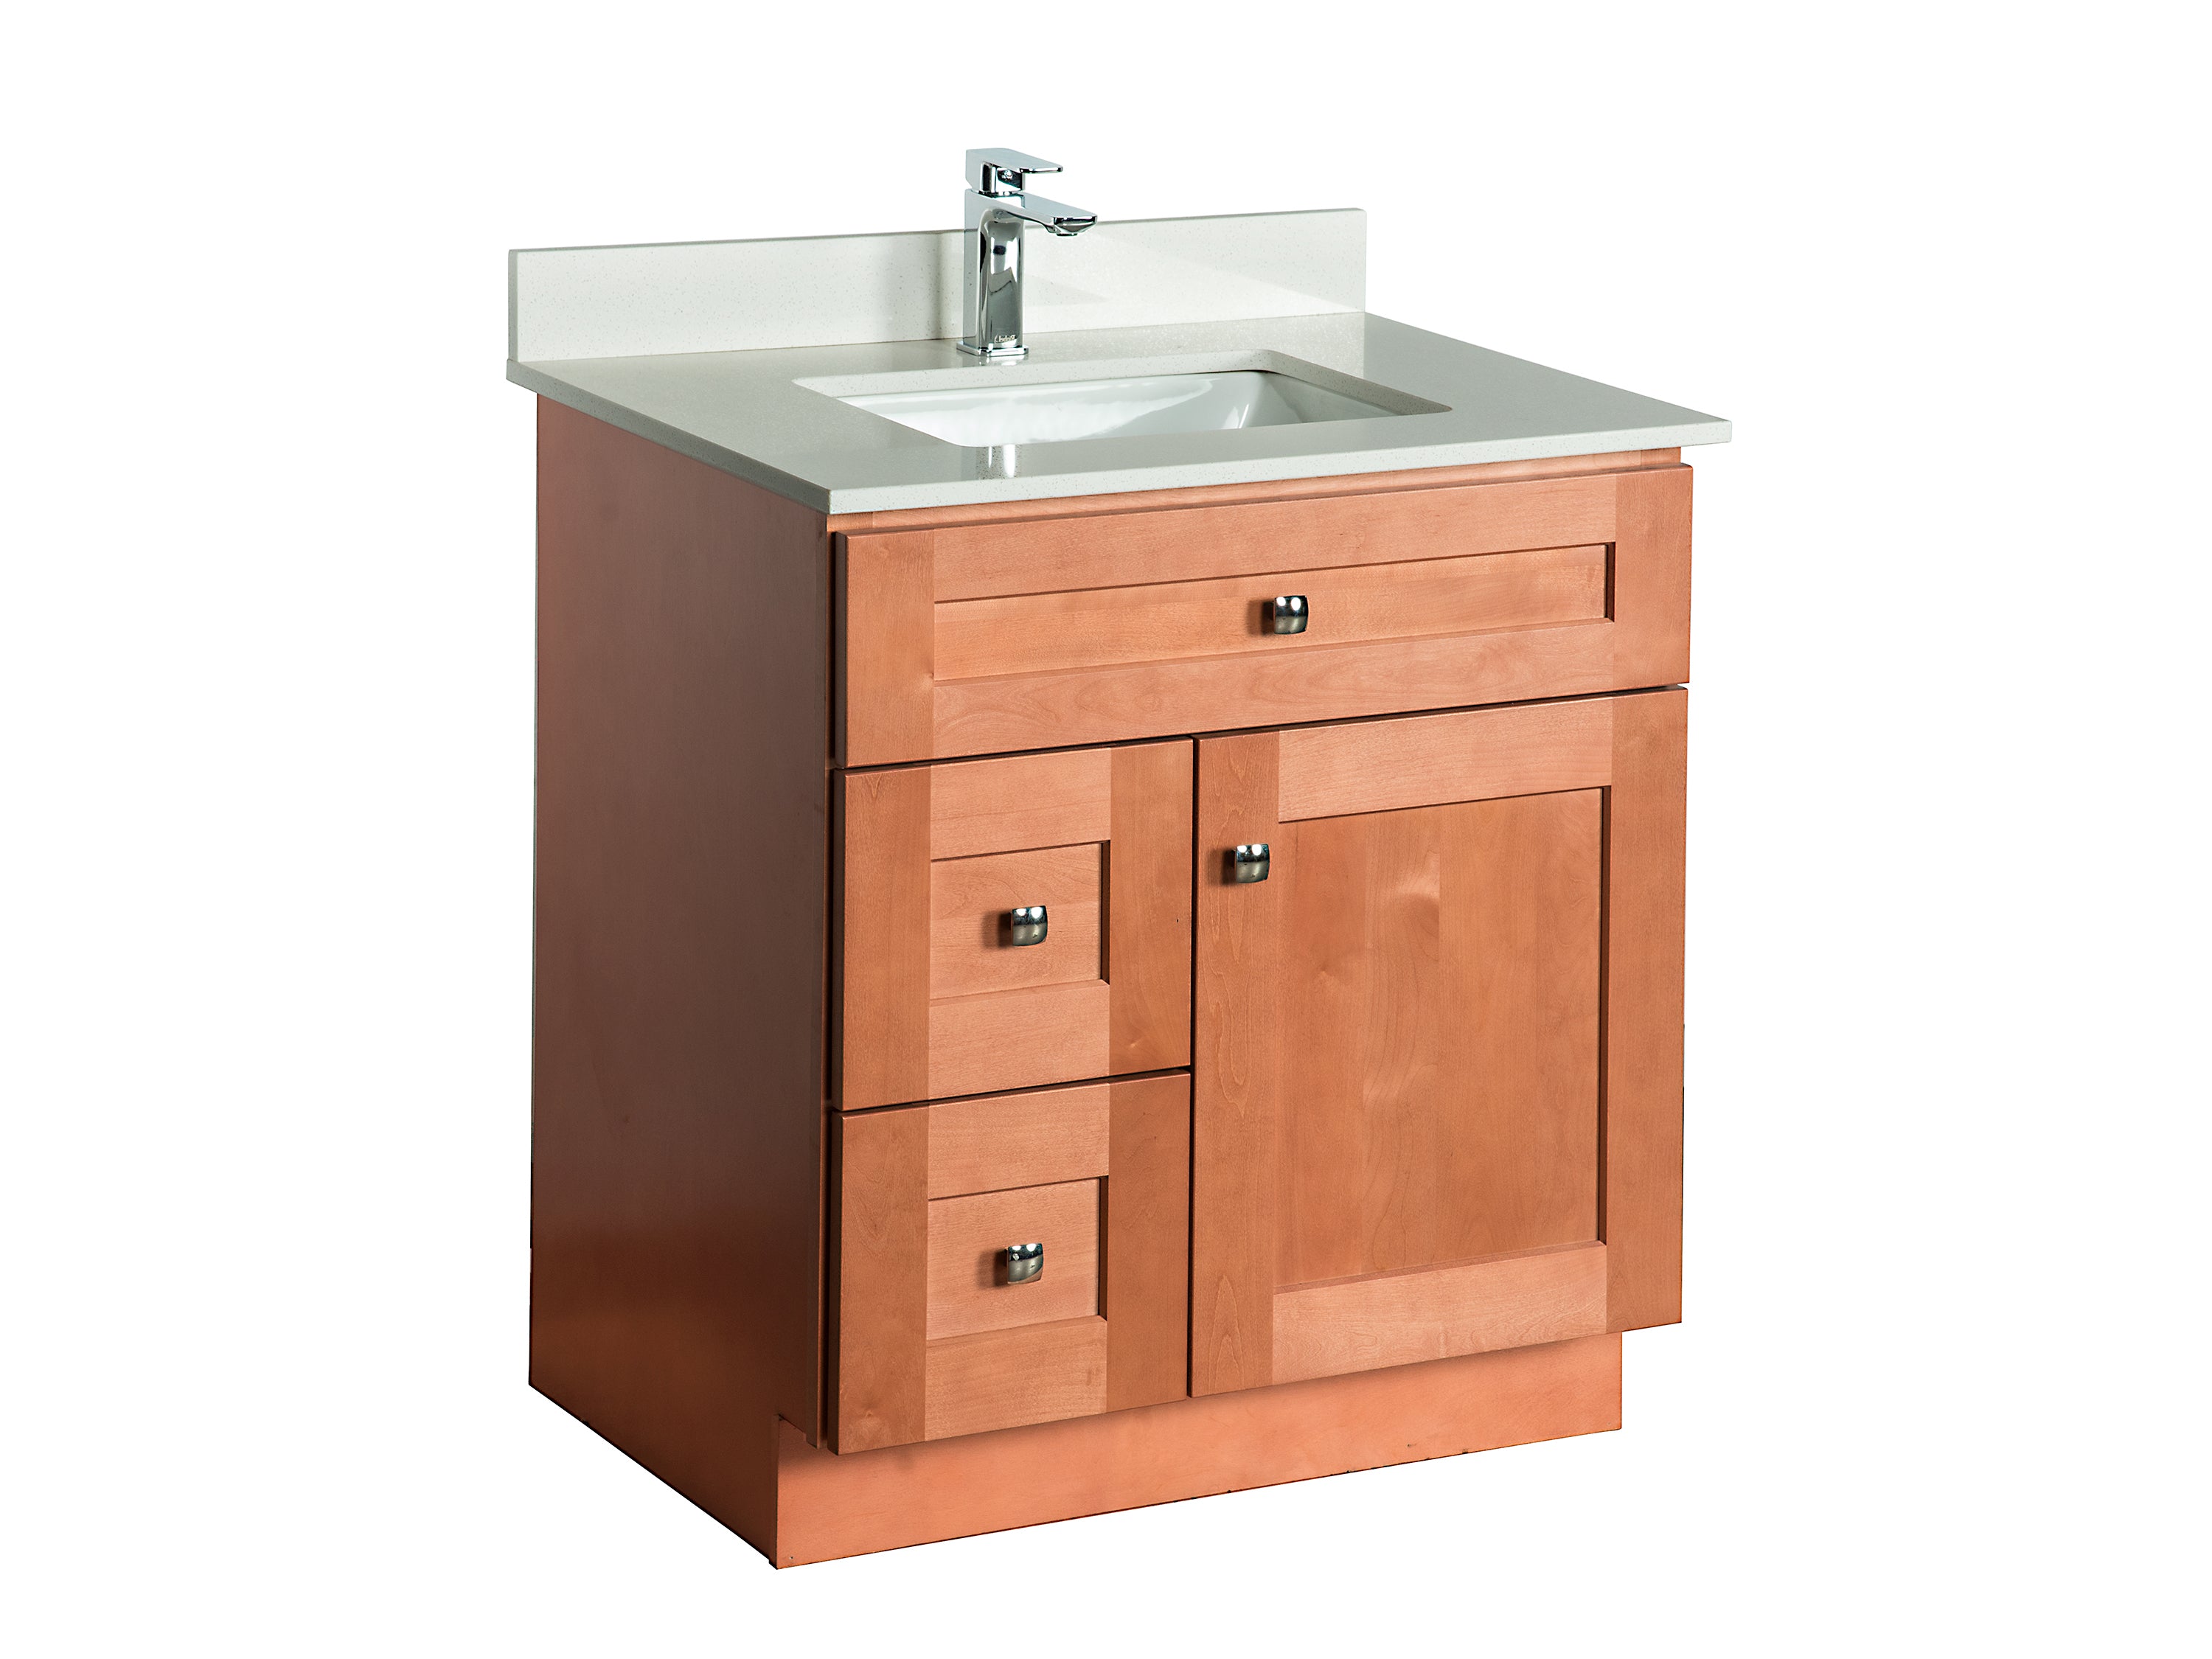
 A bathroom vanity is an essential piece of furniture in any bathroom. It not only serves as a functional space for storing your toiletries and getting ready for the day, but it also adds to the overall aesthetic and design of your bathroom. A well-designed vanity can make a huge difference in the look and feel of your space. However, finding the perfect vanity can be a challenge, especially when you have a specific design or budget in mind. That's where DIY projects come in handy, and one of the most popular DIY projects for bathroom design is creating a vanity from cabinets to drawers.
Advantages of a DIY Vanity From Cabinets to Drawers
 Creating a DIY vanity from cabinets to drawers has several advantages. Firstly, it allows you to have full control over the design and style of your vanity. You can choose the cabinets and drawers that best fit your needs and preferences, whether it's for storage space or a specific design aesthetic. Secondly, it can be a cost-effective option compared to purchasing a pre-made vanity from a store. You can save money by repurposing old cabinets or purchasing affordable ones and customizing them to your liking. Lastly, a DIY vanity can be a fun and rewarding project, allowing you to put your creativity to use and create a unique piece for your bathroom.
Steps to Create a DIY Vanity From Cabinets to Drawers
 Step 1: Plan and Measure
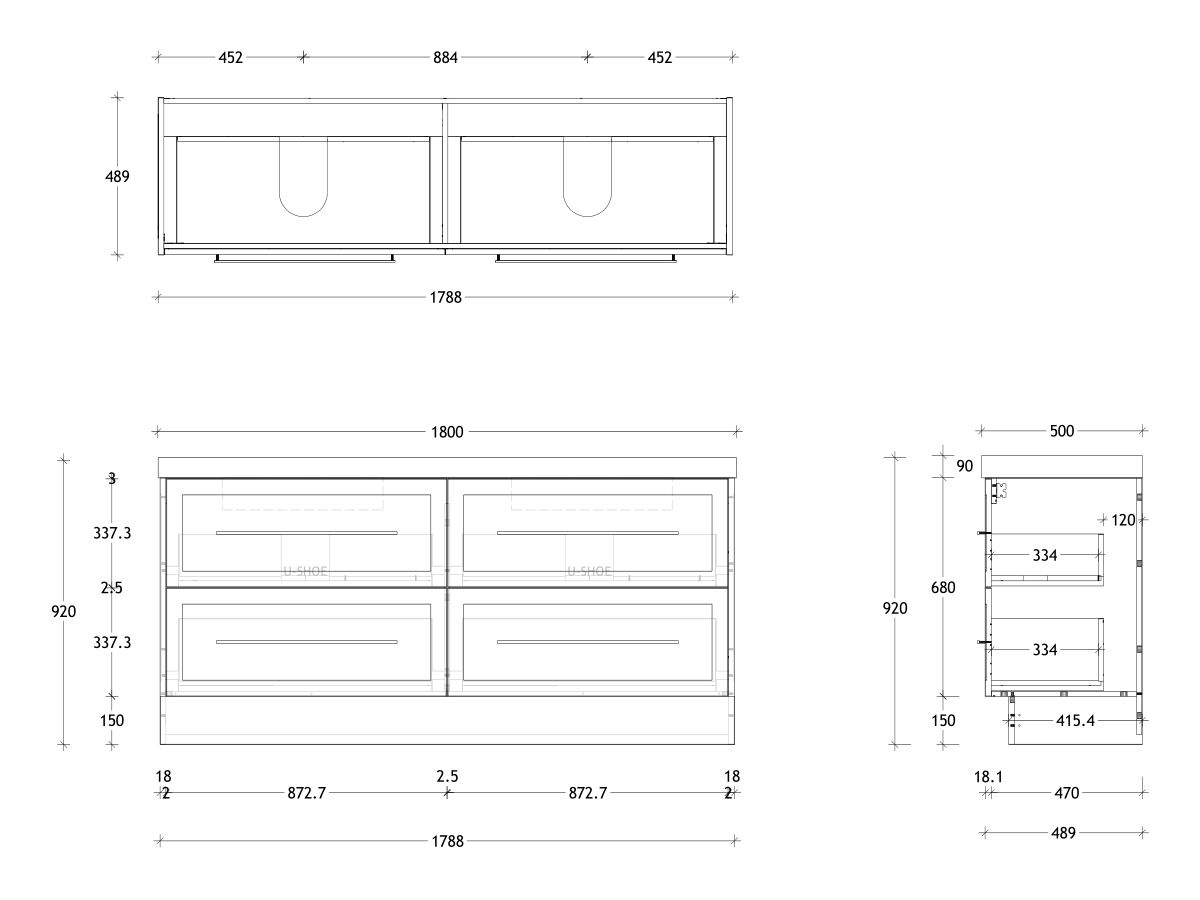
Before starting your project, it's essential to have a clear plan and vision for your vanity. Measure the space where you want to install the vanity and take note of any obstacles or existing plumbing that may affect the design. This will help you determine the size and layout of your vanity.
Step 2: Choose Your Cabinets and Drawers
The key to creating a successful DIY vanity is to choose high-quality cabinets and drawers. They should be sturdy and durable enough to withstand daily use in a bathroom. You can purchase new cabinets or repurpose old ones, but make sure they are in good condition.
Step 3: Install the Cabinets and Drawers
Once you have your cabinets and drawers, it's time to install them in the designated space. Make sure they are level and secure before moving on to the next step.
Step 4: Add a Countertop
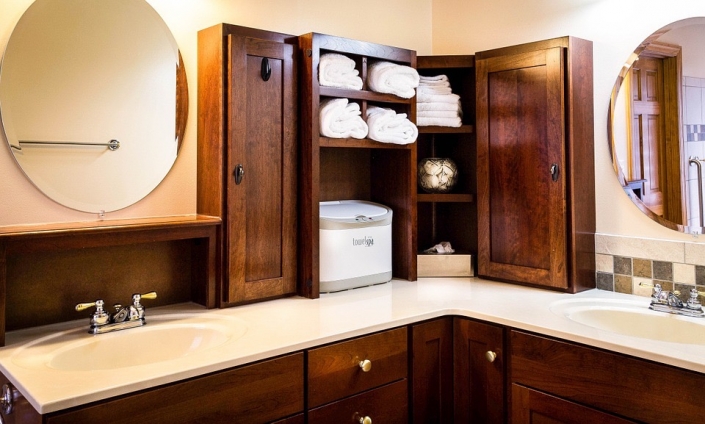
Next, you can add a countertop to your vanity. You can choose from a variety of materials such as marble, granite, or laminate, depending on your budget and design preference. Make sure to properly secure the countertop to the cabinets.
Step 5: Finishing Touches
The final step is to add any finishing touches such as hardware, a backsplash, or a coat of paint to match your bathroom's design. This is where you can get creative and add personal touches to make your DIY vanity truly unique.
In Conclusion
 Creating a DIY vanity from cabinets to drawers is a great way to add a personal touch to your bathroom design while staying within your budget. With careful planning and the right materials, you can transform your bathroom and create a beautiful and functional vanity that you can be proud of. So, get your tools ready and start creating your dream vanity today!


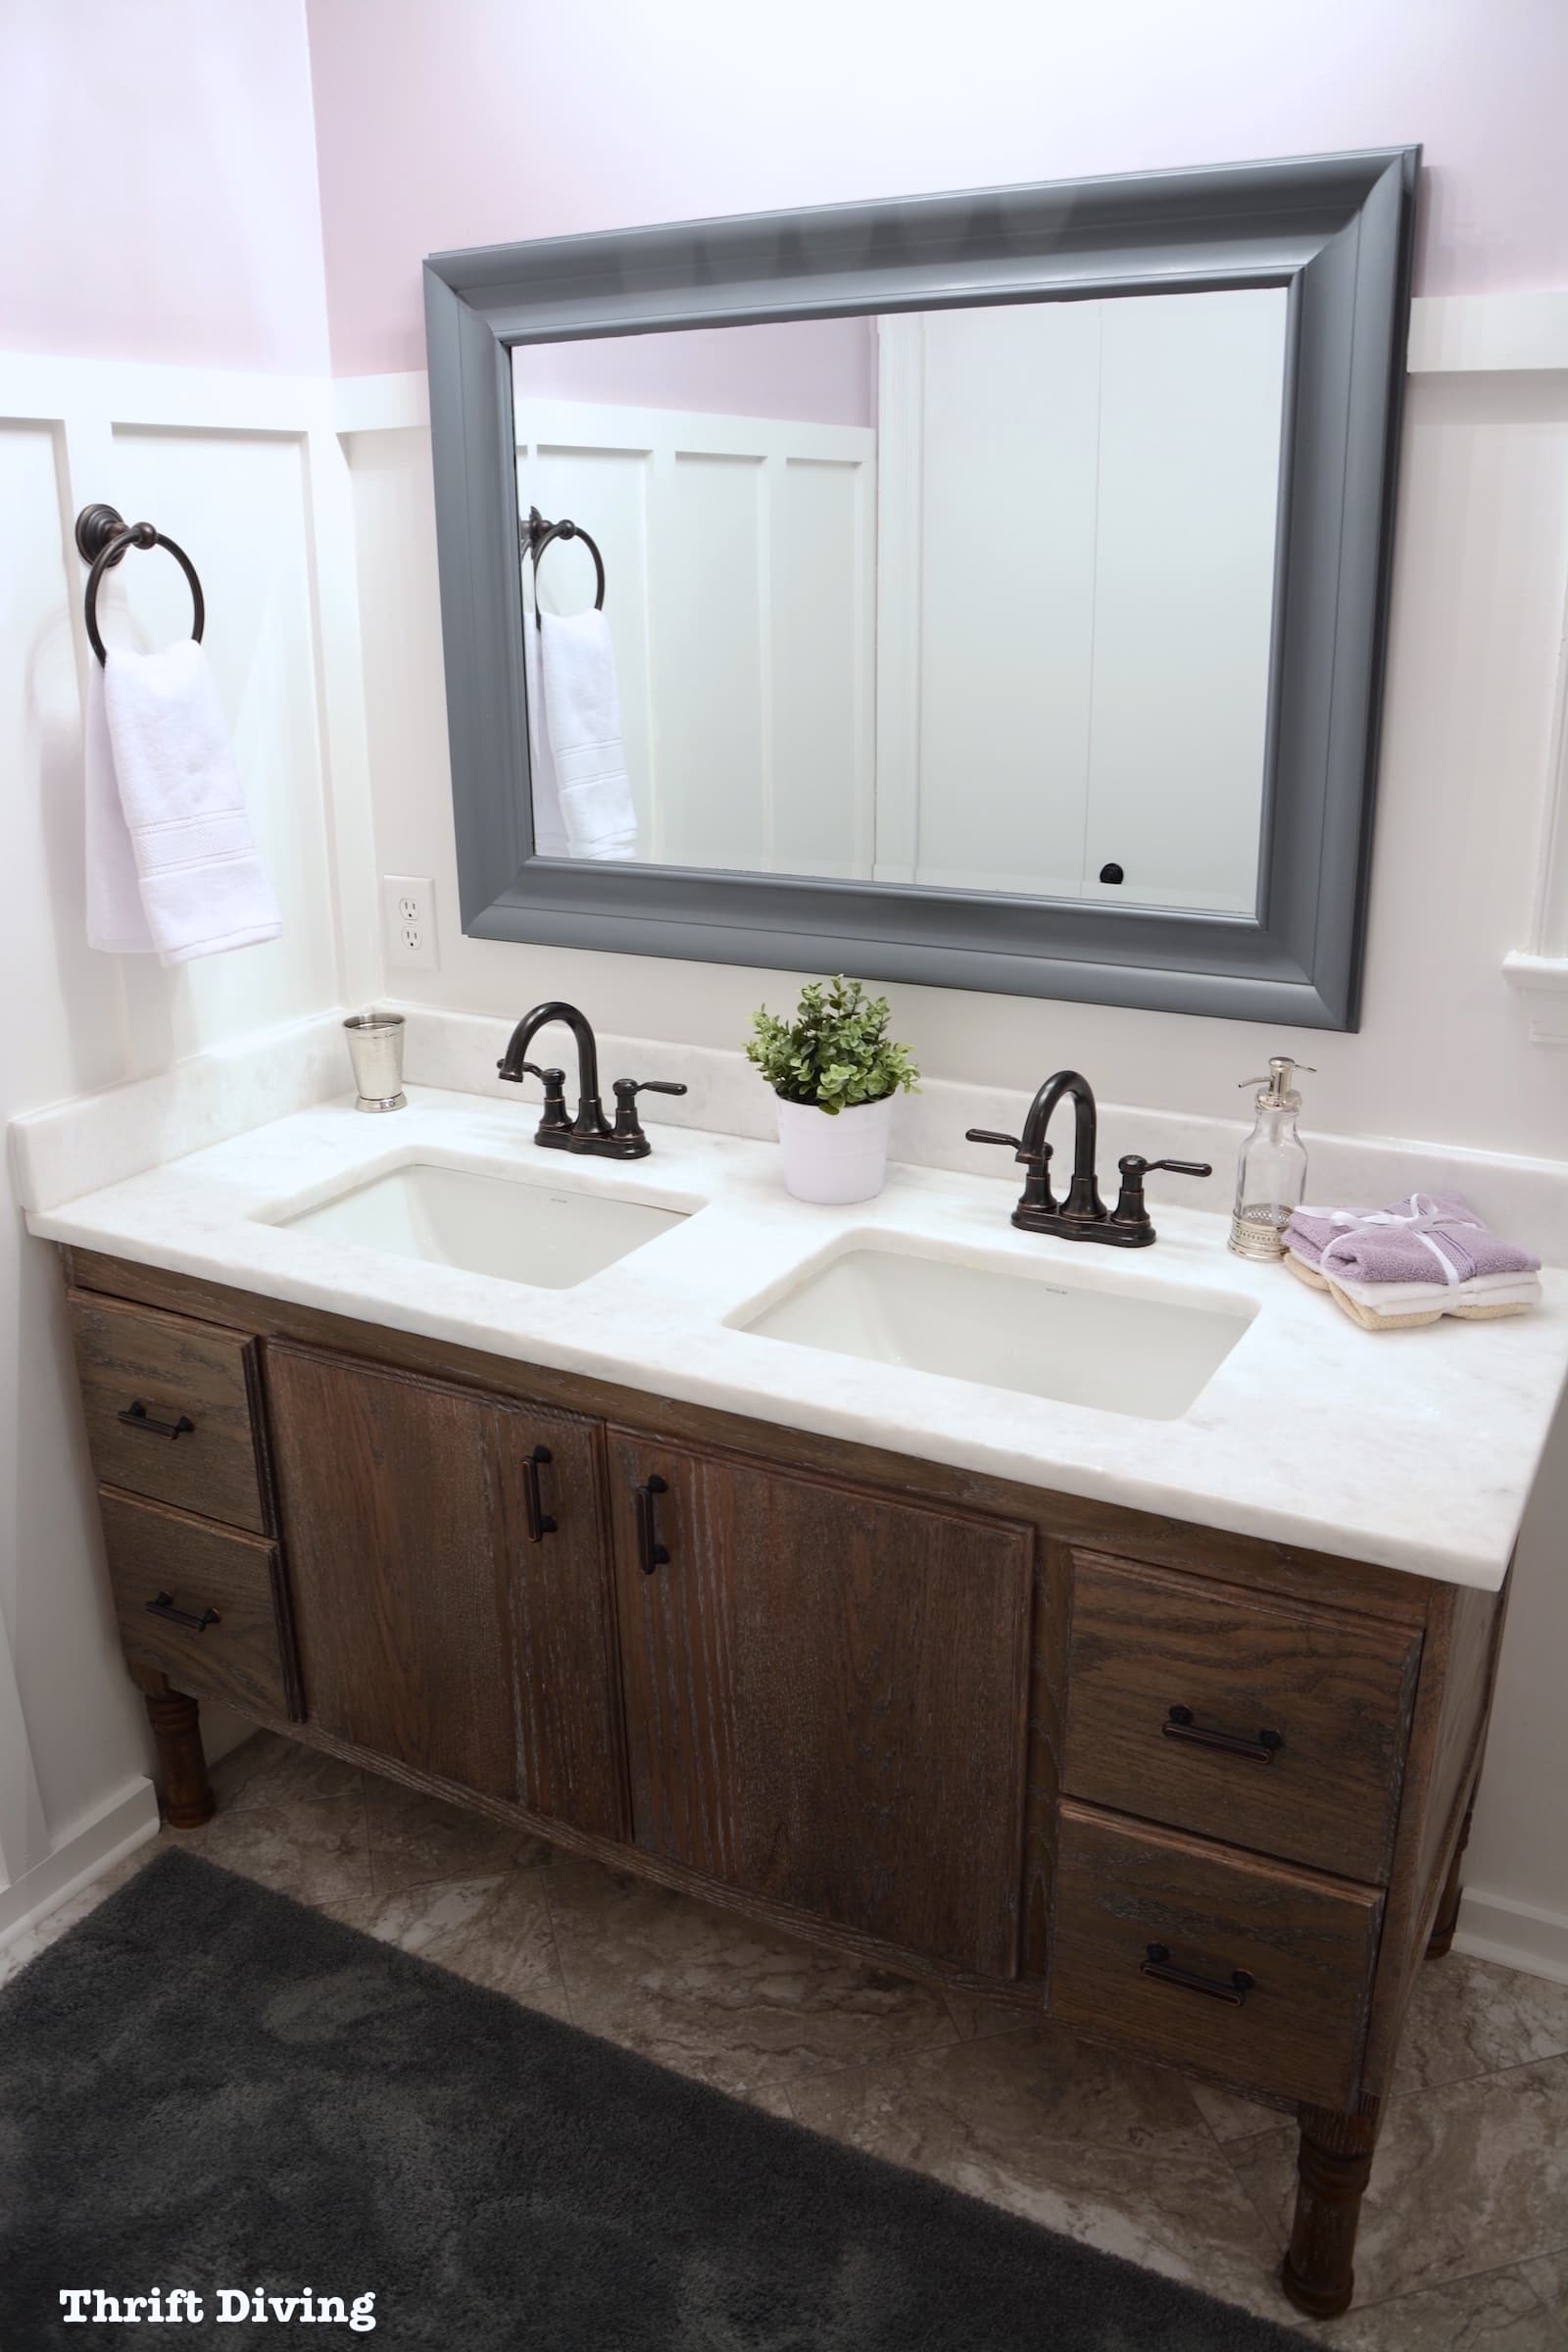
:max_bytes(150000):strip_icc()/build-something-diy-vanity-594402125f9b58d58ae21158.jpg)






.jpg)









/cherry-diy-bathroom-vanity-594414da5f9b58d58a099a36.jpg)










/sarahshermansamuelphotoanddesign-c65ca4291b3c467dac85246c35c92343.jpg)
