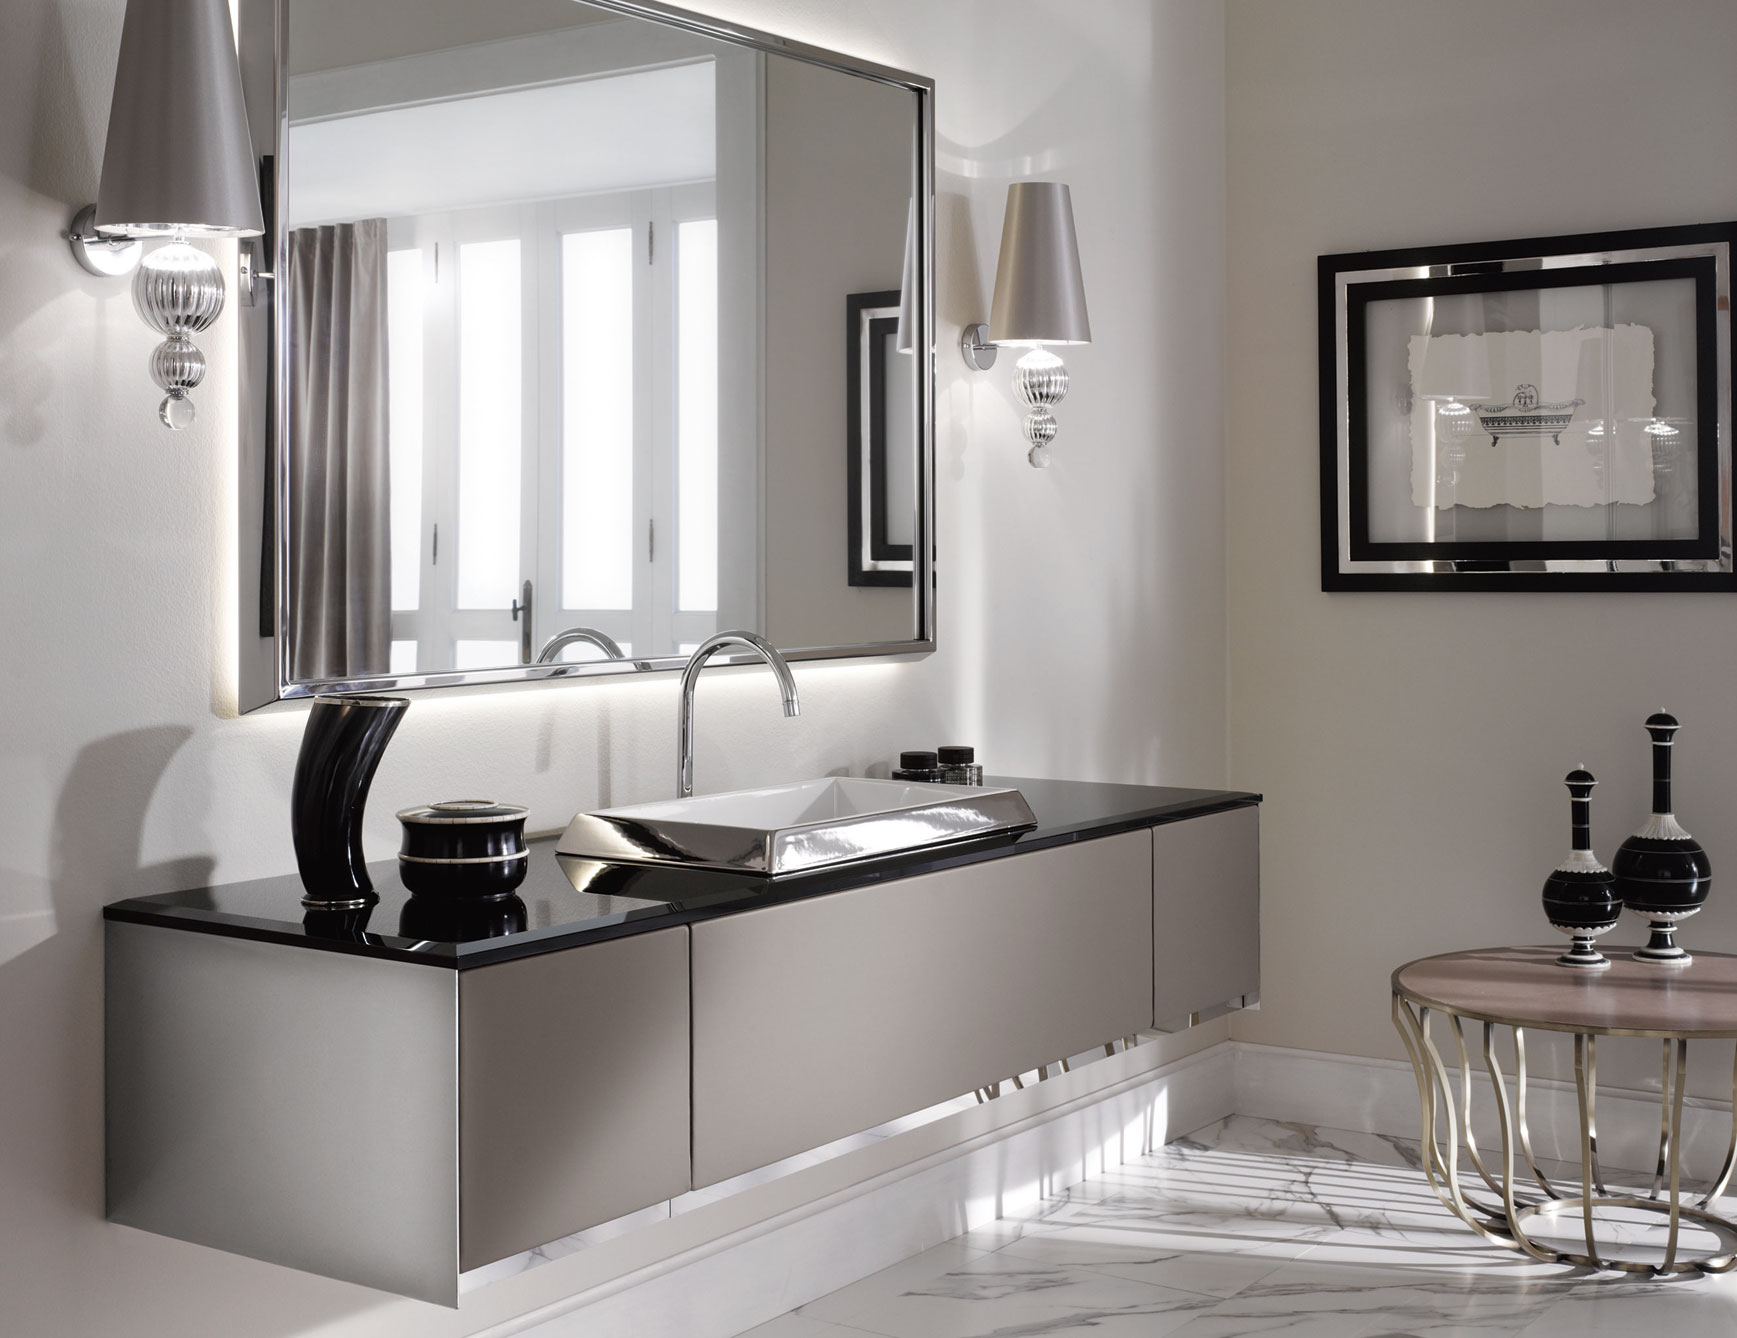
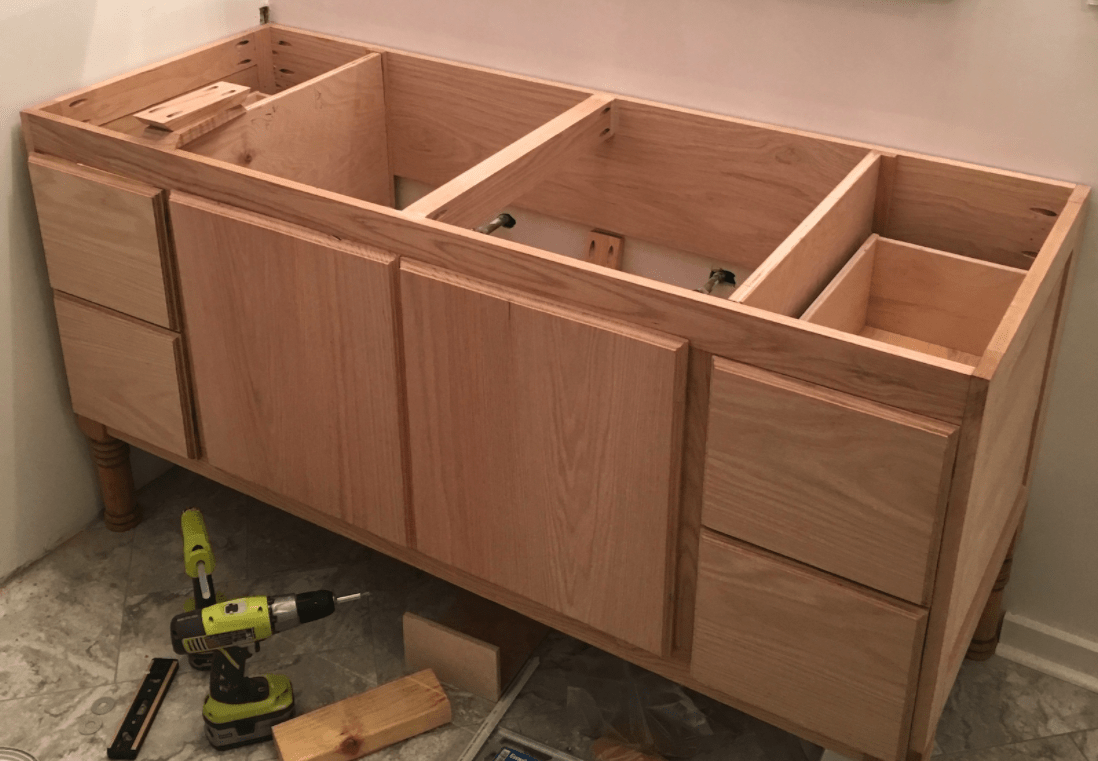
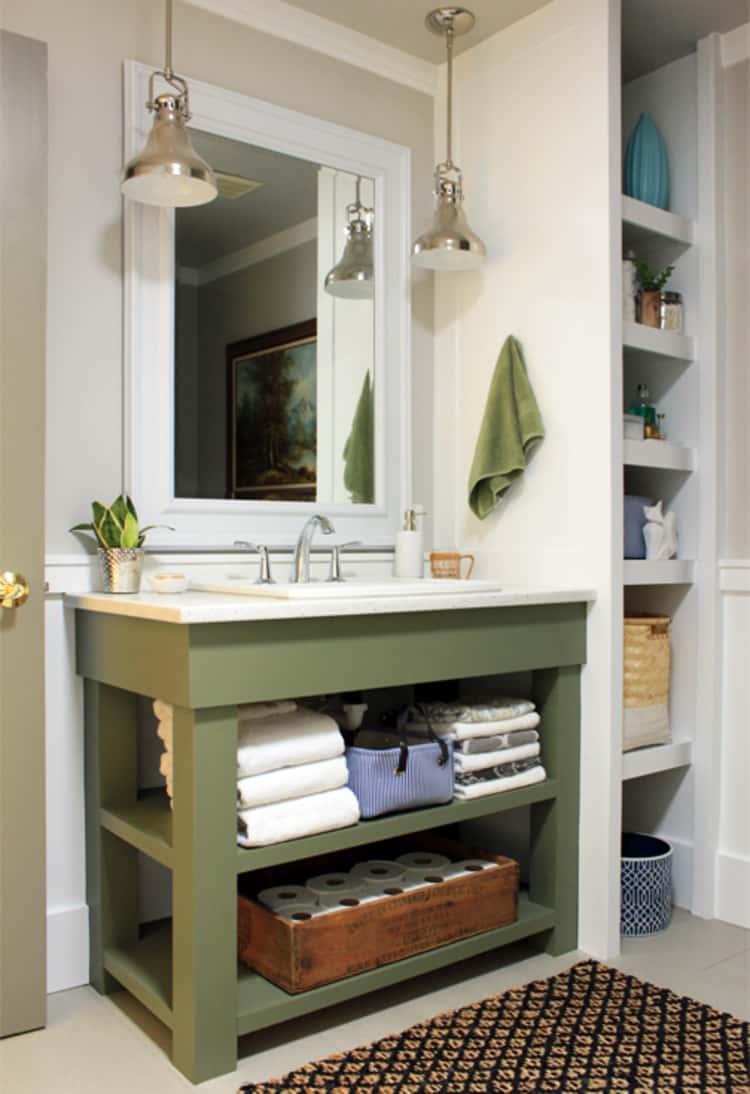
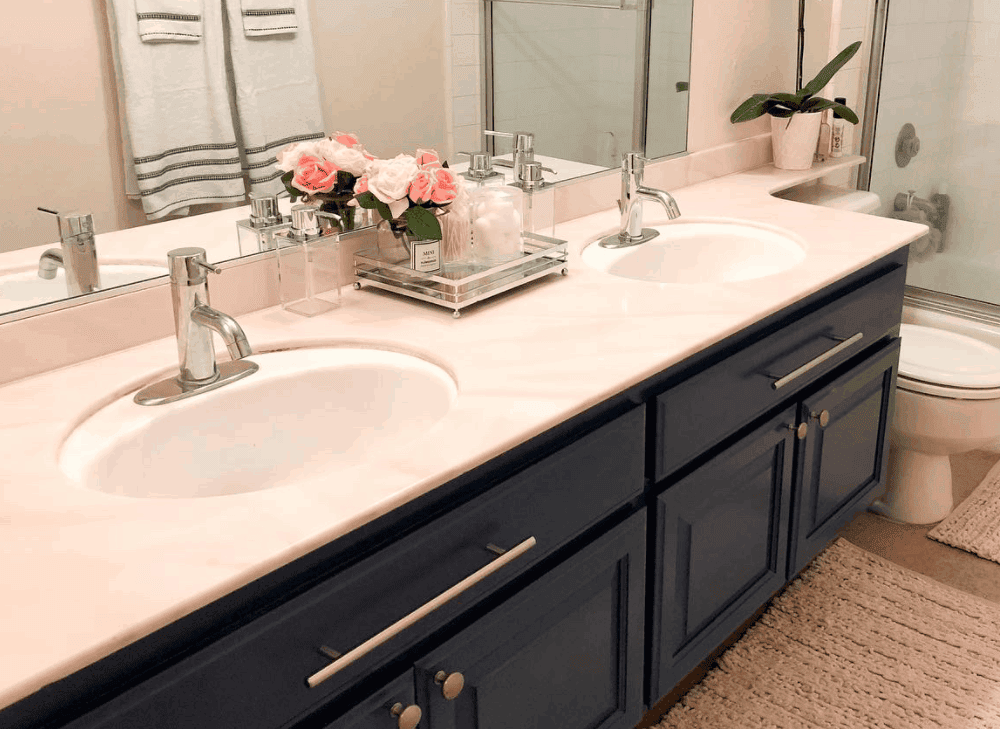
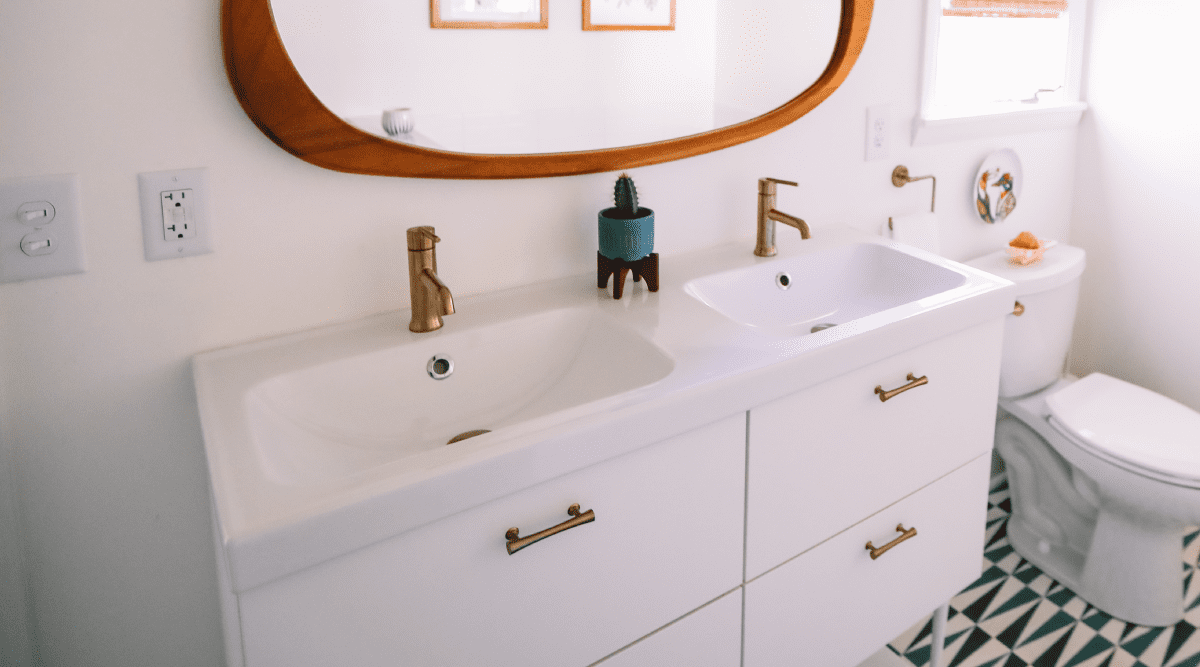
Creating a bathroom vanity with angled legs is a great way to add a unique and modern touch to your bathroom. Not only does it look stylish, but it also allows for more storage space underneath. With a few simple tools and materials, you can easily build your own DIY angled bathroom vanity. First, you will need to gather your materials. This includes wood for the legs, frame, and shelves, as well as screws, a drill, and a saw. You can choose to use any type of wood, but oak or pine are popular choices due to their durability and affordability. Next, you will need to measure and cut the wood to the desired dimensions. The legs will need to be cut at an angle to create the angled effect. You can use a protractor to ensure they are cut at the right angle. Once all the pieces are cut, you can begin assembling the frame. This can be done by attaching the legs to the frame using screws. Make sure to pre-drill holes to prevent the wood from splitting. You can also add additional support by attaching a piece of wood to the back of the frame. Now it's time to add the shelves. These can be cut to fit inside the frame and attached with screws. You can also add a back panel to cover the exposed edges and create a cleaner look. For the finishing touches, you can add a coat of paint or stain to the wood to match your bathroom's decor. You can also add hardware such as knobs or pulls to the drawers for a more functional and stylish vanity. With just a few simple steps, you can have a beautiful DIY bathroom vanity with angled legs that will make a statement in your bathroom.DIY Bathroom Vanity with Angled Legs


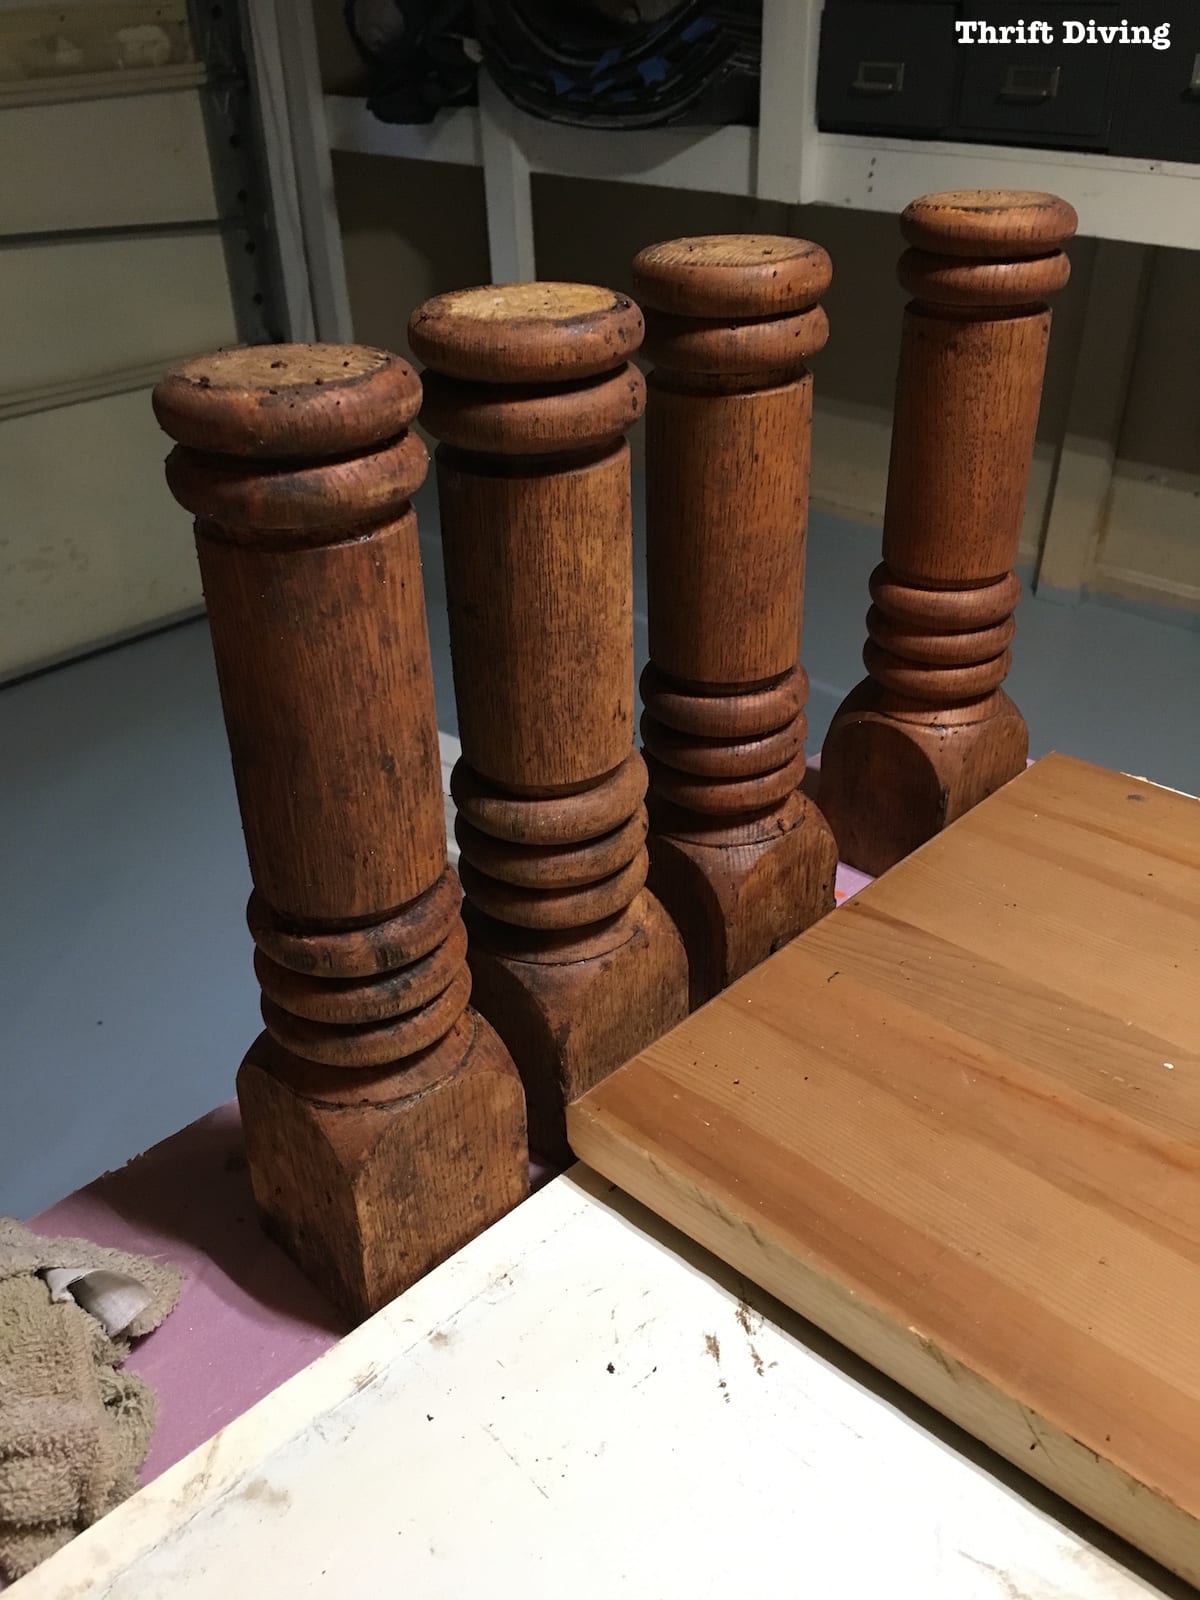
DIY Bathroom Vanity with Angled Legs


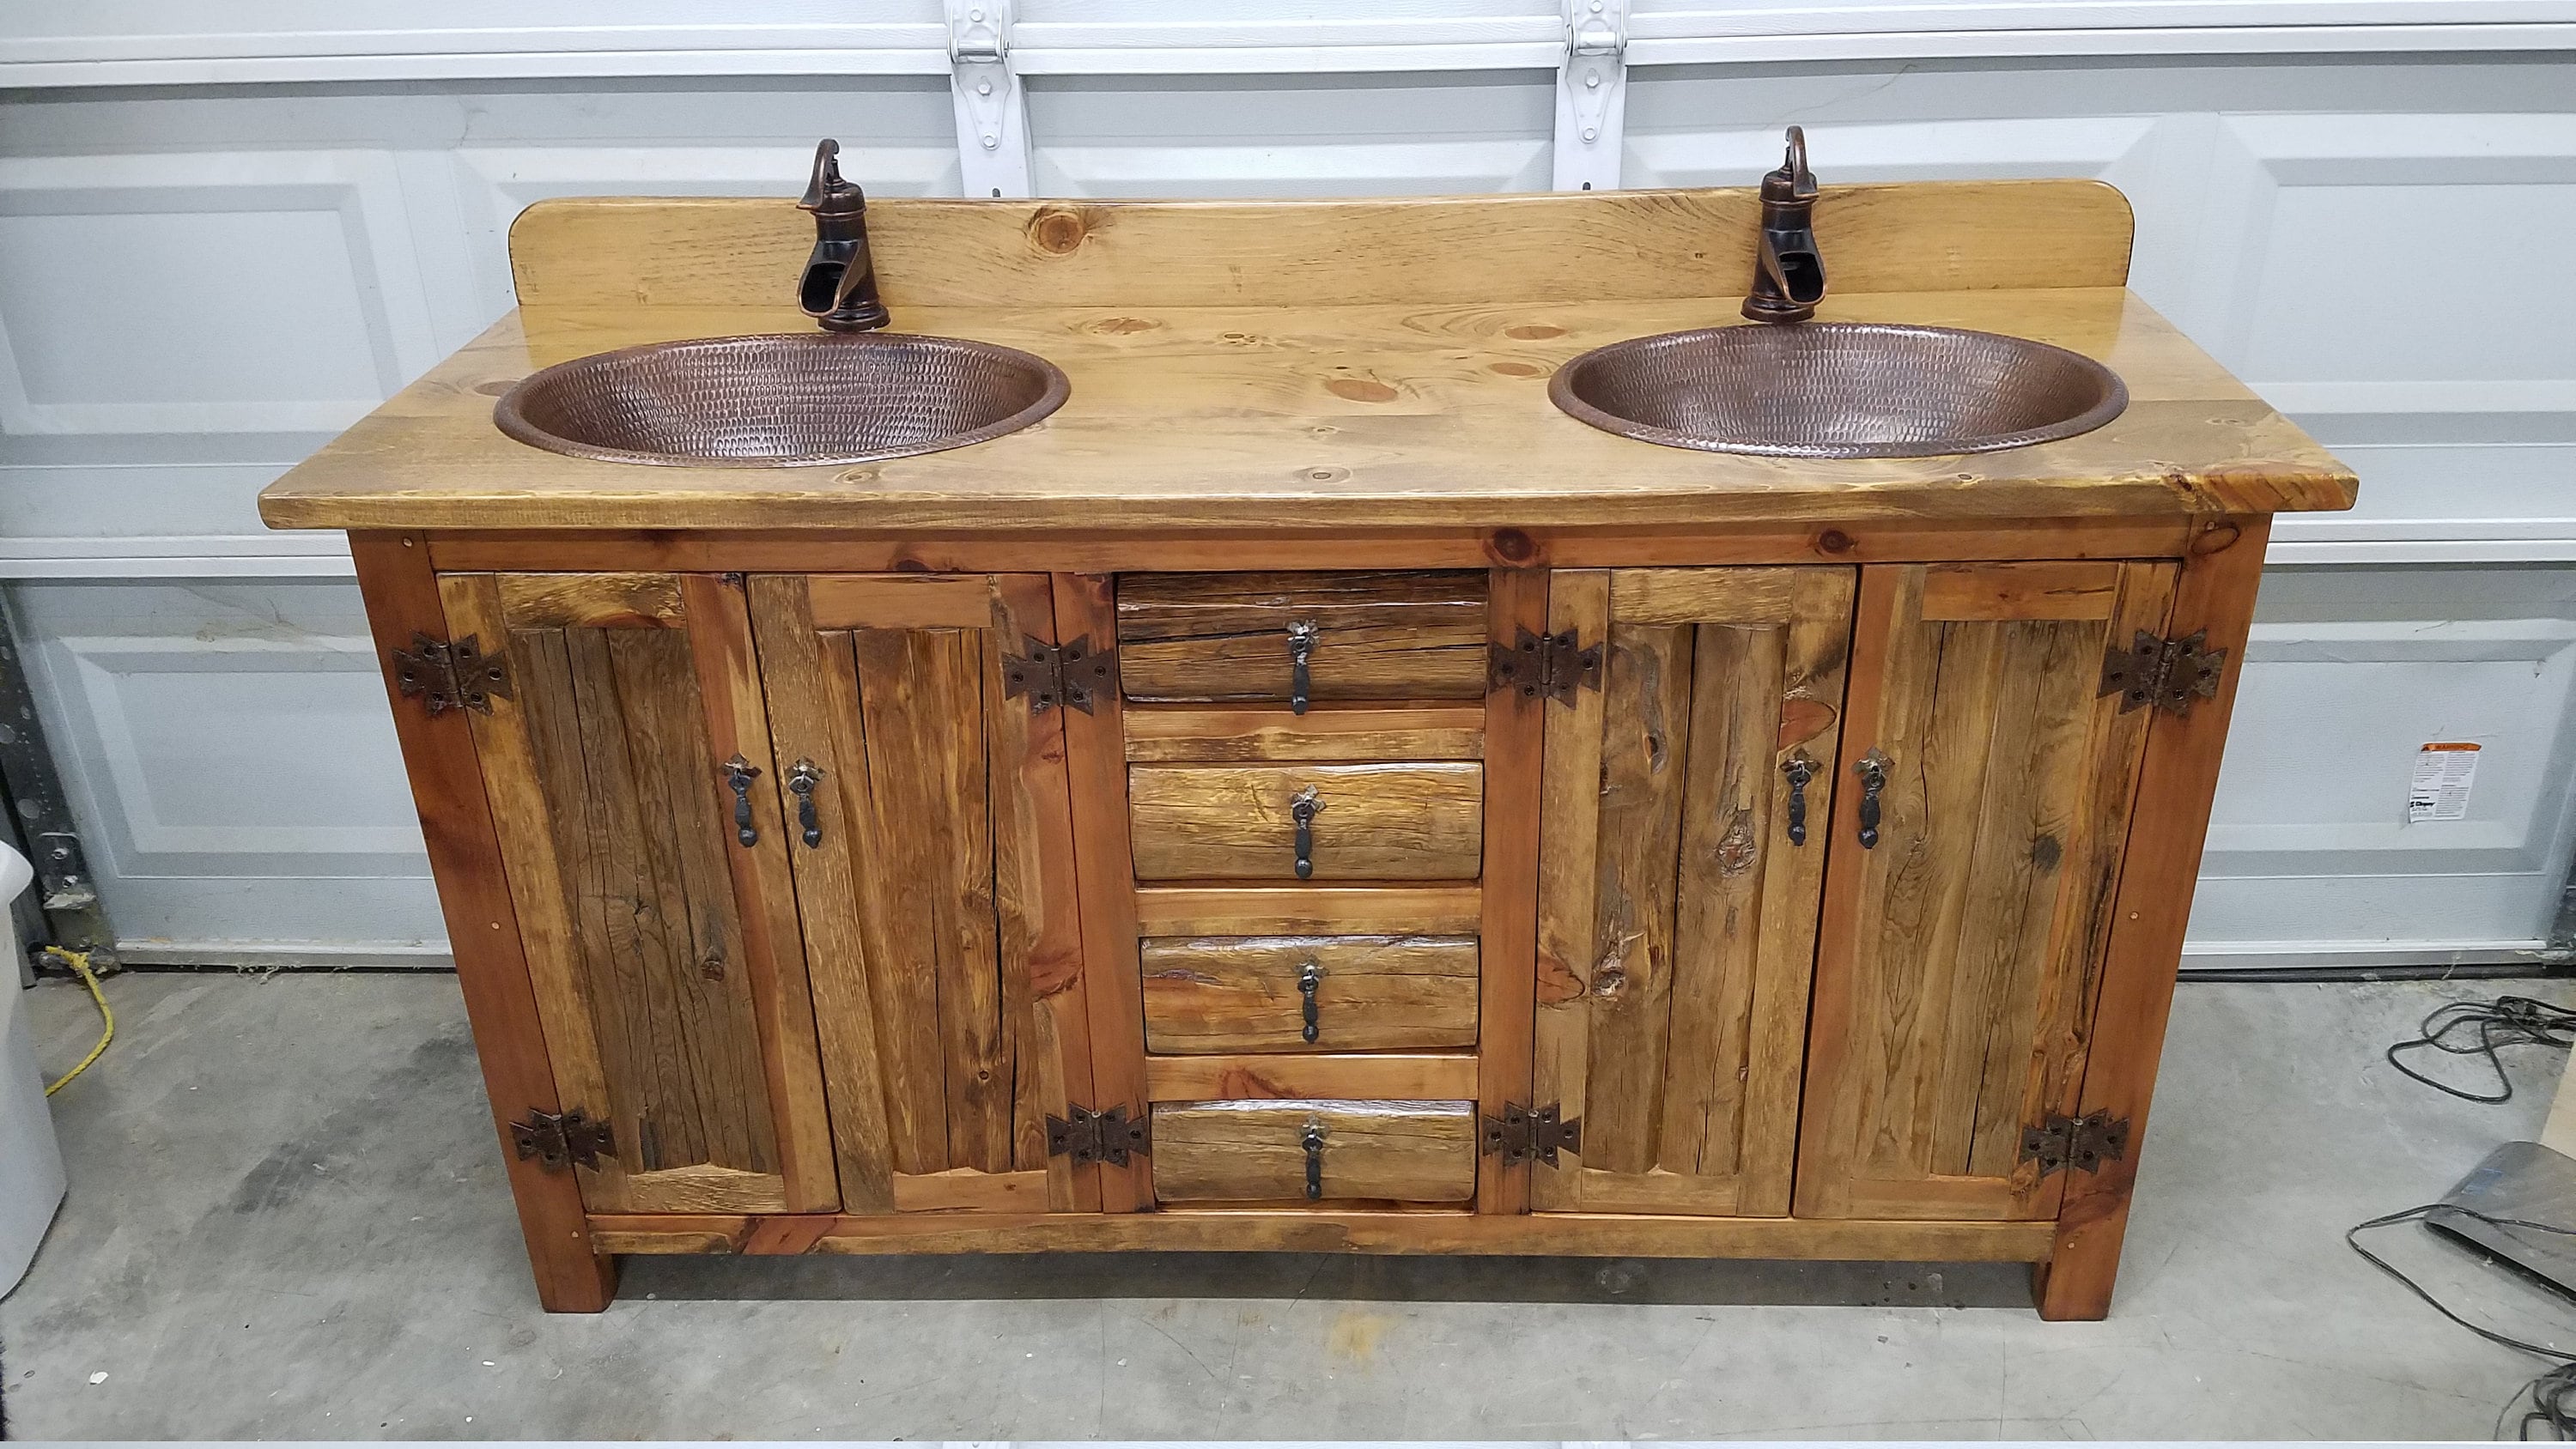
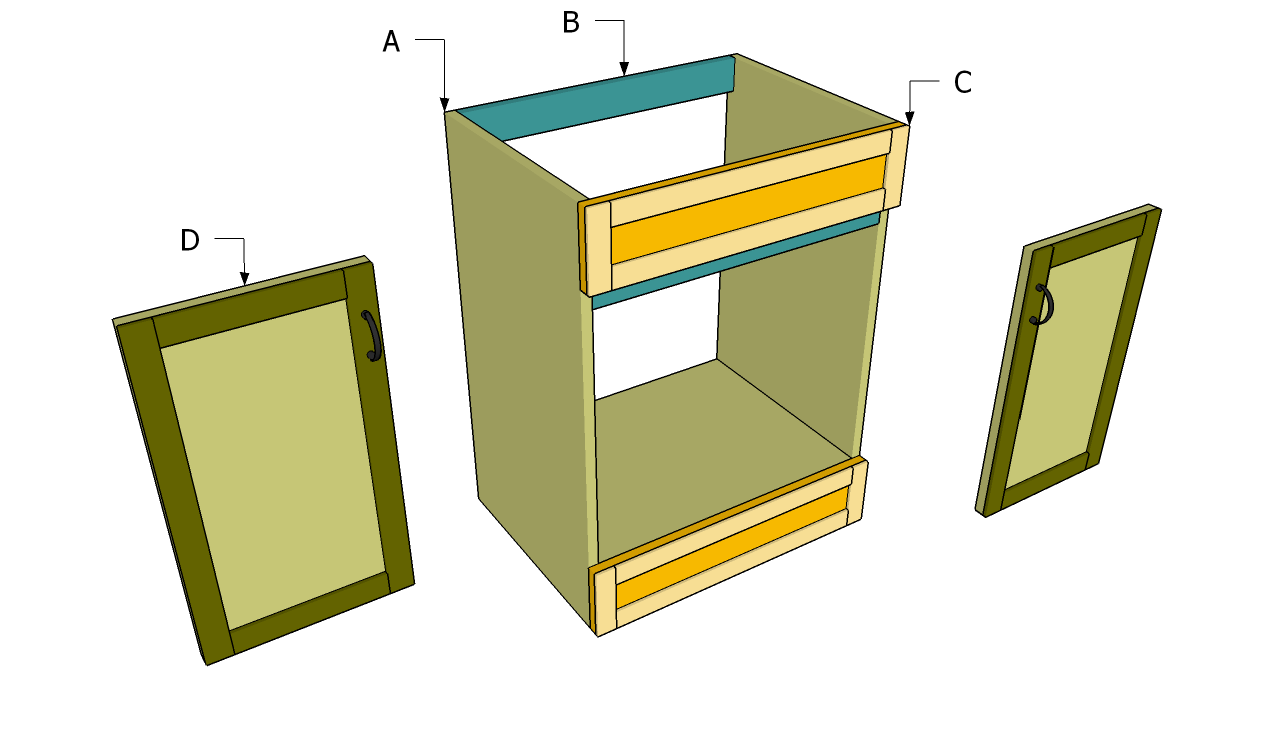
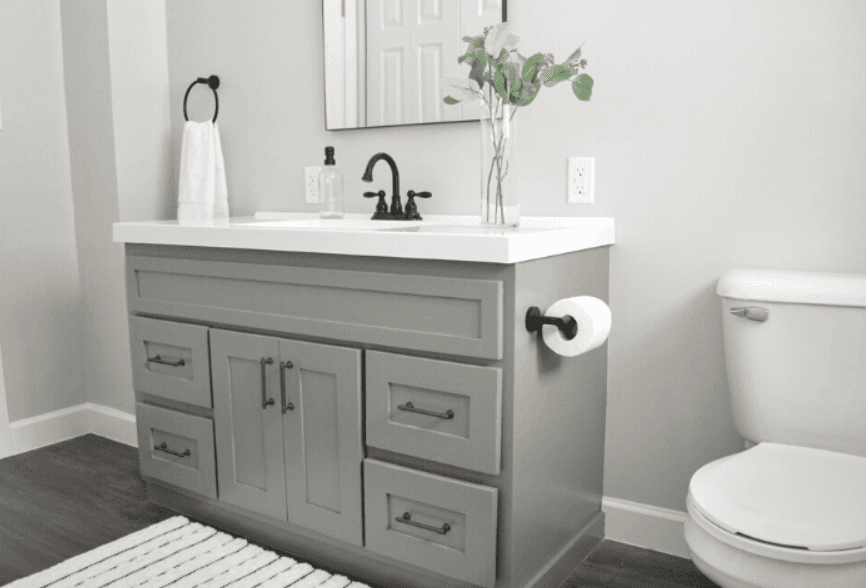
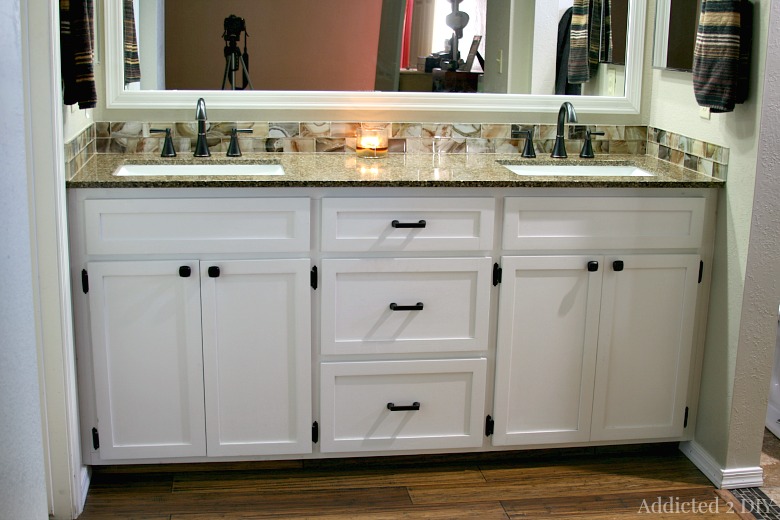
A bathroom vanity cabinet is an essential piece of furniture in any bathroom. It not only provides storage space but also serves as a focal point in the room. If you're looking to add an angled vanity cabinet to your bathroom, you can easily create one yourself with a few tools and materials. The first step is to measure and cut the wood for the cabinet frame. You can choose to have the cabinet doors at an angle or keep them straight and have the angled effect on the legs. Once the frame is assembled, you can attach the doors using hinges. Next, you will need to create the shelves and drawers. These can be cut to fit inside the frame and attached using screws. You can also add a back panel to cover the exposed edges and create a cleaner look. For the finishing touches, you can paint or stain the cabinet to match your bathroom's decor. You can also add hardware such as knobs or pulls to the doors and drawers for a more functional and stylish vanity cabinet. A DIY angled bathroom vanity cabinet is not only a cost-effective option but also allows you to customize the design to fit your specific needs and style.DIY Angled Bathroom Vanity Cabinet


DIY Angled Bathroom Vanity Cabinet
:max_bytes(150000):strip_icc()/build-something-diy-vanity-594402125f9b58d58ae21158.jpg)


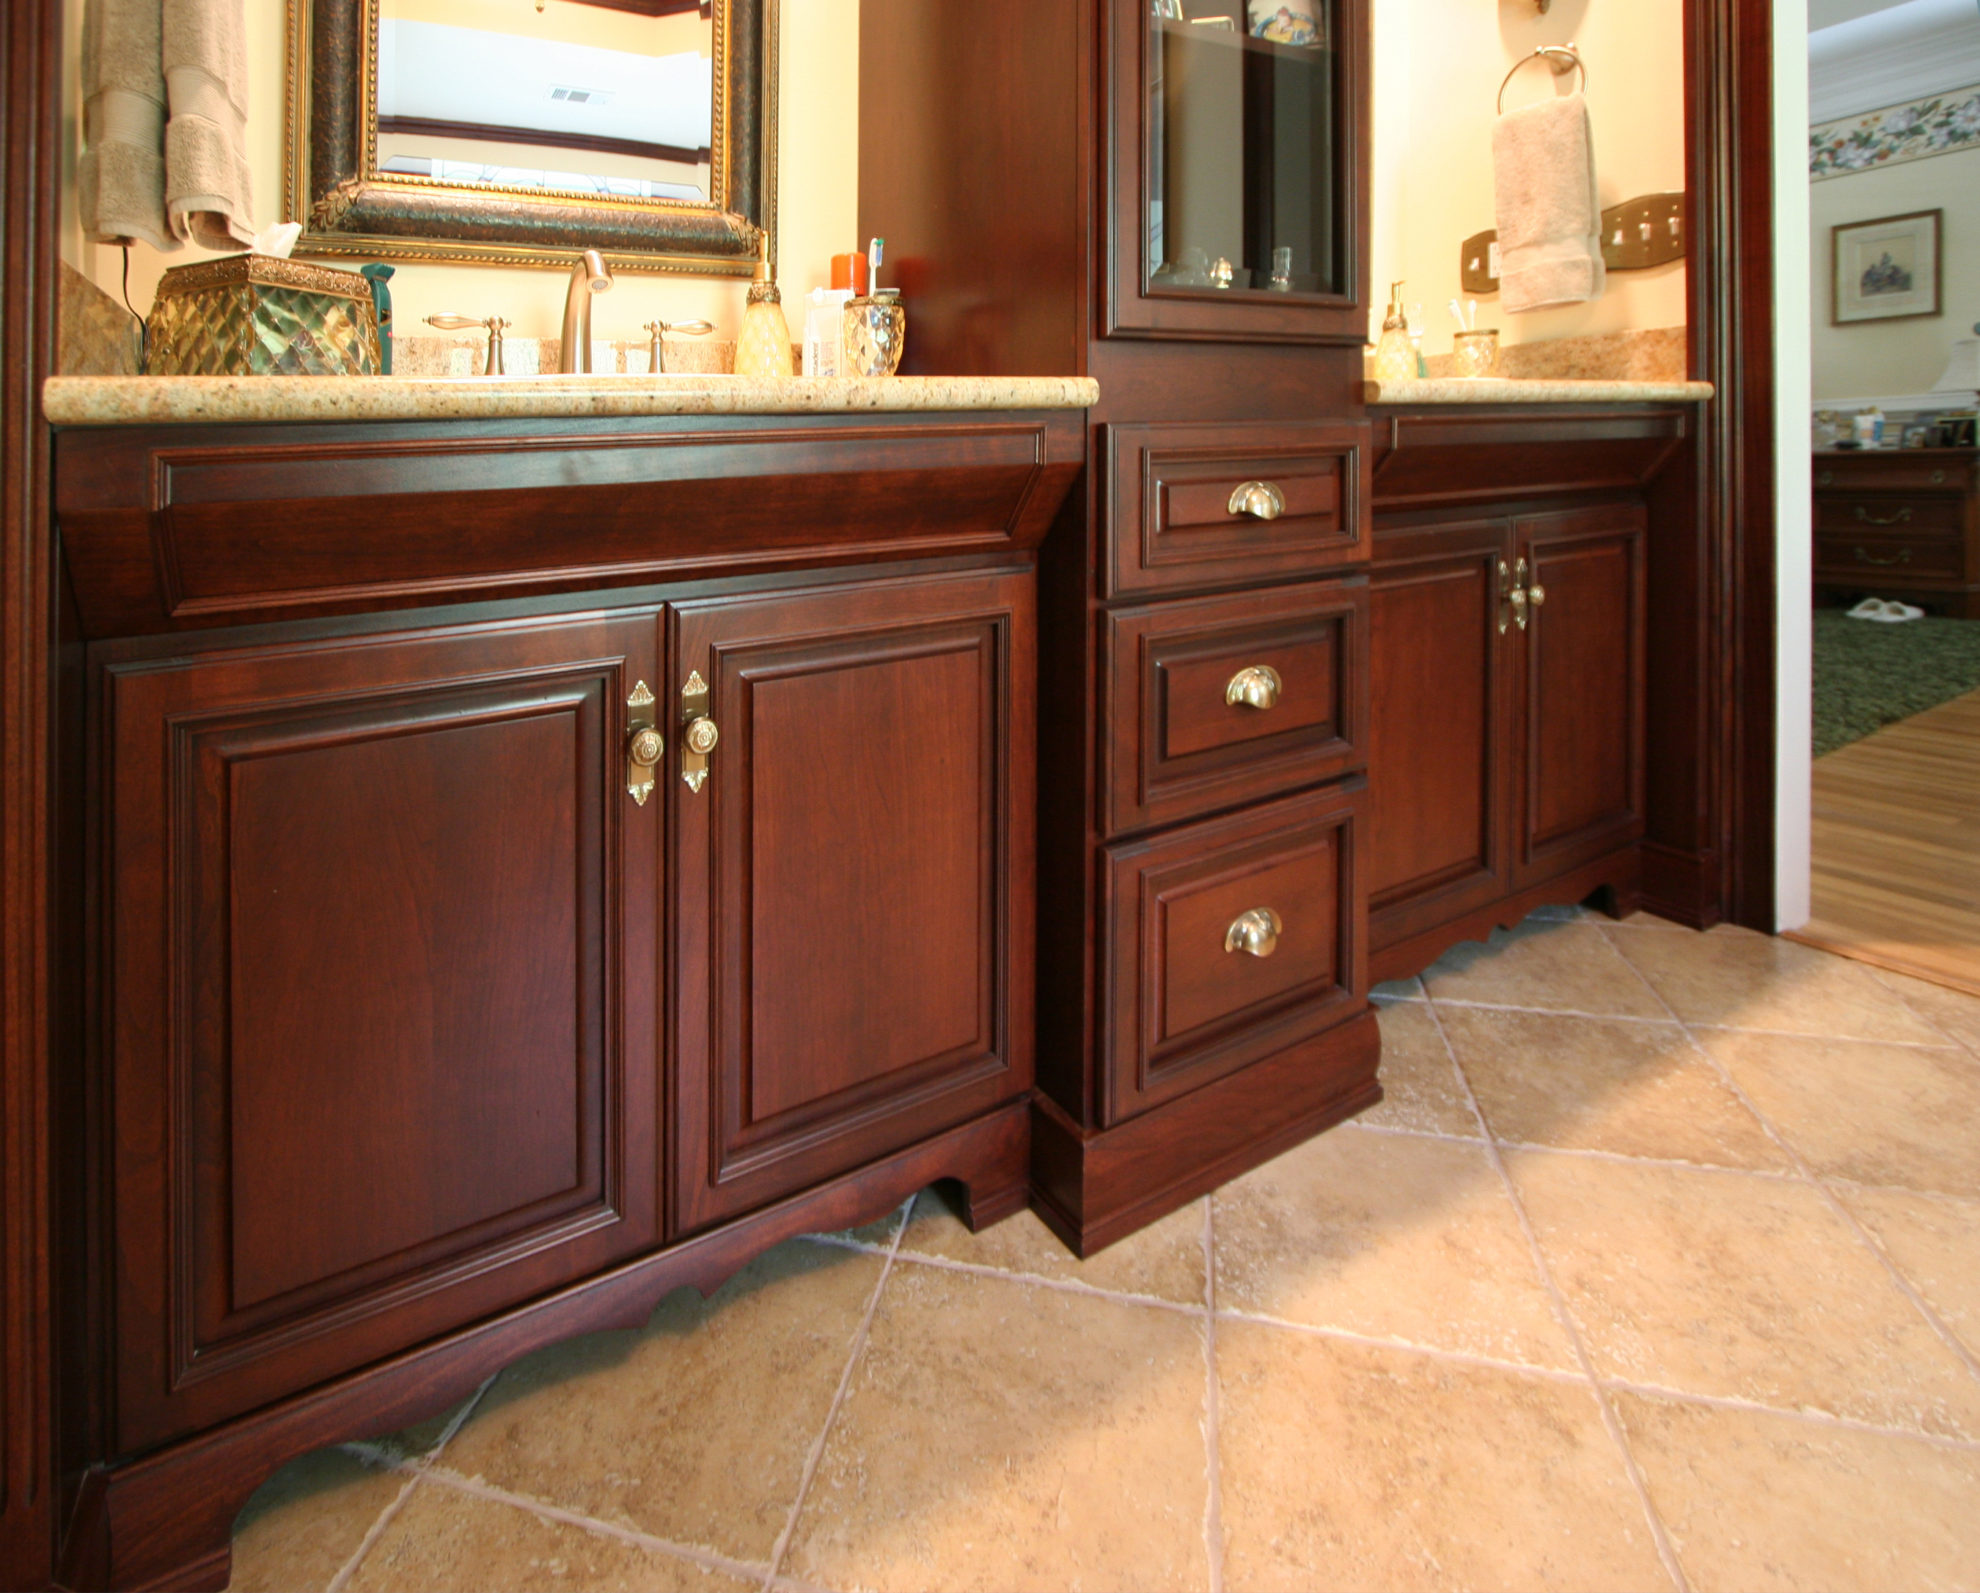

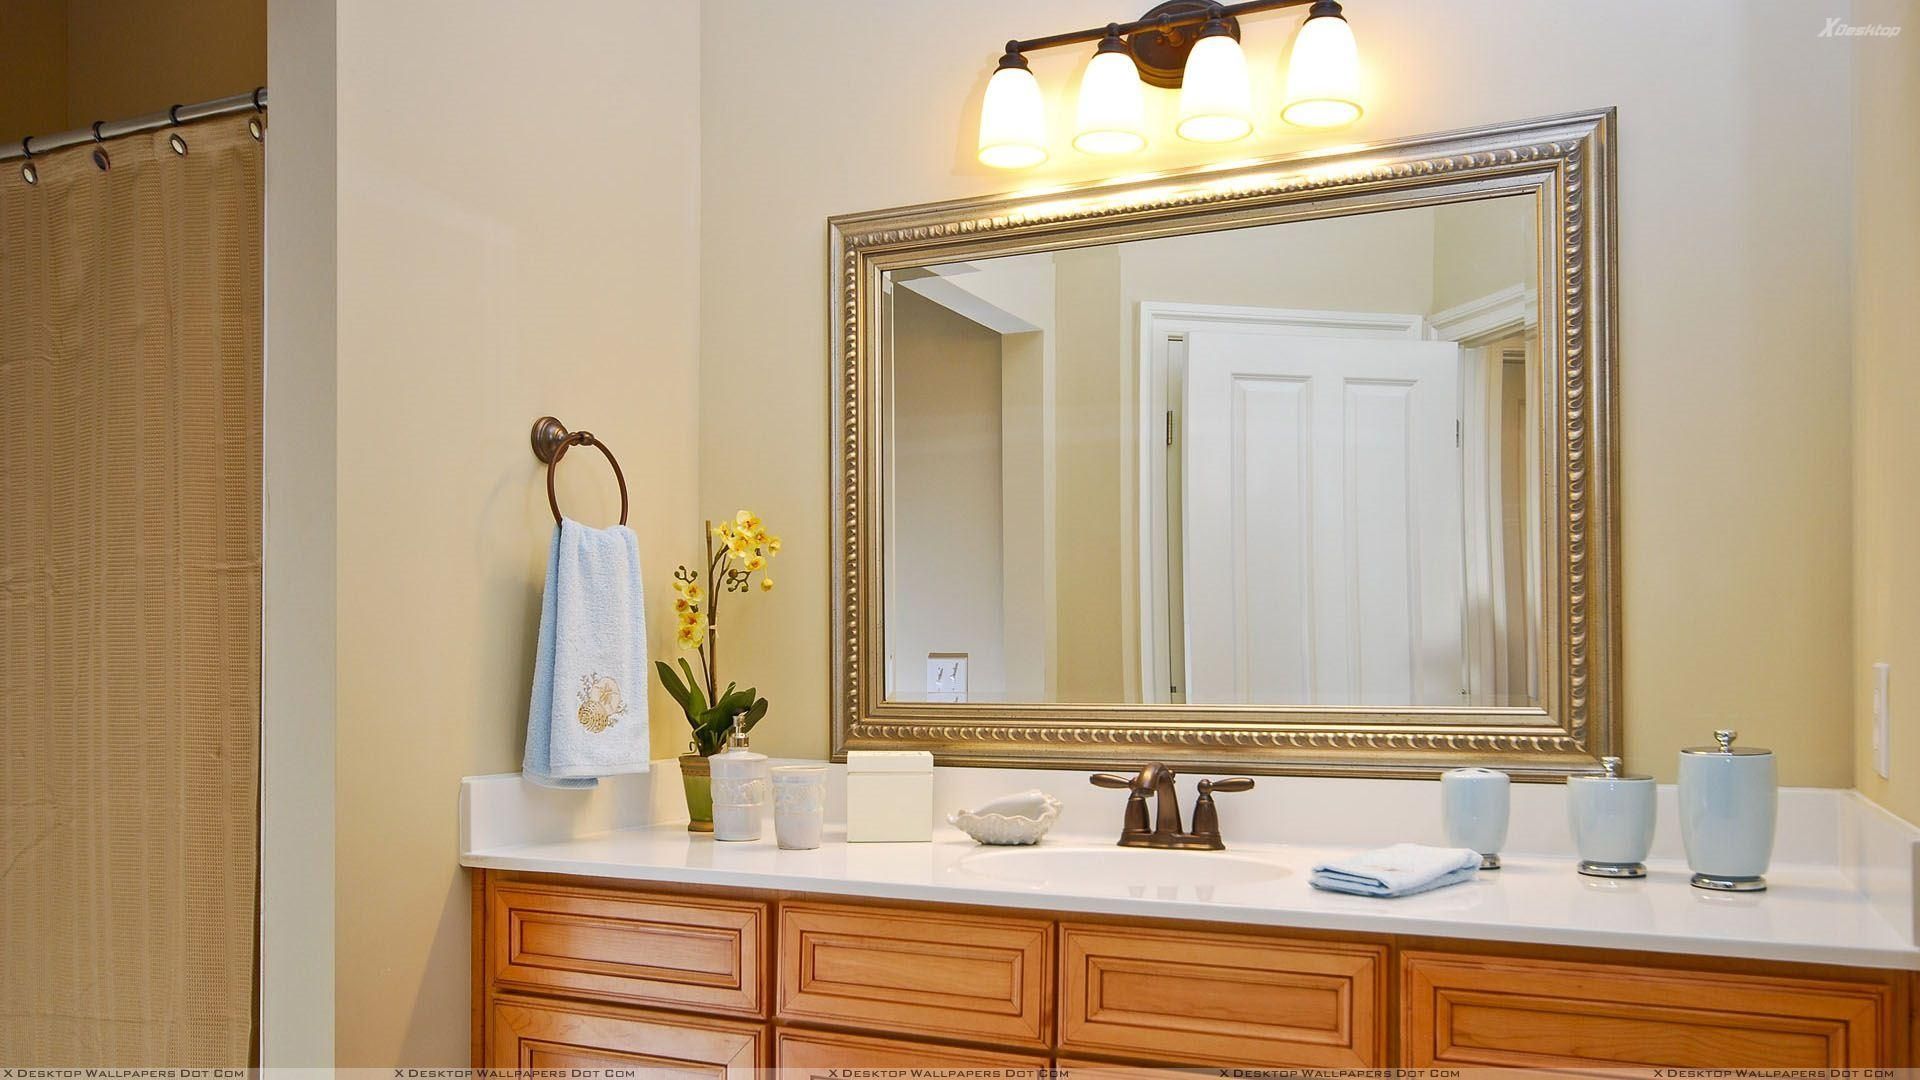
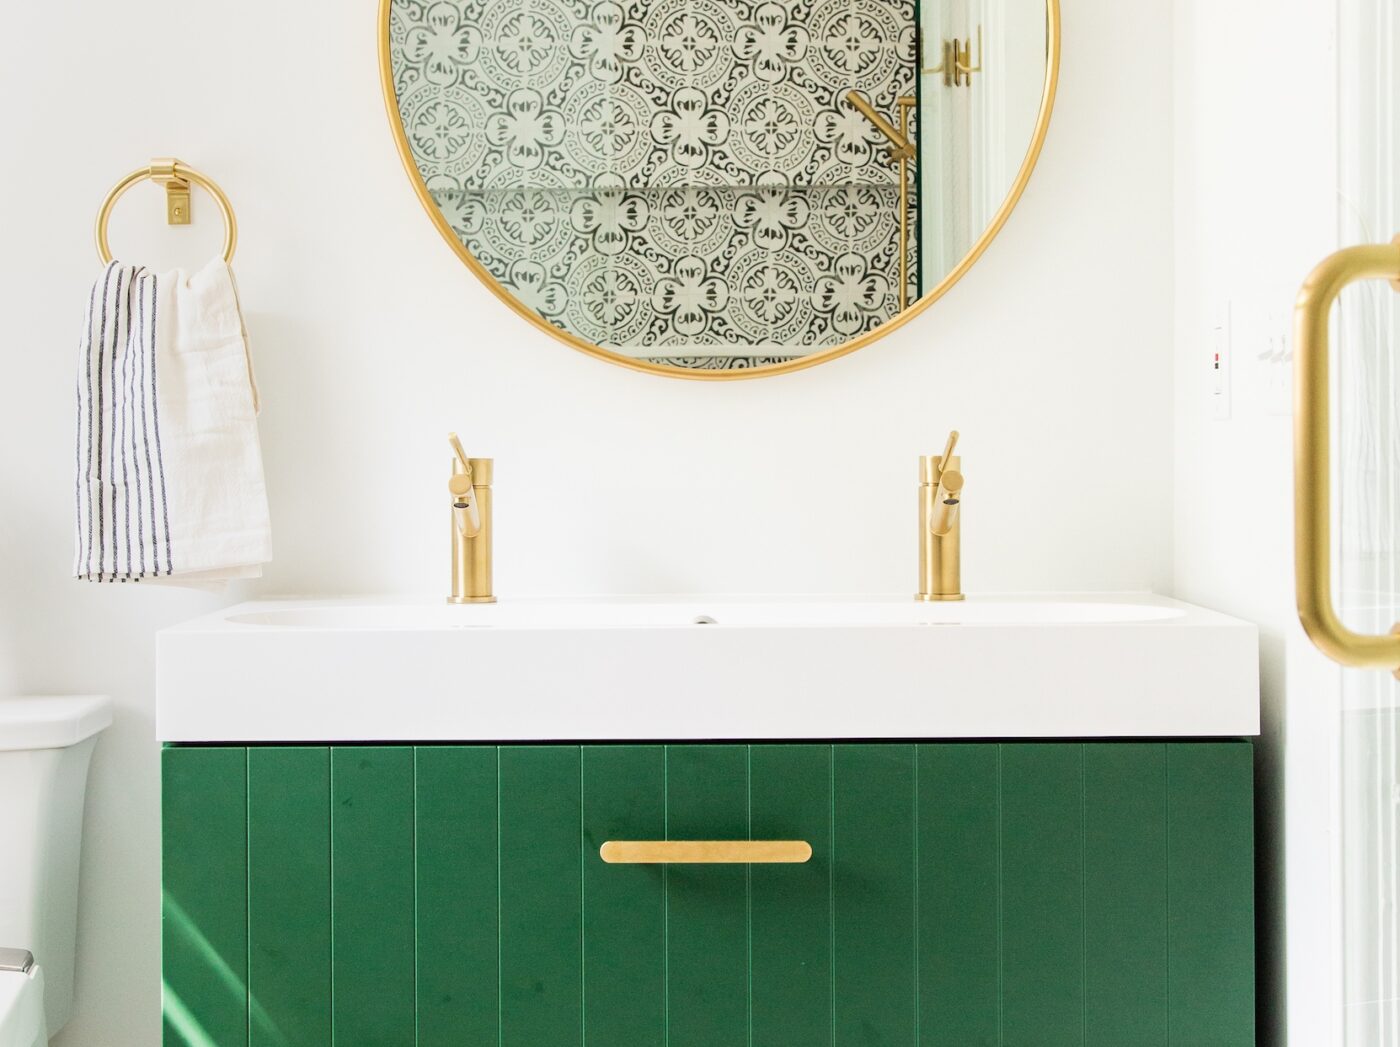
The vanity top is another important element of a bathroom vanity. It not only serves as a functional surface for your daily routine but also adds to the overall aesthetic of the vanity. If you want to create an angled vanity top, here are a few steps to follow. First, you will need to measure and cut the wood for the top. You can choose to have the top at an angle or keep it straight and have the angled effect on the front edge. Once the wood is cut, you can attach it to the vanity using screws from underneath. If you want to add a sink to your vanity, you will need to cut a hole in the top for the sink to fit into. Make sure to measure and mark the hole accurately before cutting it out. Next, you can sand and stain or paint the top to match your bathroom's decor. You can also add a protective sealant to ensure the wood stays in good condition in a humid bathroom environment. A DIY angled bathroom vanity top is a great way to add a unique touch to your vanity and make it stand out in your bathroom.DIY Angled Bathroom Vanity Top


DIY Angled Bathroom Vanity Top


/cherry-diy-bathroom-vanity-594414da5f9b58d58a099a36.jpg)

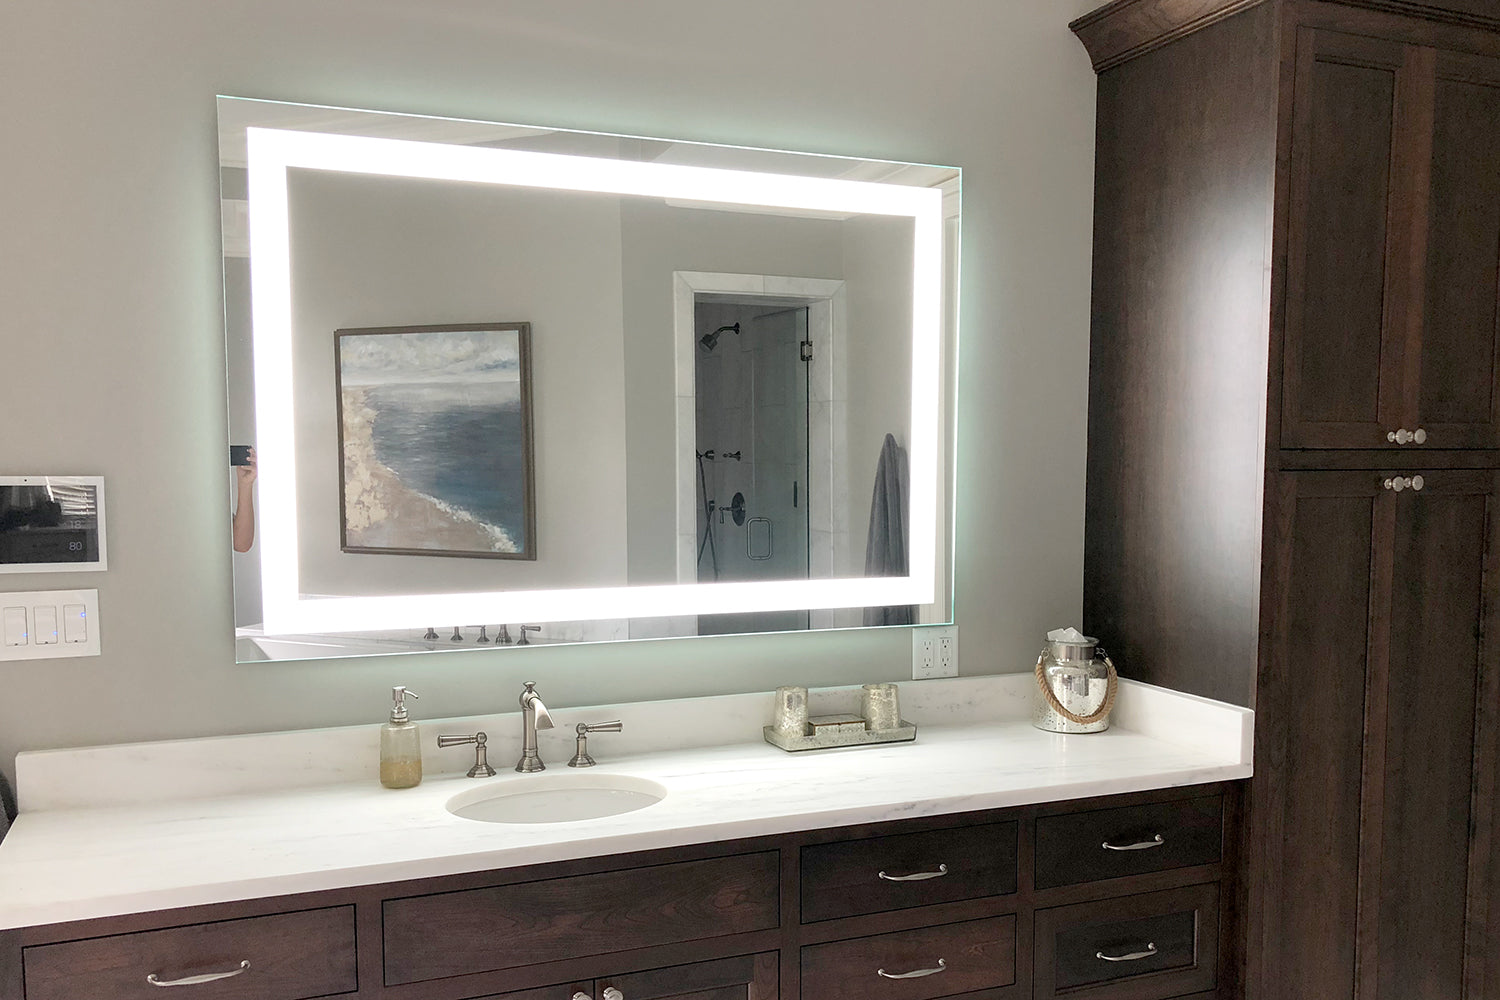
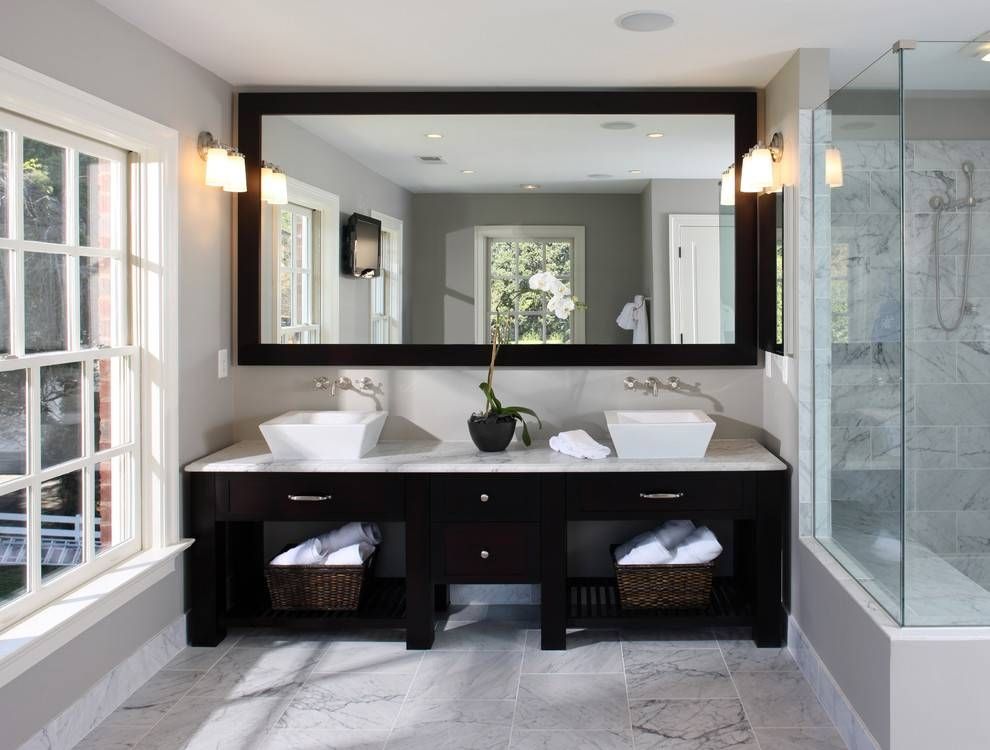
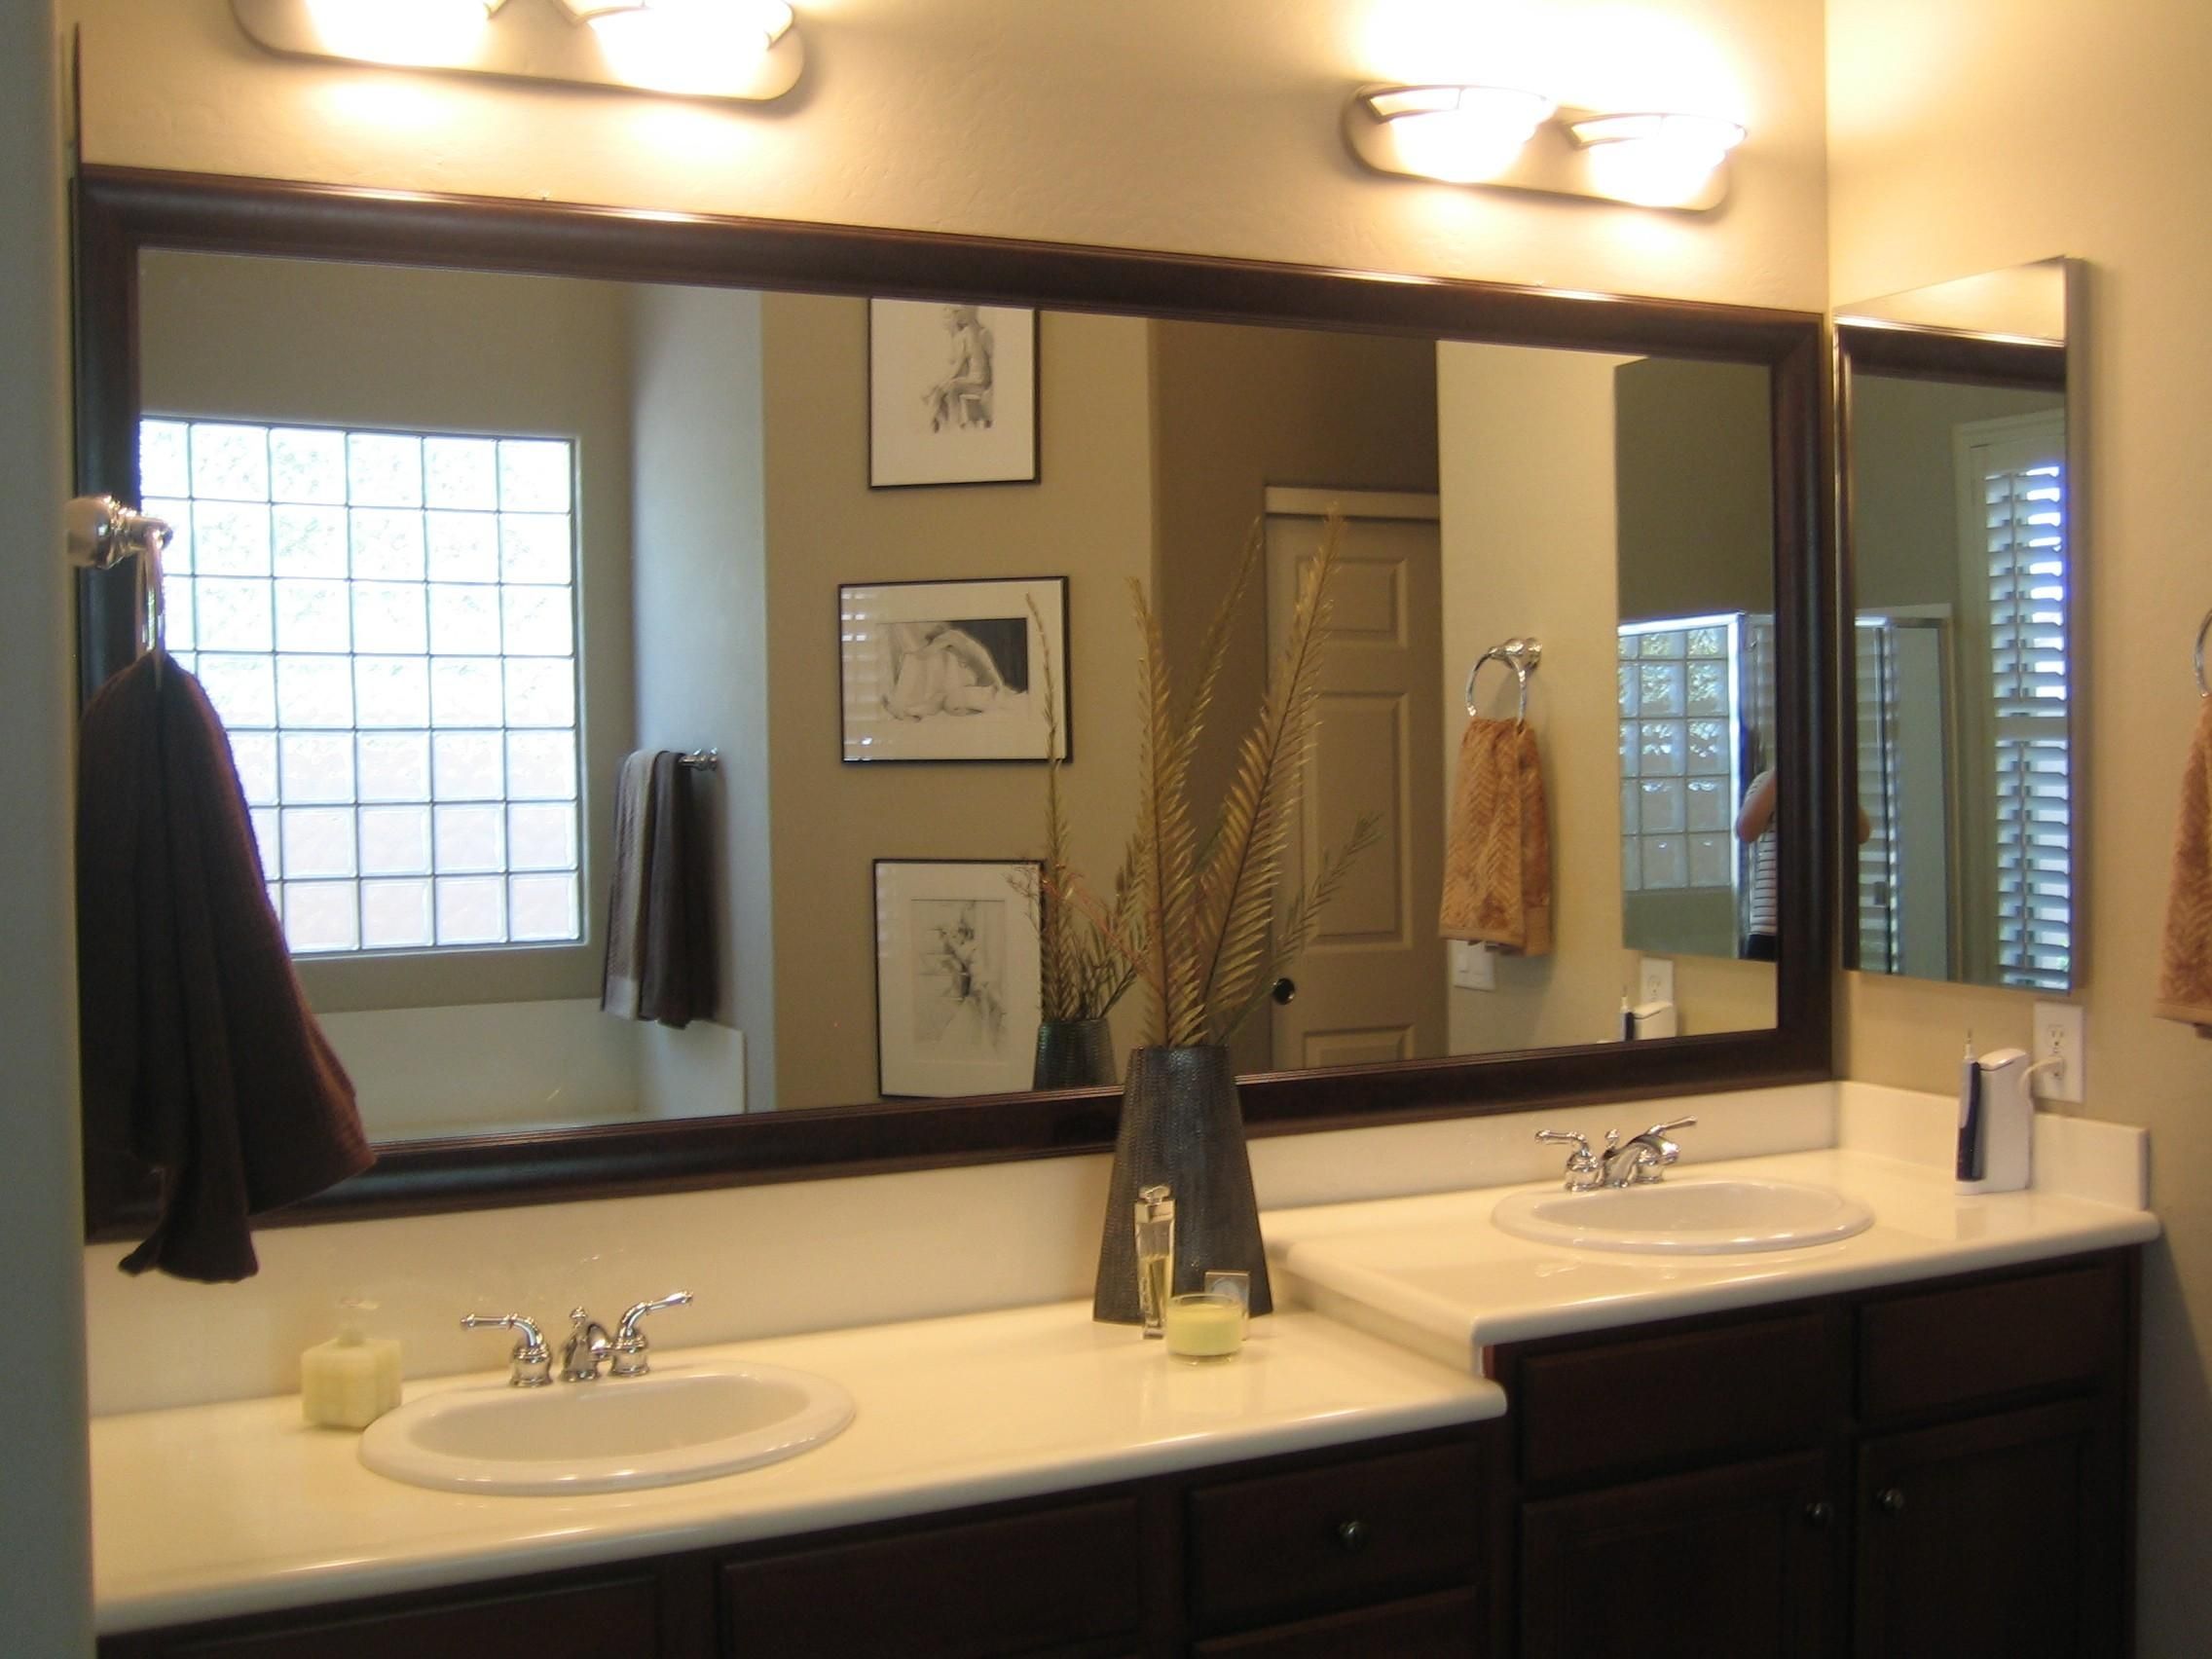
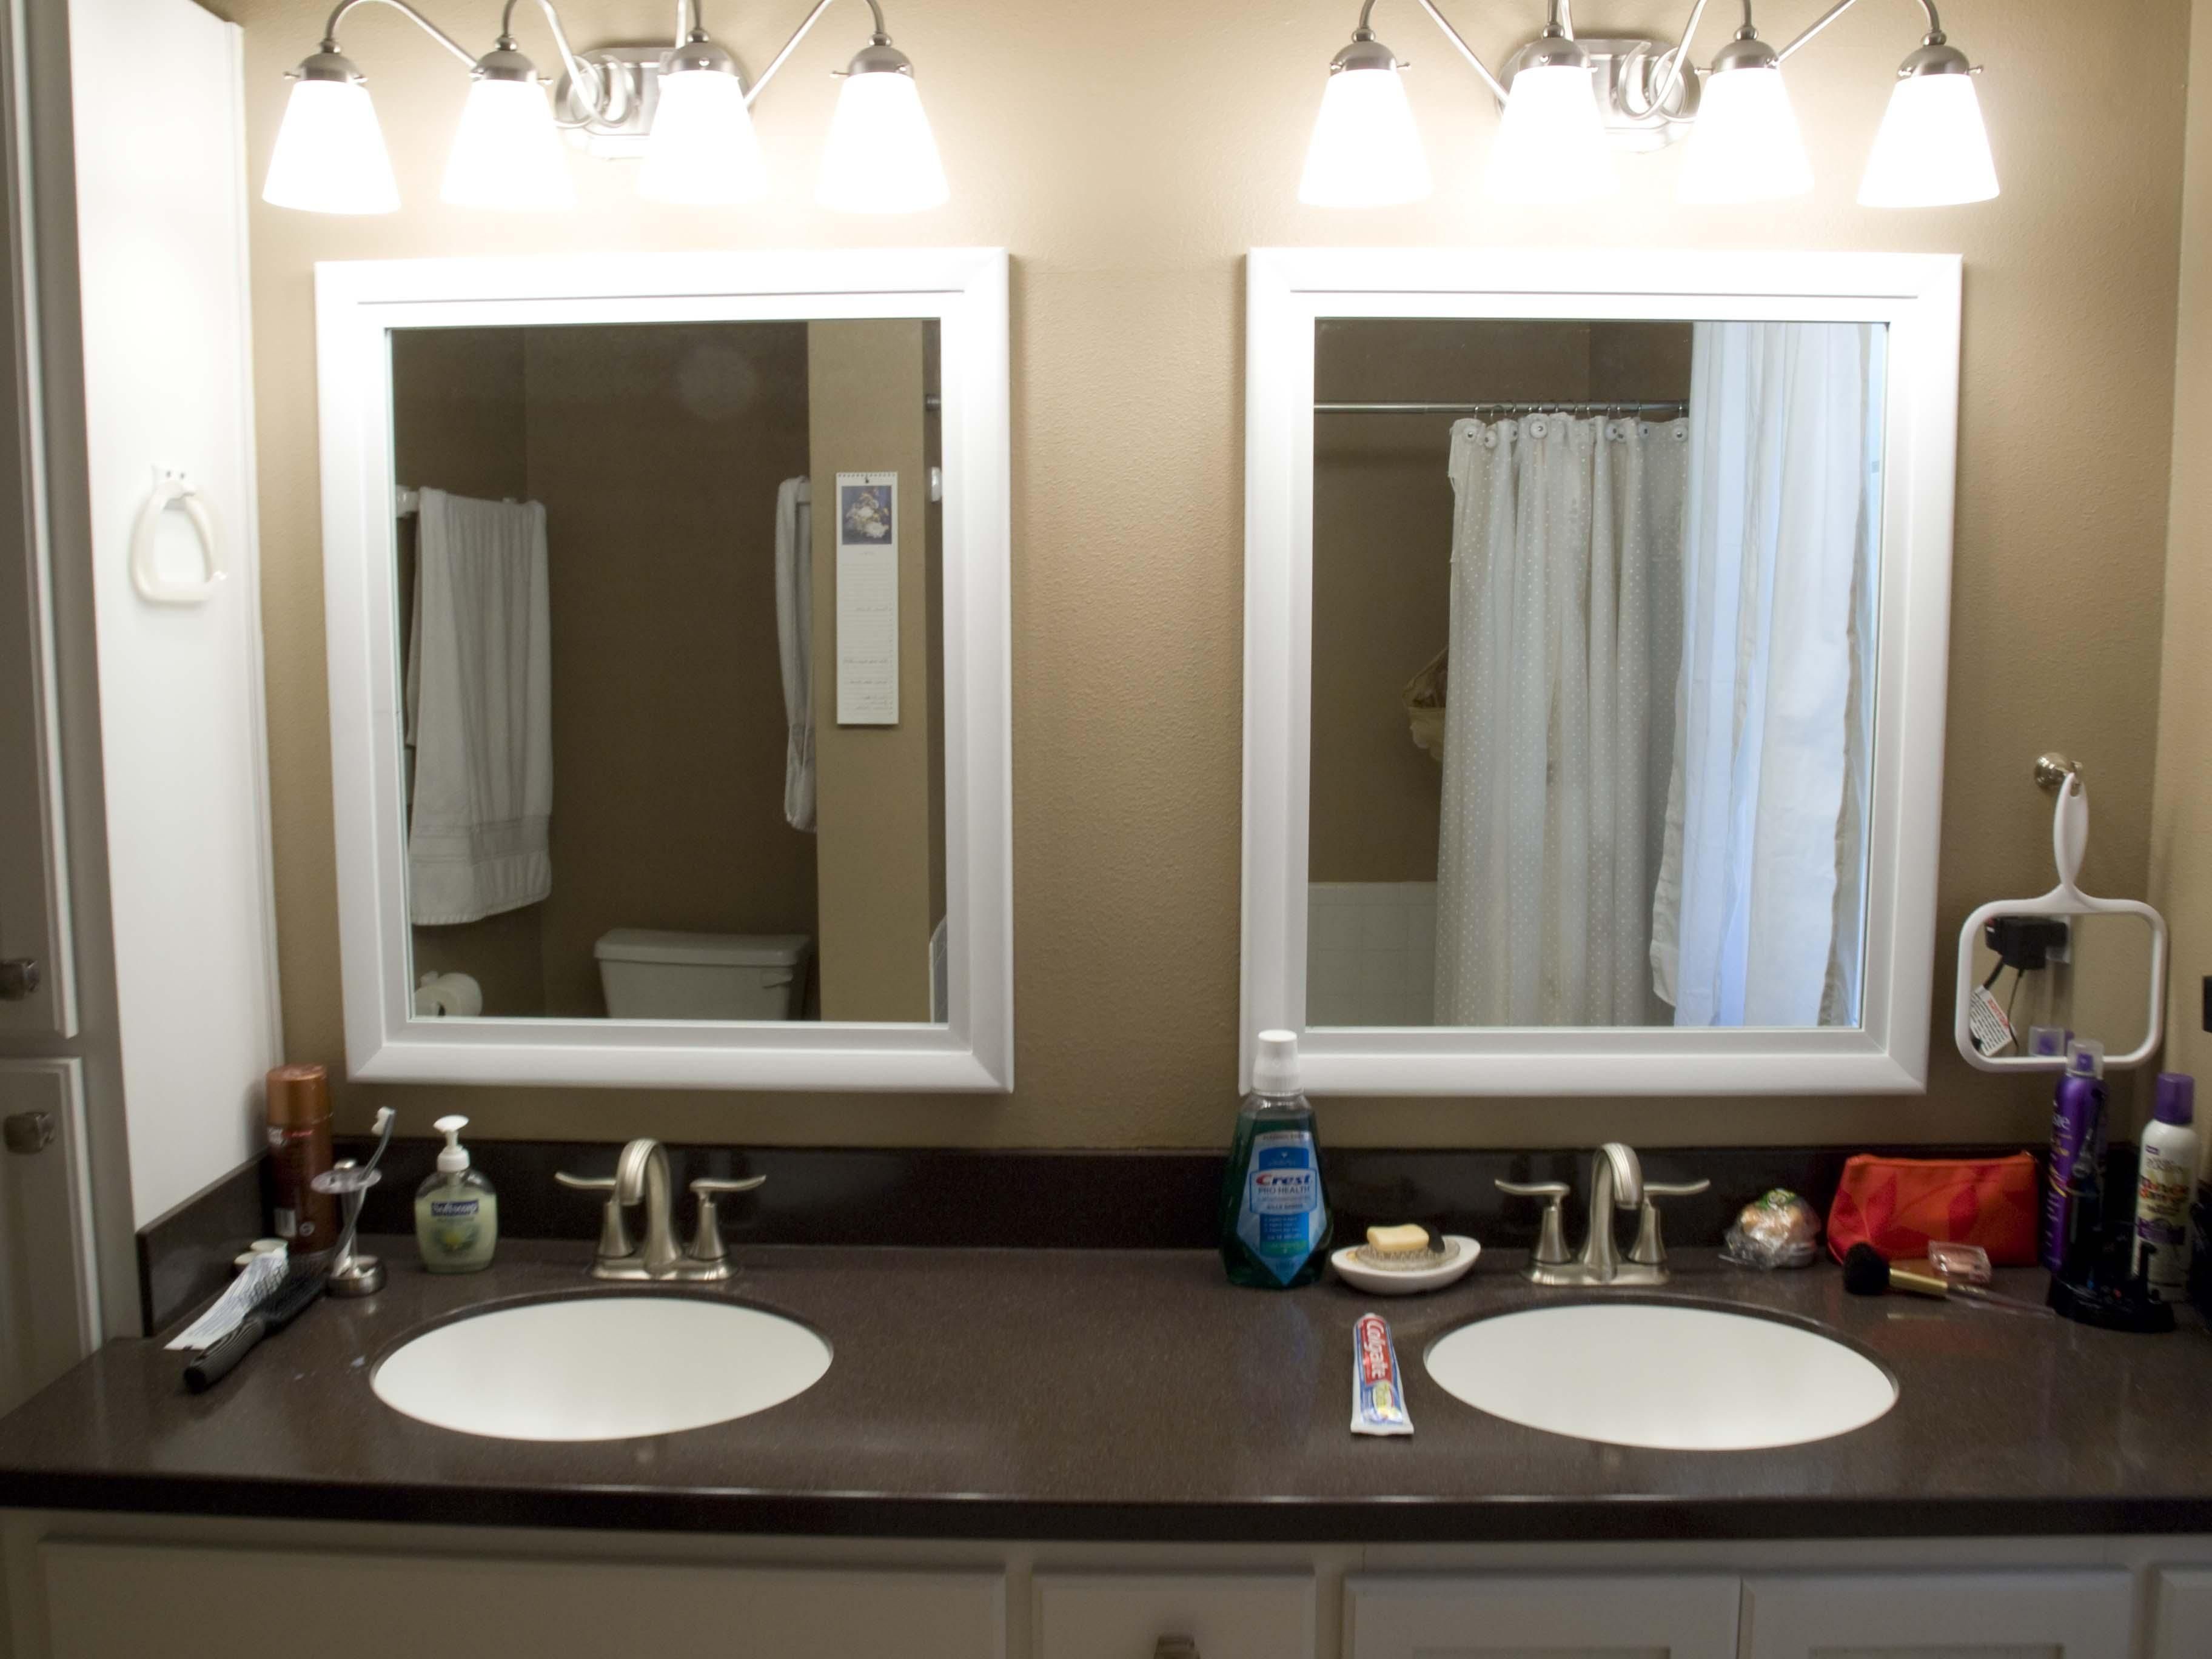
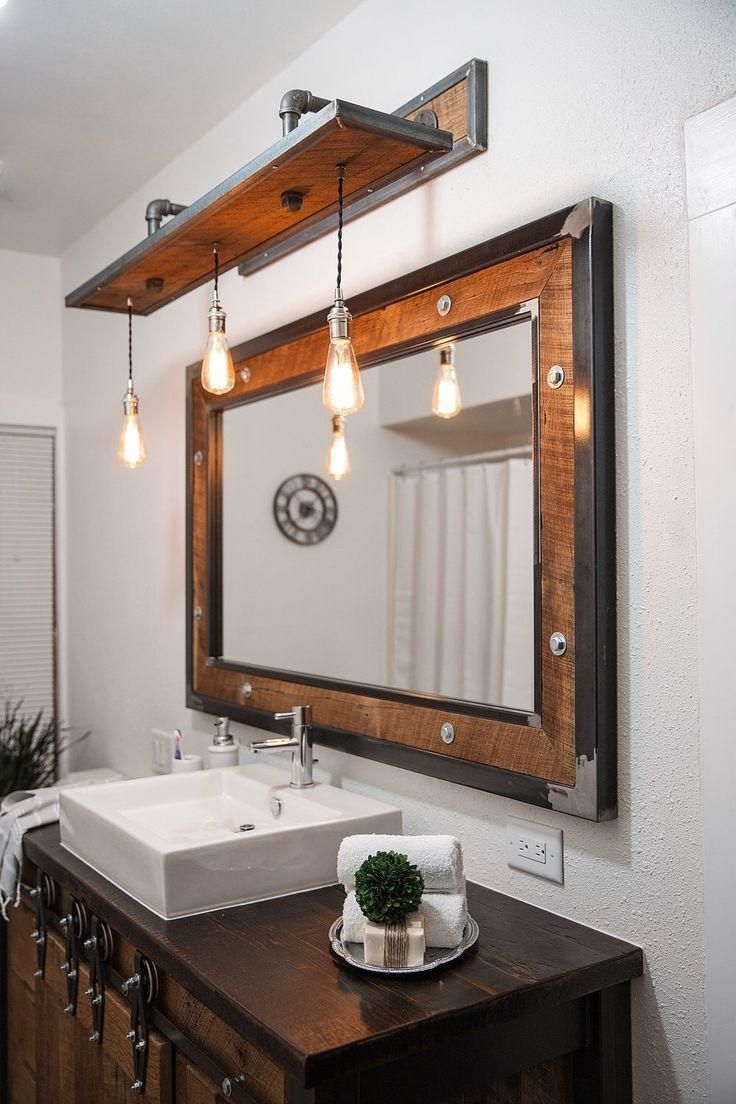
A mirror is a necessary component of any bathroom vanity. It not only helps with daily grooming but also adds to the overall design of the vanity. If you want to create an angled mirror for your bathroom vanity, here are a few steps to follow. The first step is to measure and cut the wood for the frame of the mirror. You can choose to have the frame at an angle or keep it straight and have the angled effect on the mirror itself. Once the frame is assembled, you can attach the mirror using mirror adhesive or clips. Next, you can add trim pieces to the front of the frame to create a more polished look. You can also paint or stain the frame to match your bathroom's decor. Another option is to use a pre-made angled mirror and create a frame to fit around it. This can be a more cost-effective and time-saving option. A DIY angled bathroom vanity mirror is a great way to add a unique and stylish touch to your vanity and bathroom as a whole.DIY Angled Bathroom Vanity Mirror


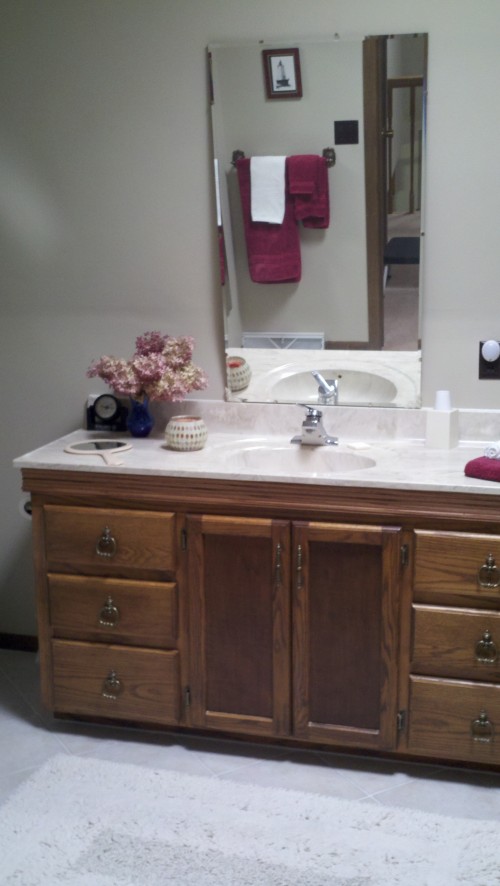
DIY Angled Bathroom Vanity Mirror


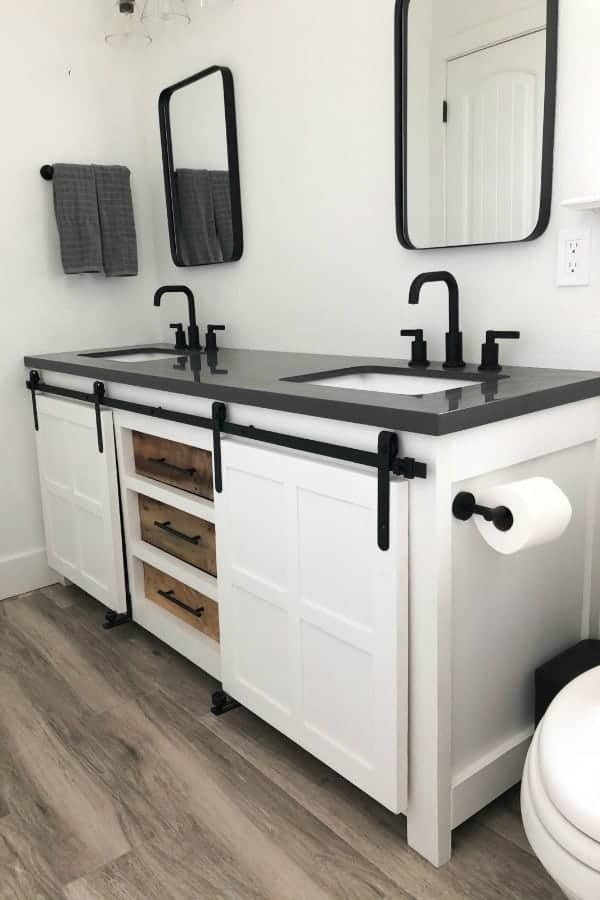
Drawers are a crucial part of a bathroom vanity, providing storage space for all your bathroom essentials. If you want to add angled drawers to your vanity, here are a few steps to follow. The first step is to measure and cut the wood for the drawer boxes. You can choose to have the drawers at an angle or keep them straight and have the angled effect on the front of the drawer face. Once the boxes are assembled, you can attach the drawer slides to the sides of the frame and the drawer boxes. Next, you can add the drawer fronts by attaching them to the drawer boxes using screws. You can also add hardware such as knobs or pulls to the front of the drawers for a more functional and stylish look. For the finishing touches, you can paint or stain the drawers to match your bathroom's decor. You can also add a protective sealant to ensure the wood stays in good condition in a humid bathroom environment. A DIY angled bathroom vanity with drawers is a great way to add storage space and functionality to your bathroom vanity.DIY Angled Bathroom Vanity Drawers

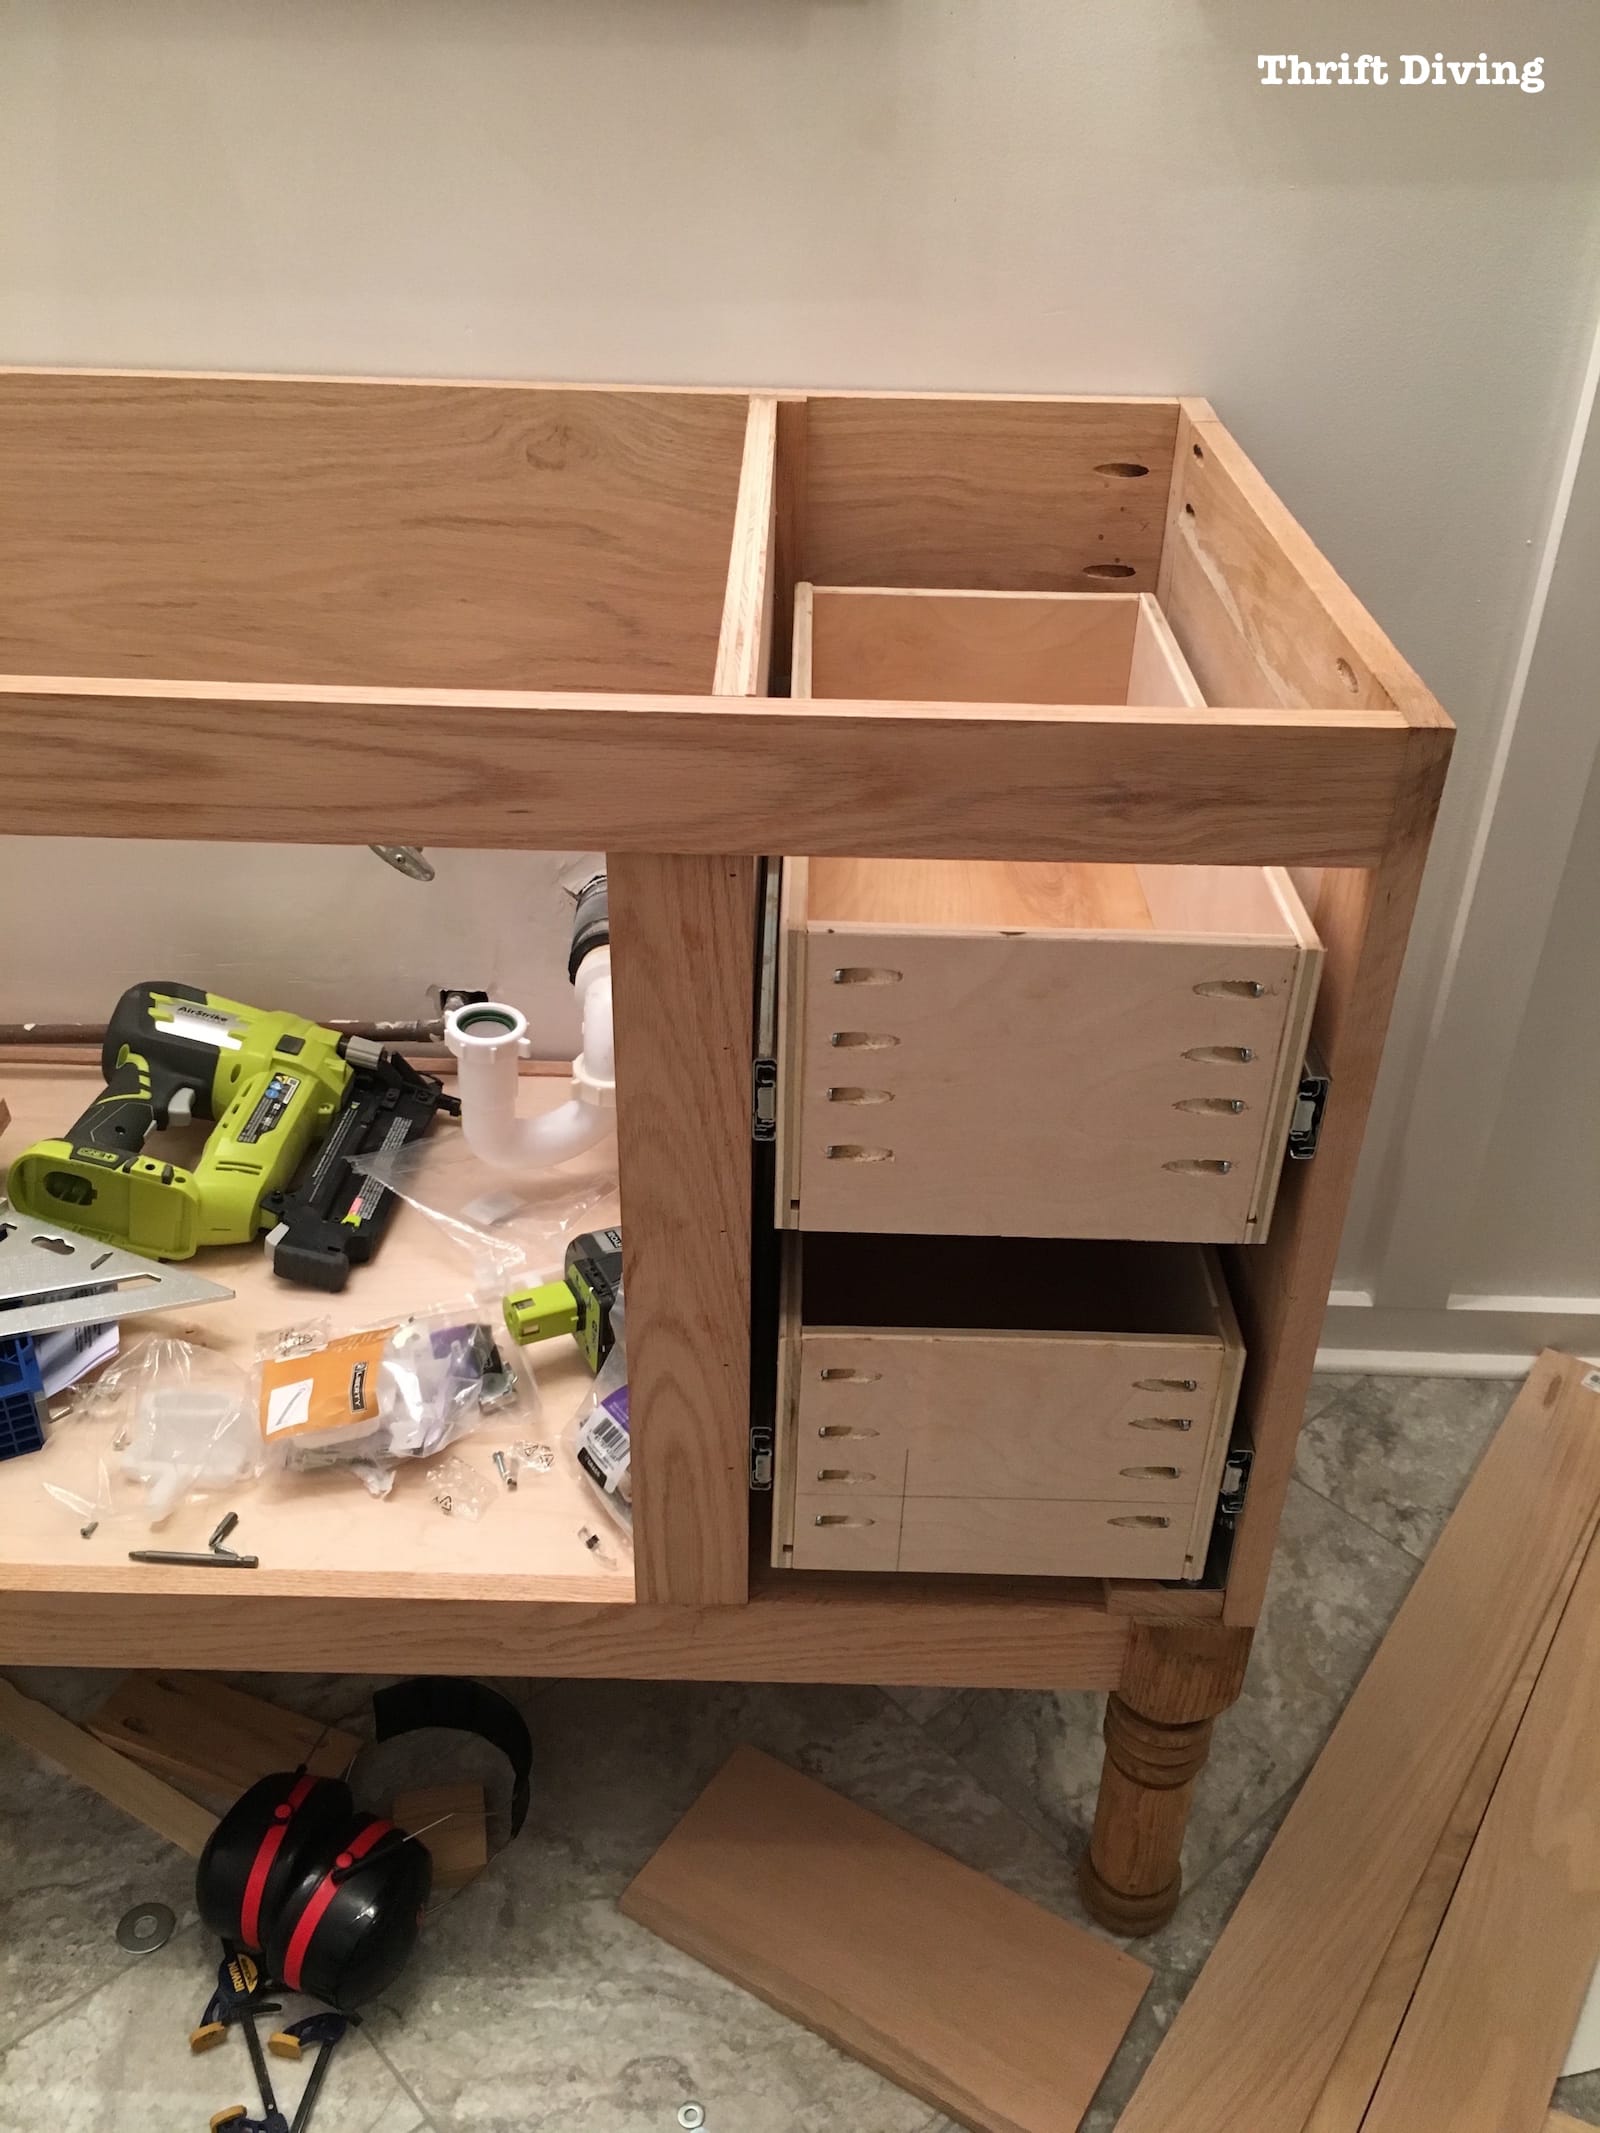
DIY Angled Bathroom Vanity Drawers


The sink is arguably the most important component of a bathroom vanity. It not only serves as a functional element but also adds to the overall design of the vanity. If you want to create an angled sink for your bathroom vanity, here are a few steps to follow. The first step is to measure and cut the wood for the vanity frame. You can choose to have the vanity top at an angle or keep it straight and have the angled effect on the front edge. Once the frame is assembled, you can attach the sink using a sink mounting kit. If you want to add a faucet to your sink, you will need to cut a hole in the vanity top for the faucet to fit into. Make sure to measure and mark the hole accurately before cutting it out. Next, you can sand and stain or paint the vanity to match your bathroom's decor. You can also add a protective sealant to ensure the wood stays in good condition in a humid bathroom environment. A DIY angled bathroom vanity sink is a great way to add a unique touch to your vanity and make it stand out in your bathroom.DIY Angled Bathroom Vanity Sink


DIY Angled Bathroom Vanity Sink


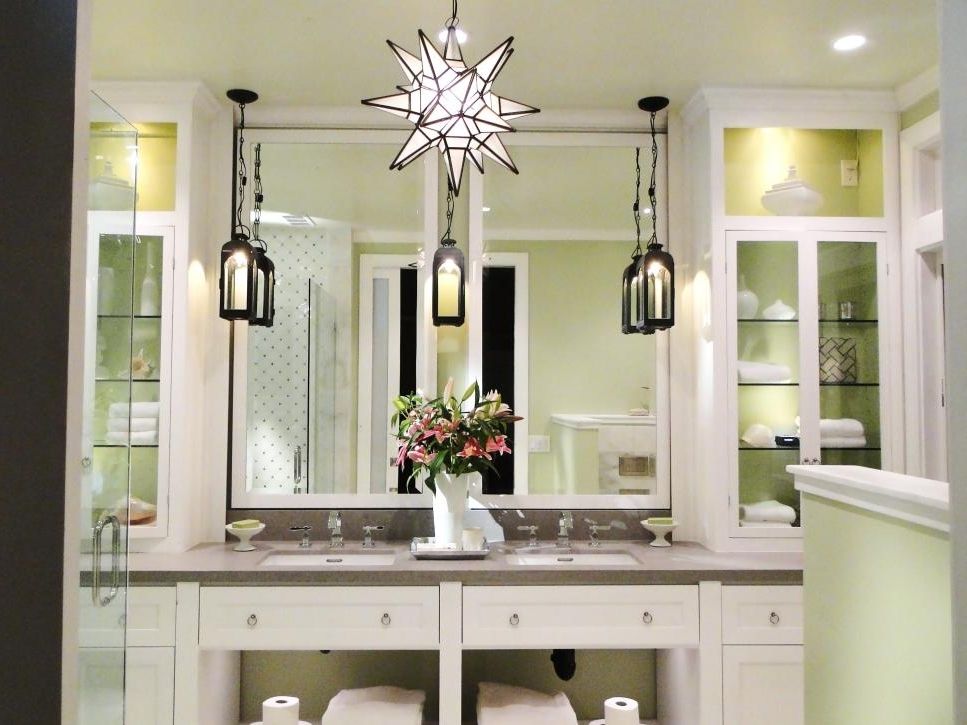
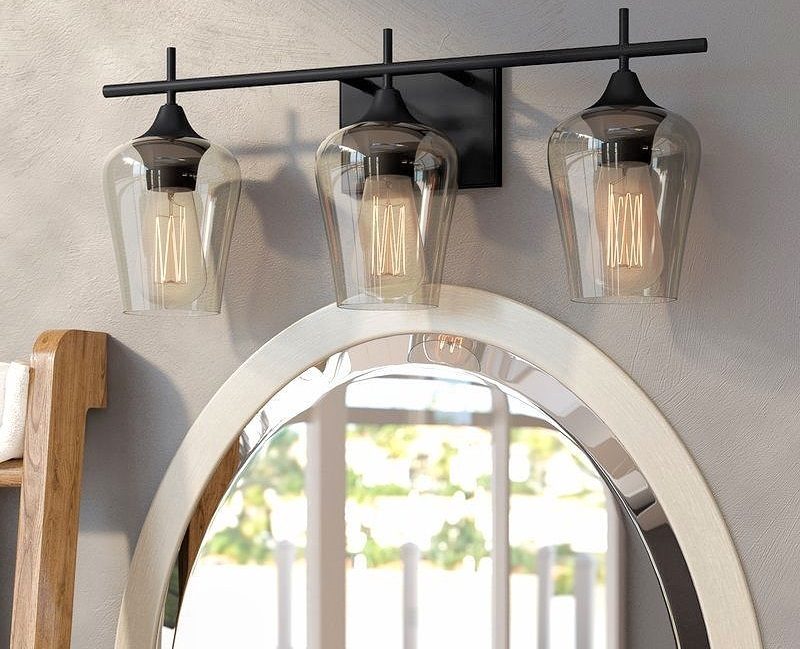
Lighting is an essential element of any bathroom vanity, providing proper illumination for daily grooming tasks. If you want to add angled lighting to your vanity, here are a few steps to follow. The first step is to measure and cut the wood for the vanity frame. You can choose to have the vanity top at an angle or keep it straight and have the angled effect on the front edge. Once the frame is assembled, you can attach the light fixtures on either side of the frame. Next, you can add trim pieces to the front of the frame to create a more polished look. You can also paint or stain the frame to match your bathroom's decor. Another option is to use pre-made angled light fixtures and create a frame to fit around them. This can be a more cost-effective and time-saving option. A DIY angled bathroom vanity lighting is a great way to add a unique and stylish touch to your vanity and bathroom as a whole.DIY Angled Bathroom Vanity Lighting

DIY Angled Bathroom Vanity Lighting


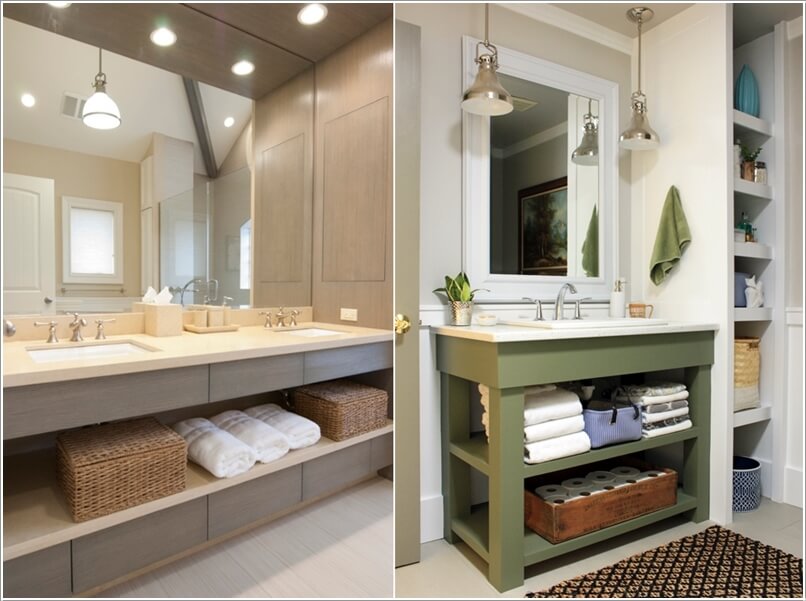
Storage is a key factor in any bathroom vanity, providing space to keep all your bathroom essentials organized and easily accessible. If you want to add angled storage to your vanity, here are a few steps to follow. The first step is to measure and cut the wood for the vanity frame. You can choose to have the vanity top at an angle or keep it straight and have the angled effect on the front edge. Once the frame is assembled, you can attach the storage shelves or cabinets on either side of the frame. Next, you can add trim pieces to the front of the frame to create a more polished look. You can also paint or stain the frame to match your bathroom's decor. Another option is to use pre-made angled storage units and create a frame to fit around them. This can be a more cost-effective and time-saving option. A DIY angled bathroom vanity storage is a great way to add extra storage space to your vanity and make it more functional for your daily routine.DIY Angled Bathroom Vanity Storage

DIY Angled Bathroom Vanity Storage


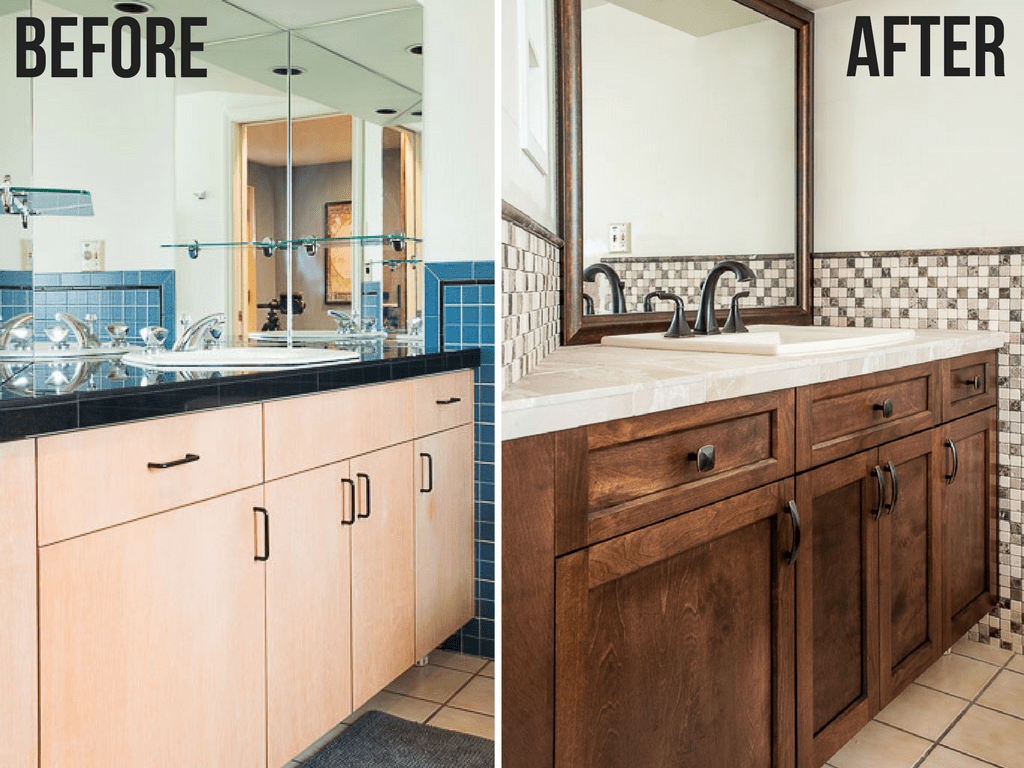
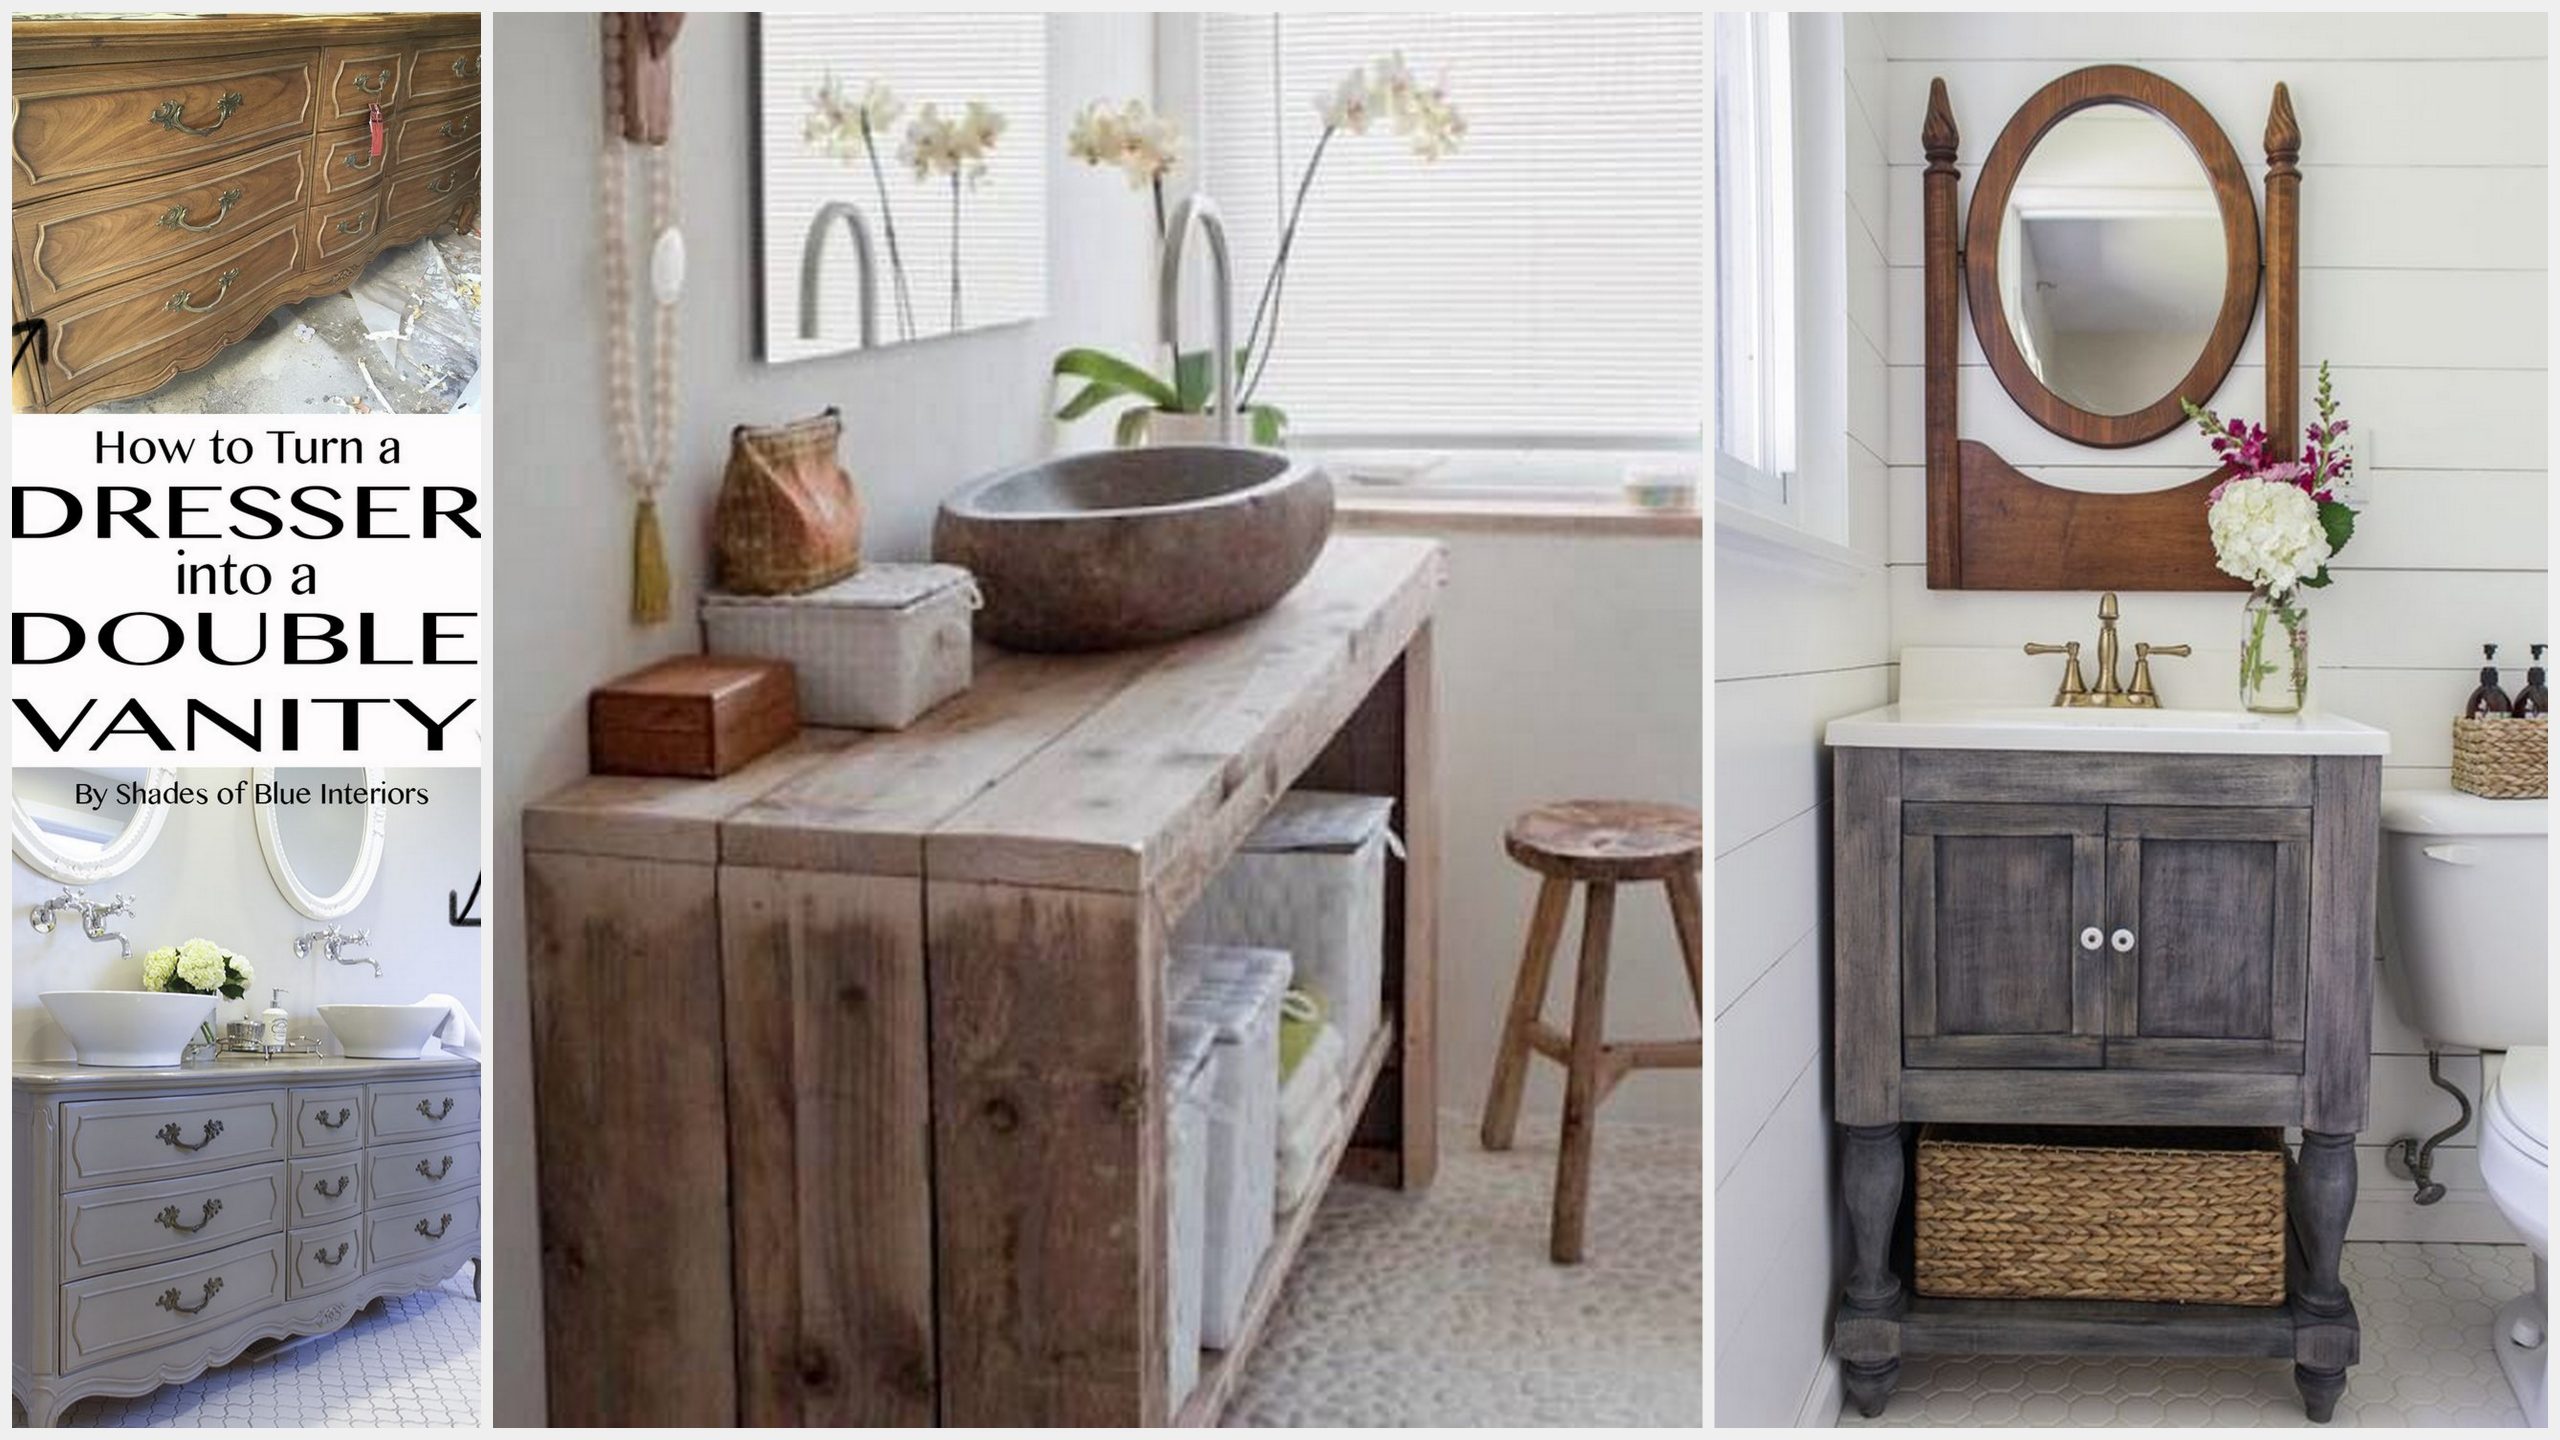
If your bathroom vanity is looking outdated or you simply want to give it a fresh new look, a DIY angled bathroom vanity makeover is the perfect solution. With just a few simple steps, you can transform your old vanity into a modern and stylish piece. The first step is to assess the current state of your vanity and determine what changes need to be made. This could include sanding and repainting the wood, replacing the hardware, or adding new angled legs or drawers. Next, you can make the necessary changes and upgrades to your vanity. You can also add new elements such as a DIY angled vanity top or mirror to give it a unique touch. For the finishing touches, you can add a fresh coat of paint or stain to the vanity to tie everything together. You can also add new accessories and decor to complete the makeover. A DIY angled bathroom vanity makeover is a great way to give your bathroom a new look without breaking the bank.DIY Angled Bathroom Vanity Makeover


DIY Angled Bathroom Vanity Makeover


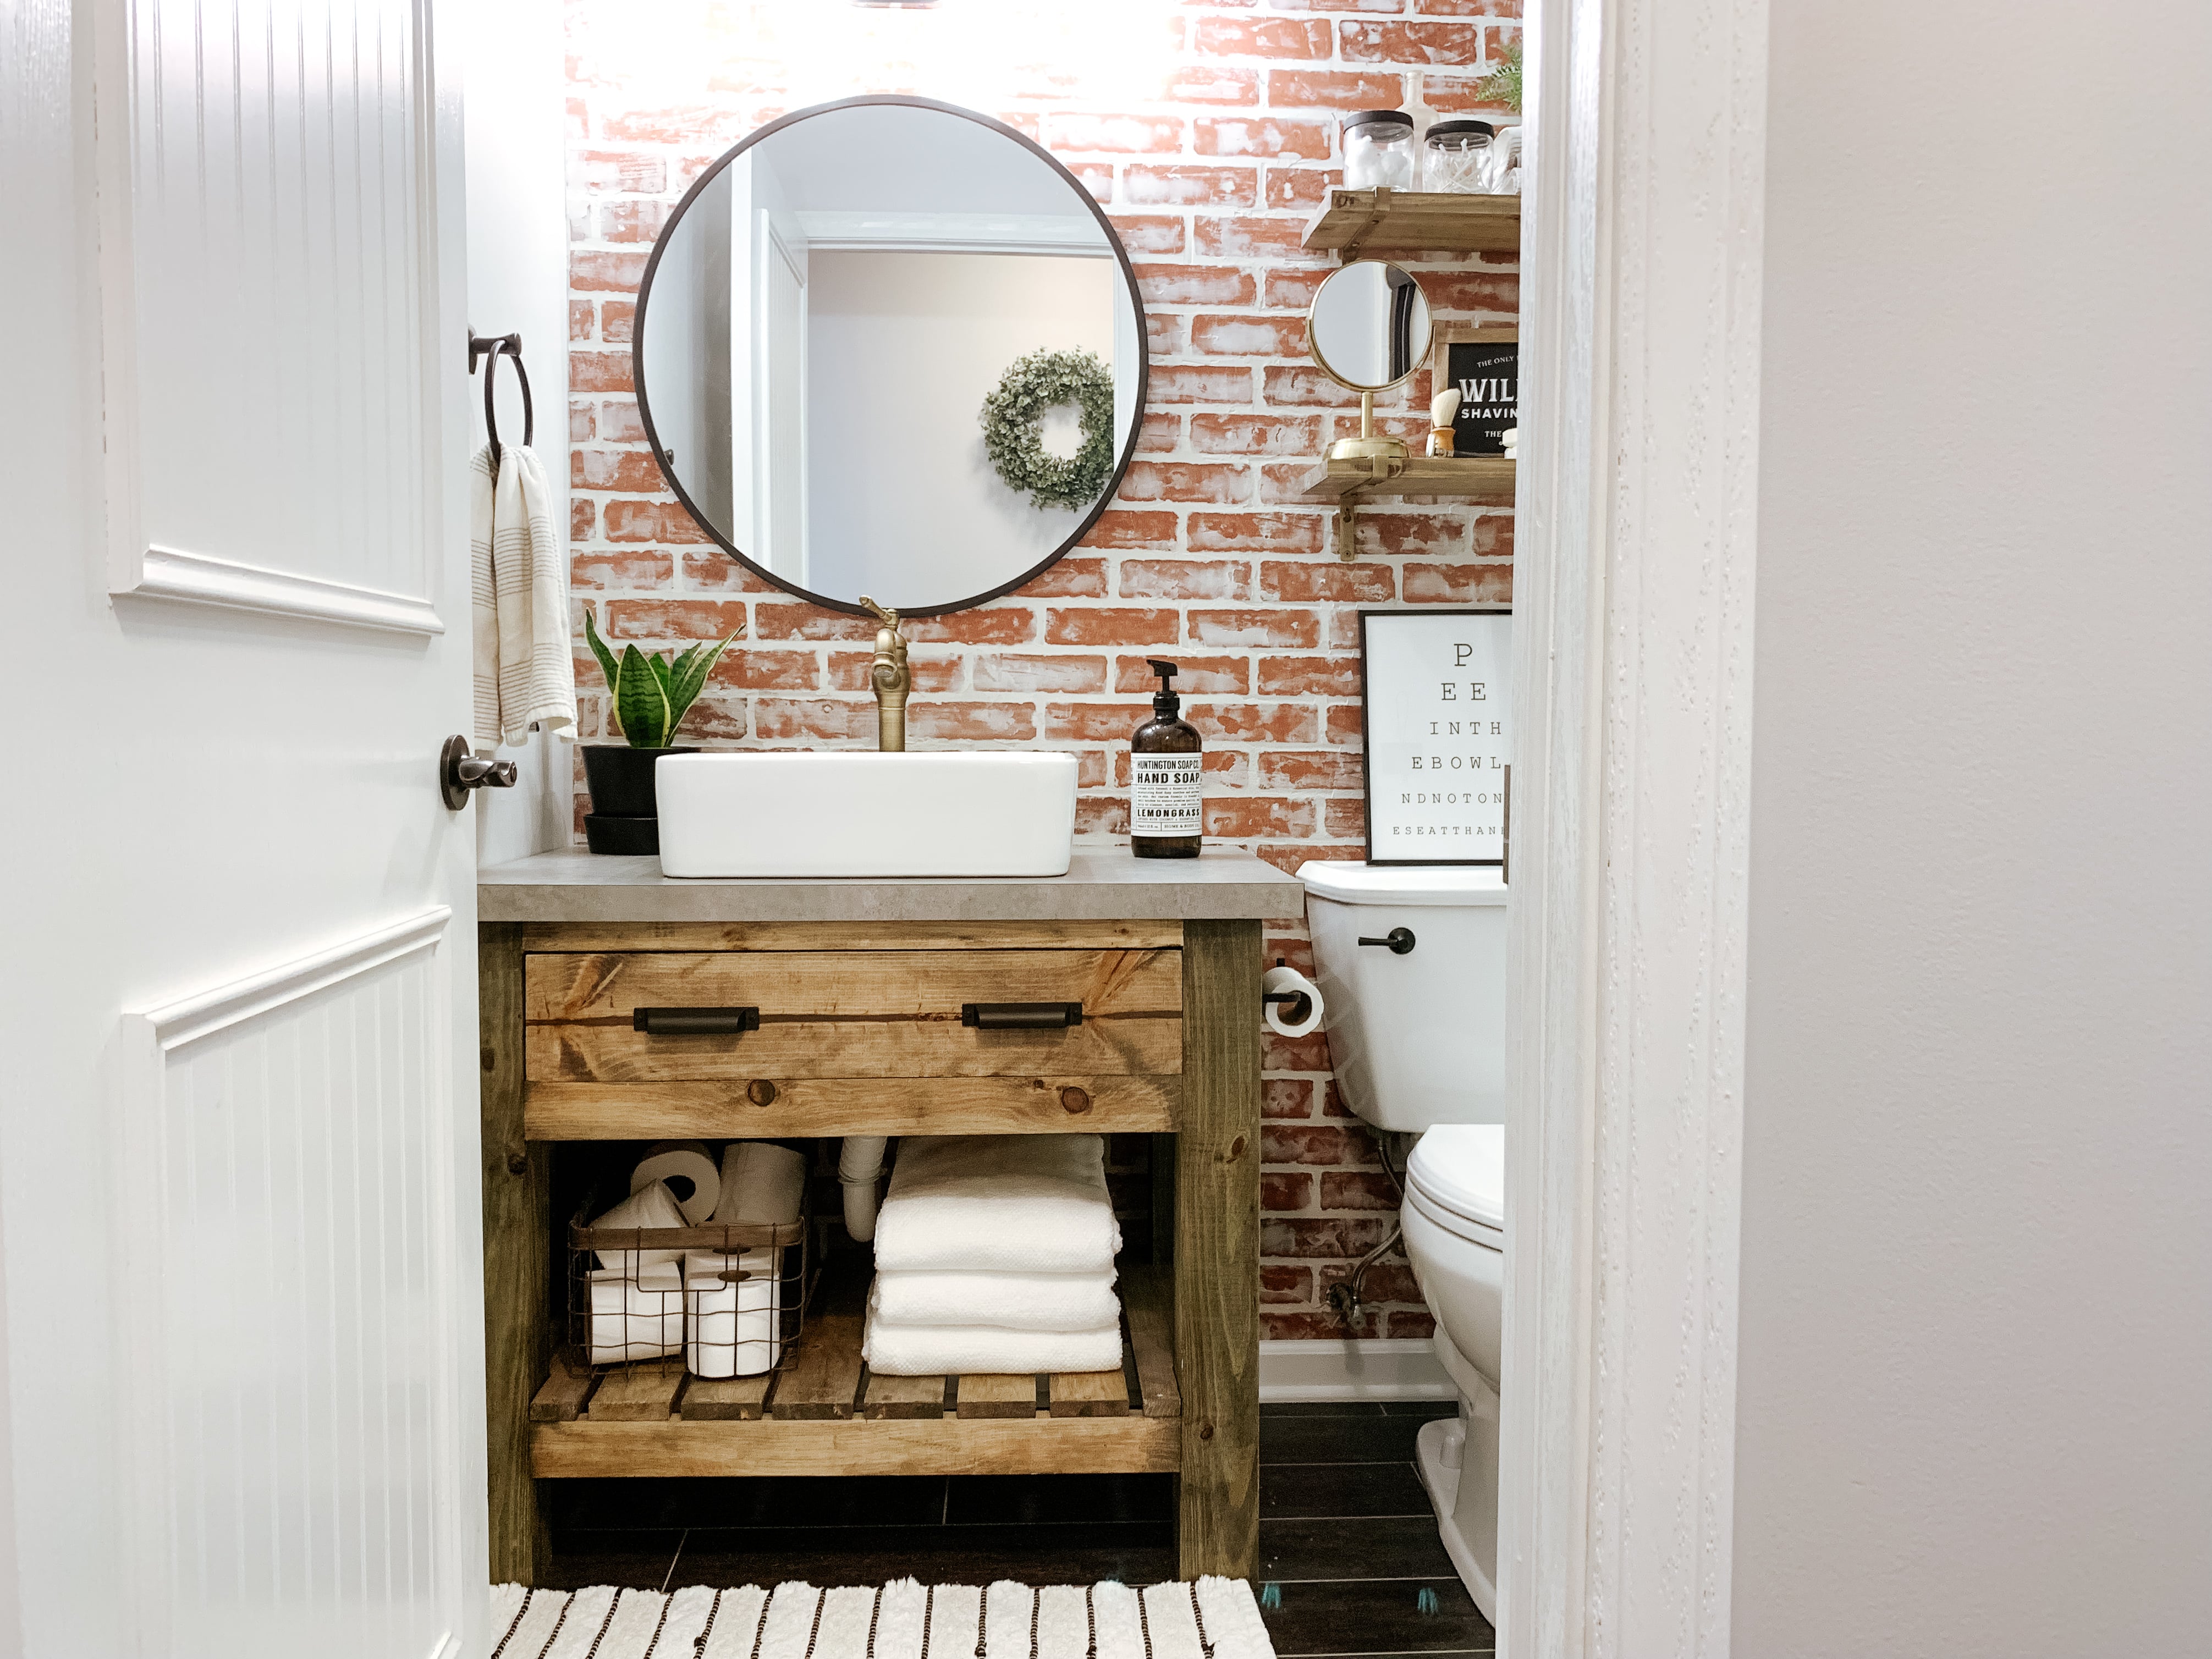
If you're feeling inspired to create your own DIY angled bathroom vanity, here are a few ideas to get you started. Instead of using traditional wood, you can choose to use unconventional materials such as copper pipes or reclaimed wood to create a unique and eco-friendly vanity. You can also experiment with different angles, not just on the legs but also on the drawers, shelves, and even the sink. This will add visual interest and make your vanity stand out. If you have limited space in your bathroom, consider adding a floating angled vanity to create the illusion of more space. This can also be a great option for a small guest bathroom. Lastly, have fun and get creative with the design and customization of your DIY angled bathroom vanity. This is your chance to make a statement and showcase your personal style in your bathroom.DIY Angled Bathroom Vanity Ideas


DIY Angled Bathroom Vanity Ideas
:max_bytes(150000):strip_icc()/build-something-diy-vanity-594402125f9b58d58ae21158.jpg)


The Beauty of a DIY Bathroom Vanity Angled
Why Choose a DIY Bathroom Vanity Angled?
 When it comes to designing your bathroom, there are endless options to choose from. However, if you are looking for a unique and functional design, a DIY bathroom vanity angled might be the perfect choice for you. This type of vanity not only adds a touch of style to your bathroom, but it also maximizes the use of space in a creative way. By incorporating an angled vanity, you can create a focal point in your bathroom that is both eye-catching and functional.
Featured Keywords: DIY bathroom vanity angled, unique, functional, style, maximizes space, creative, focal point, eye-catching.
When it comes to designing your bathroom, there are endless options to choose from. However, if you are looking for a unique and functional design, a DIY bathroom vanity angled might be the perfect choice for you. This type of vanity not only adds a touch of style to your bathroom, but it also maximizes the use of space in a creative way. By incorporating an angled vanity, you can create a focal point in your bathroom that is both eye-catching and functional.
Featured Keywords: DIY bathroom vanity angled, unique, functional, style, maximizes space, creative, focal point, eye-catching.
Benefits of a DIY Bathroom Vanity Angled
 One of the biggest benefits of a DIY bathroom vanity angled is the extra storage space it provides. With traditional vanities, the storage is usually limited to the cabinet underneath the sink. However, with an angled vanity, you can add shelves or drawers on the angled side, providing you with more storage options. This is especially useful for smaller bathrooms, where every inch of space counts.
Another advantage of a DIY bathroom vanity angled is its versatility. It can be designed to fit any size or shape of bathroom, making it a great option for unconventional spaces. You can also customize the design to match your personal style and taste, whether it be modern, rustic, or traditional. The possibilities are endless with a DIY bathroom vanity angled.
Featured Keywords: extra storage space, shelves, drawers, versatile, unconventional spaces, customize, modern, rustic, traditional.
One of the biggest benefits of a DIY bathroom vanity angled is the extra storage space it provides. With traditional vanities, the storage is usually limited to the cabinet underneath the sink. However, with an angled vanity, you can add shelves or drawers on the angled side, providing you with more storage options. This is especially useful for smaller bathrooms, where every inch of space counts.
Another advantage of a DIY bathroom vanity angled is its versatility. It can be designed to fit any size or shape of bathroom, making it a great option for unconventional spaces. You can also customize the design to match your personal style and taste, whether it be modern, rustic, or traditional. The possibilities are endless with a DIY bathroom vanity angled.
Featured Keywords: extra storage space, shelves, drawers, versatile, unconventional spaces, customize, modern, rustic, traditional.
How to Build a DIY Bathroom Vanity Angled
:max_bytes(150000):strip_icc()/build-something-diy-vanity-594402125f9b58d58ae21158.jpg) Building a DIY bathroom vanity angled may seem intimidating, but with the right tools and materials, it can be a fun and rewarding project. The first step is to measure the space where you want to install the vanity and determine the angle that will work best. Next, gather all the necessary materials, such as wood, screws, and a saw. You can find step-by-step tutorials online that will guide you through the building process.
Once the frame is built, you can add the shelves or drawers according to your storage needs. To add a personal touch, you can paint or stain the vanity to match your bathroom decor. This project can be completed in a weekend and will not only save you money, but it will also add value to your home.
Featured Keywords: measure, angle, tools, materials, wood, screws, saw, step-by-step tutorials, shelves, drawers, storage needs, paint, stain, save money, add value.
In conclusion, a DIY bathroom vanity angled offers both style and practicality to your bathroom design. With its space-saving capabilities and customizable options, it is a great addition to any bathroom. So why settle for a basic and boring vanity when you can create your own unique piece that will make a statement in your bathroom? Get creative and start building your DIY bathroom vanity angled today.
Featured Keywords: style, practicality, space-saving, customizable, addition, basic, boring, unique, statement, get creative, building.
Building a DIY bathroom vanity angled may seem intimidating, but with the right tools and materials, it can be a fun and rewarding project. The first step is to measure the space where you want to install the vanity and determine the angle that will work best. Next, gather all the necessary materials, such as wood, screws, and a saw. You can find step-by-step tutorials online that will guide you through the building process.
Once the frame is built, you can add the shelves or drawers according to your storage needs. To add a personal touch, you can paint or stain the vanity to match your bathroom decor. This project can be completed in a weekend and will not only save you money, but it will also add value to your home.
Featured Keywords: measure, angle, tools, materials, wood, screws, saw, step-by-step tutorials, shelves, drawers, storage needs, paint, stain, save money, add value.
In conclusion, a DIY bathroom vanity angled offers both style and practicality to your bathroom design. With its space-saving capabilities and customizable options, it is a great addition to any bathroom. So why settle for a basic and boring vanity when you can create your own unique piece that will make a statement in your bathroom? Get creative and start building your DIY bathroom vanity angled today.
Featured Keywords: style, practicality, space-saving, customizable, addition, basic, boring, unique, statement, get creative, building.