Looking to give your bathroom an affordable and stylish makeover? Consider painting your bathroom sink! This simple DIY project can completely transform the look of your bathroom and give it a fresh and updated feel. Plus, with the right materials and techniques, you can achieve a professional-looking finish that will last for years to come. So gather your supplies and get ready to revamp your bathroom with these 10 creative ideas for painting your bathroom sink.DIY Bathroom Sink Painting: 10 Creative Ideas to Transform Your Bathroom
If you've never painted a bathroom sink before, don't worry – it's easier than you think! Follow these simple steps for a successful bathroom sink painting project: Step 1: Gather your materials. You will need sandpaper, primer, paint (specifically made for sinks and tubs), a paintbrush or roller, and a clear topcoat. Step 2: Clean the sink thoroughly. Use a non-abrasive cleaner to remove any dirt, grime, or soap scum from the sink surface. Step 3: Sand the sink. Use fine-grit sandpaper to lightly sand the entire sink surface. This will help the paint adhere better to the sink. Step 4: Prime the sink. Apply a coat of primer to the sink using a paintbrush or roller. This will create a smooth and even base for the paint to adhere to. Step 5: Paint the sink. Use a paint specifically made for sinks and tubs and apply it evenly to the sink surface. You may need to apply multiple coats for full coverage. Step 6: Add a clear topcoat. Once the paint is dry, add a clear topcoat to protect the sink from water and wear. This will also give the sink a glossy and professional finish. Step 7: Let it dry. Allow the sink to dry completely before using it.How to Paint a Bathroom Sink: A Step-by-Step Guide
When it comes to choosing the right paint for your bathroom sink, it's important to select a durable and waterproof option that will hold up to daily use. Here are some of the top paint options for painting your bathroom sink: Epoxy Paint: This is a popular choice for painting bathroom sinks as it is waterproof and highly durable. However, it does require a longer drying time and multiple coats for best results. Acrylic Enamel Paint: This type of paint is also waterproof and durable, with the added benefit of being quick-drying. It also comes in a variety of colors and finishes. Chalk Paint: If you prefer a more matte and rustic look, chalk paint may be a good option for your bathroom sink. Just be sure to seal it with a clear topcoat for added protection.Best Paint for Bathroom Sinks: Top Options for a Durable Finish
Are you on a tight budget but still want to give your bathroom a fresh look? A DIY bathroom sink makeover is the perfect solution. Here are some tips and tricks to help you save money while updating your bathroom: Use leftover paint: If you have any paint leftover from another project, consider using it to paint your bathroom sink. This will save you money and ensure that the sink color coordinates with the rest of your bathroom. Repurpose old materials: Instead of buying new materials, try repurposing old items for your sink makeover. For example, use an old sponge or rag to create a textured effect on your sink, or use stencils to add a unique design. Shop secondhand: You can often find affordable secondhand sinks at thrift stores or online marketplaces. Consider giving an old sink a fresh coat of paint for a budget-friendly update.DIY Bathroom Sink Makeover: Tips and Tricks for a Budget-Friendly Update
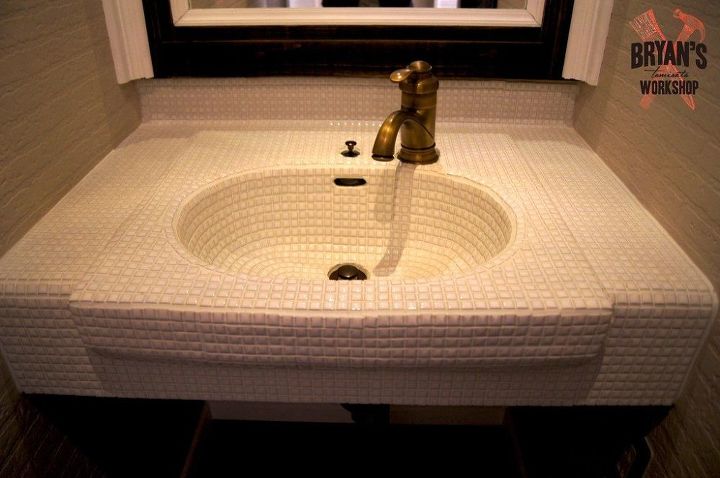
If your bathroom sink is looking worn and outdated, refinishing it can help give it new life. Here are some easy and affordable techniques for refinishing your bathroom sink: Tile Over the Sink: If your sink is made of a material that is difficult to paint, such as porcelain or cast iron, consider tiling over it. This will create a new and stylish surface for your sink. Use Resurfacing Kits: You can purchase resurfacing kits specifically made for bathroom sinks at your local hardware store. These kits contain all the materials you need to refinish your sink, including paint and a clear topcoat. Try a Faux Finish: If you want to give your sink a more unique and artistic look, consider using a faux finish technique. This involves using different shades of paint and a variety of tools to create a textured and realistic effect on your sink.How to Refinish a Bathroom Sink: Easy and Affordable Techniques
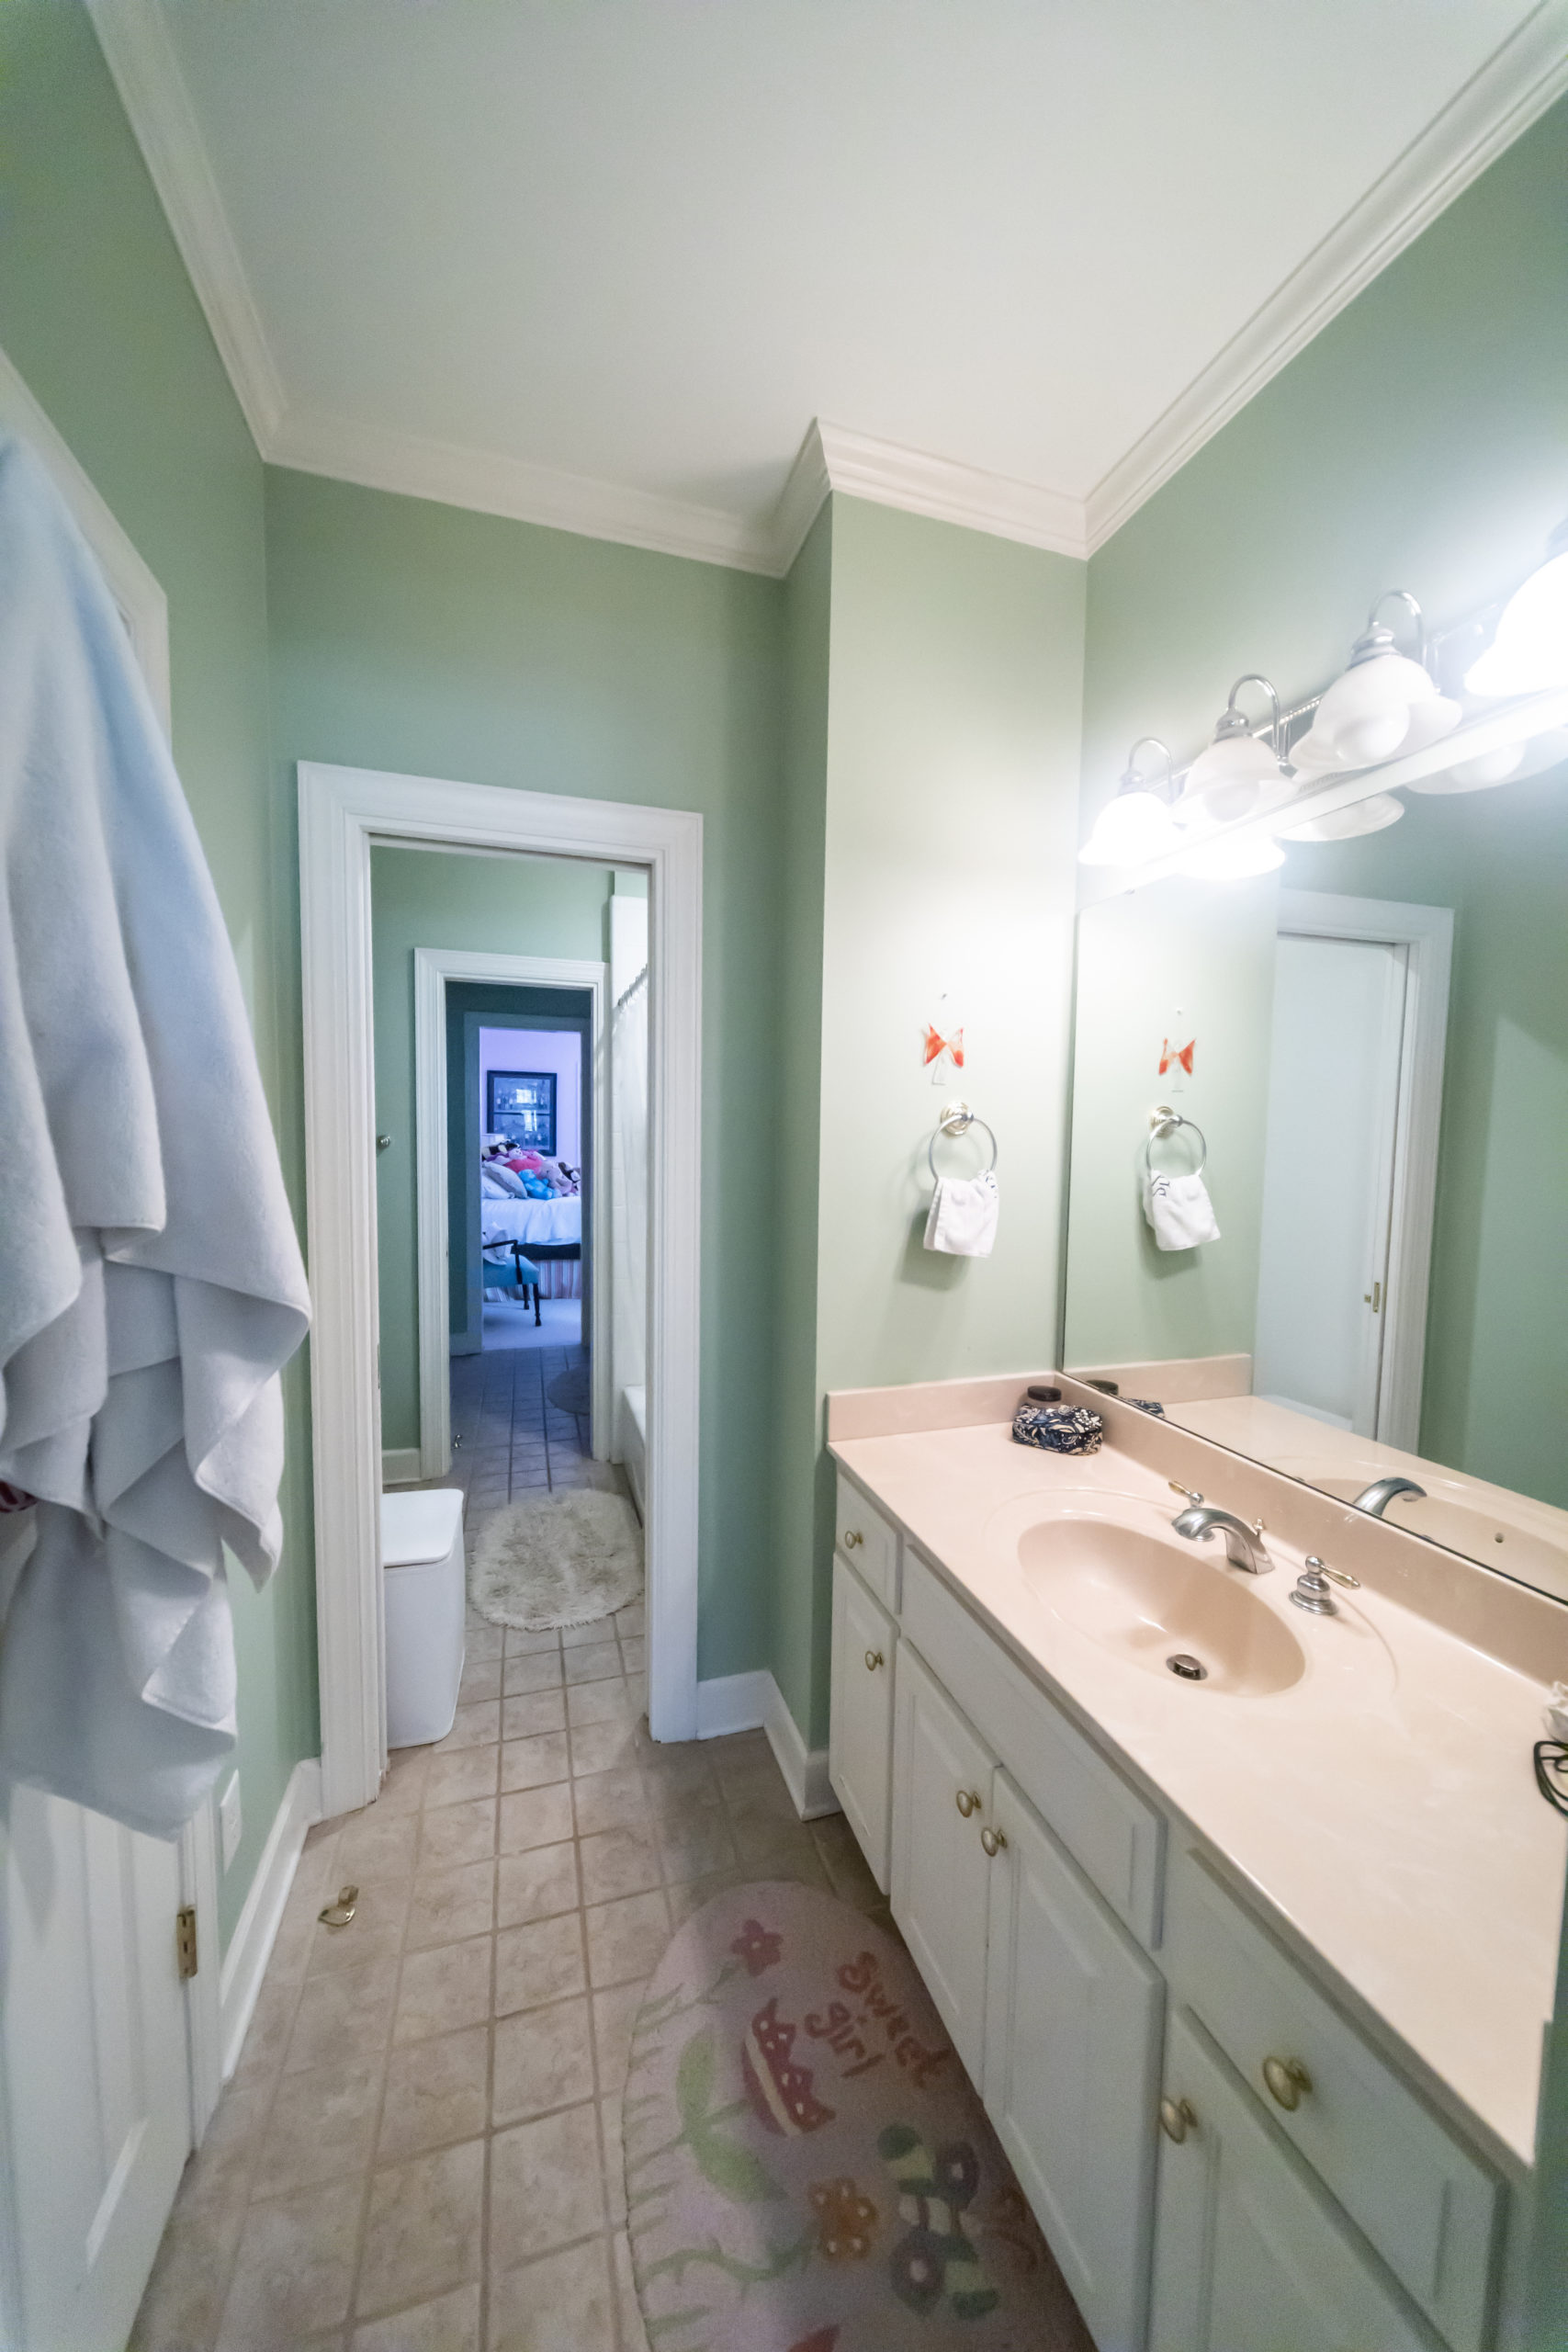
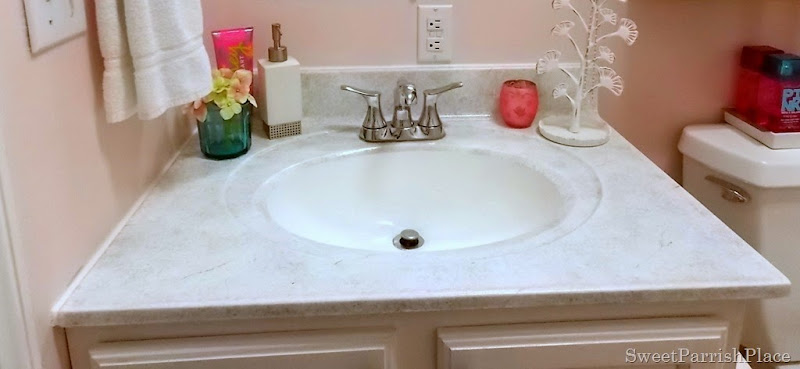
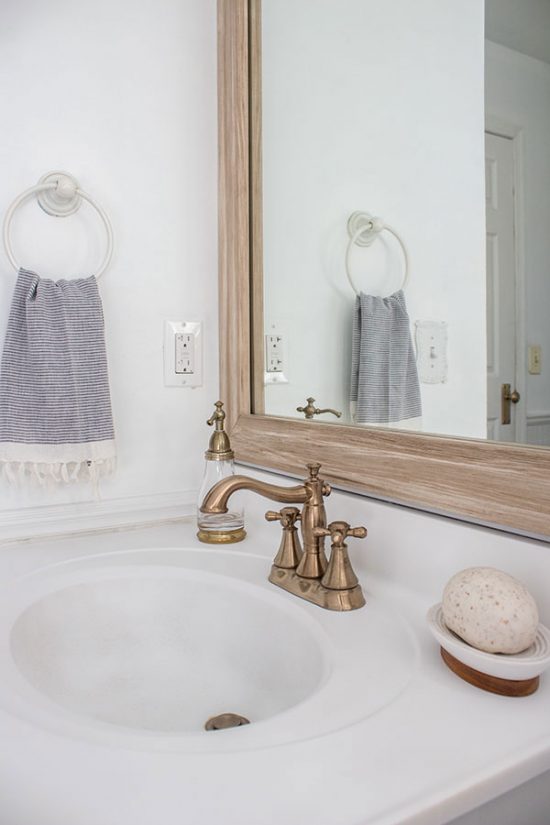
Still not sure if painting your bathroom sink is worth the effort? Check out these before and after photos for some inspiration: Before: A dull and outdated bathroom sink that is in desperate need of a makeover. After: A bright and modern bathroom sink that looks brand new and adds a pop of color to the space. As you can see, a simple coat of paint can make a huge difference in the appearance of your bathroom sink.DIY Painted Bathroom Sink: Before and After Photos for Inspiration
If you're a fan of the rustic and vintage look, consider using chalk paint to update your bathroom sink. Chalk paint is easy to apply and gives a matte and textured finish that can add character to your bathroom. Plus, it comes in a variety of colors so you can find the perfect shade to match your bathroom decor.Chalk Paint Bathroom Sink: A Trendy and Simple Way to Update Your Sink
Painting a porcelain bathroom sink may seem daunting, but with the right tools and techniques, you can achieve a professional-looking finish. Here are some tips to keep in mind when painting a porcelain sink: Use a bonding agent: Porcelain can be a difficult material to paint, so be sure to use a bonding agent before applying the paint. This will help the paint adhere better to the sink surface. Apply multiple coats: Porcelain sinks may require multiple coats of paint for full coverage. Be patient and allow each coat to dry completely before applying the next. Seal the paint: Once the paint is dry, be sure to seal it with a clear topcoat to protect the sink and give it a glossy finish.How to Paint a Porcelain Bathroom Sink: Tips for a Professional-Looking Finish
When it comes to choosing a color for your painted bathroom sink, the options are endless. Here are some tips to help you choose the right shade for your space: Consider your bathroom decor: Take a look at the colors and style of your bathroom decor and choose a sink color that will complement it. For a cohesive look, consider using the same color on your sink as you do on the walls or cabinets. Go bold: If you want to make a statement, consider painting your sink a bold and vibrant color. This can add a fun and unexpected pop of color to your bathroom. Stick with neutral: If you prefer a more subtle and classic look, stick with neutral colors such as white, gray, or beige. These colors are timeless and will match any bathroom decor.DIY Bathroom Sink Paint Colors: Choosing the Right Shade for Your Space
Spray painting is a popular and efficient technique for painting bathroom sinks. Here are some pros and cons to consider, as well as some tips for success: Pros: Spray painting allows for a smooth and even finish, and it is quicker than using a paintbrush or roller. Cons: It can be messy and may require more ventilation. Also, it may not be suitable for all types of sinks. Tips for success: Be sure to thoroughly clean and sand the sink before spray painting. Also, use a primer and a clear topcoat for best results.Spray Painting Bathroom Sink: Pros, Cons, and Tips for Success
Transform Your Bathroom with a Fresh Coat of Paint

Bathroom renovations can be expensive and time-consuming, but sometimes all it takes is a simple DIY project to give your space a fresh new look. One easy and cost-effective way to update your bathroom is by painting your sink. Not only will this add a pop of color and personality to your bathroom, but it can also help cover up any imperfections or stains on your current sink. In this article, we will guide you through the process of DIY bathroom sink painting and provide some tips and tricks to help you achieve professional-looking results.
Gather Your Supplies

Before you start painting, it's important to gather all the necessary supplies. You will need a primer , paint (specifically designed for sinks and tubs), paintbrushes , sandpaper , tape , drop cloths , and cleaning supplies . Make sure to choose a paint color that complements your bathroom's color scheme and fits your personal style.
Prep Your Sink

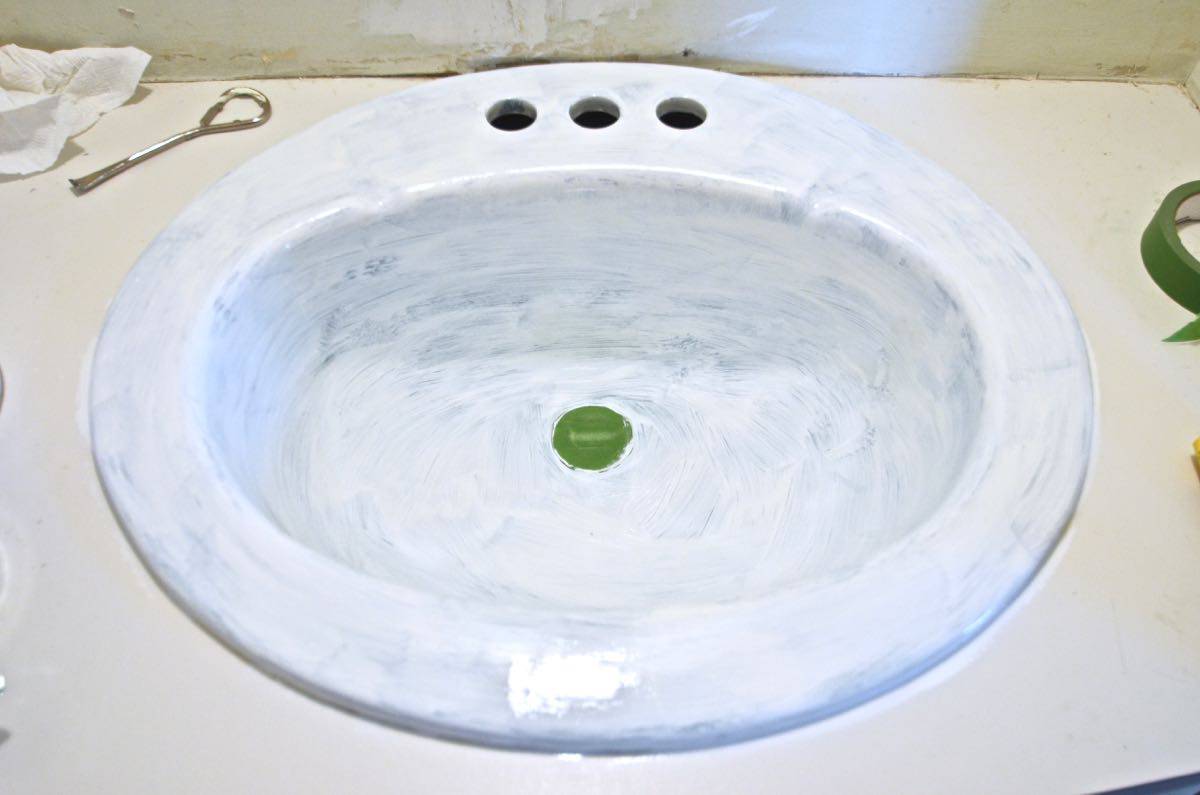
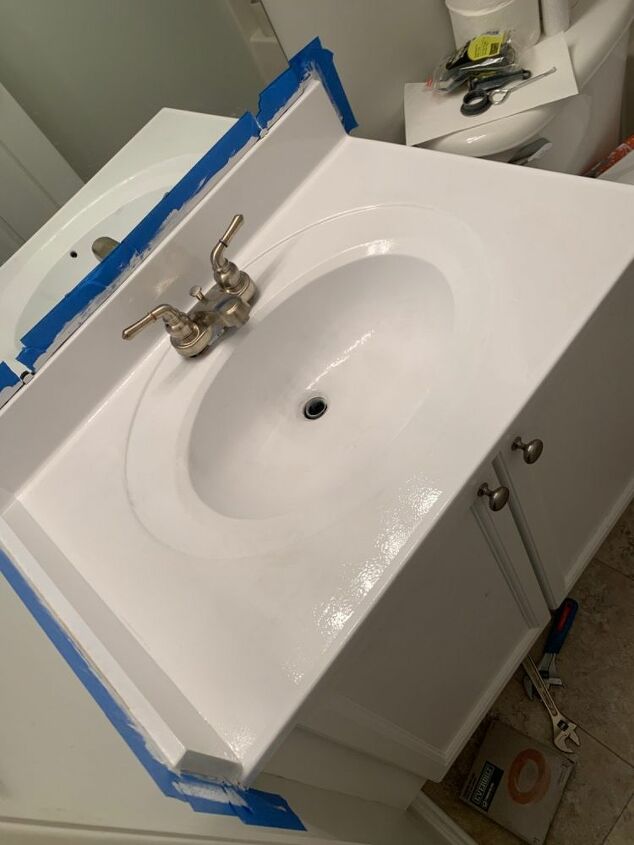
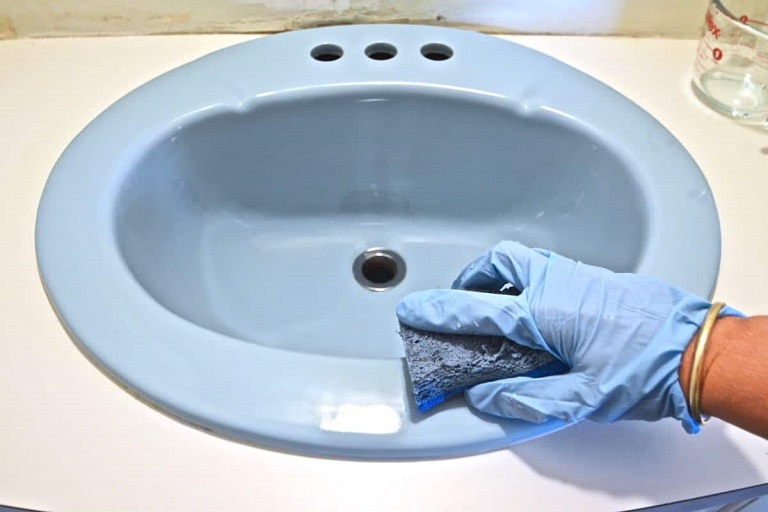
Before you begin painting, you need to thoroughly clean and prep your sink. Start by removing any hardware and masking off the areas you don't want to paint, such as the faucet and drain. Next, use a strong cleaner and scrub the sink to remove any dirt, grime, and soap scum. Rinse it thoroughly and let it dry completely. Then, lightly sand the surface of the sink to create a rough surface for the paint to adhere to.
Prime and Paint

Once your sink is prepped and dry, it's time to prime. Use a high-quality primer that is specifically designed for bathroom sinks and follow the manufacturer's instructions. Apply the primer evenly and let it dry completely. Once the primer is dry, it's time to paint. Use a paintbrush to carefully apply the paint in thin, even coats. Let each coat dry completely before applying the next one. Depending on the color and type of paint you choose, you may need to apply multiple coats to achieve the desired color and finish.
Seal and Reattach Hardware
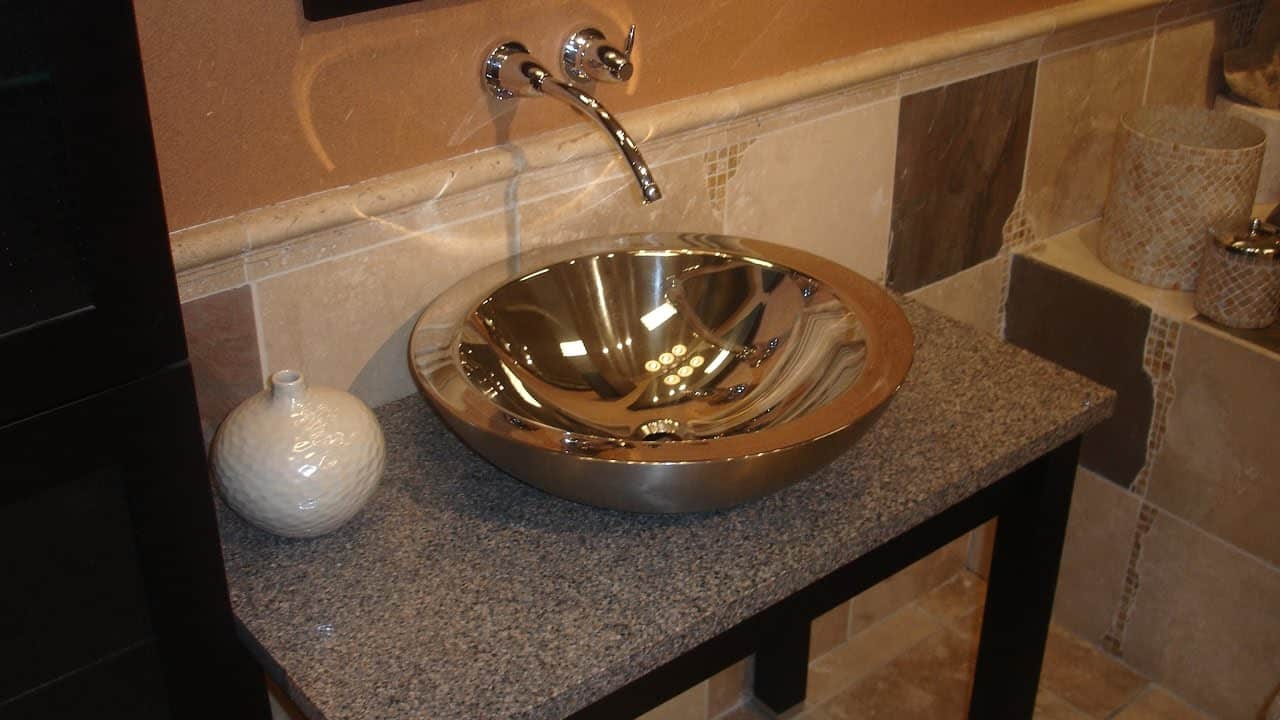
After the final coat of paint is dry, it's important to seal your sink to protect it from water and other daily wear and tear. Use a high-quality clear sealant and follow the manufacturer's instructions. Once the sealant is dry, you can reattach the hardware and remove any masking tape. Be sure to let the sealant cure for the recommended time before using your sink again.
With just a few supplies and some patience, you can transform your bathroom sink into a beautiful focal point. Not only is DIY bathroom sink painting an easy and affordable way to update your bathroom, but it also allows you to get creative and add a personal touch to your space. So why not give it a try and see the amazing results for yourself!


