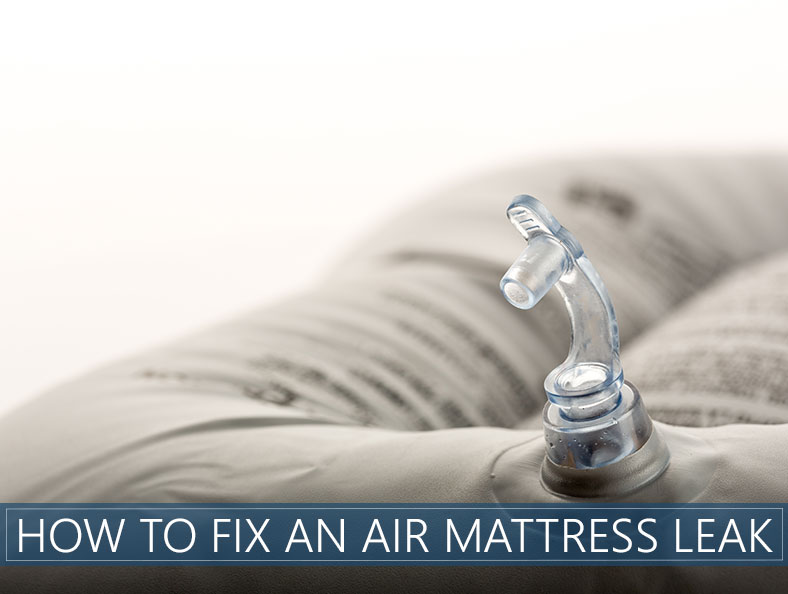
Air mattresses are a convenient and comfortable option for sleeping, but nothing is more frustrating than waking up in the middle of the night to find your mattress has deflated due to a leak. Luckily, with a few simple steps, you can easily find and repair an air mattress leak on your own.How to Find and Repair an Air Mattress Leak


How to Find and Repair an Air Mattress Leak


Before jumping into the repair process, it’s important to first locate the leak. Begin by inflating your air mattress to its full capacity and then placing it in a bathtub filled with water. Look for bubbles to form, which will indicate the location of the leak.How to Fix a Leak in an Air Mattress


How to Fix a Leak in an Air Mattress


Once you have identified the leak, it’s time to start the repair process. The first step is to clean the area around the leak with rubbing alcohol and let it dry completely. Next, use a patch kit specifically designed for air mattresses to cover the leak. Apply pressure to the patch for at least a minute to ensure it adheres properly.DIY Air Mattress Repair: How to Fix a Leak


DIY Air Mattress Repair: How to Fix a Leak


If you don’t have a patch kit on hand, there are other household items that can be used to temporarily fix an air mattress leak. Duct tape, super glue, and even a hot glue gun can all be effective in sealing a leak. Just be sure to let the glue dry completely before inflating the mattress again.Quick and Easy DIY Air Mattress Leak Repair


Quick and Easy DIY Air Mattress Leak Repair


If your air mattress has multiple leaks or the patch kit didn’t work, you may need to use a different method to fix the problem. One option is to use a bicycle tire repair kit, which often includes patches and glue that can be used on air mattresses. Alternatively, you can also use a waterproof sealant or silicone caulk to seal the leak.Step-by-Step Guide to Fixing an Air Mattress Leak

Step-by-Step Guide to Fixing an Air Mattress Leak


When repairing an air mattress leak, it’s important to keep a few tips and tricks in mind. Always make sure the area around the leak is clean and dry before applying any patches or glue. Also, be sure to follow the instructions on the patch kit or other repair materials carefully for best results.DIY Air Mattress Leak Repair: Tips and Tricks


DIY Air Mattress Leak Repair: Tips and Tricks

If your air mattress is prone to leaks, there are a few preventative measures you can take to minimize the risk. First, always make sure the surface you are placing the mattress on is clean and free of sharp objects. You can also use a mattress pad or cover to add an extra layer of protection.Simple and Effective DIY Air Mattress Leak Repair


Simple and Effective DIY Air Mattress Leak Repair
If you don’t have access to a patch kit or other repair materials, there are still ways to fix an air mattress leak using household items. For small holes, a piece of duct tape or even a sticker can provide a temporary fix. For larger holes, try using a piece of fabric and super glue to create a patch.How to Patch an Air Mattress Leak with Household Items

How to Patch an Air Mattress Leak with Household Items


Air mattresses can develop leaks for a variety of reasons, from punctures caused by sharp objects to wear and tear over time. To prevent leaks, be sure to properly store and handle your air mattress, avoid placing it on rough surfaces, and regularly check for and repair any potential leaks.DIY Air Mattress Leak Repair: Common Causes and Solutions


DIY Air Mattress Leak Repair: Common Causes and Solutions

While DIY air mattress leak repair can be a cost-effective and convenient option, sometimes it may be best to seek professional help. If you are unable to locate the leak or it is too large to fix on your own, a professional repair service may be the best solution. They have specialized tools and materials to fix leaks quickly and effectively.Fixing an Air Mattress Leak: DIY vs Professional Repair


Fixing an Air Mattress Leak: DIY vs Professional Repair
How to Effectively Repair an Air Leak in Your DIY Air Mattress

The Importance of a Good Night's Sleep
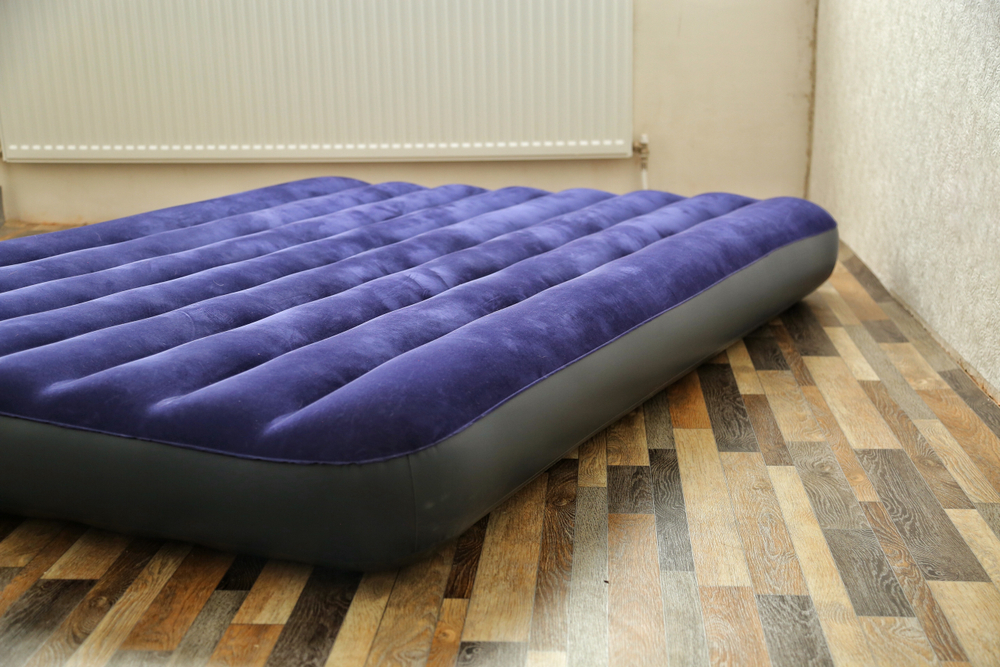
 We all know the struggle of trying to get a good night's sleep on a deflated air mattress. It's uncomfortable, frustrating, and can leave you feeling exhausted the next day. The key to a good night's sleep is a comfortable and supportive bed, and that includes air mattresses. However, even the best air mattresses can develop leaks over time. But don't worry, with a little DIY know-how, you can easily repair an air leak and get back to enjoying a restful night's sleep.
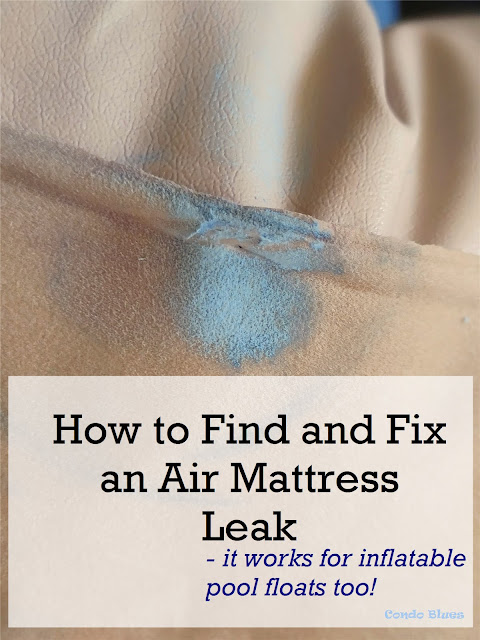
Identifying the Source of the Leak
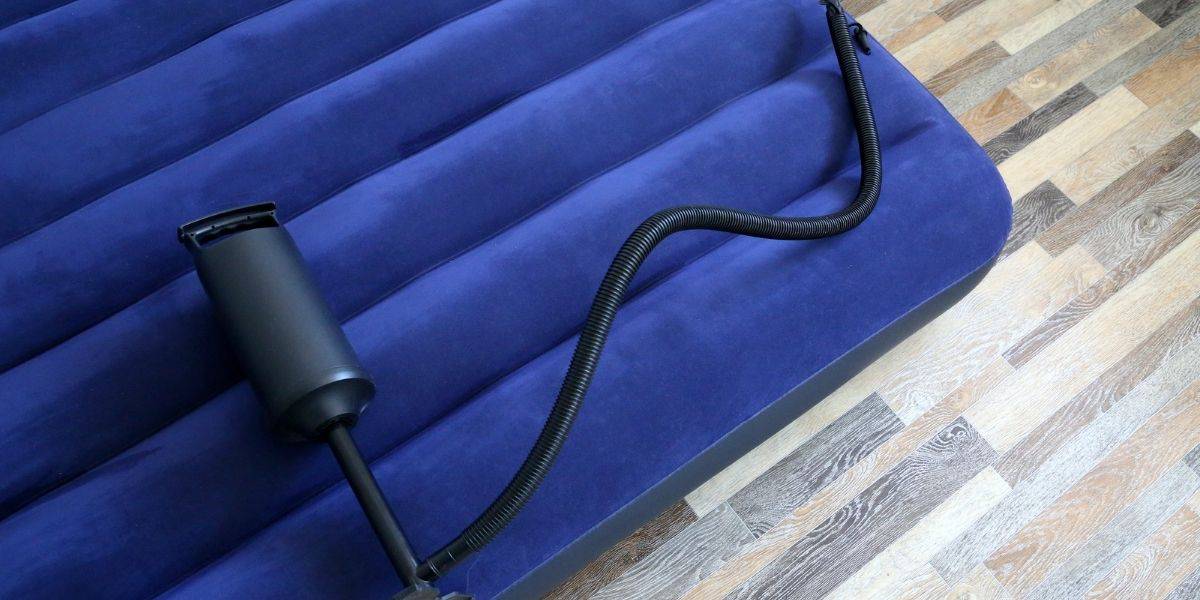
 The first step in repairing an air leak is to identify where it is coming from. This can sometimes be a challenge, but there are a few methods you can use to locate the source. One method is to inflate the mattress and listen for any hissing sounds that may indicate a leak. You can also use a mixture of dish soap and water to create bubbles and apply it to the mattress. If you see bubbles forming in a particular area, that is where the leak is.
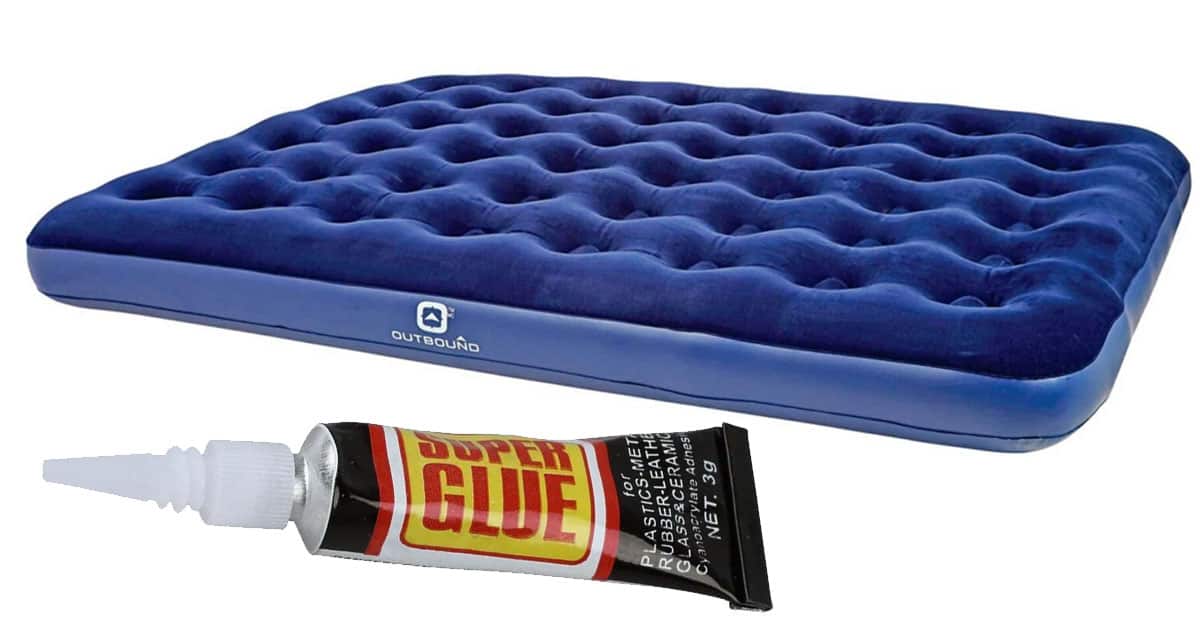
Gather Your Materials
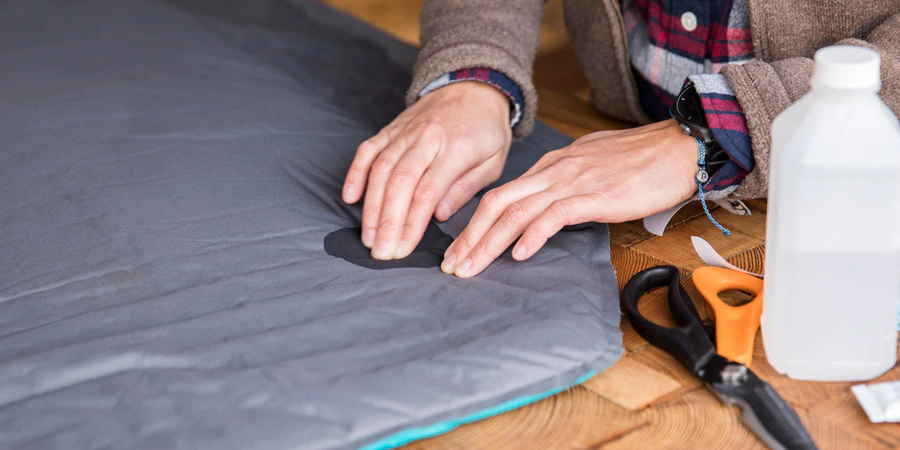
 Once you have identified the source of the leak, it's time to gather your materials. You will need a repair patch, adhesive, and a pair of scissors. You can purchase a repair kit specifically designed for air mattresses, or you can use a bike tire patch kit as a cheaper alternative. Make sure to also have a clean cloth and some rubbing alcohol on hand to clean the area around the leak.
Repairing the Leak
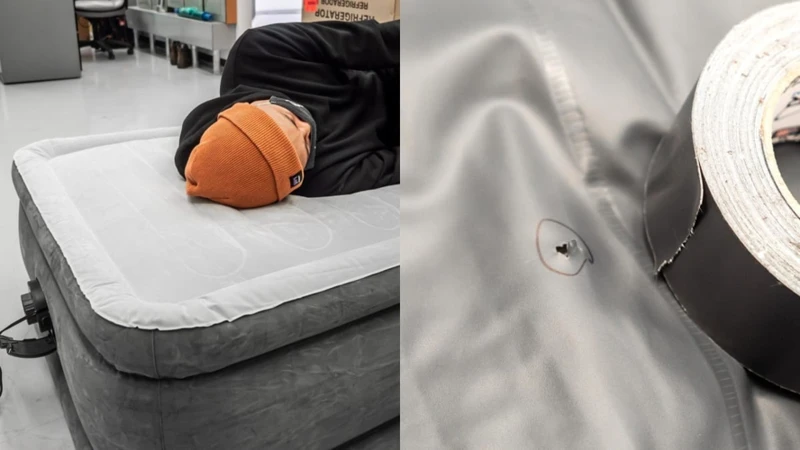
 Now it's time to get to work. Start by cleaning the area around the leak with the rubbing alcohol and cloth. This will ensure that the adhesive will properly bond to the surface. Once the area is clean and dry, apply the adhesive according to the instructions on the repair patch.
Gently press the patch onto the leak, making sure to smooth out any air bubbles.
Let the adhesive dry completely before inflating the mattress again. It's important to wait the recommended amount of time, as rushing the process can cause the patch to come loose. Once the adhesive is dry, you can inflate the mattress and perform a leak test to ensure that the repair was successful.
Now it's time to get to work. Start by cleaning the area around the leak with the rubbing alcohol and cloth. This will ensure that the adhesive will properly bond to the surface. Once the area is clean and dry, apply the adhesive according to the instructions on the repair patch.
Gently press the patch onto the leak, making sure to smooth out any air bubbles.
Let the adhesive dry completely before inflating the mattress again. It's important to wait the recommended amount of time, as rushing the process can cause the patch to come loose. Once the adhesive is dry, you can inflate the mattress and perform a leak test to ensure that the repair was successful.
Preventing Future Leaks
 To prevent future leaks, it's important to properly care for your air mattress. Avoid placing it on rough surfaces or dragging it across the ground, as this can cause tears and holes. Also, be mindful of any sharp objects that may be near the mattress, such as rocks or twigs. It's also a good idea to have a repair kit on hand at all times, so you can quickly fix any leaks that may occur.
In Conclusion
 With these simple steps, you can effectively repair an air leak in your DIY air mattress and get back to enjoying a comfortable night's sleep. Remember to identify the source of the leak, gather your materials, and properly repair the leak to prevent future issues. By taking proper care of your air mattress, you can ensure that it will last for many more restful nights to come. Happy sleeping!