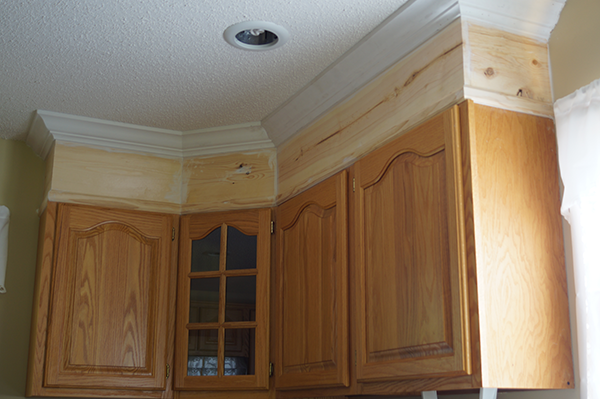
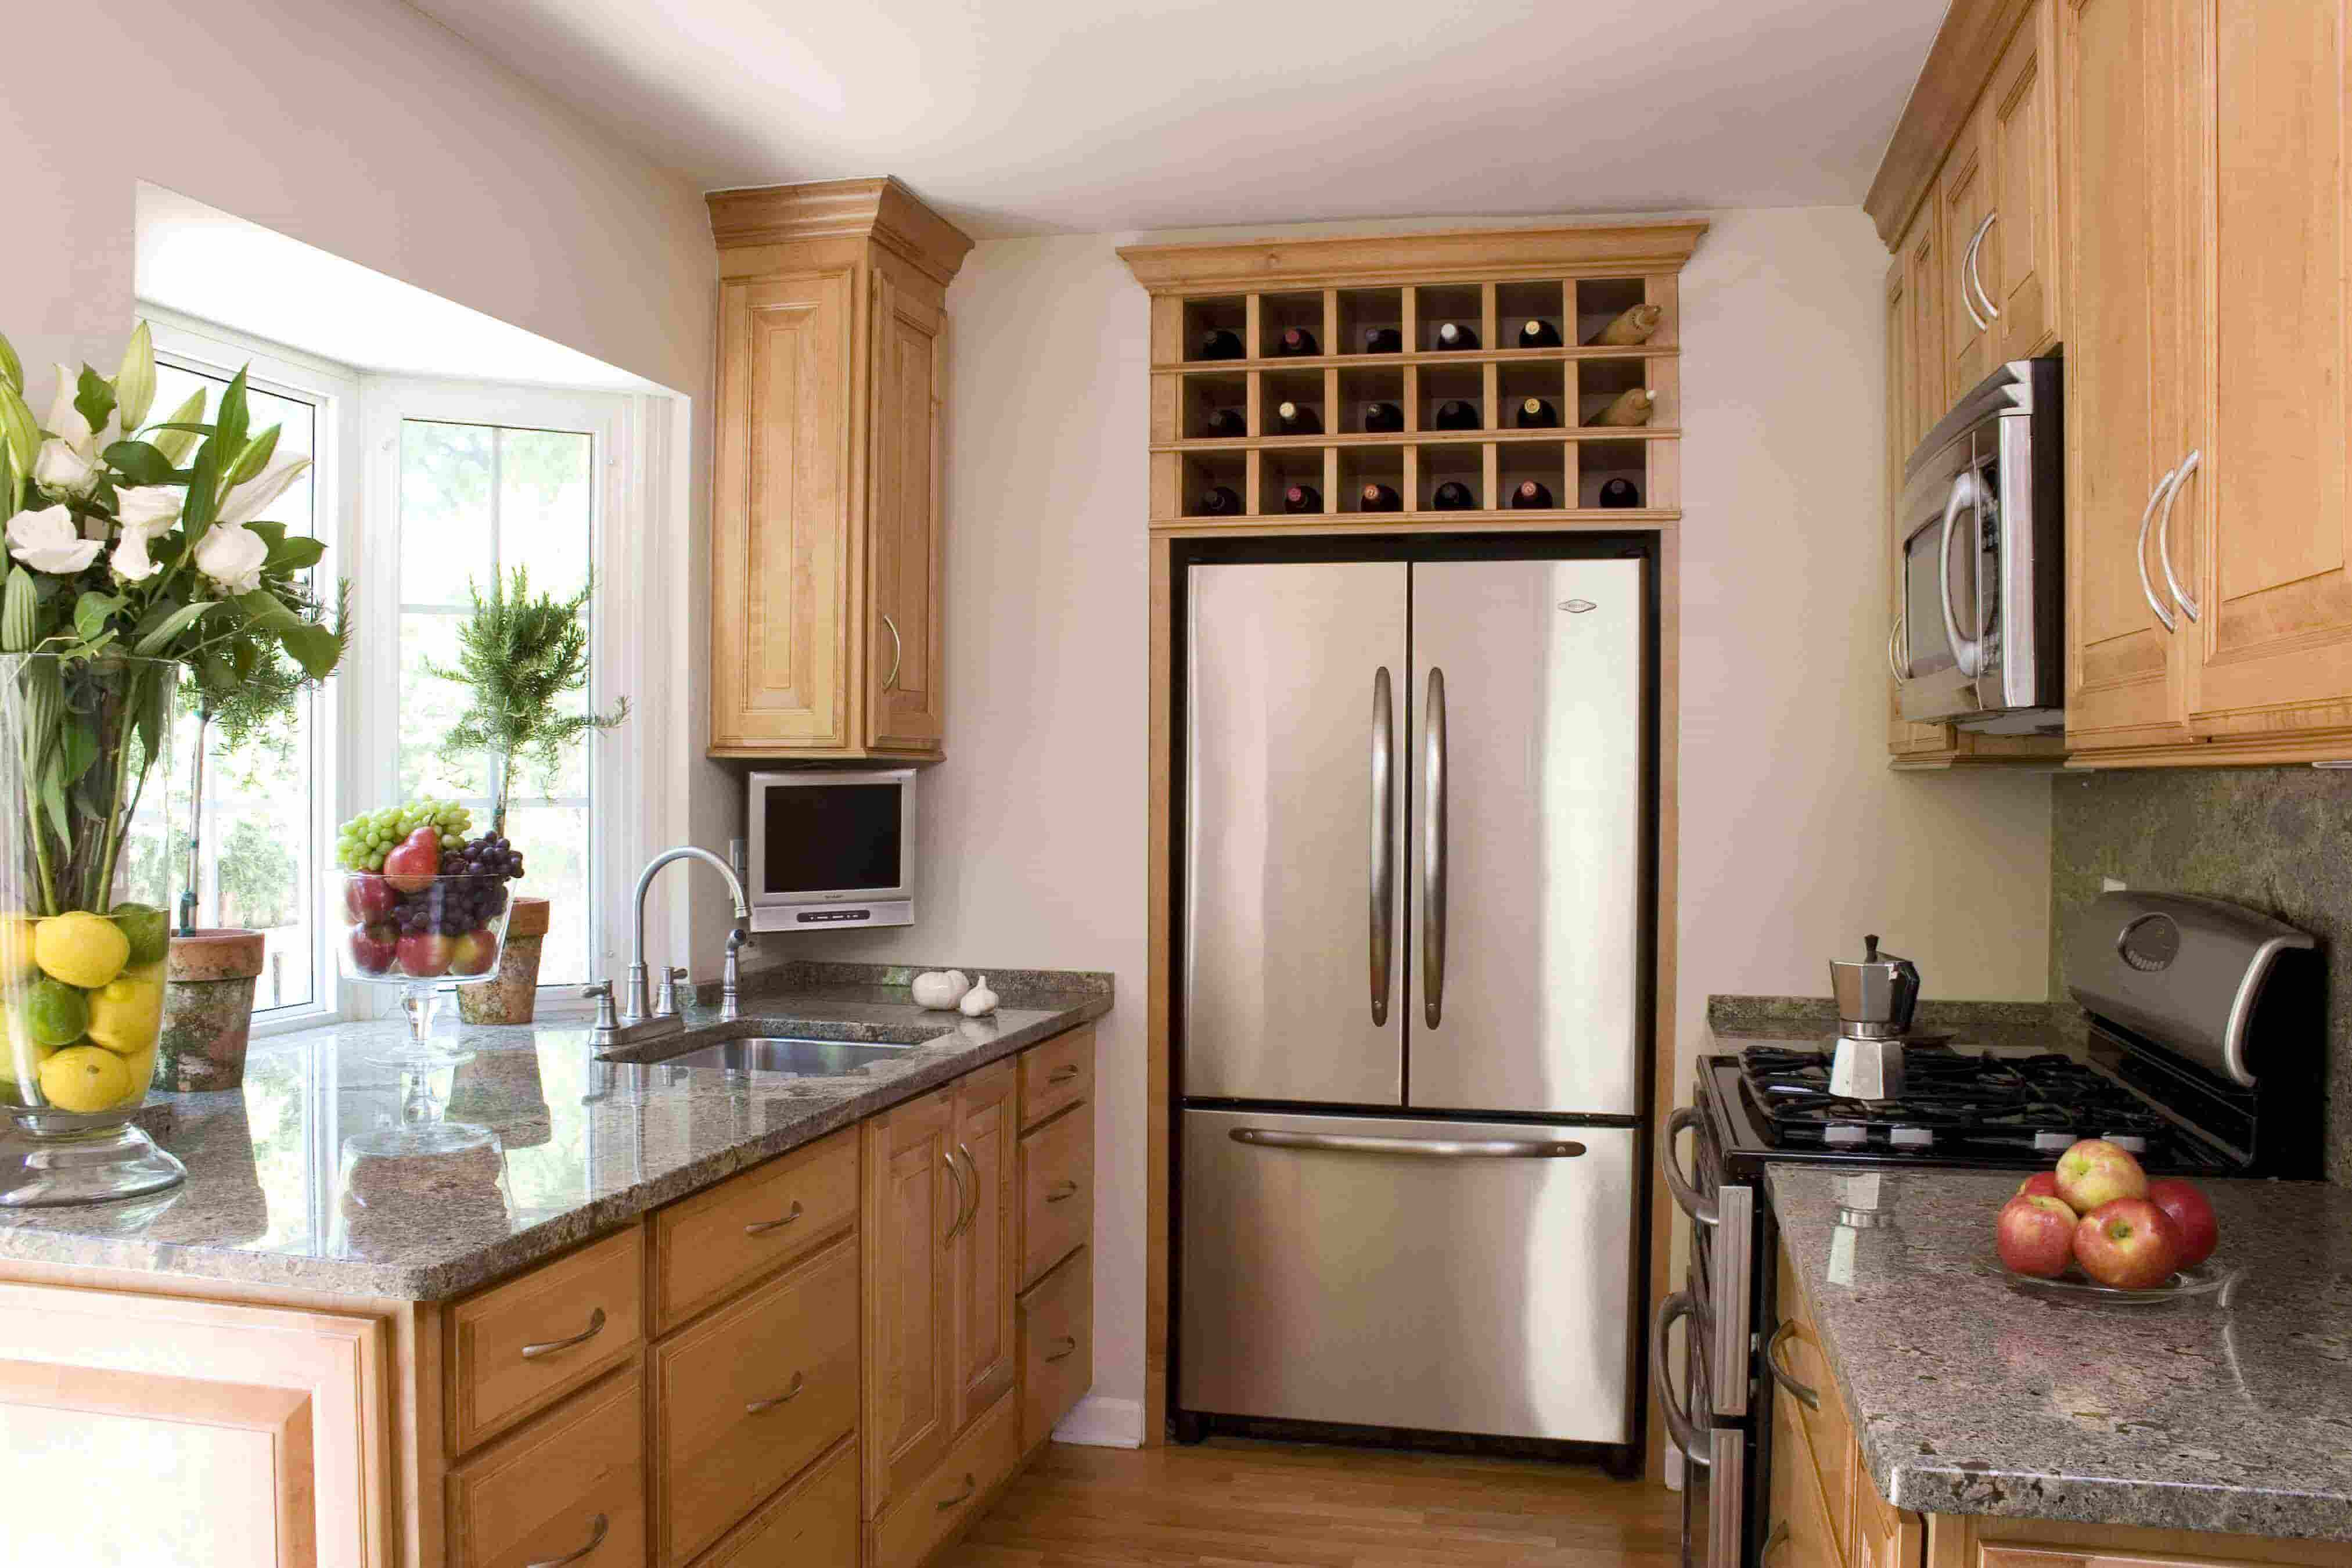
Adding crown molding above your kitchen sink is a simple and effective way to elevate the overall look of your kitchen. It adds a touch of elegance and sophistication to the space, making it a focal point in the room. If you're looking to install crown molding above your kitchen sink, here's a step-by-step guide on how to do it. Step 1: Measure and Plan The first step in installing crown molding above your kitchen sink is to measure the length of your sink area. This will determine how much molding you will need. Then, plan out the design and style of the molding you want to use. There are many options to choose from, such as traditional, modern, or ornate styles. Step 2: Gather Materials Before starting the installation process, make sure you have all the necessary materials. This includes the crown molding, a saw, wood glue, nails, a level, and a measuring tape. You may also need a ladder and safety goggles for this project. Step 3: Cut the Molding Using a saw, cut the crown molding to the correct length according to your measurements. Make sure to cut the pieces at a 45-degree angle to create a seamless joint when installing them. Step 4: Glue and Nail the Molding Apply wood glue to the back of the molding and press it firmly against the wall above the kitchen sink. Use a level to ensure the molding is straight. Then, secure the molding in place by nailing it to the wall. Repeat this process for each piece of molding until the entire area above the sink is covered. Step 5: Fill in Gaps If there are any gaps between the molding and the wall, use wood filler to fill them in. Once dry, sand down the filler for a smooth finish. Step 6: Paint or Stain Now it's time to add some color to your crown molding. You can choose to paint it in a color that matches your kitchen or stain it for a natural wood look. Make sure to use a high-quality paint or stain for a long-lasting finish. Step 7: Admire Your Work Once the paint or stain has fully dried, step back and admire your newly installed crown molding above the kitchen sink. It's amazing how such a simple addition can transform the look and feel of your kitchen!How to Install Crown Molding Above a Kitchen Sink
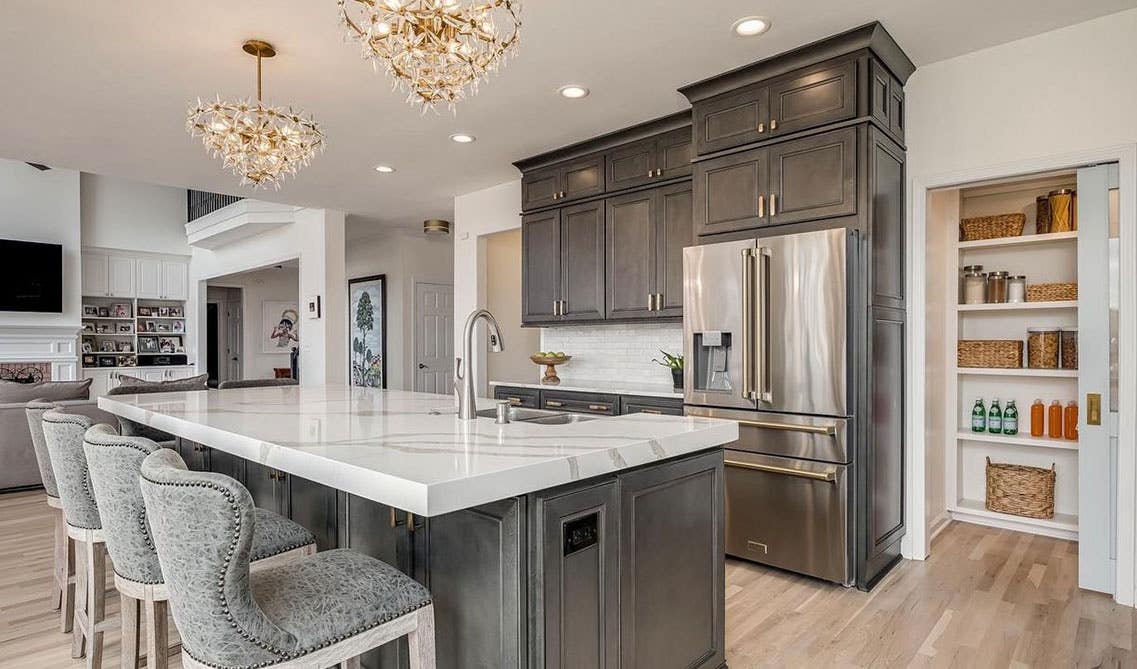
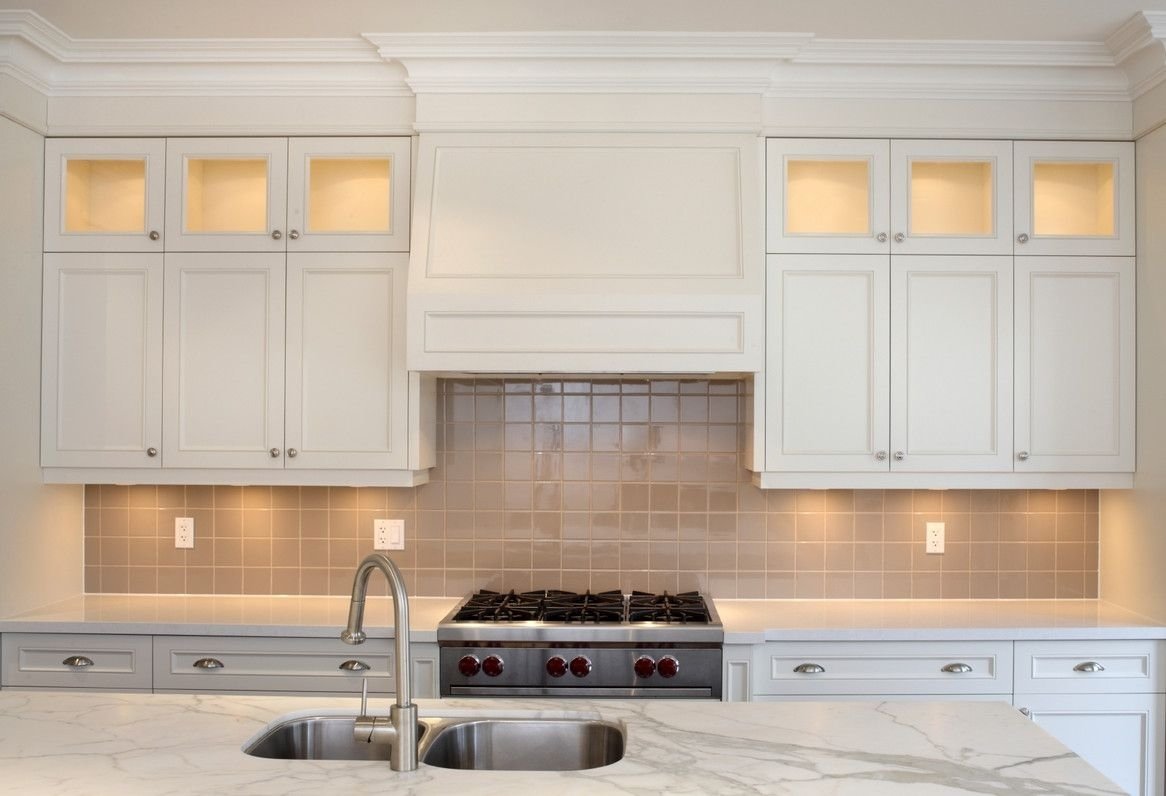
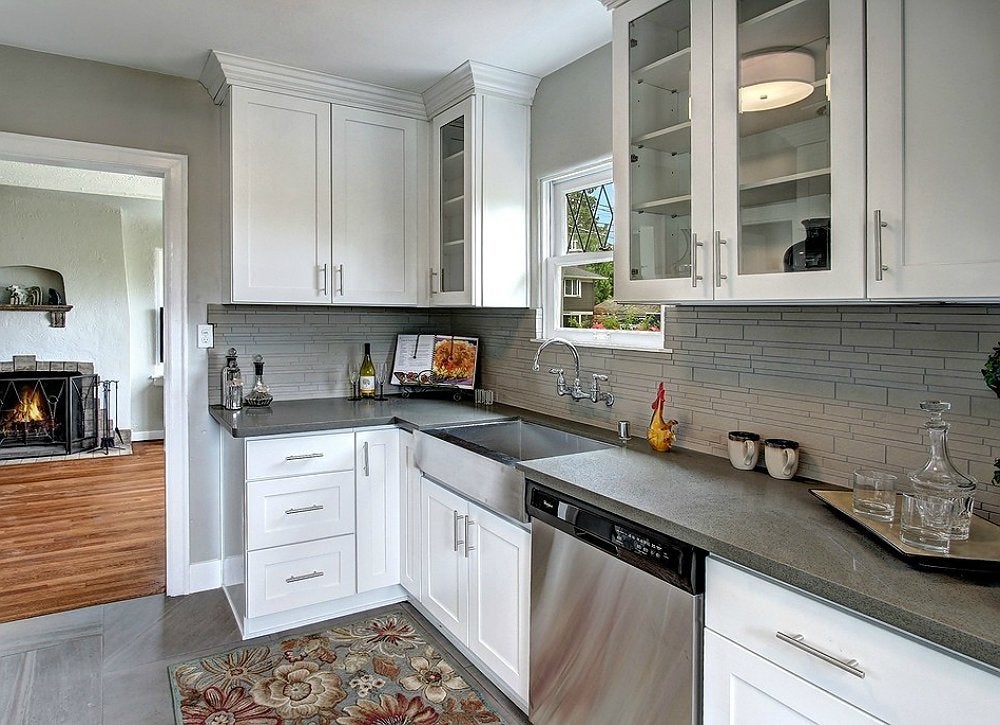
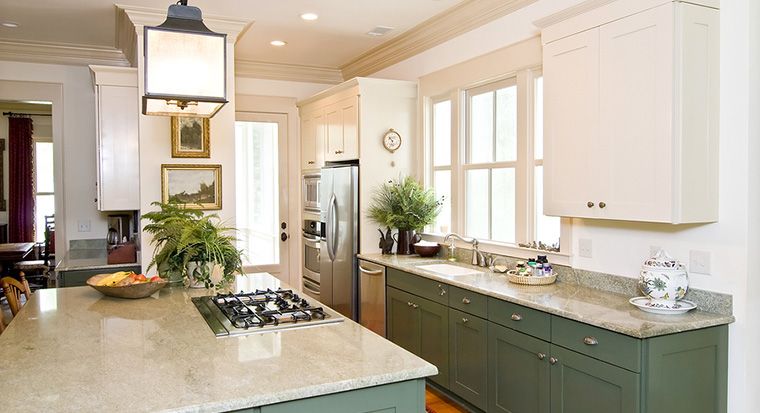
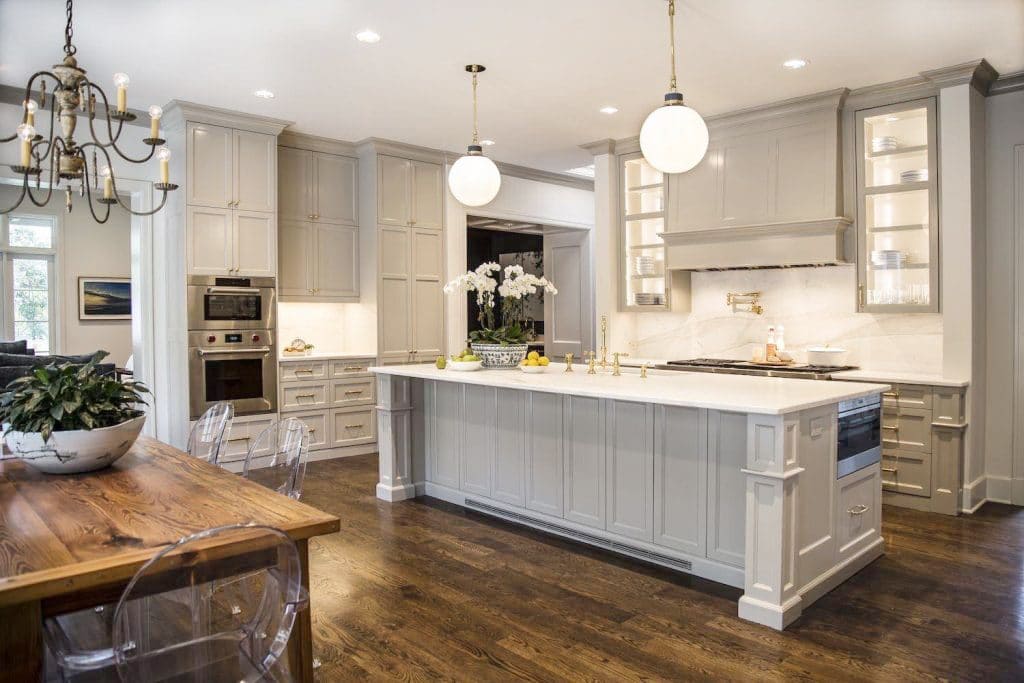
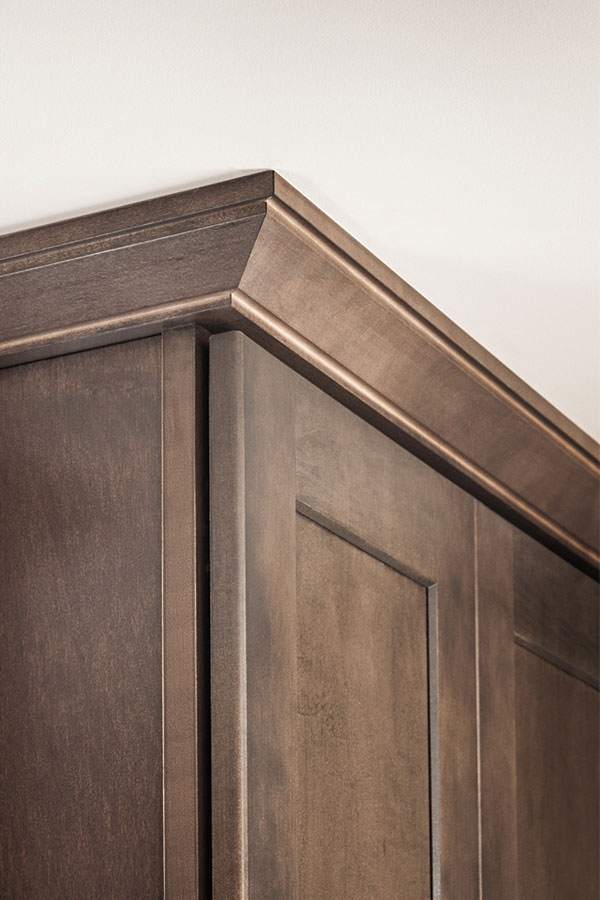
If you're looking for some inspiration for your crown molding above the kitchen sink, here are some ideas to consider: 1. Traditional Crown Molding A classic and timeless choice, traditional crown molding adds a touch of elegance to any kitchen. Opt for a simple design with clean lines for a subtle yet sophisticated look. 2. Modern Crown Molding If your kitchen has a more contemporary style, consider using modern crown molding above the sink. Look for sleek and geometric designs that will complement the overall aesthetic of your kitchen. 3. Ornate Crown Molding For a luxurious and dramatic look, opt for ornate crown molding above the kitchen sink. This style features intricate details and elaborate patterns, perfect for adding a touch of grandeur to your kitchen.Crown Molding Ideas for Above the Kitchen Sink
When it comes to choosing the right crown molding style for above the kitchen sink, it's important to consider the overall design and feel of your kitchen. Here are some popular styles to help you decide: 1. Colonial Style Colonial style crown molding features simple and clean lines, making it a versatile choice for any kitchen. It adds a touch of elegance and charm without being too overpowering. 2. Craftsman Style Craftsman style crown molding is characterized by its straight, clean lines and geometric shapes. It's perfect for adding a modern touch to your kitchen while still maintaining a traditional feel. 3. Victorian Style Victorian style crown molding is ornate and elaborate, featuring intricate details and patterns. It's a great choice if you want to add a touch of luxury and sophistication to your kitchen.Best Crown Molding Styles for Above the Kitchen Sink
If you're feeling handy and want to save some money, you can install crown molding above your kitchen sink yourself. Here's a simple tutorial to guide you through the process: Step 1: Measure and Plan Measure the length of your sink area and determine the style of crown molding you want to use. Step 2: Gather Materials Make sure you have all the necessary materials, including the crown molding, saw, wood glue, nails, level, measuring tape, and safety gear. Step 3: Cut and Install the Molding Cut the molding to the correct length and install it above the kitchen sink using wood glue and nails. Use a level to ensure it's straight. Step 4: Fill in Gaps If there are any gaps, use wood filler to fill them in. Sand down the filler once dry. Step 5: Paint or Stain Paint or stain the molding to your desired color.DIY Crown Molding Tutorial for Above the Kitchen Sink
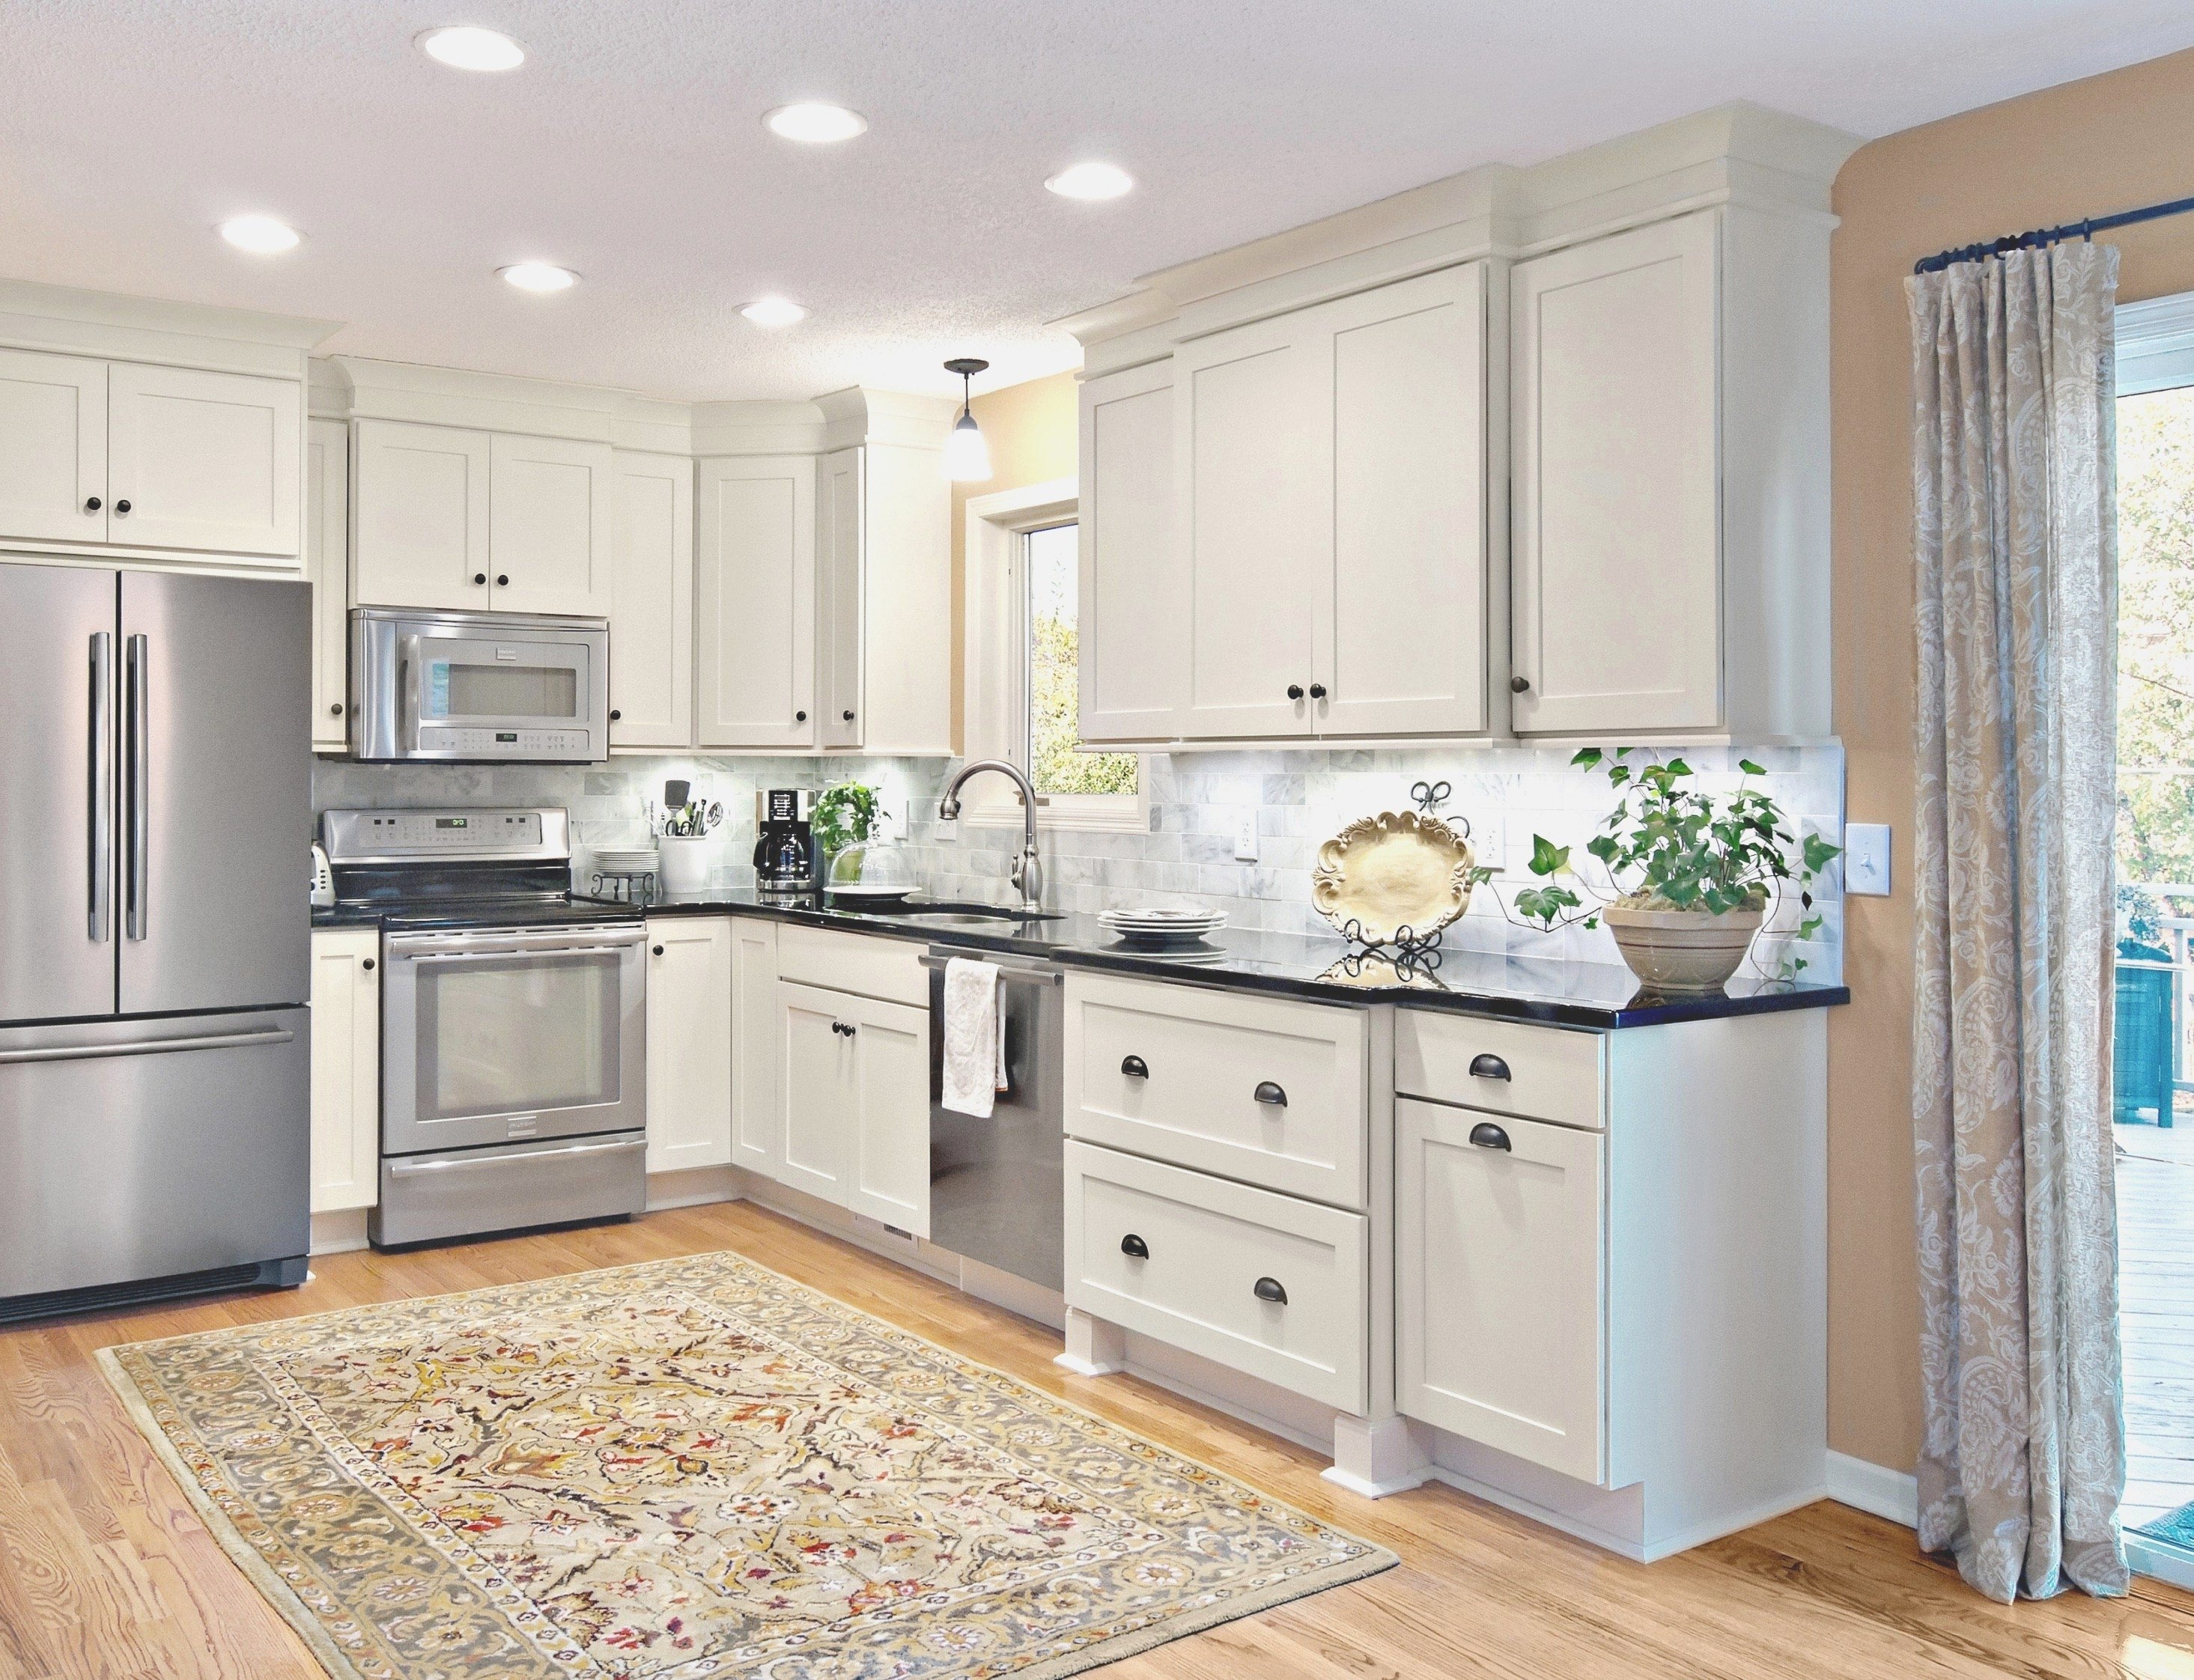
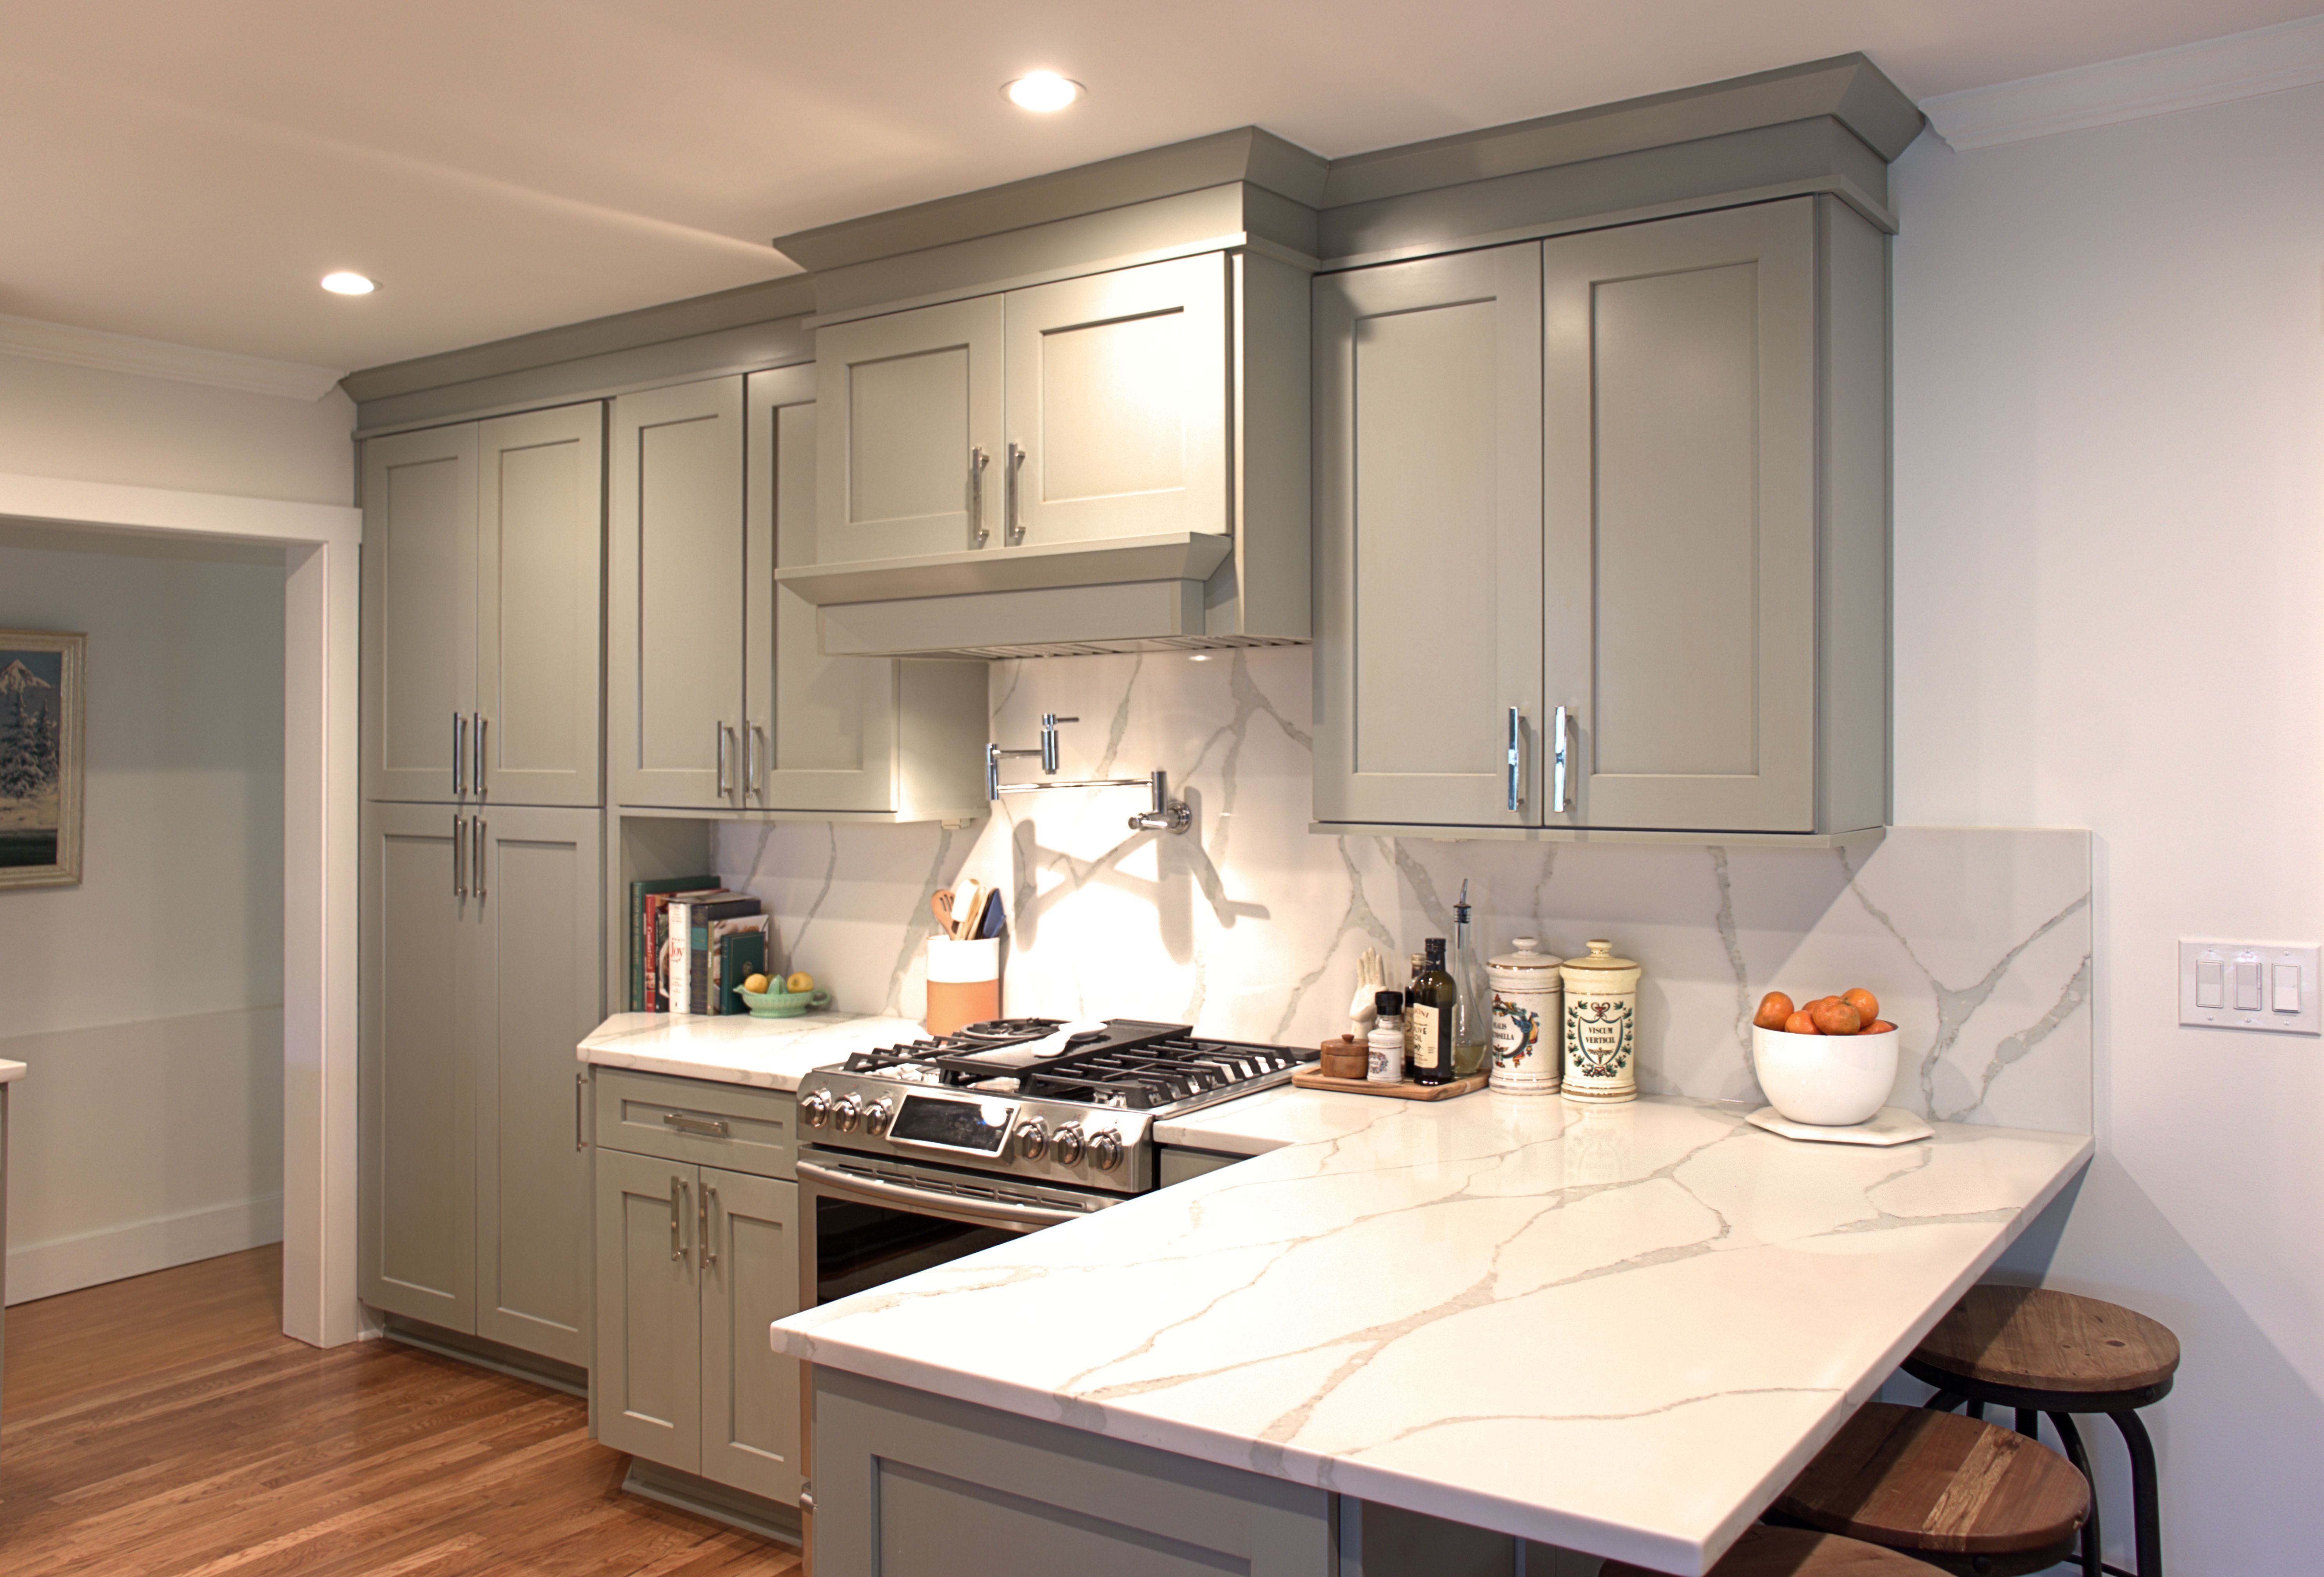
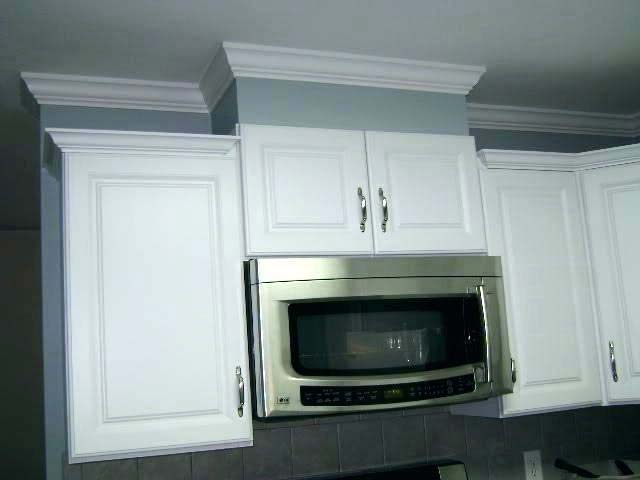
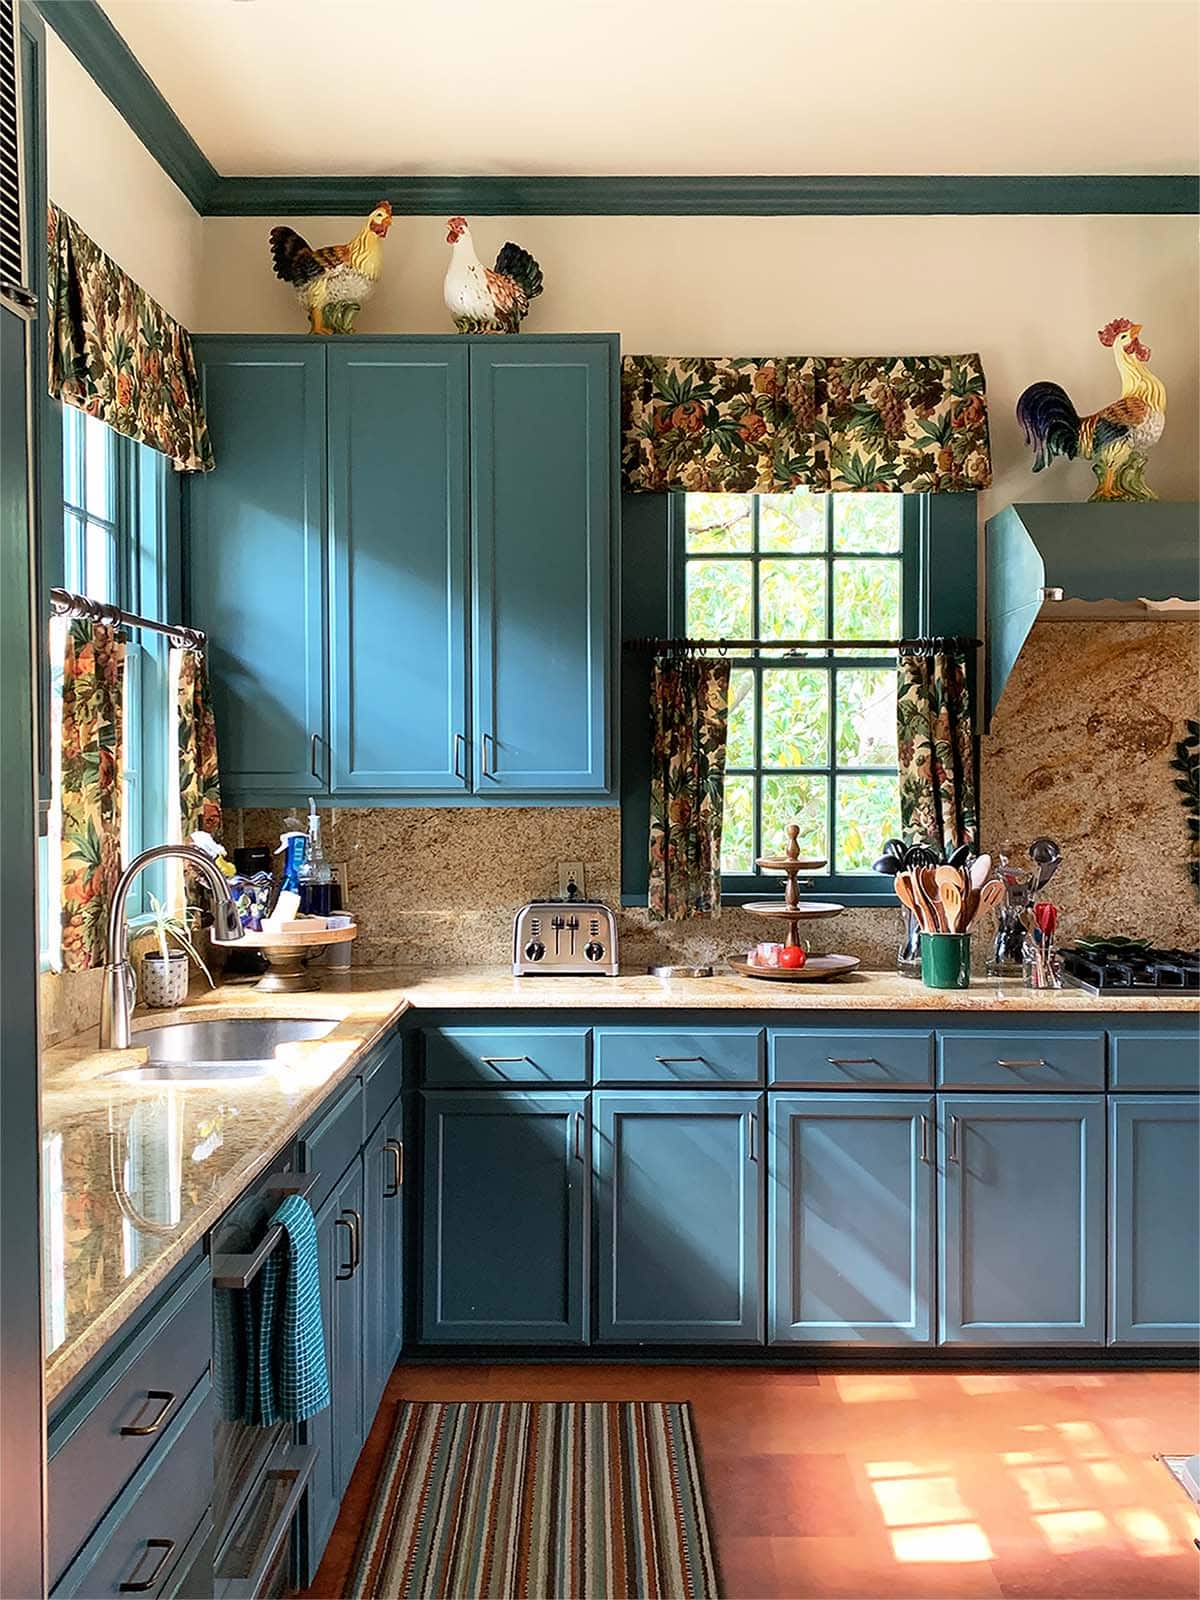
If you're looking for some design inspiration for your crown molding above the kitchen sink, here are some ideas to consider: 1. Two-Tone Molding For a unique and eye-catching look, consider using two different colors for your crown molding. You can paint the top and bottom sections in different colors, or use one color for the molding and another for the wall behind it. 2. Contrasting Colors If you want to make a statement, opt for a bold and contrasting color for your crown molding. This will add a pop of color and personality to your kitchen. 3. Match the Cabinets If you have cabinets above your kitchen sink, consider matching the color of the crown molding to the cabinets. This will create a cohesive and polished look in the space.Crown Molding Design Inspiration for Above the Kitchen Sink
Choosing the right crown molding for above the kitchen sink can seem overwhelming with so many options available. Here are some tips to help you make the right choice: 1. Consider the Style of Your Kitchen The crown molding should complement the overall style and design of your kitchen. Choose a style that will enhance the existing aesthetic, not clash with it. 2. Think About the Height The height of your ceiling should also be taken into consideration when choosing crown molding. Higher ceilings can handle more elaborate and wider molding, while lower ceilings should stick to simpler designs. 3. Consider the Size of Your Kitchen A small kitchen may benefit from thinner and simpler crown molding, while a larger kitchen can handle more intricate and elaborate designs.How to Choose the Right Crown Molding for Above the Kitchen Sink
Here are some additional tips to keep in mind when installing crown molding above your kitchen sink: 1. Use a Level Make sure to use a level to ensure the crown molding is straight. A crooked installation can be very noticeable and ruin the overall look of the molding. 2. Be Patient Installing crown molding can be a time-consuming process, so be patient and take your time to make sure it's done correctly. 3. Practice Proper Safety When using tools such as a saw or ladder, make sure to follow proper safety precautions to avoid any accidents or injuries.Crown Molding Installation Tips for Above the Kitchen Sink
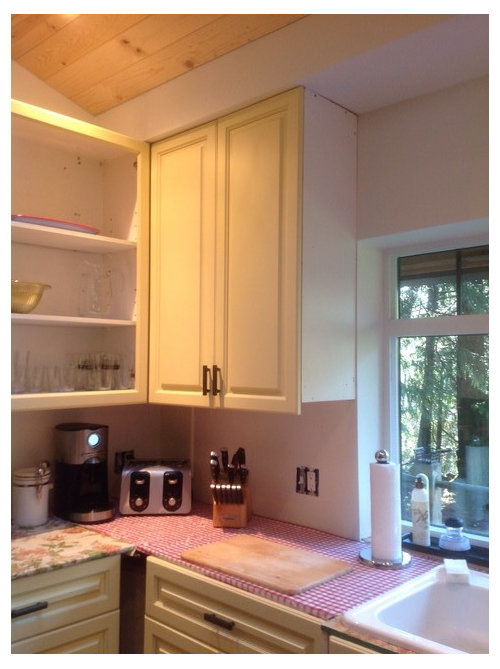
While crown molding is typically used as a decorative element above kitchen cabinets or along the ceiling, there are some creative ways to use it above the sink: 1. Frame a Window If your kitchen sink is located near a window, consider using crown molding to frame the window. This will add a touch of elegance and draw attention to the natural light coming in. 2. Add Shelves Instead of using traditional crown molding, consider using a wider piece of molding to create a shelf above the kitchen sink. This is a great way to display decor or store kitchen essentials. 3. Create a Faux Backsplash Another creative way to use crown molding above the kitchen sink is to create a faux backsplash. This adds visual interest and texture to the space without the hassle and cost of installing a real backsplash.Creative Ways to Use Crown Molding Above the Kitchen Sink
If you've decided to paint your crown molding, here's a simple guide to help you achieve a professional-looking finish: Step 1: Prep the Area Lay down drop cloths to protect your sink and countertops from any paint drips. Use painter's tape to cover any areas you don't want to paint, such as the wall or ceiling. Step 2: Sand the Molding Before painting, lightly sand the crown molding to create a smooth surface for the paint to adhere to. Step 3: Prime the Molding Using a high-quality primer, apply a thin coat to the molding. This will help the paint adhere and prevent any stains or discoloration from showing through. Step 4: Paint the Molding Using a paintbrush or roller, apply your chosen paint color in thin and even coats. Allow each coat to dry before applying the next one. Step 5: Touch Up Once the paint has fully dried, inspect the molding for any missed spots or imperfections. Touch up as needed.How to Paint Crown Molding Above the Kitchen Sink
If crown molding isn't your style, there are some alternatives you can consider for above the kitchen sink: 1. Wood Beams For a rustic and charming look, consider installing wood beams above the kitchen sink. This adds character and warmth to the space. 2. Wallpaper Another way to add a decorative element above the kitchen sink is to use wallpaper. Choose a pattern that complements your kitchen and adds visual interest to the space. 3. Tile If you want a functional and easy-to-clean option, consider installing tile above the kitchen sink. This creates a waterproof backsplash and adds texture to the space. Now that you have some ideas and tips for installing crown molding above the kitchen sink, it's time to get started on this simple yet impactful home improvement project. With the right materials and a little bit of patience, you can transform the look of your kitchen in no time. Happy remodeling!Crown Molding Alternatives for Above the Kitchen Sink
Why Crown Molding Above Kitchen Sink is the Perfect Finishing Touch for Your Home

Adding Style and Elegance to Your Kitchen
 Crown molding, also known as cornice molding, is a decorative trim that is typically installed at the top of walls and cabinets. It adds a touch of elegance and sophistication to any room, including the kitchen. Installing crown molding above your kitchen sink is a great way to elevate the overall design of your kitchen and make it stand out.
With its intricate design and detailed craftsmanship, crown molding adds a sense of grandeur to your kitchen.
It creates a seamless transition between the walls and ceiling, giving the illusion of a larger and more spacious room. The addition of crown molding above your kitchen sink can take your kitchen from ordinary to extraordinary.
Creating a Focal Point
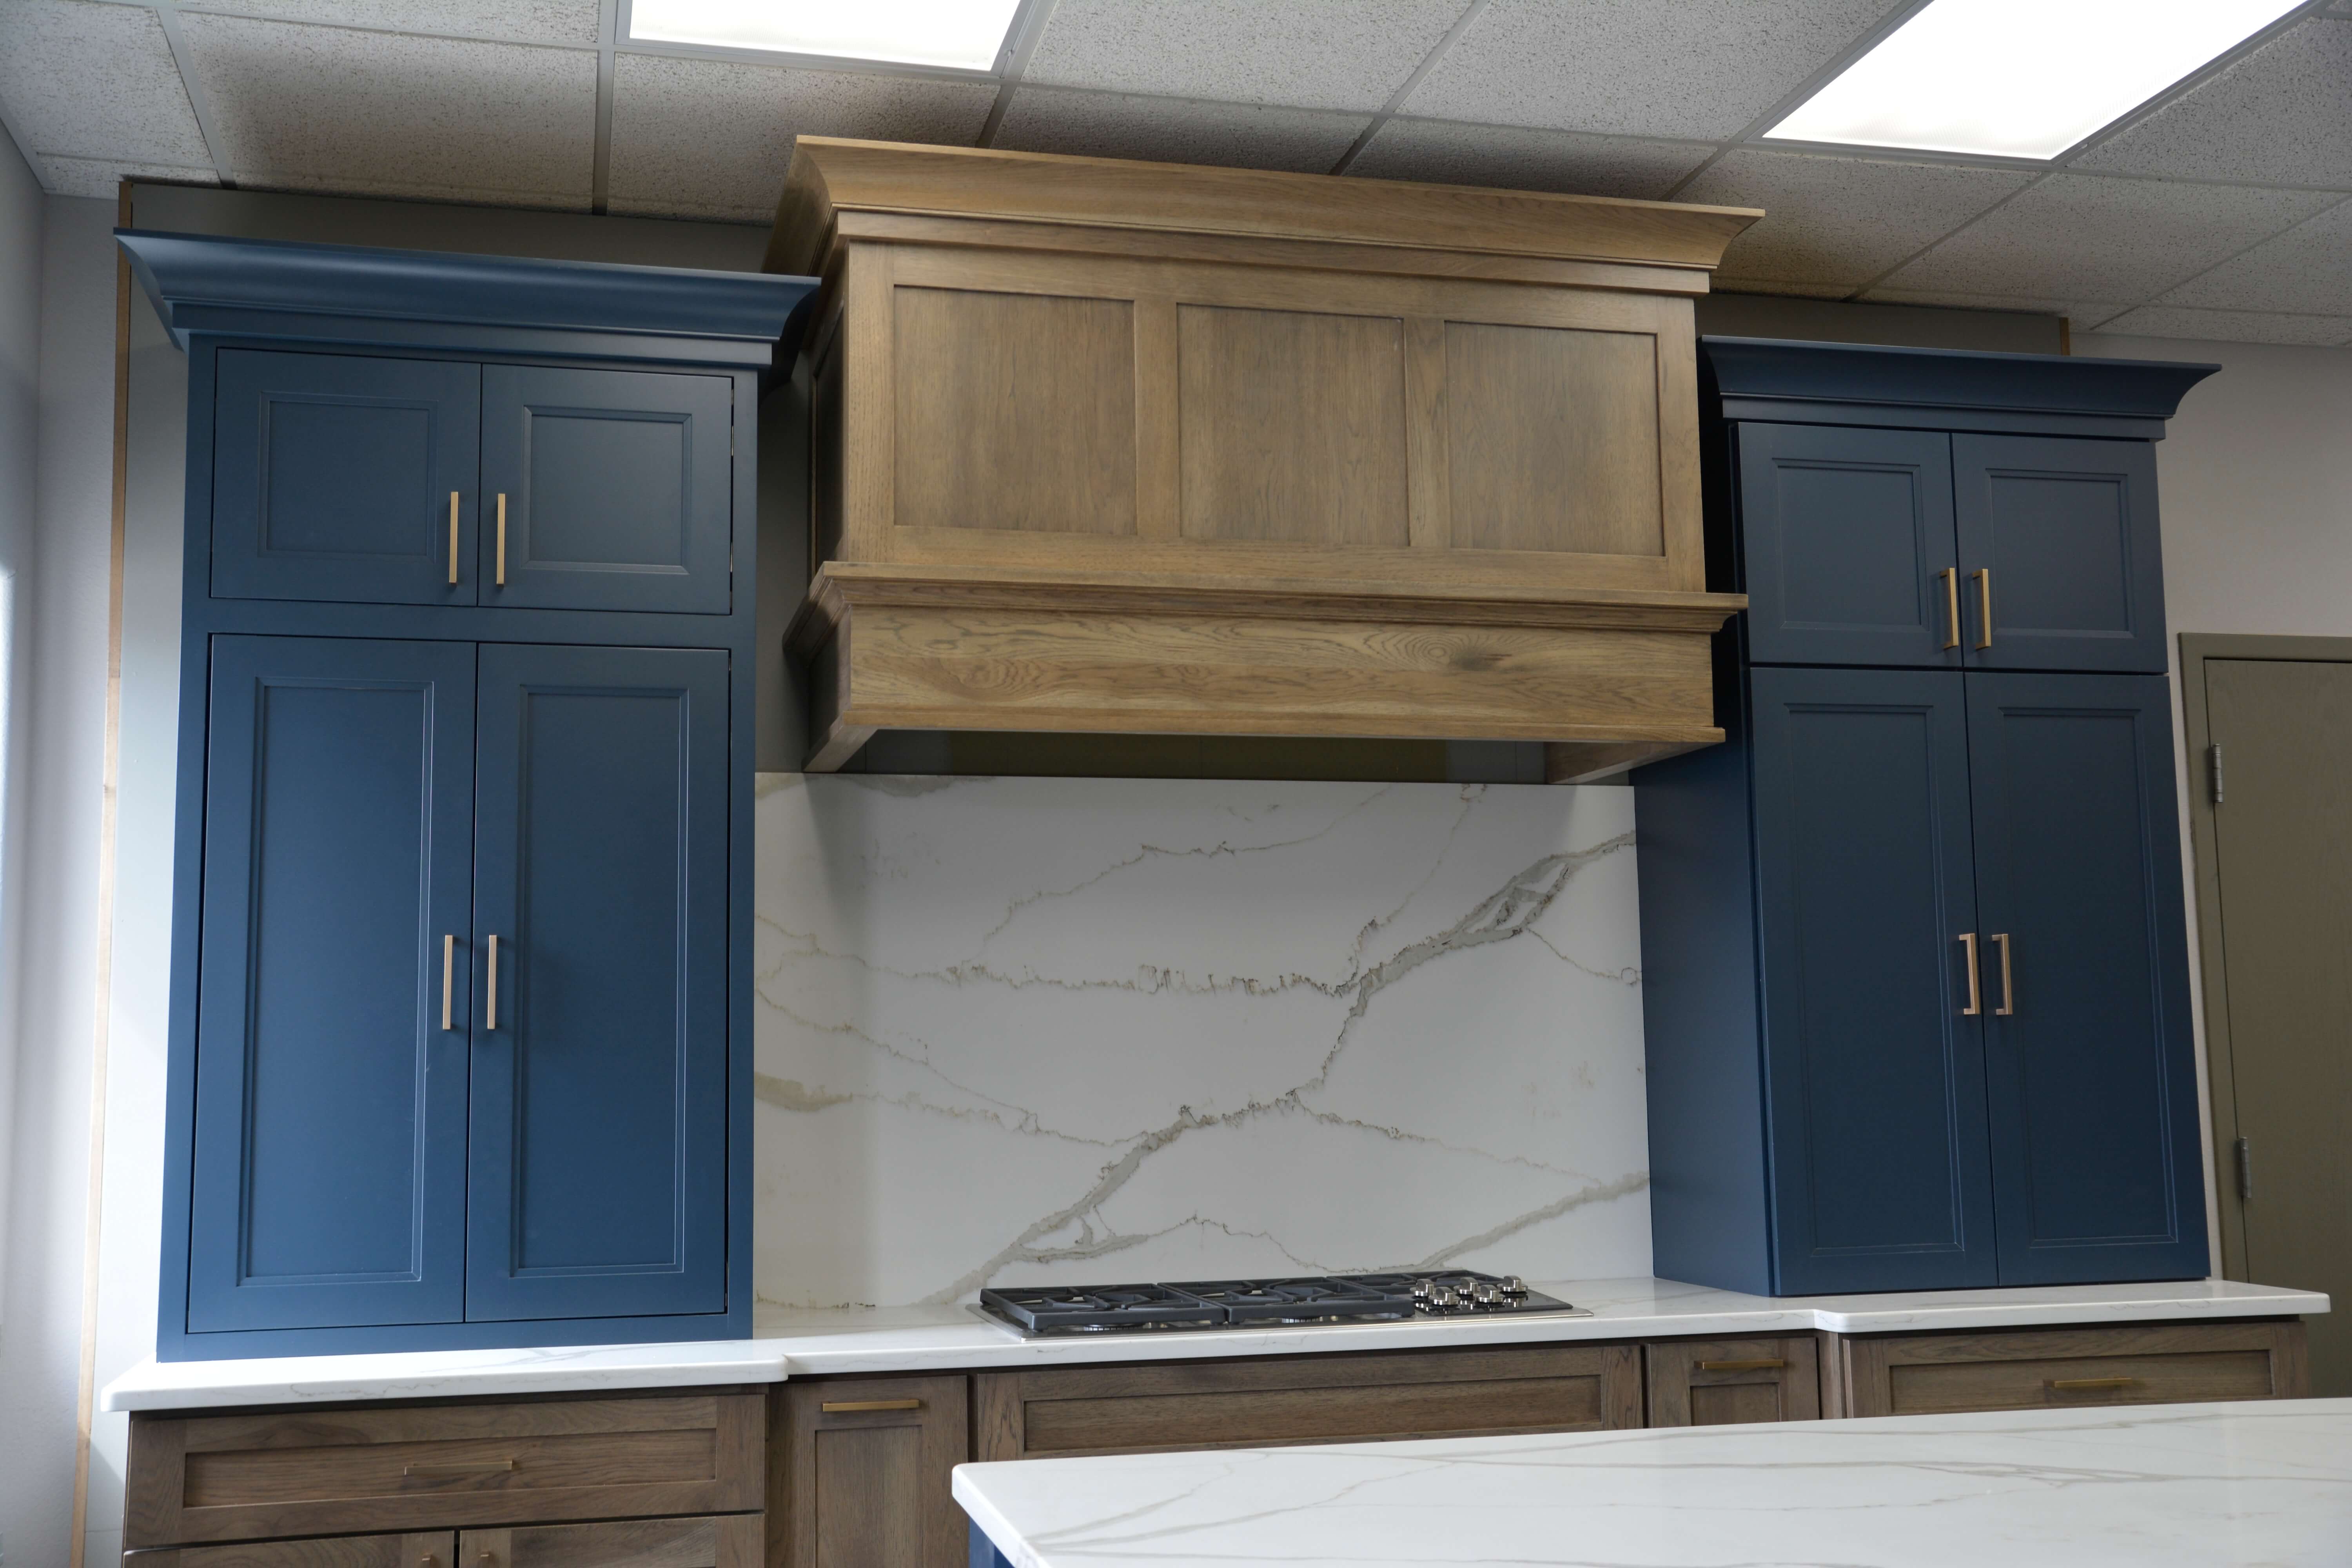 The kitchen sink is often the most used area in the kitchen, whether for washing dishes or preparing food. By adding crown molding above it, you are
creating a focal point that draws the eye and adds interest to the space.
The beautiful curves and angles of crown molding can add dimension and depth to an otherwise plain wall.
Customizable Options
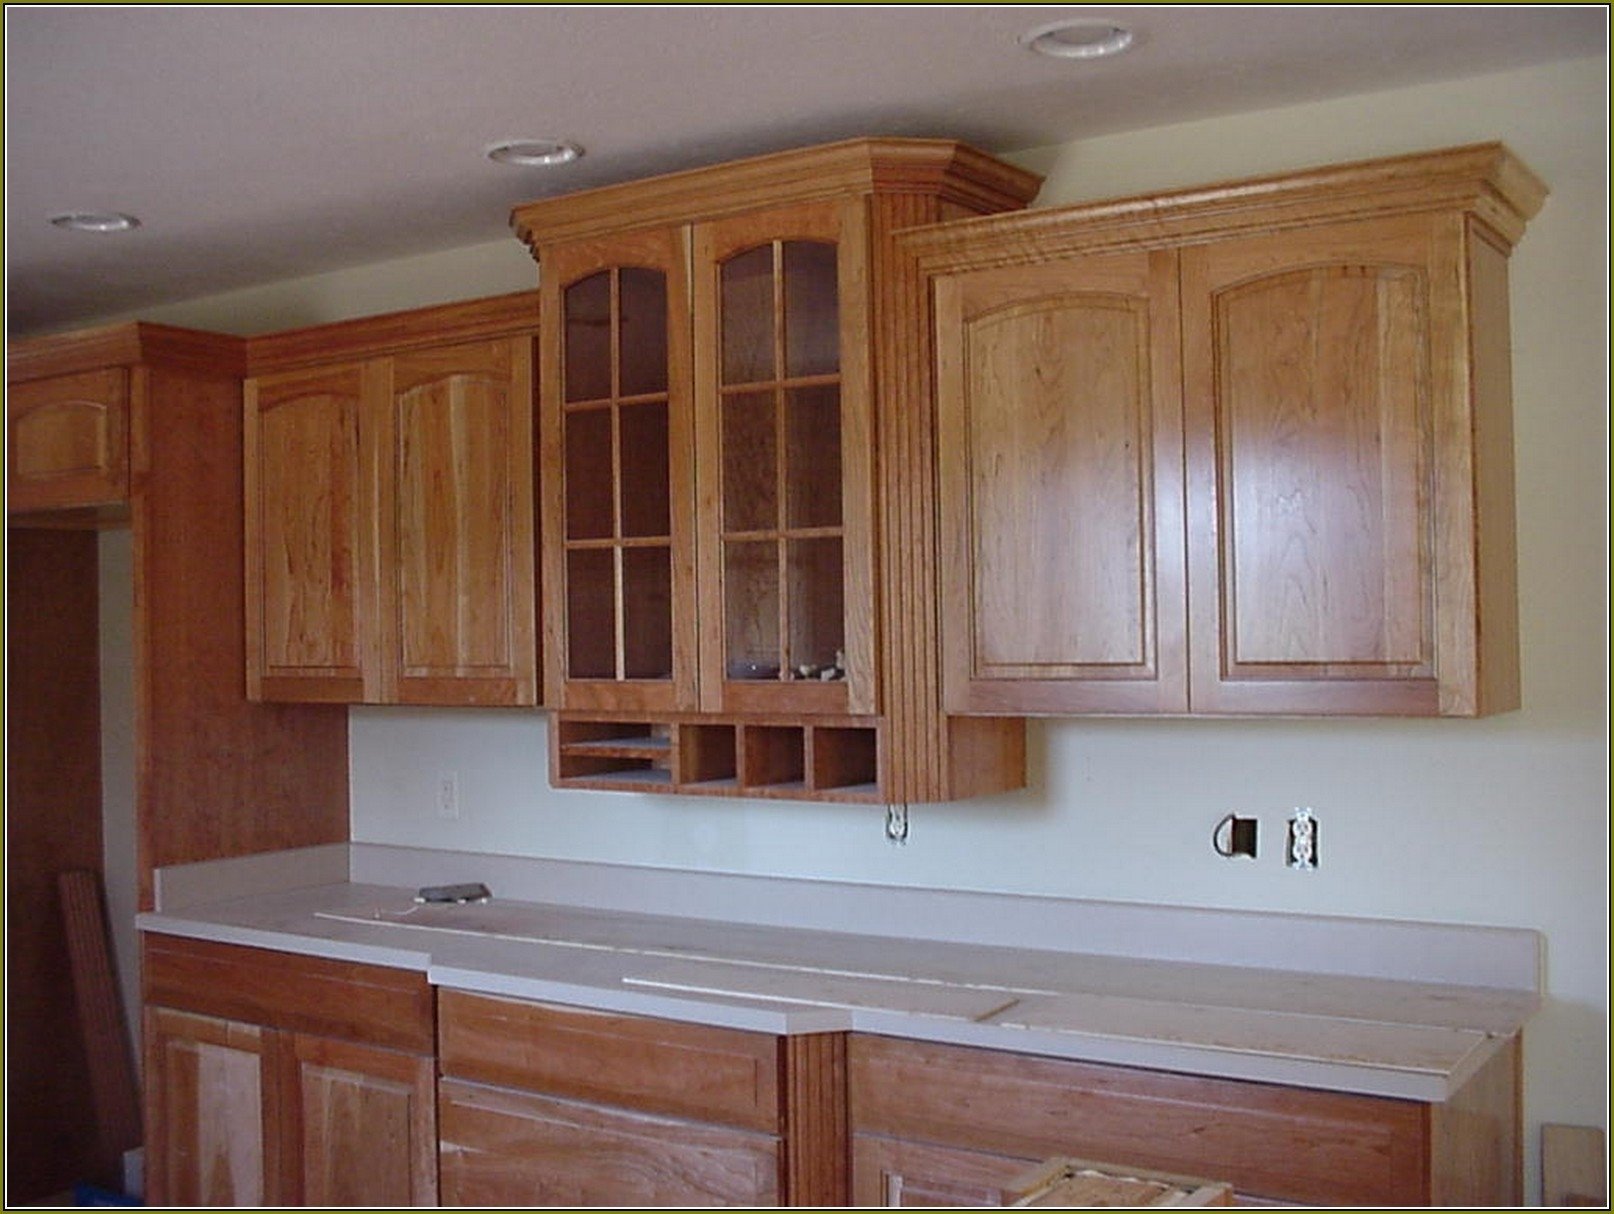 One of the best things about crown molding is that it comes in various styles and designs, allowing you to choose the one that best suits your kitchen.
You can opt for a simple and clean design or a more ornate and intricate one, depending on your personal style and the overall design of your kitchen.
Additionally, you can choose from a variety of materials such as wood, polyurethane, and plaster, giving you endless options to customize your crown molding.
Concealing Imperfections
 Another benefit of adding crown molding above your kitchen sink is that it can help
conceal any imperfections or gaps between the wall and ceiling.
This is especially useful in older homes where there may be uneven walls or ceilings. Crown molding can give a smooth and polished look to your kitchen by hiding any flaws.
Conclusion
 In conclusion, crown molding above the kitchen sink is a small but impactful addition to your home. It not only adds style and elegance but also creates a focal point, offers customizable options, and helps conceal imperfections. So if you're looking to elevate the design of your kitchen, consider adding crown molding above your kitchen sink. Trust us, it will be the perfect finishing touch to complete your home.


