Creating a Living Room Composite in Photoshop
Designing a living room composite in Photoshop is a great way to unleash your creativity and create stunning visual effects. With the powerful tools and features of Photoshop, you can easily blend multiple images together to create a realistic and professional-looking living room scene. In this tutorial, we will guide you step-by-step on how to create a living room composite in Photoshop. So, let's get started!


Creating


What is a Composite?
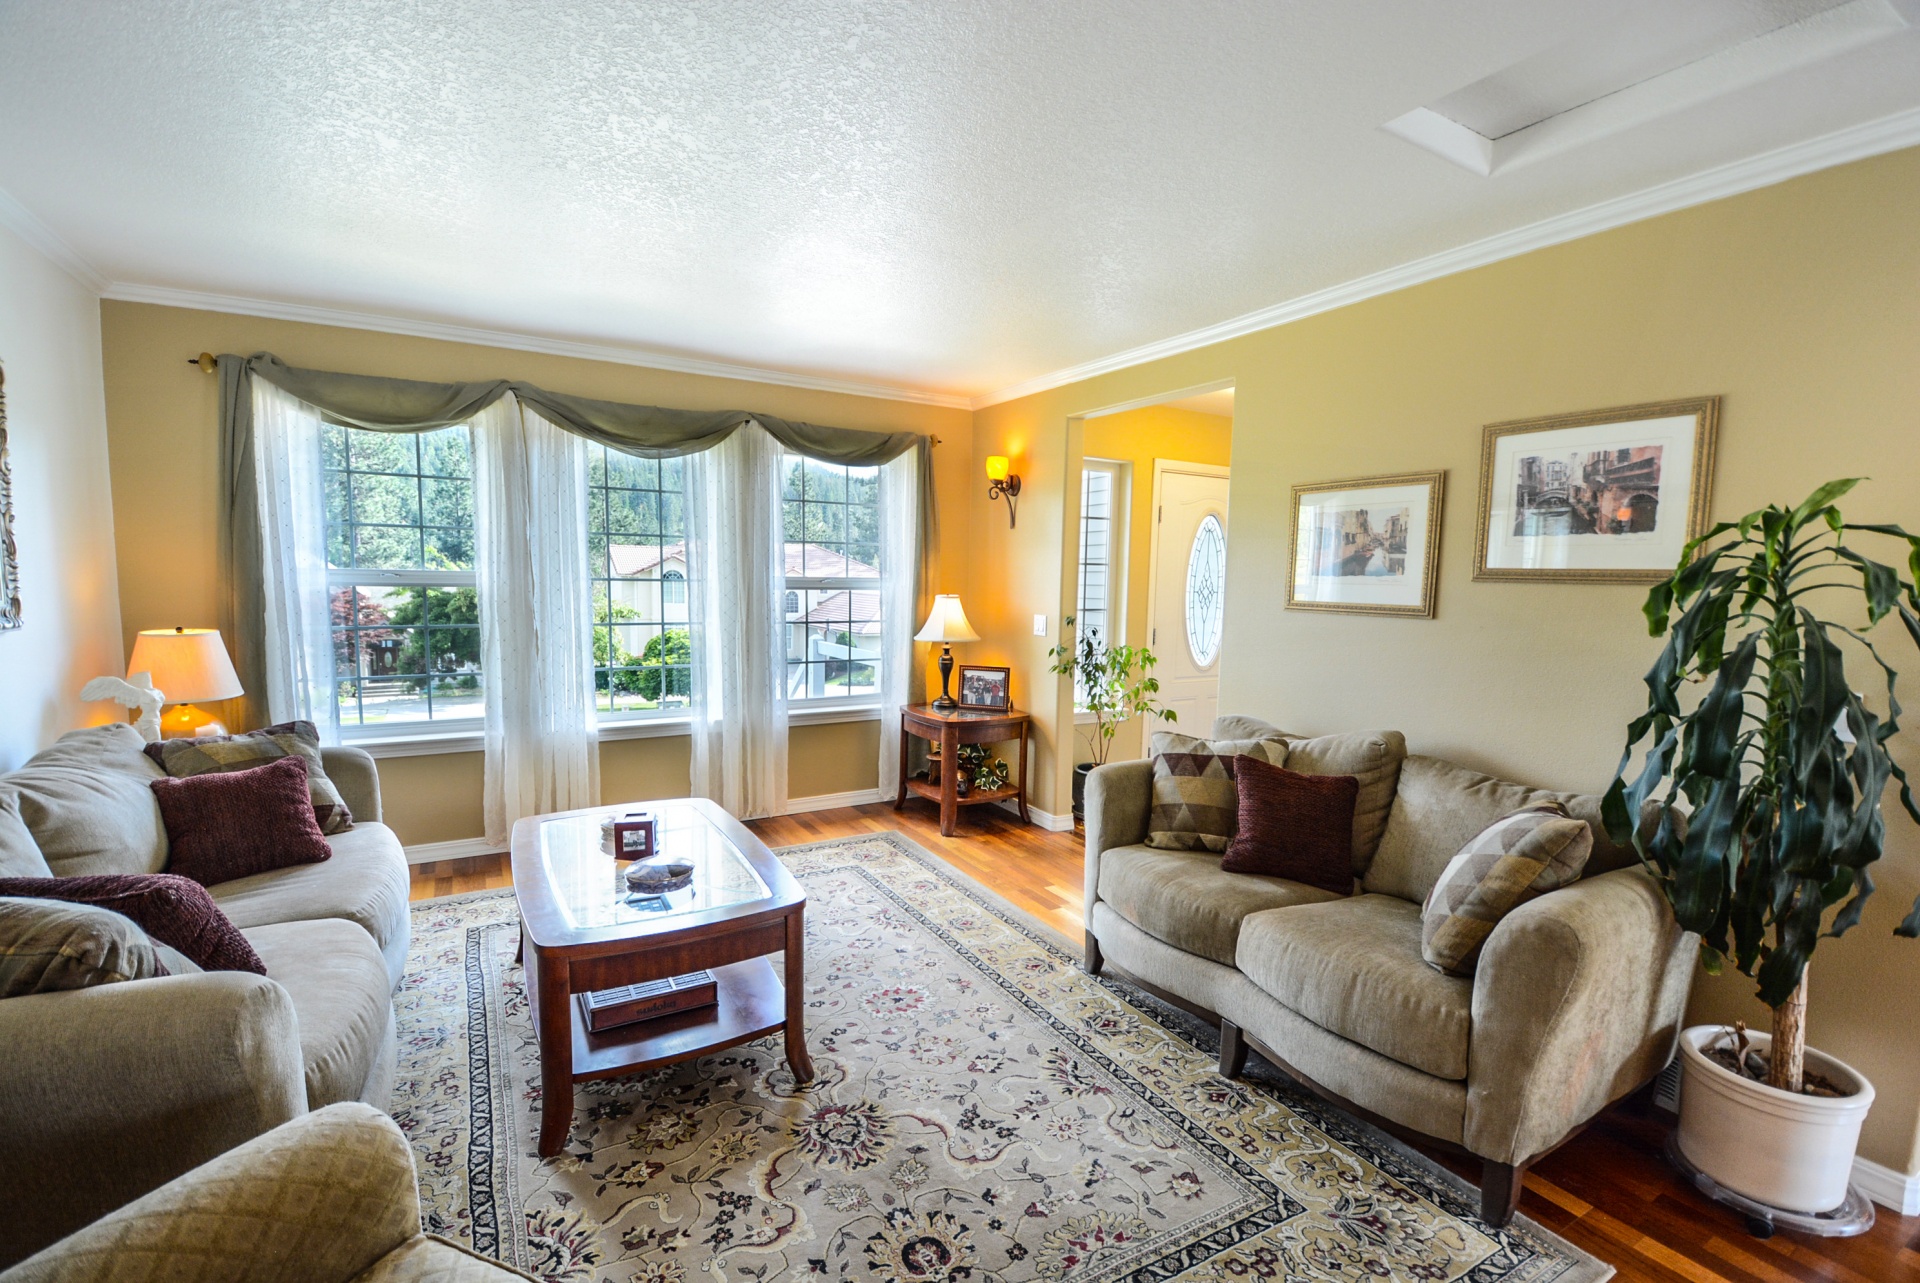
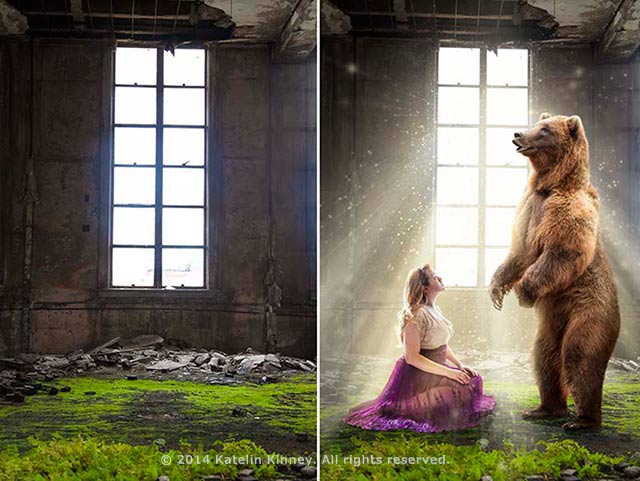
A composite is a combination of two or more images that are merged together to create a single image. In a living room composite, you can merge different elements such as furniture, decorations, and backgrounds to create a complete and cohesive scene. This allows you to create a unique and customized living room that may not exist in reality.

Living Room
/GettyImages-9261821821-5c69c1b7c9e77c0001675a49.jpg)

:max_bytes(150000):strip_icc()/Chuck-Schmidt-Getty-Images-56a5ae785f9b58b7d0ddfaf8.jpg)

The Power of Photoshop
Photoshop is a powerful image editing software that is widely used by designers, photographers, and artists. It offers a wide range of tools and features that allow you to manipulate and enhance images with ease. With Photoshop, you can create stunning composites that look like they were captured in real life.
Composite


Photoshop Tutorial: Creating a Realistic Living Room Composite
Follow these simple steps to create a realistic living room composite in Photoshop:

.jpg)

Photoshop


Step 1: Choose Your Images
The first step is to choose the images that you want to include in your living room composite. You can take your own photos or use stock images from websites like Shutterstock or Adobe Stock. Make sure the images have a similar resolution and lighting for a more seamless blend.


Designing a Living Room Composite in Photoshop


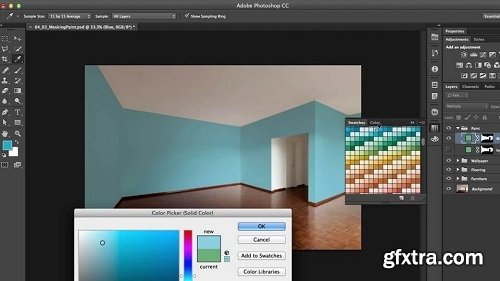
Step 2: Prepare the Background
Open the image of the living room that you want to use as your background. Use the Transform tool (Ctrl+T) to resize and position the image to your liking. You can also use the Clone Stamp tool to remove any unwanted objects or blemishes from the background.


Photoshop Tutorial: Creating a Realistic Living Room Composite


Step 3: Cut Out the Elements
Using the Pen Tool (P), carefully trace around the elements you want to include in your composite. Once you have traced the outline, right-click and choose Make Selection. This will create a selection around the element, allowing you to cut it out and paste it into your composite.


Step-by-Step Guide to Creating a Living Room Composite in Photoshop


Step 4: Arrange the Elements
Paste the elements you have cut out into your background image and use the Transform tool to resize and position them. You can also use the Layer Mask tool to blend the edges of the elements into the background for a more natural look.


Mastering the Art of Living Room Composites in Photoshop


Step 5: Add Shadows and Highlights
To make your composite look more realistic, you need to add shadows and highlights to the elements. Create a new layer and use the Brush tool (B) to paint shadows and highlights on the elements, making them appear as if they are part of the background.


Creating a Stunning Living Room Composite Using Photoshop Techniques


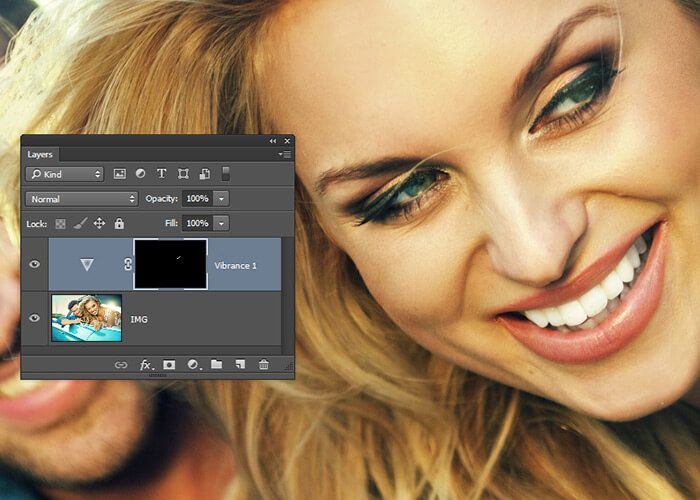
Step 6: Adjust the Colors
To ensure that all the elements in your composite have a consistent color and tone, use the Adjustment Layers tool. You can adjust the brightness, contrast, and saturation of each element to match the overall look of your composite.


Photoshop Tips and Tricks for Creating a Professional Living Room Composite


The Importance of Creating a Stunning Living Room Composite in Photoshop

Transforming Your Living Room into a Work of Art
 The living room is often considered the heart of a home, where family and friends gather to relax, entertain, and make memories. As such, it's crucial to design this space with care and attention to detail. One way to elevate your living room design is by creating a
living room composite
in
Photoshop
. This powerful software allows you to bring your design ideas to life and visualize your dream living room before making any physical changes. Not only does it save time and money, but it also allows you to experiment with different layouts, colors, and textures until you find the perfect combination. Let's explore why creating a living room composite in Photoshop is essential for every homeowner looking to elevate their space.
The living room is often considered the heart of a home, where family and friends gather to relax, entertain, and make memories. As such, it's crucial to design this space with care and attention to detail. One way to elevate your living room design is by creating a
living room composite
in
Photoshop
. This powerful software allows you to bring your design ideas to life and visualize your dream living room before making any physical changes. Not only does it save time and money, but it also allows you to experiment with different layouts, colors, and textures until you find the perfect combination. Let's explore why creating a living room composite in Photoshop is essential for every homeowner looking to elevate their space.
Unleash Your Creativity
 Photoshop
is a versatile tool that opens up a world of possibilities for your living room design. With its wide range of
features
and
tools
, you have the freedom to let your imagination run wild. Whether you want to change the color of your walls, add new furniture, or experiment with different lighting options,
Photoshop
allows you to do it all. You can even add
personalized elements
such as family photos, artwork, or decorations to truly make the space your own. The possibilities are endless, and your
creativity
is the only limit.
Photoshop
is a versatile tool that opens up a world of possibilities for your living room design. With its wide range of
features
and
tools
, you have the freedom to let your imagination run wild. Whether you want to change the color of your walls, add new furniture, or experiment with different lighting options,
Photoshop
allows you to do it all. You can even add
personalized elements
such as family photos, artwork, or decorations to truly make the space your own. The possibilities are endless, and your
creativity
is the only limit.
Make Informed Decisions
 Creating a living room composite in
Photoshop
also allows you to make informed decisions before making any physical changes to your space. With the ability to see your design ideas come to life in a
realistic
and
accurate
way, you can avoid costly mistakes and make sure every element fits together seamlessly. You can also experiment with different layouts and furniture arrangements to see what works best for your living room's size and shape. By making informed decisions, you can create a living room that not only looks beautiful but also functions well for your lifestyle.
Creating a living room composite in
Photoshop
also allows you to make informed decisions before making any physical changes to your space. With the ability to see your design ideas come to life in a
realistic
and
accurate
way, you can avoid costly mistakes and make sure every element fits together seamlessly. You can also experiment with different layouts and furniture arrangements to see what works best for your living room's size and shape. By making informed decisions, you can create a living room that not only looks beautiful but also functions well for your lifestyle.
Stay Ahead of the Design Trends
 Design trends are constantly evolving, and it can be challenging to stay on top of the latest styles. By creating a living room composite in
Photoshop
, you can easily experiment with different design trends and see what works for your space. This allows you to stay ahead of the game and incorporate popular
design elements
into your living room without the fear of committing to a permanent change.
Photoshop
also offers a variety of
filters
and
effects
that can give your living room a modern, trendy look without having to purchase new furniture or accessories.
In conclusion, creating a living room composite in
Photoshop
is an essential step in the house design process. It allows you to unleash your
creativity
, make informed decisions, and stay ahead of the design trends. So why settle for a mediocre living room when you can turn it into a stunning work of art with the help of
Photoshop
? Start creating your living room composite today and see the endless possibilities for yourself.
Design trends are constantly evolving, and it can be challenging to stay on top of the latest styles. By creating a living room composite in
Photoshop
, you can easily experiment with different design trends and see what works for your space. This allows you to stay ahead of the game and incorporate popular
design elements
into your living room without the fear of committing to a permanent change.
Photoshop
also offers a variety of
filters
and
effects
that can give your living room a modern, trendy look without having to purchase new furniture or accessories.
In conclusion, creating a living room composite in
Photoshop
is an essential step in the house design process. It allows you to unleash your
creativity
, make informed decisions, and stay ahead of the design trends. So why settle for a mediocre living room when you can turn it into a stunning work of art with the help of
Photoshop
? Start creating your living room composite today and see the endless possibilities for yourself.


