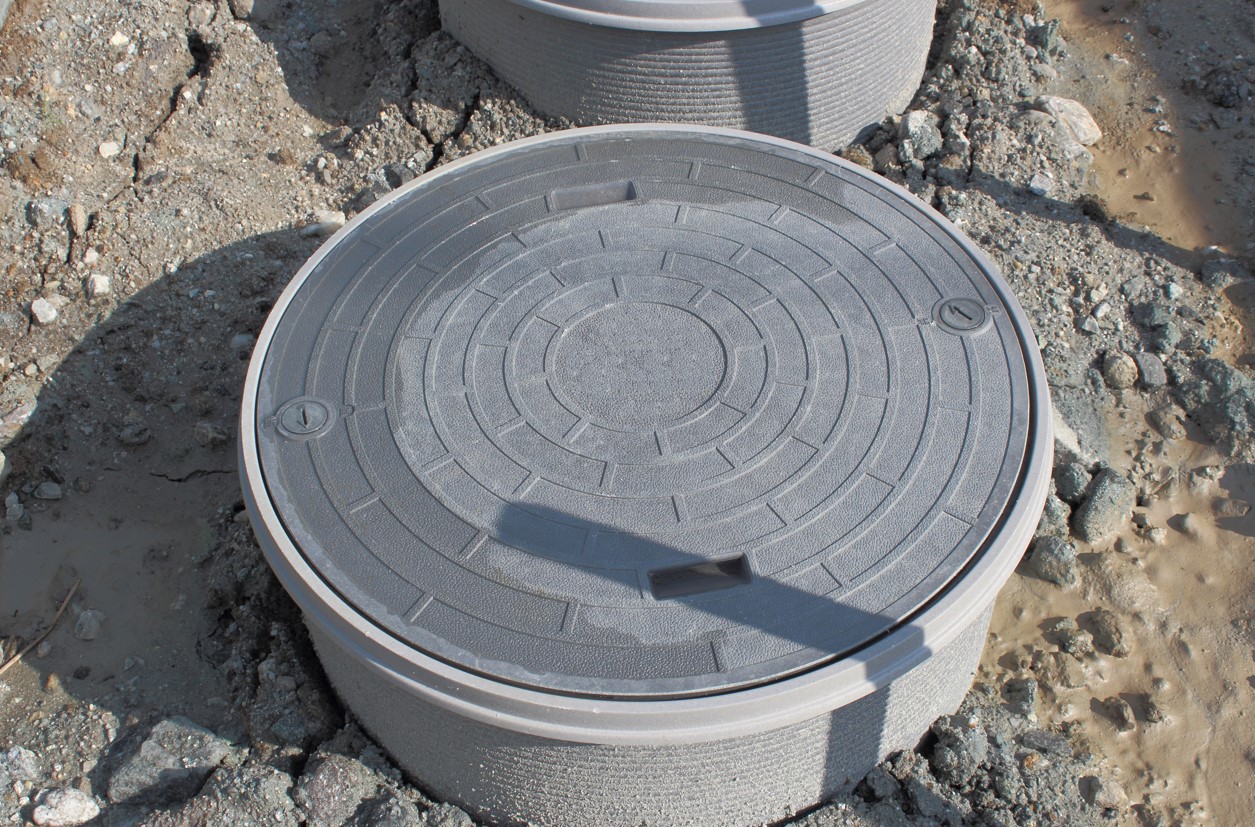
Connecting a kitchen sink to a septic tank may seem like a daunting task, but it is a necessary step in maintaining a properly functioning septic system. This process involves connecting the drain from the kitchen sink to the septic tank, ensuring that all wastewater is properly disposed of. Here are 10 steps to successfully connect your kitchen sink to a septic tank.How to Connect a Kitchen Sink to a Septic Tank
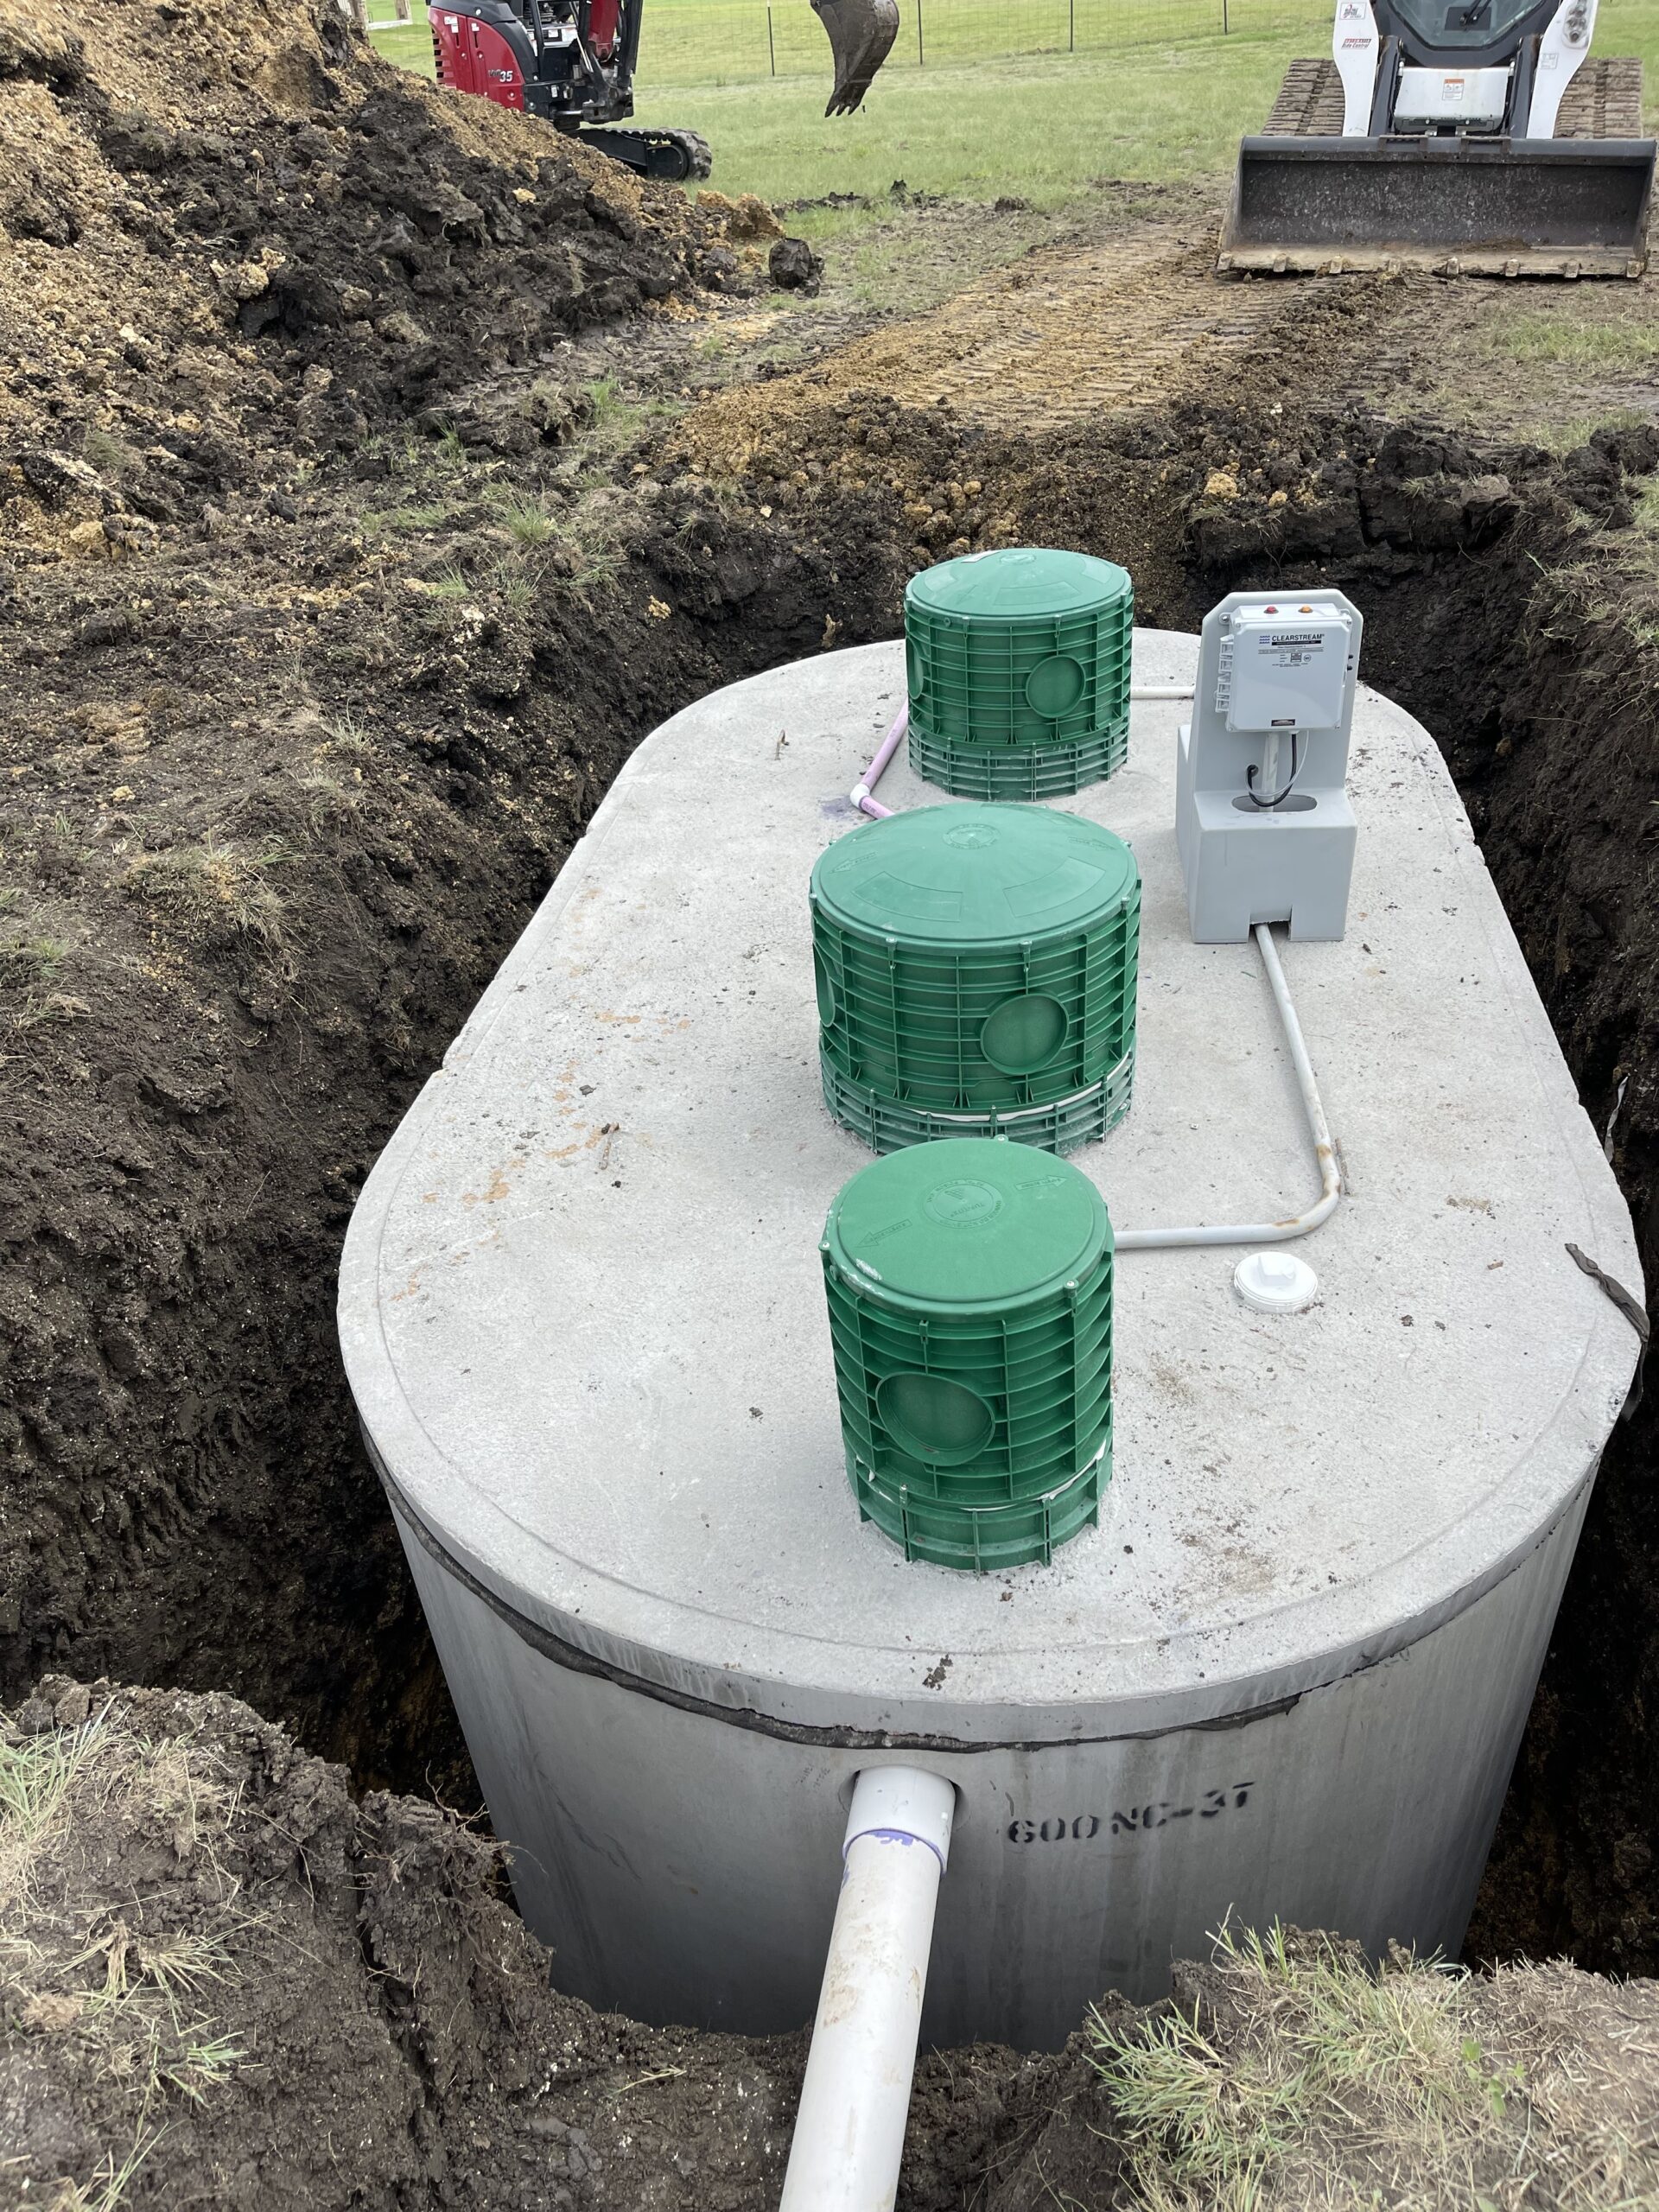
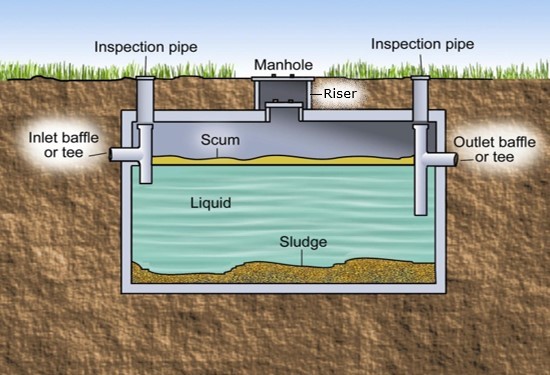
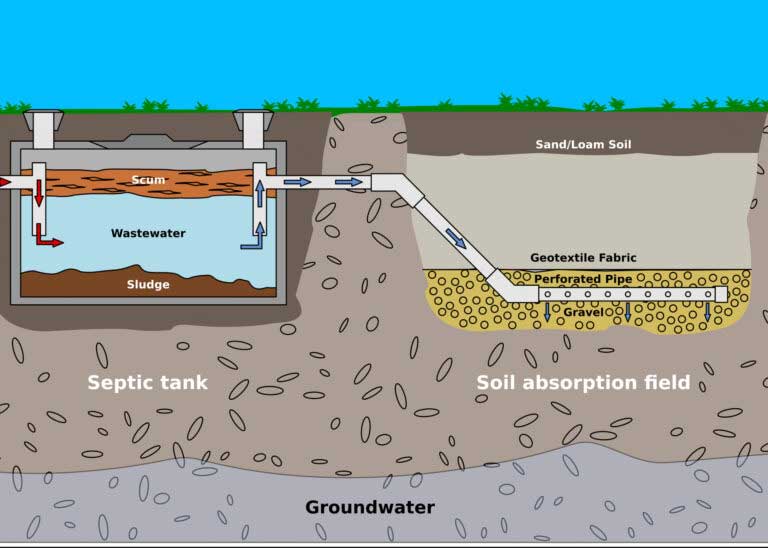
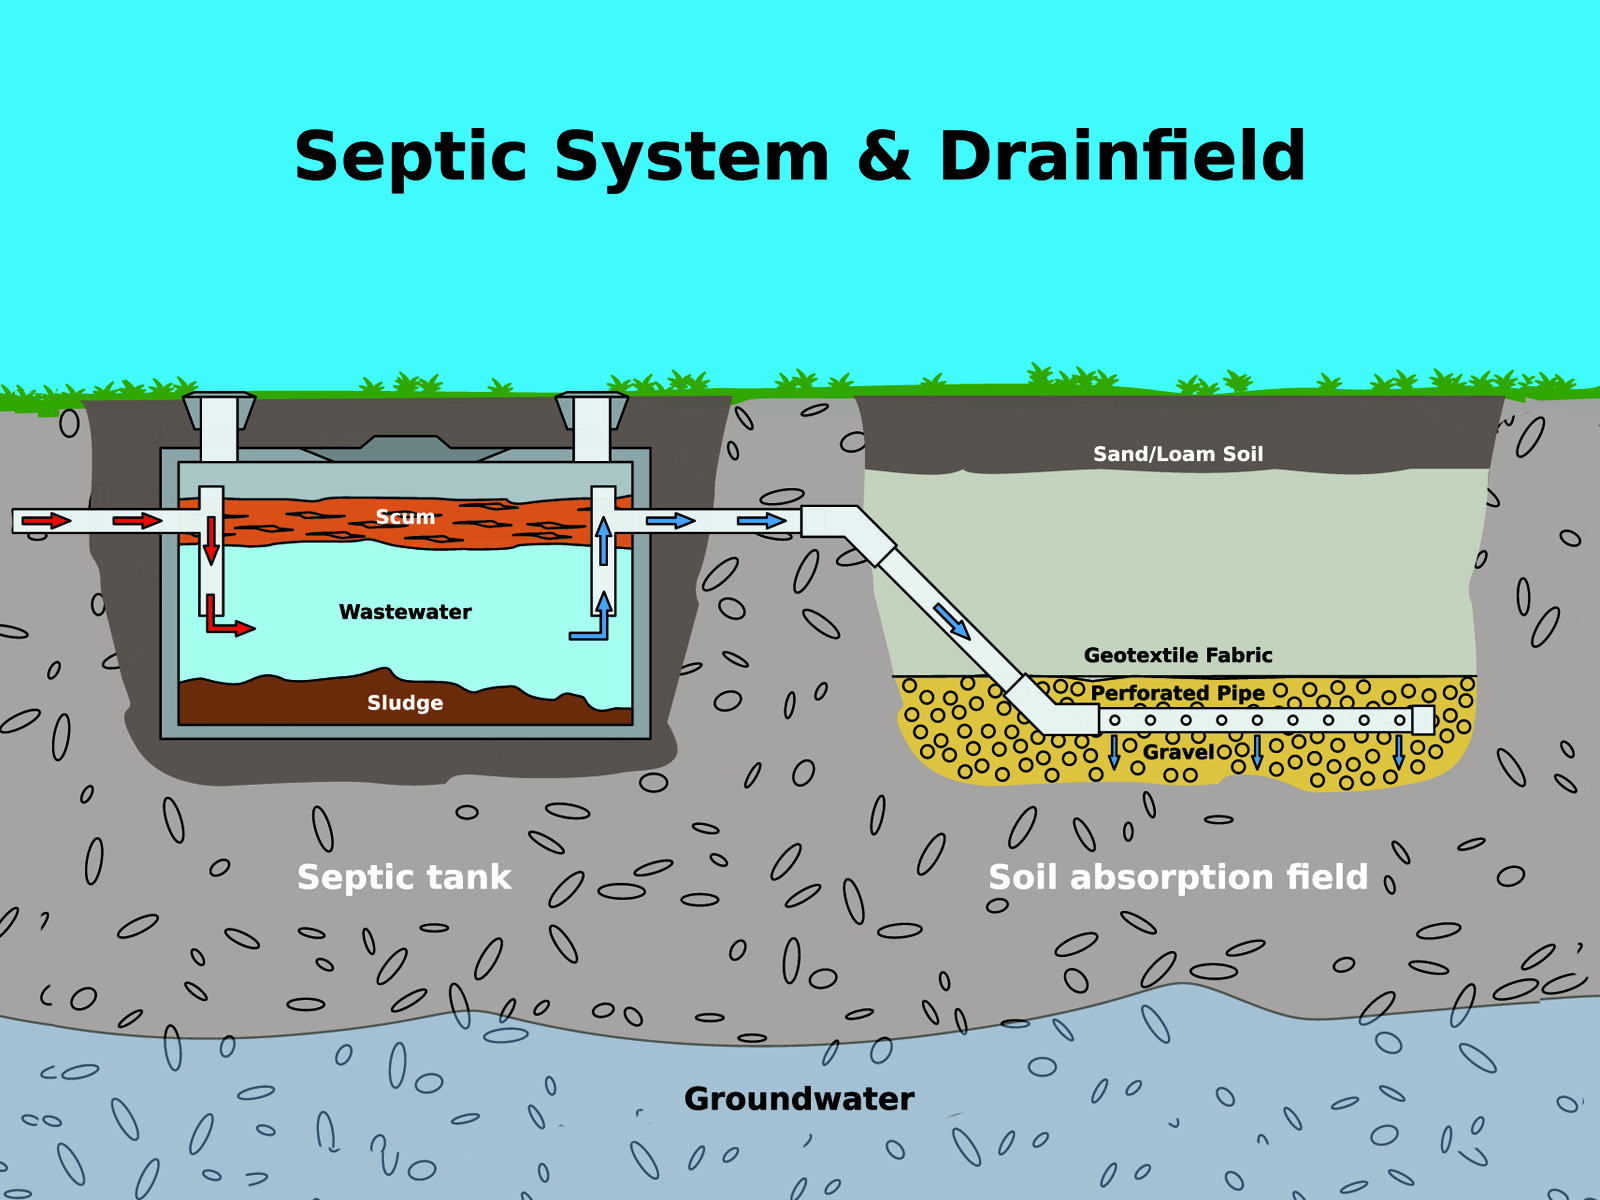
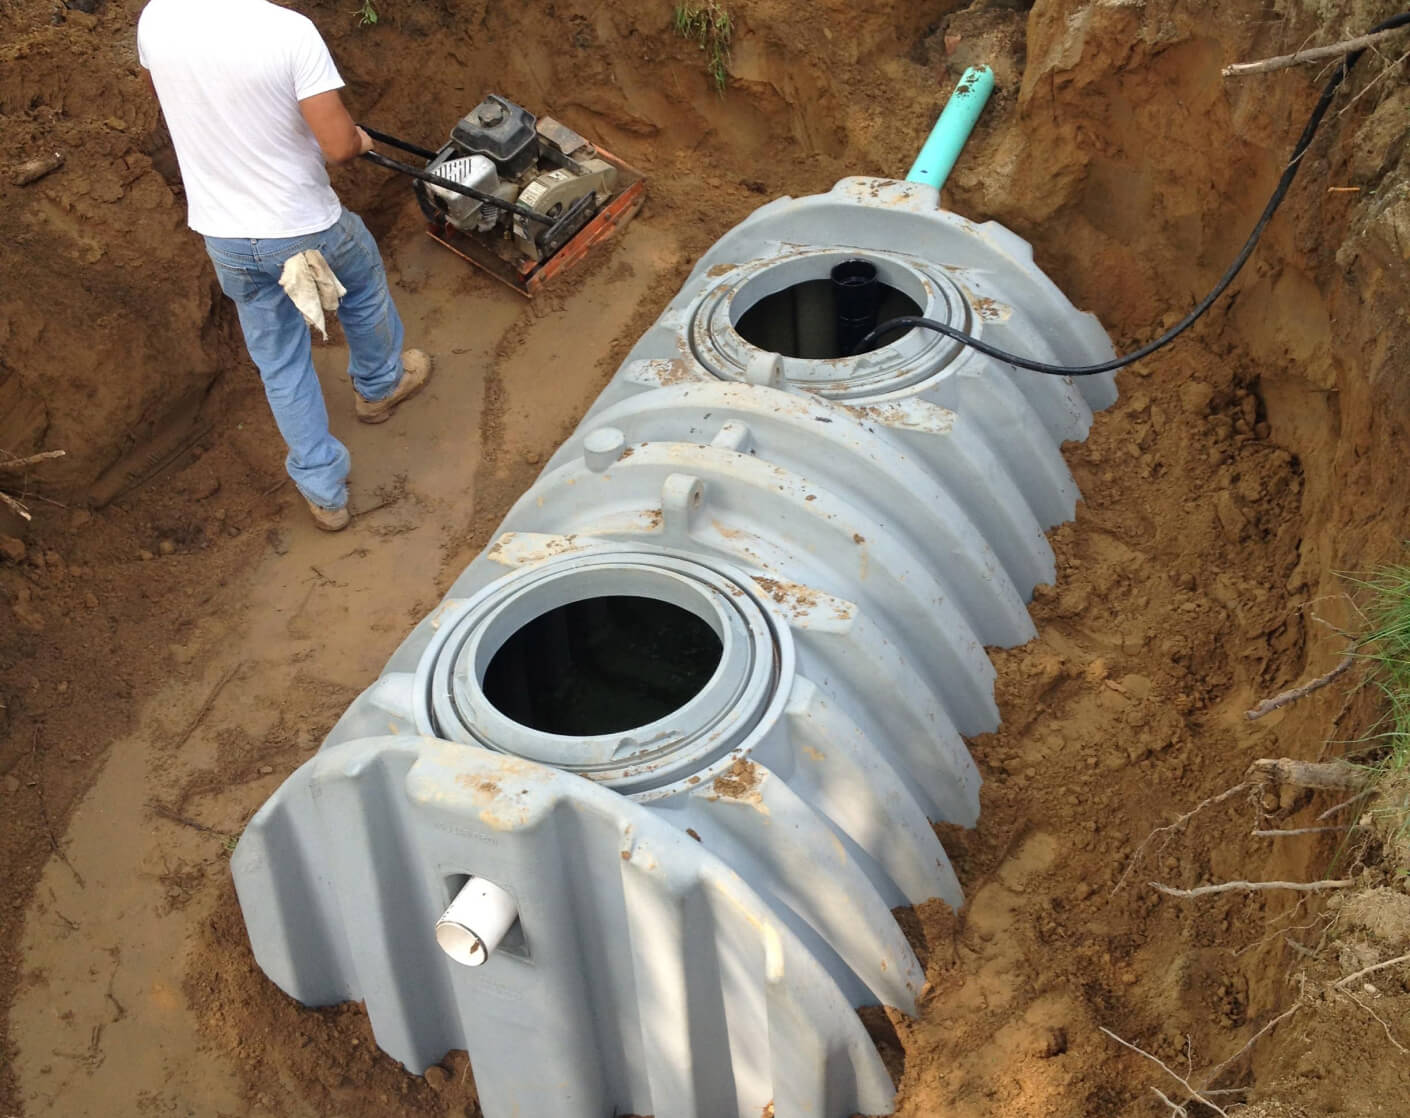
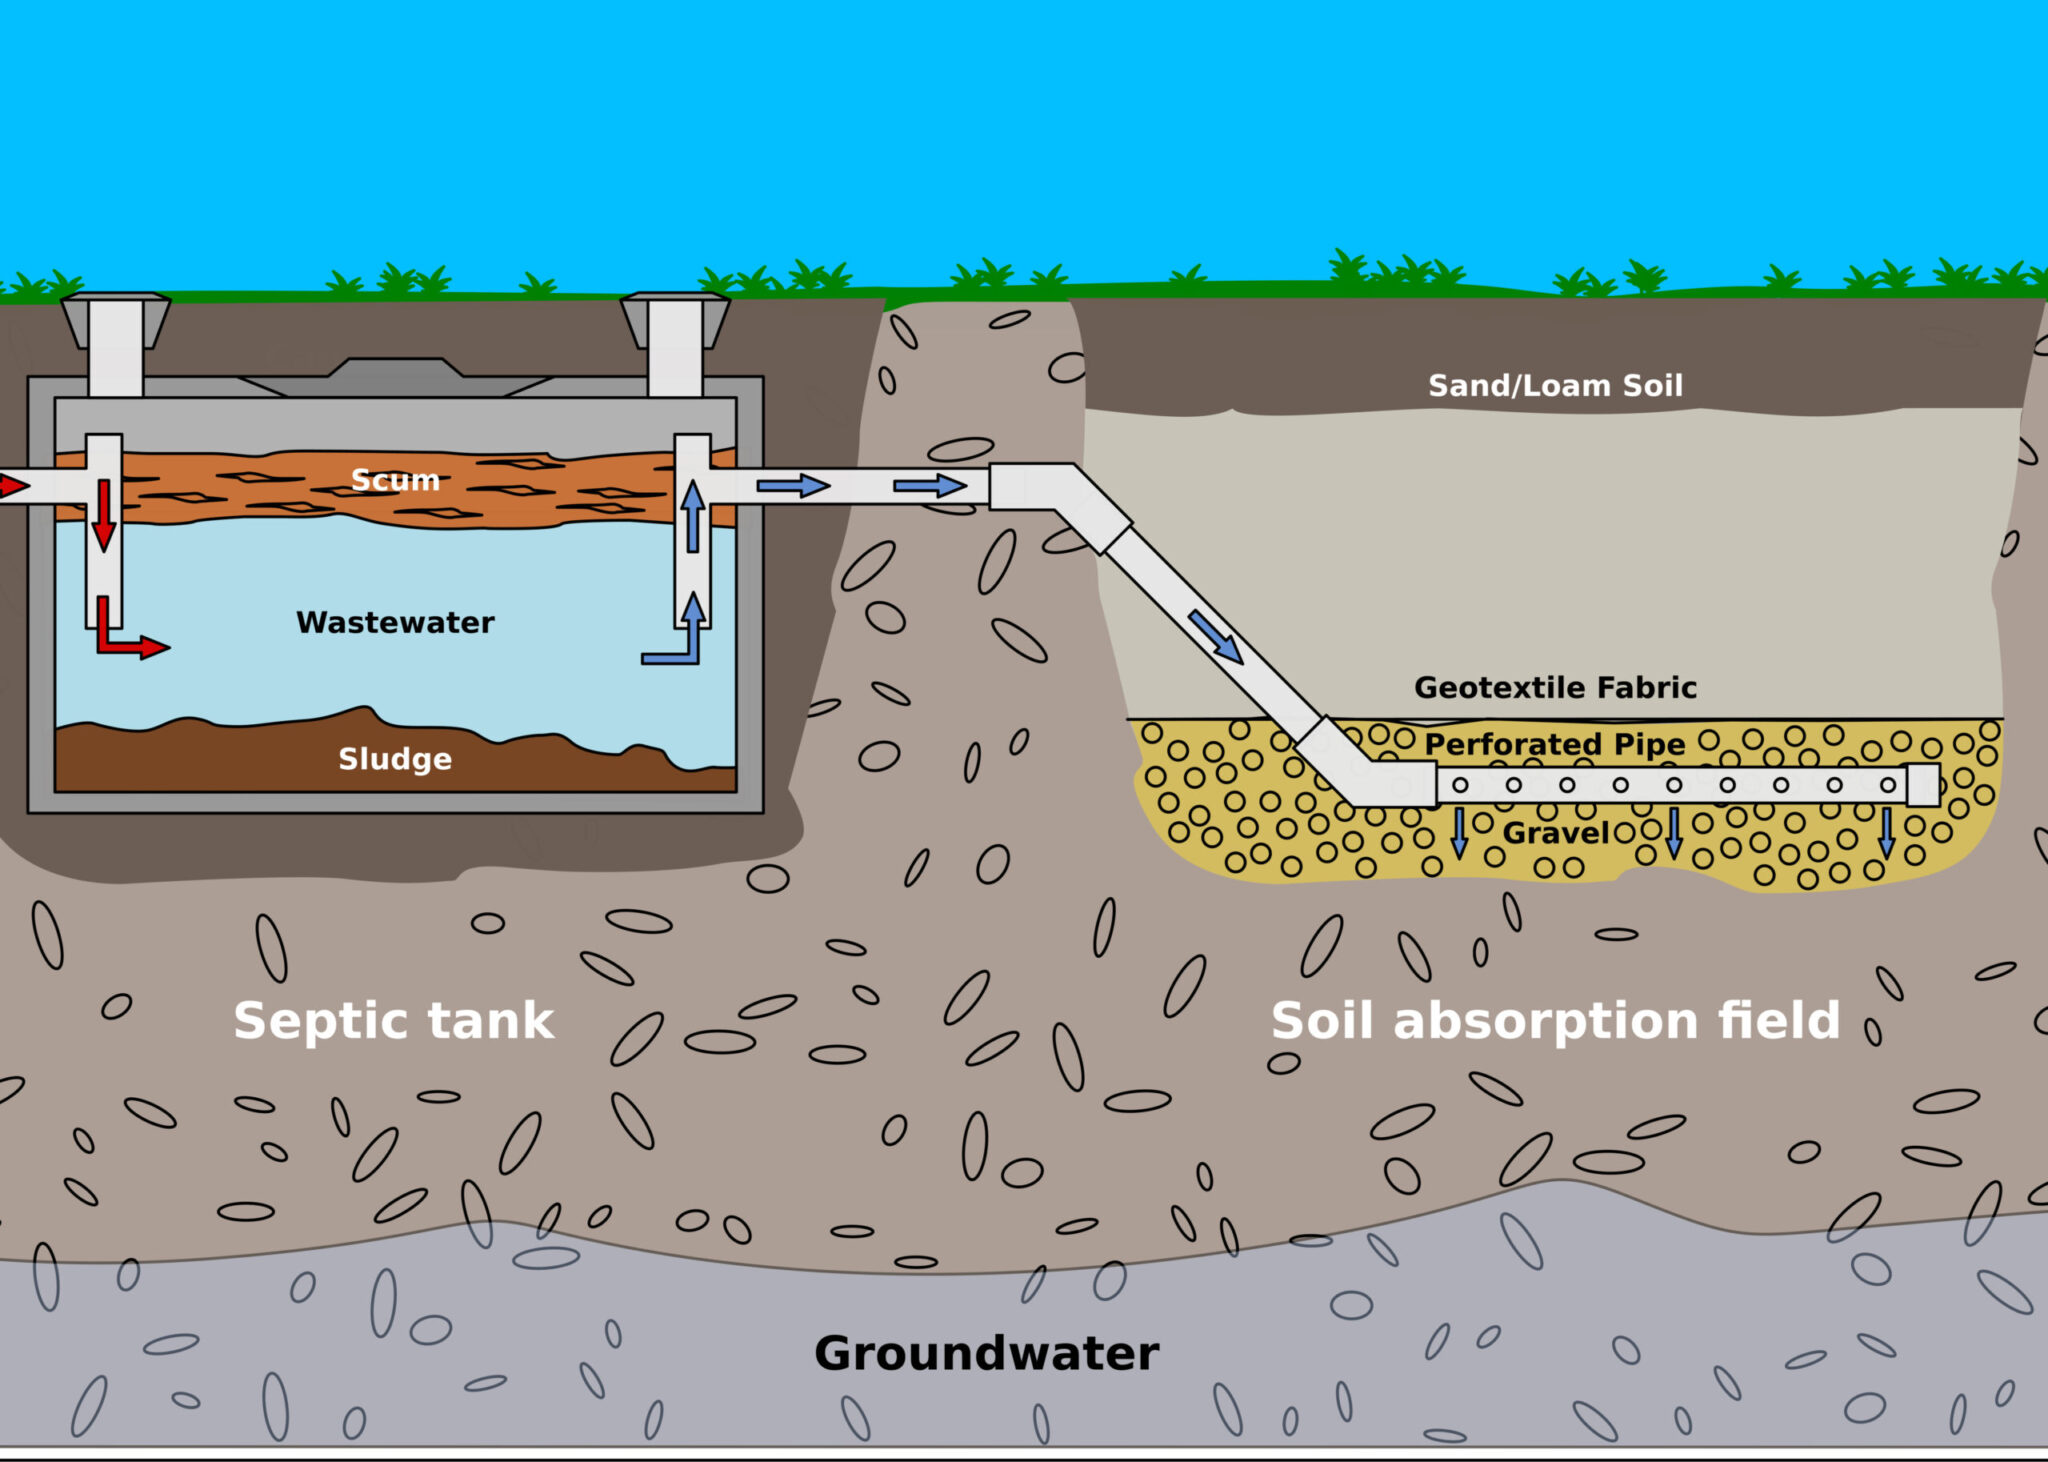
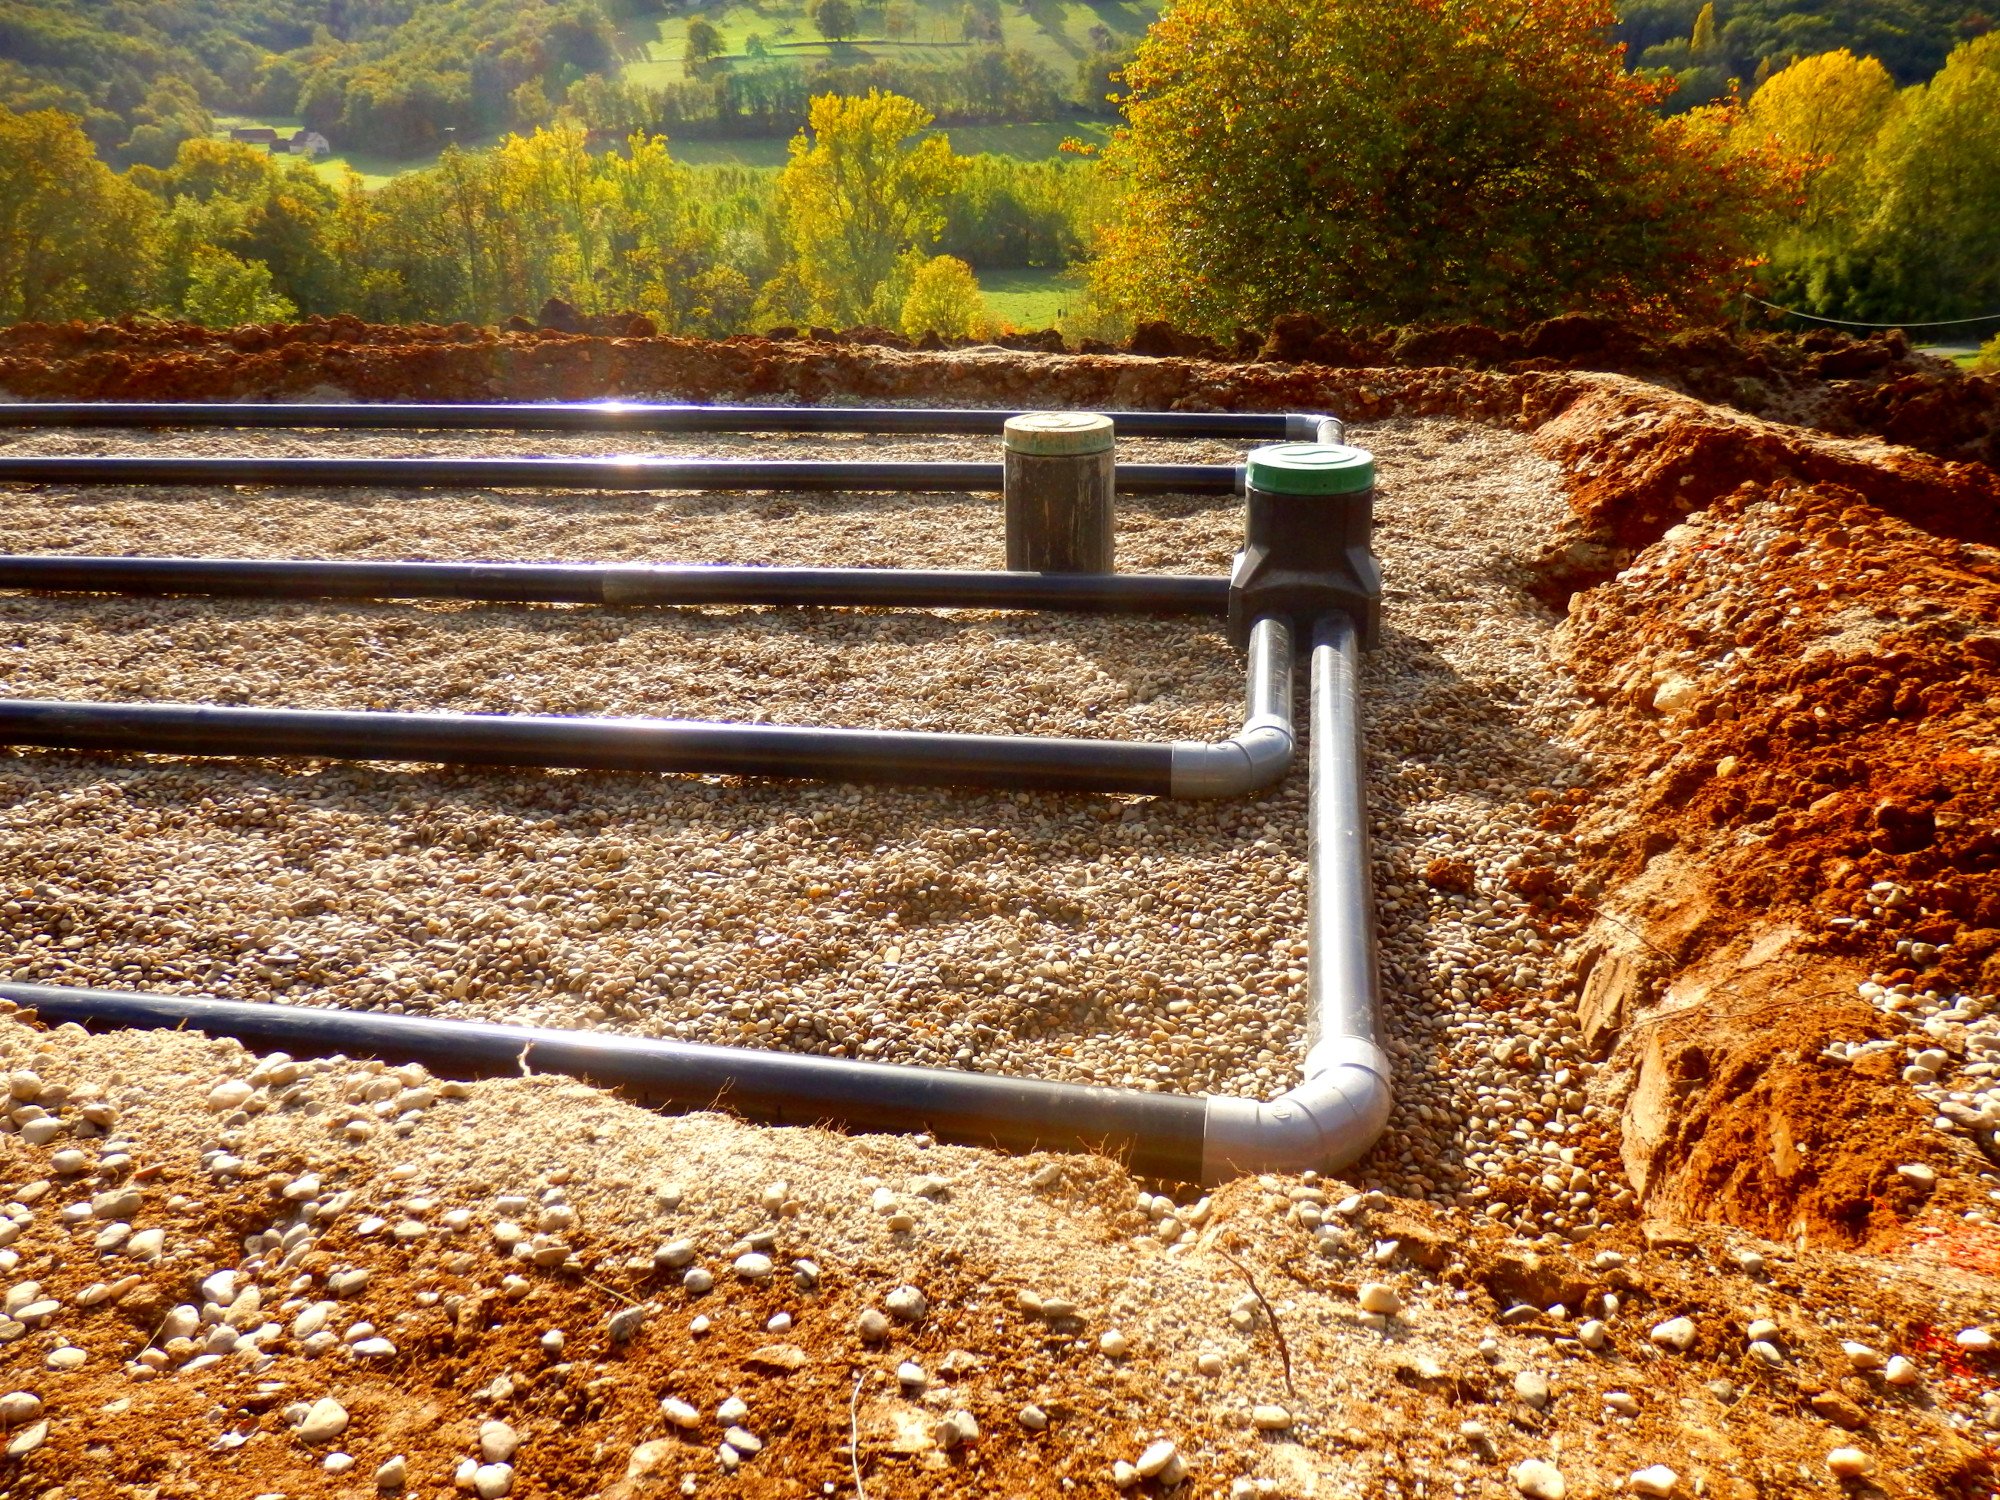
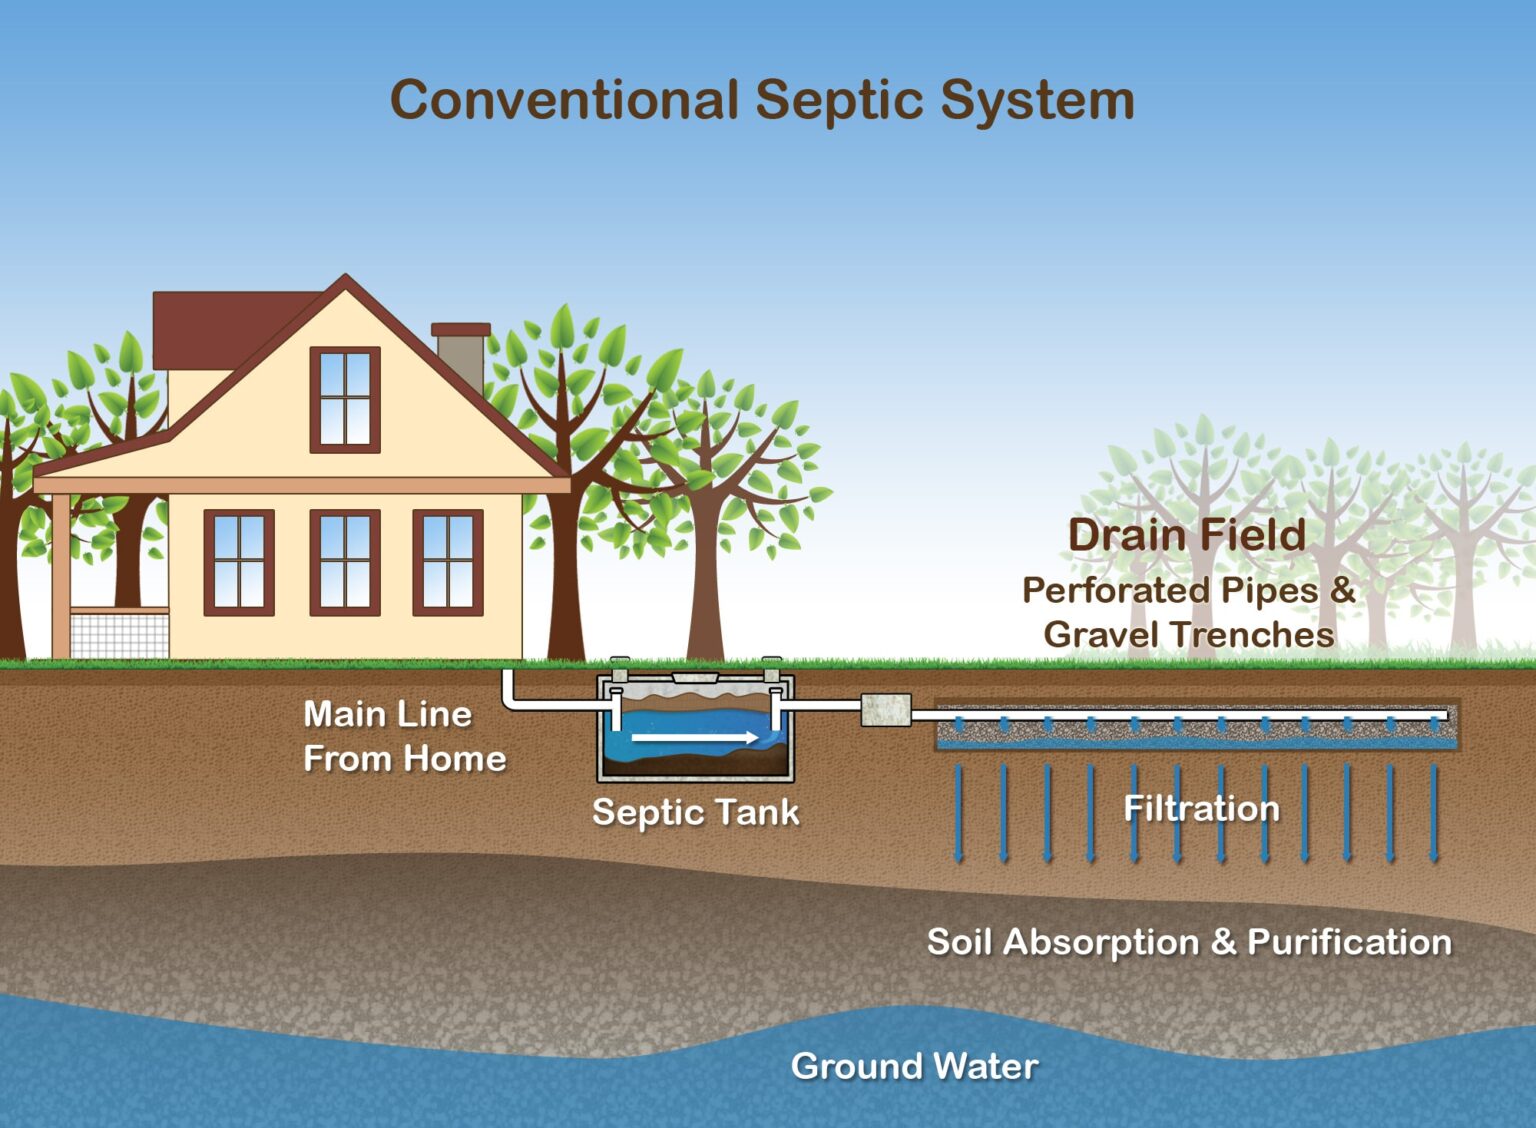
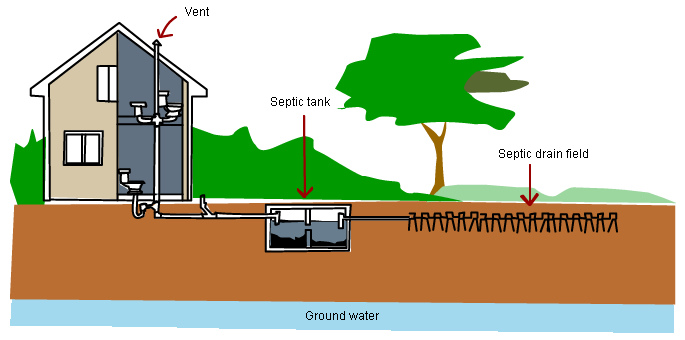
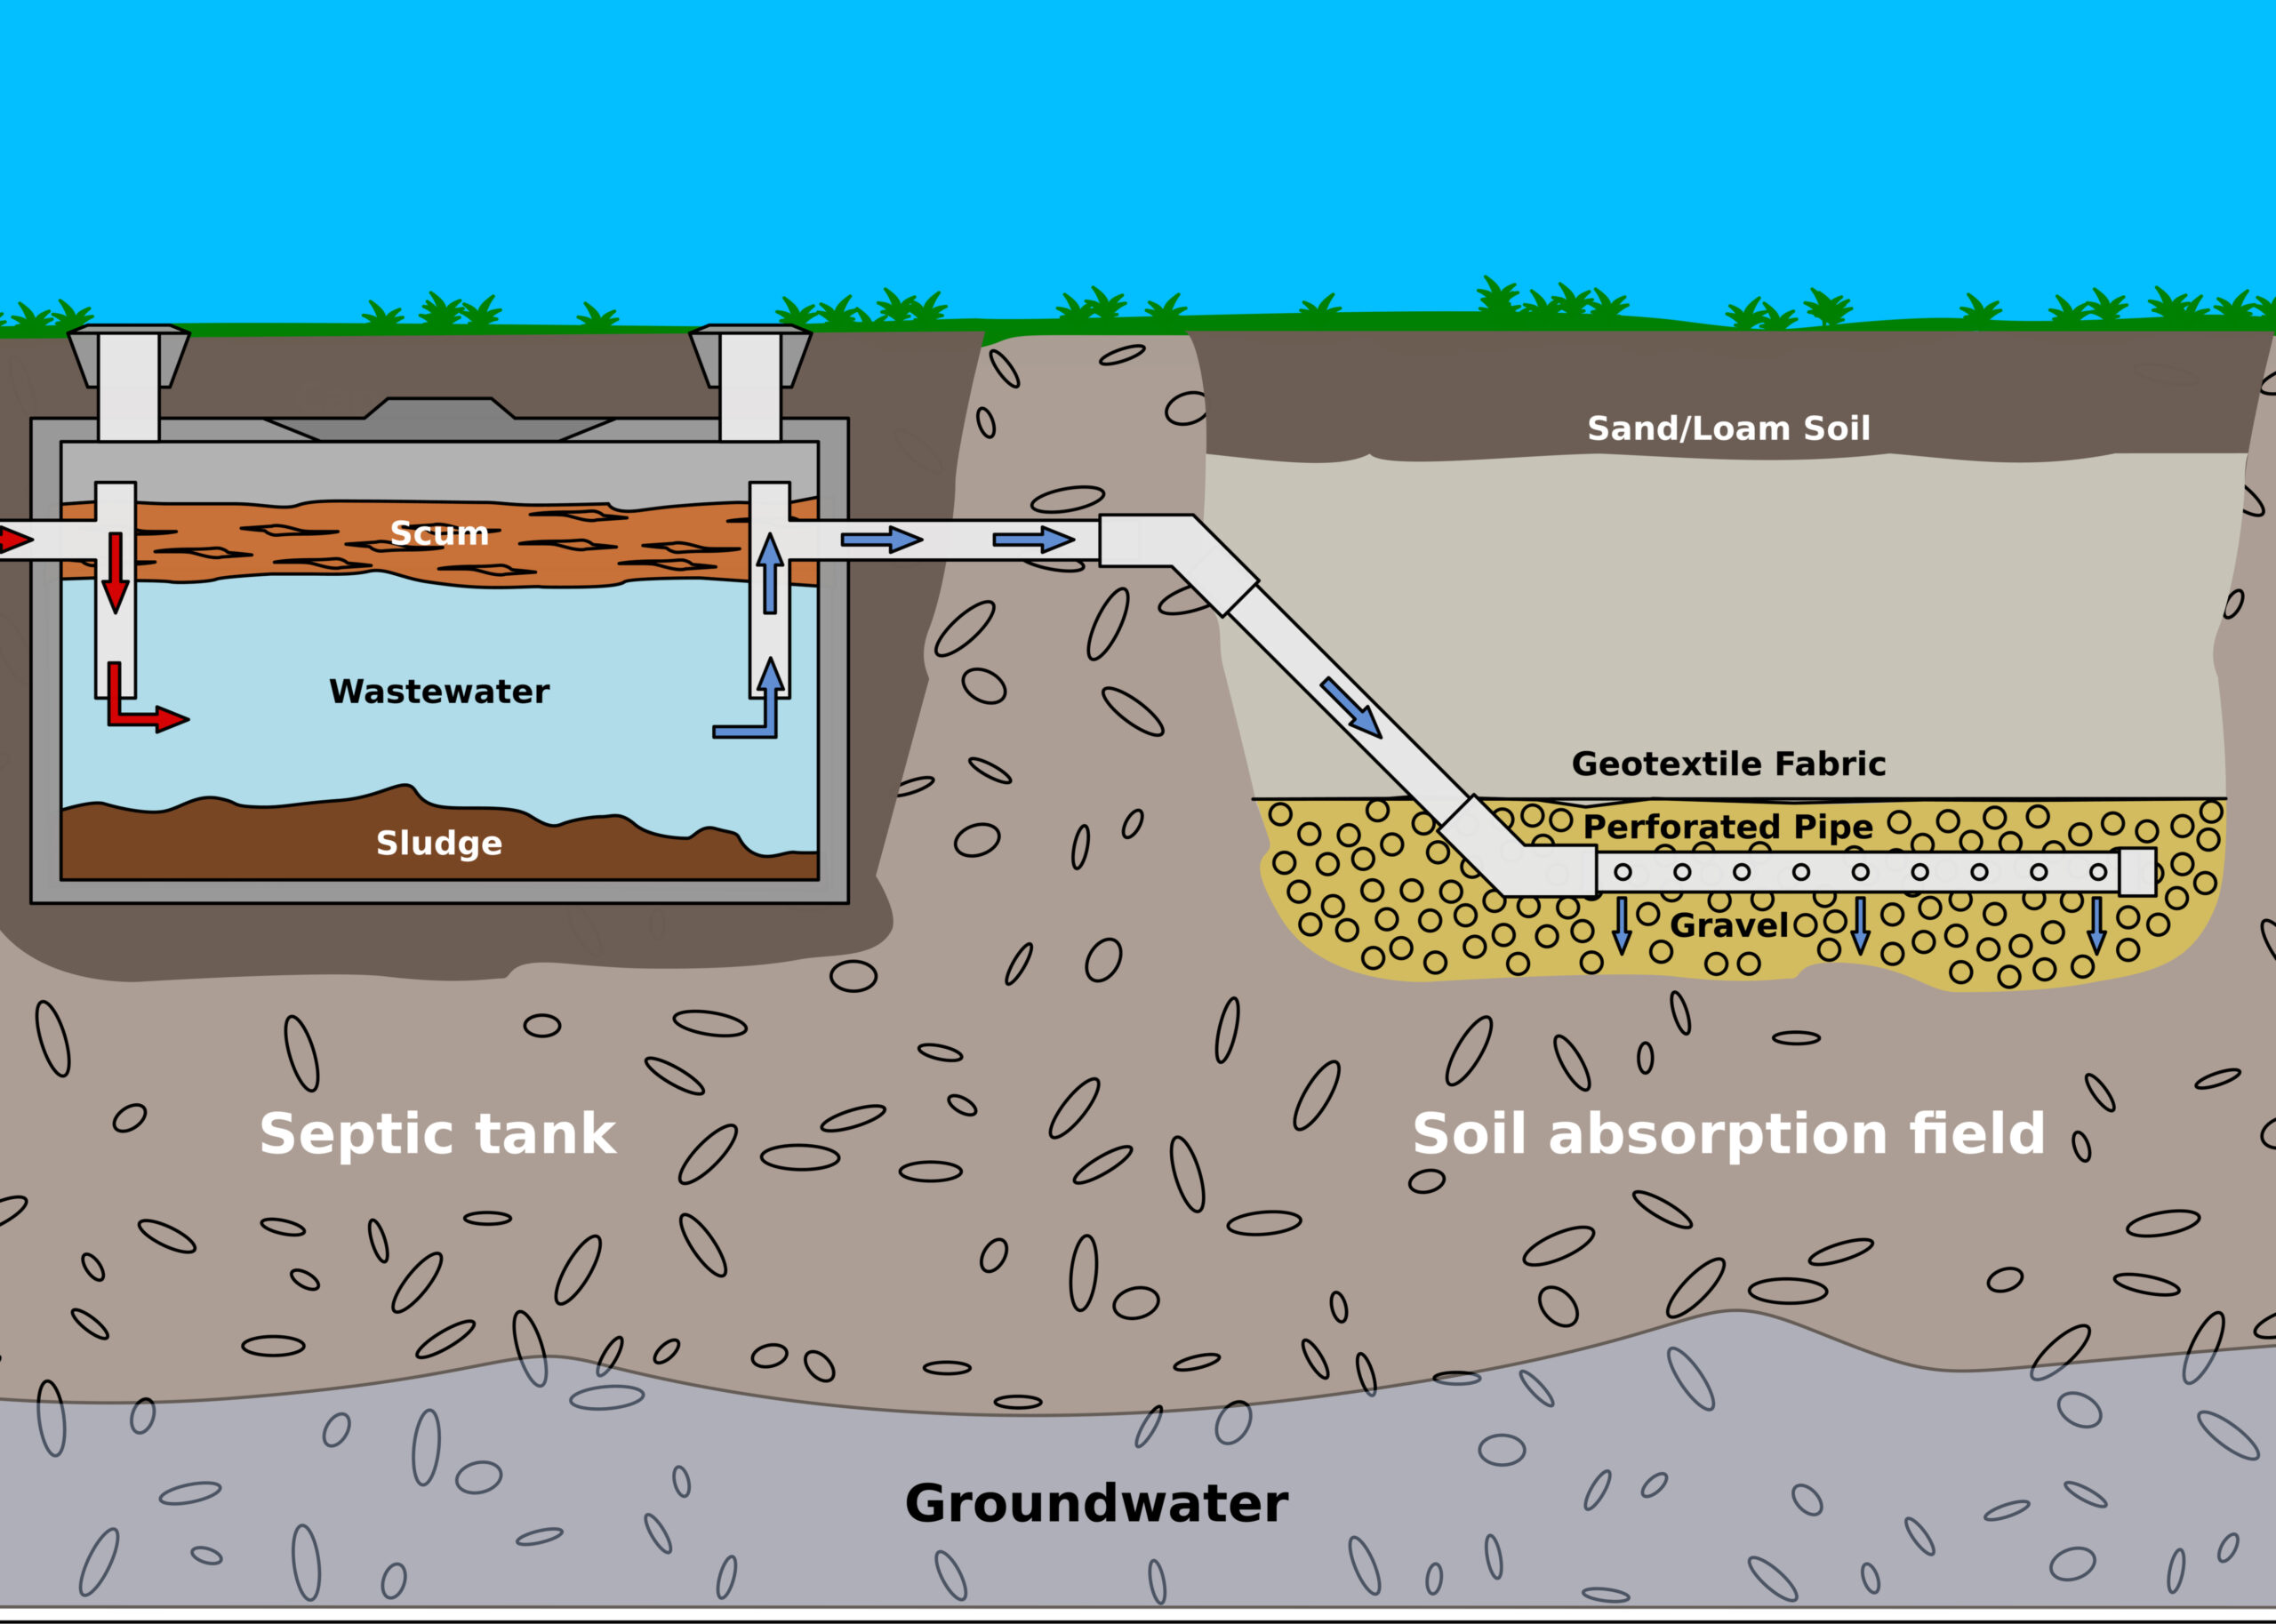
Before attempting to connect your kitchen sink to a septic tank, it is important to have a basic understanding of how your septic system works. A septic tank is a large underground tank that collects and treats wastewater from your household. The tank is connected to a series of pipes that distribute the treated water into a drainfield, where it is further filtered by the soil. It is important to note that only water, waste, and toilet paper should be flushed down the drains connected to the septic tank.Understanding Your Septic System
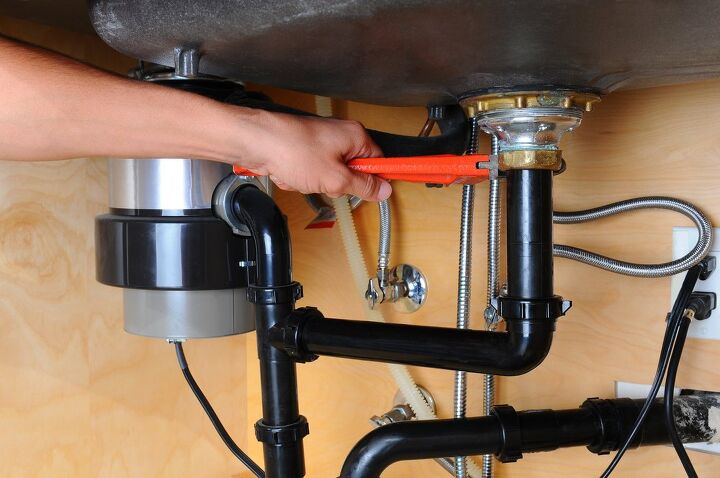
The first step in connecting your kitchen sink to a septic tank is to assess the current setup of your sink. Make sure that the drain pipe is easily accessible and that there is enough space to install a new pipe that will connect to the septic tank. If needed, remove any cabinets or obstacles that may impede the installation process.Assess Your Kitchen Sink
Before you begin the installation process, make sure you have all the necessary materials. This includes PVC pipes, connectors, a hacksaw, primer, and cement. It is important to choose high-quality materials to ensure a proper and long-lasting connection to your septic tank.Gather Materials
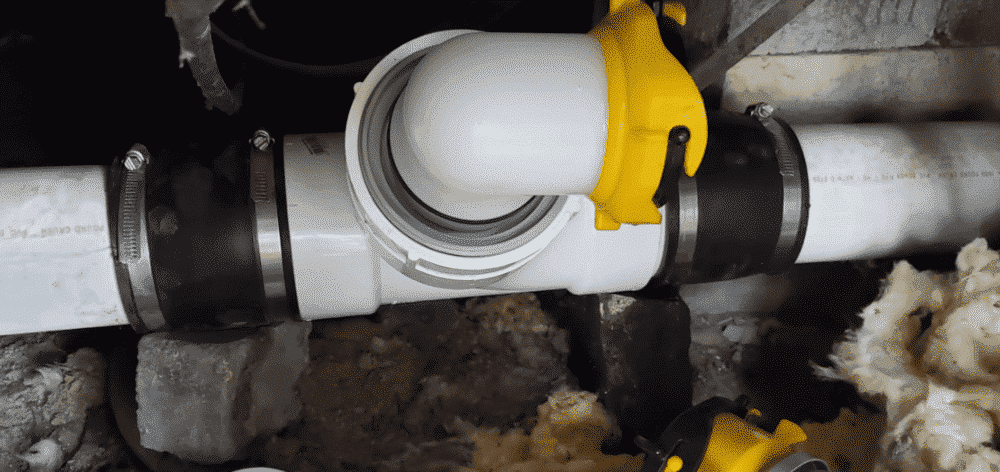
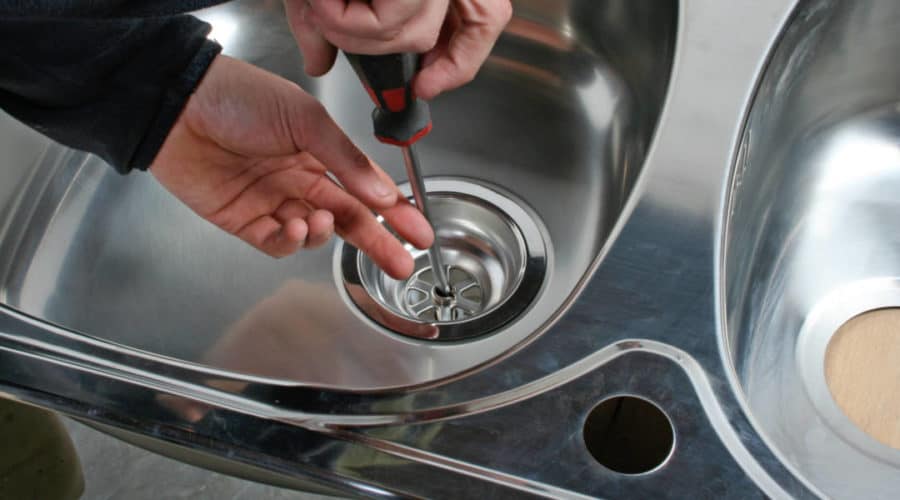
Using a hacksaw, cut a piece of PVC pipe to the appropriate length to connect your kitchen sink drain to the septic tank. Secure the pipe to the sink drain using a PVC connector and make sure it is tightly in place. Use primer and cement to secure the connection and prevent any leaks.Install the Pipe
In order for the wastewater to flow smoothly into the septic tank, it is important to create a vent. This can be done by installing a T-fitting in the pipe and connecting it to a vent pipe that leads to the roof of your home. This will allow air to escape and prevent any pressure buildup in the system.Create a Vent
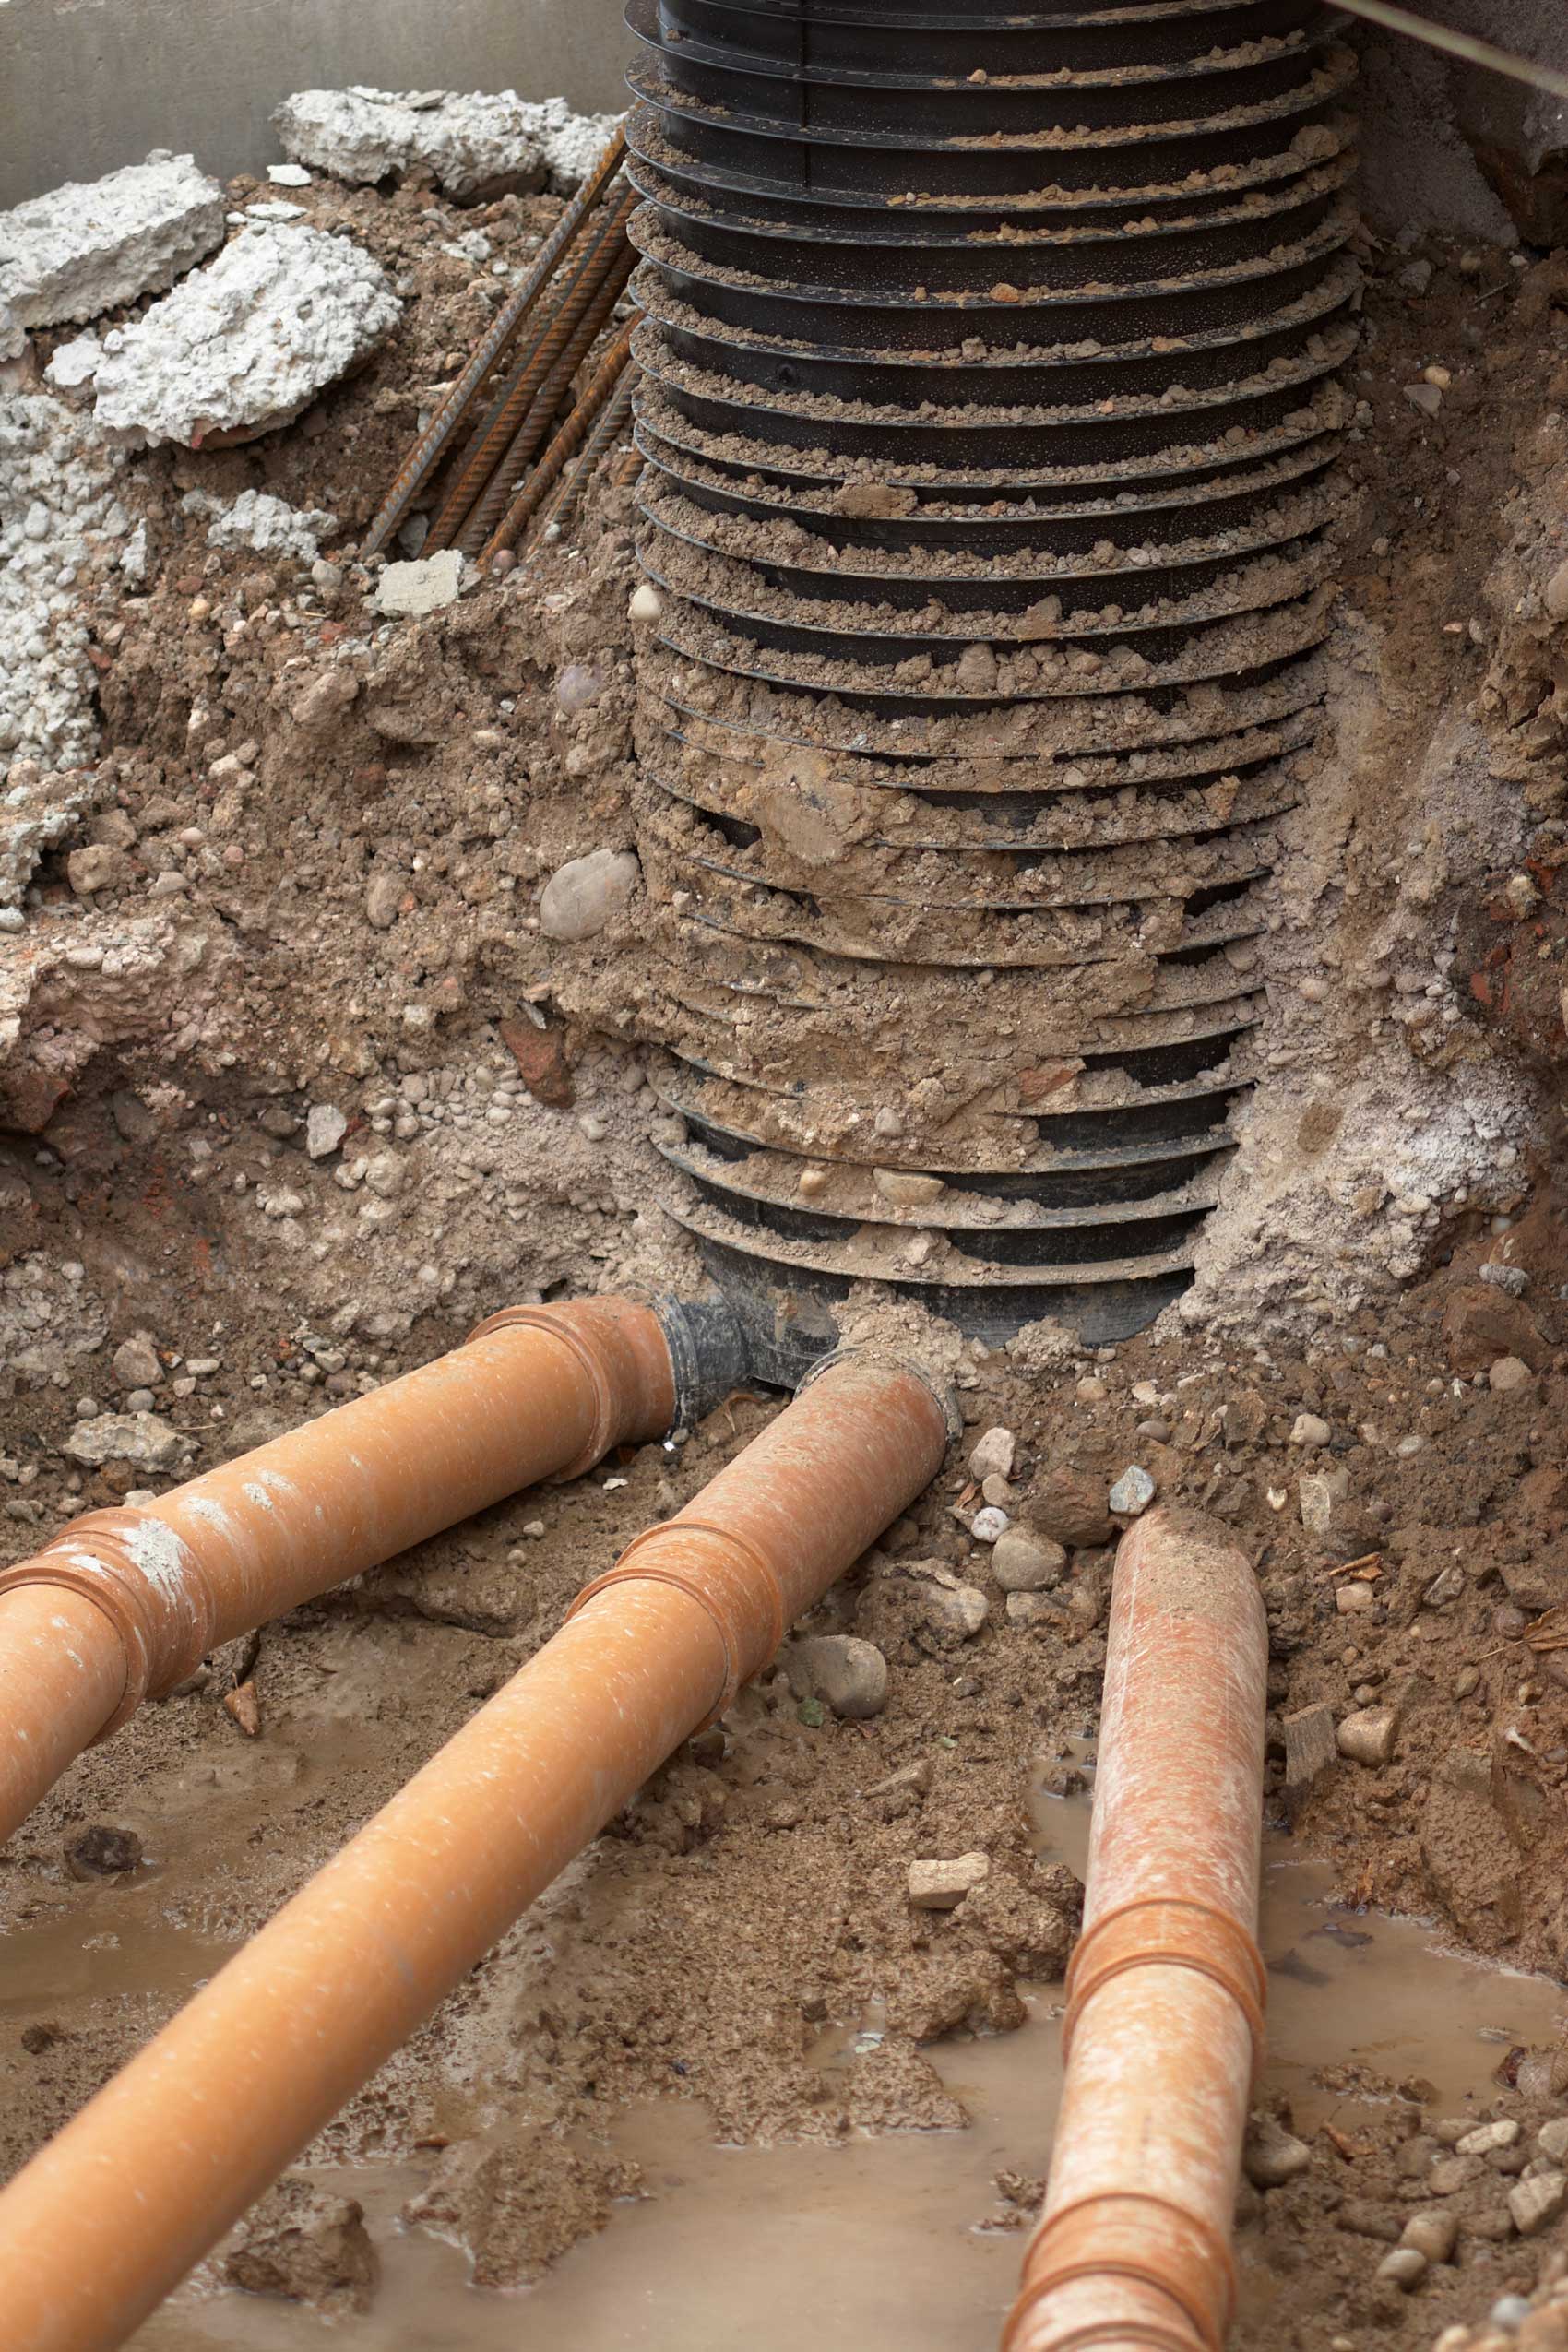
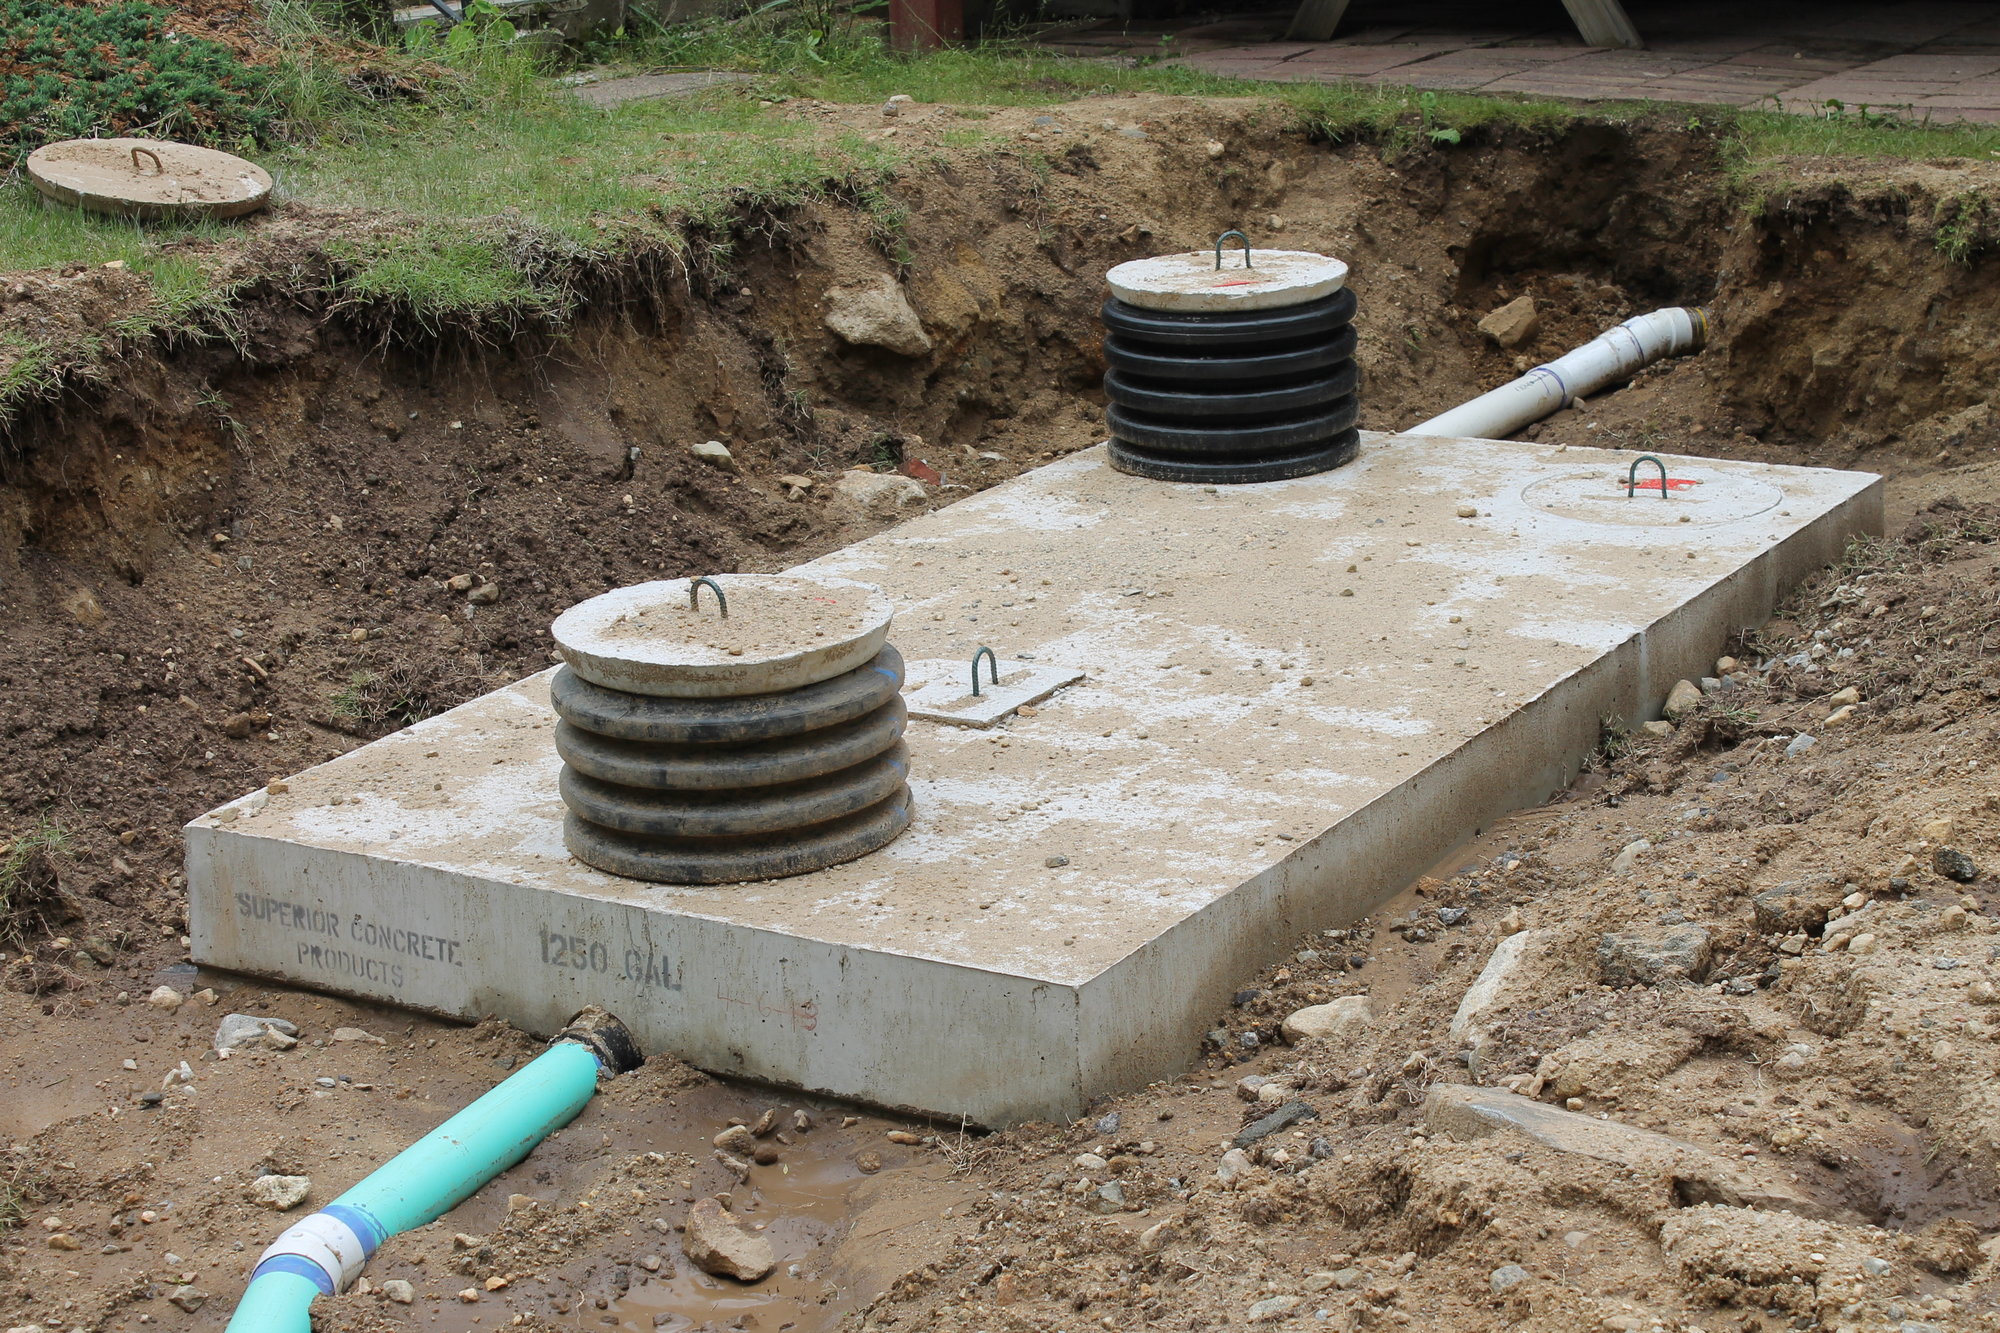
Once the pipe is installed and a vent is created, it is time to connect it to the septic tank. Dig a small trench from the kitchen sink drain to the septic tank and bury the pipe. Use a septic tank adapter to connect the pipe to the tank, making sure it is tightly sealed to prevent any leaks.Connect to the Septic Tank
After the installation is complete, it is important to test the connection to ensure that everything is working properly. Fill the sink with water and allow it to drain into the septic tank. Check for any leaks and make sure the water is flowing smoothly into the tank.Test the Connection
To prevent any clogs or backups, it is important to properly maintain your septic system. This includes regular inspections, pumping the tank every 3-5 years, and being mindful of what is flushed down the drains. By taking proper care of your septic system, you can avoid any costly repairs or replacements in the future.Maintain Your Septic System
If you are unsure about how to properly connect your kitchen sink to a septic tank, it is always best to seek professional help. A licensed plumber or septic system technician can ensure that the installation is done correctly and can provide valuable advice on how to maintain your septic system.Seek Professional Help if Needed
Connecting Your Kitchen Sink to a Septic System: A Vital Step in House Design

The Importance of Properly Connecting Your Kitchen Sink to a Septic System
 When it comes to designing a house, there are many important factors to consider. One of the most crucial aspects is the septic system, which is responsible for safely disposing of household wastewater. And within the septic system, the kitchen sink plays a significant role. That's why it's essential to properly connect your kitchen sink to the septic system.
Septic systems
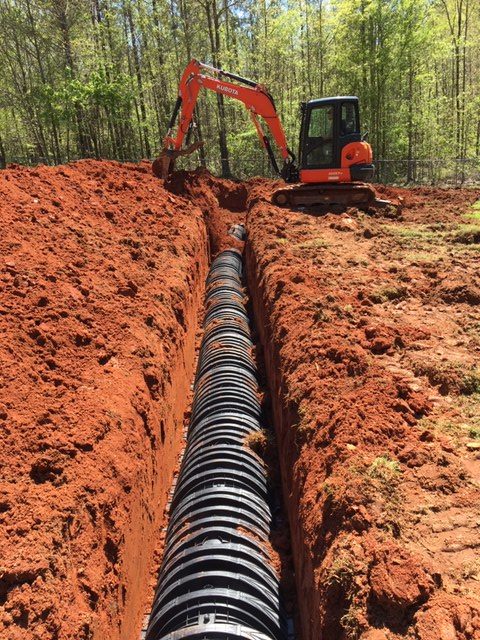
are designed to collect, treat, and dispose of wastewater from a household. They are typically built underground and consist of a septic tank and a drain field. The septic tank is where the wastewater first enters and is partially treated, while the drain field is where the treated wastewater is released back into the ground.
Now, you might be wondering why the kitchen sink is so crucial in this process. The answer lies in the type of wastewater that comes from it. Unlike other household drains, the kitchen sink is responsible for disposing of food scraps, oils, and grease, which can all cause issues if not properly connected to the septic system.
How to Connect Your Kitchen Sink to a Septic System
 Connecting your kitchen sink to the septic system is not a complicated process, but it does require some careful planning and proper installation. Here are the steps you need to follow:
1. Choose the Right Type of Kitchen Sink
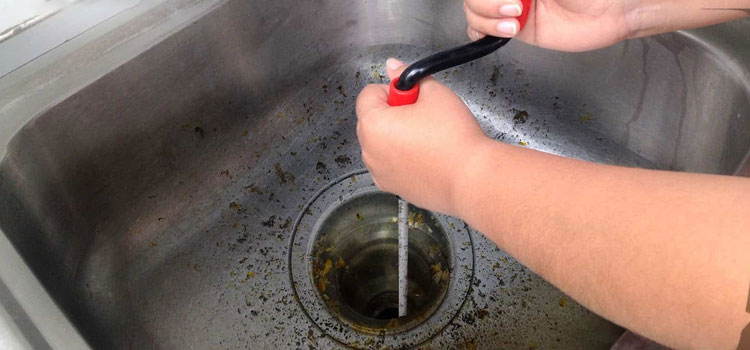
When designing your house, it's essential to choose a kitchen sink that is compatible with your septic system. Avoid sinks with garbage disposals, as they can cause clogs and increase the load on your septic system. Instead, opt for a sink with a strainer to catch food scraps and prevent them from entering the septic tank.
2. Install a Properly Sized Septic Tank
The size of your septic tank should be based on the number of people living in your household and the daily water usage. A larger tank is needed for a larger family or a house with frequent guests. The septic tank should also be placed at least 10 feet away from the kitchen sink to avoid any potential issues.
3. Connect the Sink Drain to the Septic Tank
The sink drain should be connected to the septic tank's inlet pipe, which is usually located near the top of the tank. This connection should be made with a watertight seal to prevent any leaks.
4. Install a Grease Trap
As mentioned earlier, the kitchen sink is responsible for disposing of oils and grease, which can cause clogs in the septic system. Installing a grease trap between the sink and the septic tank can help prevent these substances from entering the tank and causing problems.
The Benefits of Properly Connecting Your Kitchen Sink to a Septic System
 By following these steps and properly connecting your kitchen sink to the septic system, you can reap many benefits. Firstly, you can avoid costly repairs and potential health hazards caused by a malfunctioning septic system. Additionally, you can help maintain the overall health and efficiency of your septic system, ensuring it can effectively treat and dispose of household wastewater.
In conclusion, connecting your kitchen sink to a septic system is a vital step in house design. It not only ensures the proper functioning of your septic system but also promotes a healthy and safe living environment for you and your family. So, make sure to carefully plan and install your kitchen sink to the septic system to enjoy the benefits for years to come.












:no_upscale()/cdn.vox-cdn.com/uploads/chorus_asset/file/19495086/drain_0.jpg)


/how-to-install-a-sink-drain-2718789-hero-b5b99f72b5a24bb2ae8364e60539cece.jpg)







:max_bytes(150000):strip_icc()/how-to-install-a-sink-drain-2718789-hero-24e898006ed94c9593a2a268b57989a3.jpg)


