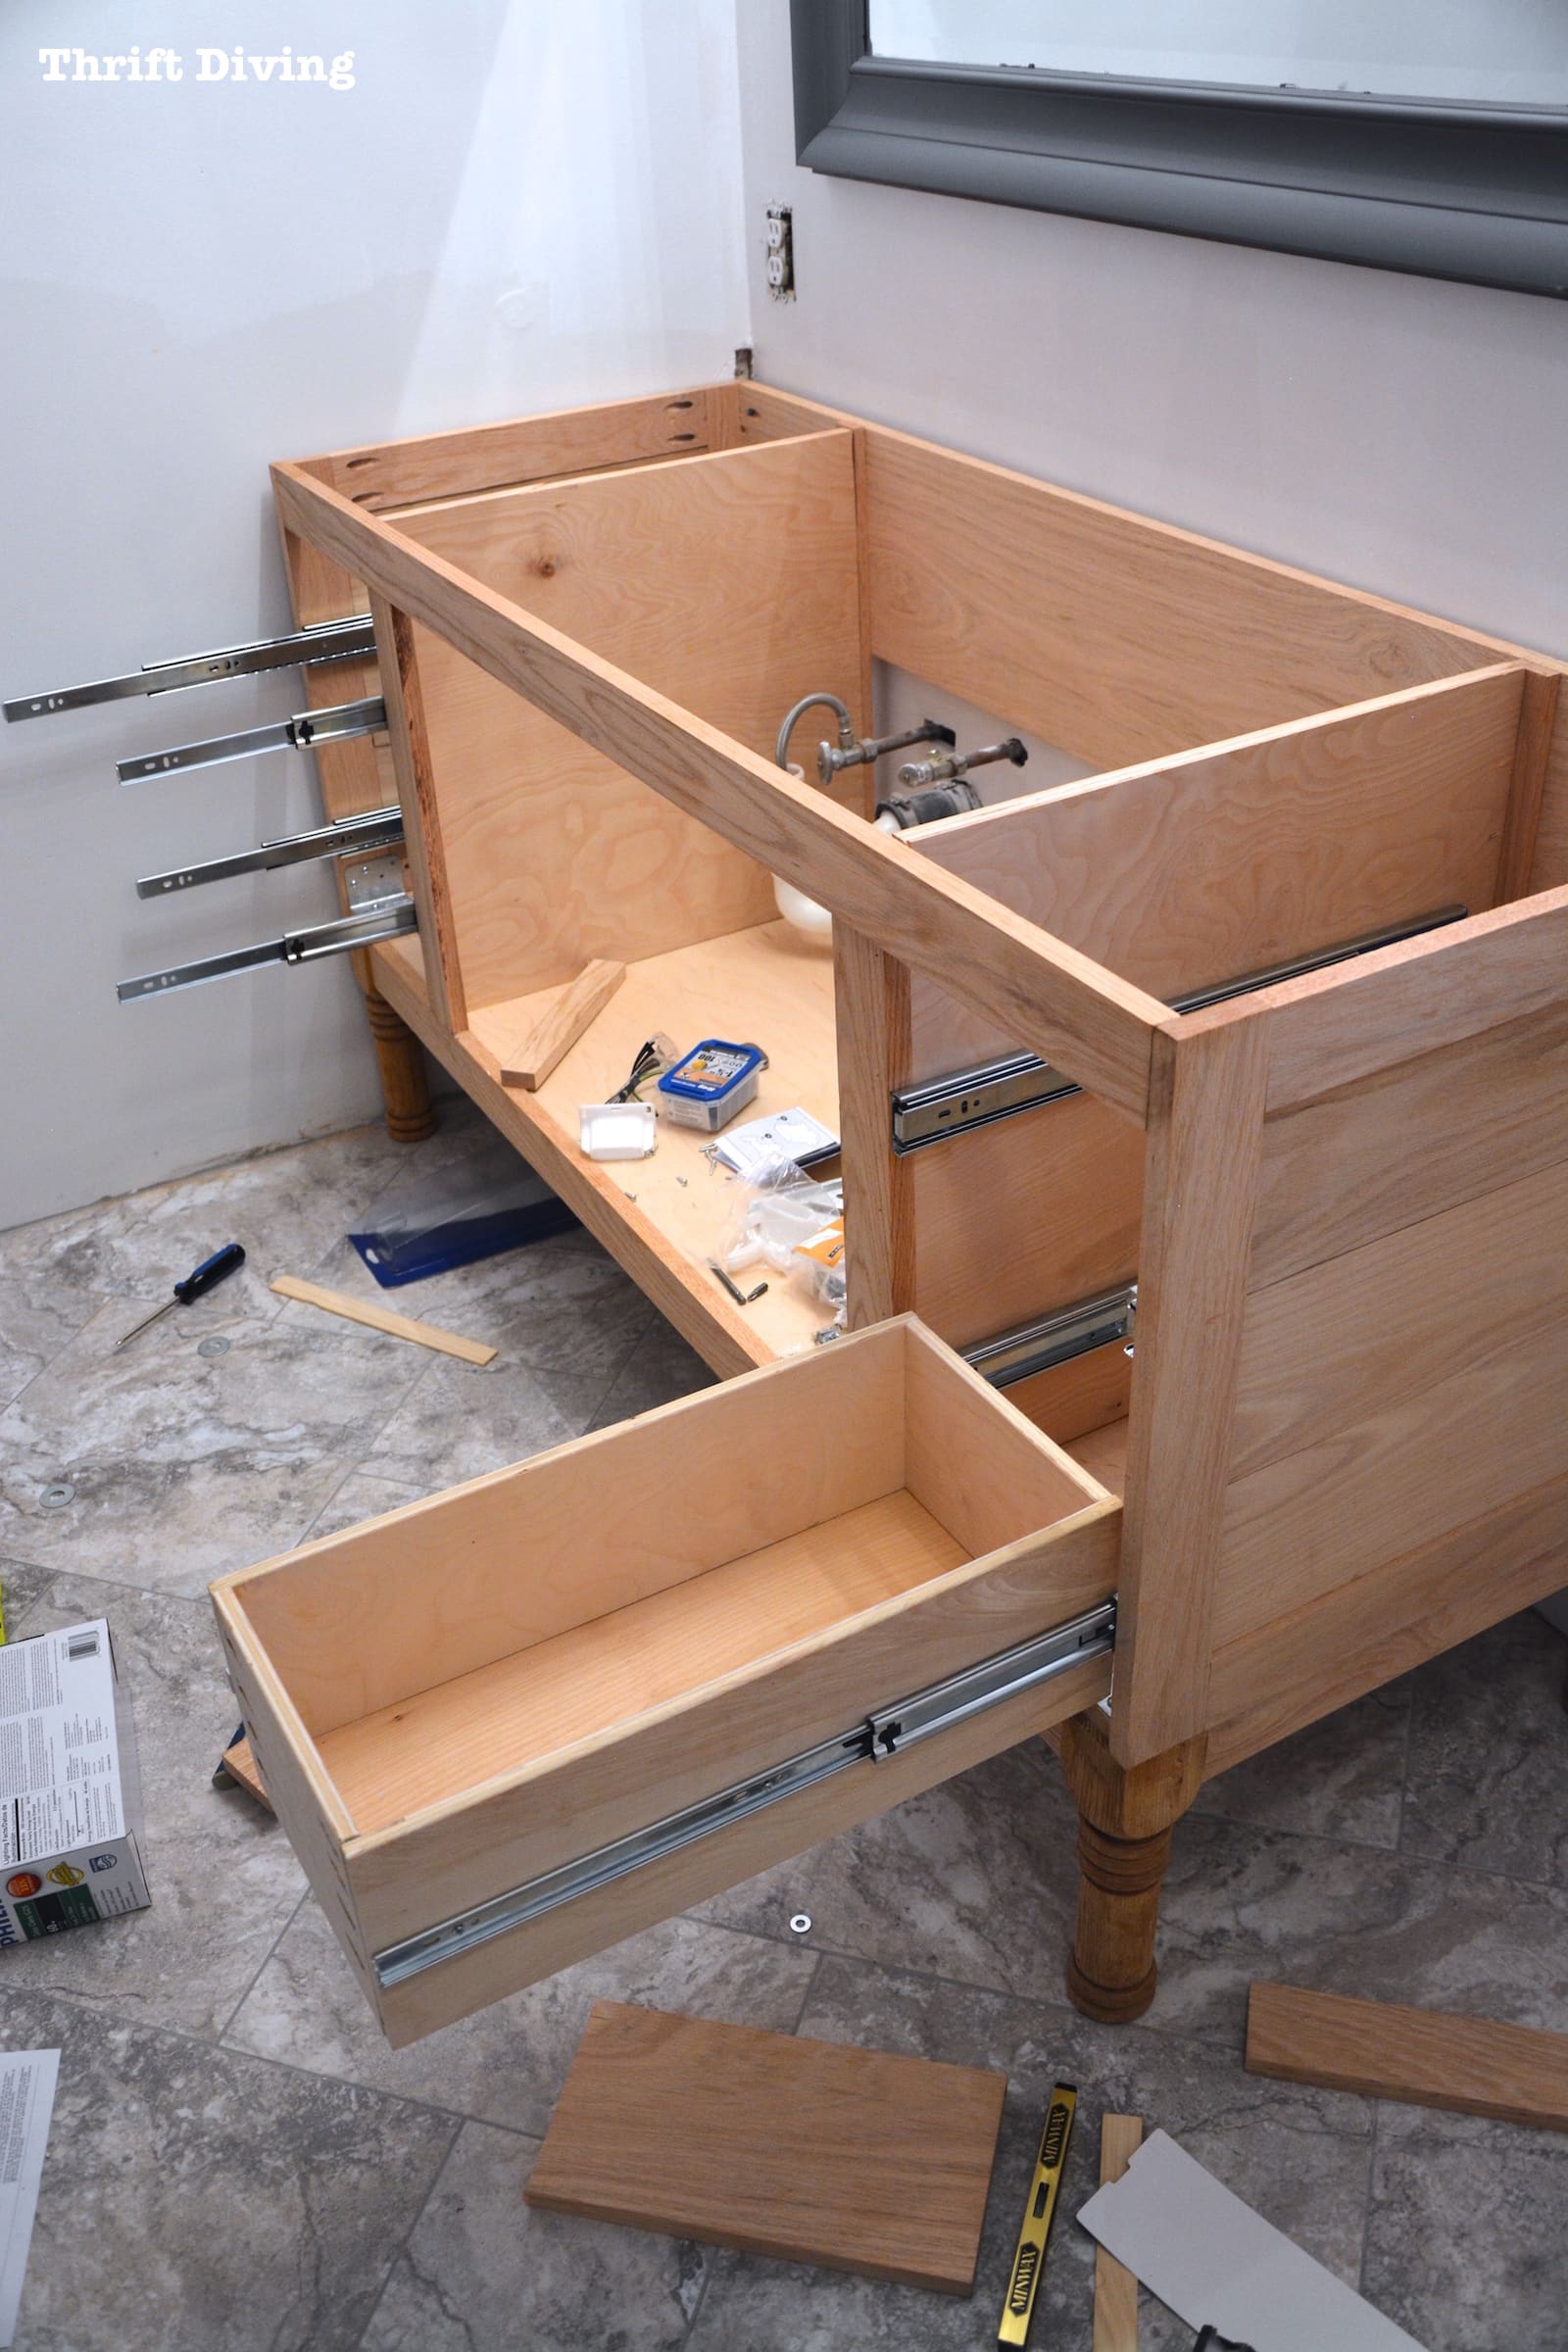
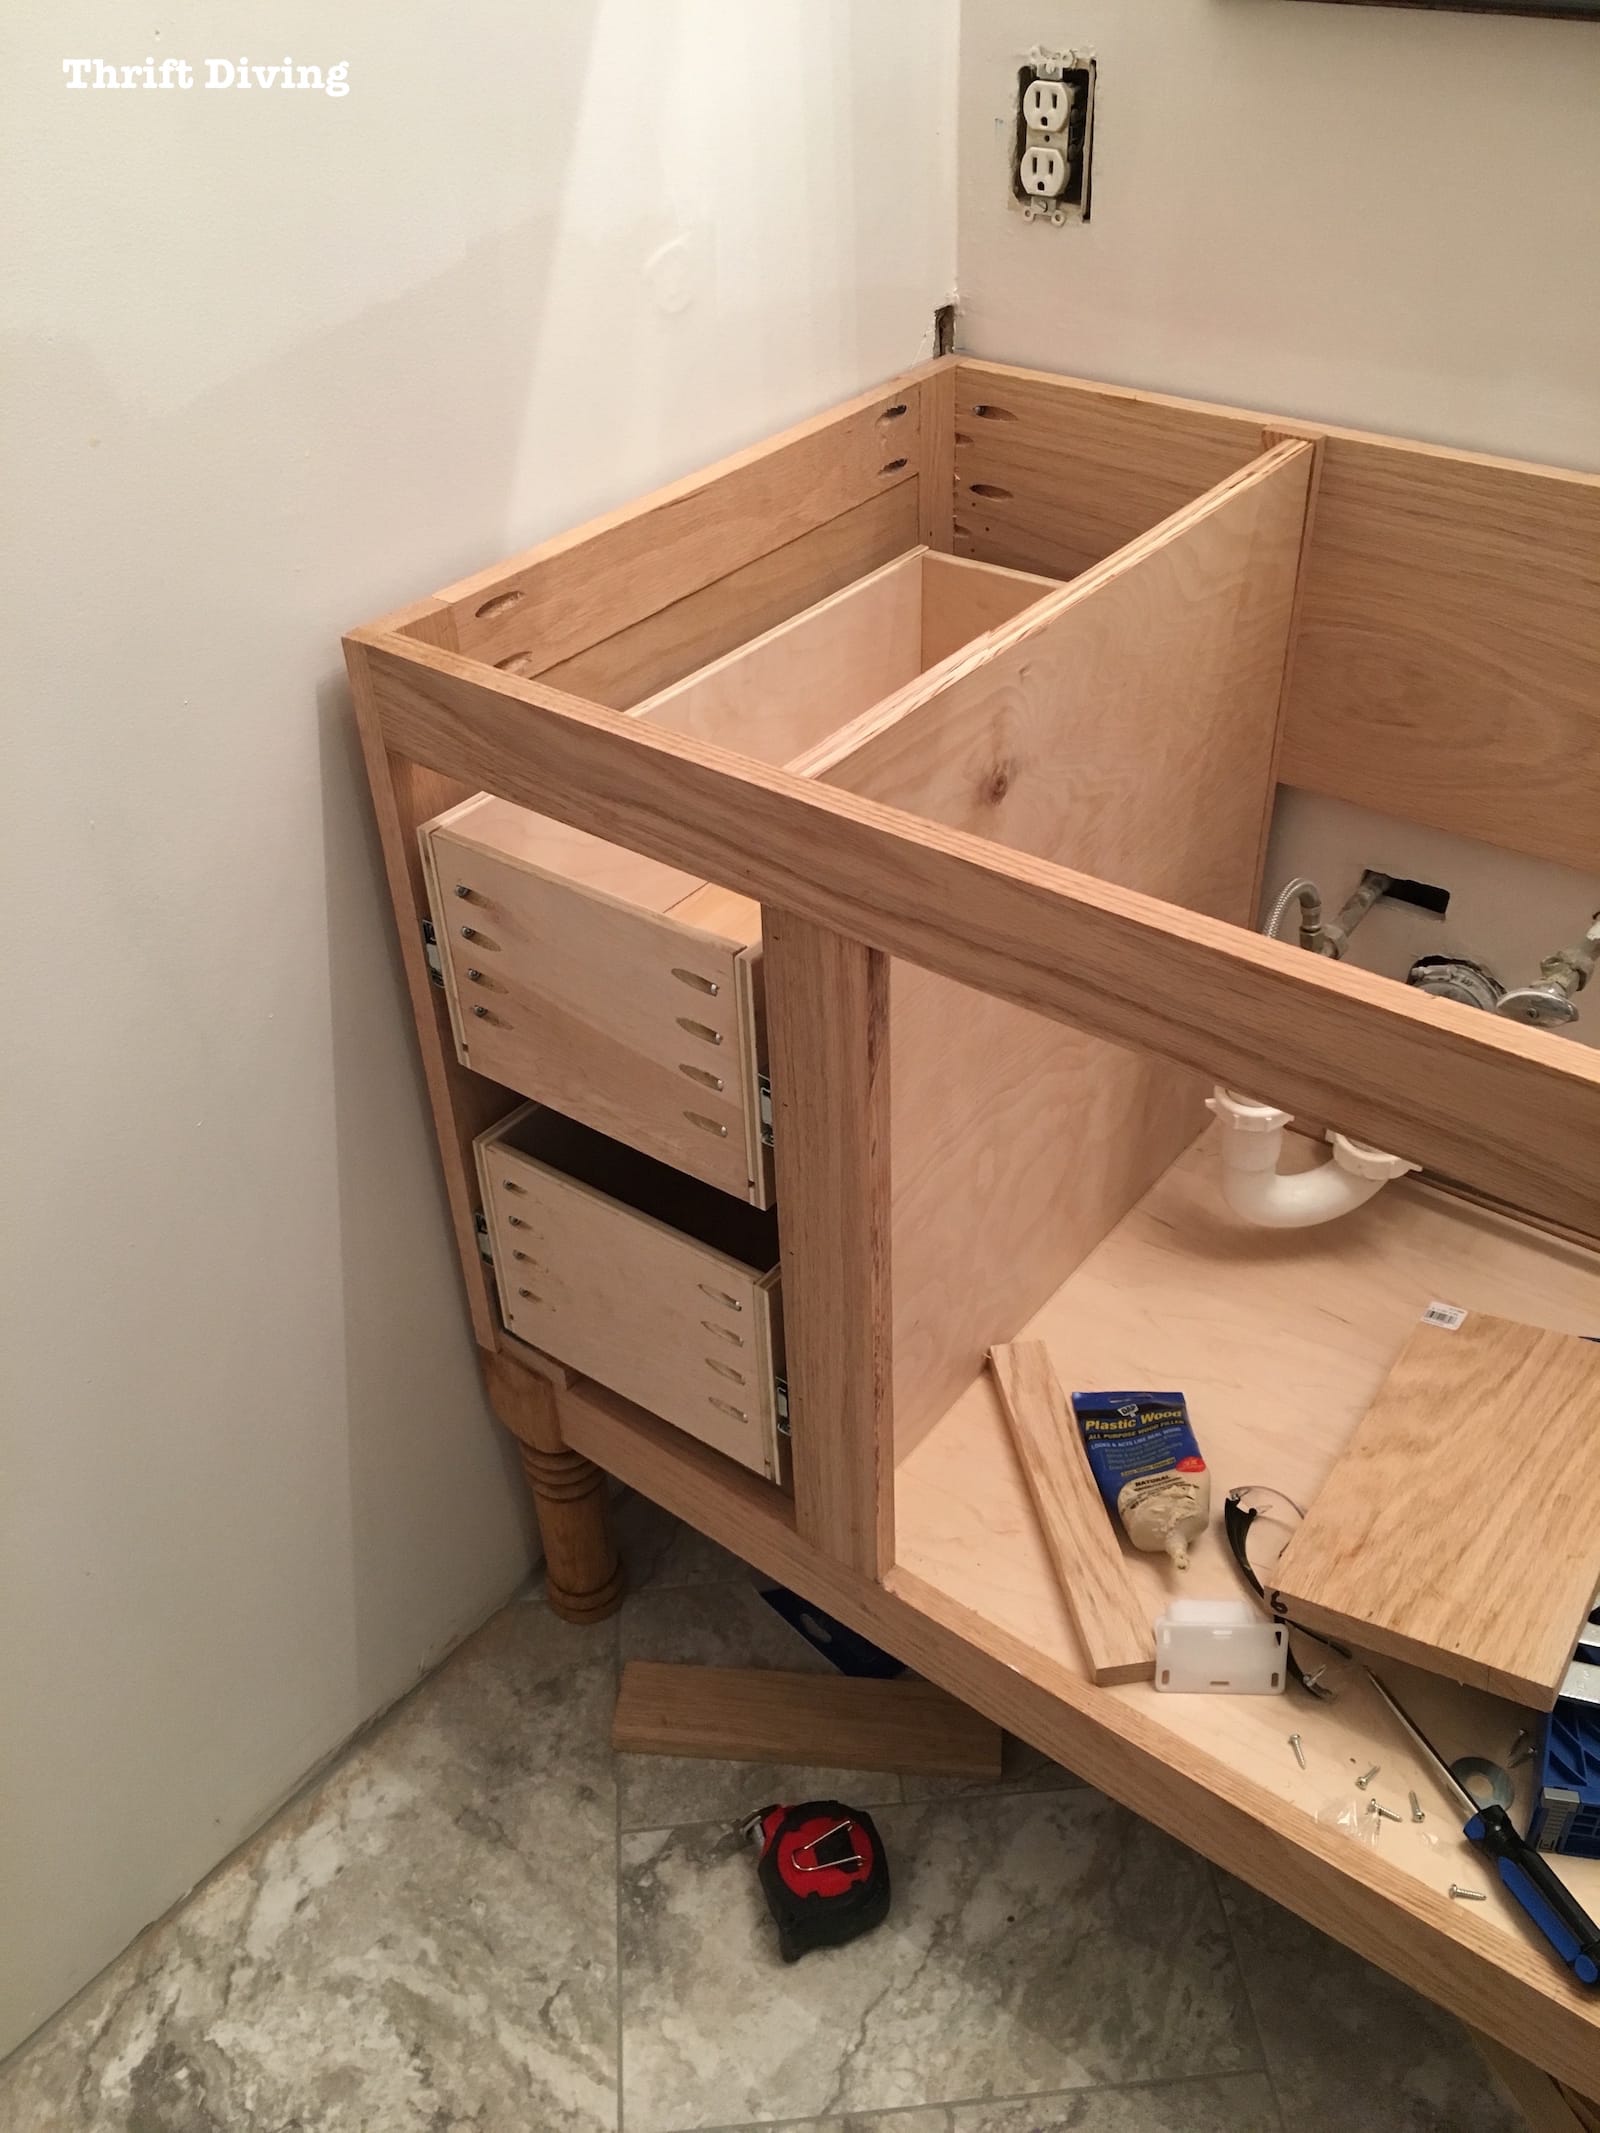
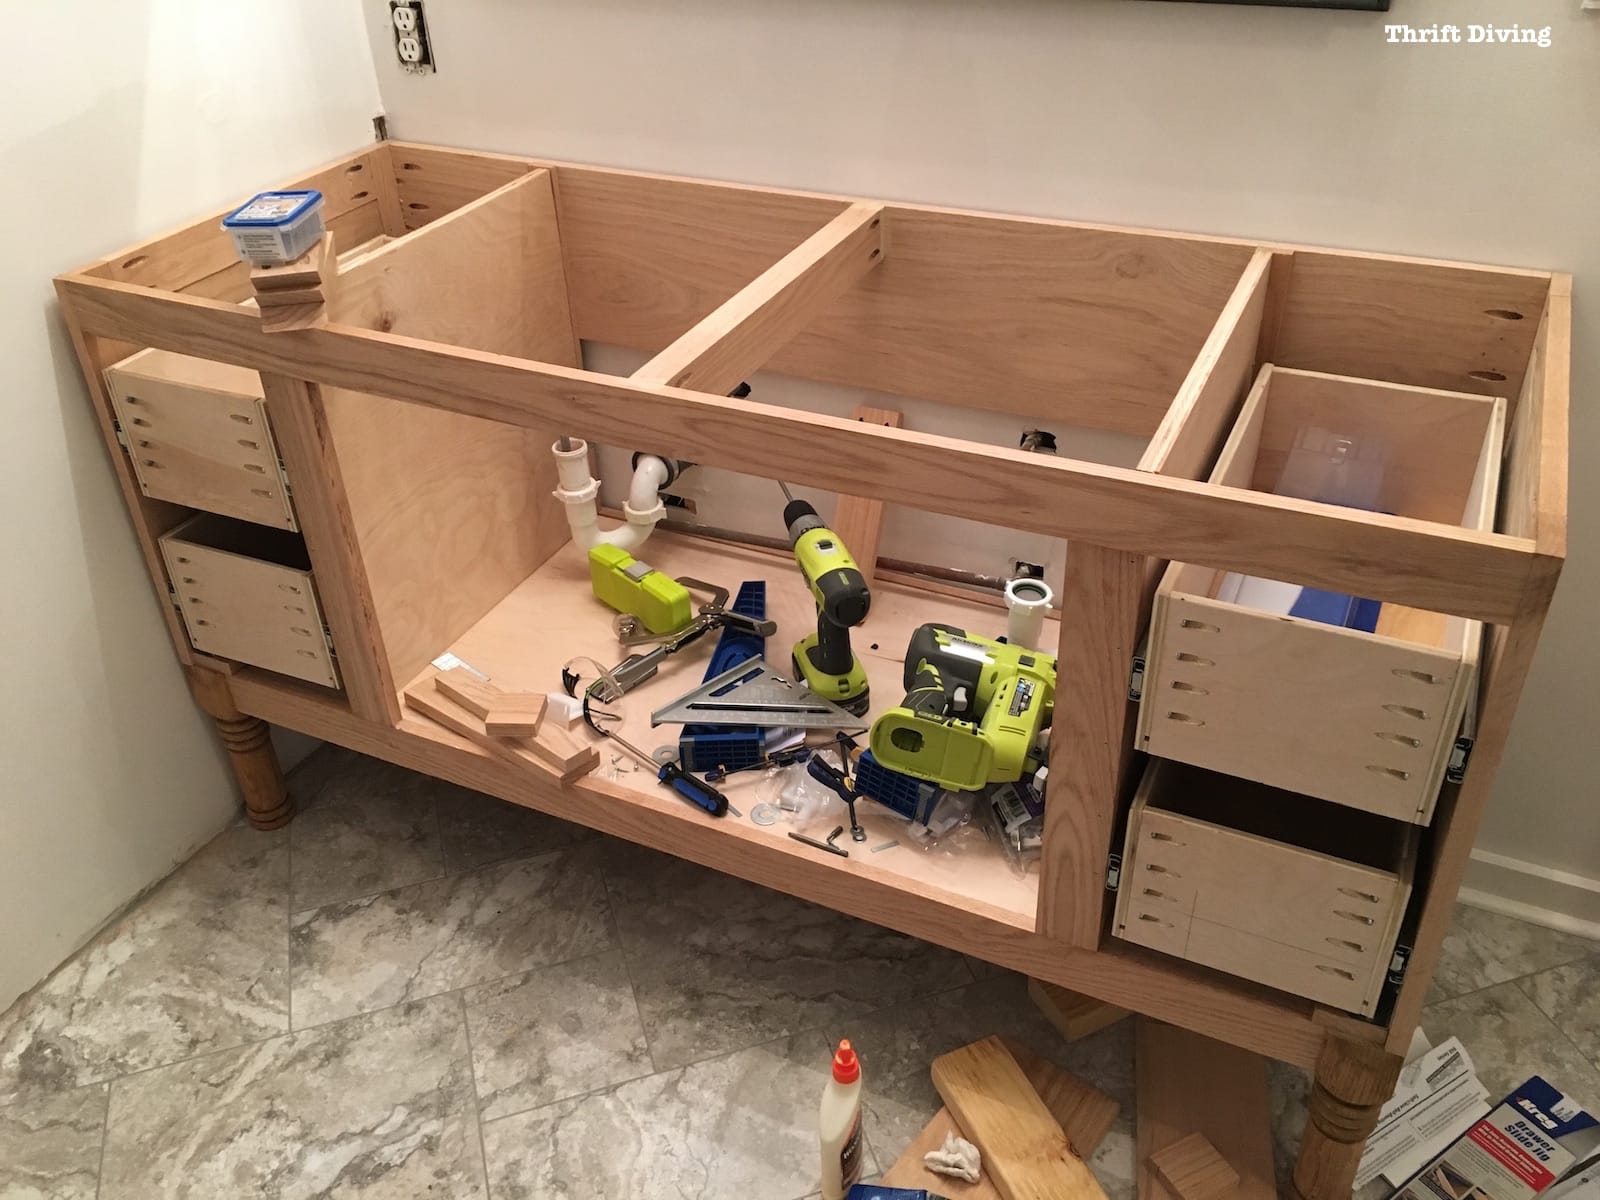
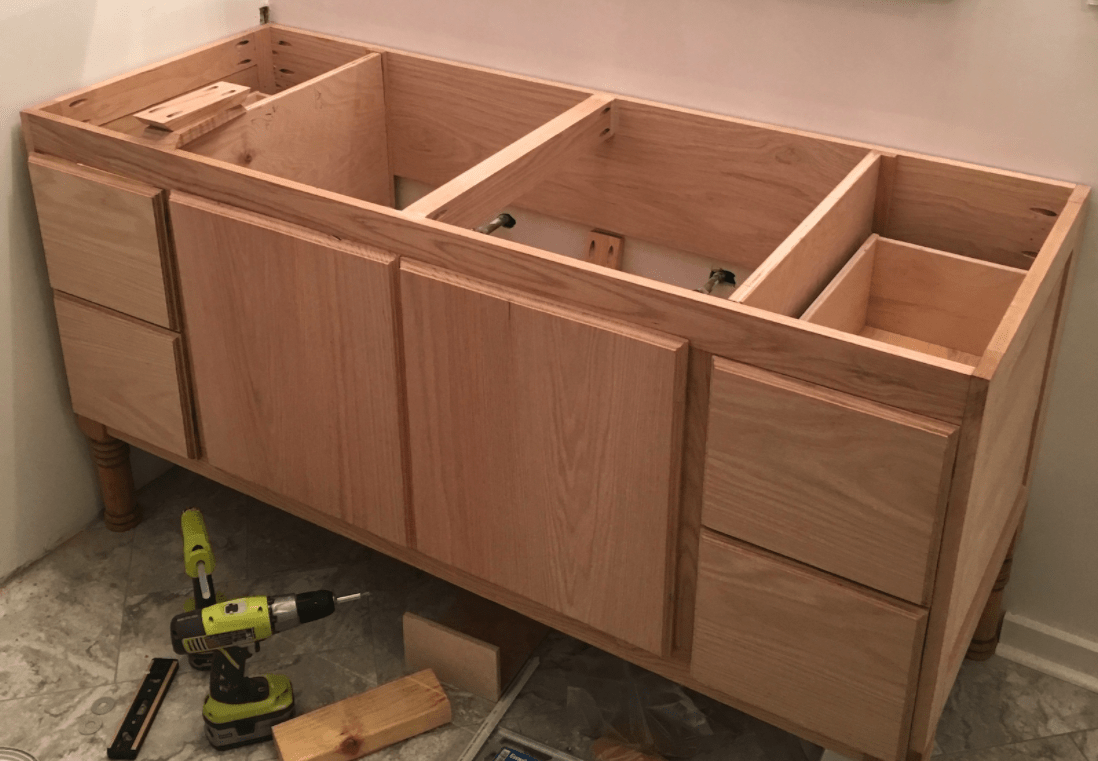
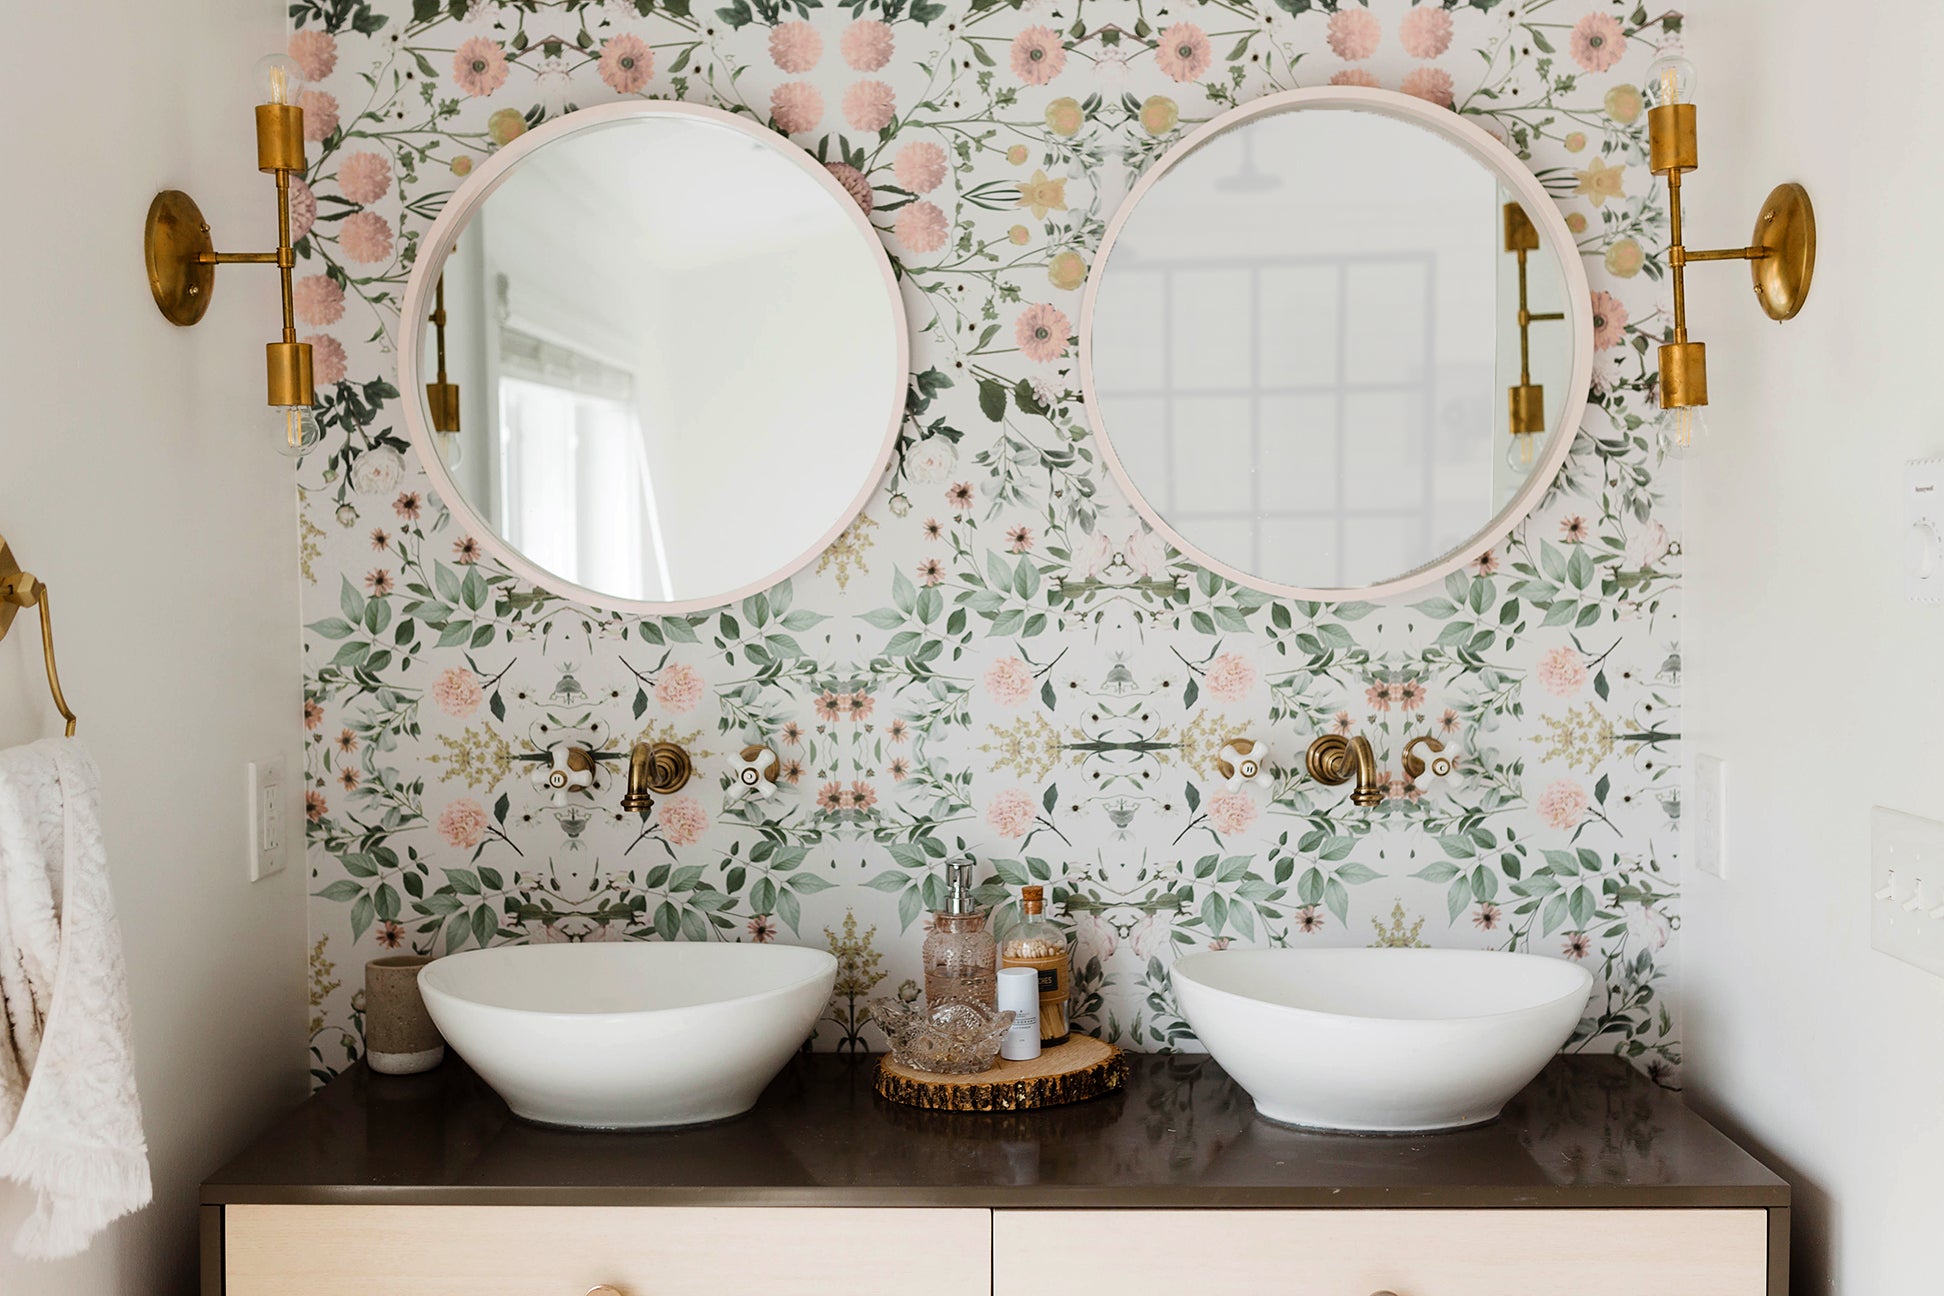
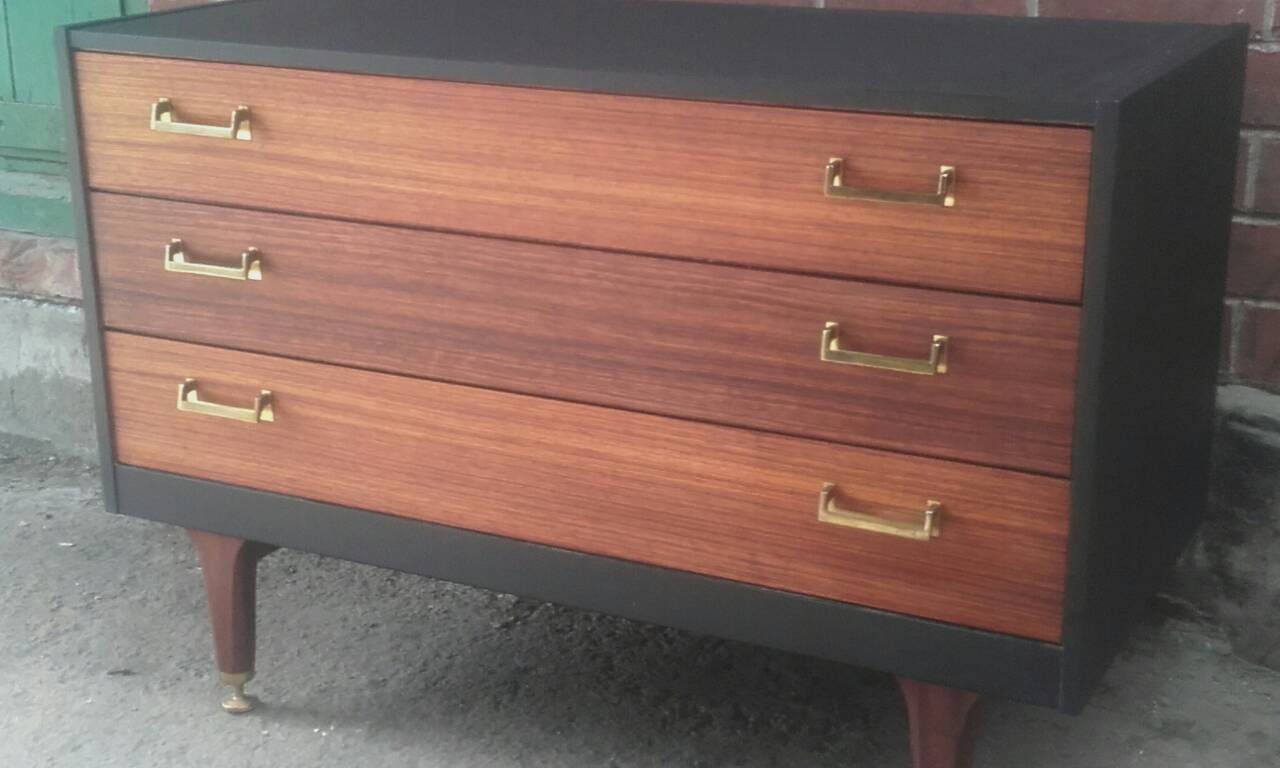
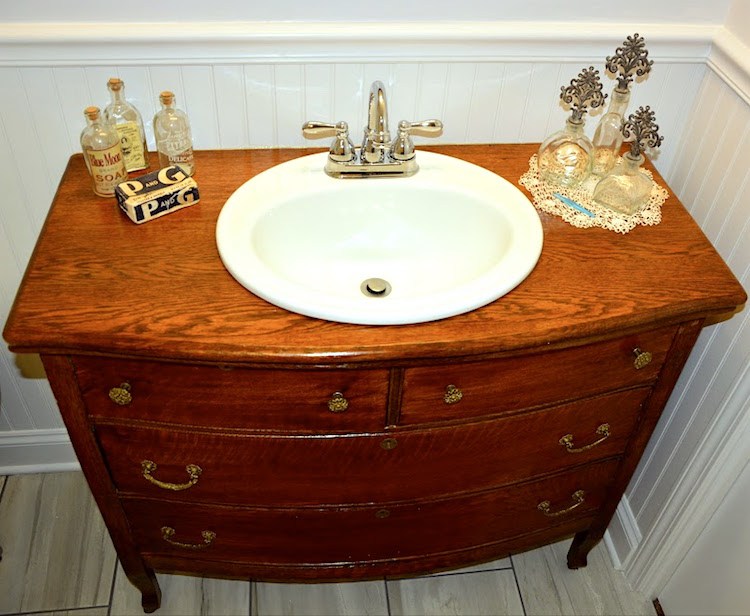
Are you looking for a unique and budget-friendly way to update your bathroom? Consider converting a chest of drawers into a beautiful bathroom vanity! This creative DIY project will give your bathroom a one-of-a-kind look while also adding extra storage space. Plus, it's a great way to repurpose an old piece of furniture and give it new life. Here's how to convert a chest of drawers into a bathroom vanity in 10 easy steps:DIY Chest Of Drawers Converted To Bathroom Vanity
Start by measuring the area where you want to place your new vanity. This will help you determine the size of the chest of drawers you need. You can use any type of chest of drawers, such as a vintage dresser or a modern chest, as long as it fits in your bathroom and has enough space for a sink and plumbing. Pro tip: Look for a chest of drawers with a sturdy frame and drawers that slide easily.1. Measure and Choose Your Chest of Drawers
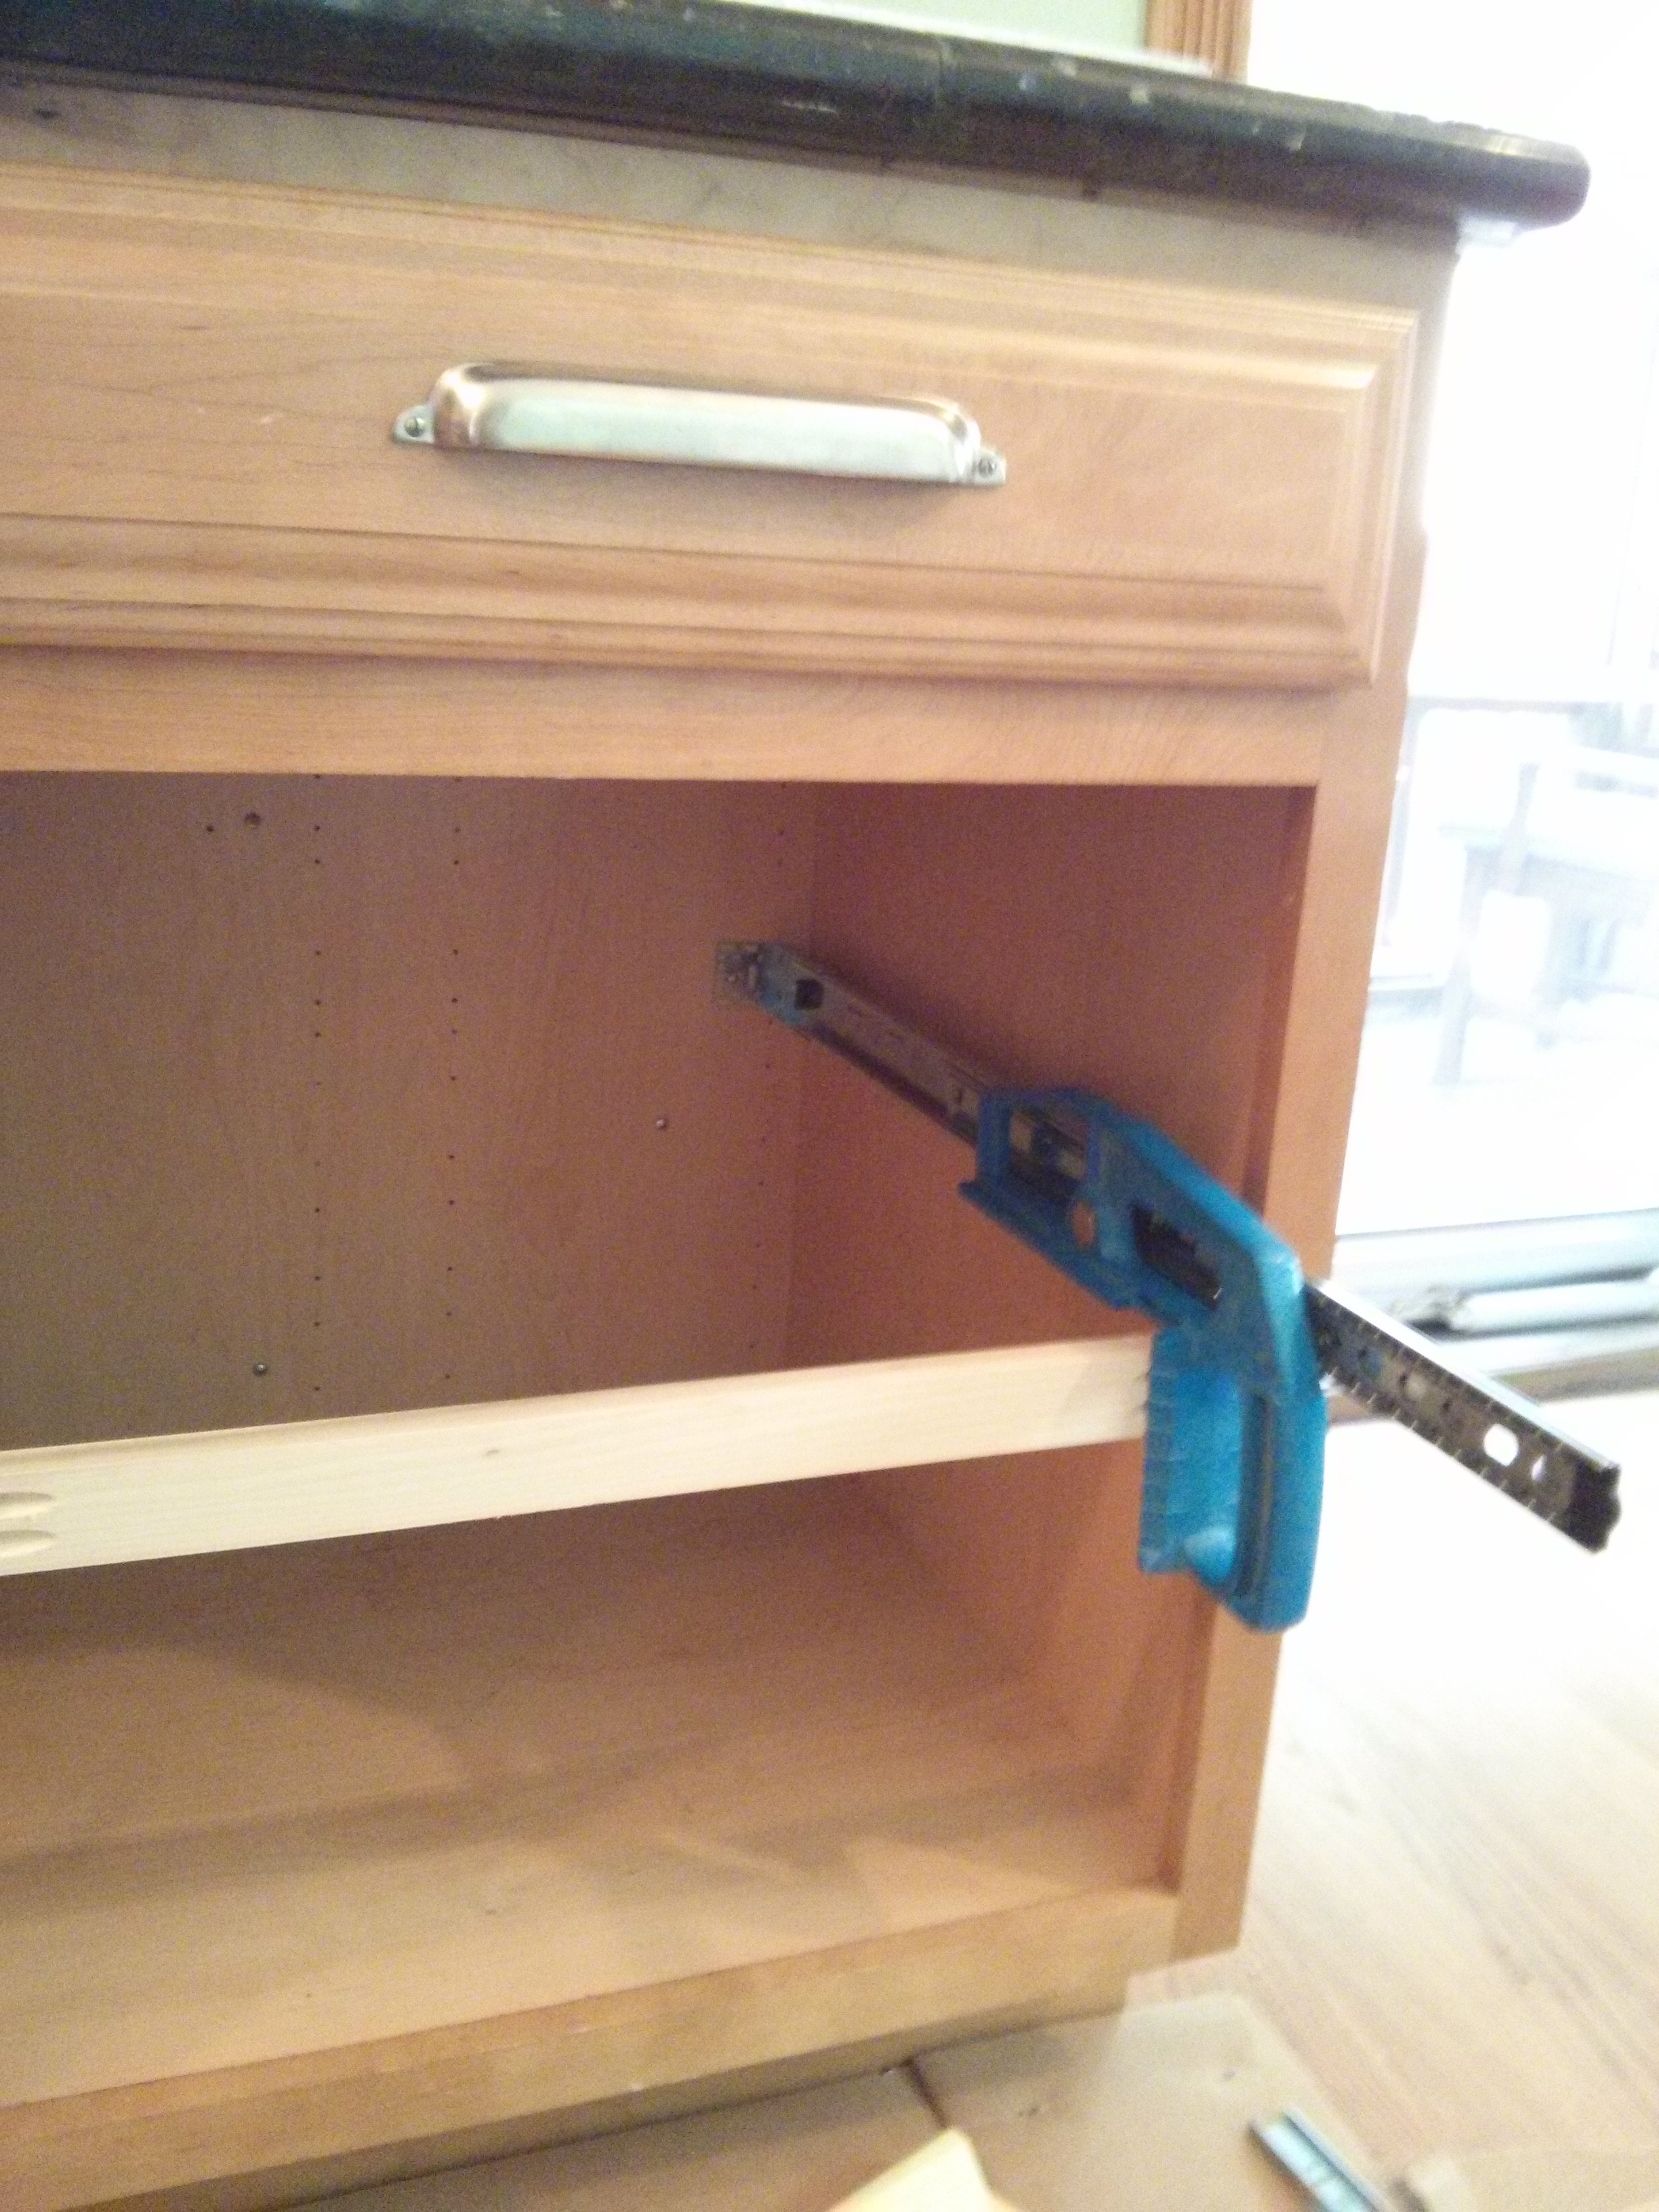
Once you have your chest of drawers, remove all the drawers and any hardware attached to the frame. This will make it easier to work on the piece and give you a clean surface to work with.2. Remove the Drawers and Hardware
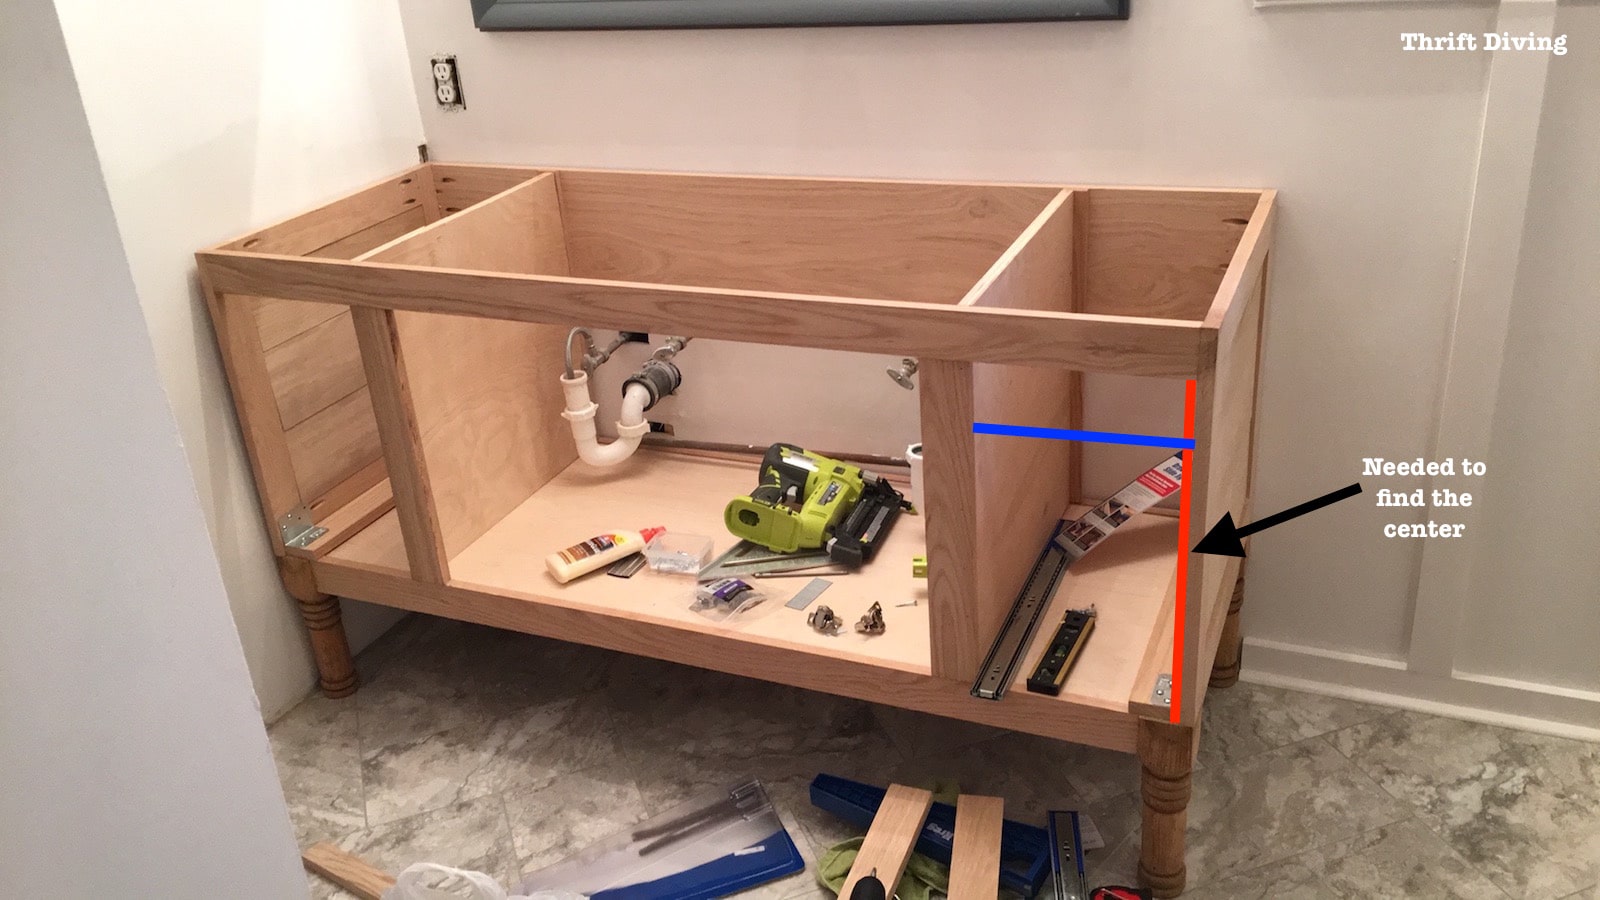
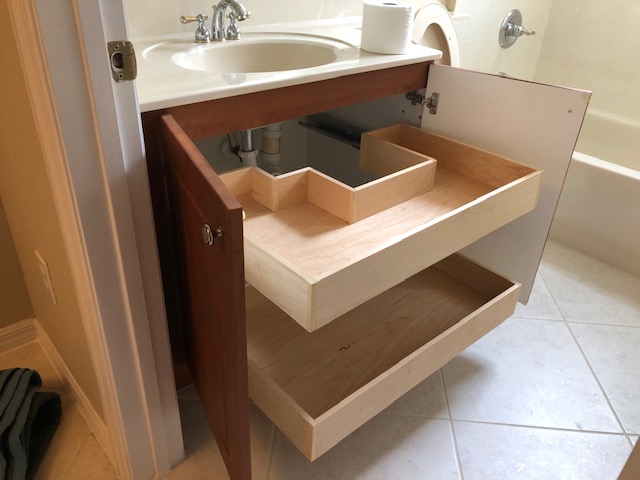
Next, you'll need to cut out holes in the back of the top drawer and the bottom of the top frame for the plumbing. Measure and mark where the holes need to be and use a jigsaw or drill to cut them out. Make sure the holes are large enough to accommodate the pipes and plumbing fixtures.3. Cut Out the Holes for Plumbing
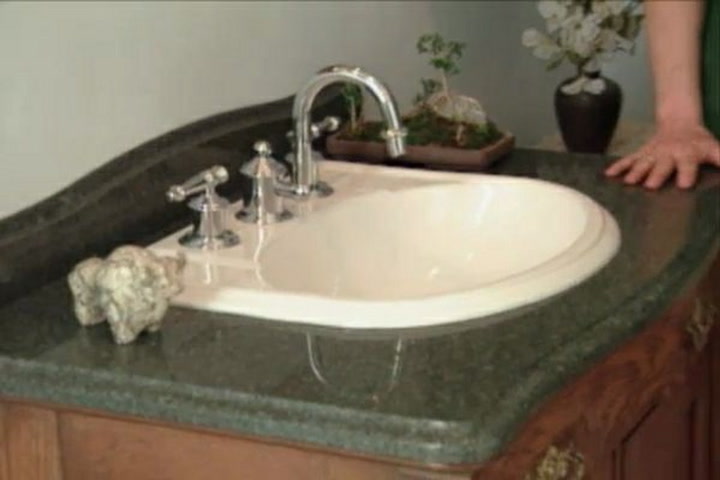
Once the holes are cut, you can install the sink and faucet. Depending on the type of sink and faucet you choose, you may need to follow specific instructions for installation. Pro tip: Consider using a vessel sink for a more modern and unique look.4. Install the Sink and Faucet
Now it's time to cut out a section of the top drawer to fit the sink. Measure and mark the area where the sink will sit and use a jigsaw or drill to cut it out. Make sure the sink fits snugly in the space.5. Cut Out the Drawer for the Sink
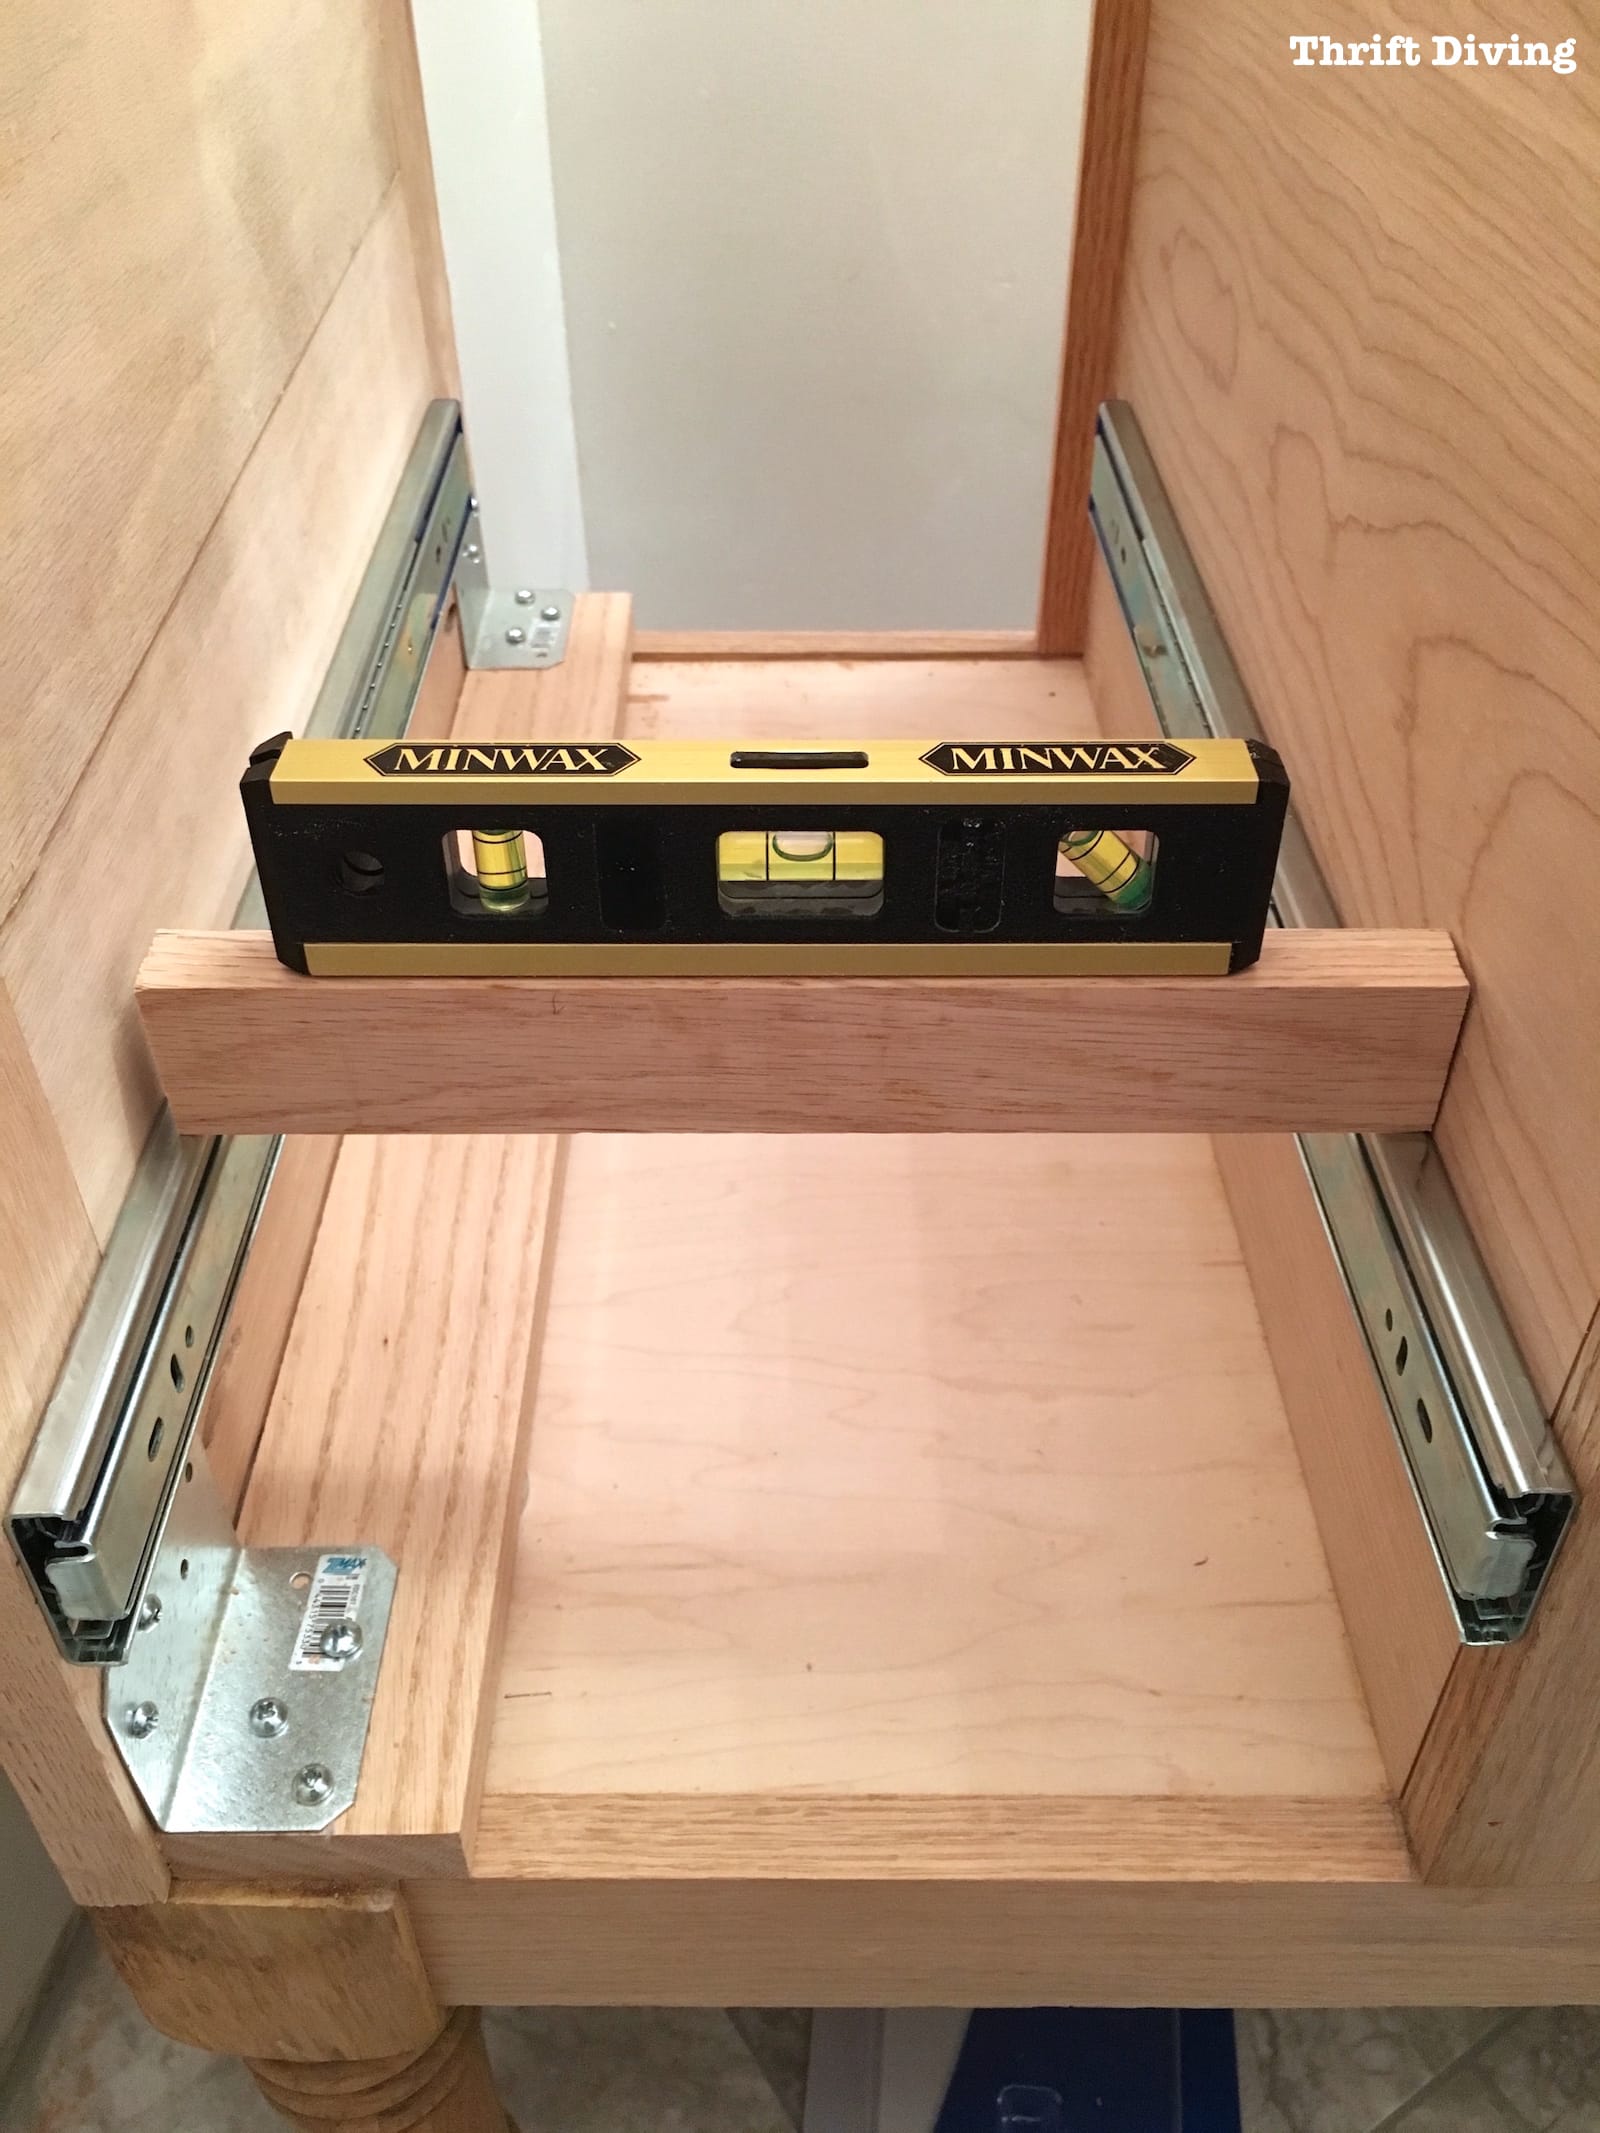
Since the top drawer will no longer be supporting the weight of the items inside, you'll need to add support brackets underneath. These can be installed using wood glue and screws.6. Add Support Brackets
Once the support brackets are in place, you can attach the sink to the vanity. Use silicone adhesive to secure the sink in place, following the manufacturer's instructions.7. Attach the Sink to the Vanity
Now that the sink is installed, you can reattach the top drawer. Make sure it slides easily and doesn't interfere with the sink or plumbing.8. Reattach the Top Drawer
If you want to give your vanity a more polished look, consider adding a backsplash. This can be made from tile, wood, or any other material that complements your bathroom design.9. Add a Backsplash (Optional)
Transform Your Bathroom with a Unique Chest of Drawers Vanity

Upgrade Your Bathroom Design
 When it comes to designing your home, every detail counts. As the most private and intimate space in your home, the bathroom should not be overlooked. A well-designed bathroom not only adds value to your home but also creates a relaxing and functional space for you and your family. If you're looking to upgrade your bathroom design, consider incorporating a unique and unexpected element – a
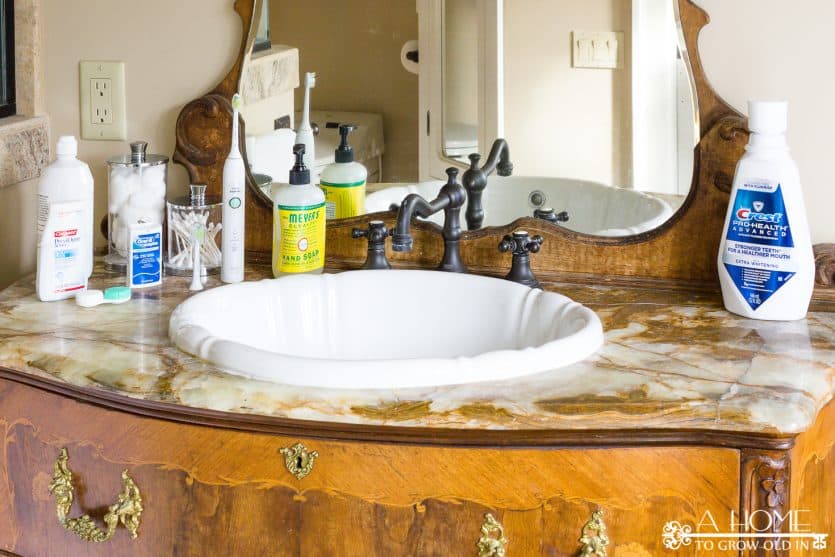
chest of drawers converted to a bathroom vanity
.
The Perfect Blend of Functionality and Style
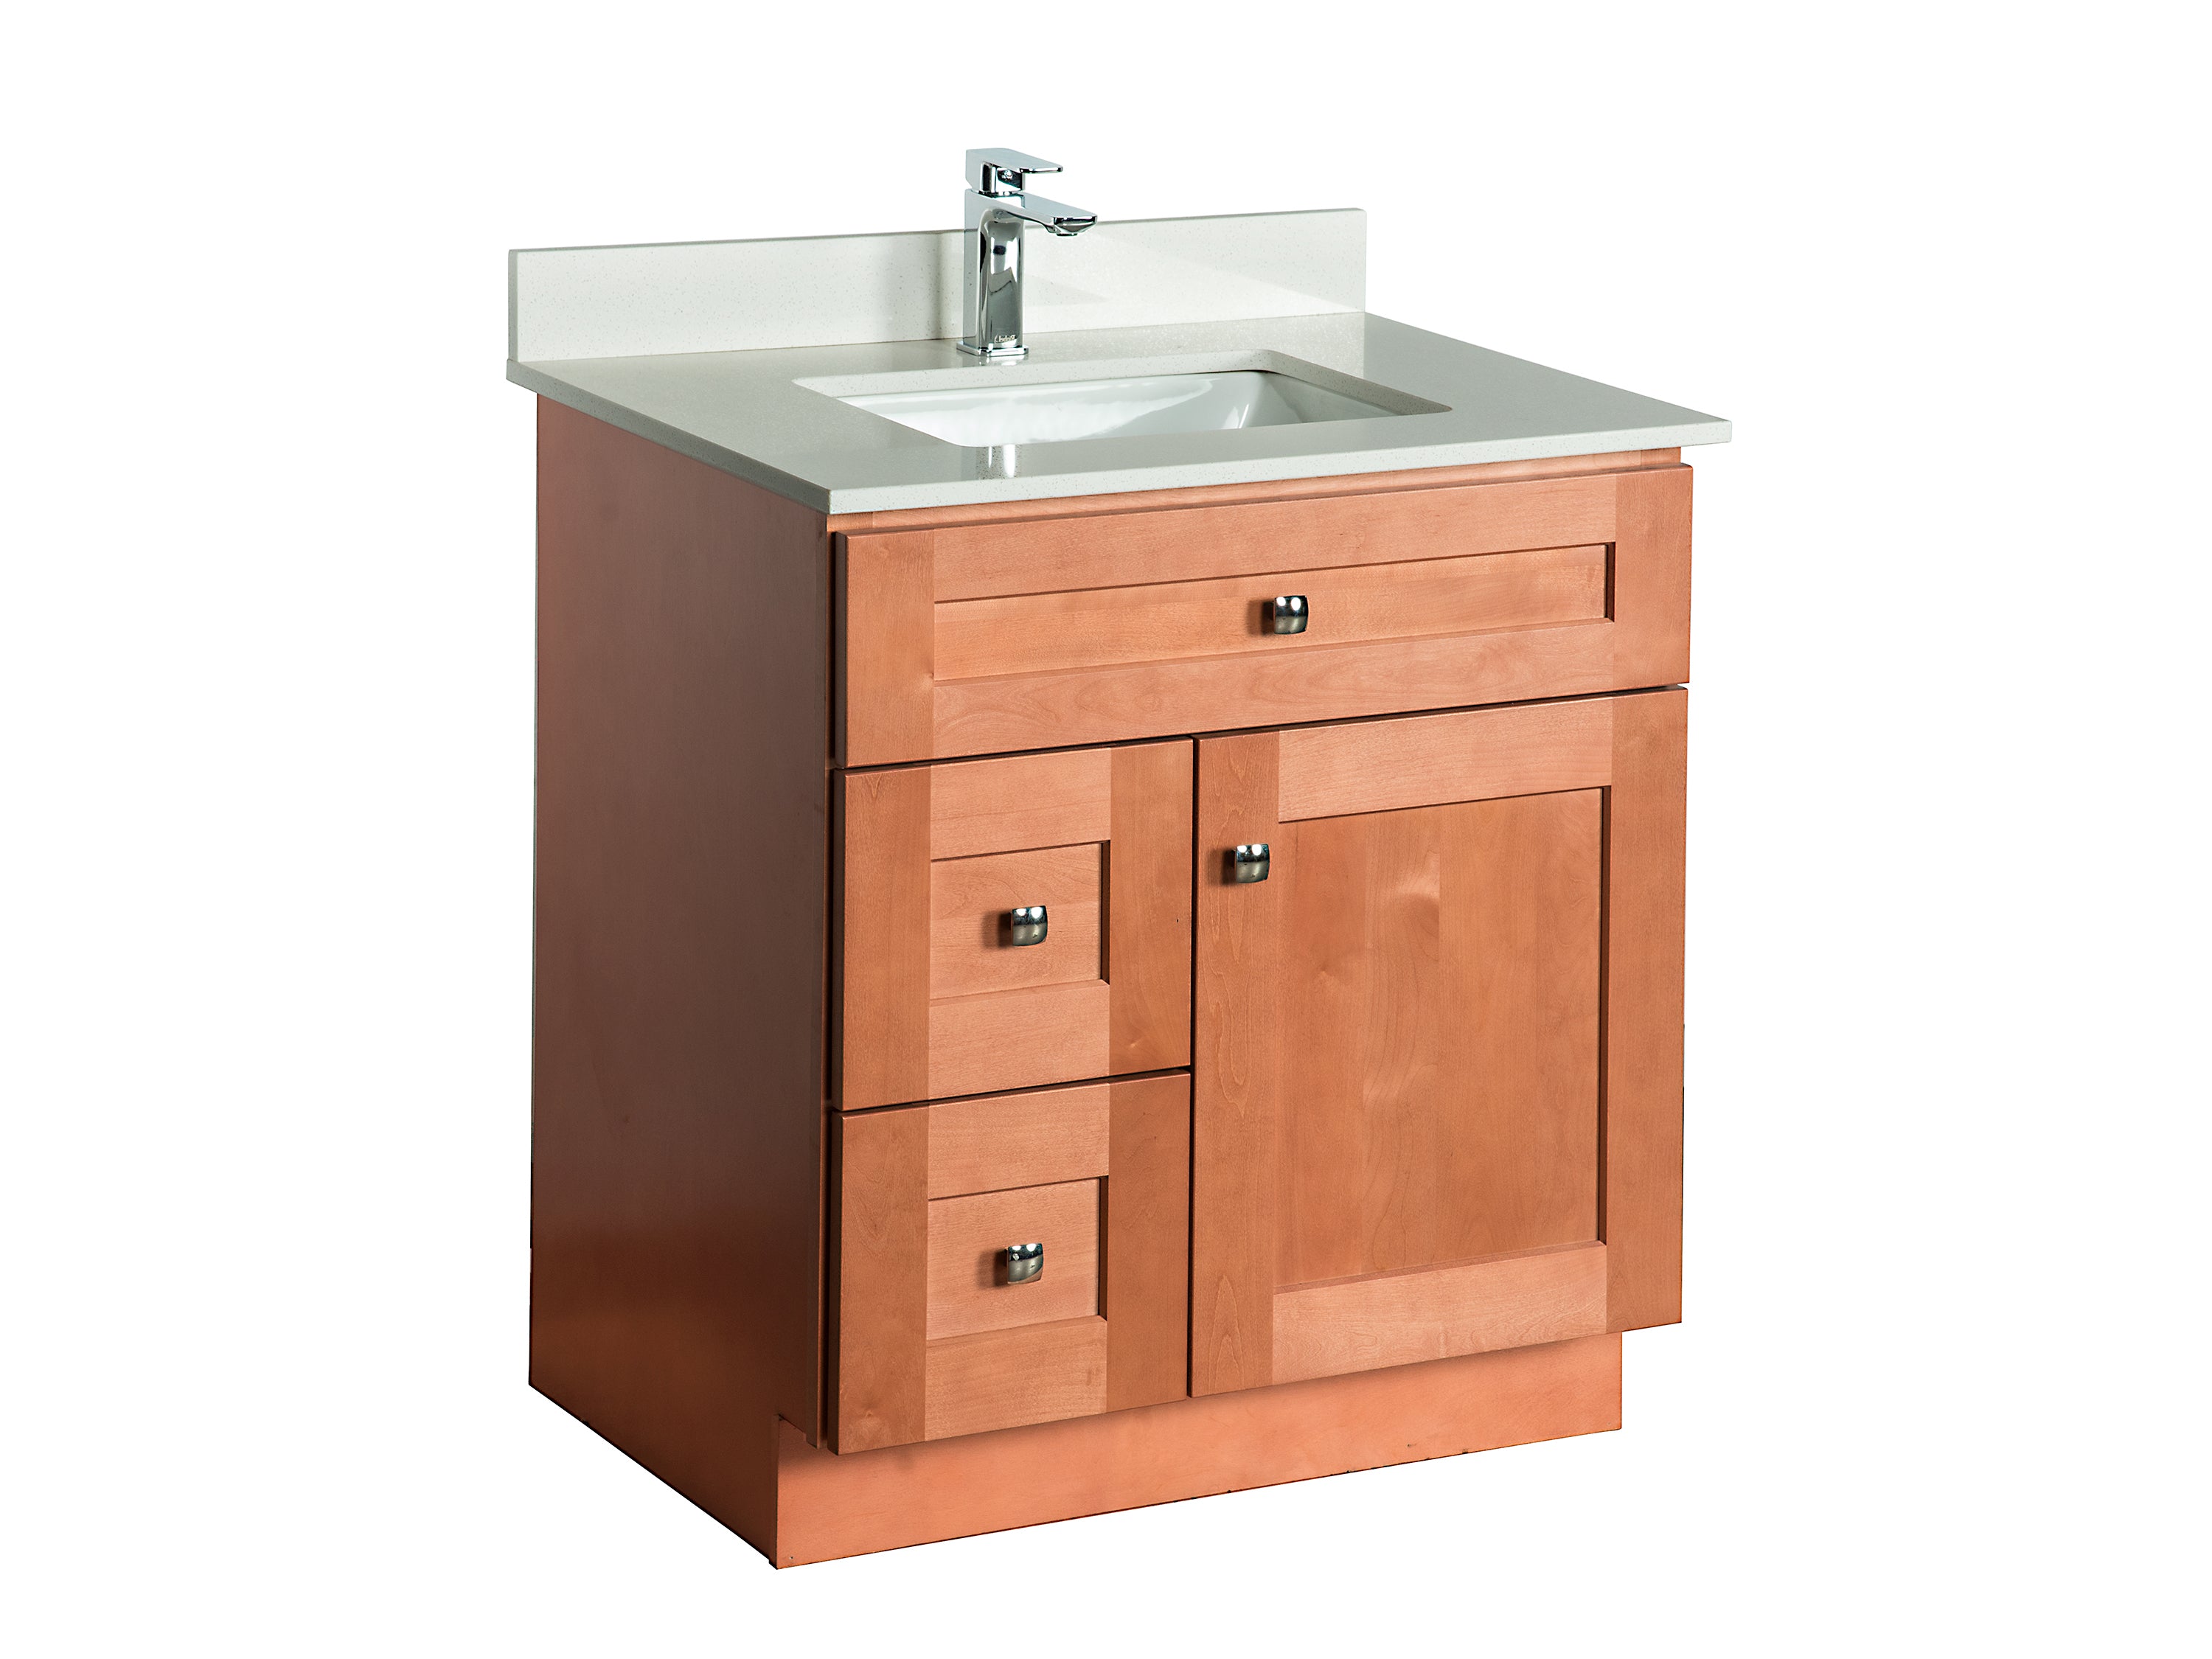
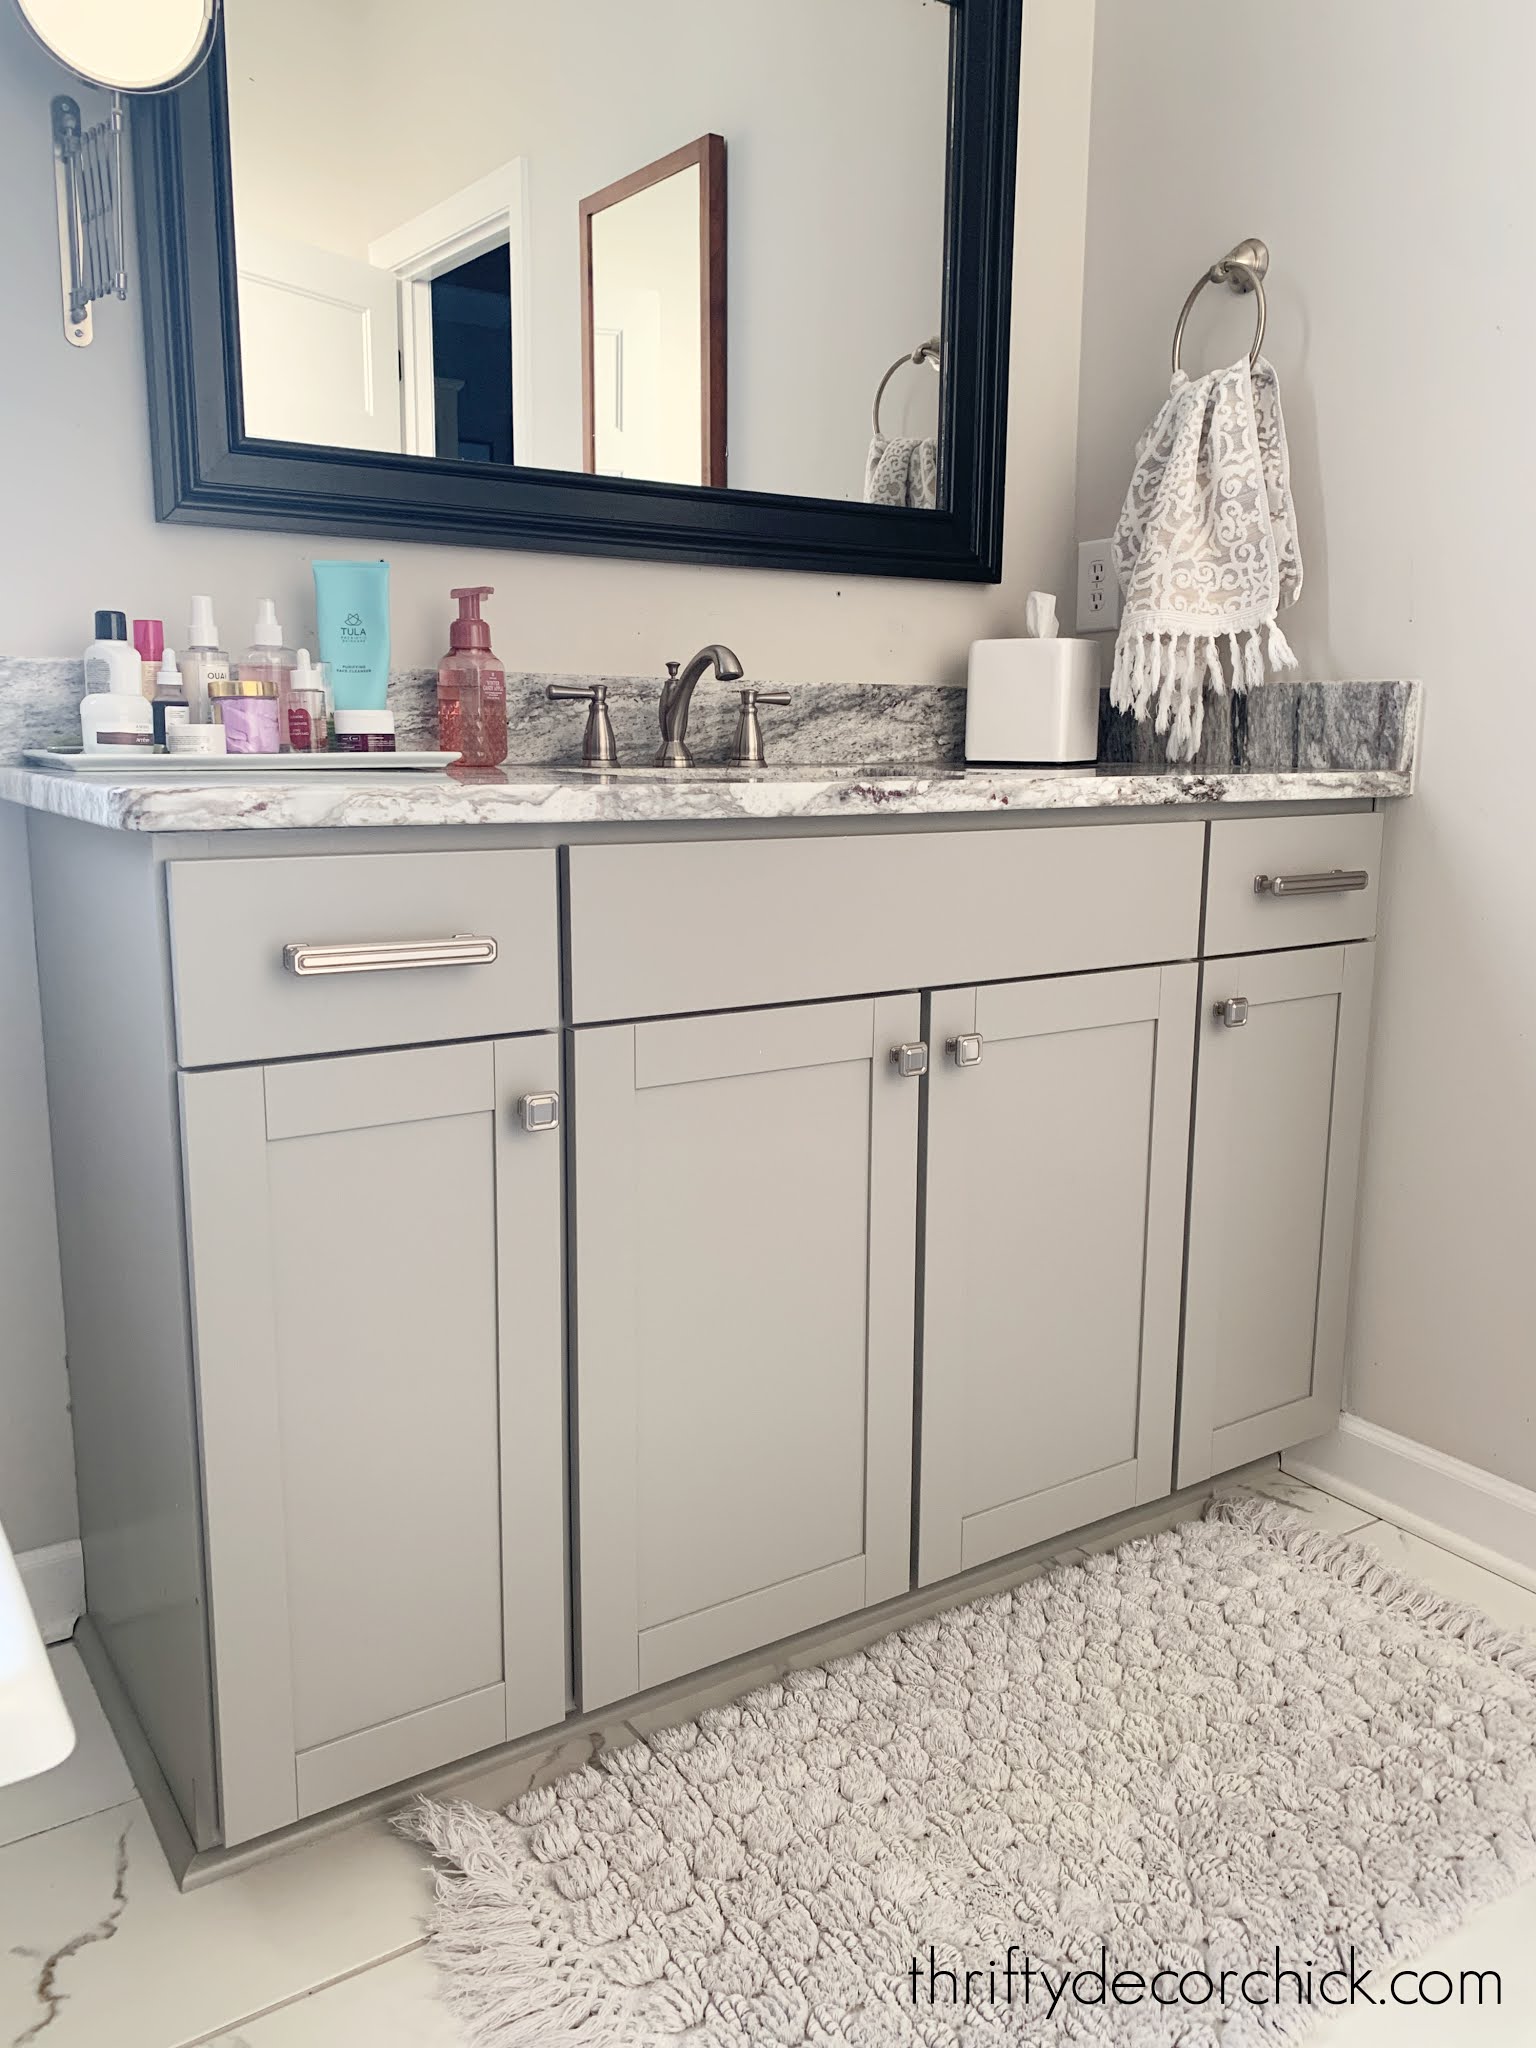
 A bathroom vanity is an essential element in any bathroom, providing storage and counter space for your daily essentials. However, traditional vanities can often be bulky and lack character. By repurposing a chest of drawers, you can create a one-of-a-kind vanity that adds personality and style to your bathroom. This DIY project not only allows you to express your creativity but also saves you money compared to purchasing a pre-made vanity.
Steps to Create Your Own Chest of Drawers Vanity
 Converting a chest of drawers into a bathroom vanity may seem intimidating, but with the right tools and materials, it can be a straightforward and rewarding project. Start by measuring the space where you want to place your vanity and choose a chest of drawers that fits the area. Next, remove the top of the chest of drawers and cut a hole in the center for the sink.
Make sure to choose a sink that complements the style of your chest of drawers
.
Once the sink is installed, you can add a fresh coat of paint or stain to the chest of drawers to match your bathroom's color scheme. For a more rustic look, consider distressing the wood or adding decorative hardware. Finally, add a sealant to protect the wood from moisture and plumbing.
Benefits of a Chest of Drawers Vanity
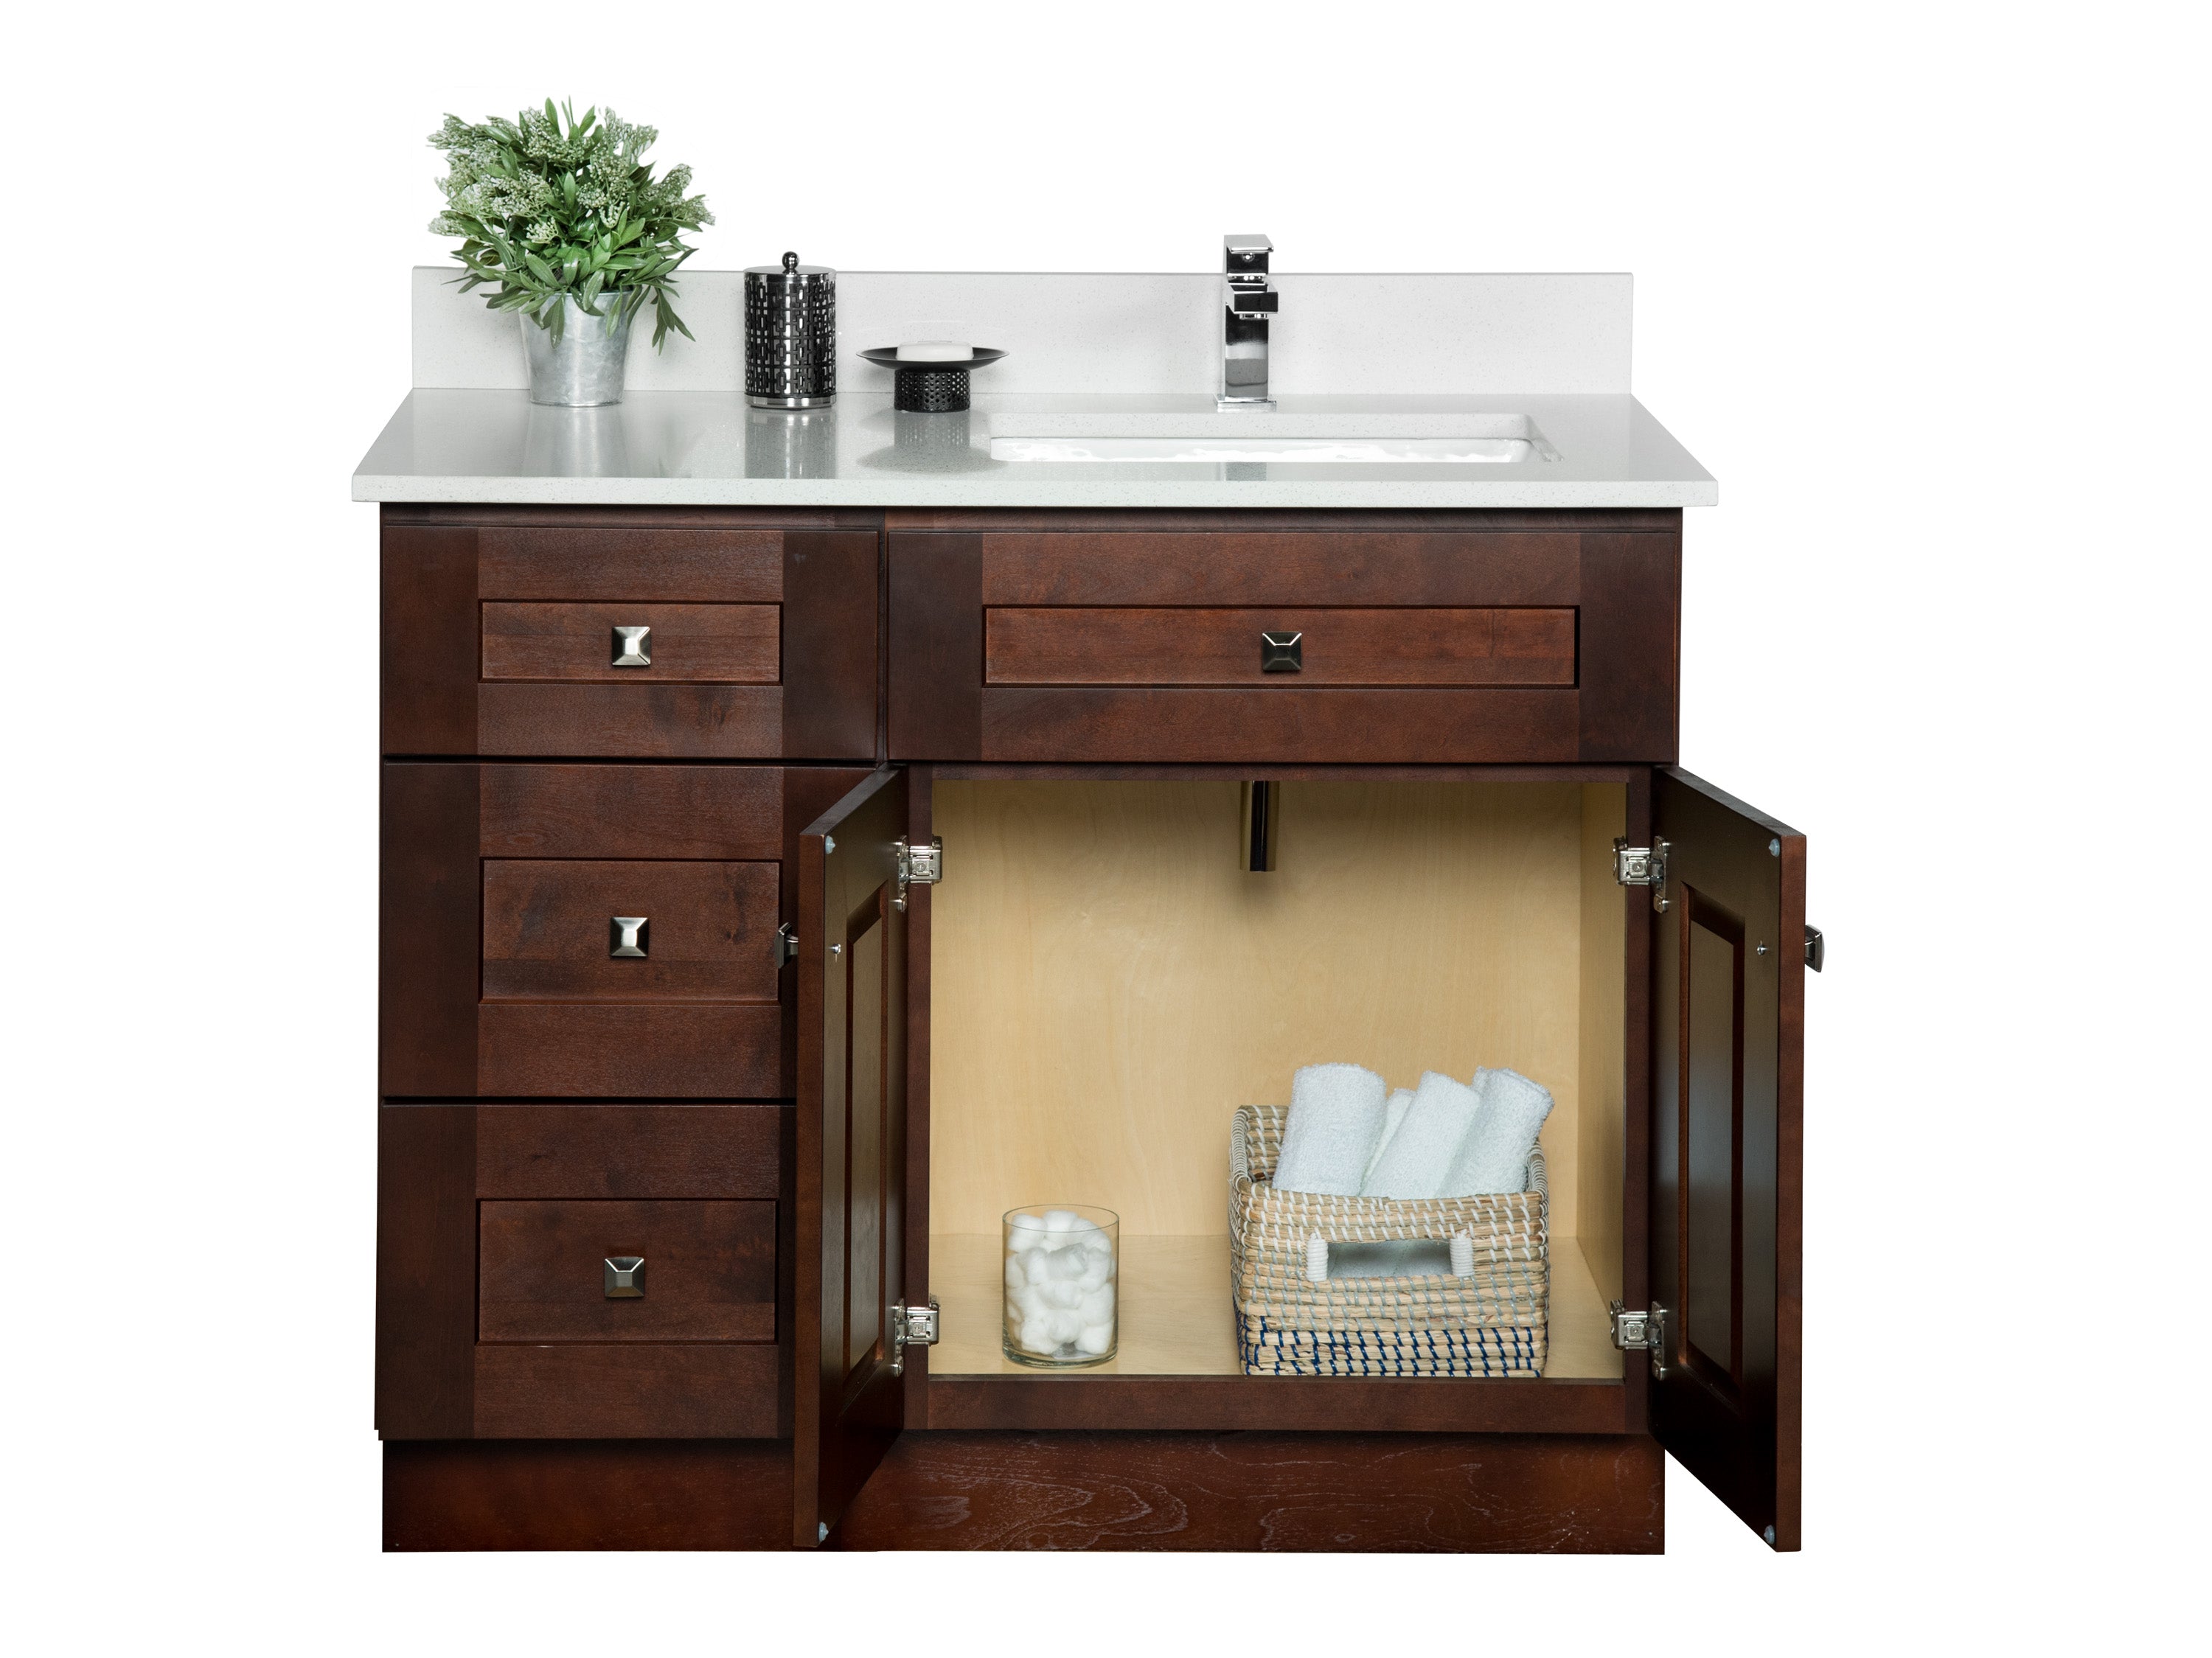
 Aside from adding a unique touch to your bathroom design, a chest of drawers vanity offers many benefits. The multiple drawers provide ample storage for toiletries, towels, and other bathroom essentials, keeping your space organized and clutter-free. Additionally, the height and width of the chest of drawers create a comfortable and functional space for getting ready in the morning.
Conclusion
.jpg) A bathroom vanity is more than just a functional piece of furniture – it can be a statement piece that elevates your bathroom design. By repurposing a chest of drawers into a vanity, you can create a customized and stylish space that reflects your personal style. So get creative and transform your bathroom with a unique chest of drawers vanity today!
A bathroom vanity is more than just a functional piece of furniture – it can be a statement piece that elevates your bathroom design. By repurposing a chest of drawers into a vanity, you can create a customized and stylish space that reflects your personal style. So get creative and transform your bathroom with a unique chest of drawers vanity today!
