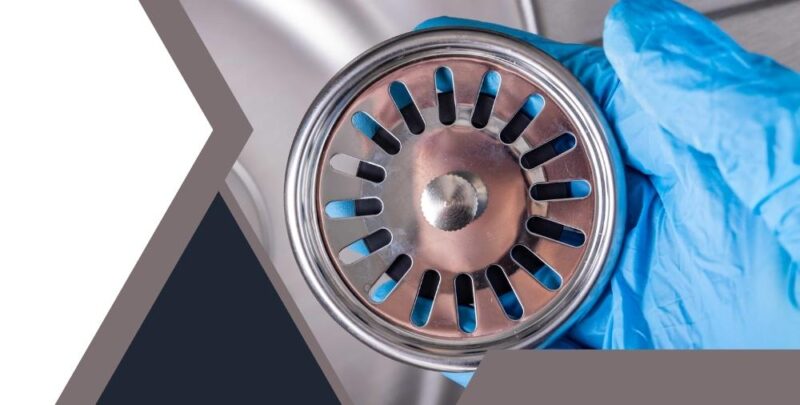
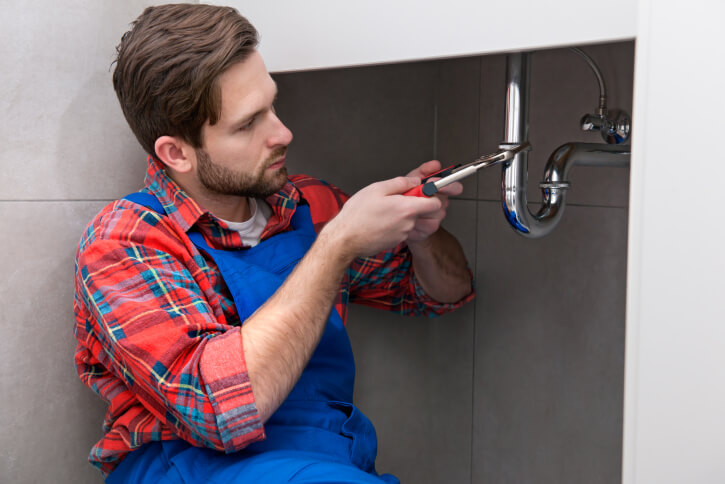
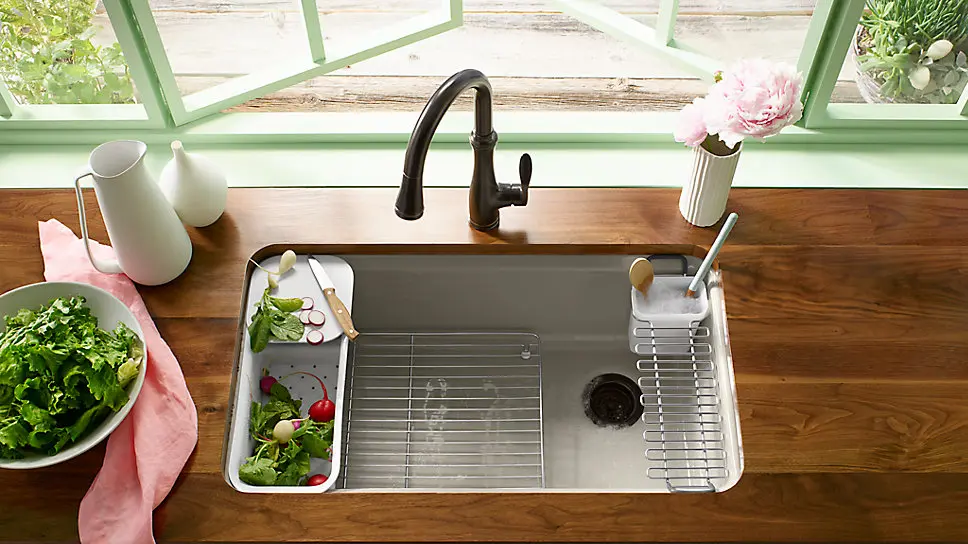
If you've noticed your kitchen sink draining slower than usual or unpleasant odors coming from the drain, it may be time to change your kitchen sink strainer. This small but essential part of your sink is responsible for catching food scraps and debris, preventing them from clogging your pipes. Here's a step-by-step guide on how to change your kitchen sink strainer and keep your sink running smoothly.How to Change a Kitchen Sink Strainer


How to Change a Kitchen Sink Strainer
/water-pipe-under-kitchen-sink-980755656-3ec7719515ab4e269908381b760f7366.jpg)


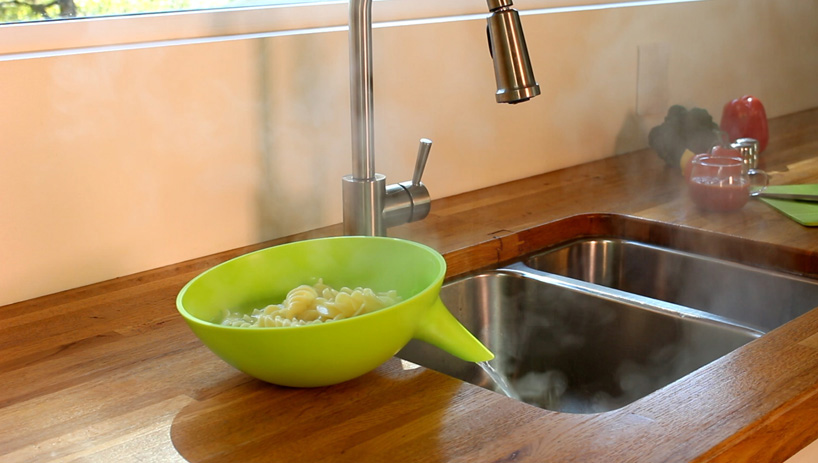
Replacing a kitchen sink strainer may seem like a daunting task, but it's actually a simple DIY project that can save you money on hiring a professional plumber. With the right tools and some basic knowledge, you can easily replace your kitchen sink strainer in no time. Here's what you'll need to get started.Replacing a Kitchen Sink Strainer


Replacing a Kitchen Sink Strainer


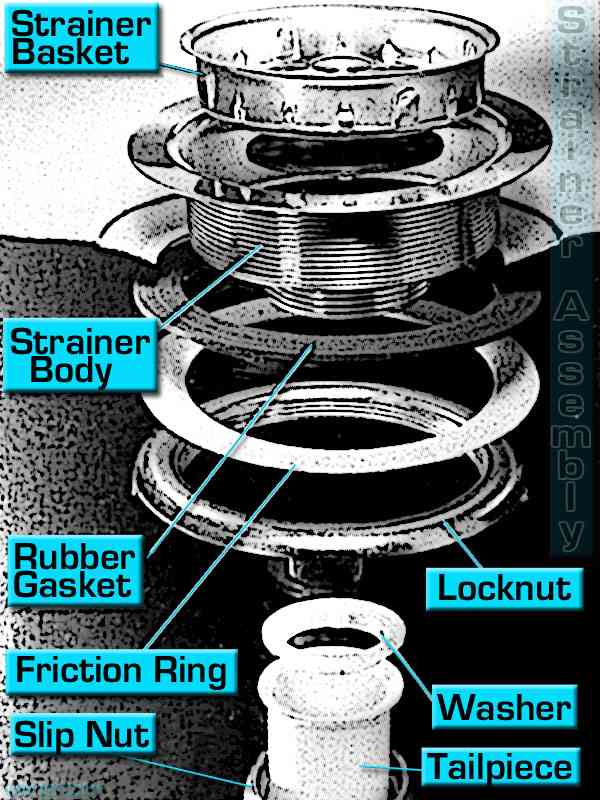
Step 1: Start by turning off the water supply to your sink. This will prevent any water from flowing when you remove the old strainer. Step 2: Place a bucket or large bowl underneath the sink to catch any water that may still be in the pipes. Step 3: Using a pipe wrench, loosen the slip nut that connects the P-trap to the drain pipe. This will allow you to remove the P-trap and access the strainer. Step 4: Locate the locknut that holds the strainer in place. Use a pair of pliers to loosen and remove the locknut. Step 5: Once the locknut is removed, you can pull out the old strainer from the sink. Step 6: Clean the area where the old strainer was located, removing any debris or old plumber's putty. Step 7: Apply a new layer of plumber's putty around the bottom of the new strainer. Step 8: Place the new strainer into the sink and secure it with the locknut from underneath. Step 9: Reattach the P-trap and tighten the slip nut. Step 10: Turn the water supply back on and test the sink to make sure there are no leaks.Step-by-Step Guide for Changing a Kitchen Sink Strainer


Step-by-Step Guide for Changing a Kitchen Sink Strainer


:no_upscale()/cdn.vox-cdn.com/uploads/chorus_asset/file/19495086/drain_0.jpg)

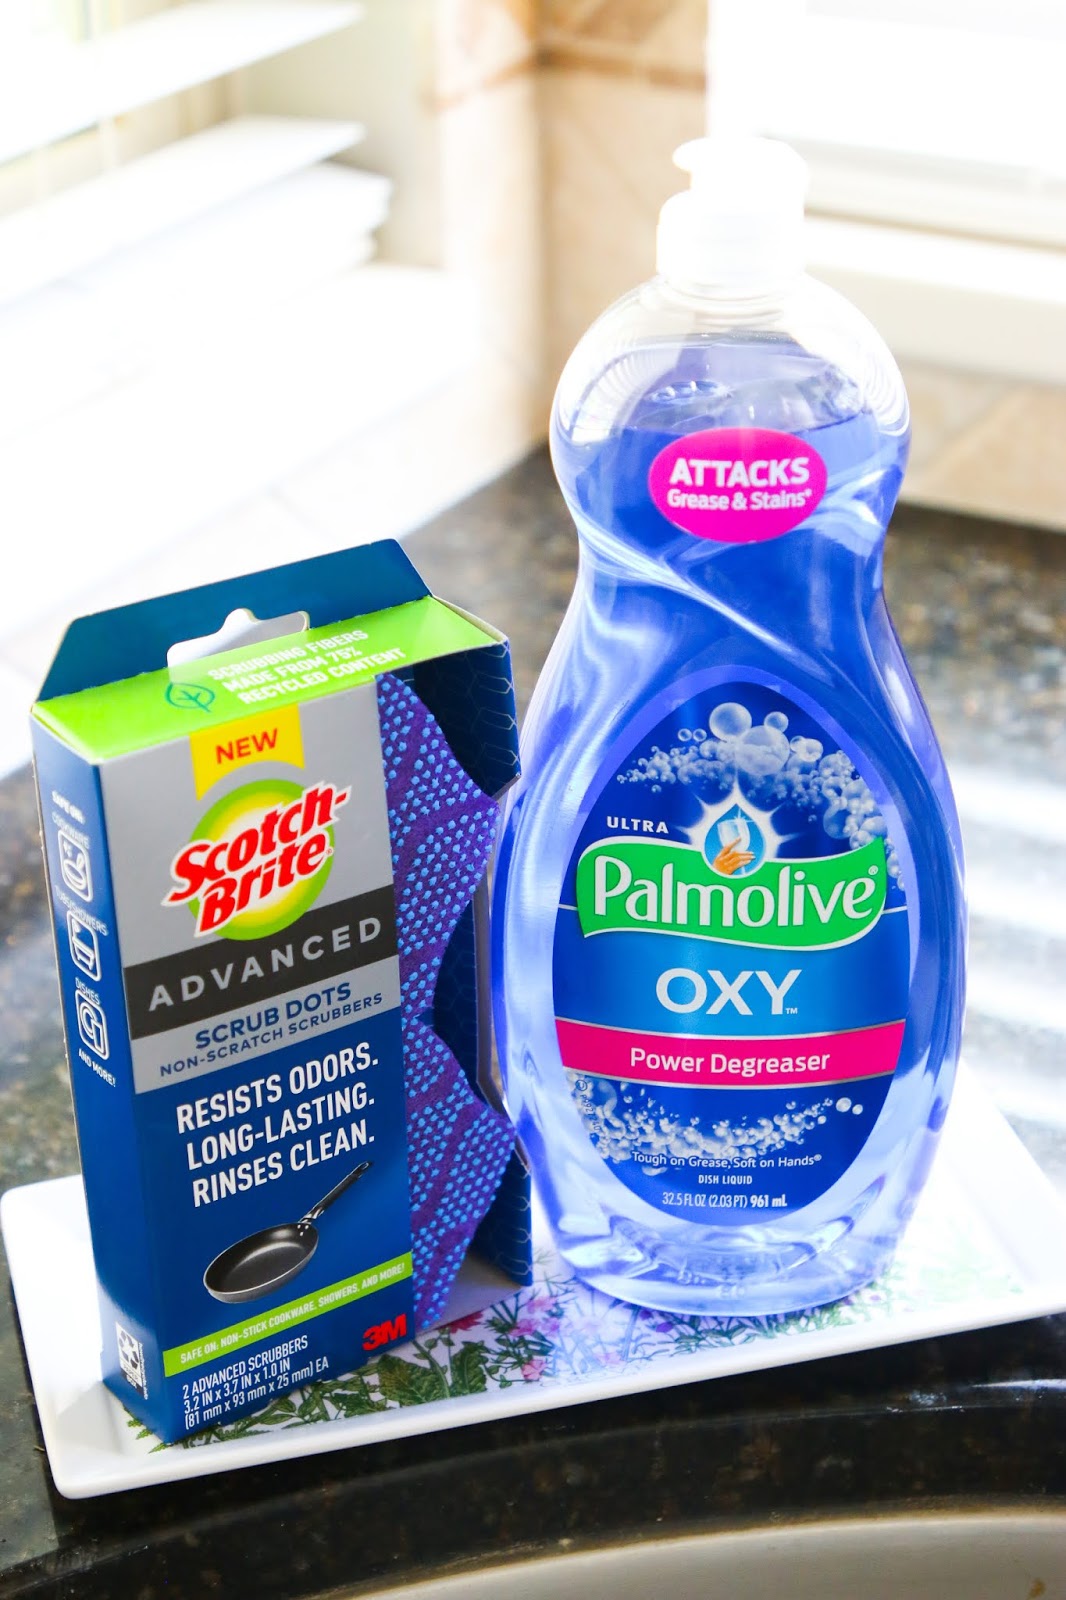
As mentioned earlier, replacing a kitchen sink strainer is a simple DIY project that can save you money. However, it's important to have the right tools and materials on hand before you begin. Here's what you'll need: Tools: Pipe wrench, pliers, bucket or large bowl, putty knife, and a screwdriver. Materials: New strainer, plumber's putty, and Teflon tape.DIY Kitchen Sink Strainer Replacement


DIY Kitchen Sink Strainer Replacement


Here are a few helpful tips to keep in mind when changing your kitchen sink strainer: Tip 1: Make sure to turn off the water supply before you start to avoid any unwanted spills or leaks. Tip 2: Use Teflon tape on the threads of the locknut to ensure a tight seal and prevent any leaks. Tip 3: Clean the area thoroughly before applying the new strainer to ensure a secure fit. Tip 4: Don't over-tighten the locknut as it can cause damage to the sink or strainer.Tips for Replacing a Kitchen Sink Strainer


Tools Needed for Changing a Kitchen Sink Strainer


While changing a kitchen sink strainer is a fairly straightforward process, there are a few common problems that you may encounter: Problem 1: Difficulty removing the old strainer due to corrosion or rust. Problem 2: Leaks after the new strainer has been installed, which may be caused by an improper seal or loose connections. Problem 3: Strainer doesn't fit properly, which may be due to an incorrect size or shape. These problems can be avoided by carefully following the steps outlined above and taking the time to properly clean and prepare the area before installing the new strainer.Common Problems When Changing a Kitchen Sink Strainer

Tips for Replacing a Kitchen Sink Strainer


If you prefer visual instructions, there are many online video tutorials available that can guide you through the process of changing a kitchen sink strainer. These can be helpful for those who are more visual learners or need a little extra guidance.Video Tutorial: How to Change a Kitchen Sink Strainer

Common Problems When Changing a Kitchen Sink Strainer


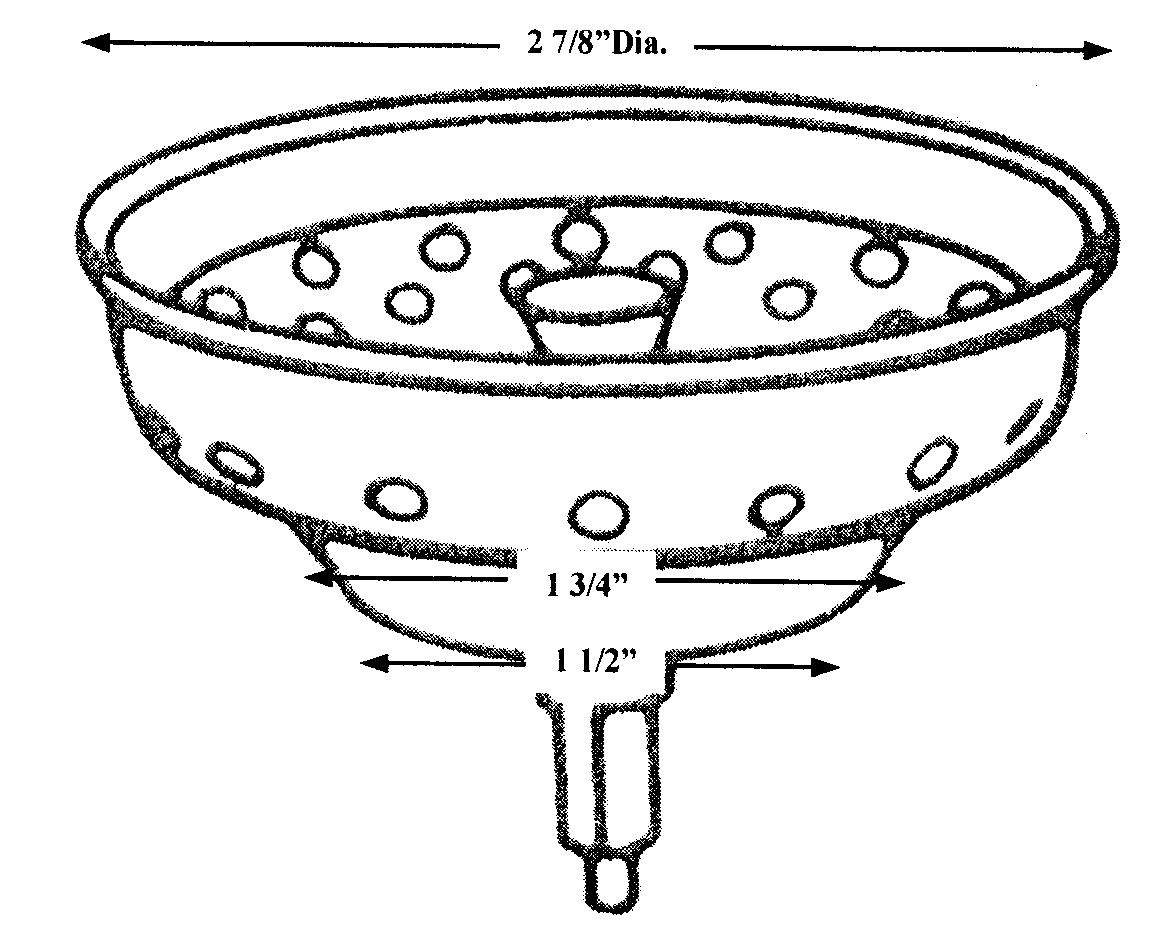
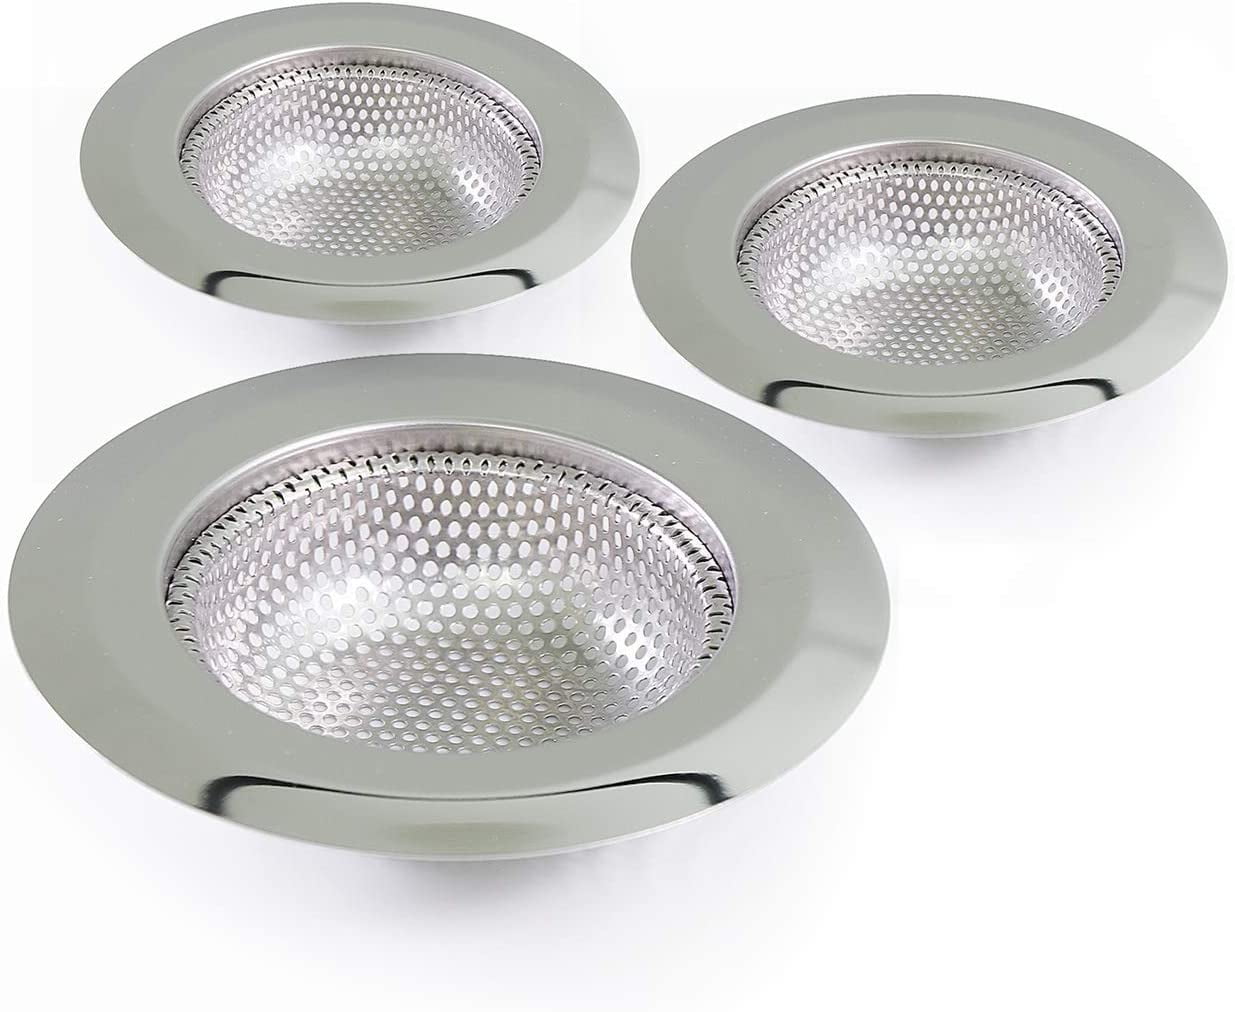
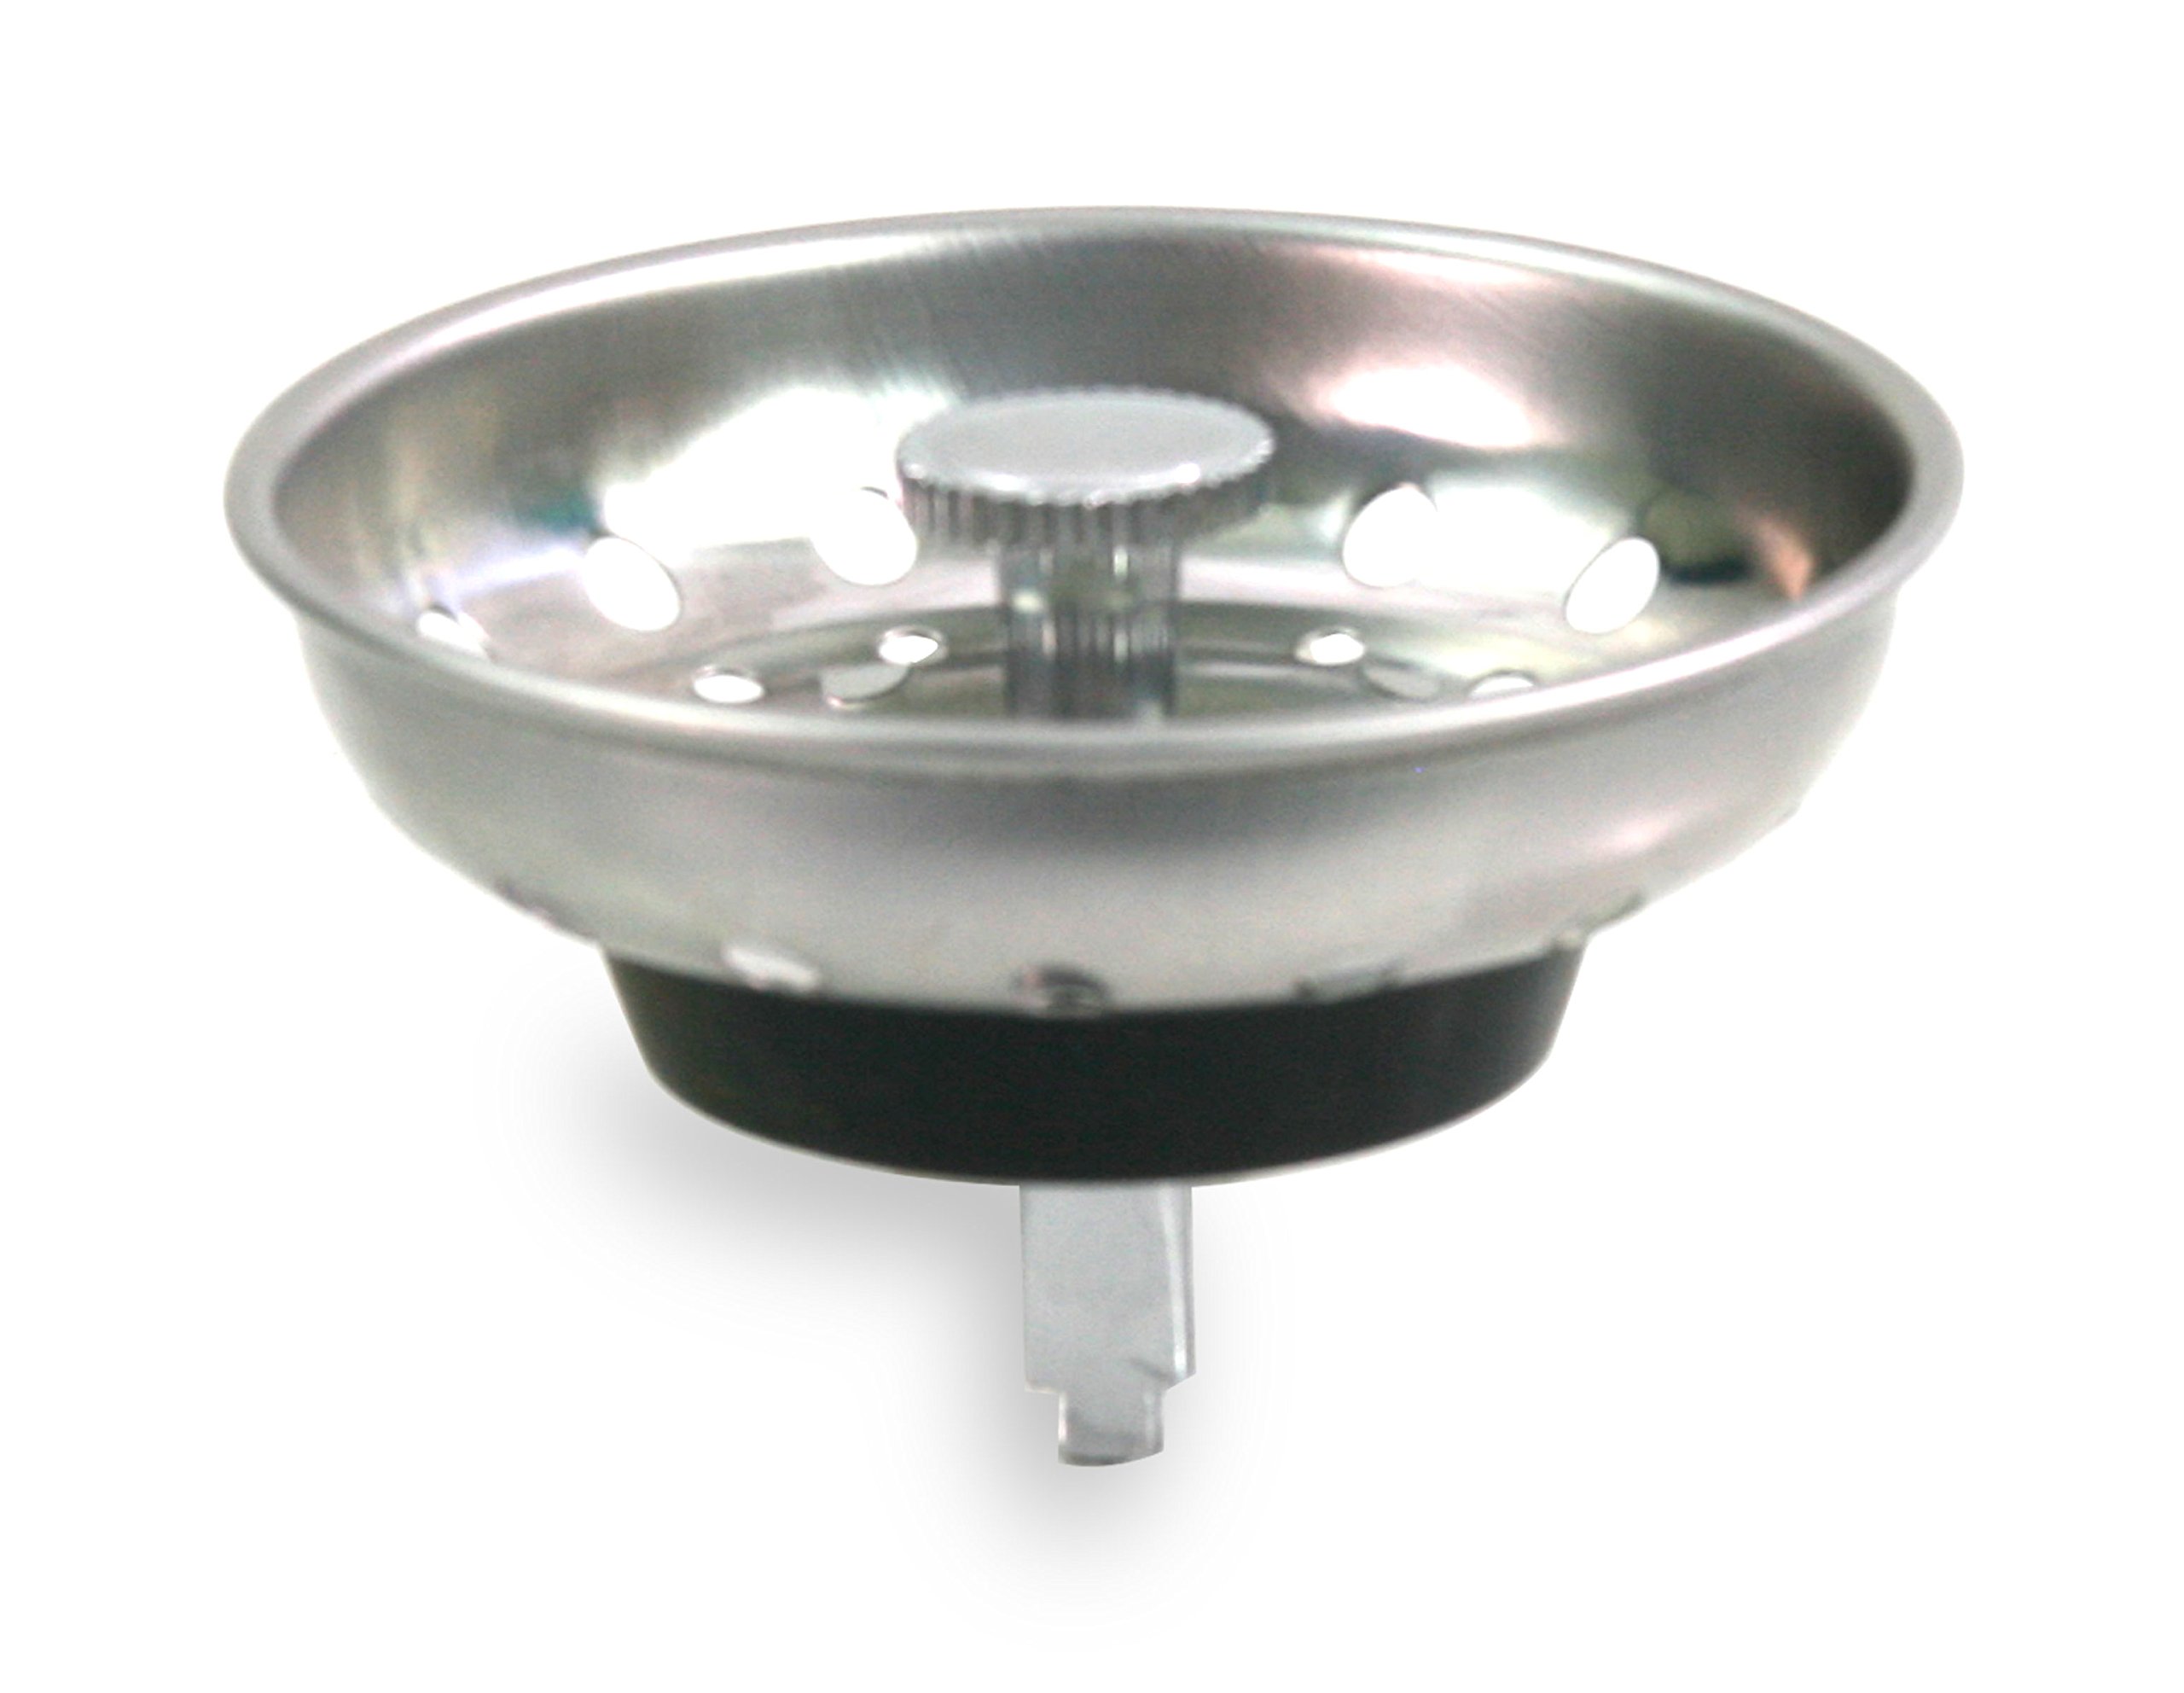
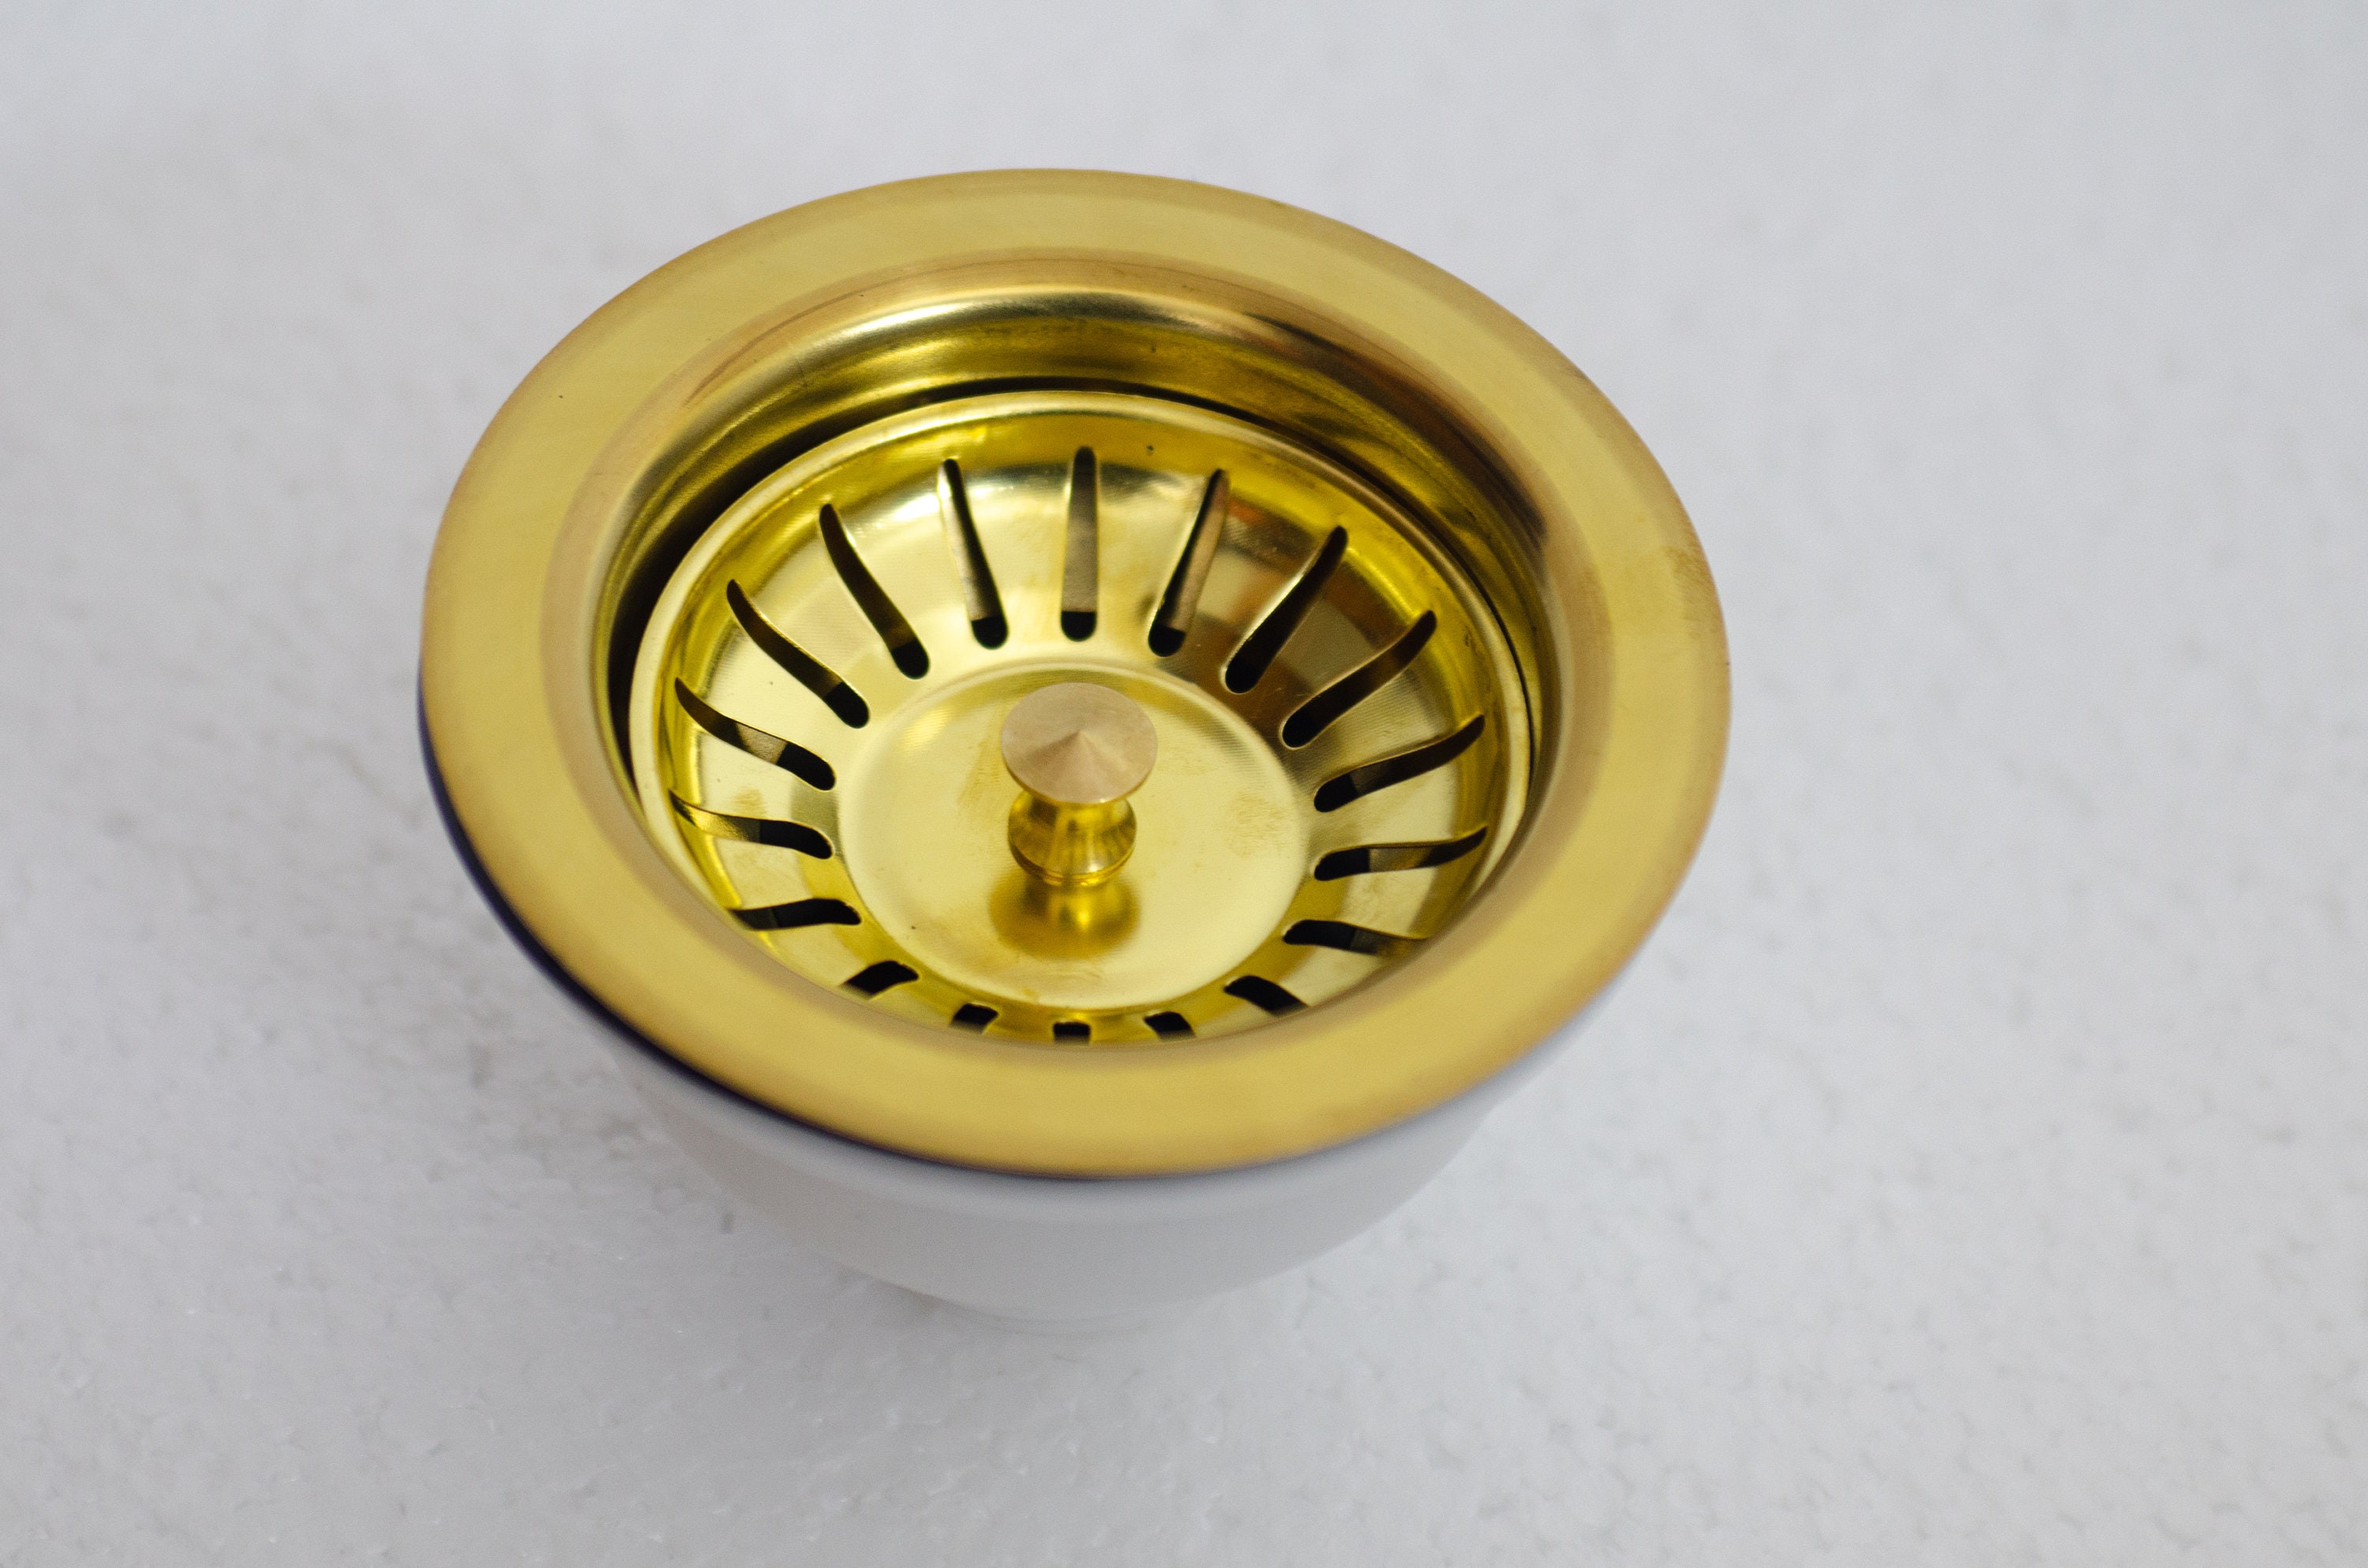
When it comes to choosing a new kitchen sink strainer, there are a few things to keep in mind: Size: Make sure to measure the diameter of your sink's drain before purchasing a new strainer to ensure a proper fit. Material: Strainers are available in different materials such as stainless steel, brass, and plastic. Choose one that best fits your budget and needs. Style: There are various styles of strainers available, including basket strainers, flat strainers, and snap-in strainers. Consider which style would work best for your sink and preferences.Choosing the Right Kitchen Sink Strainer for Replacement


Video Tutorial: How to Change a Kitchen Sink Strainer


While changing a kitchen sink strainer is a simple DIY project, some may prefer to hire a professional plumber. This can be a good option for those who are not comfortable working with pipes or do not have the necessary tools. However, hiring a professional can be costly, and the task can easily be completed by following the steps outlined above. Now that you know how to change a kitchen sink strainer, you can keep your sink running smoothly and avoid any potential plumbing issues. With the right tools and a little know-how, this DIY project can be completed in no time, saving you time and money in the long run.Professional vs. DIY: Changing a Kitchen Sink Strainer


Choosing the Right Kitchen Sink Strainer for Replacement


Why You Should Change Your Kitchen Sink Strainer

The Importance of a Functional Sink Strainer
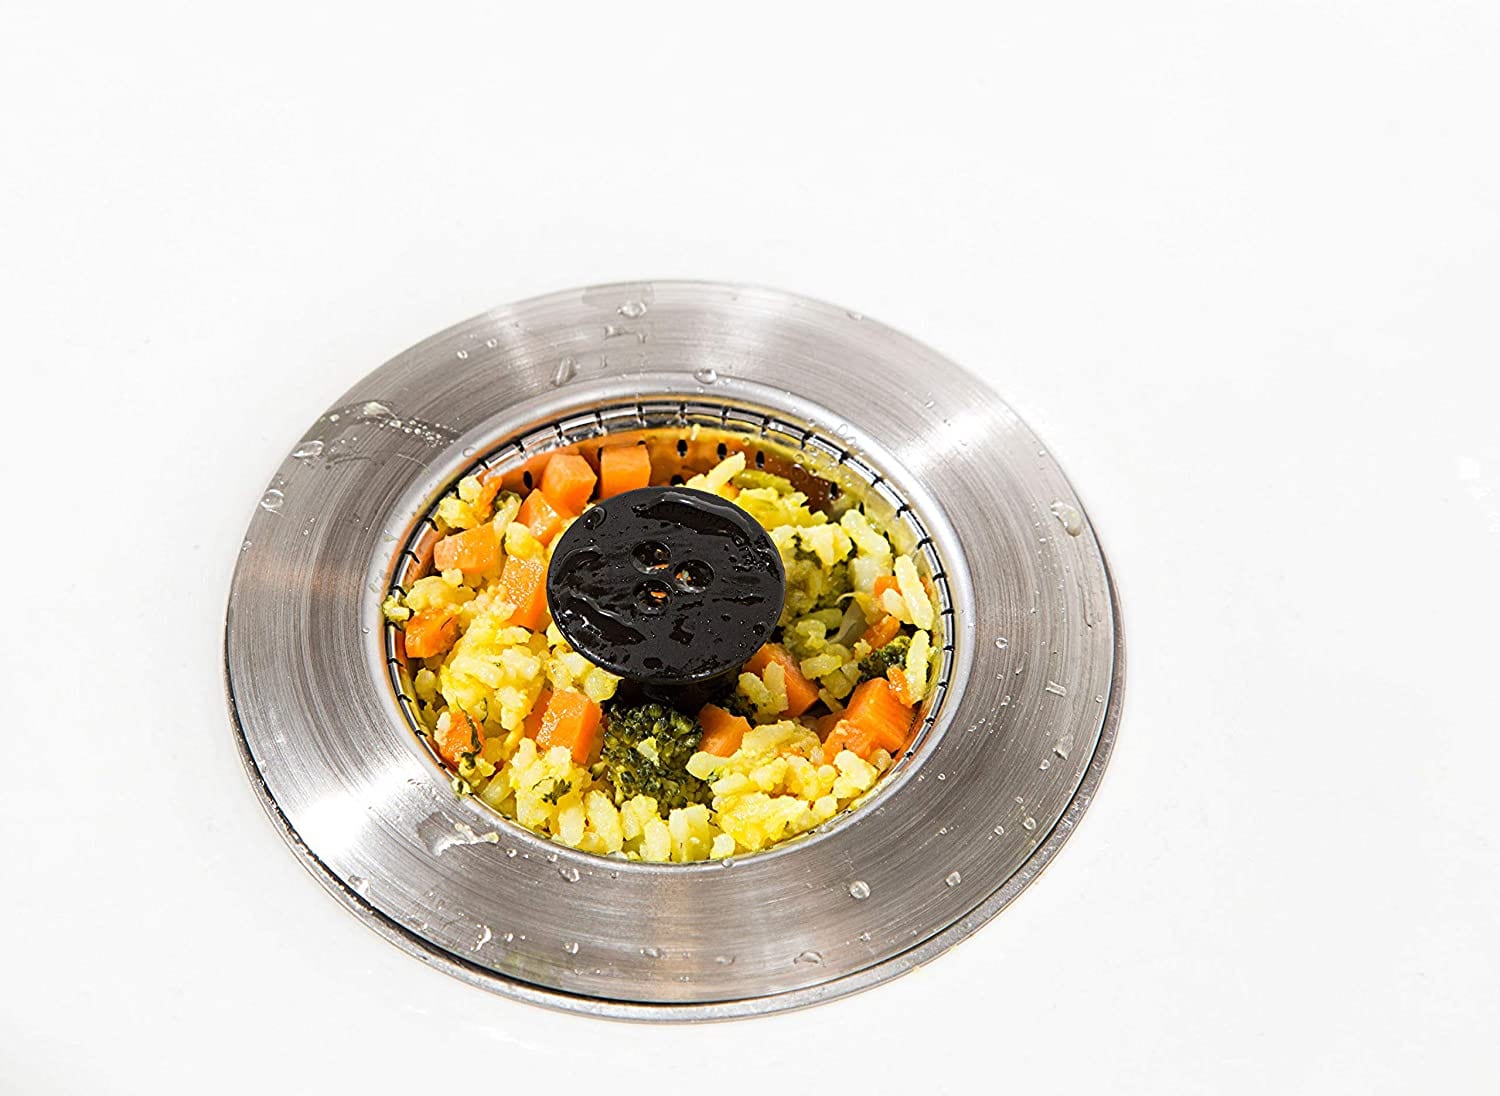
 Your kitchen sink strainer may seem like a small and insignificant part of your kitchen, but it actually plays a crucial role in keeping your sink and plumbing system functioning properly. The strainer prevents food scraps, debris, and other particles from clogging your sink and causing expensive plumbing issues. Over time, the strainer can become worn out or clogged, making it less effective and potentially causing damage to your sink and pipes.
When to Change Your Sink Strainer
 One of the main reasons to change your kitchen sink strainer is if it is showing signs of wear and tear. This can include rust, cracks, or breaks in the strainer itself, as well as a buildup of food and debris that cannot be removed with cleaning. You may also need to change your strainer if the water in your sink is draining slowly or if you notice any foul odors coming from your sink. These are all signs that your strainer is not functioning properly and needs to be replaced.
The Benefits of Upgrading Your Sink Strainer
 When it comes to choosing a new sink strainer, there are many options available on the market. Upgrading to a newer model can bring a range of benefits, including improved functionality, durability, and design. Many newer sink strainers are made with more durable materials and have advanced features such as anti-clogging mechanisms and easy-to-clean designs. They also come in a variety of styles and finishes, allowing you to choose one that complements your kitchen design.
How to Change Your Kitchen Sink Strainer
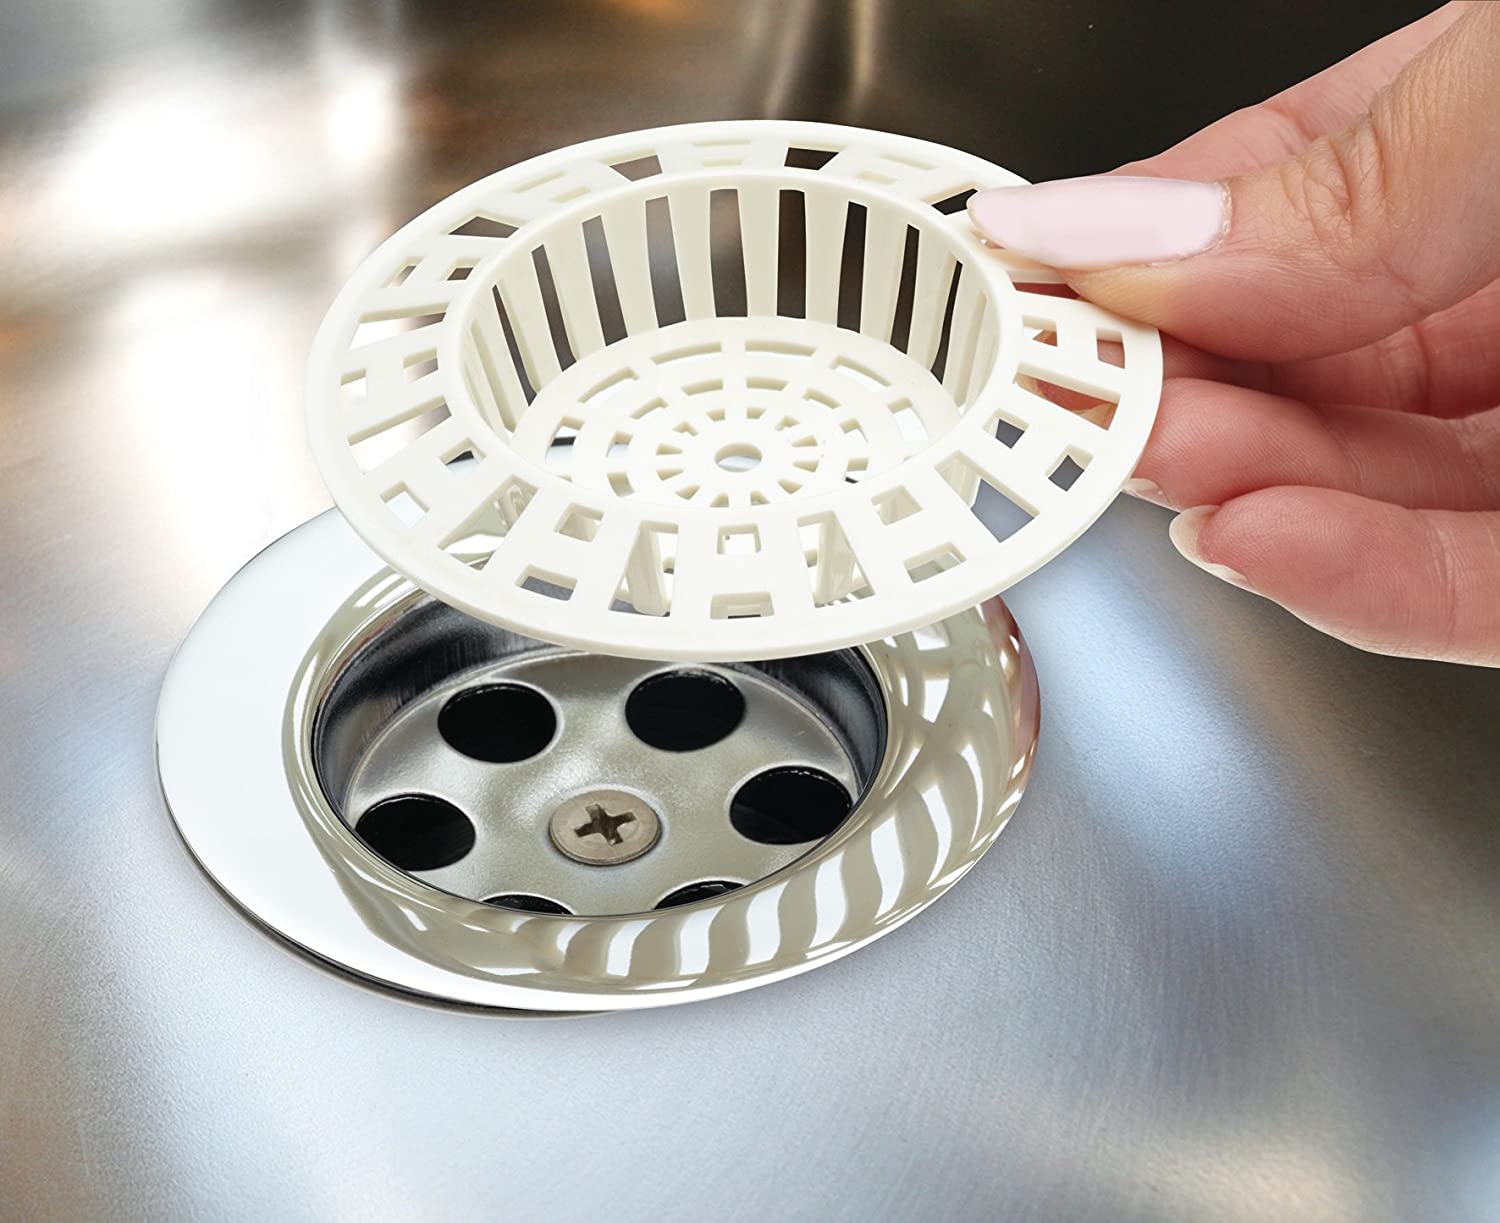 Changing your kitchen sink strainer is a relatively simple task that can be done without the help of a professional. First, turn off the water supply and place a bucket under the sink to catch any excess water. Then, using a wrench, unscrew the old strainer from the bottom of the sink. Clean the area around the sink hole and remove any remaining debris. Finally, install the new strainer by following the manufacturer's instructions and reattach the plumbing. Turn the water supply back on and check for any leaks.
Conclusion
 In conclusion, changing your kitchen sink strainer is an important maintenance task that should not be overlooked. By keeping your strainer in good condition, you can prevent clogs and costly plumbing issues, as well as improve the overall functionality and design of your sink. So, if you notice any signs of wear and tear or poor performance, it may be time to upgrade your kitchen sink strainer. Follow these simple steps and enjoy a fully functional and stylish sink in your kitchen.