Changing a kitchen sink may seem like a daunting task, but with the right tools and knowledge, it can be a simple and rewarding DIY project. Whether you're looking to update the look of your kitchen or your sink is damaged and needs to be replaced, learning how to change a kitchen sink can save you time and money. In this article, we'll guide you through the process of changing a kitchen sink step-by-step, so you can have a brand new sink in no time.How to Change a Kitchen Sink


How to Change a Kitchen Sink


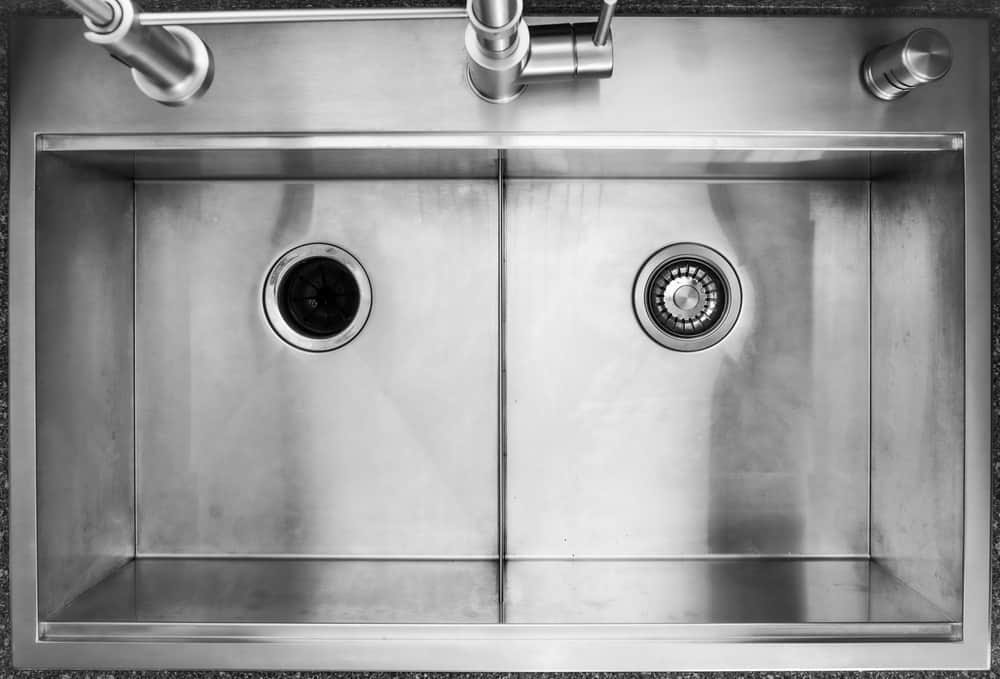
Replacing a kitchen sink requires some basic plumbing skills and the right tools. Before beginning the process, make sure to turn off the water supply and disconnect the plumbing connections. Then, remove the old sink by loosening the clips or screws that hold it in place. Once the old sink is removed, you can install the new one by following the instructions provided by the manufacturer. It's important to ensure a proper fit and secure installation to prevent any leaks in the future.How to Replace a Kitchen Sink


How to Replace a Kitchen Sink


For those who enjoy DIY projects, changing a kitchen sink can be a fun and fulfilling task. Not only will you save money on hiring a professional, but you'll also have the satisfaction of completing the project on your own. However, it's important to note that this is not a project for beginners and some basic plumbing knowledge is required. Make sure to research and gather all the necessary tools before starting the project.DIY Kitchen Sink Replacement


DIY Kitchen Sink Replacement


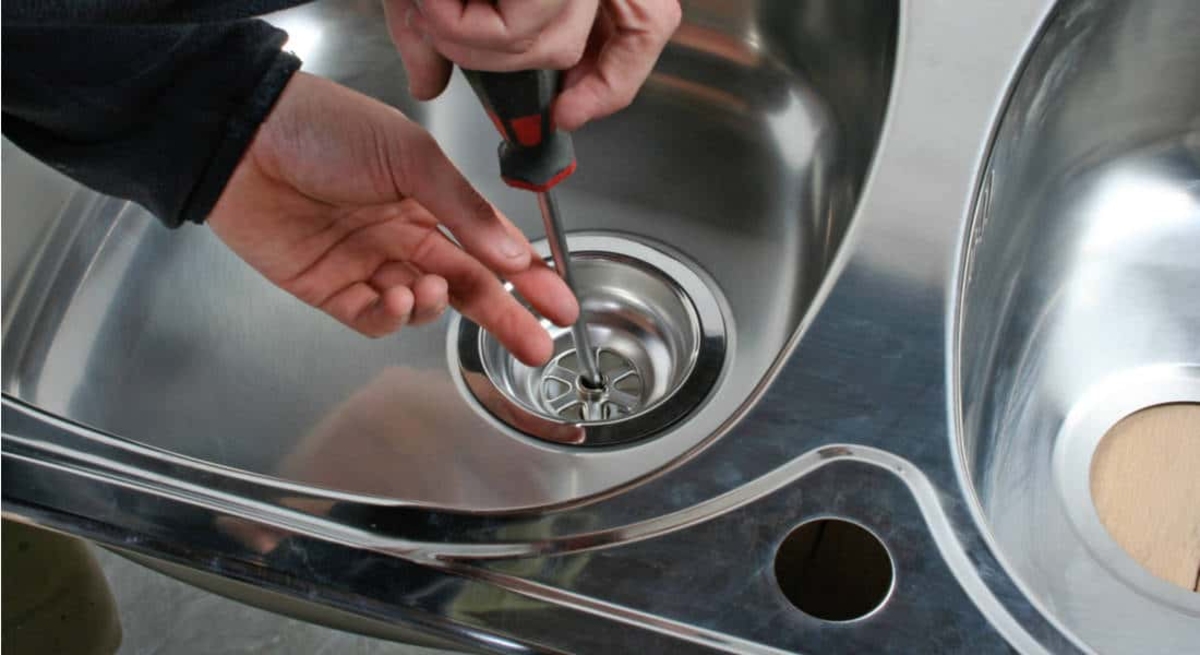
Step 1: Turn off the water supply and disconnect the plumbing connections. Step 2: Remove the old sink by loosening the clips or screws that hold it in place. Step 3: Measure and cut any necessary holes in the countertop for the new sink. Step 4: Install the new sink by following the manufacturer's instructions. Step 5: Connect the plumbing and turn on the water supply. Step 6: Test for any leaks and make adjustments if necessary. Step 7: Seal the edges of the sink with caulk for a clean and secure finish.Step-by-Step Guide for Changing a Kitchen Sink


Step-by-Step Guide for Changing a Kitchen Sink


Having the right tools can make the process of changing a kitchen sink much easier. Some essential tools for this project include a screwdriver, adjustable wrench, plumber's putty, and caulk. It's also helpful to have a basin wrench and pipe wrench for the plumbing connections. Make sure to gather all the necessary tools before starting the project to avoid any delays or frustrations.Tools Needed for Replacing a Kitchen Sink


Tools Needed for Replacing a Kitchen Sink


Before starting the project, it's important to plan ahead and prepare for any potential challenges. Here are some helpful tips to ensure a smooth kitchen sink replacement: 1. Measure twice, cut once - make sure to accurately measure the sink and countertop before making any cuts. 2. Have a helper - having an extra set of hands can make the installation process much easier. 3. Use plumber's putty - this will help create a watertight seal between the sink and countertop. 4. Don't overtighten - be careful not to over-tighten any connections, as this can cause damage or leaks. 5. Take your time - rushing through the project can lead to mistakes and frustrations. Take your time and follow the steps carefully.Tips for a Smooth Kitchen Sink Replacement


Tips for a Smooth Kitchen Sink Replacement


Changing a kitchen sink may seem like a simple task, but there are some common mistakes that can be easily avoided: 1. Forgetting to turn off the water supply - this can lead to a messy and potentially damaging situation. 2. Not measuring accurately - a small mistake in measurement can lead to big problems when installing the sink. 3. Using the wrong tools - using the correct tools can make a significant difference in the ease and success of the project. 4. Improperly sealing the sink - this can lead to leaks and potential damage to the countertop and cabinets. 5. Rushing through the project - taking your time and following the steps carefully will result in a successful and professional-looking installation.Common Mistakes to Avoid When Changing a Kitchen Sink


Common Mistakes to Avoid When Changing a Kitchen Sink


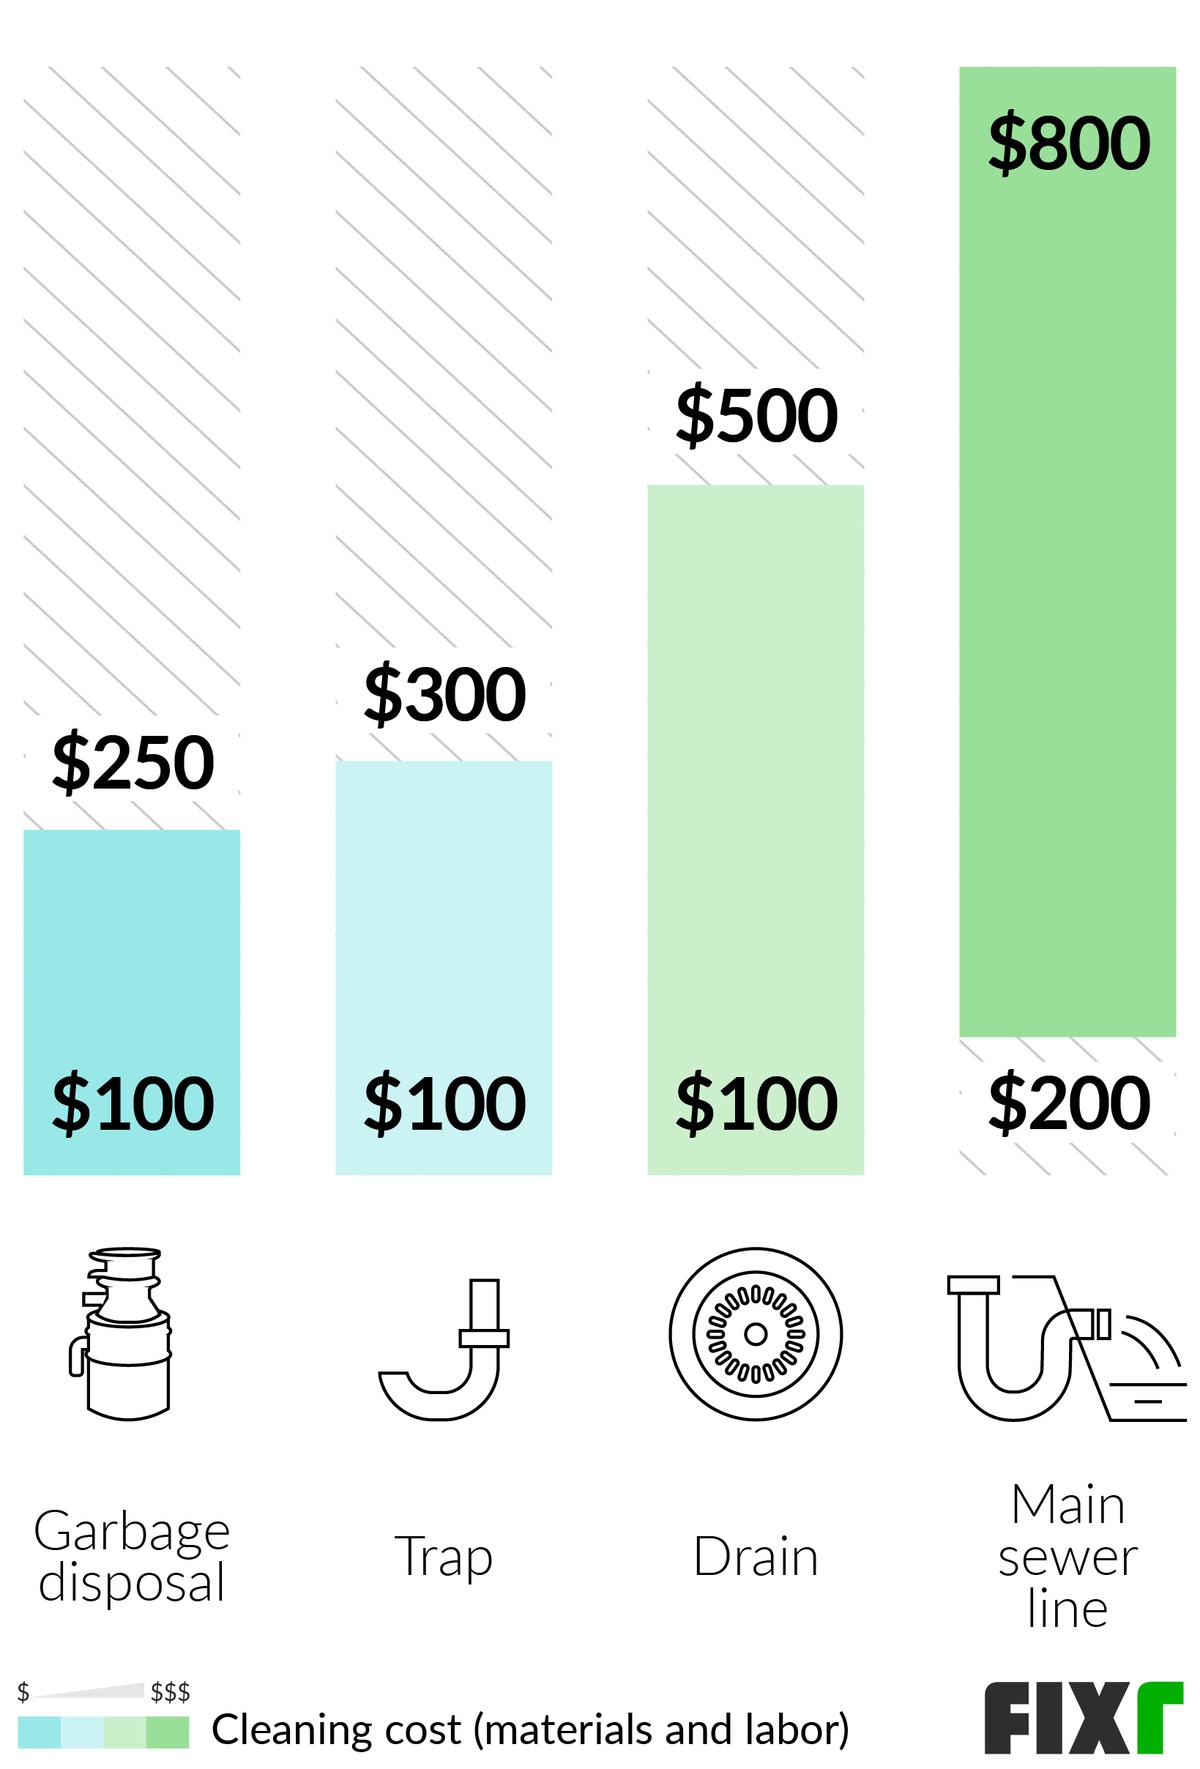
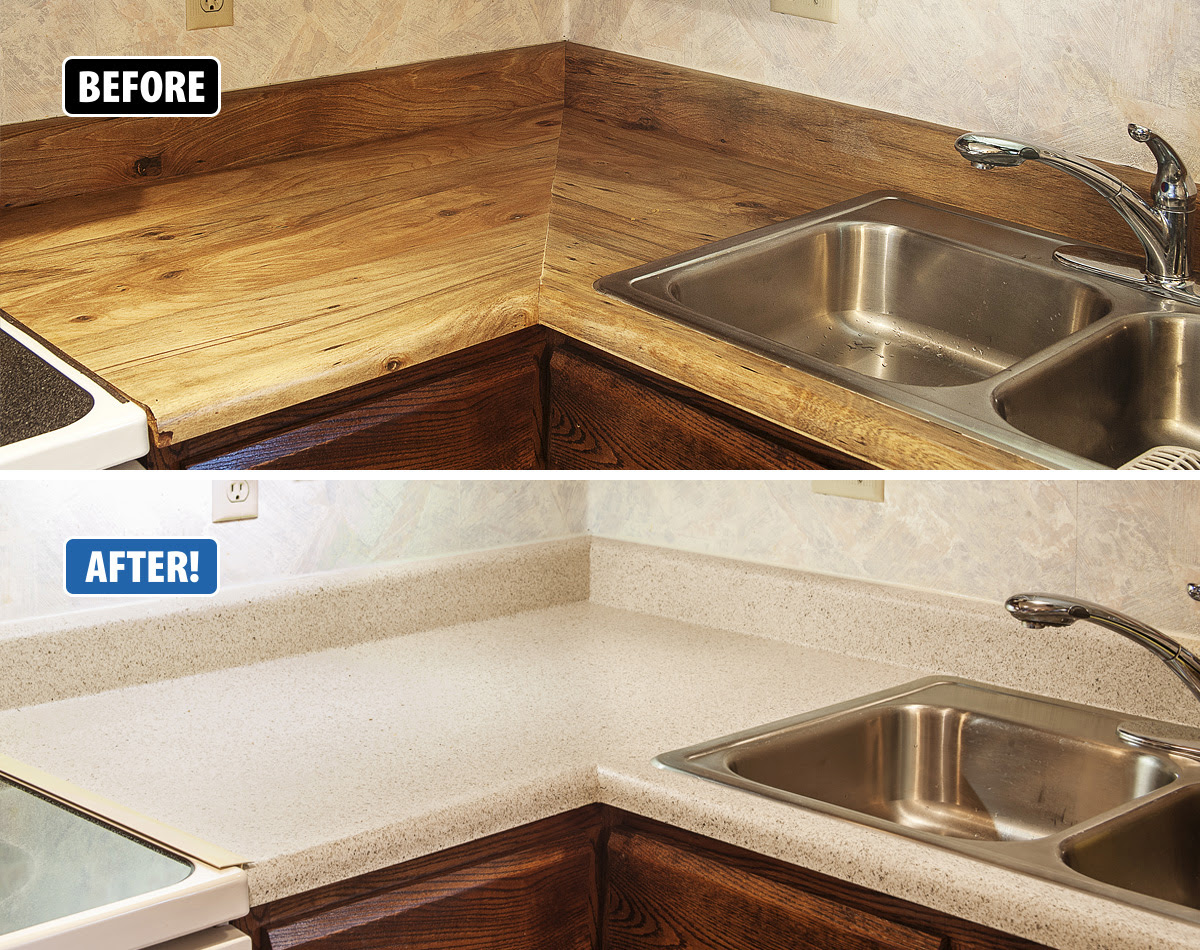
The cost of changing a kitchen sink can vary depending on the type of sink and the complexity of the project. On average, homeowners can expect to spend between $200 to $500 for a new sink and installation. However, this cost can be significantly lower if you choose to do the project yourself.Costs of Changing a Kitchen Sink


Costs of Changing a Kitchen Sink


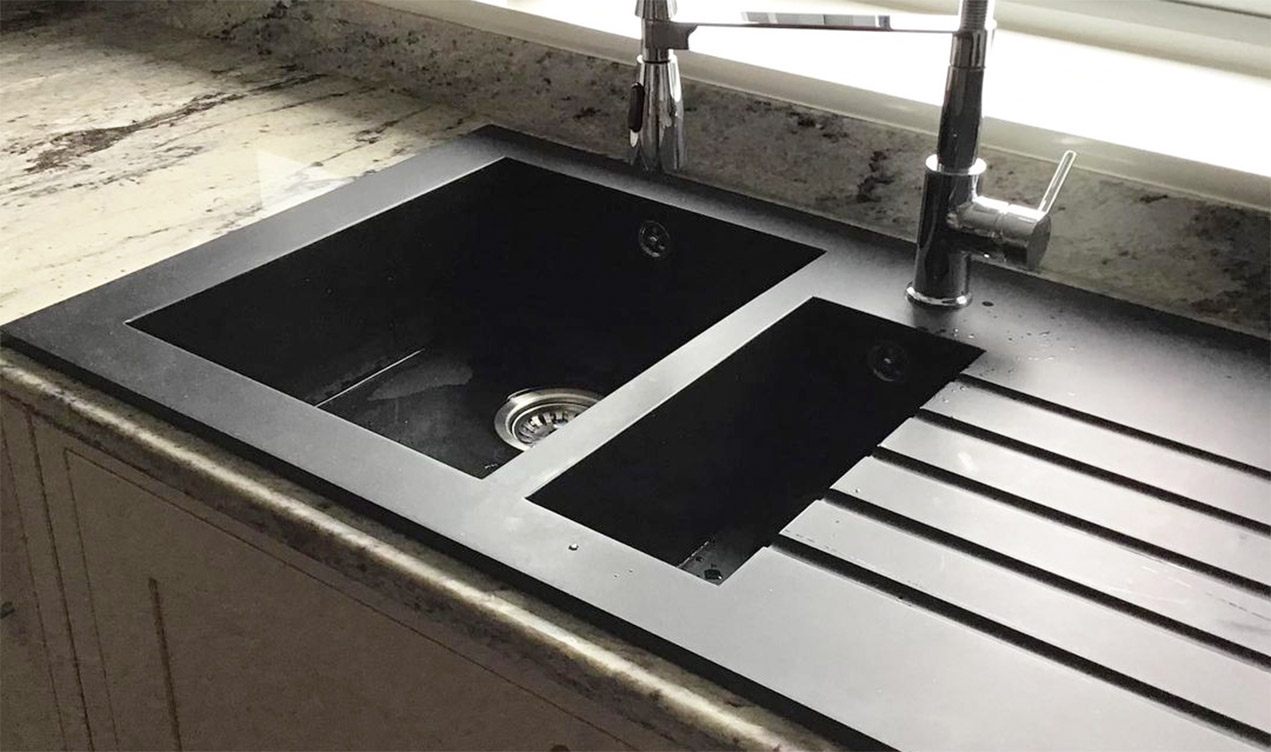
When it comes to choosing a new kitchen sink, there are many options available on the market. The first step is to determine the size and style of the sink that will best fit your kitchen. You should also consider the material and features of the sink, such as single or double basin, undermount or top mount, and additional accessories. It's important to choose a sink that not only fits your budget but also meets your functional and aesthetic needs.How to Choose the Right Kitchen Sink for Replacement


How to Choose the Right Kitchen Sink for Replacement


Deciding whether to hire a professional or do the project yourself is a personal choice that depends on your skills and budget. While hiring a professional can save you time and ensure a flawless installation, doing it yourself can save you money and give you a sense of accomplishment. Make sure to weigh the pros and cons and choose the option that works best for you.Professional vs. DIY Kitchen Sink Replacement


Professional vs. DIY Kitchen Sink Replacement


How to Change a Kitchen Sink: A Step-by-Step Guide

Introduction
 When it comes to designing the perfect kitchen, the sink is often an overlooked yet essential component. It's where we wash our dishes, prep our meals, and even fill up our glasses with water. But over time, our sink can become outdated, damaged, or simply in need of an upgrade. In this article, we will guide you through the process of changing a kitchen sink, from choosing the right one to installing it seamlessly into your kitchen design.
Step 1: Choose the Right Sink
 Before you start the process of changing your kitchen sink, it's crucial to choose the right one for your needs and design aesthetic. There are various styles, sizes, and materials to choose from, so take the time to do your research and find the perfect fit. Consider the functionality, maintenance, and overall look of the sink to ensure it fits with the rest of your kitchen design.
Step 2: Gather Your Materials
 Once you have chosen your new sink, it's time to gather all the necessary materials for the installation process. This will typically include a wrench, screwdriver, caulk gun, plumber's putty, and potentially a hacksaw for cutting pipes. It's essential to have everything on hand before you start the installation to avoid any delays or interruptions.
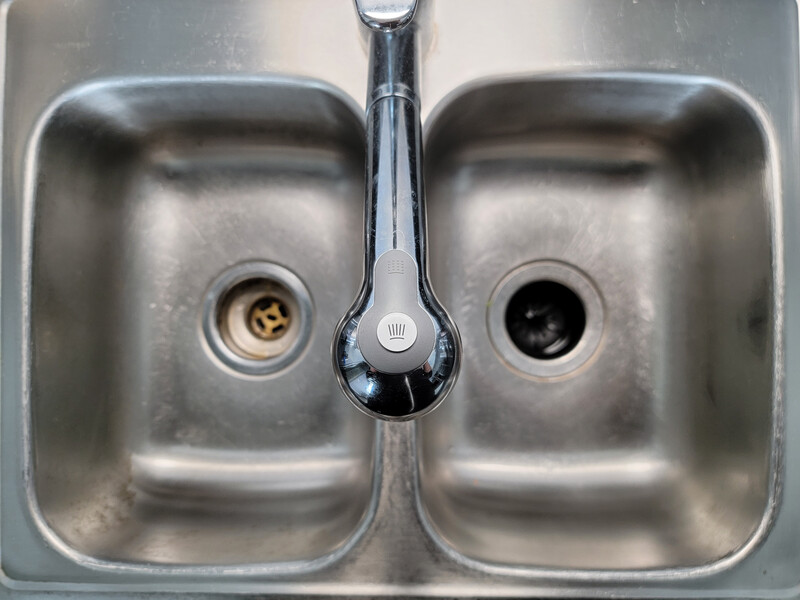
Step 3: Disconnect the Old Sink
 Before you can install your new sink, you'll need to remove the old one. Start by turning off the water supply and disconnecting the pipes and garbage disposal from the sink. Then, use a wrench to loosen the mounting clips underneath the sink and carefully lift it out. Be sure to have a bucket or towel nearby to catch any excess water that may spill out.
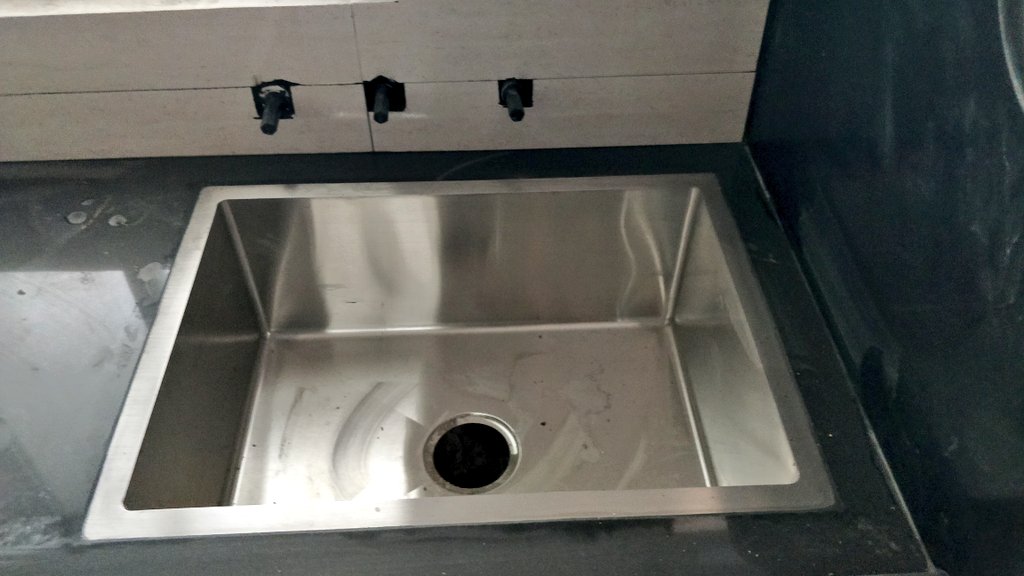
Step 4: Install the New Sink
 With the old sink removed, it's time to install the new one. Start by placing the new sink into the designated area and securing it with mounting clips. Then, connect the water supply and drain pipes, making sure to use plumber's putty for a tight seal. If necessary, use a hacksaw to adjust the length of the pipes to fit your new sink.
Step 5: Apply Caulk and Finishing Touches
 Once the sink is securely in place, it's time to apply caulk around the edges to prevent any leaks. Use a caulk gun to evenly distribute the caulk and smooth it out with a damp finger or caulk smoothing tool. Finally, turn on the water supply and check for any leaks. If everything looks good, your new sink installation is complete!
Changing a kitchen sink
may seem like a daunting task, but with the right tools and a little patience, it can be a simple and rewarding project. By following these steps and taking the time to choose the perfect sink for your kitchen, you can elevate the functionality and design of your space. So don't be afraid to take on this
house design
project and give your kitchen the upgrade it deserves.
Once the sink is securely in place, it's time to apply caulk around the edges to prevent any leaks. Use a caulk gun to evenly distribute the caulk and smooth it out with a damp finger or caulk smoothing tool. Finally, turn on the water supply and check for any leaks. If everything looks good, your new sink installation is complete!
Changing a kitchen sink
may seem like a daunting task, but with the right tools and a little patience, it can be a simple and rewarding project. By following these steps and taking the time to choose the perfect sink for your kitchen, you can elevate the functionality and design of your space. So don't be afraid to take on this
house design
project and give your kitchen the upgrade it deserves.