Are you tired of seeing water leaking out of your kitchen sink? Or maybe you just want to freshen up the look of your sink area? Caulking your kitchen sink is a simple and effective way to prevent water damage and improve the overall appearance of your sink. But if you've never caulked before, don't worry – with just a few tools and some basic steps, you can easily caulk your kitchen sink like a pro. Follow these 12 steps to learn how to caulk a kitchen sink and achieve a clean and professional finish.How to Caulk a Kitchen Sink: 12 Steps (with Pictures) - wikiHow


How to Caulk a Kitchen Sink: 12 Steps (with Pictures) - wikiHow


Before you start caulking, make sure you have all the necessary materials. These include a caulk gun, silicone caulk, a utility knife, and a damp cloth or sponge for smoothing. You may also want to have some painter's tape on hand to help create clean, straight lines.Step 1: Gather Materials


How to Caulk a Kitchen Sink: 12 Steps (with Pictures) - wikiHow

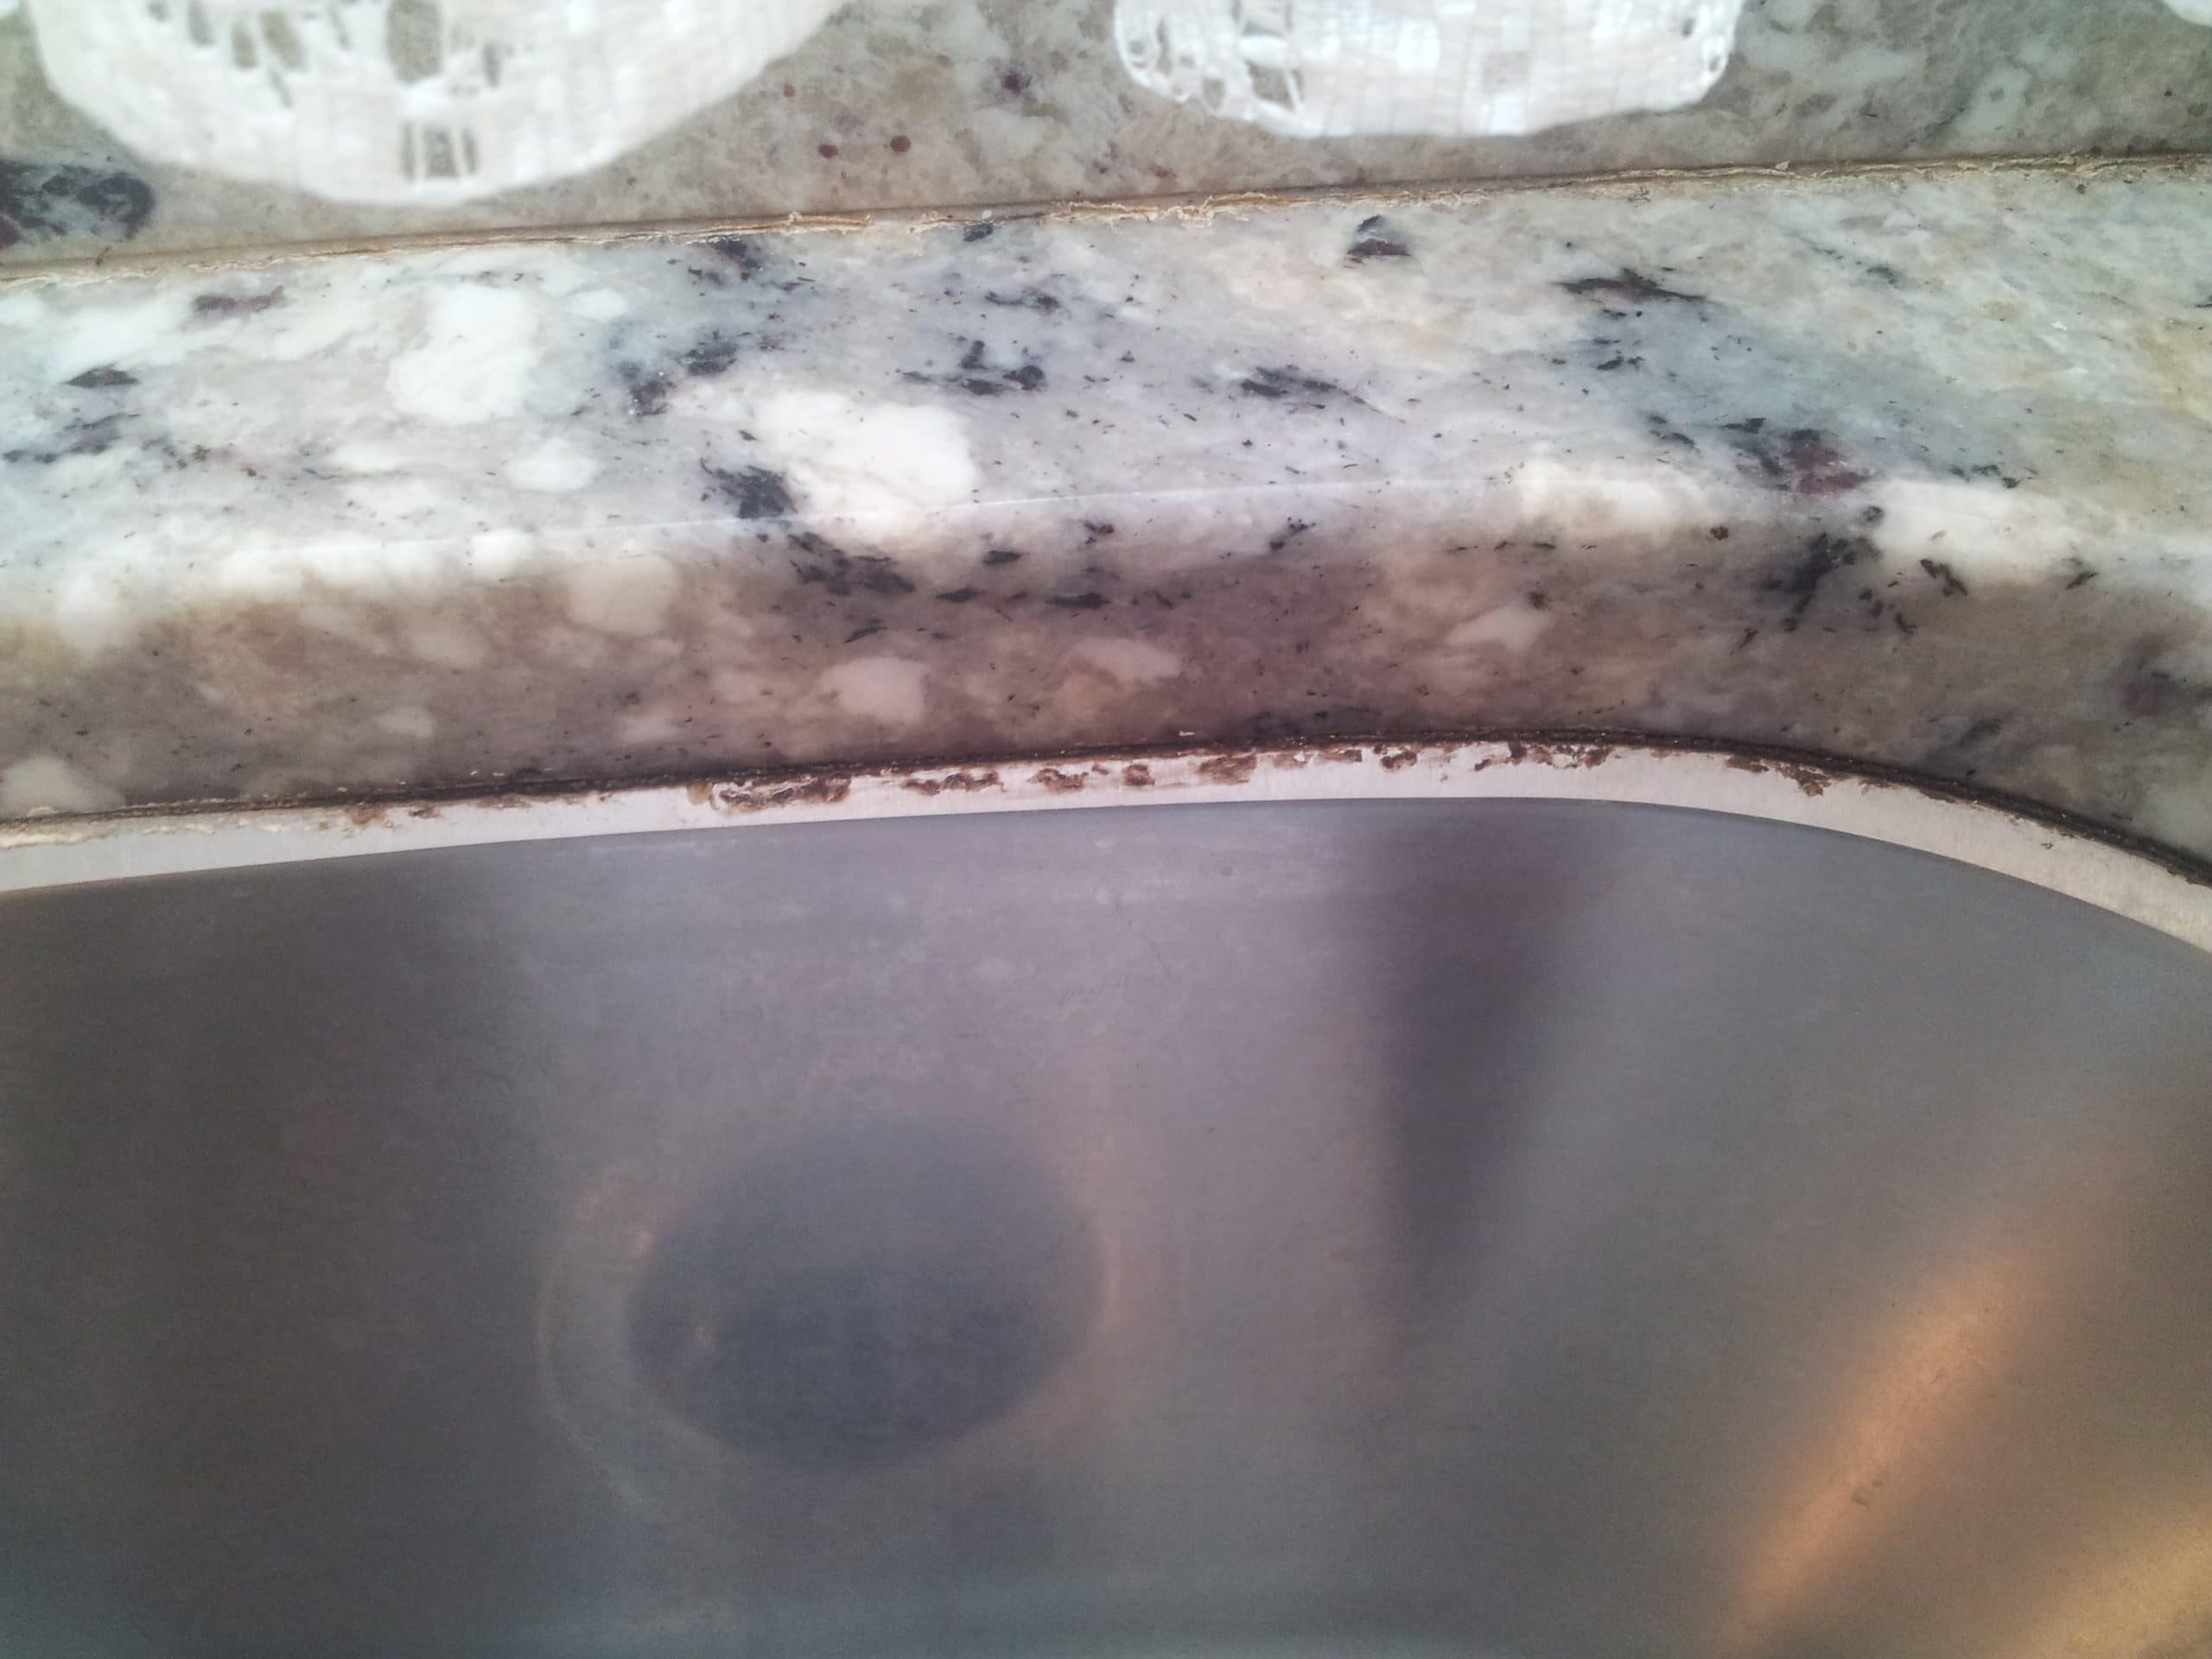

Before you can begin caulking, you need to thoroughly clean the area around your kitchen sink. Use a mild cleaner and a sponge or cloth to remove any dirt, grime, or old caulk. Make sure the area is completely dry before moving on to the next step.Step 2: Clean the Area


How to Caulk a Kitchen Sink: 12 Steps (with Pictures) - wikiHow
If you're using a caulk gun, make sure to cut the tip of the caulk tube at a 45-degree angle. This will help create a smooth and even bead of caulk. Insert the caulk tube into the gun and press the trigger a few times to get the caulk flowing.Step 3: Prepare the Caulk Gun


How to Caulk a Kitchen Sink: 12 Steps (with Pictures) - wikiHow

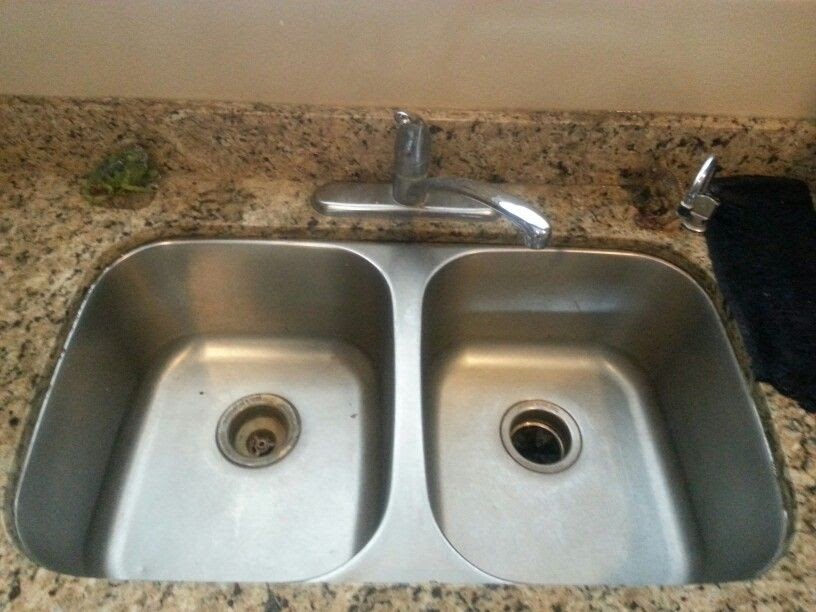

Starting at one end of the sink, hold the caulk gun at a 45-degree angle and gently squeeze the trigger to apply the caulk. Move the gun along the seam between the sink and the countertop, applying a thin and even line of caulk. If you're using painter's tape, place it along the edge of the seam to create clean lines.Step 4: Apply the Caulk
How to Caulk a Kitchen Sink: 12 Steps (with Pictures) - wikiHow
Using a damp cloth or sponge, smooth out the caulk line. This will help remove any excess caulk and create a neat and tidy finish. Make sure to keep the cloth or sponge damp throughout this process to prevent the caulk from sticking to it.Step 5: Smooth the Caulk

How to Caulk a Kitchen Sink: 12 Steps (with Pictures) - wikiHow
After smoothing the caulk, use a utility knife to carefully remove any excess caulk. Hold the knife at a 45-degree angle and gently scrape along the edge of the seam to remove any extra caulk. Wipe away any excess caulk with a damp cloth.Step 6: Remove Excess Caulk

How to Caulk a Kitchen Sink: 12 Steps (with Pictures) - wikiHow
Allow the caulk to dry for the recommended time according to the caulk manufacturer's instructions. This can range from 24 to 48 hours, depending on the type of caulk you're using.Step 7: Let the Caulk Dry
How to Caulk a Kitchen Sink: 12 Steps (with Pictures) - wikiHow
Once the caulk is dry, check for any gaps or areas that may need additional caulk. If you find any, simply repeat the caulking process in those areas.Step 8: Check for Gaps
How to Caulk a Kitchen Sink: 12 Steps (with Pictures) - wikiHow
If you used painter's tape, carefully remove it from the seam once the caulk is dry. This will reveal clean and straight lines between the sink and countertop.Step 9: Remove Painter's Tape
How to Caulk a Kitchen Sink: 12 Steps (with Pictures) - wikiHow
Caulking a Kitchen Sink: The Finishing Touch for a Professional House Design

Why Caulking is Important for Your Kitchen Sink
 Caulking is a crucial step in achieving a professional and polished house design, especially in your kitchen. The kitchen sink is one of the most used and exposed areas in the house, making it susceptible to wear and tear. Over time, the caulk around your kitchen sink can crack and deteriorate, leading to water damage and mold growth. Not only does this affect the aesthetic appeal of your kitchen, but it can also be a health hazard. By regularly
caulking
your kitchen sink, you can prevent these issues and maintain a clean and functional space.
Caulking is a crucial step in achieving a professional and polished house design, especially in your kitchen. The kitchen sink is one of the most used and exposed areas in the house, making it susceptible to wear and tear. Over time, the caulk around your kitchen sink can crack and deteriorate, leading to water damage and mold growth. Not only does this affect the aesthetic appeal of your kitchen, but it can also be a health hazard. By regularly
caulking
your kitchen sink, you can prevent these issues and maintain a clean and functional space.
The Process of Caulking a Kitchen Sink
 Caulking a kitchen sink may seem like a daunting task, but with the right materials and technique, it can be a simple and quick process. Before starting, make sure to
clean
the area around your kitchen sink thoroughly. Remove any old caulk and debris, and dry the surface completely. Next, choose a high-quality
caulk
specifically designed for kitchen and bathroom use. Using a caulk gun, carefully apply a thin and continuous line of caulk around the edge of your sink. Use a damp finger or a caulk tool to smooth out the caulk and remove any excess. Once the caulk is dry, usually within 24 hours, your kitchen sink will have a tight seal and a seamless finish.
Caulking a kitchen sink may seem like a daunting task, but with the right materials and technique, it can be a simple and quick process. Before starting, make sure to
clean
the area around your kitchen sink thoroughly. Remove any old caulk and debris, and dry the surface completely. Next, choose a high-quality
caulk
specifically designed for kitchen and bathroom use. Using a caulk gun, carefully apply a thin and continuous line of caulk around the edge of your sink. Use a damp finger or a caulk tool to smooth out the caulk and remove any excess. Once the caulk is dry, usually within 24 hours, your kitchen sink will have a tight seal and a seamless finish.
The Benefits of Proper Caulking
 Aside from preventing water damage and mold growth, caulking your kitchen sink also has other benefits for your house design. It helps to
seal
any gaps or cracks, creating a more energy-efficient space by preventing drafts and keeping your kitchen insulated. Additionally, properly caulked sinks are easier to
clean
and maintain, as there are no gaps for dirt and grime to accumulate. This ultimately leads to a longer lifespan for your kitchen sink and a more polished and professional appearance for your house.
In conclusion, caulking your kitchen sink may seem like a small and insignificant task, but it plays a crucial role in achieving a professional house design. By regularly
caulking
your sink, you can prevent water damage, maintain a clean and functional space, and improve the overall appearance of your kitchen. So, don't neglect this important step and make sure to include it in your regular house maintenance routine.
Aside from preventing water damage and mold growth, caulking your kitchen sink also has other benefits for your house design. It helps to
seal
any gaps or cracks, creating a more energy-efficient space by preventing drafts and keeping your kitchen insulated. Additionally, properly caulked sinks are easier to
clean
and maintain, as there are no gaps for dirt and grime to accumulate. This ultimately leads to a longer lifespan for your kitchen sink and a more polished and professional appearance for your house.
In conclusion, caulking your kitchen sink may seem like a small and insignificant task, but it plays a crucial role in achieving a professional house design. By regularly
caulking
your sink, you can prevent water damage, maintain a clean and functional space, and improve the overall appearance of your kitchen. So, don't neglect this important step and make sure to include it in your regular house maintenance routine.


/Primary_Images-a885ad380d8b4cf693e1a2489fed2b51.jpg)
