Installing a cast iron kitchen sink may seem like a daunting task, but with the right tools and knowledge, it can be a relatively simple process. In this guide, we will walk you through the step-by-step process of installing a cast iron kitchen sink in your home.How to Install a Cast Iron Kitchen Sink


How to Install a Cast Iron Kitchen Sink


Before you begin, make sure you have all the necessary tools and materials. You will need a drill, a screwdriver, plumber's putty, silicone caulk, and a cast iron kitchen sink. Once you have everything ready, follow these easy steps to install your new sink.How to Install a Cast Iron Kitchen Sink in a Few Simple Steps


How to Install a Cast Iron Kitchen Sink in a Few Simple Steps


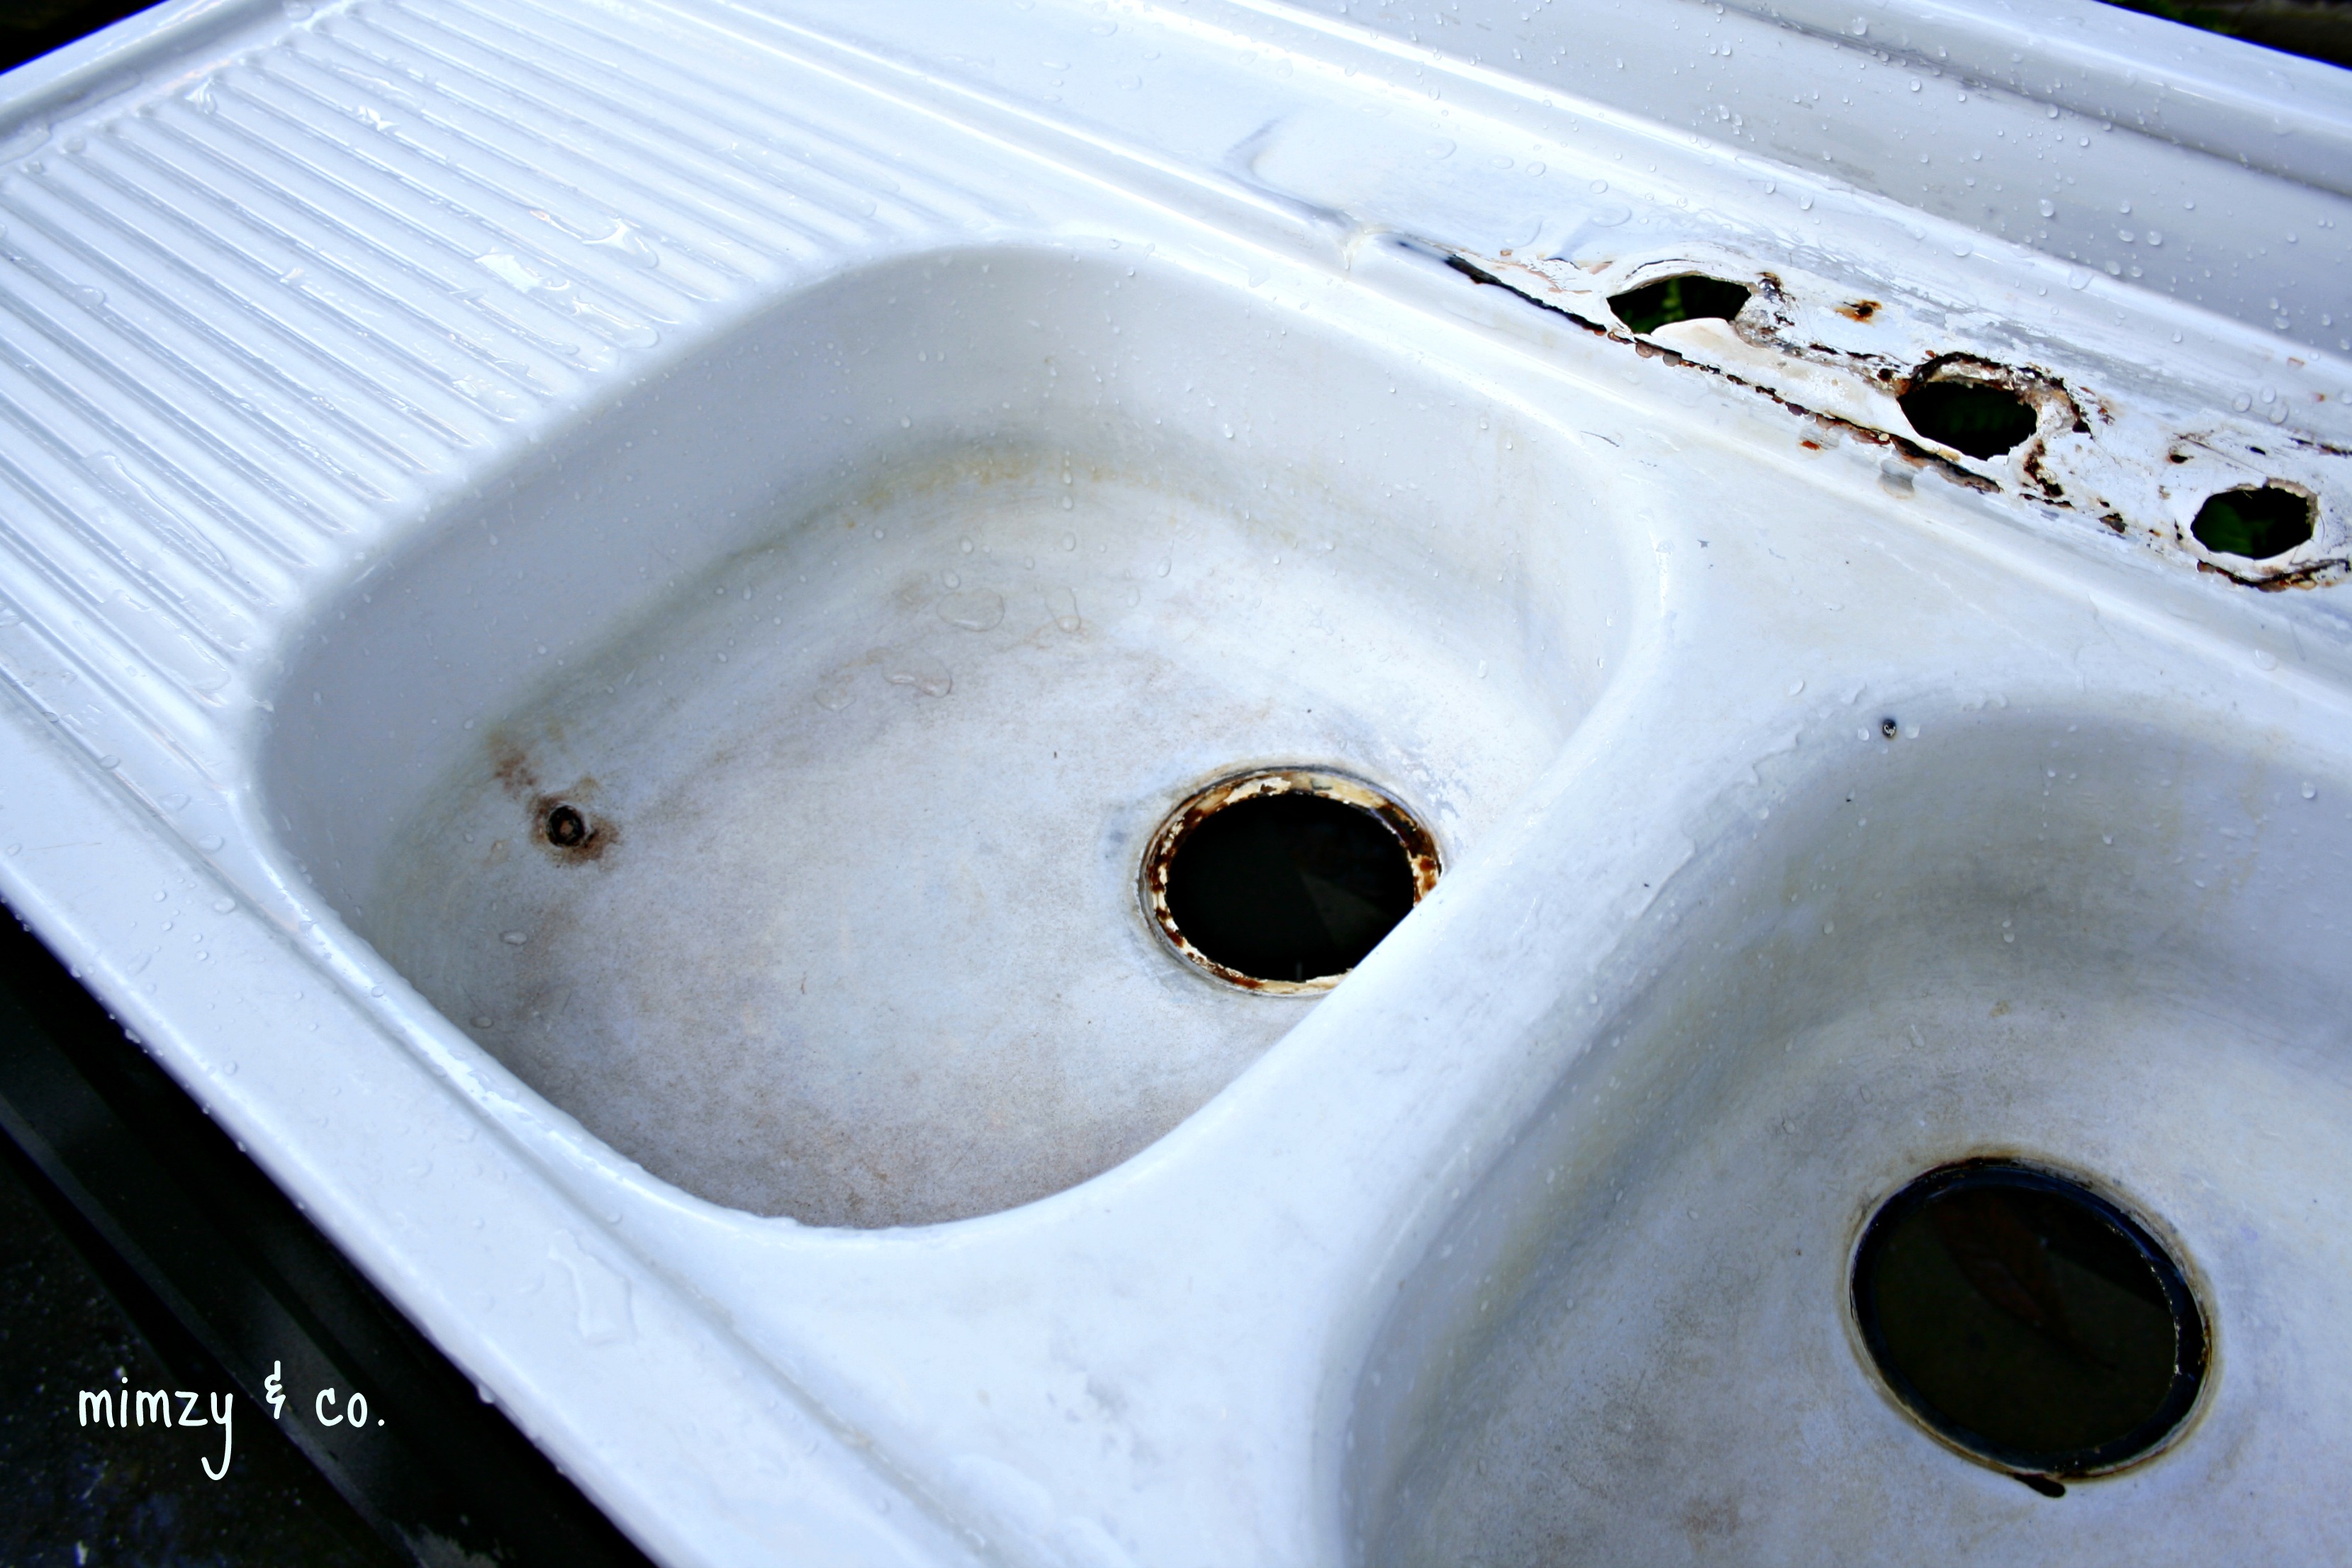
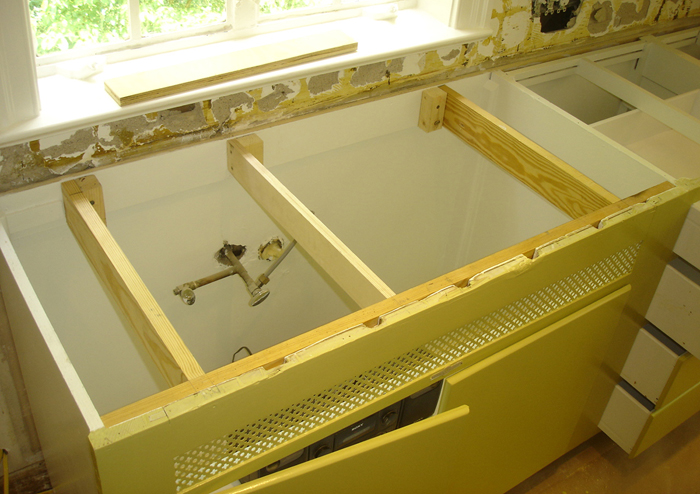
Step 1: Measure and prepare the sink area. Measure the dimensions of your sink and the cabinet space to ensure a proper fit. Clear out any debris or old caulk from the sink area before beginning the installation process. Step 2: Install the drain and faucet. Follow the manufacturer's instructions to install the drain and faucet onto the sink. If you are replacing an old sink, you can use the existing ones if they are in good condition. Step 3: Apply plumber's putty. Roll out a small amount of plumber's putty and apply it around the edges of the sink's drain opening. This will create a watertight seal when the sink is placed onto the countertop. Step 4: Place the sink onto the countertop. Carefully lower the sink onto the countertop, making sure it is centered and level. Use a level to ensure that the sink is straight before moving on to the next step. Step 5: Secure the sink in place. Use mounting clips or brackets to secure the sink to the countertop. These will hold the sink in place and prevent it from shifting or moving. Step 6: Connect the water supply lines. Use a wrench to connect the water supply lines to the faucet. Make sure they are tightened securely to prevent any leaks. Step 7: Apply silicone caulk. Once the sink is securely in place, use silicone caulk to seal the edges around the sink. This will prevent any water from leaking under the sink and causing damage to the cabinet. Step 8: Let the caulk dry. Allow the caulk to dry completely before using the sink. This can take anywhere from 24 to 48 hours, depending on the type of caulk used. Step 9: Reconnect the plumbing. Reconnect the drain pipes and garbage disposal (if applicable) to the sink. Make sure everything is securely tightened to prevent any leaks. Step 10: Test for leaks. Once everything is connected, turn on the water and check for any leaks. If you notice any, tighten the connections or add more caulk as needed.Step-by-Step Guide for Installing a Cast Iron Kitchen Sink


Step-by-Step Guide for Installing a Cast Iron Kitchen Sink


Installing a cast iron kitchen sink is an easy and affordable way to upgrade your kitchen. By following these instructions and taking your time, you can have a beautiful new sink installed in no time.Cast Iron Kitchen Sink Installation Instructions: A Comprehensive Guide


Cast Iron Kitchen Sink Installation Instructions: A Comprehensive Guide


If you are planning on installing your cast iron kitchen sink yourself, here are a few tips and tricks to keep in mind: - Always measure the dimensions of your sink and cabinet space before beginning the installation process. - Use a level to ensure that your sink is straight and level before securing it in place. - Allow the silicone caulk to dry completely before using the sink. This will prevent any leaks or damage to the cabinet. - If you are unsure about any step in the process, consult a professional plumber for assistance.DIY Cast Iron Kitchen Sink Installation: Tips and Tricks


DIY Cast Iron Kitchen Sink Installation: Tips and Tricks


Before installing a cast iron kitchen sink, it is important to know some key things about the material: - Cast iron sinks are very heavy, so make sure your countertop and cabinet can support the weight. - They are prone to chipping and scratching, so handle them with care during the installation process. - Cast iron sinks require regular maintenance to prevent rust and keep them looking new.Installing a Cast Iron Kitchen Sink: What You Need to Know


Installing a Cast Iron Kitchen Sink: What You Need to Know


With the right tools and knowledge, installing a cast iron kitchen sink can be a simple and straightforward process. Follow these instructions and tips for a successful installation.Cast Iron Kitchen Sink Installation Made Easy


Cast Iron Kitchen Sink Installation Made Easy


This guide has covered all the necessary steps and tips for installing a cast iron kitchen sink. By following these instructions, you can have a beautiful new sink in your kitchen in no time.The Ultimate Guide to Installing a Cast Iron Kitchen Sink


The Ultimate Guide to Installing a Cast Iron Kitchen Sink
For a visual guide to installing a cast iron kitchen sink, check out online tutorials and videos. These can provide additional tips and tricks for a successful installation.Cast Iron Kitchen Sink Installation: A Step-by-Step Tutorial

Cast Iron Kitchen Sink Installation: A Step-by-Step Tutorial


To properly install a cast iron kitchen sink, follow the manufacturer's instructions and take your time. With the right tools and knowledge, you can have a beautiful and functional sink in your kitchen in no time.How to Properly Install a Cast Iron Kitchen Sink

How to Properly Install a Cast Iron Kitchen Sink


Why Choose a Cast Iron Kitchen Sink for Your Home

Durable and Long-Lasting
 When it comes to choosing a kitchen sink, durability is key. After all, it's one of the most used and abused fixtures in your home. This is where a
cast iron kitchen sink
shines. Made from a combination of iron, steel, and enamel, these sinks are built to last. The iron provides strength and durability, while the enamel coating adds a layer of protection against scratches, stains, and chipping. With proper care, a
cast iron kitchen sink
can last for decades, making it a worthwhile investment for any homeowner.
When it comes to choosing a kitchen sink, durability is key. After all, it's one of the most used and abused fixtures in your home. This is where a
cast iron kitchen sink
shines. Made from a combination of iron, steel, and enamel, these sinks are built to last. The iron provides strength and durability, while the enamel coating adds a layer of protection against scratches, stains, and chipping. With proper care, a
cast iron kitchen sink
can last for decades, making it a worthwhile investment for any homeowner.
Easy to Clean and Maintain
 Keeping your kitchen sink clean is essential for maintaining a hygienic and visually appealing space.
Cast iron sinks
are non-porous, meaning they do not absorb liquids or stains. This makes them incredibly easy to clean with just soap and water. To keep your sink looking like new, avoid abrasive cleaners and harsh chemicals, as these can damage the enamel coating. With regular cleaning and maintenance, your
cast iron kitchen sink
will continue to look and function well for years to come.
Keeping your kitchen sink clean is essential for maintaining a hygienic and visually appealing space.
Cast iron sinks
are non-porous, meaning they do not absorb liquids or stains. This makes them incredibly easy to clean with just soap and water. To keep your sink looking like new, avoid abrasive cleaners and harsh chemicals, as these can damage the enamel coating. With regular cleaning and maintenance, your
cast iron kitchen sink
will continue to look and function well for years to come.
Versatile and Stylish
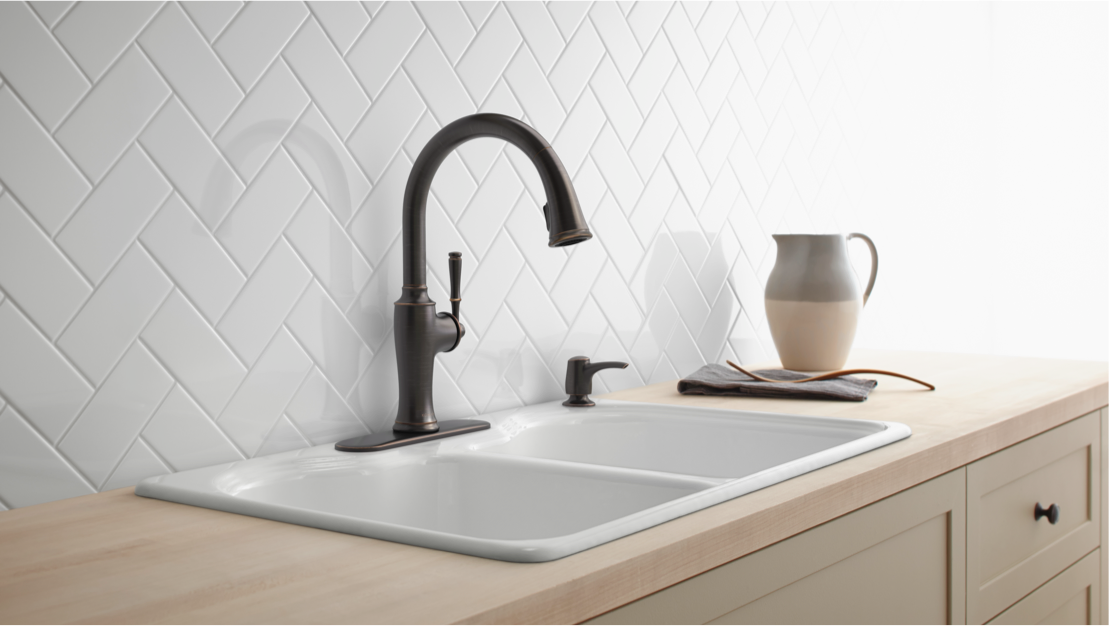
 One of the great things about
cast iron kitchen sinks
is their versatility. They come in a variety of styles, sizes, and colors to suit any design aesthetic. Whether you prefer a classic farmhouse sink or a sleek modern look, there is a
cast iron sink
that will fit seamlessly into your kitchen design. With its smooth, glossy finish, a
cast iron kitchen sink
adds a touch of elegance and charm to any space.
One of the great things about
cast iron kitchen sinks
is their versatility. They come in a variety of styles, sizes, and colors to suit any design aesthetic. Whether you prefer a classic farmhouse sink or a sleek modern look, there is a
cast iron sink
that will fit seamlessly into your kitchen design. With its smooth, glossy finish, a
cast iron kitchen sink
adds a touch of elegance and charm to any space.
Easy Installation Process
 Installing a
cast iron kitchen sink
may seem like a daunting task, but with the right instructions, it can be a simple and straightforward process. Start by measuring your sink and countertop to ensure a proper fit. Then, follow the manufacturer's instructions for installation. It's important to have a professional plumber help with the installation to ensure proper placement and connections. Once installed, your
cast iron kitchen sink
will be a beautiful and functional addition to your home.
In conclusion, a
cast iron kitchen sink
offers durability, easy maintenance, versatility, and a timeless look for your kitchen. With the right installation and care, it will be a valuable addition to your home for many years to come. So why settle for anything less? Choose a
cast iron sink
for your next kitchen renovation and enjoy the many benefits it has to offer.
Installing a
cast iron kitchen sink
may seem like a daunting task, but with the right instructions, it can be a simple and straightforward process. Start by measuring your sink and countertop to ensure a proper fit. Then, follow the manufacturer's instructions for installation. It's important to have a professional plumber help with the installation to ensure proper placement and connections. Once installed, your
cast iron kitchen sink
will be a beautiful and functional addition to your home.
In conclusion, a
cast iron kitchen sink
offers durability, easy maintenance, versatility, and a timeless look for your kitchen. With the right installation and care, it will be a valuable addition to your home for many years to come. So why settle for anything less? Choose a
cast iron sink
for your next kitchen renovation and enjoy the many benefits it has to offer.