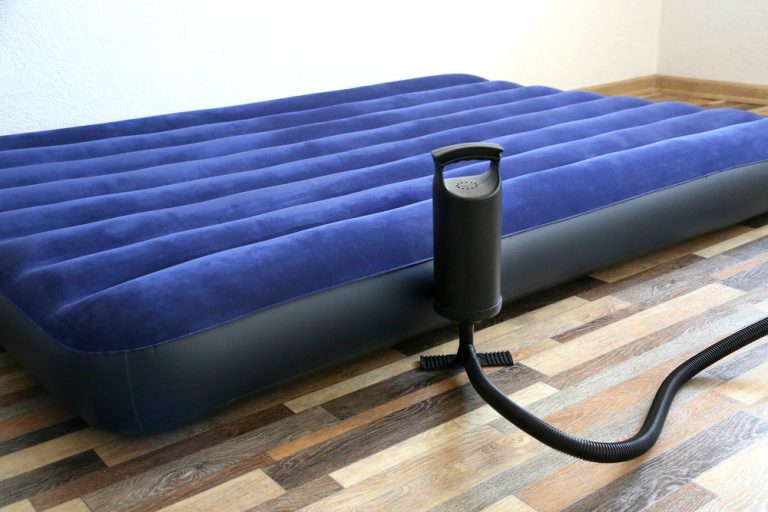
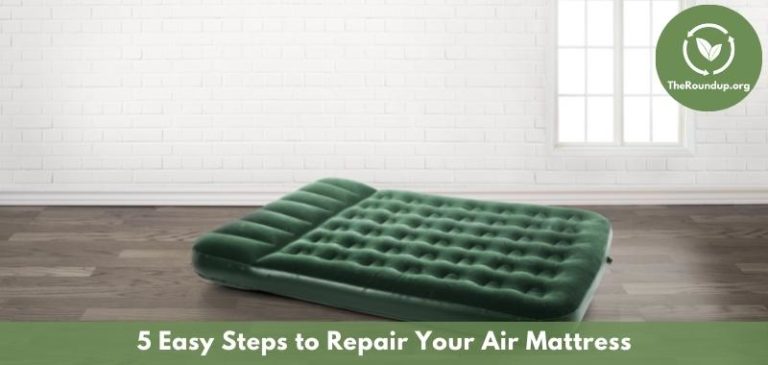
Having an air mattress is a convenient and comfortable option for both temporary and permanent sleeping arrangements. However, like any other inflatable item, air mattresses are prone to damage and leaks. Fortunately, repairing an air mattress with glue is a simple and cost-effective solution. In this guide, we will discuss the steps to repair an air mattress using glue and provide some helpful tips to ensure a successful fix.How to Repair an Air Mattress with Glue
If you've noticed a leak or tear in your air mattress, don't panic. Follow these simple steps to repair it with glue: Step 1: Find the Leak Step 2: Clean and Dry the Area Step 3: Apply the Glue Step 4: Press and Seal Step 5: Let it Dry Step 6: Test the RepairRepairing an Air Mattress with Glue: A Step-by-Step Guide
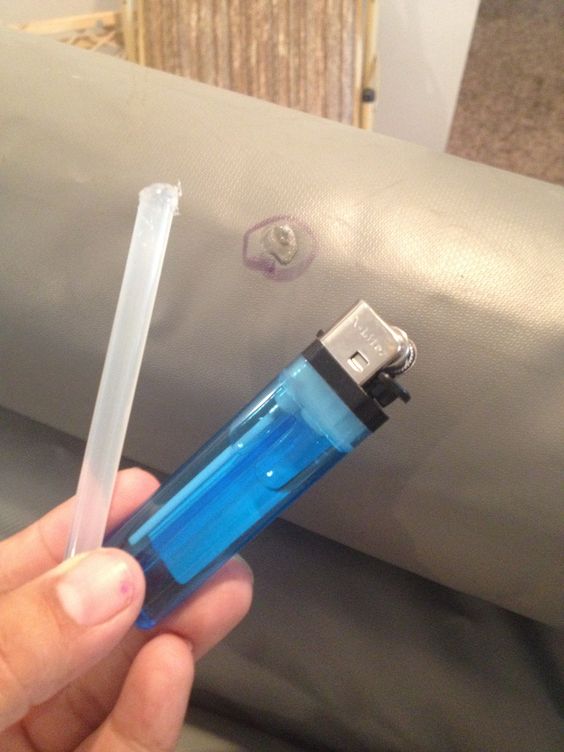
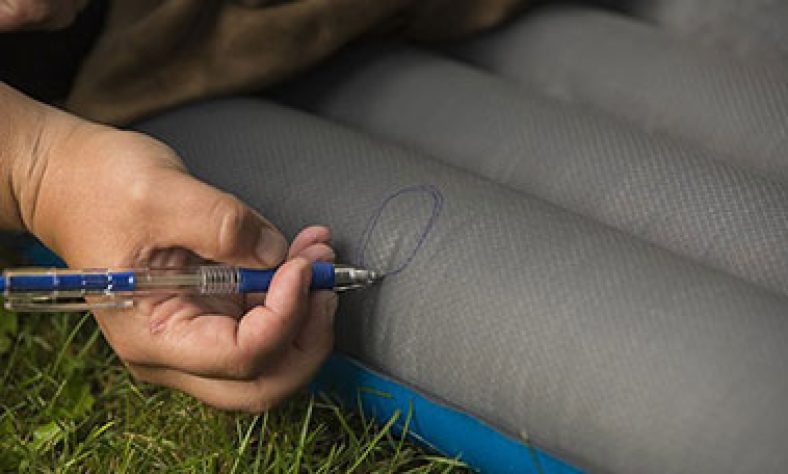
The first step in repairing an air mattress with glue is to locate the leak. Inflate the air mattress and listen for any hissing sounds or feel for any escaping air. Alternatively, you can spray the mattress with soapy water and look for bubbles, which will indicate the location of the leak.
Once you've identified the leak, clean the area around it with a damp cloth. Make sure the area is completely dry before proceeding with the repair.
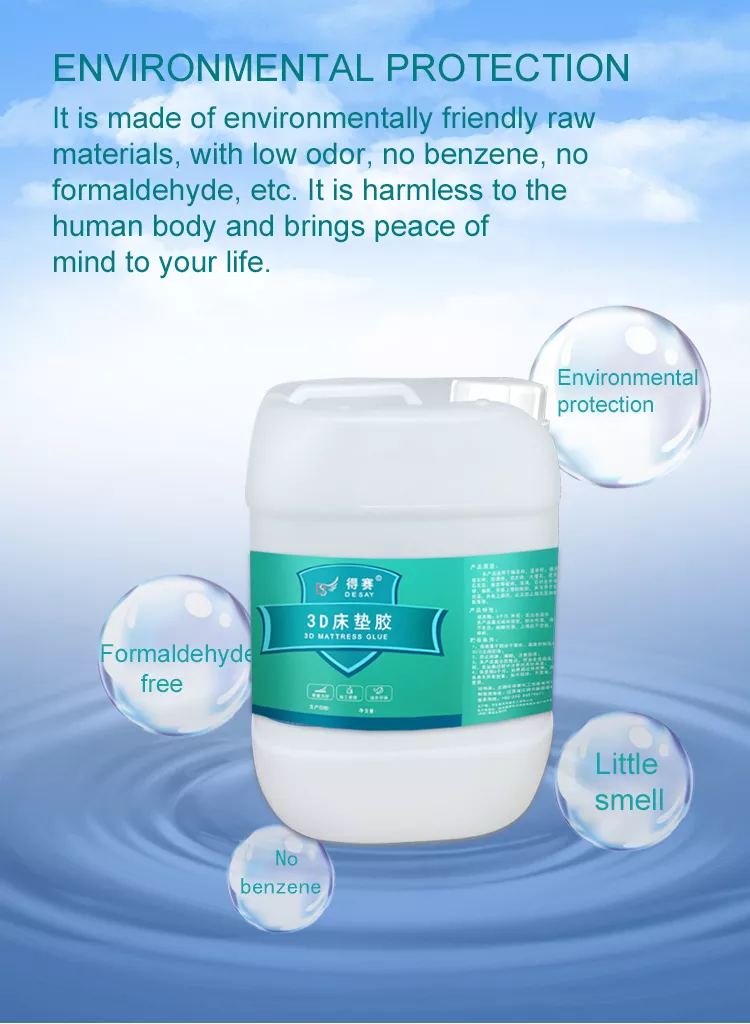
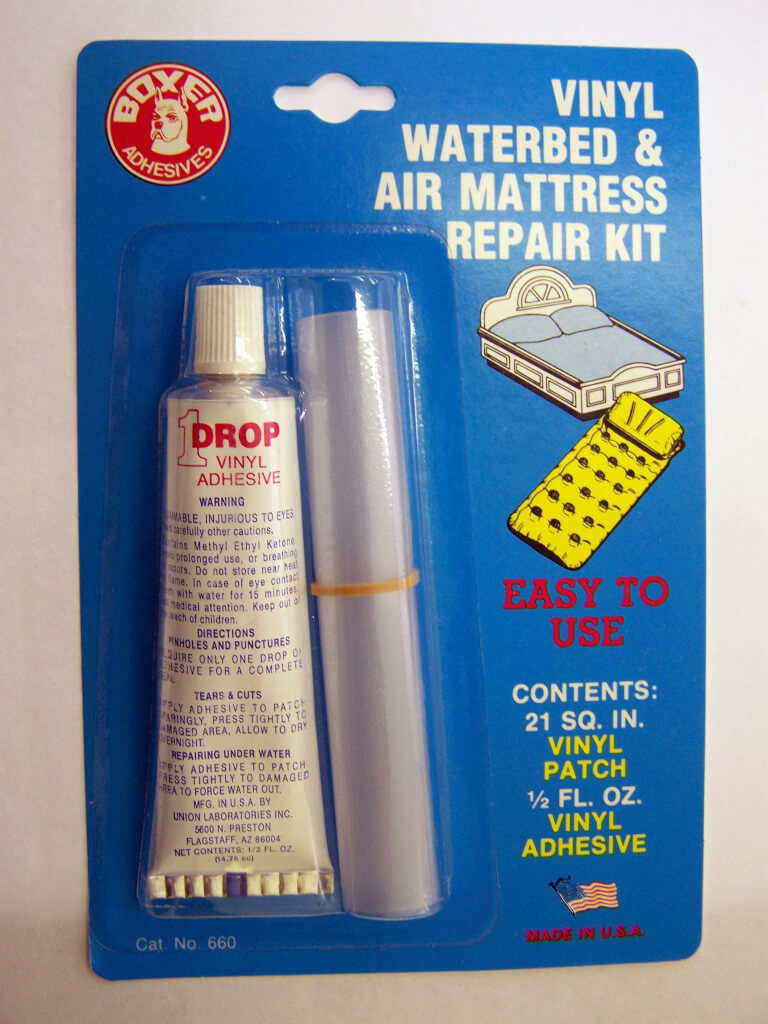
Using a heavy-duty adhesive or vinyl repair glue, apply a small amount around the leak, covering it completely. Be sure to follow the instructions on the glue's packaging for best results.
After applying the glue, press down firmly on the area to ensure it is properly sealed. Use a heavy object or your hands to apply pressure for a few minutes.
Allow the glue to dry completely before re-inflating the air mattress. This can take anywhere from 1-2 hours, depending on the type of glue used.
Once the glue has dried, re-inflate the air mattress and test the repair. If you cannot hear or feel any air escaping, the repair was successful. If the leak persists, you may need to repeat the process or consider using a different type of glue.
If you're in a pinch and don't have access to a vinyl repair kit or heavy-duty adhesive, you can try fixing your air mattress with everyday household items. Here are some DIY alternatives to consider: Duct Tape Nail Polish Cycling Patch KitDIY: Fixing an Air Mattress with Glue
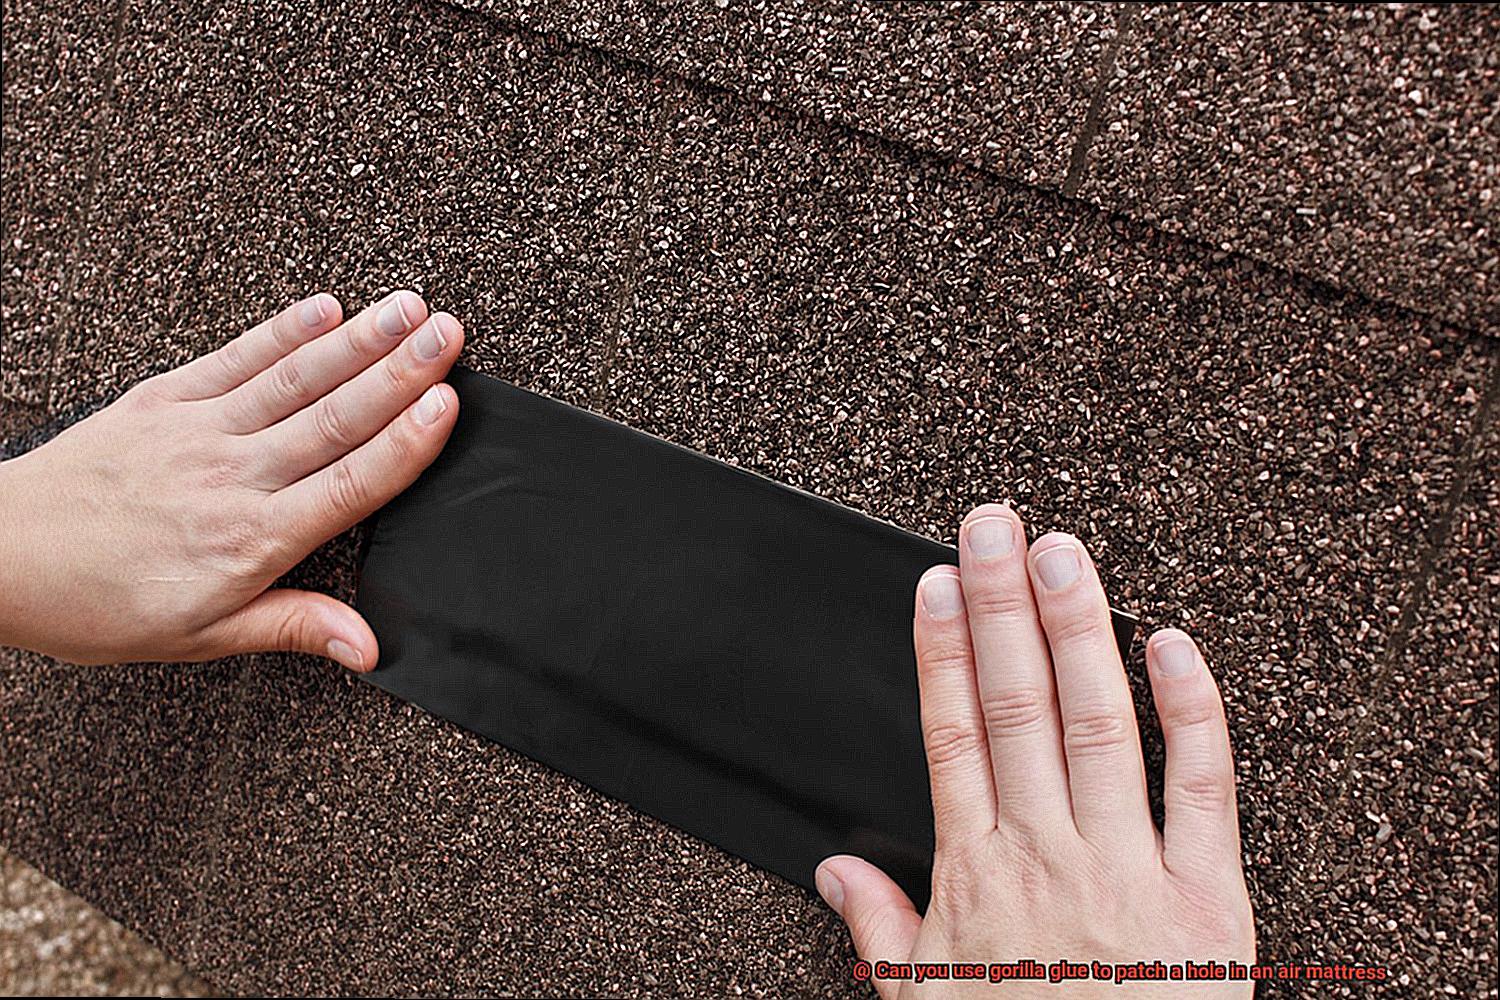
Duct tape is a versatile and strong adhesive that can be used for a quick fix on an air mattress. Simply cut a small piece of tape and cover the leak, making sure to press down firmly to ensure a seal. Keep in mind that this is a temporary solution and may not last long-term.
Nail polish is another household item that can be used to repair an air mattress. Apply a small amount of clear nail polish around the leak, covering it completely. Allow it to dry before testing the repair.
If you have a cycling patch kit at home, you can use the patches and adhesive to repair your air mattress. Follow the instructions on the kit for best results.
Repairing an air mattress with glue is a quick and easy process, especially when compared to other repair methods such as using a patch kit. Here are some reasons why using glue is a great option for fixing your air mattress: Cost-effective Convenient EffectiveQuick and Easy Air Mattress Repair with Glue
Glue is a budget-friendly option for repairing an air mattress. You can find it at most hardware or home improvement stores at an affordable price.
Glue is readily available and easy to use, making it a convenient solution for fixing a leaky air mattress. You can even keep a bottle of glue on hand for future repairs.
When used correctly, glue can provide a strong and long-lasting seal on an air mattress. It can also be used on different types of materials, making it a versatile option for repairs.
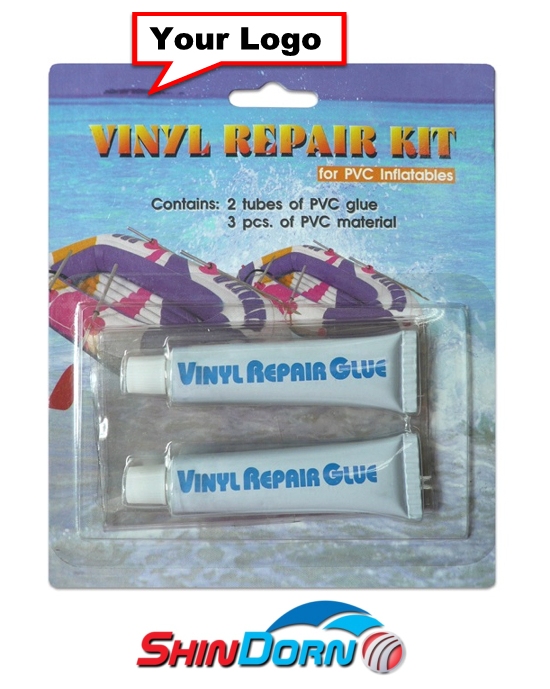
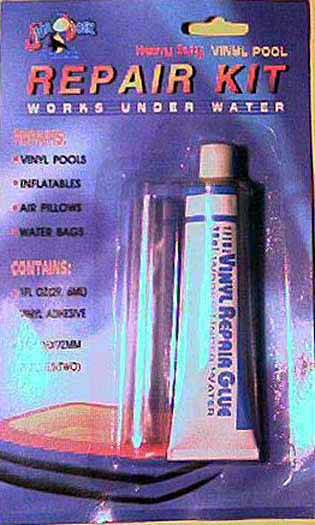
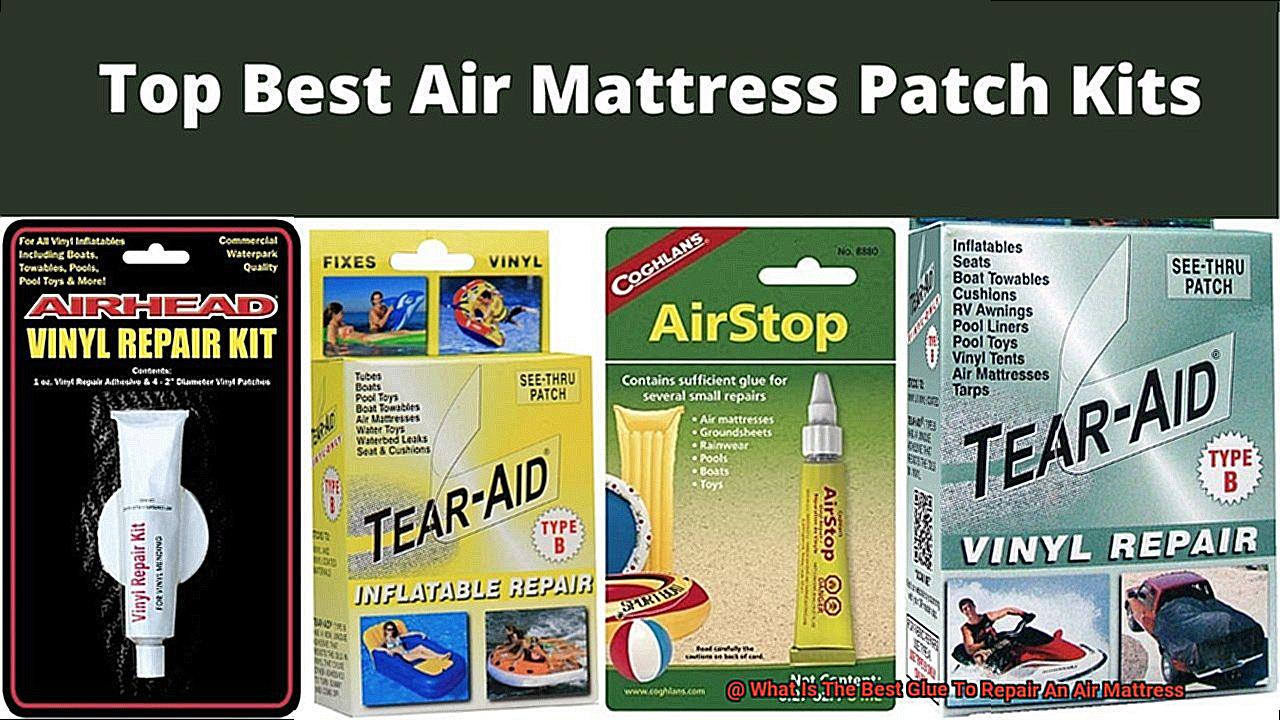
When it comes to repairing an air mattress with glue, it's important to use the right type of adhesive for the job. Some of the best options to consider include: Vinyl Repair Glue Heavy-Duty Adhesive Super GlueBest Glue for Repairing an Air Mattress
Vinyl repair glue is specially designed for repairing inflatable items, making it a reliable option for fixing an air mattress. It forms a strong bond and is unaffected by air or water.
Heavy-duty adhesives, such as epoxy or contact cement, can also be used to repair an air mattress. These adhesives are strong and durable, providing a long-lasting seal.
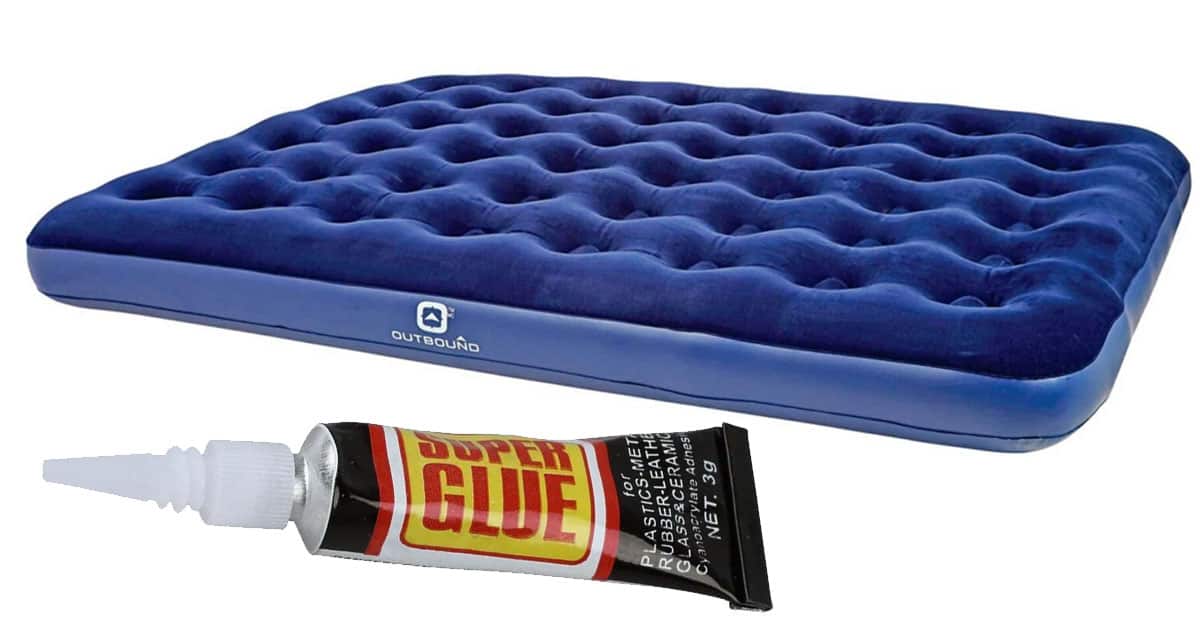
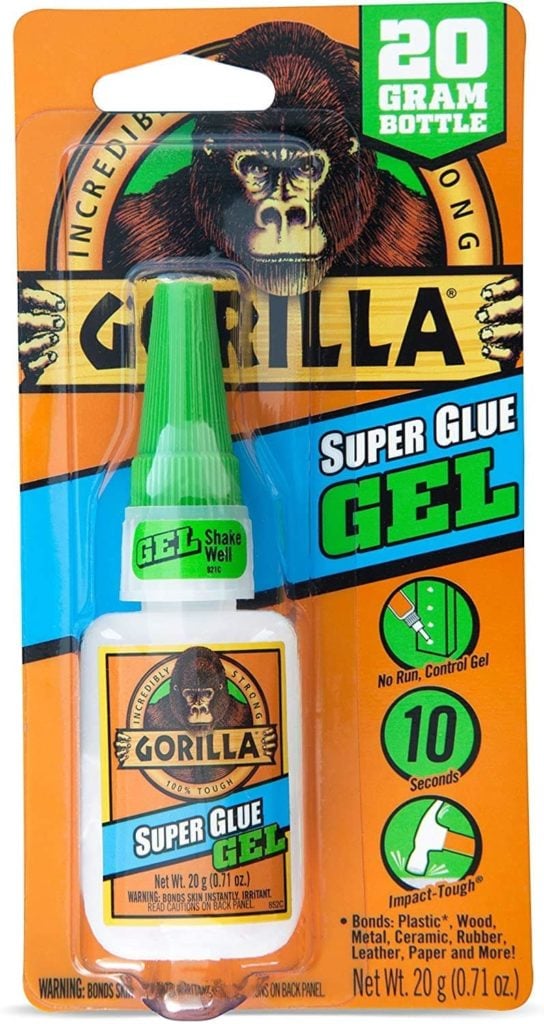
For small leaks or tears, super glue can be a quick and effective solution. However, keep in mind that it may not be suitable for larger repairs and can be challenging to remove if you make a mistake.
One of the most common issues with air mattresses is leaks. Here are some tips to keep in mind when fixing a leak using glue: Use the Right Type of Glue Clean and Dry the Area Follow the InstructionsFixing a Leak in an Air Mattress with Glue
As mentioned before, it's crucial to use the right type of glue for repairing an air mattress. Using the wrong type of adhesive can result in an ineffective repair and may even cause further damage.
Before applying the glue, make sure the area around the leak is clean and dry. Any dirt, dust, or moisture can affect the effectiveness of the repair.
Different types of glue may have different instructions and drying times. Be sure to read and follow the instructions carefully for the best results.
While super glue can be a quick fix for small leaks in an air mattress, it's essential to use it correctly to ensure a successful repair. Here are some tips for using super glue: Apply a Thin Layer Hold the Area DownUsing Super Glue to Repair an Air Mattress
Super glue is strong and dries quickly, so it's crucial to only use a small amount. Applying too much glue can result in the area becoming stiff and may even cause the repair to fail.
After applying the glue, hold the area down firmly for a few minutes to ensure a strong bond. If you're using super glue, you may need to hold it down for a bit longer to allow it to dry completely.
Using a patch kit is another popular method for repairing an air mattress. However, if you don't have a patch kit on hand, you can still use glue to patch the leak. Here's how: Step 1: Cut a Patch Step 2: Apply Glue Step 3: Press and Seal Step 4: Let it DryHow to Patch an Air Mattress with Glue
Using a piece of fabric or vinyl, cut a patch that is slightly larger than the leak or tear in your air mattress.
Apply a thin layer of glue around the edges of the patch.
Place the patch over the leak and press down firmly to seal it. Hold it in place for a few minutes to ensure a strong bond.
Allow the glue to dry completely before re-inflating the air mattress and testing the repair.
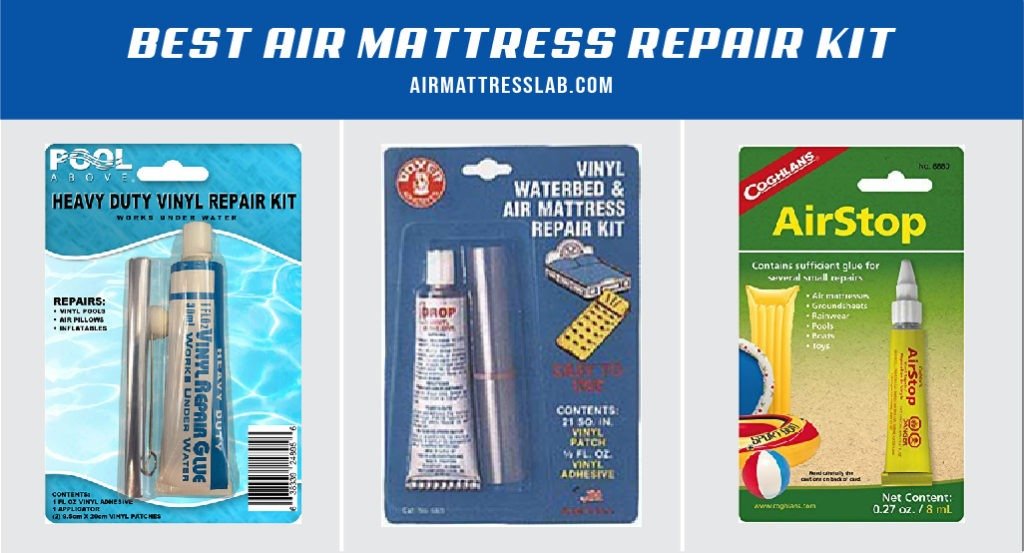
When it comes to repairing an air mattress, both glue and patch kits can be effective solutions. However, which one is better? The answer is, it depends on the size and location of the leak. For smaller holes and tears, glue may be a quicker and easier option. For larger or more significant damage, a patch kit may provide a more secure and long-lasting repair.Glue vs. Patch Kit: Which is Better for Repairing an Air Mattress?
Here are some additional tips to keep in mind when using glue to repair an air mattress: Always Test the Repair Keep a Spare Air Mattress Prevent Future Damage Consider a Patch KitTips for Successfully Repairing an Air Mattress with Glue
After the glue has dried, test the repair before using the air mattress. If the leak persists, you may need to repeat the process or try a different type of glue.
If you frequently use an air mattress, it's a good idea to keep a spare one on hand. This way, you can still have a comfortable place to sleep while you repair the damaged one.
To avoid having to repair your air mattress frequently, be mindful of how you use and store it. Avoid placing it on rough or sharp surfaces and keep it away from pets and children.
If you find yourself frequently repairing your air mattress, it may be worth investing in a patch kit. This can provide a more permanent solution and save you money in the long run.
Why Repairing an Air Mattress with Glue is the Best Solution

Don't Throw Away That Air Mattress Just Yet!
 If you have ever owned an air mattress, chances are you have had to deal with a leak at some point. Whether it's from rough use or simply old age, air mattresses are prone to getting holes and losing their firmness. Many people think the only solution is to throw the mattress away and buy a new one, but
repairing an air mattress with glue
can save you time and money in the long run.
Cost-effective and Time-saving
 One of the main benefits of repairing an air mattress with glue is the cost-effectiveness. Instead of spending money on a new mattress, you can simply purchase a bottle of glue for a fraction of the cost. This is especially useful if you have a high-quality air mattress that you don't want to part with. Moreover, it saves you time from having to research and purchase a new mattress, as well as waiting for it to be delivered.
Easy and Convenient
 Repairing an air mattress with glue is also a simple and convenient process. Most repair kits come with instructions on how to use the glue properly, and there are also countless tutorials available online. In just a few easy steps, you can have your air mattress looking as good as new. Plus, you can do it from the comfort of your own home, without having to take the mattress anywhere or hire a professional.
Environmentally-friendly
 With growing concerns about our impact on the environment,
repairing an air mattress with glue
is a more eco-friendly option than buying a new one. Instead of contributing to the waste in landfills, you can extend the lifespan of your air mattress and reduce your carbon footprint.
Conclusion
 In conclusion,
repairing an air mattress with glue
is a cost-effective, easy, and environmentally-friendly solution for fixing your leaky air mattress. Don't let a small hole ruin your sleeping experience or throw away a perfectly good mattress. With just a little bit of glue and some patience, you can extend the life of your air mattress and save yourself the hassle and expense of buying a new one.





































/how-to-install-a-sink-drain-2718789-hero-24e898006ed94c9593a2a268b57989a3.jpg)

