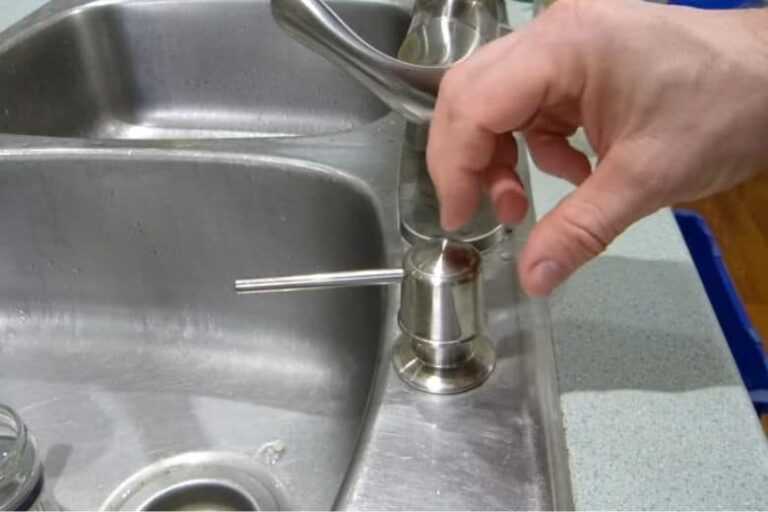
Having a soap dispenser in your kitchen sink is a convenient and hygienic way to keep your hands clean while cooking or washing dishes. However, over time, the soap dispenser hole in your kitchen sink may become damaged or worn out, making it difficult to use. If you're facing this issue, don't worry – there are simple solutions to fix the problem and get your soap dispenser working like new again. Firstly, check if the soap dispenser hole in your kitchen sink is clogged with residue or debris. This is a common issue that can easily be fixed by using a toothpick or a small brush to remove any buildup. Once the hole is clear, try pumping the dispenser a few times to see if it dispenses soap properly. If the hole is still clogged, you may need to remove the soap dispenser from the sink and clean it thoroughly. Mix equal parts of warm water and white vinegar in a bowl and soak the dispenser in the solution for about 15 minutes. This will help to dissolve any stubborn residue and unclog the hole. After soaking, use a brush or toothpick to remove any remaining residue and rinse the dispenser with clean water. Then, fill it with soap and test it to see if it dispenses properly. If it still doesn't work, you may need to replace the dispenser altogether. If the soap dispenser hole is damaged or worn out, you can easily replace it with a new one. Simply unscrew the old dispenser from the sink, clean the area around the hole, and install the new dispenser according to the manufacturer's instructions. This is a quick and affordable solution that will have your soap dispenser working like new again.1. How to Fix a Soap Dispenser Hole in a Kitchen Sink


1. How to Fix a Soap Dispenser Hole in a Kitchen Sink


:max_bytes(150000):strip_icc()/Kitchensinksoapdispenser-GettyImages-91206440-59e82279054ad90011101a01.jpg)
If your soap dispenser is beyond repair, or if you simply want to upgrade to a newer model, replacing it is a simple and straightforward process. Start by removing the old dispenser from your kitchen sink by unscrewing it from underneath the sink. Next, clean the area around the hole and make sure it's dry. Then, take your new soap dispenser and apply a small amount of plumber's putty around the base. This will help to create a watertight seal and prevent any leaks. Insert the new dispenser into the hole and make sure it's straight. From underneath the sink, screw on the mounting nut to hold the dispenser in place. Finally, fill the dispenser with soap and test it to make sure it's working properly. Replacing a soap dispenser in your kitchen sink is a simple and budget-friendly way to upgrade your sink and make your daily tasks more efficient.2. Replacing a Soap Dispenser in a Kitchen Sink


2. Replacing a Soap Dispenser in a Kitchen Sink
-image-1280w-720h.jpg)


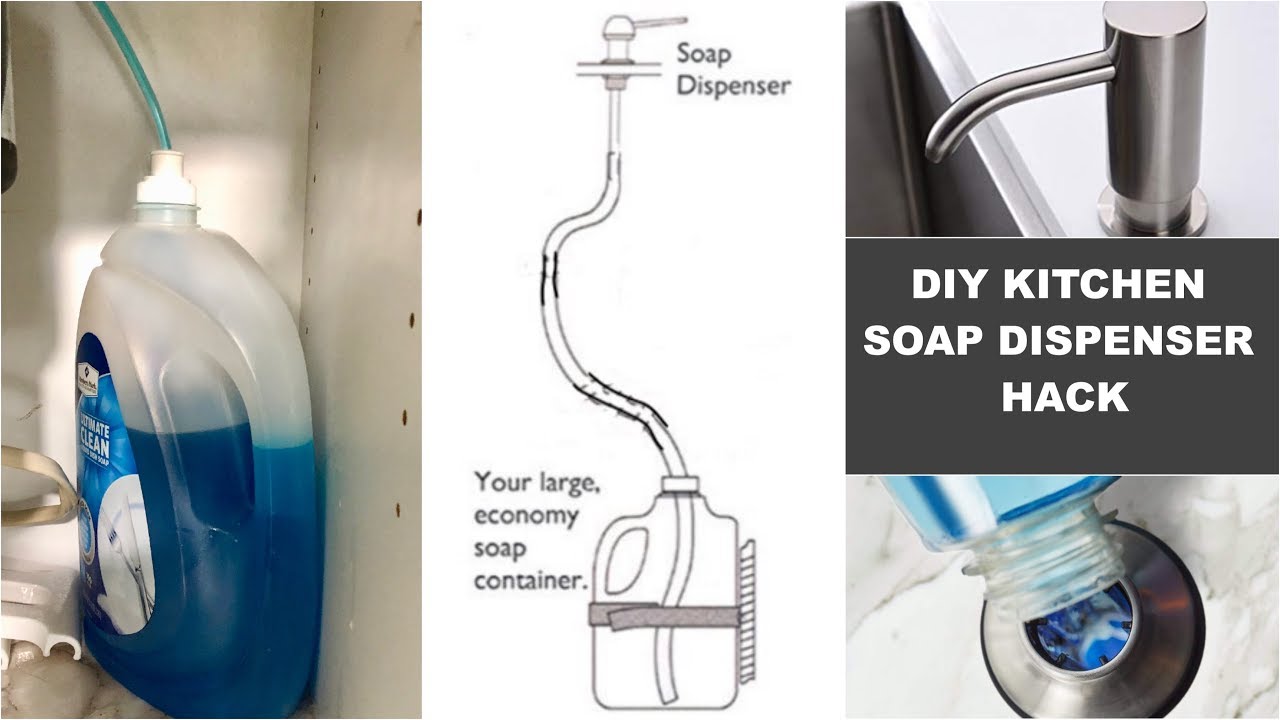
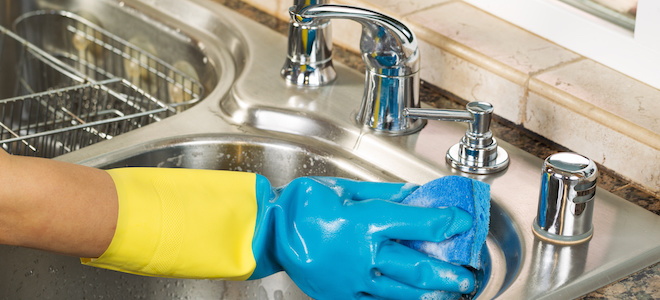
If you're dealing with a soap dispenser issue in your kitchen sink, you may be tempted to call a professional plumber for help. However, many common soap dispenser problems can easily be fixed with a few DIY solutions. One of the most common issues with soap dispensers is a clogged hole. To unclog it, follow the steps mentioned in the first heading. Another common issue is a leaky dispenser, which can be fixed by tightening the mounting nut underneath the sink or replacing the O-ring seal. If your soap dispenser is not dispensing soap properly, try cleaning it with warm water and vinegar as mentioned in the first heading. You can also try diluting the soap with a bit of water to make it flow more smoothly through the dispenser. If these solutions don't work, replacing the dispenser may be necessary. By following these simple DIY solutions, you can save time and money by repairing your soap dispenser in your kitchen sink yourself.3. DIY Soap Dispenser Repair for Kitchen Sink
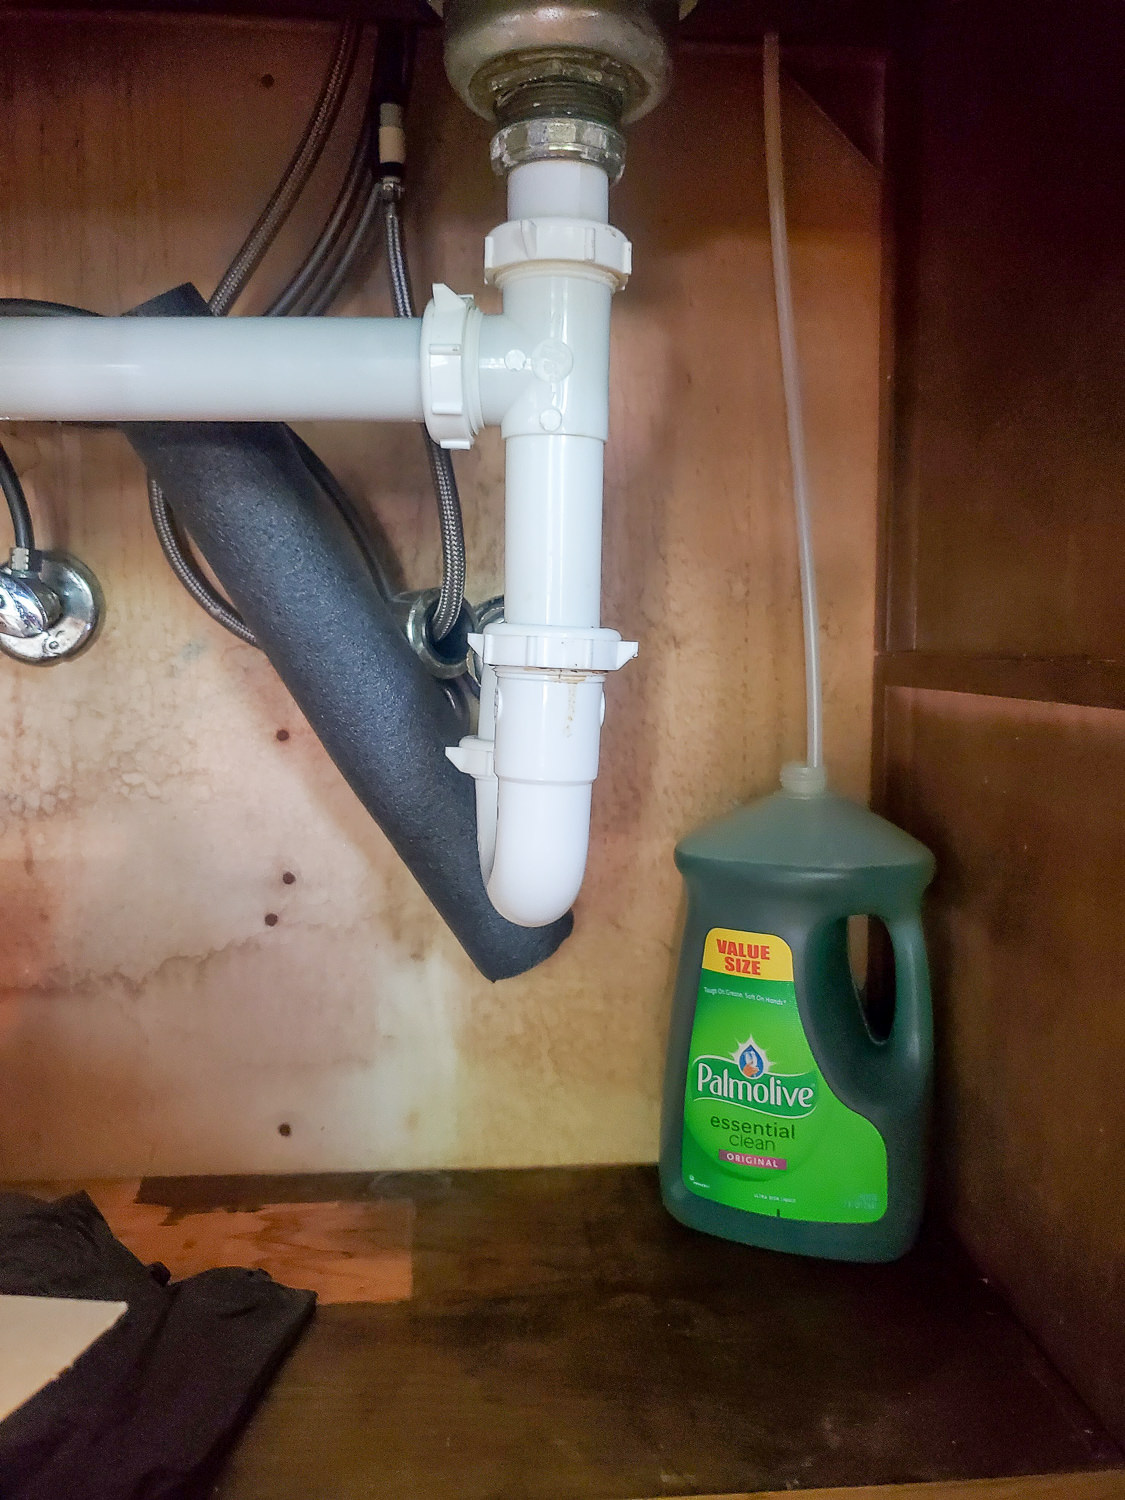


3. DIY Soap Dispenser Repair for Kitchen Sink

.jpg)

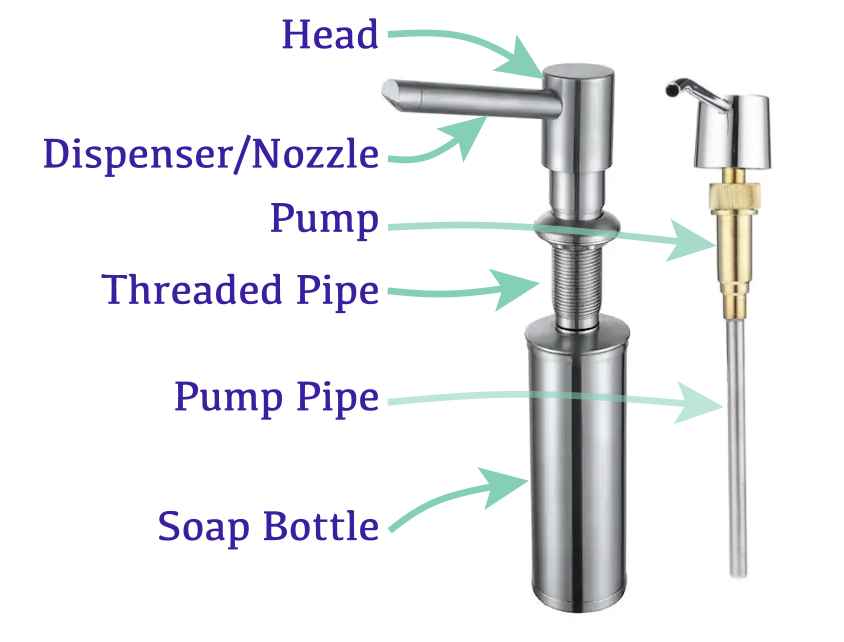
While soap dispensers are convenient and essential in any kitchen, they can also face some common issues that may affect their performance. To troubleshoot any issues, it's important to first identify the problem and then find the appropriate solution. If your soap dispenser is not pumping out any soap, it could be due to a clogged hole, a damaged pump, or a depleted soap supply. Follow the steps mentioned in the previous headings to unclog the hole or replace the dispenser if needed. Leaking dispensers are also a common problem, which can be caused by loose connections or damaged seals. Tighten any loose connections or replace the O-ring seal to fix this issue. If the soap dispenser is dispensing too much soap, it could be due to a faulty pump or a buildup of soap residue. In this case, replacing the dispenser may be the best solution.4. Troubleshooting Soap Dispenser Issues in a Kitchen Sink
4. Troubleshooting Soap Dispenser Issues in a Kitchen Sink


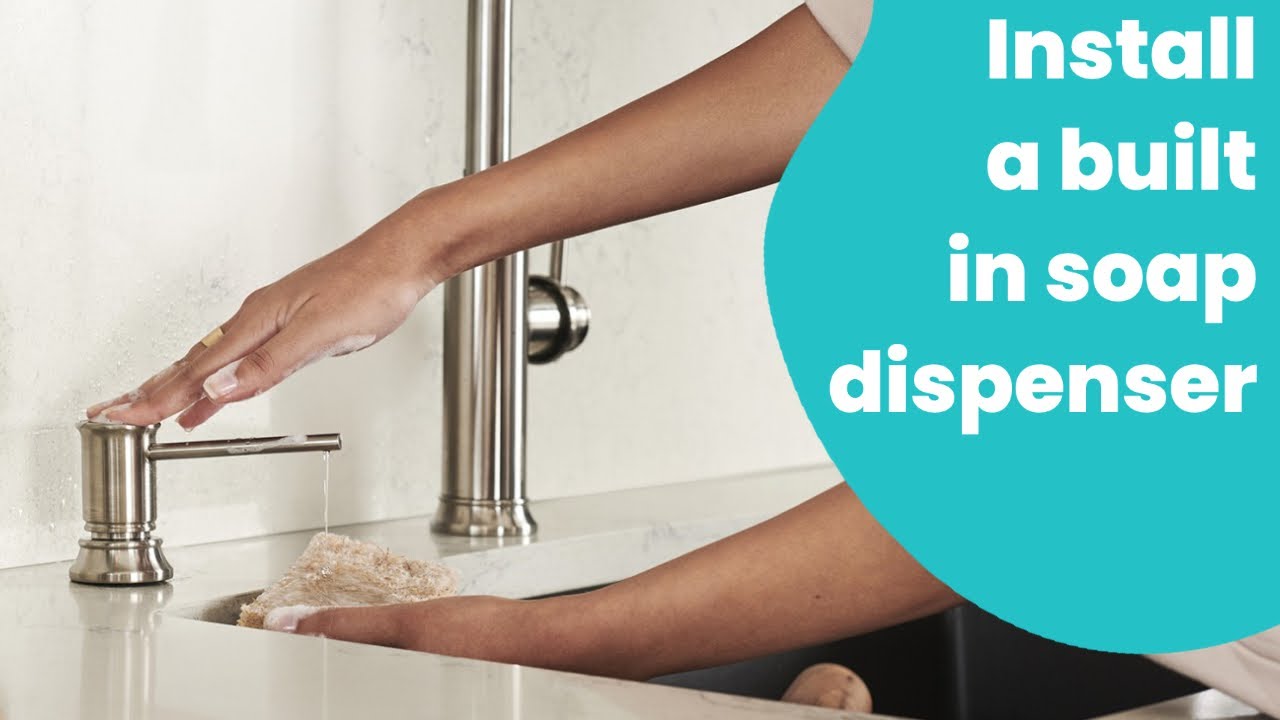
If your kitchen sink didn't come with a soap dispenser, or if you want to upgrade to a better model, installing one is a simple process that can be done in just a few steps. Start by selecting a suitable soap dispenser that fits the hole in your kitchen sink. Then, gather the necessary tools such as a screwdriver, plumber's putty, and a wrench. Clean the area around the hole and make sure it's dry. Next, apply a small amount of plumber's putty around the base of the dispenser and insert it into the hole. From underneath the sink, use the mounting nut to secure the dispenser in place. Finally, fill it with soap and test it to make sure it's working properly. Installing a soap dispenser in your kitchen sink is an easy and affordable way to upgrade your sink and make your daily tasks more efficient.5. How to Install a Soap Dispenser in a Kitchen Sink


5. How to Install a Soap Dispenser in a Kitchen Sink

:max_bytes(150000):strip_icc()/Kitchensinksoapdispenser-GettyImages-91206440-59e82279054ad90011101a01.jpg)
If you have a soap dispenser hole in your kitchen sink but don't currently have a dispenser, you may be wondering how to cover it up. Luckily, there are many options available for finding the right cap for your soap dispenser hole. You can purchase a cap specifically made for soap dispenser holes at your local hardware store or online. These caps are designed to fit perfectly in the hole and create a seamless look in your sink. They are available in various materials and finishes to match your sink's design. If you're unable to find a cap that fits your soap dispenser hole, you can also use a sink hole cover or a rubber stopper as a temporary solution until you can find a suitable cap.6. Finding the Right Cap for a Soap Dispenser Hole in a Kitchen Sink


6. Finding the Right Cap for a Soap Dispenser Hole in a Kitchen Sink
/Kitchensinksoapdispenser-GettyImages-91206440-59e82279054ad90011101a01.jpg)


A leaky soap dispenser in your kitchen sink can be a frustrating and messy problem. Luckily, most leaks can be fixed easily with a few simple steps. Start by tightening any loose connections underneath the sink. If this doesn't solve the issue, the O-ring seal may be damaged and will need to be replaced. Simply remove the old seal and replace it with a new one. If the leak is coming from the dispenser itself, you may need to replace the pump or the entire dispenser. This can be done easily and affordably, and will save you from dealing with a constant mess in your sink.7. Repairing a Leaky Soap Dispenser in a Kitchen Sink

7. Repairing a Leaky Soap Dispenser in a Kitchen Sink


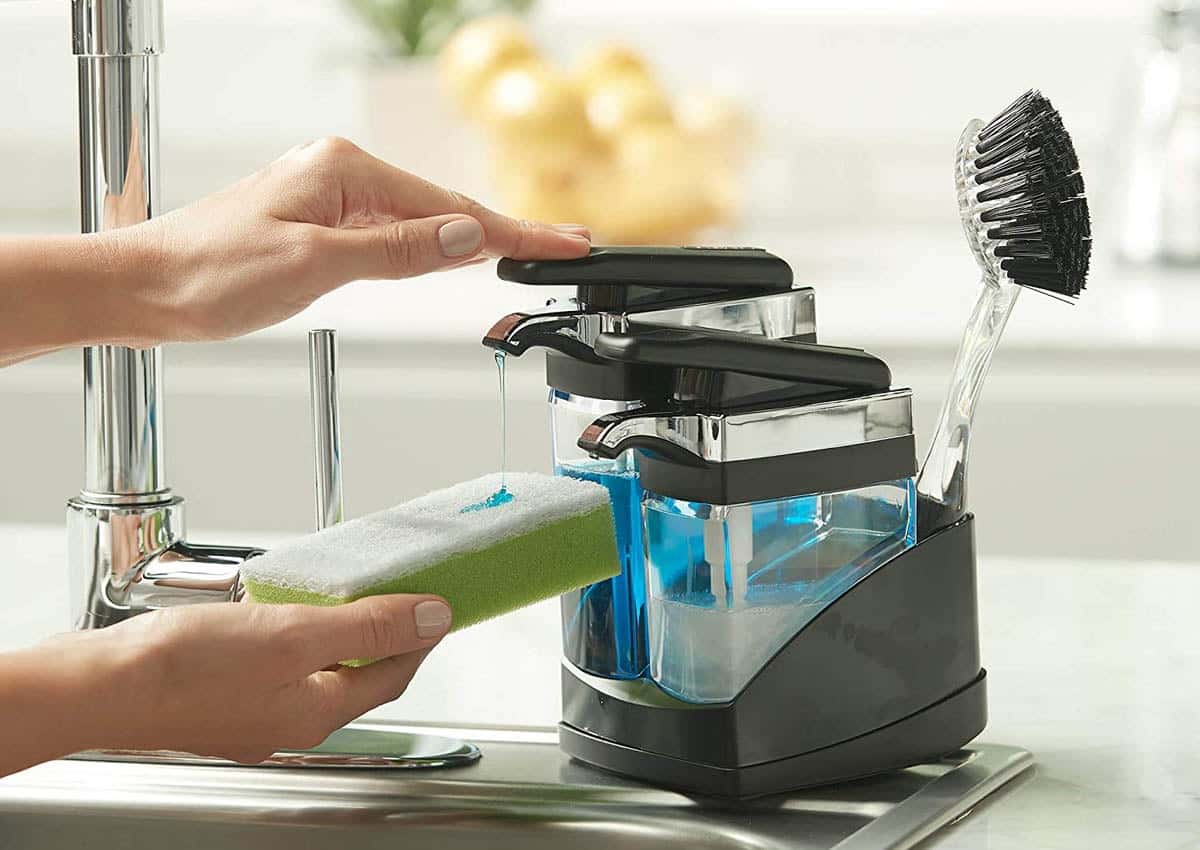
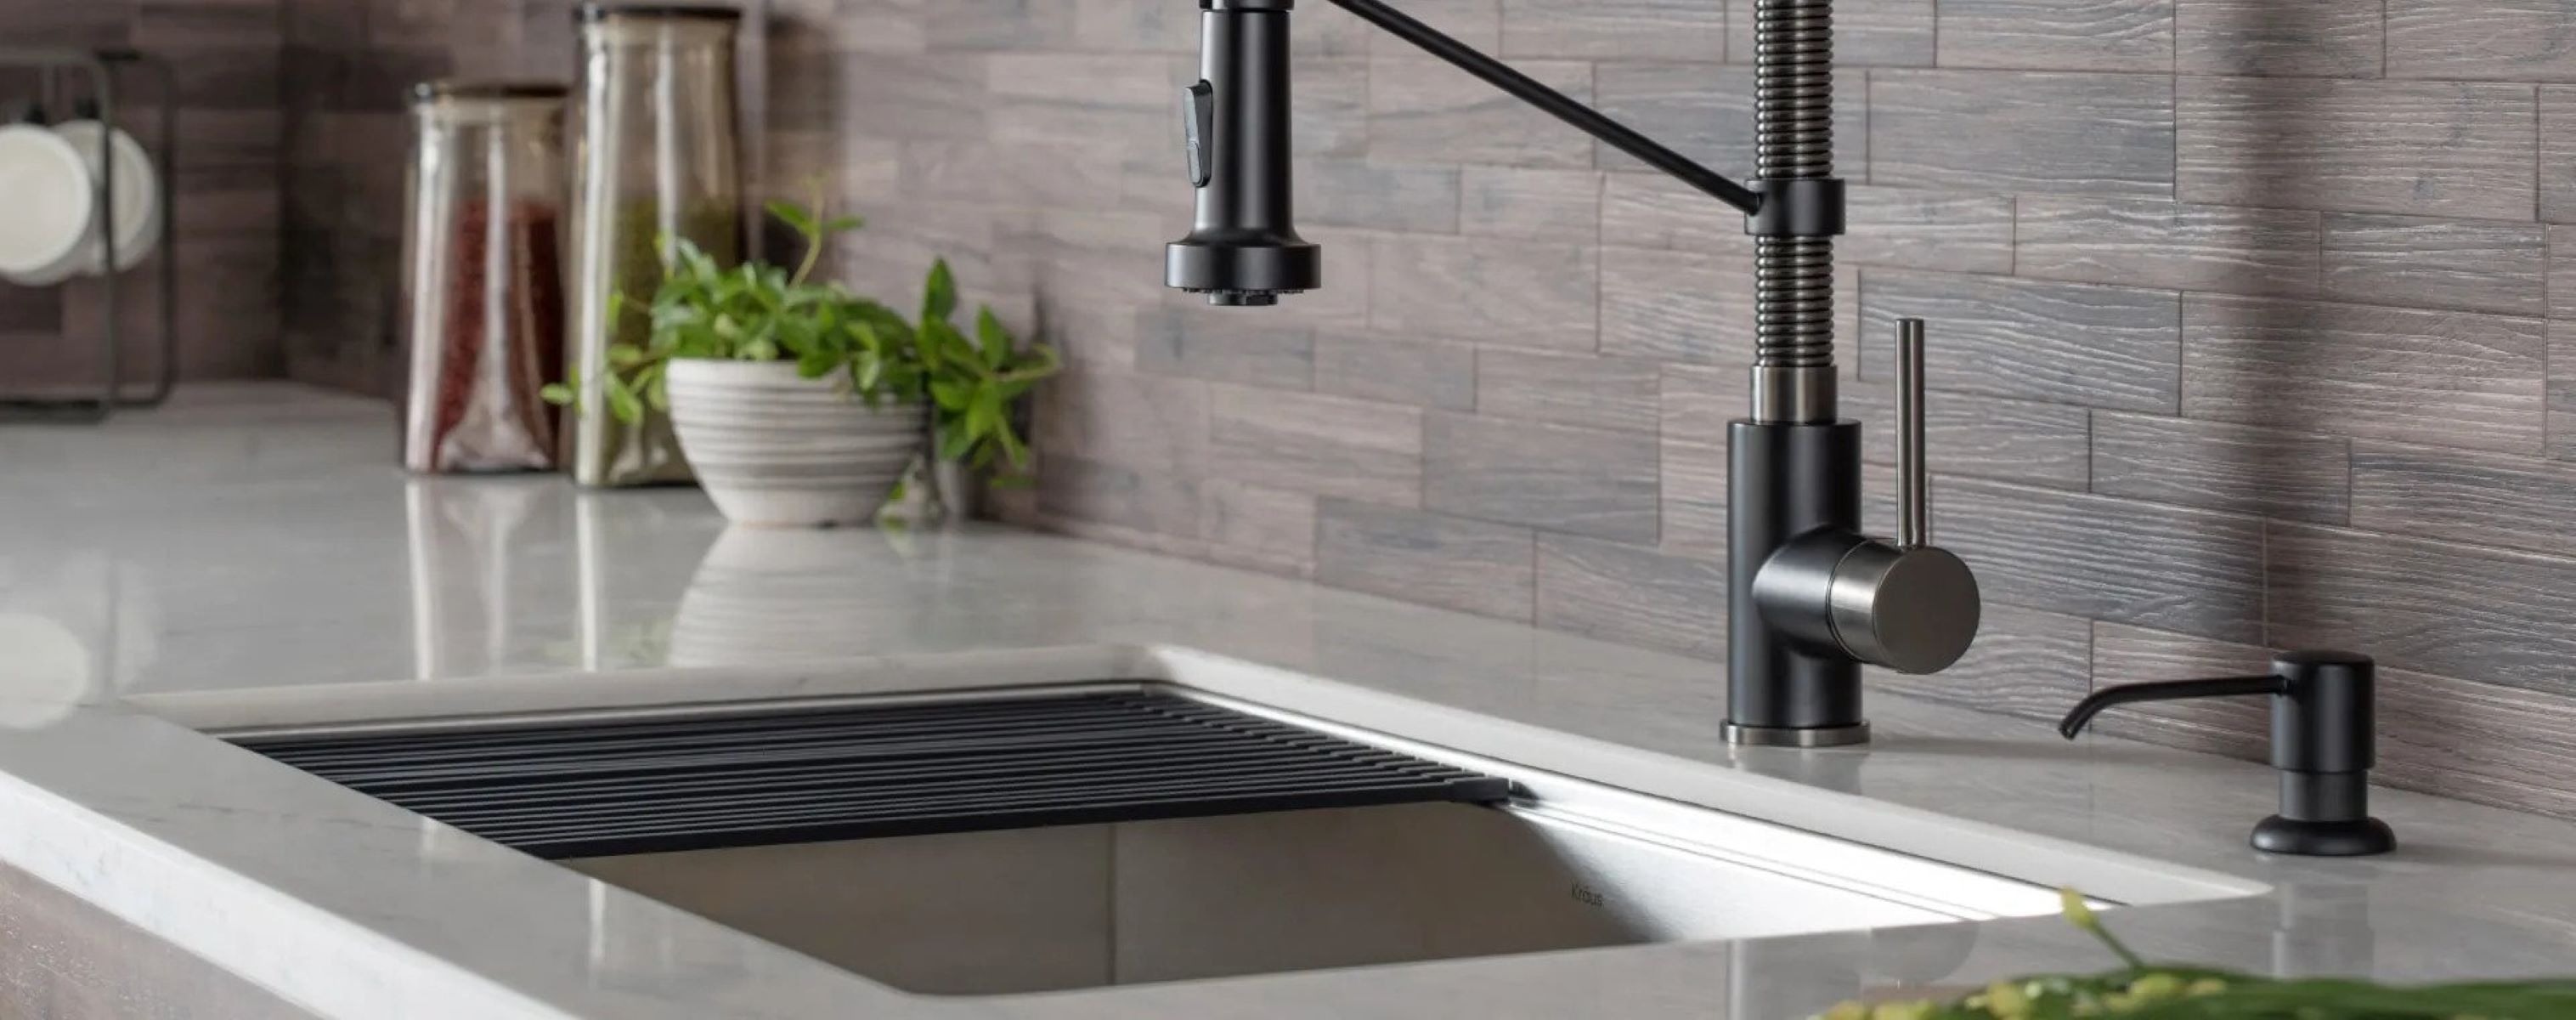
Adding a soap dispenser to your kitchen sink not only offers convenience but can also enhance the overall look and functionality of your sink. With different styles and finishes available, you can choose a dispenser that complements your sink and adds a touch of elegance to your kitchen. Upgrading to a touchless soap dispenser is also a popular option, as it offers a more hygienic and hands-free way to dispense soap. This can be especially beneficial when handling raw meats or when cooking with messy hands. By upgrading your kitchen sink with a soap dispenser, you'll not only make your daily tasks more efficient but also add a stylish touch to your sink area.8. Upgrading Your Kitchen Sink with a Soap Dispenser


8. Upgrading Your Kitchen Sink with a Soap Dispenser


To ensure your soap dispenser in your kitchen sink stays in good working condition, it's important to clean and maintain it regularly. Start by cleaning the dispenser with warm water and soap to remove any residue or buildup. You can also use vinegar to disinfect and remove any lingering odors. Make sure to rinse it thoroughly and dry it before refilling it with soap. Regularly check the connections and seals to make sure they are tight and in good condition. If you notice any issues, fix them immediately to prevent any further damage. By cleaning and maintaining your soap dispenser, you'll prolong its lifespan and ensure it continues to work properly.9. How to Clean and Maintain a Soap Dispenser in a Kitchen Sink


9. How to Clean and Maintain a Soap Dispenser in a Kitchen Sink


When it comes to choosing a soap dispenser for your kitchen sink, there are several factors to consider to ensure you make the best choice. Start by measuring the soap dispenser hole in your sink to make sure the dispenser you choose will fit properly. Then, think about the style and finish that will complement your sink and overall kitchen design. Consider the dispenser's capacity and the type of soap it dispenses – whether it's liquid, foam, or powder. You may also want to opt for a touchless dispenser for added convenience and hygiene. By taking these factors into consideration, you can choose the best soap dispenser for your kitchen sink that meets your needs and enhances the look of your sink area.10. Choosing the Best Soap Dispenser for Your Kitchen Sink


10. Choosing the Best Soap Dispenser for Your Kitchen Sink


Why You Should Consider Covering the Soap Dispenser Hole in Your Kitchen Sink
The Importance of Attention to Detail in House Design
 If you're someone who takes pride in their house design, you understand the importance of attention to detail. Everything from the color scheme to the furniture placement plays a role in creating a cohesive and visually appealing space. That's why it's important to not overlook even the smallest of details, like the soap dispenser hole in your kitchen sink.
Why is the soap dispenser hole in your kitchen sink important?
The soap dispenser hole in your kitchen sink may seem like a minor detail, but it can make a big impact on the overall look and functionality of your kitchen. A covered soap dispenser hole adds a polished and clean finish to your sink, making it a more visually appealing element in your kitchen.
How can you cover the soap dispenser hole?
There are a few options for covering the soap dispenser hole in your kitchen sink. One option is to use a
sink hole cover
, which is a small disc that fits perfectly over the hole and comes in various finishes to match your sink. Another option is to use a
soap dispenser
that has a built-in cap to cover the hole. This not only covers the hole but also adds a functional element to your sink.
The benefits of covering the soap dispenser hole
Covering the soap dispenser hole not only improves the aesthetics of your kitchen sink, but it also has practical benefits. A covered hole prevents any
water or food debris
from getting trapped in the hole, making it easier to keep your sink clean. It also eliminates the risk of accidentally dropping small items, like rings or earrings, into the hole.
Incorporating small details in your house design
As mentioned before, attention to detail is key in creating a well-designed space. By covering the soap dispenser hole in your kitchen sink, you are showing that you have thoughtfully considered even the smallest details of your house design. This attention to detail adds a level of sophistication and completeness to your overall design.
In conclusion, don't overlook the soap dispenser hole in your kitchen sink when it comes to house design. By covering this small detail, you can improve the aesthetics and functionality of your kitchen while also showcasing your attention to detail. So next time you're doing a kitchen upgrade, make sure to add covering the soap dispenser hole to your list. It's the small details that truly make a house feel like a home.
If you're someone who takes pride in their house design, you understand the importance of attention to detail. Everything from the color scheme to the furniture placement plays a role in creating a cohesive and visually appealing space. That's why it's important to not overlook even the smallest of details, like the soap dispenser hole in your kitchen sink.
Why is the soap dispenser hole in your kitchen sink important?
The soap dispenser hole in your kitchen sink may seem like a minor detail, but it can make a big impact on the overall look and functionality of your kitchen. A covered soap dispenser hole adds a polished and clean finish to your sink, making it a more visually appealing element in your kitchen.
How can you cover the soap dispenser hole?
There are a few options for covering the soap dispenser hole in your kitchen sink. One option is to use a
sink hole cover
, which is a small disc that fits perfectly over the hole and comes in various finishes to match your sink. Another option is to use a
soap dispenser
that has a built-in cap to cover the hole. This not only covers the hole but also adds a functional element to your sink.
The benefits of covering the soap dispenser hole
Covering the soap dispenser hole not only improves the aesthetics of your kitchen sink, but it also has practical benefits. A covered hole prevents any
water or food debris
from getting trapped in the hole, making it easier to keep your sink clean. It also eliminates the risk of accidentally dropping small items, like rings or earrings, into the hole.
Incorporating small details in your house design
As mentioned before, attention to detail is key in creating a well-designed space. By covering the soap dispenser hole in your kitchen sink, you are showing that you have thoughtfully considered even the smallest details of your house design. This attention to detail adds a level of sophistication and completeness to your overall design.
In conclusion, don't overlook the soap dispenser hole in your kitchen sink when it comes to house design. By covering this small detail, you can improve the aesthetics and functionality of your kitchen while also showcasing your attention to detail. So next time you're doing a kitchen upgrade, make sure to add covering the soap dispenser hole to your list. It's the small details that truly make a house feel like a home.

:max_bytes(150000):strip_icc()/industrial-style-living-rooms-2-amy-bartlam-23-e940ba7fa1c44076be9b35efdb04730f.png)


/living-room-with-orange-wall-640896866-5ab15995a18d9e0037c3a9ba.jpg)
