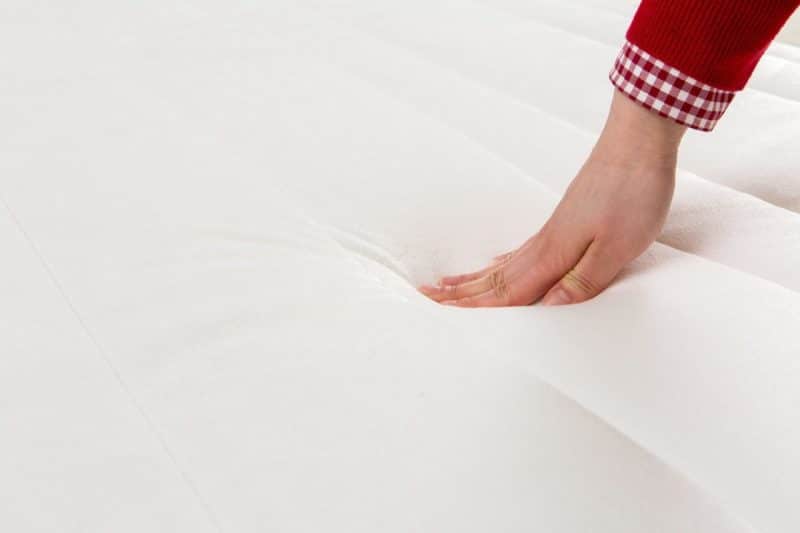
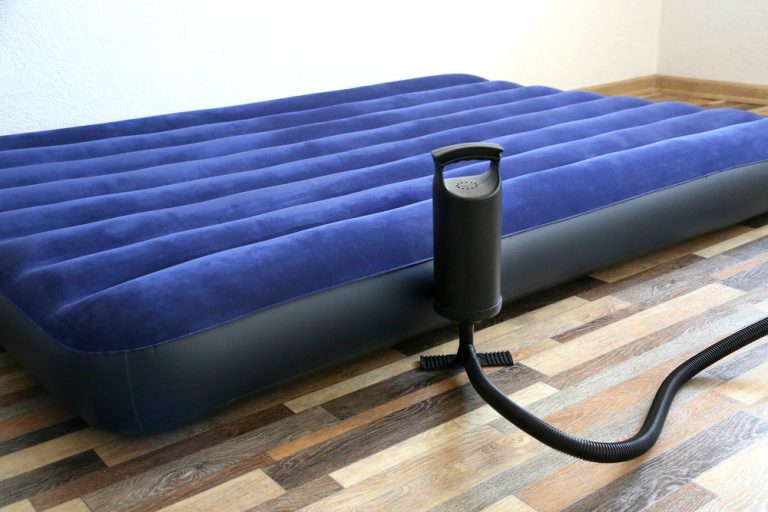
If you're struggling to find a leak in your air mattress, the first step is to carefully inspect the surface for any visible holes or tears. These can often be found near the seams or corners of the mattress. Use your hands to gently feel for any irregularities in the surface. If you find a hole or tear, mark it with a bold marker so you can easily locate it later for repair.1. Check for visible holes or tears in the air mattress
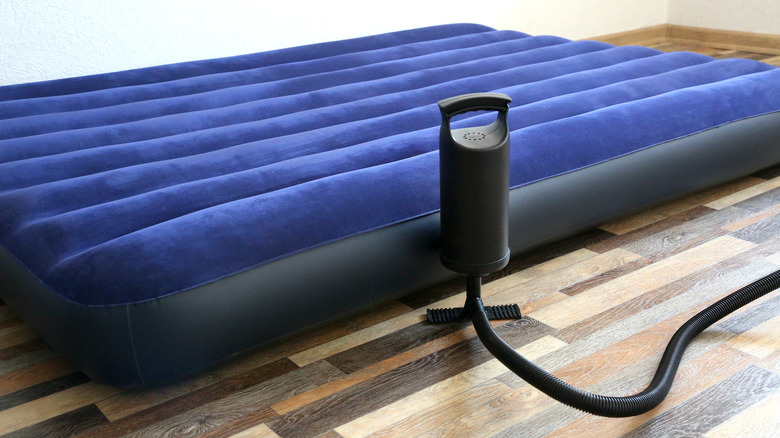
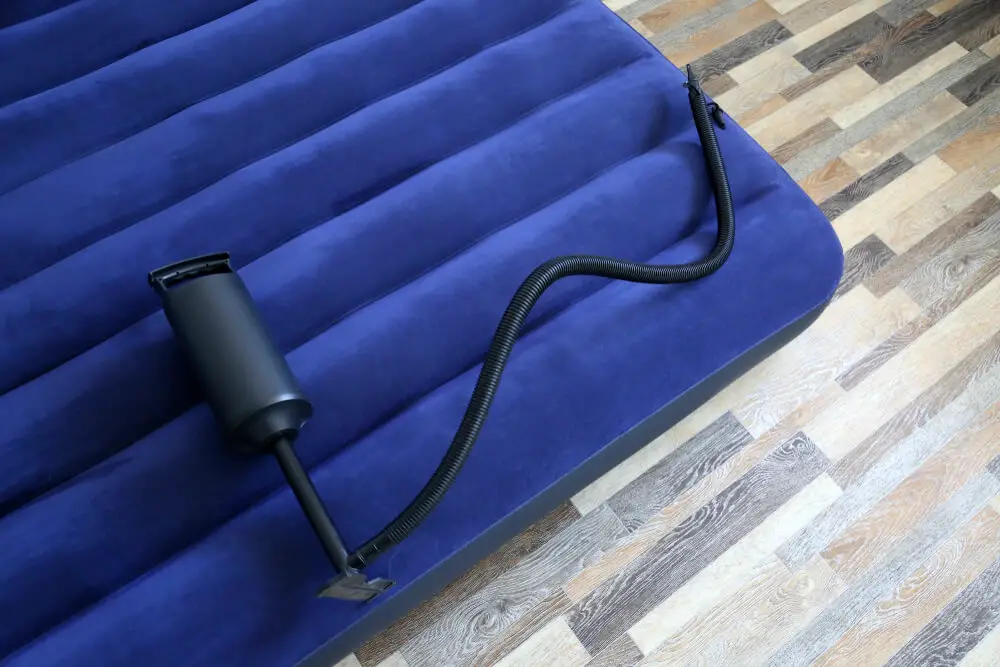
One of the most common ways to identify a leak in an air mattress is by inflating it and listening for any hissing sounds. This can be done by using a pump or blowing it up manually. Once the mattress is fully inflated, hold your ear close to the surface and listen for any audible signs of air escaping. If you hear a hissing sound, mark the area with a bold marker or piece of tape.2. Inflate the air mattress and listen for any hissing sounds
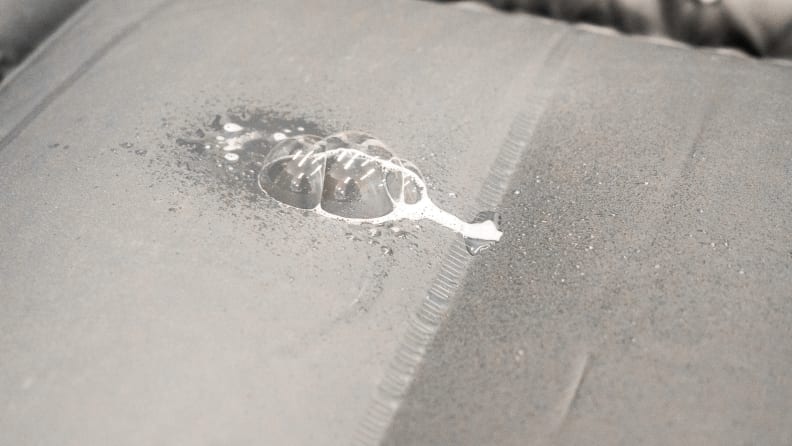
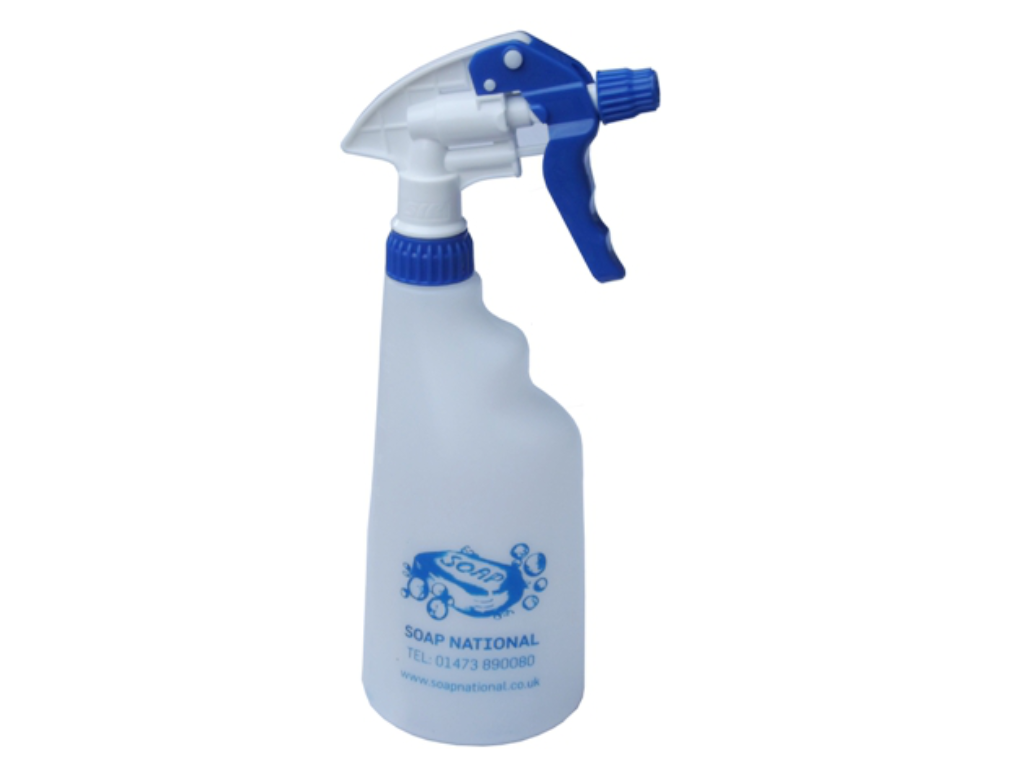
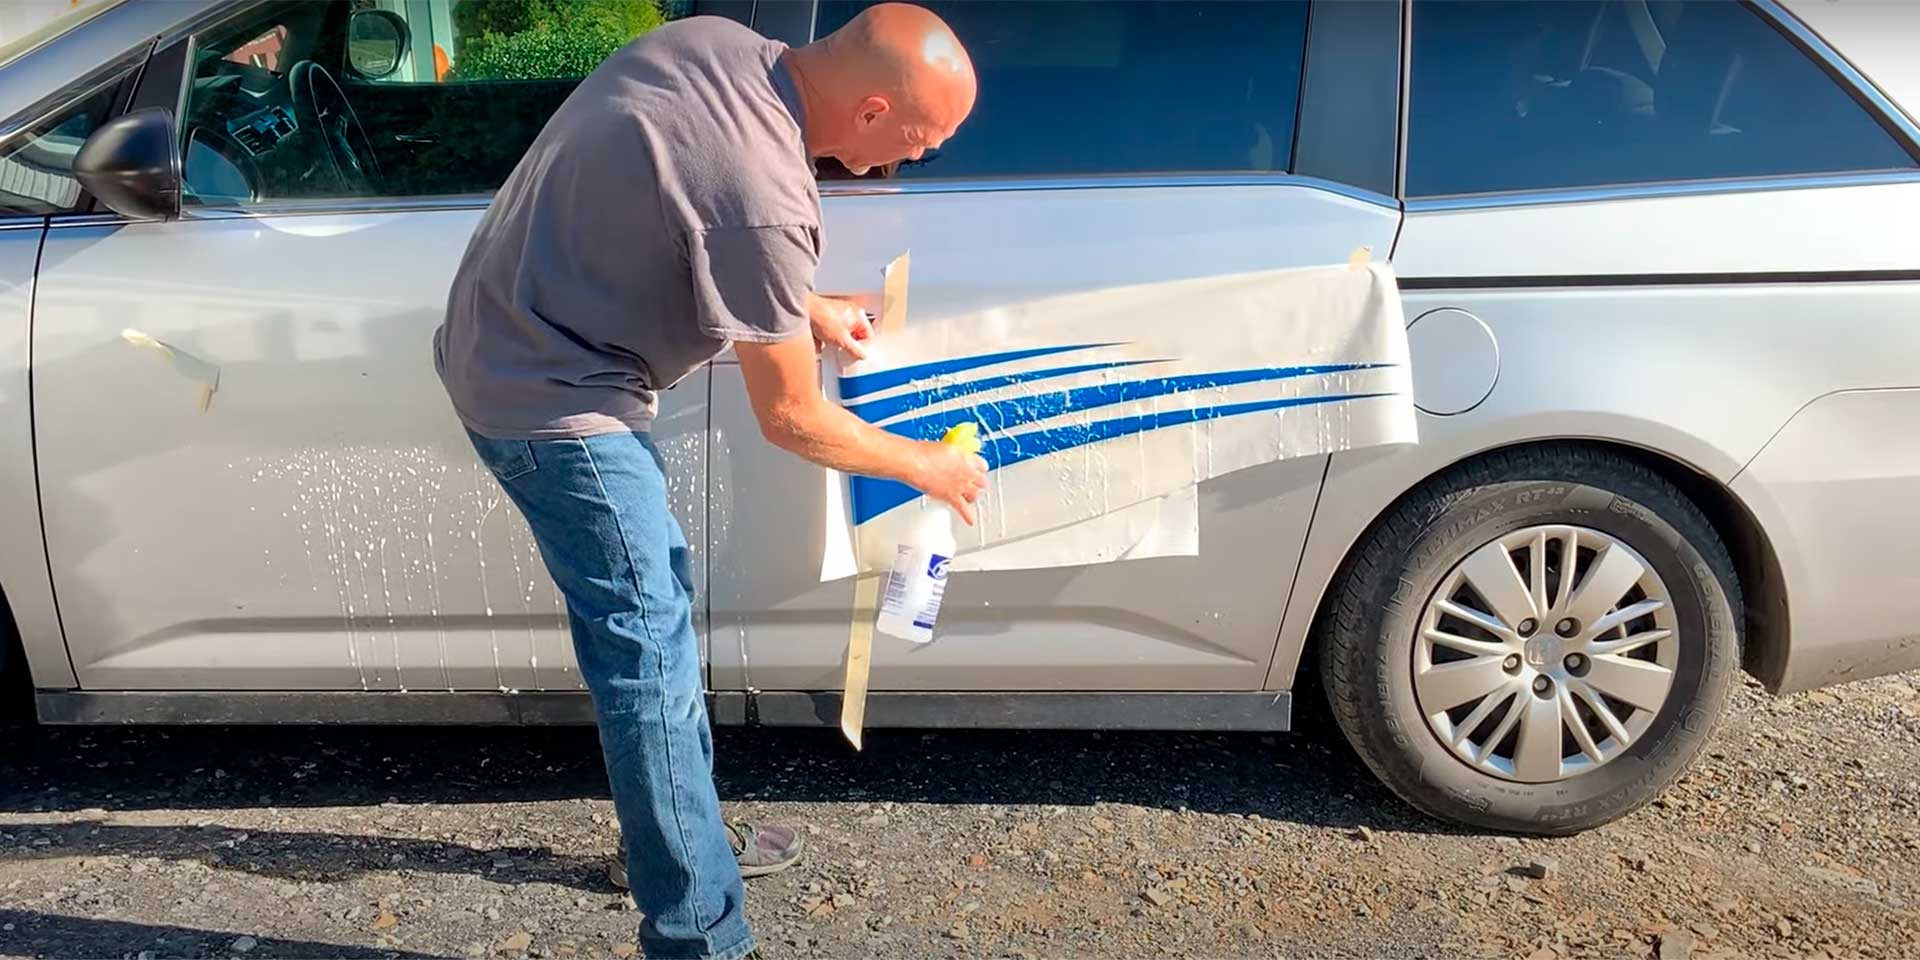
If you're unable to locate a visible hole or hear any hissing sounds, the next step is to use a spray bottle filled with soapy water. Spray the surface of the air mattress and look for any bubbles forming. These bubbles indicate a leak and can be marked with a bold marker for repair.3. Use a spray bottle with soapy water to locate the leak
If the previous methods haven't been successful, you can try submerging the air mattress in a bathtub or pool. Slowly lower the mattress into the water and look for any bubbles forming. This can help you identify the location of the leak and mark it with a bold marker for repair.4. Submerge the air mattress in a bathtub or pool to find the leak
Sometimes, a leak in an air mattress can be caused by a loose or faulty valve. Before going through the trouble of finding a leak, make sure the valve is tightly closed and secured. If the valve is damaged, you may need to replace it with a new one.5. Check the valve and make sure it is tightly closed
The seams of an air mattress are often a common place for leaks to occur. Use a flashlight to carefully inspect the seams for any signs of damage or wear. If you find a leak, mark it with a bold marker for repair.6. Use a flashlight to inspect the seams of the air mattress
If you've located a small hole or tear in your air mattress, you can try using a patch kit to repair it. These kits usually come with adhesive patches that can be placed over the leak to seal it. Follow the instructions carefully and make sure the area is clean and dry before applying the patch.7. Try using a patch kit to repair any small holes or tears
If your air mattress is constantly getting punctured, it's important to check the surrounding area for any sharp objects that may be causing the damage. This could include rocks, twigs, or even pet claws. Remove any potential hazards from the area to prevent future leaks.8. Check the surrounding area for any sharp objects that may have caused the leak
If you're having trouble seeing or hearing the leak, you can try using a piece of tissue paper to feel for air movement. Hold the tissue close to the surface of the air mattress and move it around until you feel a slight tug. This will indicate the location of the leak and can be marked with a bold marker for repair.9. Use a piece of tissue paper to locate the leak by feeling for air movement
If you've exhausted all methods and are still unable to find the leak in your air mattress, it may be time to consider purchasing a new one. Sometimes, the damage may be too extensive or in an inaccessible area, making it impossible to repair. In this case, investing in a new air mattress is the best solution. Don't let a leaky air mattress ruin your camping trip or overnight guests' experience. With these tips, you can easily locate and repair any leaks, ensuring your air mattress stays in top condition for future use.10. If all else fails, consider purchasing a new air mattress
The Importance of Properly Maintaining Your Air Mattress

Why Finding and Fixing Leaks is Crucial for Your Air Mattress
 When it comes to camping, having a comfortable and reliable air mattress is essential for a good night's sleep. However, there's nothing worse than waking up on a deflated air mattress in the middle of the night. If you've ever experienced this, you know how frustrating it can be to try and find the leak and fix it.
But why is it so important to find and fix leaks in your air mattress? Well, aside from the obvious inconvenience of having to constantly refill it, there are a few other reasons why properly maintaining your air mattress is crucial.
Preventing Further Damage
A small leak in your air mattress may not seem like a big deal, but if left unfixed, it can lead to more significant damage. Over time, the constant pressure and weight on the mattress can cause the hole to expand, making it much harder to fix. This can also result in a more significant tear or puncture that may not be repairable.
Ensuring Comfort and Support
An air mattress is supposed to provide a comfortable and supportive sleeping surface, but a leak can significantly impact its functionality. As the air escapes, the mattress becomes less firm, and you may end up sinking into uncomfortable positions. Not only will this affect your sleep, but it can also lead to aches and pains in the morning.
Preventing Mold and Mildew Growth
When air mattresses are left deflated, they can become a breeding ground for mold and mildew. The moisture from your breath, combined with the warm and dark environment inside the mattress, creates the perfect conditions for these fungi to grow. Not only does this pose a health risk, but it can also ruin your mattress and make it unusable.
Saving Money and the Environment
Constantly having to replace your air mattress due to leaks can become expensive and wasteful. By regularly checking for and fixing leaks, you can extend the lifespan of your mattress and save money in the long run. Plus, properly maintaining your air mattress also means less waste being sent to landfills.
In conclusion, while finding and fixing leaks in your air mattress may seem like a tedious task, it is crucial for its functionality, longevity, and your overall comfort. Regularly checking for leaks and promptly repairing them will ensure a restful night's sleep and save you money in the long run. So next time you're camping or hosting guests, make sure to properly maintain your air mattress to avoid any unexpected deflations.


