An air mattress can be a lifesaver when you have guests staying over or when you're on a camping trip. However, there's nothing worse than waking up in the middle of the night with a deflated air mattress. The good news is that most air mattresses can be easily patched up, saving you the hassle and expense of buying a new one. In this guide, we'll walk you through the steps to patch up an air mattress and get it back in working condition. So let's dive in!
How to Patch an Air Mattress - A Comprehensive Guide
The first step in patching up an air mattress is to identify where the leak is coming from. Inflate the mattress and inspect it carefully, feeling for any escaping air or listening for the sound of a leak. Keep in mind that the leak may be very small, so you may need to use a soapy water solution to help you locate it. Once you've identified the leak, mark the area with a piece of tape or a marker.
Step 1: Identify the Leak
Before you start patching up your air mattress, make sure you have all the necessary supplies. You will need a patch kit, which usually comes with the air mattress, or you can purchase one separately. You will also need scissors, sandpaper or a rough cloth, and rubbing alcohol.
Step 2: Gather Your Supplies
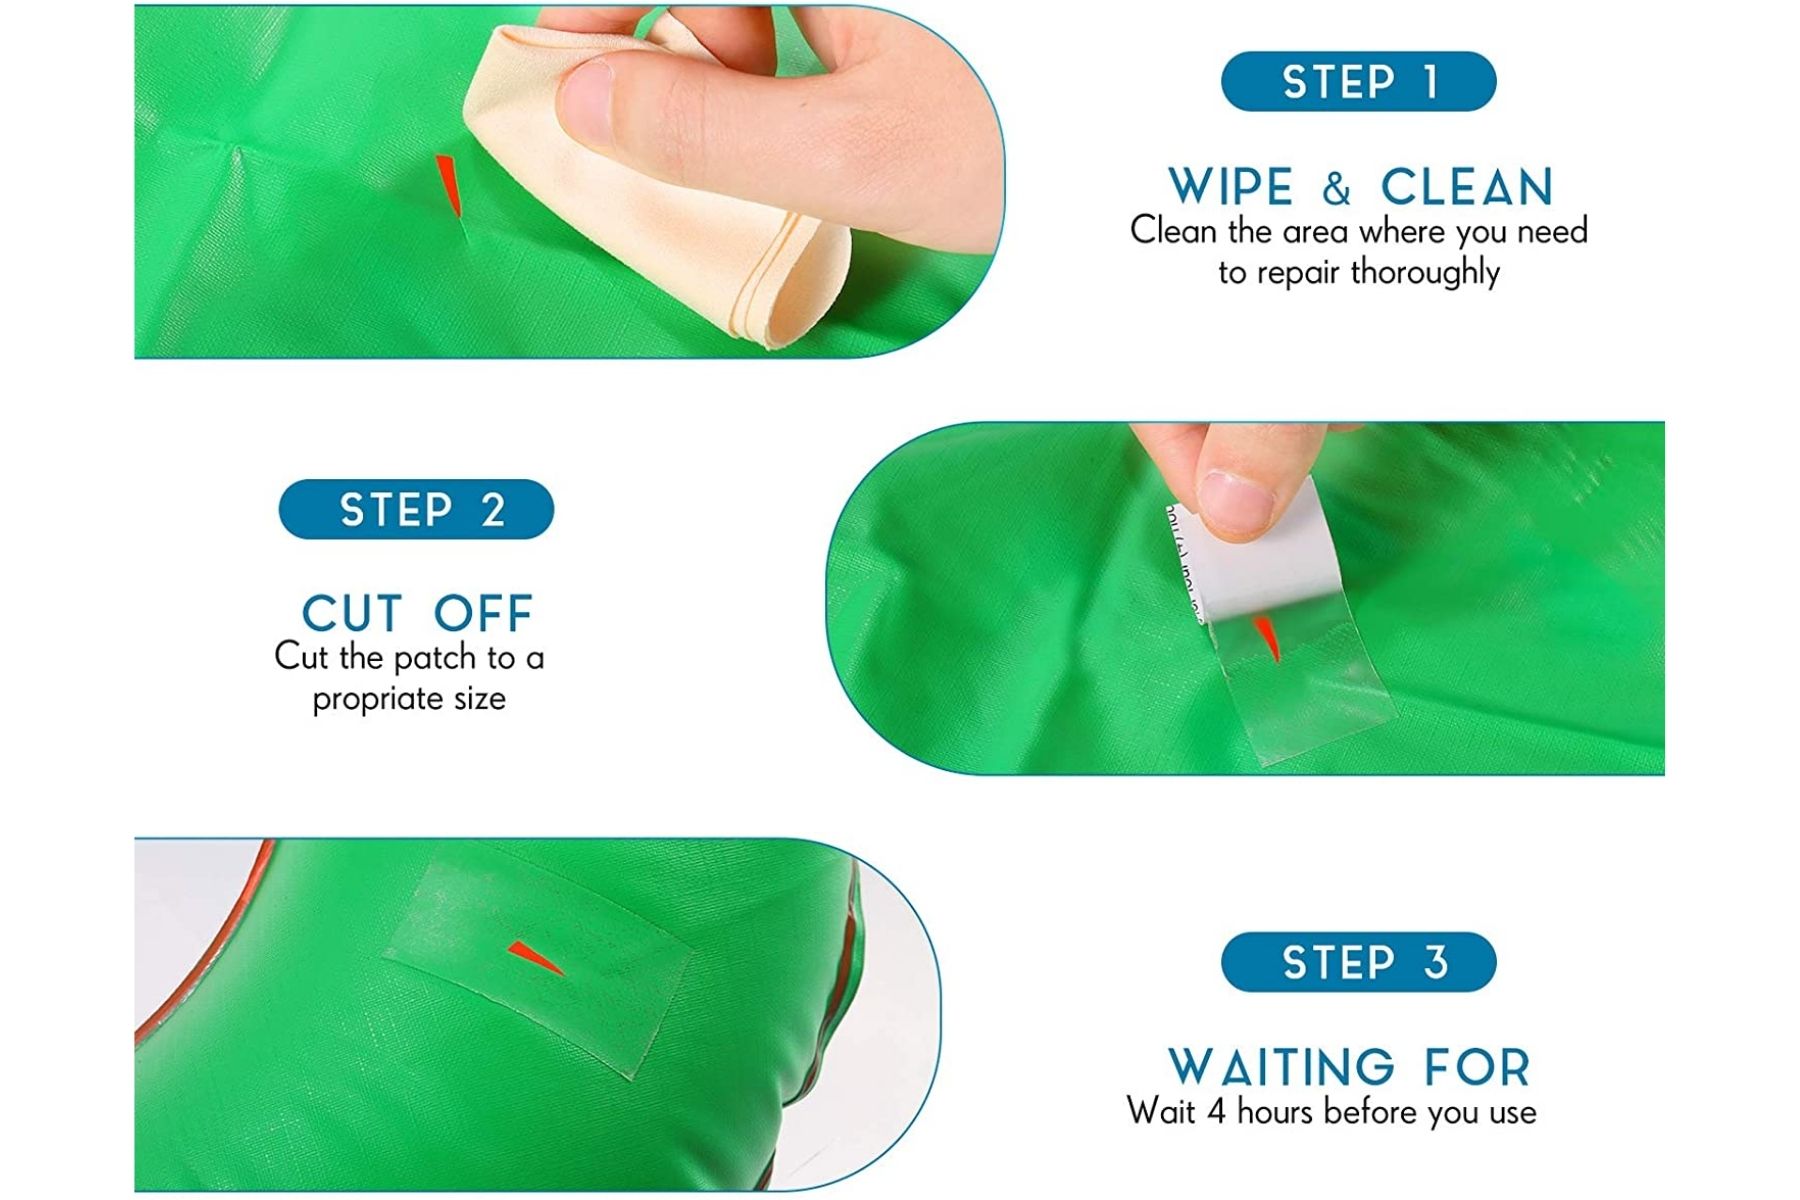
Using the sandpaper or rough cloth, gently buff the area around the leak. This will help the patch adhere better to the surface. Then, clean the area with rubbing alcohol to remove any dirt or debris. Let it dry completely before moving on to the next step.
Step 3: Prepare the Area
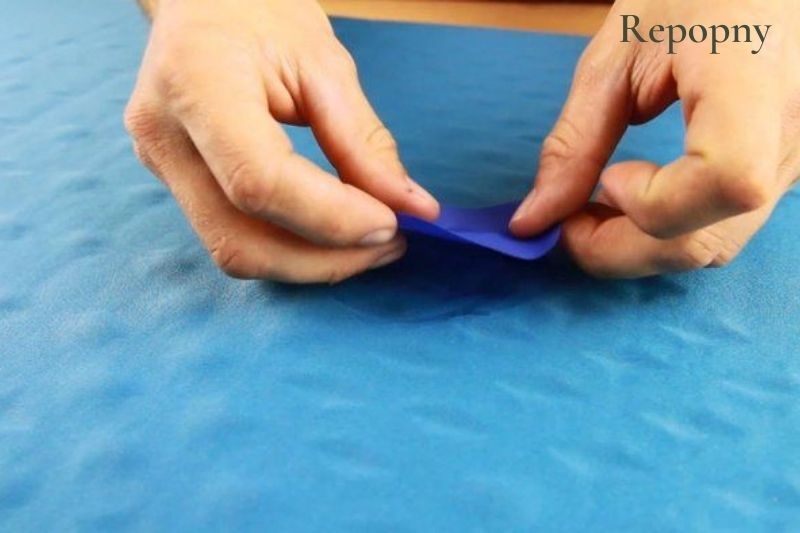
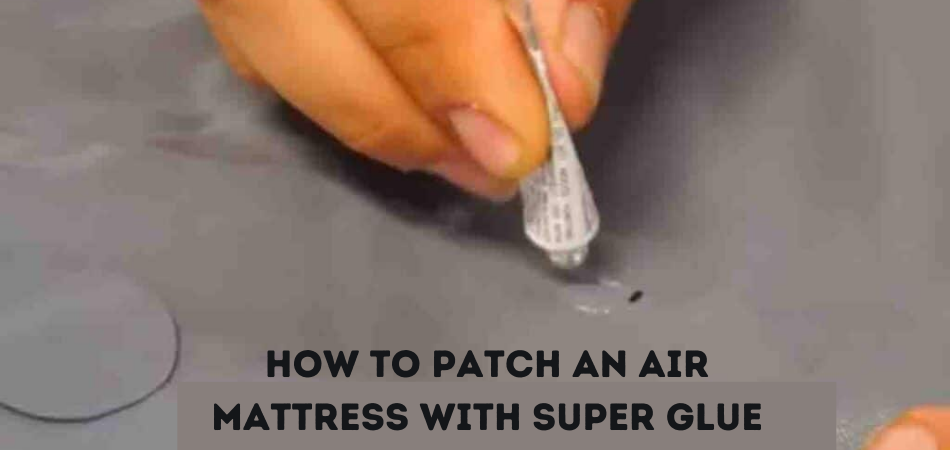
Follow the instructions on the patch kit carefully. Generally, you will need to apply a layer of adhesive to the patch and the area around the leak. Then, carefully place the patch over the leak and press down firmly. Make sure there are no air bubbles trapped under the patch.
Step 4: Apply the Patch
After applying the patch, let it dry for at least an hour or as per the instructions on the patch kit. Once it's completely dry, reinflate the mattress and check for any remaining leaks. If there are no leaks, your air mattress is good to go!
Step 5: Let it Dry
- If you don't have a patch kit, you can use duct tape or a bicycle tire repair kit as a temporary fix. Just make sure to replace it with a proper patch as soon as possible. Other Tips for Patching an Air Mattress
- If you have a built-in pump on your air mattress, make sure to remove it before patching.
- For larger holes or tears, you may need to use more than one patch to cover the area.
- Make sure to store your air mattress in a dry and cool place to prevent damage.
- Regularly check your air mattress for leaks and patch them up immediately to prevent further damage.
Patching up an air mattress may seem like a daunting task, but with the right supplies and a little bit of patience, it can be easily done at home. Remember to always follow the instructions on your patch kit and take the time to properly prepare the area before applying the patch. With these tips in mind, you can enjoy a comfortable and leak-free air mattress for years to come. Happy patching!
Final Thoughts
The Importance of a Good Night's Sleep on an Air Mattress

Why Choose an Air Mattress?
 When it comes to designing your home, one of the most important aspects to consider is the bedroom. After all, it is the place where you spend a significant portion of your time – sleeping. And as we all know, a good night's sleep is crucial for our physical and mental well-being. This is where
air mattresses
come in. Not only are they versatile and portable, but they also provide excellent support and comfort for a restful sleep.
The Common Problem with Air Mattresses
 But what happens when your trusty air mattress gets a tear or leak? You might be wondering, "Can you
patch up an air mattress
?" The short answer is yes, you can. However, it's essential to know the right techniques and materials to use to ensure a successful repair. After all, you don't want to be lying on a deflated air mattress in the middle of the night.
The Method to Repair an Air Mattress
 The first step is to locate the leak. This can be done by inflating the mattress and listening for any hissing sounds or feeling for escaping air. Once you have identified the leak, deflate the mattress and clean the area around the hole with rubbing alcohol. Next,
patch up the air mattress
using a puncture repair kit, which can be found at most hardware or camping stores. Follow the instructions carefully, making sure to let the adhesive dry completely before inflating the mattress again.
Preventative Measures for Your Air Mattress
 To avoid having to repair your air mattress in the first place, there are some preventative measures you can take. Always make sure the surface where you will be placing the mattress is clean and free of any sharp objects. When inflating the mattress, do not overinflate it, as this can put unnecessary strain on the material. And finally, make sure to keep the mattress away from any heat sources, such as heaters or direct sunlight, as this can cause the material to weaken and potentially lead to leaks.
In Conclusion
 In conclusion,
patching up an air mattress
is a simple and cost-effective solution to extend the life of your mattress. However, it's essential to take the necessary precautions to prevent leaks in the first place. With proper care and maintenance, your air mattress can provide you with a comfortable and supportive sleep for years to come. So go ahead and invest in a high-quality air mattress for a good night's rest and a well-designed bedroom.






:max_bytes(150000):strip_icc()/inflatable-mattress-in-an-empty-room-1165771286-cdef8878a02c456188562f33c8f66d5d.jpg)


