The Art of Painting a Bathroom Sink Top
Painting bathroom sink tops can be a simple and cost-effective way to give your bathroom a fresh new look. Whether you're looking to update the color or cover up any scratches or stains, a fresh coat of paint can make a big difference in the overall appearance of your sink. In this article, we'll discuss the top 10 things you need to know about painting your bathroom sink top.
1. Choose the Right Paint
The first and most important step in painting a bathroom sink top is choosing the right paint. You'll want to use a paint that is specifically designed for use on bathroom fixtures, such as epoxy paint or acrylic enamel paint. These types of paint are durable and water-resistant, making them ideal for use in a bathroom.
2. Prepare the Sink
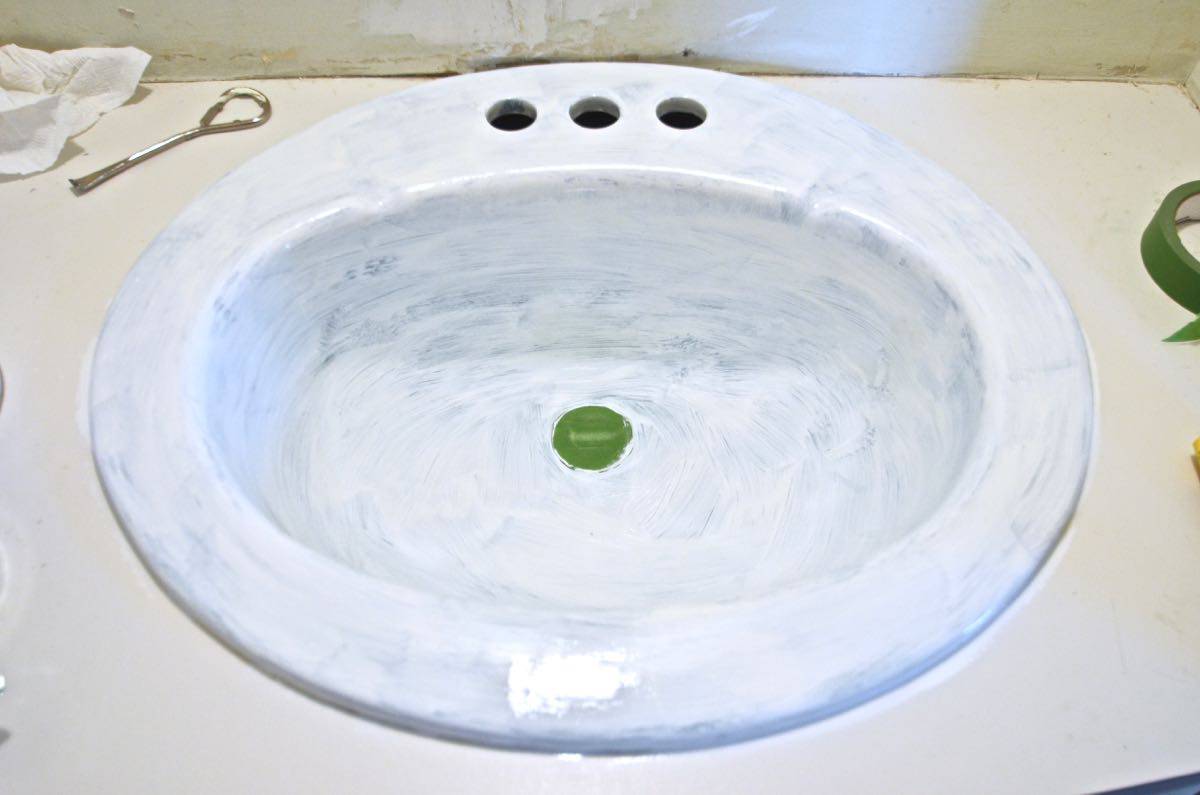
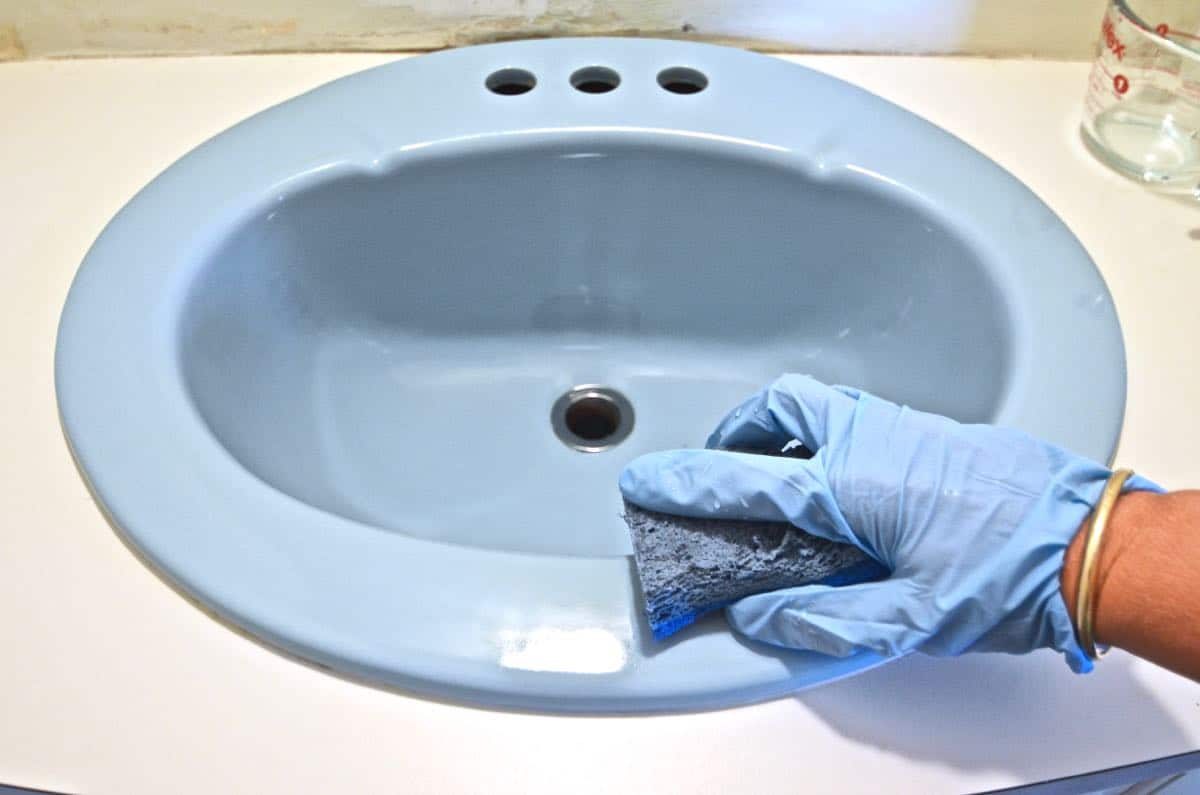
Before you begin painting, you'll need to thoroughly clean and prepare the sink. Use a gentle cleaner and a scrub brush to remove any dirt, grime, or residue. Then, rinse the sink thoroughly and dry it with a clean towel. You may also need to lightly sand the surface of the sink to help the paint adhere better.
3. Remove Hardware
If your sink has any hardware, such as faucets or handles, it's important to remove them before painting. This will ensure that the paint covers the entire surface of the sink and gives it a smooth, even finish. You can easily remove hardware with a screwdriver.
4. Tape Off the Area
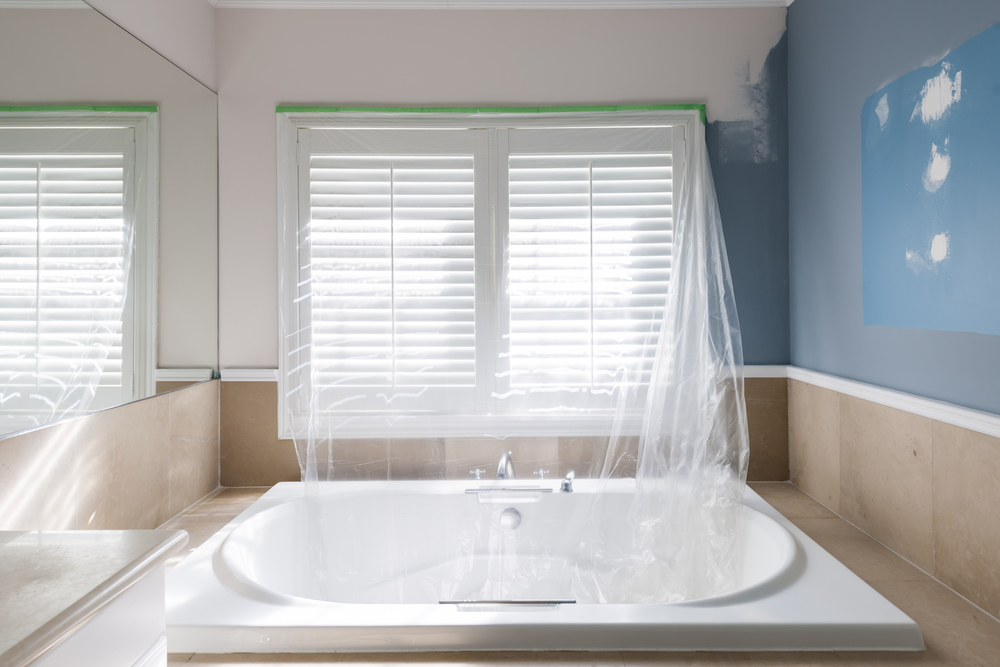
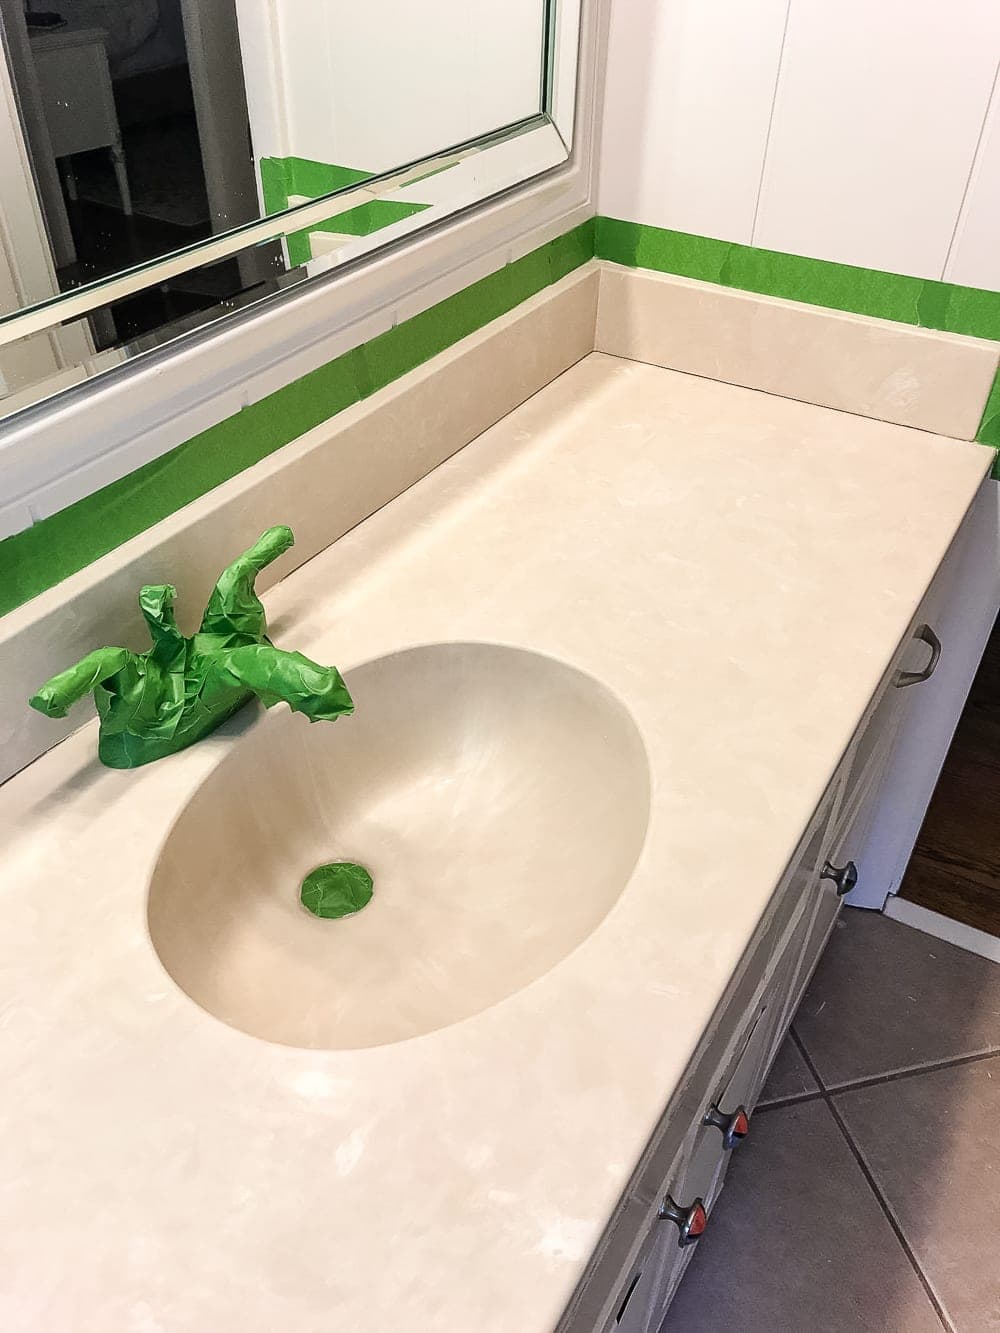
Before you start painting, it's important to protect the surrounding area from any splatters or drips. Use painter's tape to cover the edges of the sink, as well as any walls or countertops that may be nearby. This will create a clean and professional-looking finish.
5. Prime the Surface
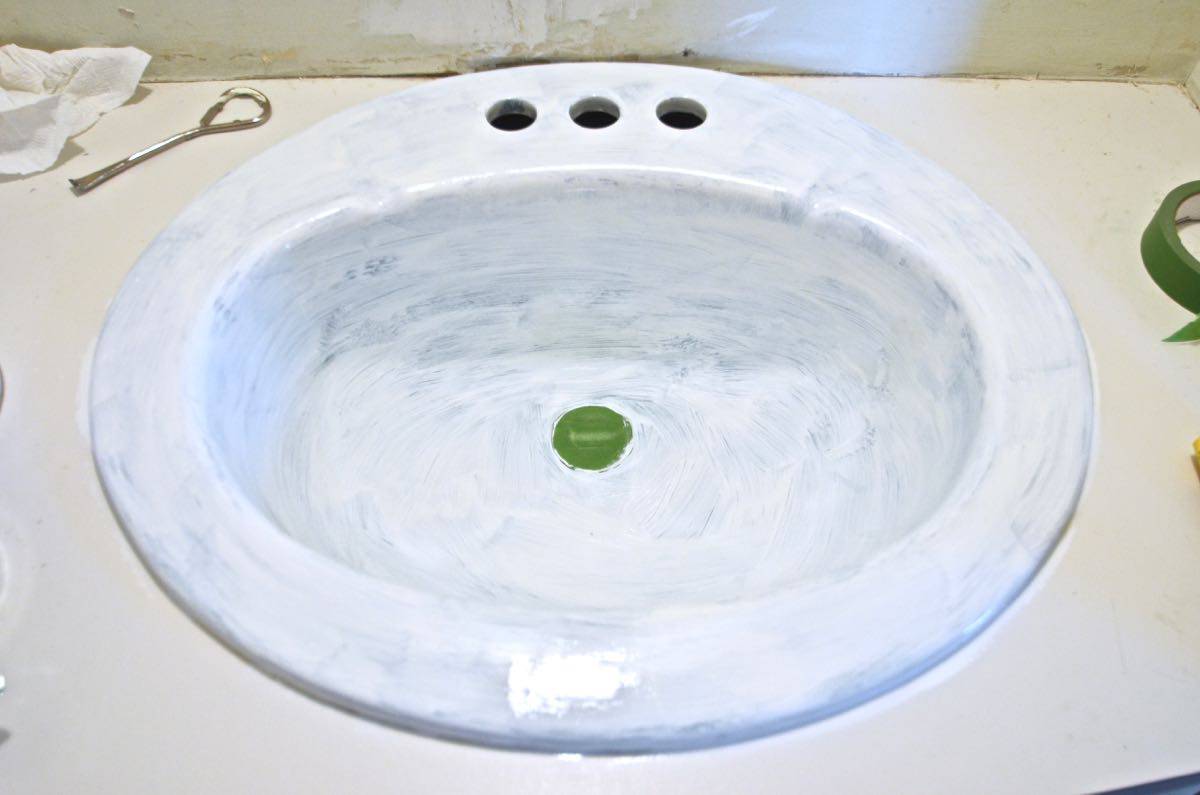
Priming is a crucial step in the painting process, as it helps the paint adhere better and creates a smoother finish. Use a rust-inhibiting primer specifically designed for use on metal surfaces. Apply the primer with a brush or roller, making sure to cover the entire surface of the sink.
6. Choose Your Color
When it comes to choosing a color for your bathroom sink top, the options are endless. You can go with a classic white or opt for a bold and vibrant color to make a statement. Just make sure to choose a paint that is specifically designed for use on bathroom fixtures.
7. Apply the Paint
Once the primer is dry, it's time to apply the paint. Use a brush or roller to apply an even coat of paint to the sink, making sure to cover all areas. You may need to apply multiple coats for full coverage, so be patient and allow each coat to dry completely before adding another.
8. Add a Sealant
To protect your newly painted sink and ensure it lasts for years to come, it's important to add a sealant. You can use a clear polyurethane or acrylic sealant to give your sink a glossy finish and make it more resistant to water and stains.
9. Let it Dry
After you've completed all the steps, it's important to let the sink dry completely before using it again. This may take a few hours or overnight, depending on the type of paint and sealant you used. Be patient and resist the urge to use the sink before it's fully dry.
How to Transform Your Bathroom Sink Top with a Fresh Coat of Paint

Introducing a Quick and Easy Way to Update Your Bathroom Design
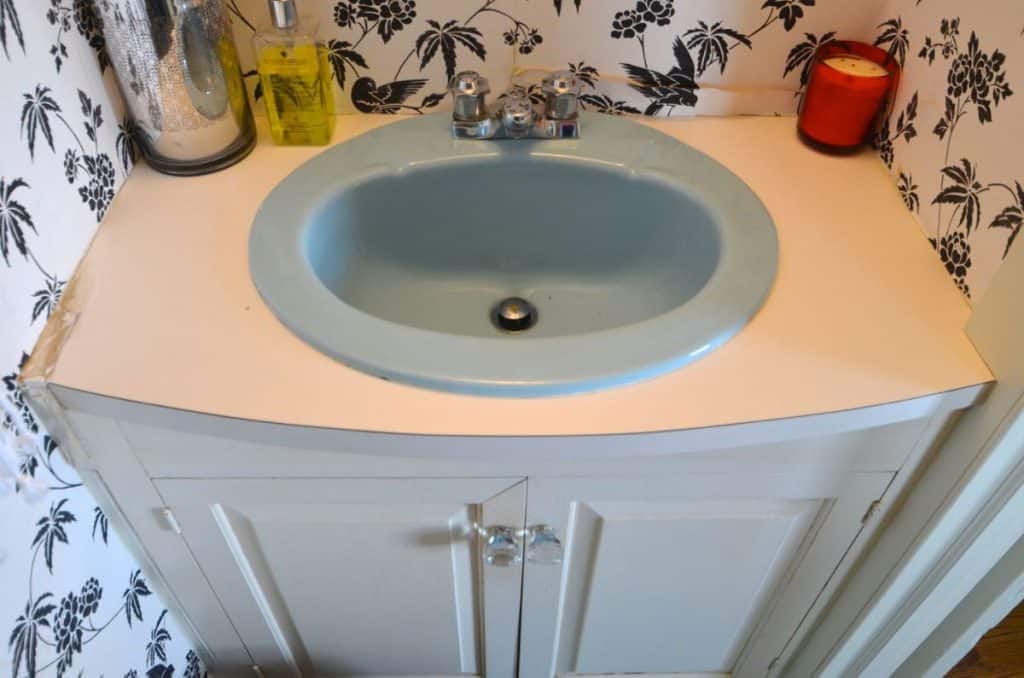
 Are you tired of your outdated bathroom sink top? Are you looking for a cost-effective way to refresh your bathroom design? Look no further! Painting your bathroom sink top is a simple and budget-friendly solution that can completely transform the look of your bathroom.
Bathroom sink tops
are often overlooked when it comes to home design, but they play a significant role in the overall aesthetic of your bathroom. By
painting a bathroom sink top
, you can create a whole new look without breaking the bank. Plus, it's a fun and creative DIY project that can be completed in just a few hours.
Why Painting Your Bathroom Sink Top is a Great Idea
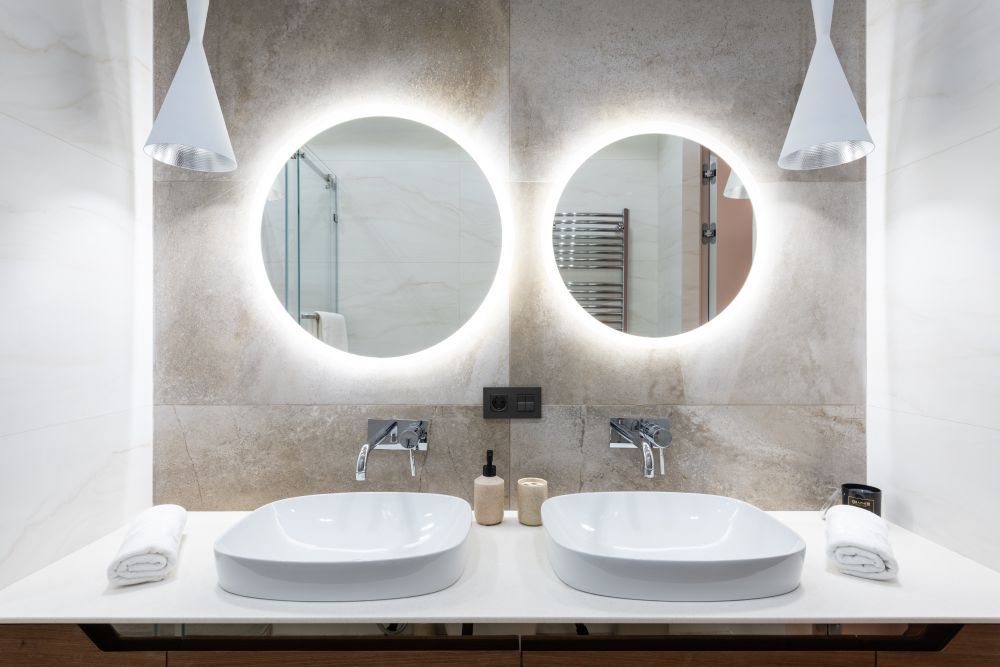 There are many reasons why painting your bathroom sink top is a great idea, but the main one is that it is a cost-effective solution. Instead of spending hundreds or even thousands of dollars on a new sink top, you can achieve the same result with a can of paint and some basic supplies. This is especially beneficial if you are on a tight budget or just looking for a quick and easy home improvement project.
Another reason to consider
painting a bathroom sink top
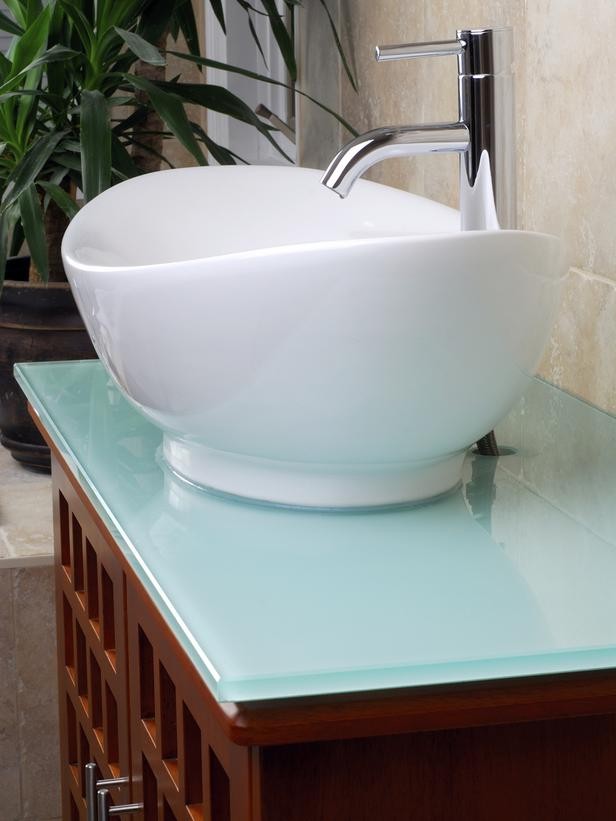
is the endless design possibilities. With a variety of paint colors and finishes available, you can customize your sink top to match your personal style and complement the rest of your bathroom decor. From bright and bold colors to subtle and neutral tones, the options are endless.
How to Paint Your Bathroom Sink Top in 5 Easy Steps
 Now that you know the benefits of
painting a bathroom sink top
, let's dive into the process. Here are five easy steps to transform your bathroom sink top with a fresh coat of paint:
Step 1:
Clean and Prep - Before painting, make sure to thoroughly clean your sink top with a mild cleaner. Then, sand the surface to roughen it up and create a better adhesion for the paint.
Step 2:
Tape and Protect - Use painter's tape to protect any areas you don't want to get paint on, such as the faucet and drain. Cover the surrounding area with drop cloths or plastic sheets to avoid any accidental spills.
Step 3:
Prime - Apply a coat of
primer
specifically designed for use on bathroom sink tops. This will create a smooth and durable surface for the paint to adhere to.
Step 4:
Paint - Once the primer is dry, it's time to paint! Use a high-quality,
waterproof
paint designed for use on bathroom surfaces. Apply several thin coats, allowing each coat to dry completely before applying the next.
Step 5:
Seal - After the paint is dry, apply a clear sealant to protect the surface from water and daily wear and tear. This will also give your sink top a glossy and polished look.
Transform Your Bathroom Sink Top Today
 With these simple steps, you can easily transform your bathroom sink top and give your bathroom a whole new look. Remember to choose high-quality and waterproof products and take your time to ensure a professional-looking finish. Say goodbye to your old, outdated sink top and hello to a fresh and modern design. Try
painting your bathroom sink top
today and see the difference it can make in your home design.










/Screen-Shot-2015-08-31-at-8.03.54-PM-56a193725f9b58b7d0c0c79c.png)


