Painting Bathroom Sink: A Guide to Transforming Your Bathroom
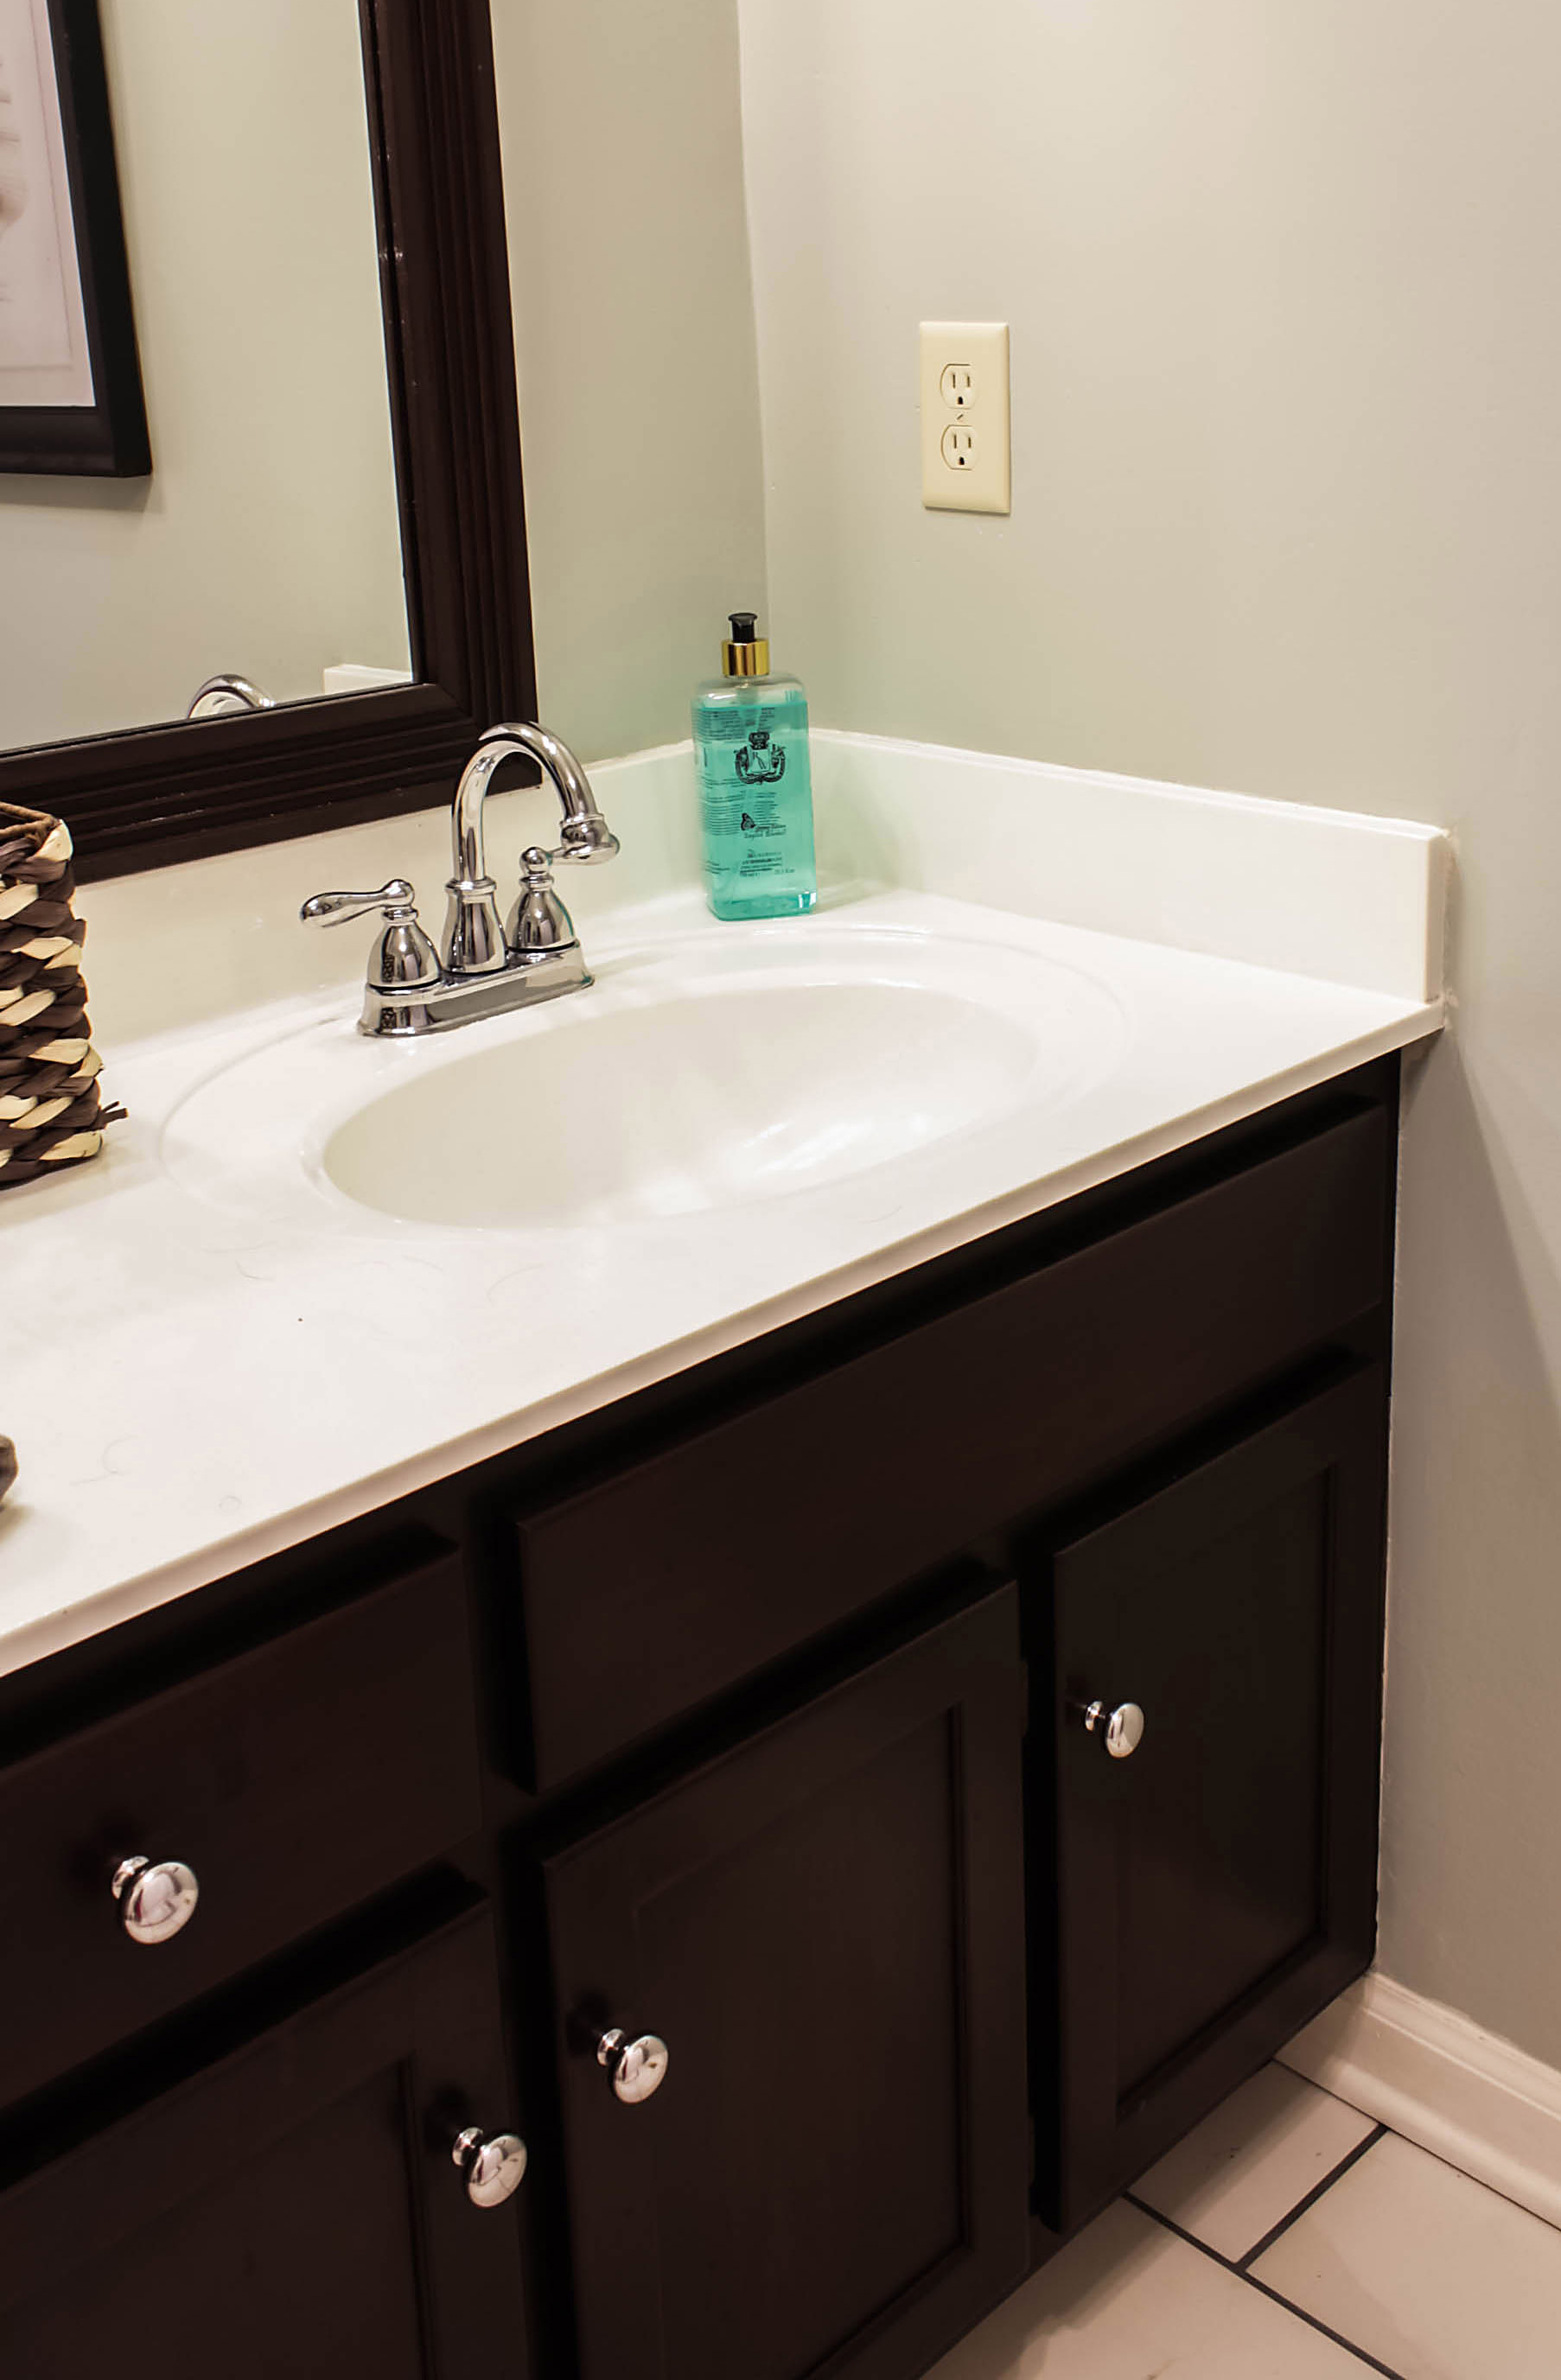
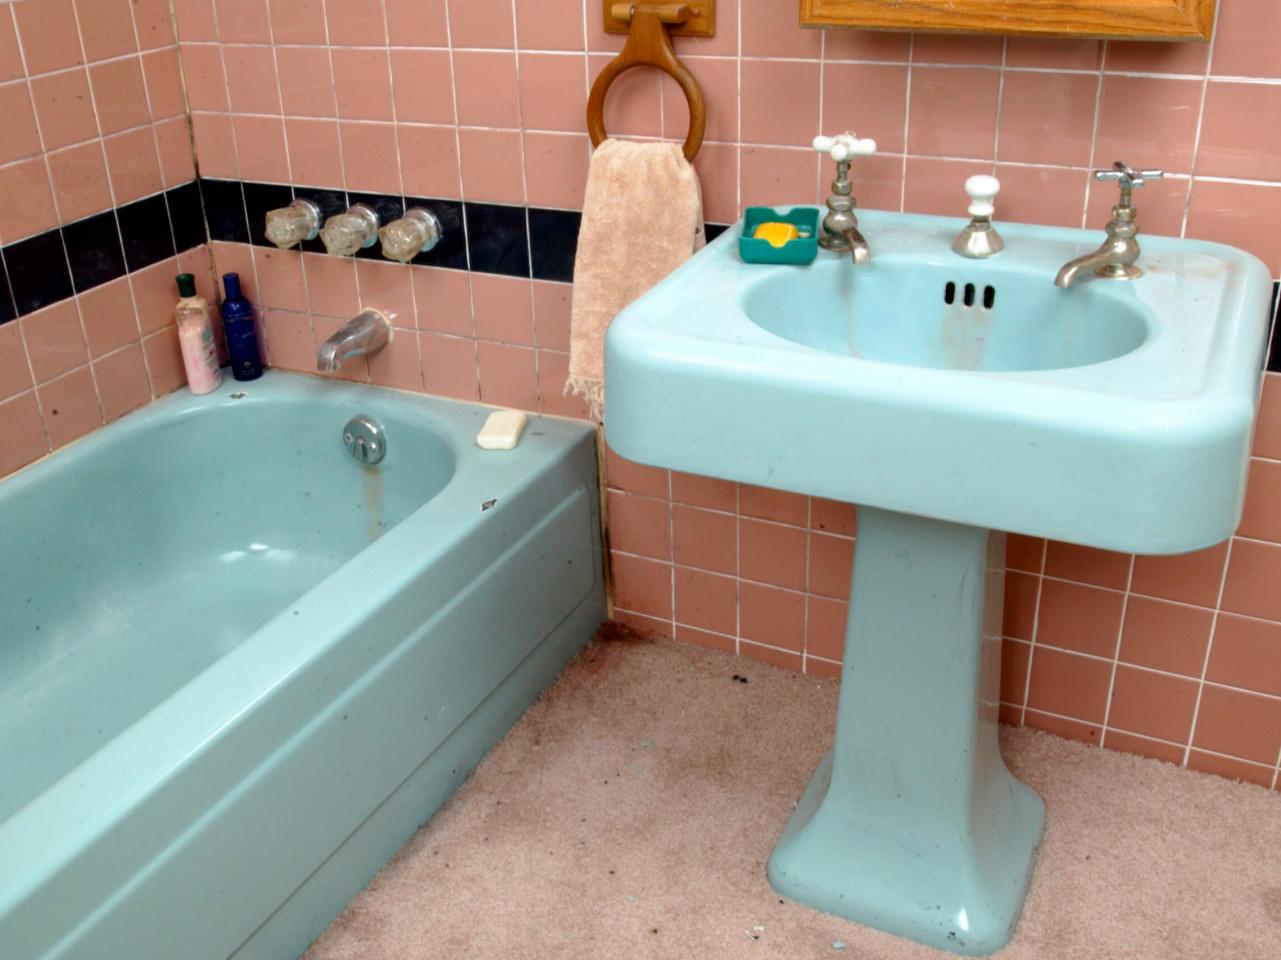
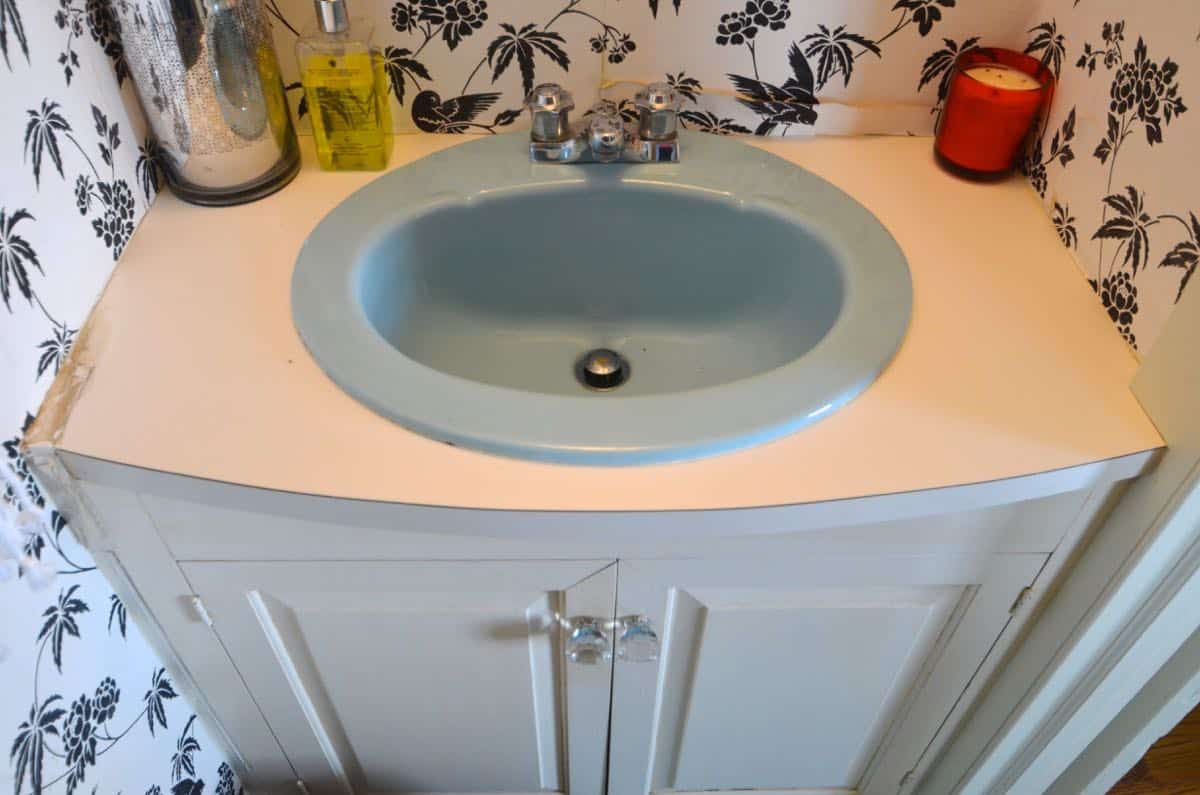
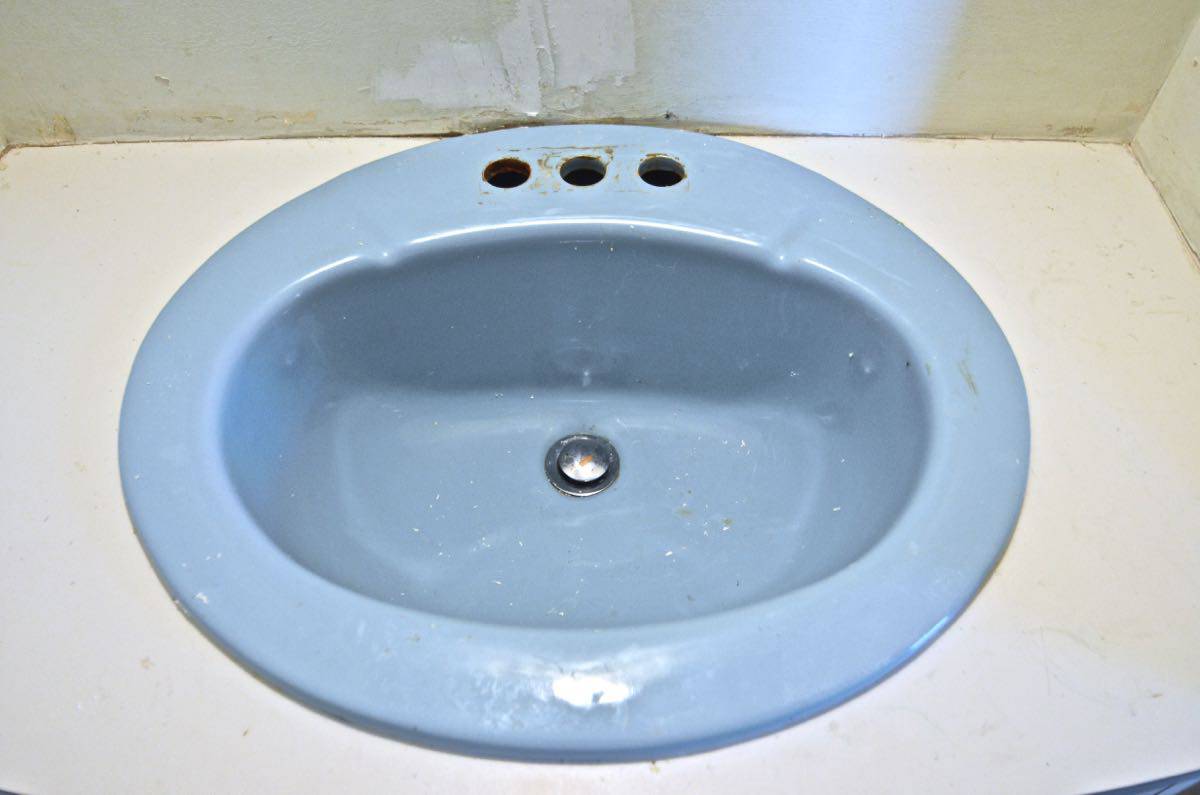
Are you tired of the outdated look of your bathroom sink? Do you want to give your bathroom a fresh new look without breaking the bank? Look no further, as we have the perfect solution for you – painting your bathroom sink. Yes, you read that right. With a little bit of paint and some creativity, you can transform your bathroom sink into a stunning focal point. In this article, we will guide you through the process of painting your bathroom sink and give you some tips and tricks to achieve a professional-looking finish.
Why Paint Your Bathroom Sink?
You may be wondering why you should bother painting your bathroom sink when you can simply replace it with a new one. Well, painting your sink is a budget-friendly alternative that can save you hundreds of dollars. It also allows you to customize the look of your sink according to your personal style and preferences. Moreover, painting your sink is a quick and easy way to give your bathroom a makeover without any major renovations.
The Right Paint for the Job
Before you start painting your bathroom sink, it is important to choose the right type of paint. Regular wall paint or even spray paint will not work on a sink, as it will easily chip and peel off. You need to use a paint specifically made for bathroom sinks and other hard surfaces. Rust-Oleum Tub and Tile Refinishing Kit and Rust-Oleum Specialty Tub and Tile Spray Paint are some popular options that provide a durable and long-lasting finish.
Preparation is Key
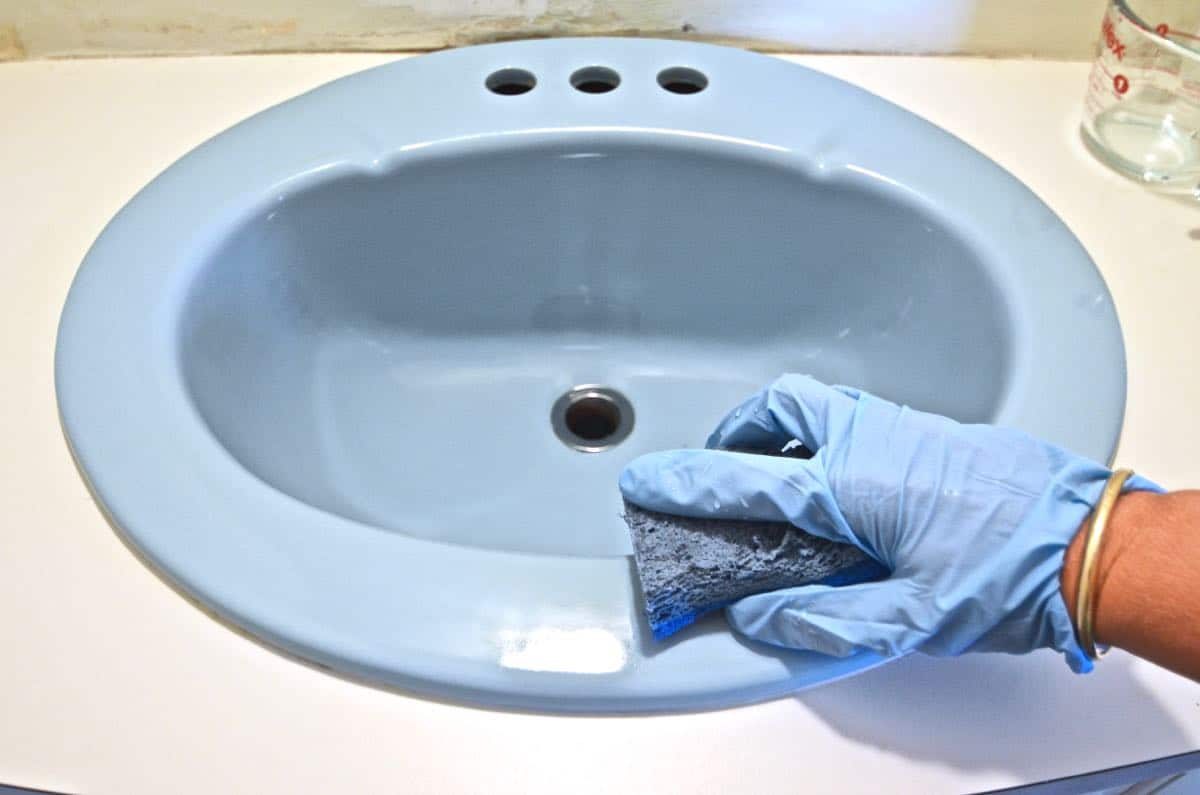
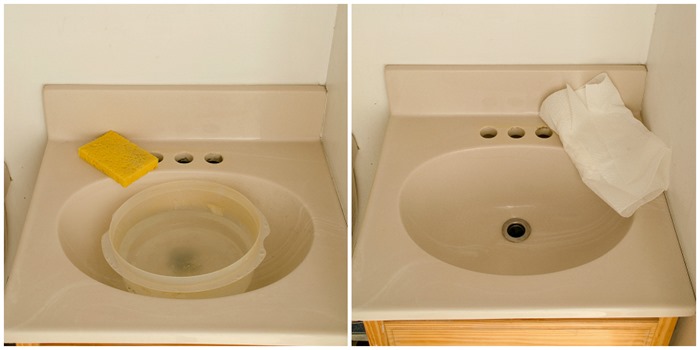
Like any painting project, preparation is key to achieving a professional-looking finish. The first step is to thoroughly clean your sink with a bathroom cleaner and scrub away any dirt, grime, or soap scum. CLR Bath & Kitchen Cleaner is a great choice for removing tough stains and build-up. Next, sand the surface of your sink with fine-grit sandpaper to create a rough surface for the paint to adhere to. Make sure to rinse and dry the sink before moving on to the next step.
Masking and Priming
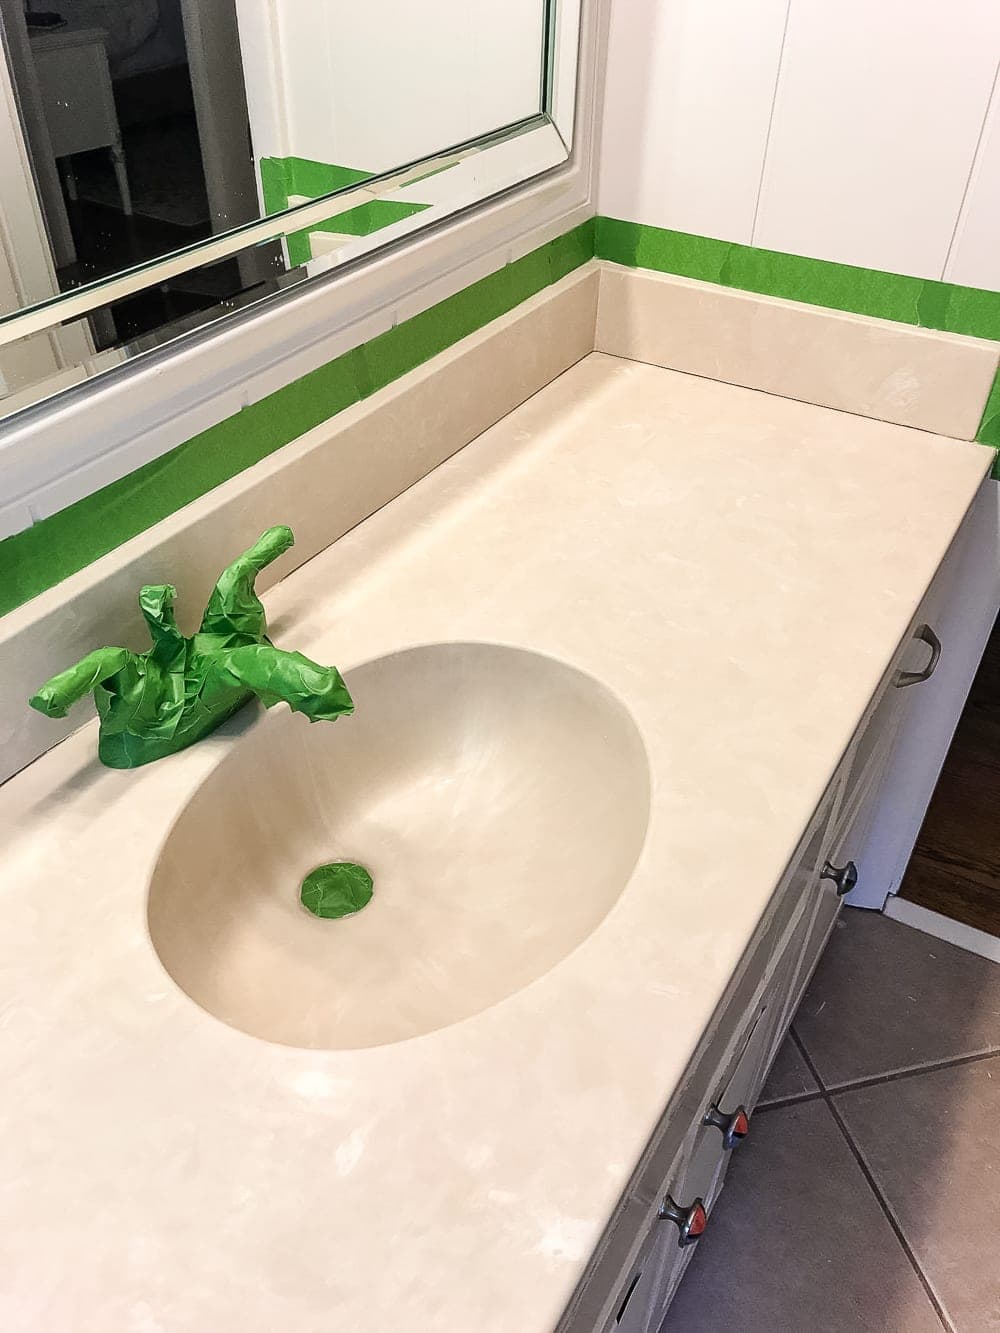
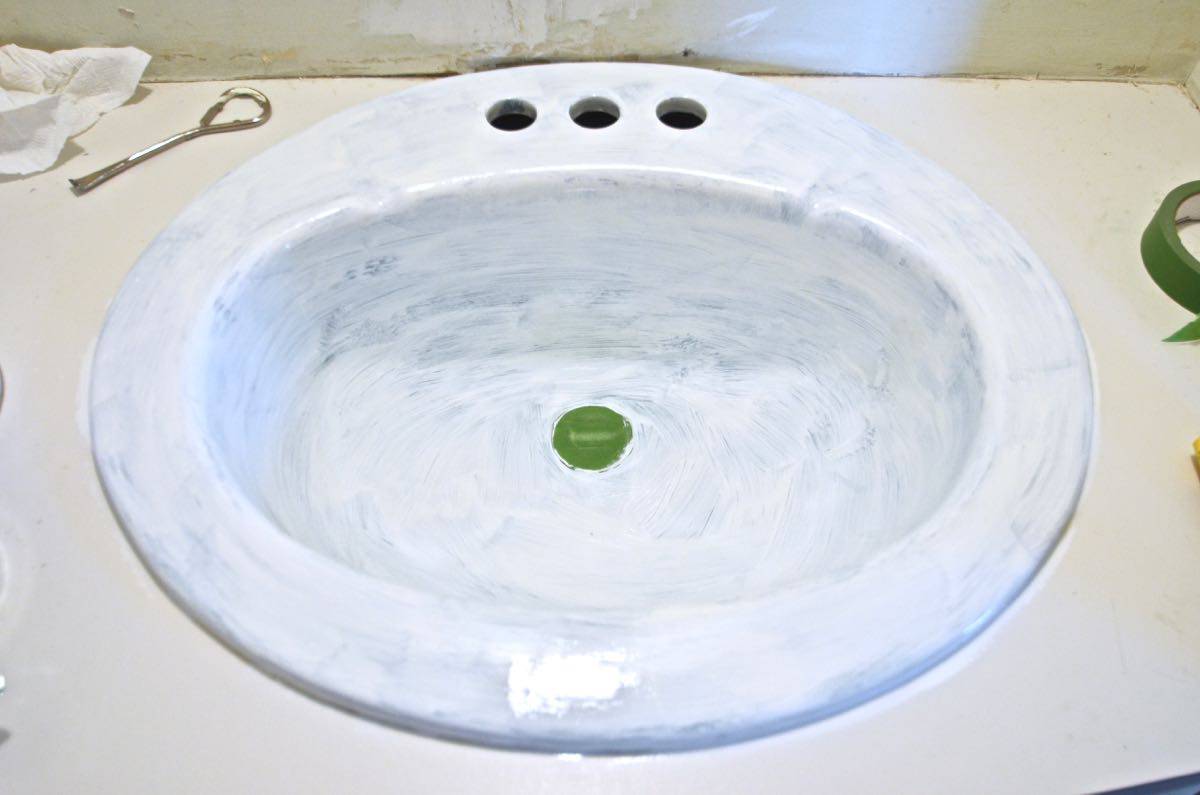
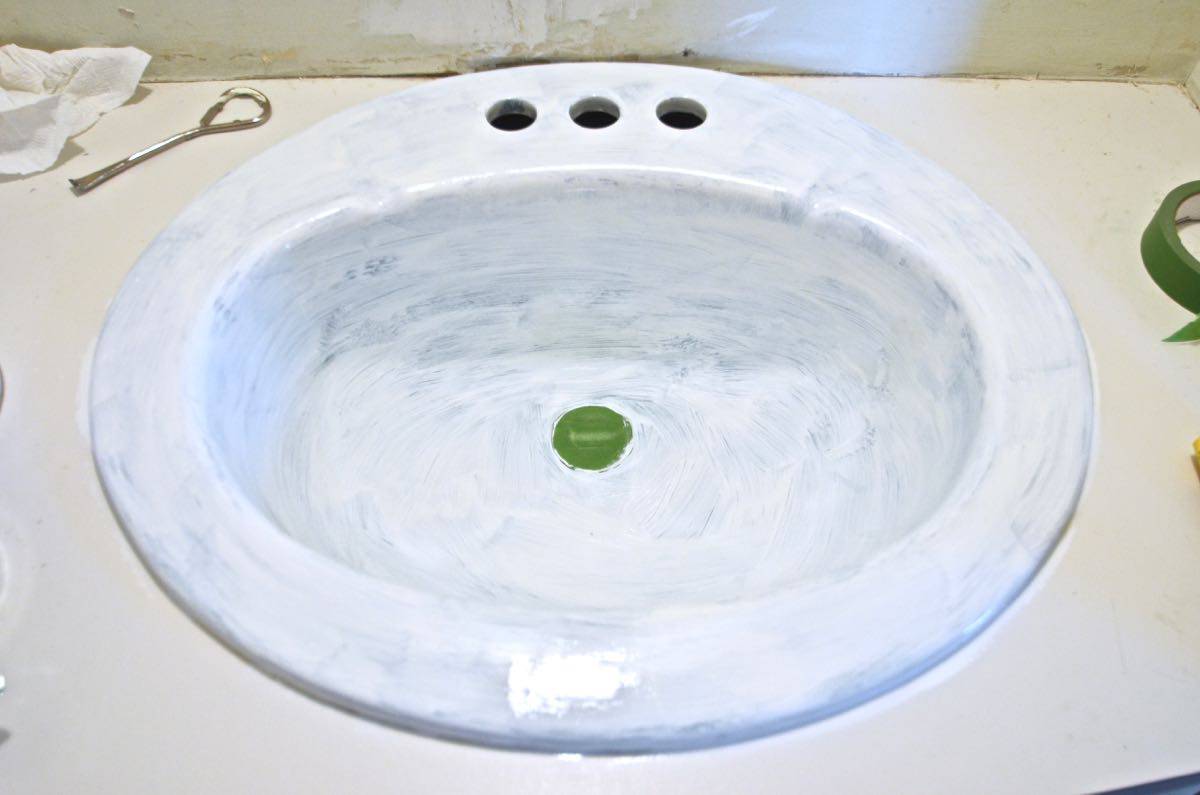
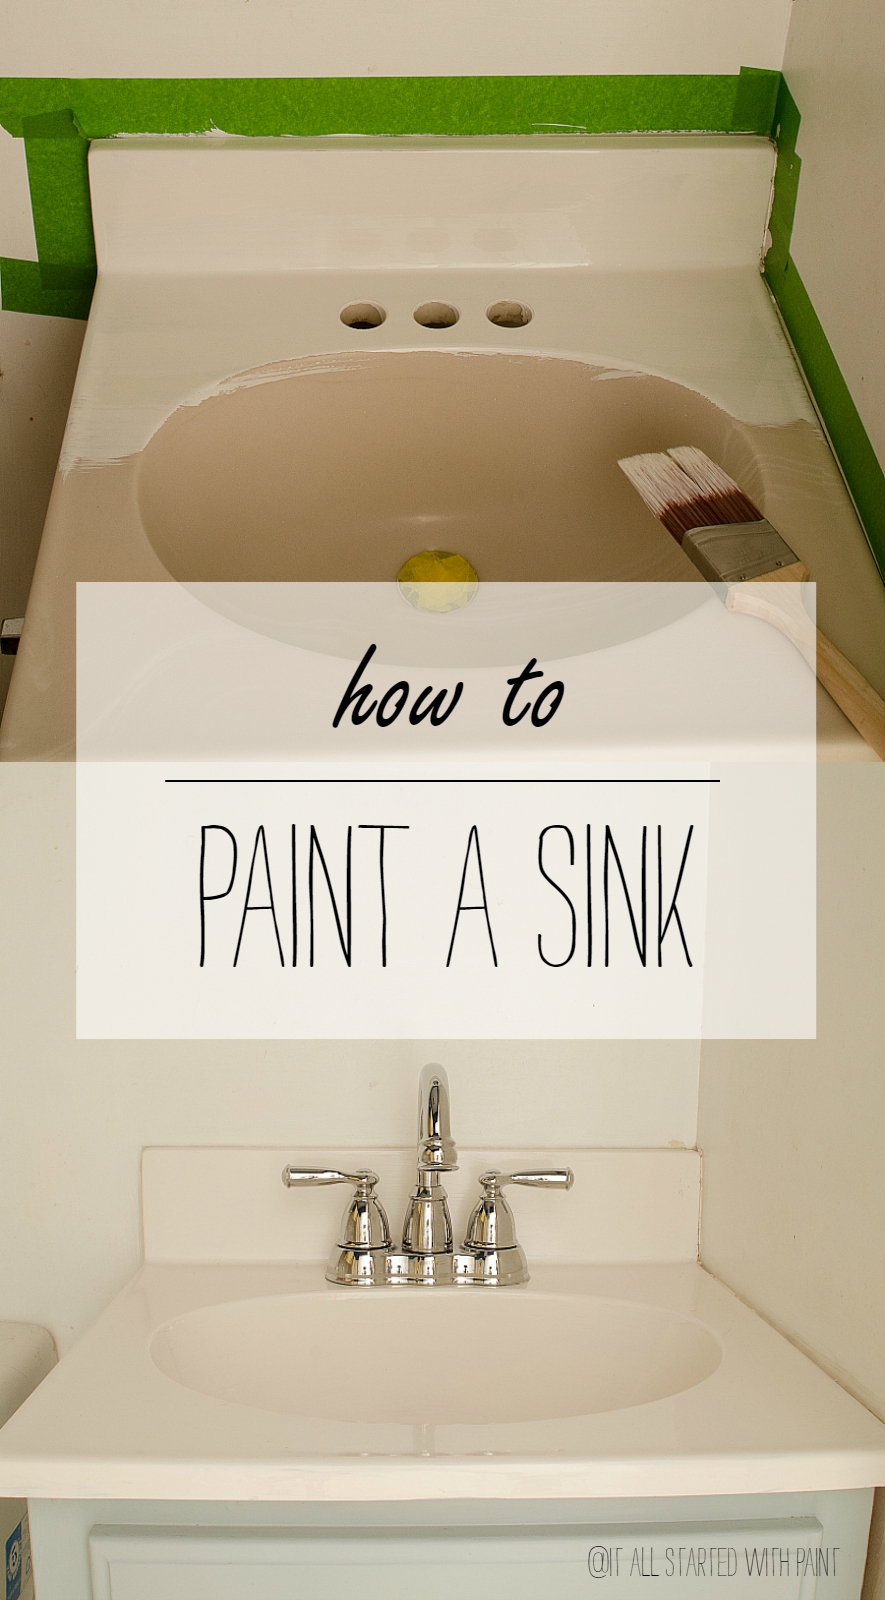
Now that your sink is clean and dry, it's time to mask off any areas that you do not want to paint. Use painter's tape to cover the edges of your sink, the faucet, and any other fixtures. This will ensure that you get clean and crisp edges. Next, apply a coat of primer to the entire sink using a high-quality brush or a foam roller. Let the primer dry completely before moving on to the next step.
Painting Your Bathroom Sink
Finally, it's time to paint your bathroom sink. Stir the paint well before use and apply it in thin, even coats. It is recommended to use a high-quality brush or a foam roller for a smooth and streak-free finish. Start from the top of your sink and work your way down, making sure to paint in the same direction. You may need to apply two or three coats, depending on the color and the coverage of the paint. Allow the paint to dry completely between each coat.
Finishing Touches
Once the final coat of paint is dry, carefully remove the painter's tape and let the sink cure for at least 24 hours before using it. This will ensure that the paint fully adheres to the surface and creates a durable finish. After 24 hours, you can reattach the faucet and other fixtures and start using your newly painted bathroom sink.
Tips and Tricks for a Professional-Looking Finish
Here are some additional tips and tricks to help you achieve a professional-looking finish when painting your bathroom sink:
Transform Your Bathroom with a Fresh Coat of Paint
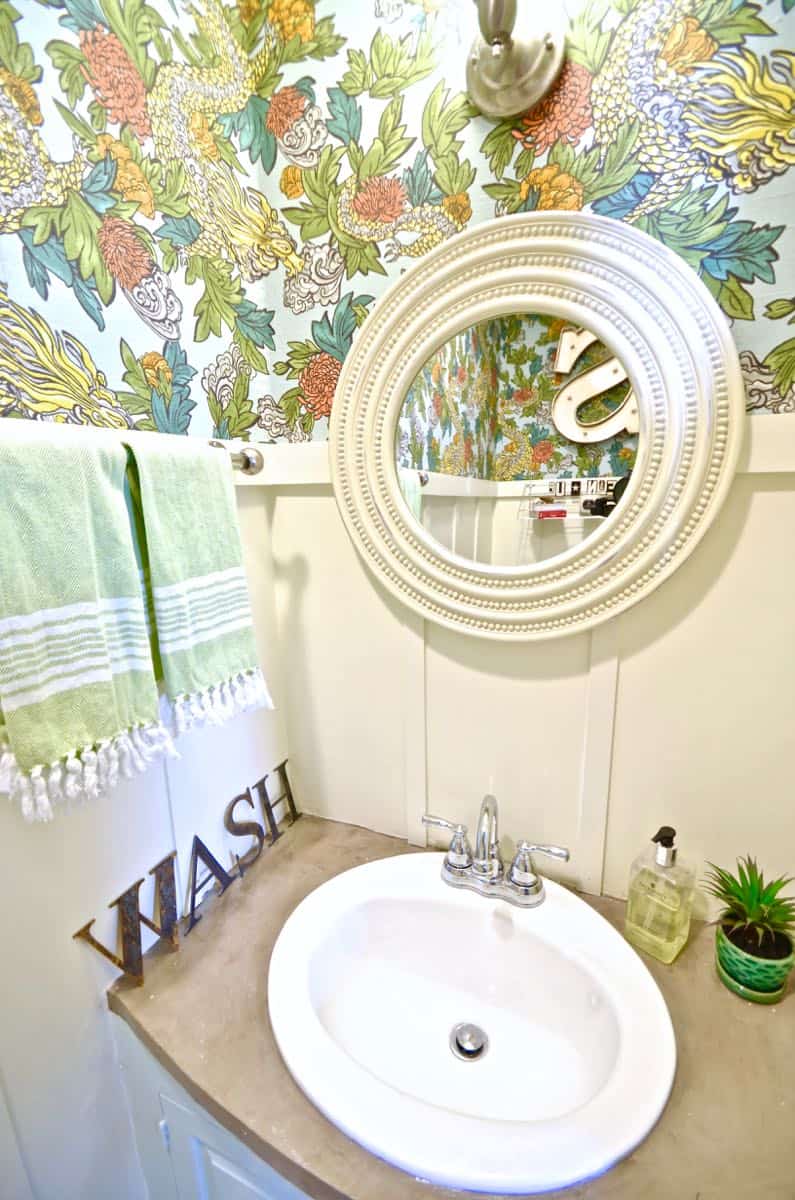
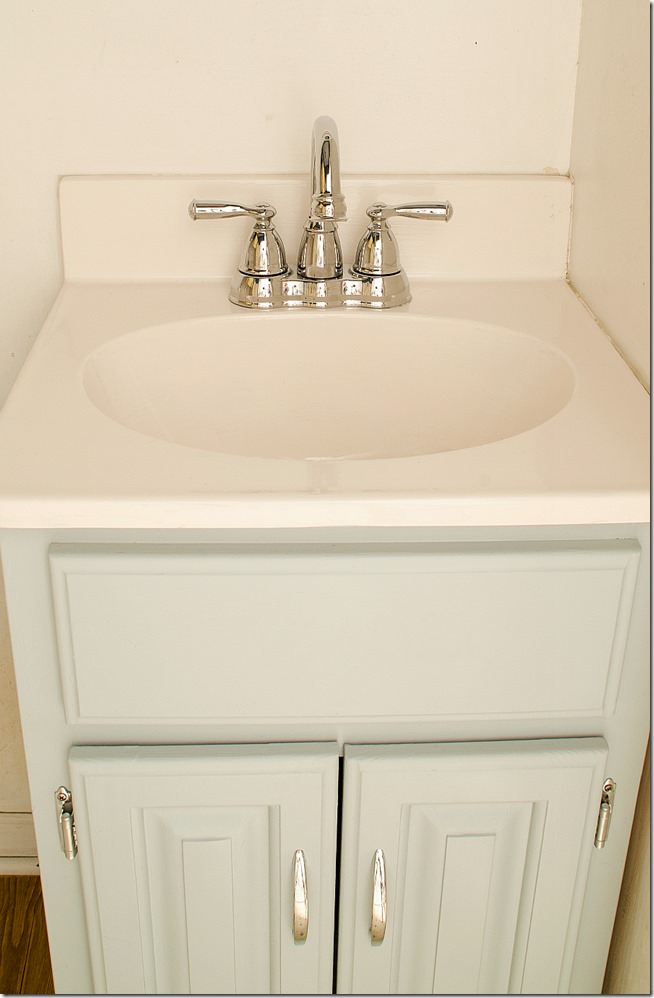
Painting your bathroom sink is a simple and cost-effective way to give your bathroom a fresh new look. With the right paint and preparation, you can achieve a professional-looking finish that will last for years to come. So, say goodbye to your outdated sink and hello to a beautiful, customized one that reflects your personal style. We hope this guide has inspired you to take on this fun and easy DIY project. Happy painting!
Revamp Your Bathroom with a Freshly Painted Sink

Transform Your Bathroom with a Splash of Color
 When it comes to home design, the bathroom is often overlooked. However, with a few simple changes, you can give your bathroom a whole new look and feel. One easy and affordable way to do this is by painting your bathroom sink. Yes, you read that right – you can paint a bathroom sink! This budget-friendly DIY project can instantly transform your bathroom and give it a fresh, updated look.
Bathroom sink
painting may seem like a daunting task, but with the right tools and techniques, it can be a fun and rewarding project. First, gather your supplies, including sandpaper, primer, paint, and a foam brush. Make sure to choose a high-quality, durable paint that is specifically designed for wet surfaces.
The Benefits of Painting Your Bathroom Sink
 Painting your bathroom sink not only gives your bathroom a new look, but it also offers a range of other benefits. Firstly, it is a cost-effective alternative to replacing your sink, which can be a time-consuming and expensive process. Secondly, painting your sink allows you to customize it to match your bathroom's overall design and color scheme. You can choose from a variety of colors and finishes to create a unique and personalized look.
Moreover, painting your bathroom sink is a great way to cover up any imperfections or stains that may have accumulated over time. It also provides a protective barrier to prevent further damage and wear and tear. Additionally, painted sinks are easier to clean and maintain compared to traditional porcelain sinks, as they are less prone to chipping and staining.
Step-by-Step Guide to Painting Your Bathroom Sink
 Before starting your project, make sure to thoroughly clean and dry your sink. Then, use sandpaper to lightly roughen the surface and create a better bond for the paint. Next, apply a coat of primer to the sink, using long, even strokes. Allow the primer to dry completely before moving on to the fun part – painting!
Use a foam brush to apply the paint in thin, even coats, allowing each coat to dry before adding the next. You may need to apply multiple coats to achieve the desired color and coverage. Once you are satisfied with the color, let the paint dry for at least 24 hours before using your sink.
Final Thoughts
 Painting your bathroom sink is a simple and cost-effective way to give your bathroom a fresh, new look. With a variety of colors and finishes to choose from, you can easily create a customized look that complements your bathroom's design. So why wait? Grab your paintbrush and start revamping your bathroom with a freshly painted sink today.

