How to Plunge a Bathroom Sink
If you've noticed that your bathroom sink is draining slower than usual or not at all, it's likely that a clog has formed in the pipes. While calling a plumber may be your first instinct, there is a simple and inexpensive tool that can help you clear the clog yourself - a plunger.
Plunging is a quick and effective method for unclogging a bathroom sink, and with the right technique, you can have your sink draining properly in no time. Follow these steps to learn how to plunge a bathroom sink and save yourself the hassle and cost of a professional plumber.
Unclogging a Bathroom Sink with a Plunger
The first step in plunging a bathroom sink is to remove any objects or debris that may be blocking the drain. This includes hair, soap scum, and any other items that may have fallen into the sink. Use a pair of gloves and a small tool, such as a wire hanger, to remove any visible blockages.
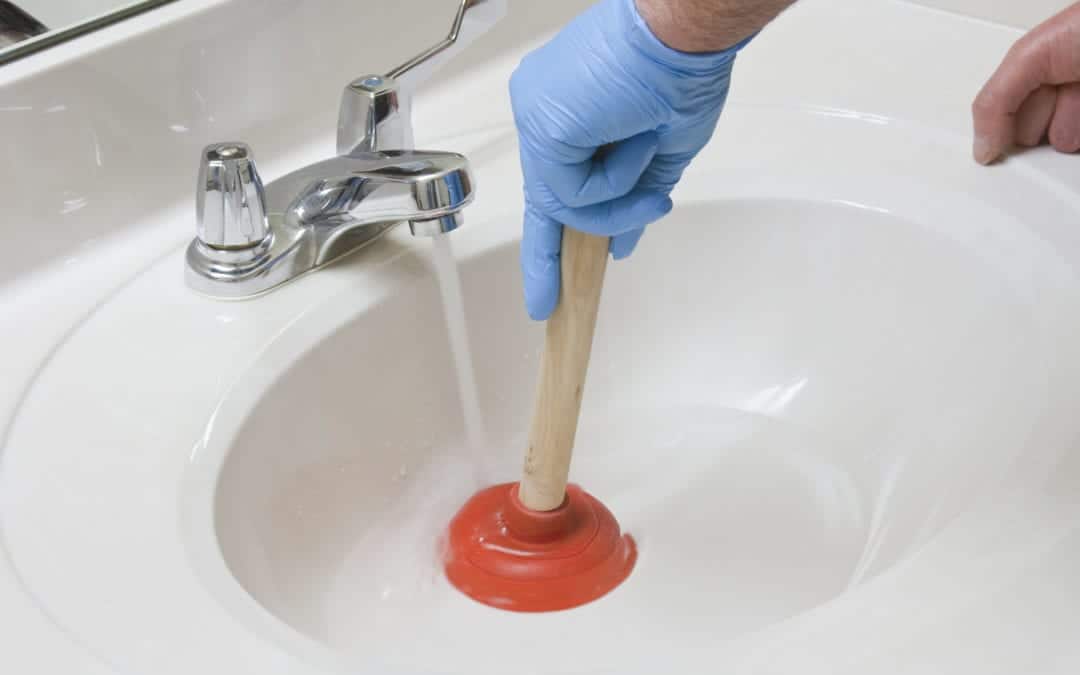
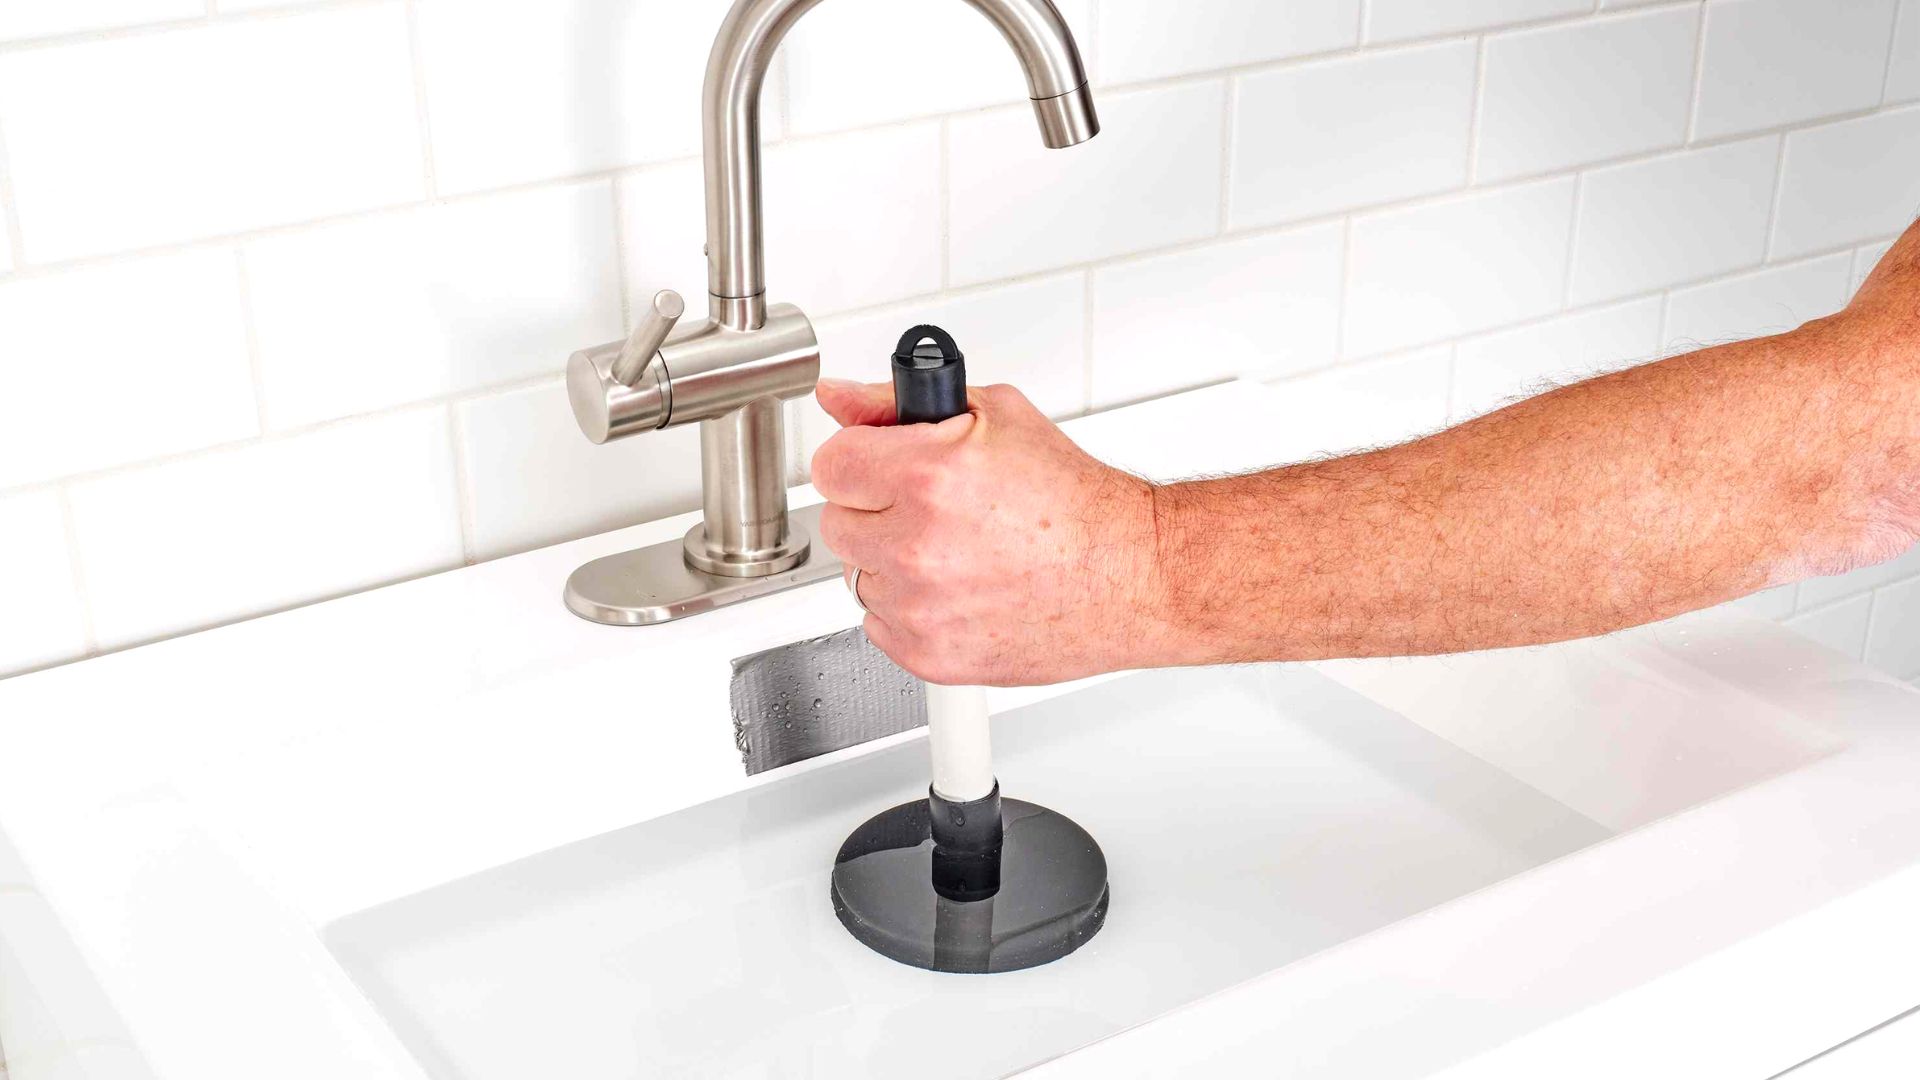
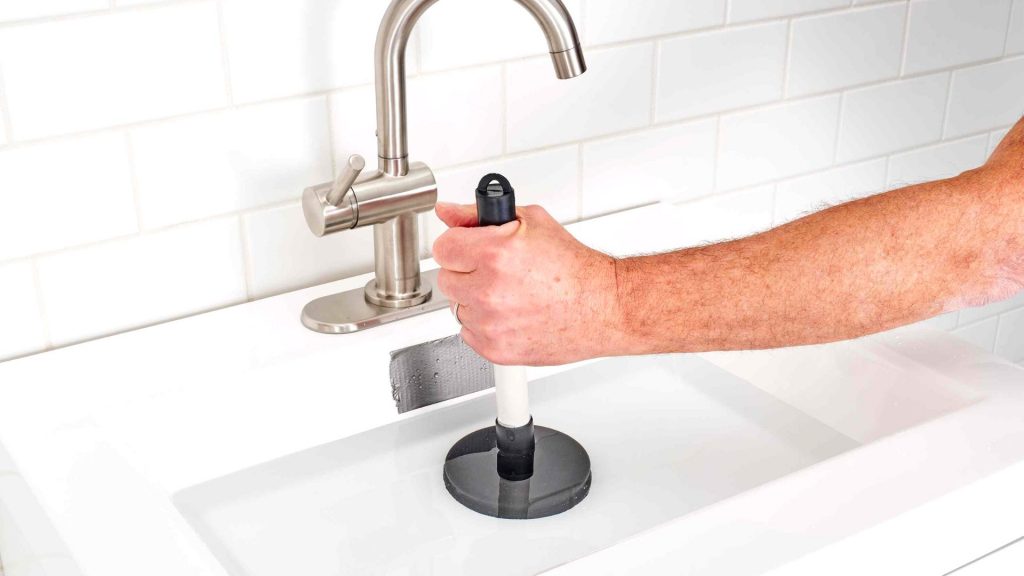
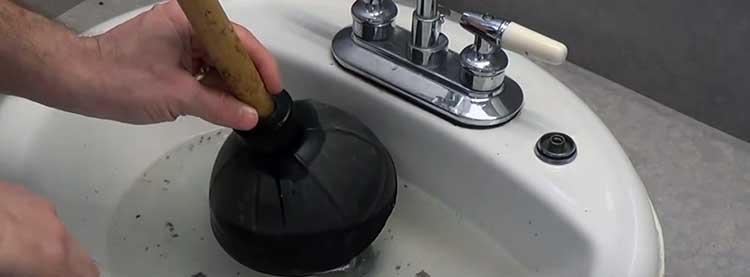
Once you've removed any obstructions, fill your sink with enough water to cover the plunger cup. This creates a seal and allows the plunger to work more effectively. If your sink doesn't have an overflow drain, cover it with a wet cloth or duct tape to ensure the plunger creates suction.
Plunging a Clogged Bathroom Sink
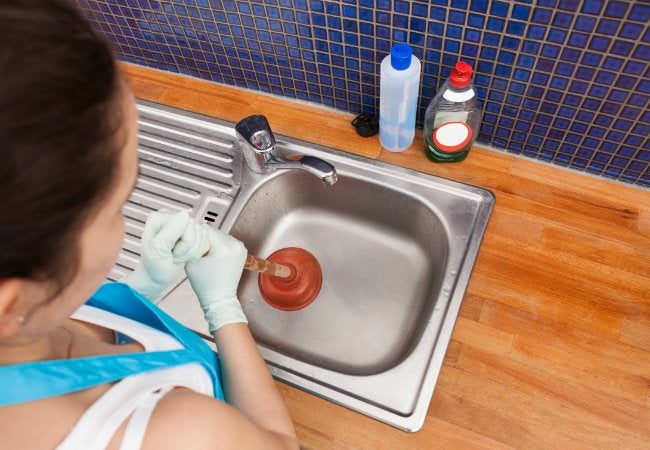
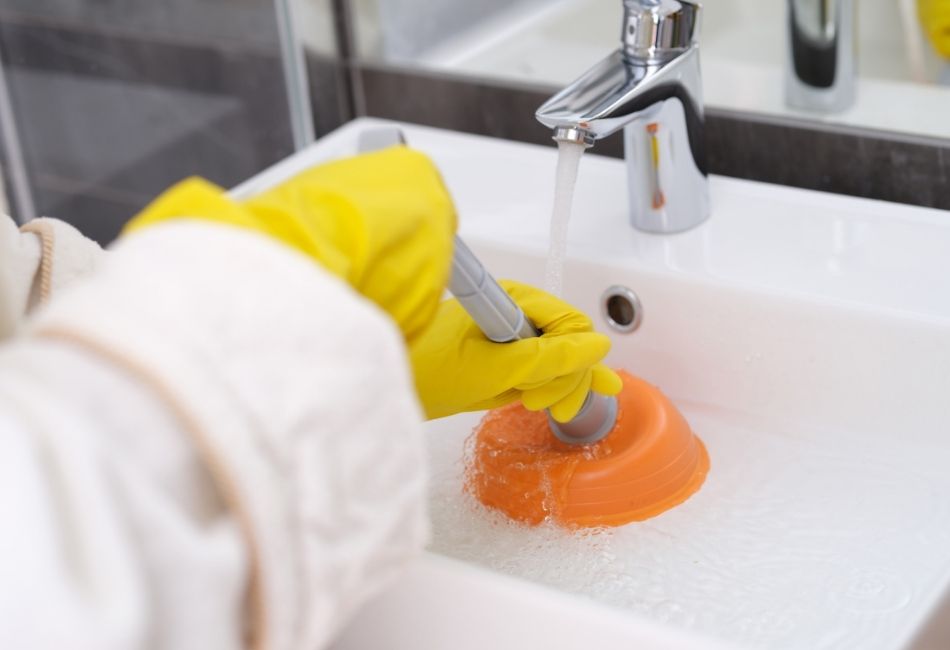
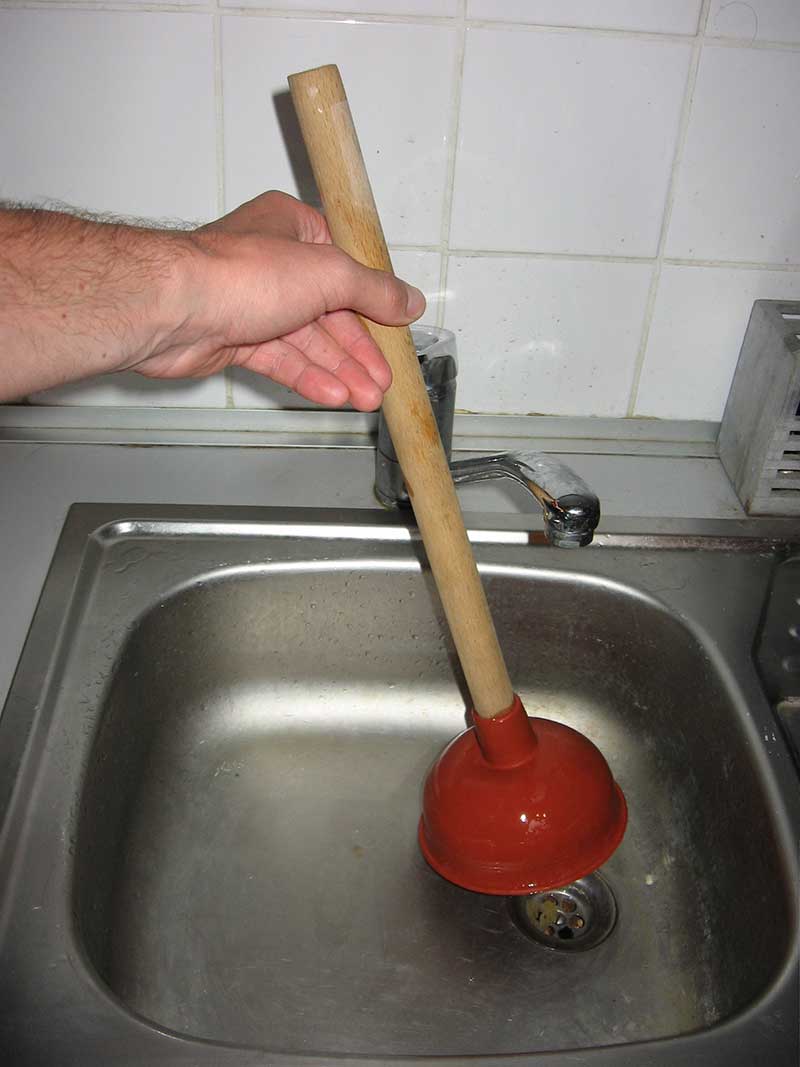
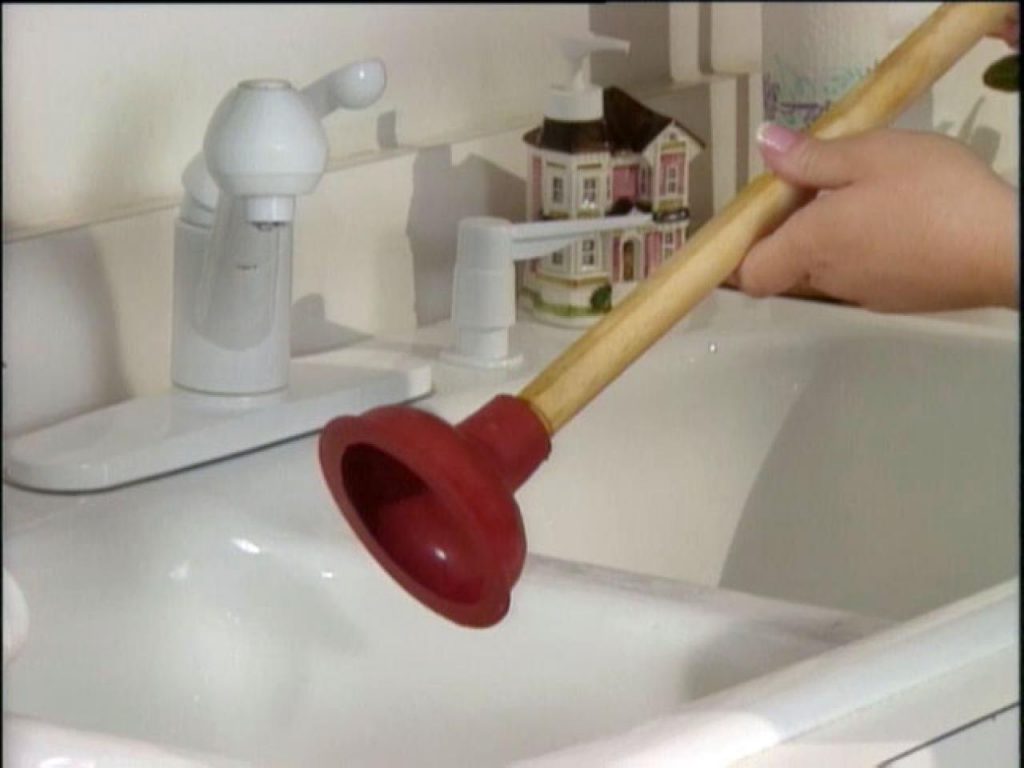
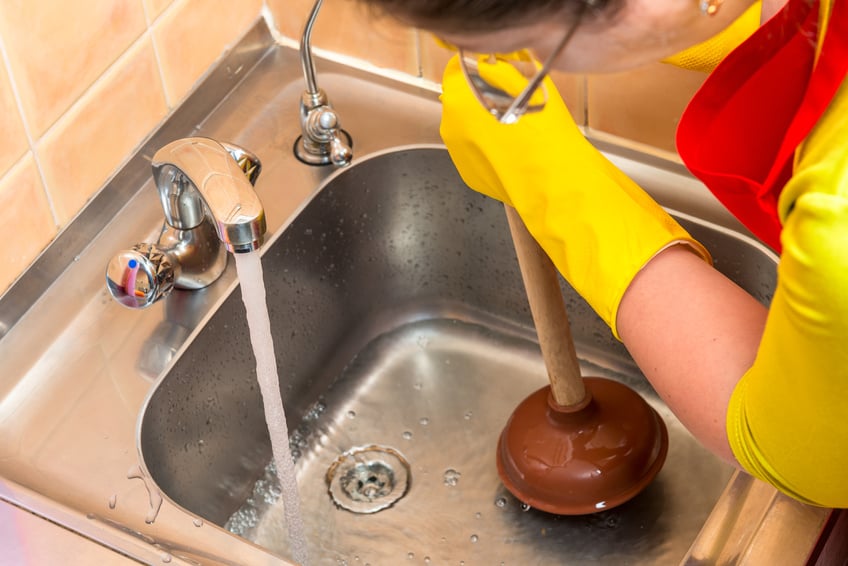
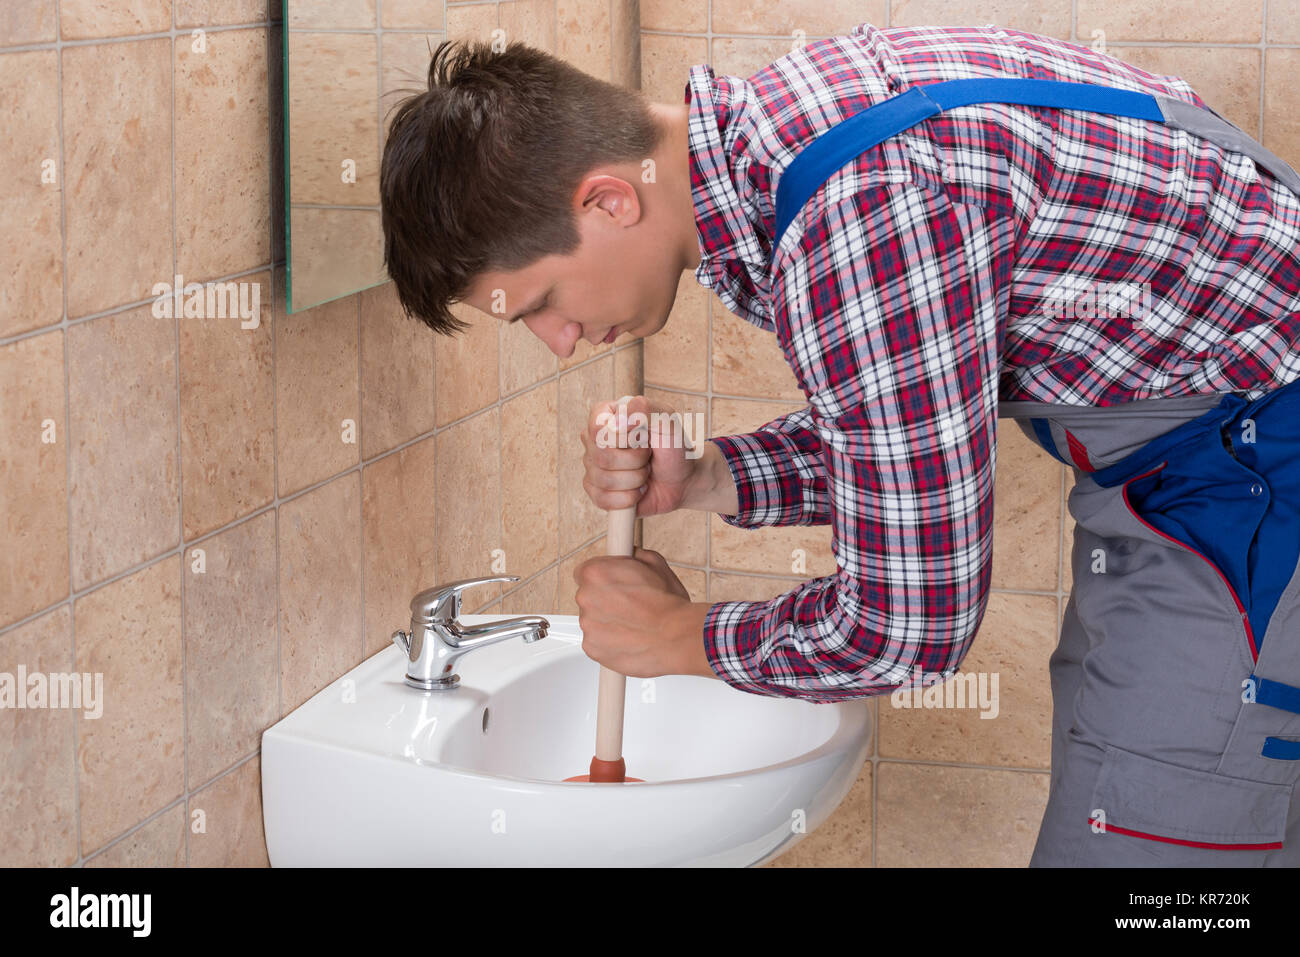
With the plunger cup submerged in water, place it over the drain and push down firmly. Make sure the plunger is creating a tight seal and then pull up quickly. This creates suction and helps to dislodge the clog. Repeat this motion several times, making sure to keep the plunger cup submerged in water.
If the water starts to drain, but slowly, continue plunging until the sink is draining properly. If the water doesn't drain at all, try adding more water to the sink and plunging again.
Using a Plunger to Clear a Bathroom Sink
If the plunger method isn't working, you may need to use a drain snake to remove the clog. However, before you do so, try using the plunger again, but this time, cover the overflow drain with a wet cloth or duct tape. This creates more suction and can help to dislodge the clog.
If the clog still won't budge, it's time to use a drain snake. Insert the snake into the drain and turn the handle clockwise. This will help to break up the clog and allow it to pass through the pipes. Once the clog is cleared, run hot water down the drain to flush out any remaining debris.
Plumbing Tips: How to Plunge a Bathroom Sink
If you're still having trouble unclogging your bathroom sink, here are a few tips to keep in mind:
- Always use a plunger with a large, flexible cup to create a better seal.
- Avoid using chemical drain cleaners, as they can be harmful to your pipes and are often not effective on tough clogs.
- If you have a double sink, make sure to cover the drain on the other side with a wet cloth or duct tape to create better suction.
- For stubborn clogs, try plunging with hot water instead of cold. The heat can help to break up the clog.
Clearing a Clogged Bathroom Sink with a Plunger
Regularly plunging your bathroom sink can help prevent clogs from forming in the first place. If you notice that your sink is draining slower than usual, take a few minutes to plunge it before it becomes a bigger problem. This will also save you money on potential plumbing bills in the future.
Additionally, be mindful of what you're putting down your sink. Avoid pouring grease, coffee grounds, and other food scraps down the drain, as they can easily cause clogs.
DIY: How to Plunge a Bathroom Sink
Unclogging a bathroom sink with a plunger is a simple and cost-effective DIY task that anyone can do. By following these steps and tips, you can quickly and easily clear a clogged sink without the need for a professional plumber.
However, if you're still having trouble unclogging your sink, it may be a sign of a larger plumbing issue. In this case, it's best to call a professional to assess the situation and make any necessary repairs.
Plunging Techniques for a Clogged Bathroom Sink
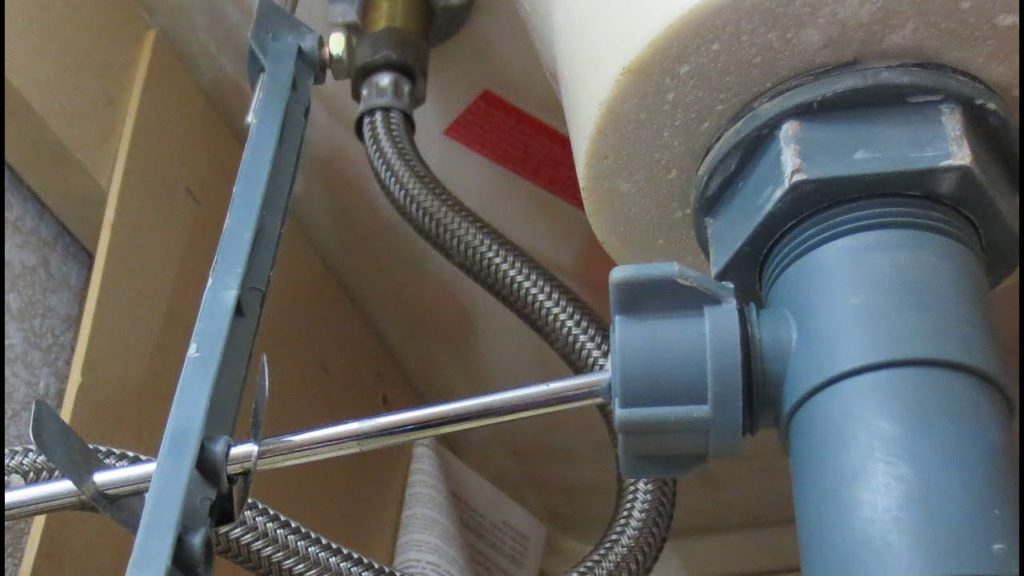
While the basic plunging technique is the same for all sinks, there are a few variations that can be used for a bathroom sink specifically. If you have a pop-up drain, you may need to remove the stopper before using the plunger. Simply unscrew the nut at the back of the drain, remove the stopper, and then follow the steps outlined above.
For a pedestal sink, you may need to remove the trap underneath the sink to access the pipes. This can be done by loosening the slip nuts with a pair of pliers and then removing the trap. Once the clog is cleared, reattach the trap and tighten the slip nuts.
Step-by-Step Guide to Plunging a Bathroom Sink
To recap, here is a step-by-step guide to plunging a bathroom sink:
1. Remove any visible blockages from the drain.
2. Fill the sink with enough water to cover the plunger cup.
3. Place the plunger over the drain and push down firmly, creating a seal.
4. Pull up quickly to create suction and dislodge the clog.
5. Repeat this motion several times until the sink is draining properly.
6. If the clog persists, try using a drain snake.
7. Once the clog is cleared, run hot water down the drain to flush out any remaining debris.
Plunging a Bathroom Sink: Tips and Tricks
With these tips and techniques, you should now be equipped to handle any clogs that may arise in your bathroom sink. Remember, regular plunging can help prevent clogs from forming and save you time and money in the long run. If all else fails, don't be afraid to call in a professional plumber for assistance.
With a little bit of effort and the right tools, you can keep your bathroom sink draining properly and avoid any potential plumbing disasters. Happy plunging!
The Plunge: A Solution for Your Bathroom Sink Troubles

Why is my bathroom sink clogged?
 Bathroom sinks
are an essential part of any house and are used multiple times a day for various tasks such as brushing teeth, washing hands, or even doing our makeup. However, they are also prone to getting clogged, causing inconvenience and frustration. The most common reason for a clogged bathroom sink is a buildup of hair, soap scum, and other debris over time. This can eventually create a blockage in the pipes, preventing water from flowing freely and causing the sink to drain slowly or not at all.
Can I fix it myself?
 The good news is that in most cases,
plunging
your bathroom sink can solve the problem. A plunger is a simple and effective tool that creates suction and pressure to dislodge the clog and allow water to flow through. However, before attempting to plunge your sink, make sure to remove any visible debris or hair from the drain to avoid further complications.
How to properly plunge your bathroom sink
 Step 1:
Fill your sink with enough water to cover the head of the plunger.
Step 2:
Position the plunger over the drain, making sure it completely covers the opening.
Step 3:
Using quick and forceful movements, push and pull the plunger up and down for about 20 seconds.
Step 4:
Remove the plunger and wait for a few seconds to see if the water starts to drain. If not, repeat the process a few more times.
Step 5:
Once the water starts to drain, run hot water for a minute to flush out any remaining debris.
When to call a professional
 If plunging your bathroom sink does not solve the issue, it could be a sign of a more serious problem, such as a blocked sewer line or a damaged pipe. In such cases, it is best to call a professional plumber who has the expertise and proper tools to handle the situation. Trying to fix it yourself may cause more damage and end up costing you more in the long run.
In conclusion,
plunging
is a simple and effective solution for a clogged bathroom sink, but it is important to know when to call a professional. By following the steps mentioned above, you can get your sink back to functioning properly and avoid any future troubles. Remember to regularly clean your sink drain to prevent clogs and maintain a smooth flow of water.
















:max_bytes(150000):strip_icc()/woman-wearing-yellow-washing-up-gloves-to-unblock-sink-using-plunger-close-up-131987463-5887cfc03df78c2ccd92ec9e.jpg)


