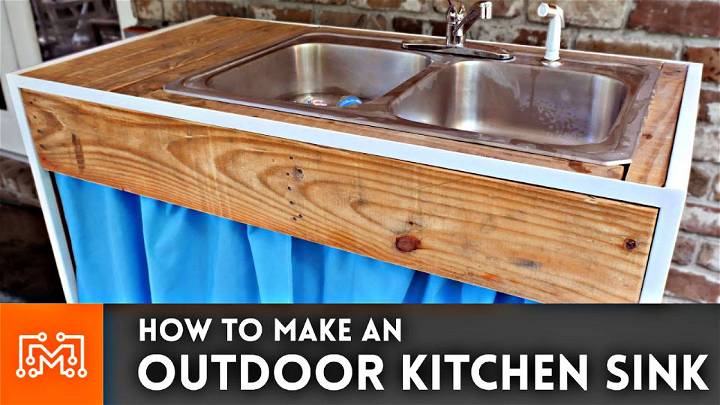
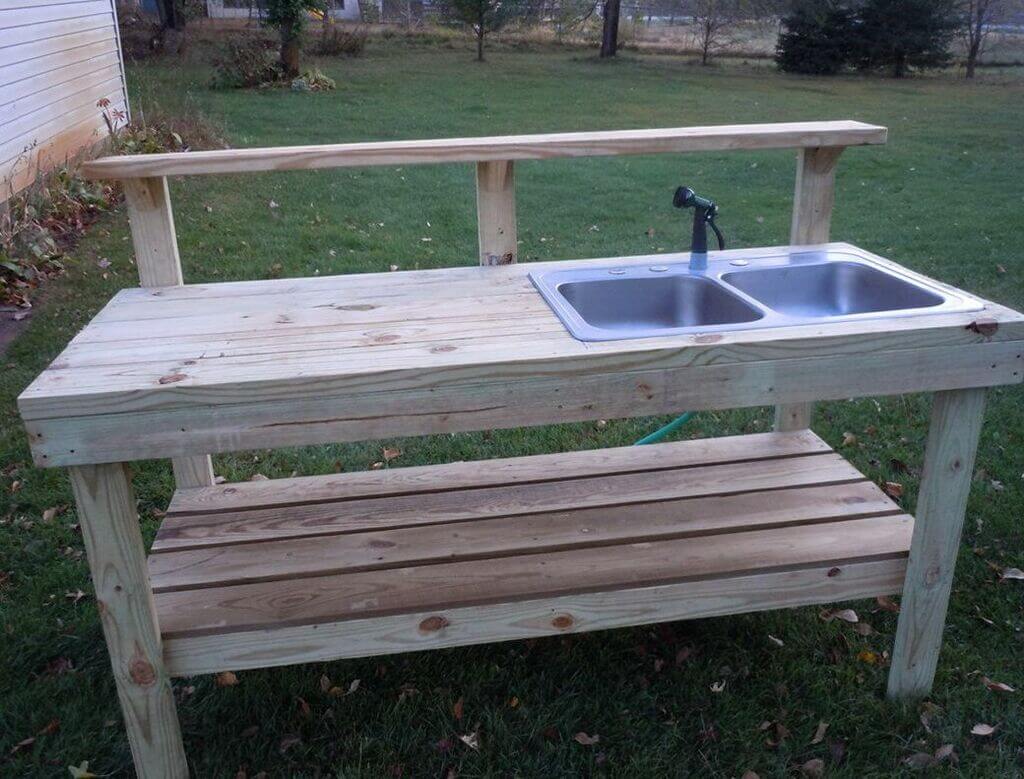
Are you looking to add a unique touch to your kitchen with a DIY project? Why not consider building a wooden kitchen sink? Not only is it a budget-friendly option, but it also adds a rustic and natural element to your kitchen design. Here’s a step-by-step guide on how to build your own wooden kitchen sink.1. DIY Wooden Kitchen Sink: How to Build Your Own


1. DIY Wooden Kitchen Sink: How to Build Your Own


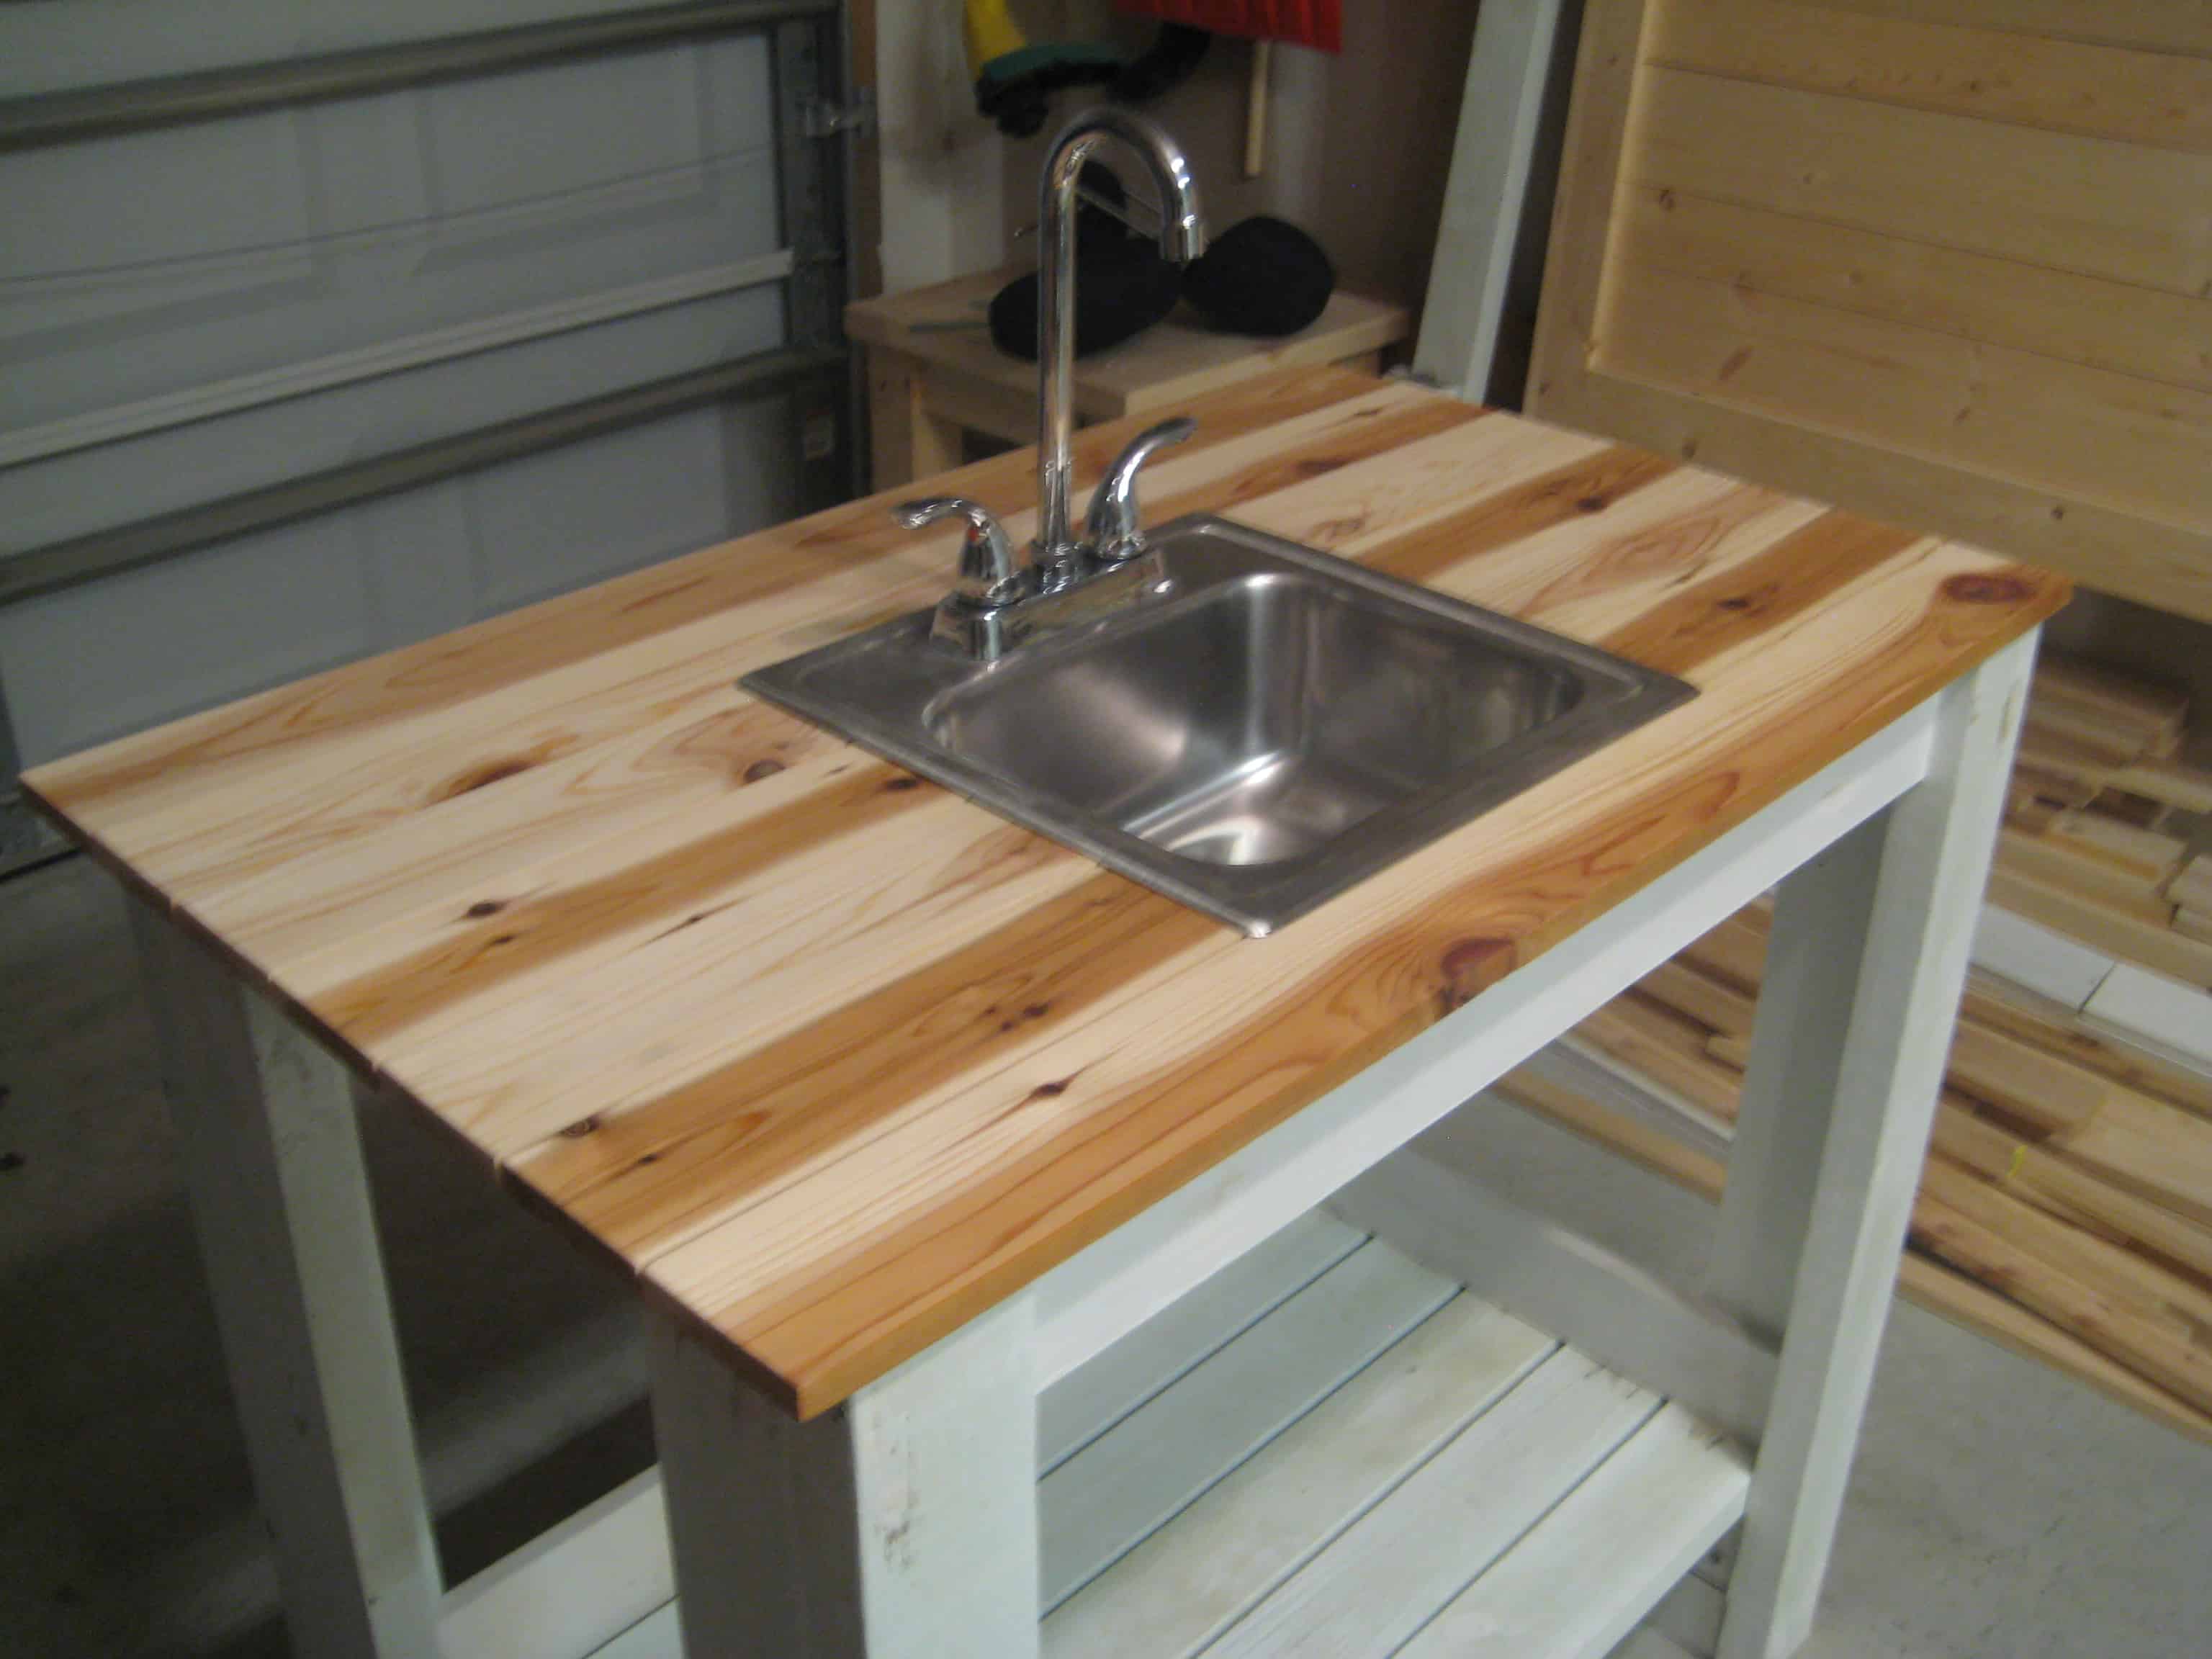
First and foremost, you’ll need to gather your materials and tools. For the sink, you’ll need a slab of wood, preferably hardwood, that is at least 1 inch thick. For the base, you can use reclaimed wood or purchase a pre-made base. You’ll also need a jigsaw, drill, screws, waterproof sealant, and a sink insert. Start by tracing the shape of your sink insert onto the slab of wood. Use a jigsaw to cut out the sink hole. Next, measure and cut the base to fit the size of your sink. Attach the base to the underside of the sink with screws. Make sure to pre-drill the holes to prevent the wood from splitting. Once your sink and base are securely attached, you can begin to seal the wood. Use a waterproof sealant to protect the wood from water damage. Apply multiple coats, allowing each coat to dry before adding the next. This will ensure that your wooden sink is properly sealed and protected.2. Step-by-Step Guide to Building a Wooden Kitchen Sink


2. Step-by-Step Guide to Building a Wooden Kitchen Sink


When building a wooden kitchen sink, there are a few tips and tricks to keep in mind. First, choose a hardwood that is durable and water-resistant, such as maple, oak, or teak. These woods are less likely to warp or rot when exposed to water. Additionally, consider adding a slight slope to the bottom of your sink to allow for proper drainage. If you’re feeling extra creative, you can also add a unique design or pattern to your sink using different types of wood. This adds a personalized touch and makes your sink truly one-of-a-kind. Just make sure to seal each type of wood separately to ensure even protection.3. Building a Custom Wooden Kitchen Sink: Tips and Tricks

3. Building a Custom Wooden Kitchen Sink: Tips and Tricks


There are many benefits to building a wooden kitchen sink, aside from the budget-friendly and customizable aspects. Wood is a natural and eco-friendly material, making it a sustainable choice for your home. It also adds warmth and character to your kitchen, creating a cozy and inviting atmosphere. Furthermore, wooden sinks are also known for their durability and longevity. With proper care and maintenance, a wooden sink can last for many years. And in the event of any damage, they are easily repairable with a quick sanding or sealing.4. The Benefits of Building a Wooden Kitchen Sink

4. The Benefits of Building a Wooden Kitchen Sink


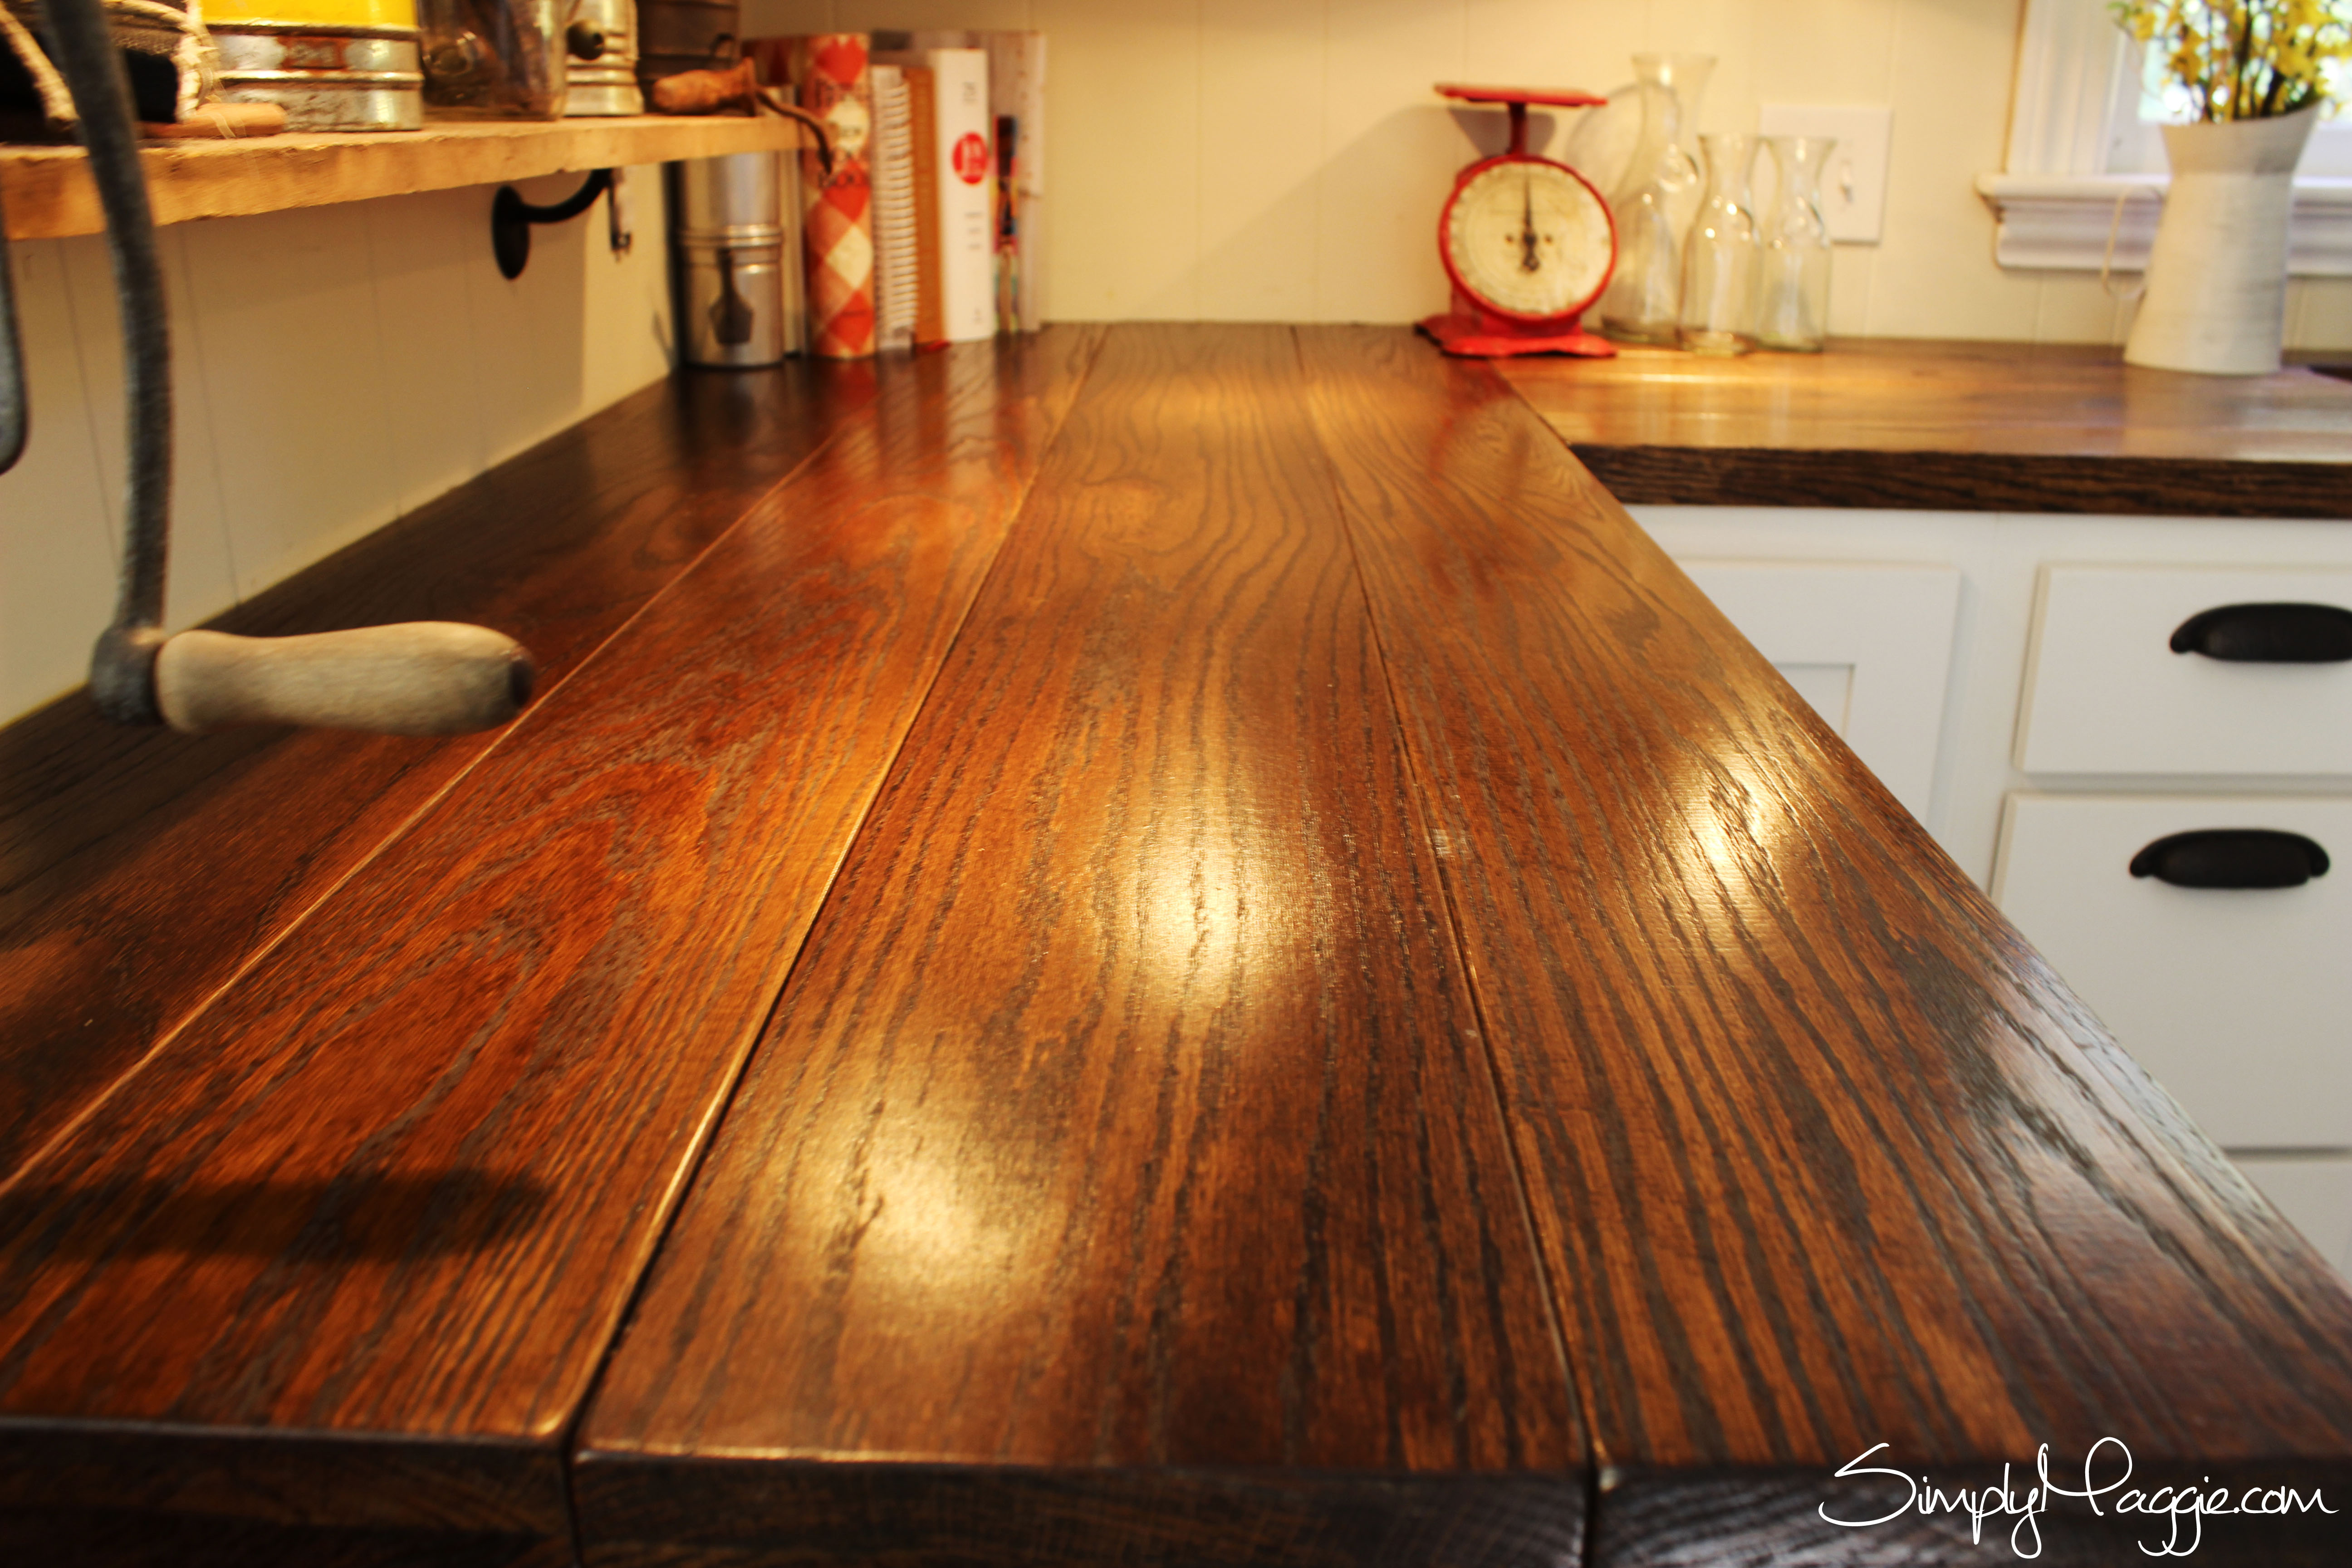
Choosing the right wood for your DIY kitchen sink is crucial in ensuring its durability and longevity. As mentioned earlier, hardwoods such as maple, oak, and teak are the best options for a wooden sink. These woods are strong, water-resistant, and less likely to warp or rot. However, it’s important to avoid using softwoods, such as pine or cedar, as they are more prone to water damage and may not hold up well in a wet environment. Additionally, make sure to source your wood from a reputable supplier to ensure its quality and sustainability.5. How to Choose the Right Wood for Your DIY Kitchen Sink


5. How to Choose the Right Wood for Your DIY Kitchen Sink


As mentioned earlier, here are the tools and materials you’ll need to build a wooden kitchen sink: - Slab of hardwood (at least 1 inch thick) Make sure to have all these materials on hand before starting your project to ensure a smooth and efficient process.6. Building a Wooden Kitchen Sink: Tools and Materials You'll Need
- Reclaimed wood or pre-made base
- Jigsaw
- Drill
- Screws
- Waterproof sealant
- Sink insert


6. Building a Wooden Kitchen Sink: Tools and Materials You'll Need


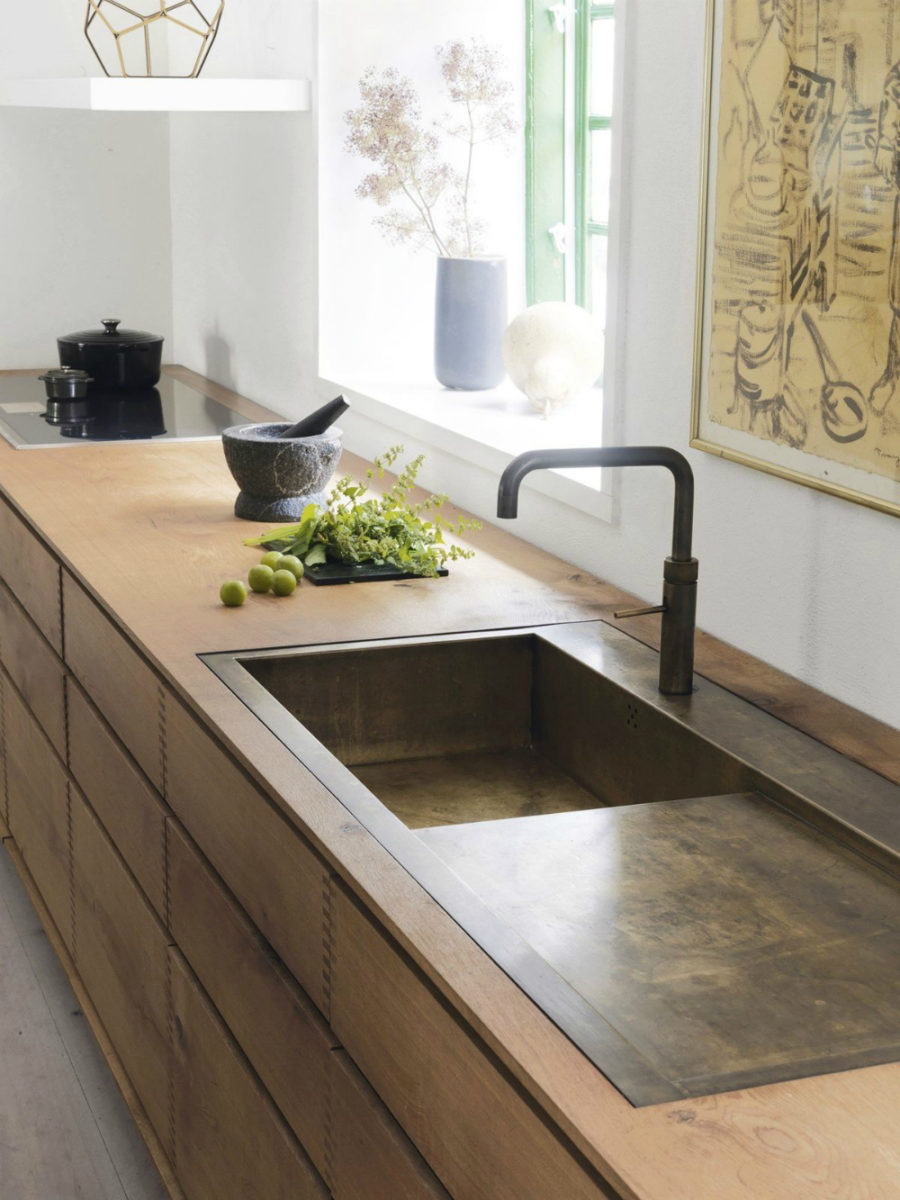
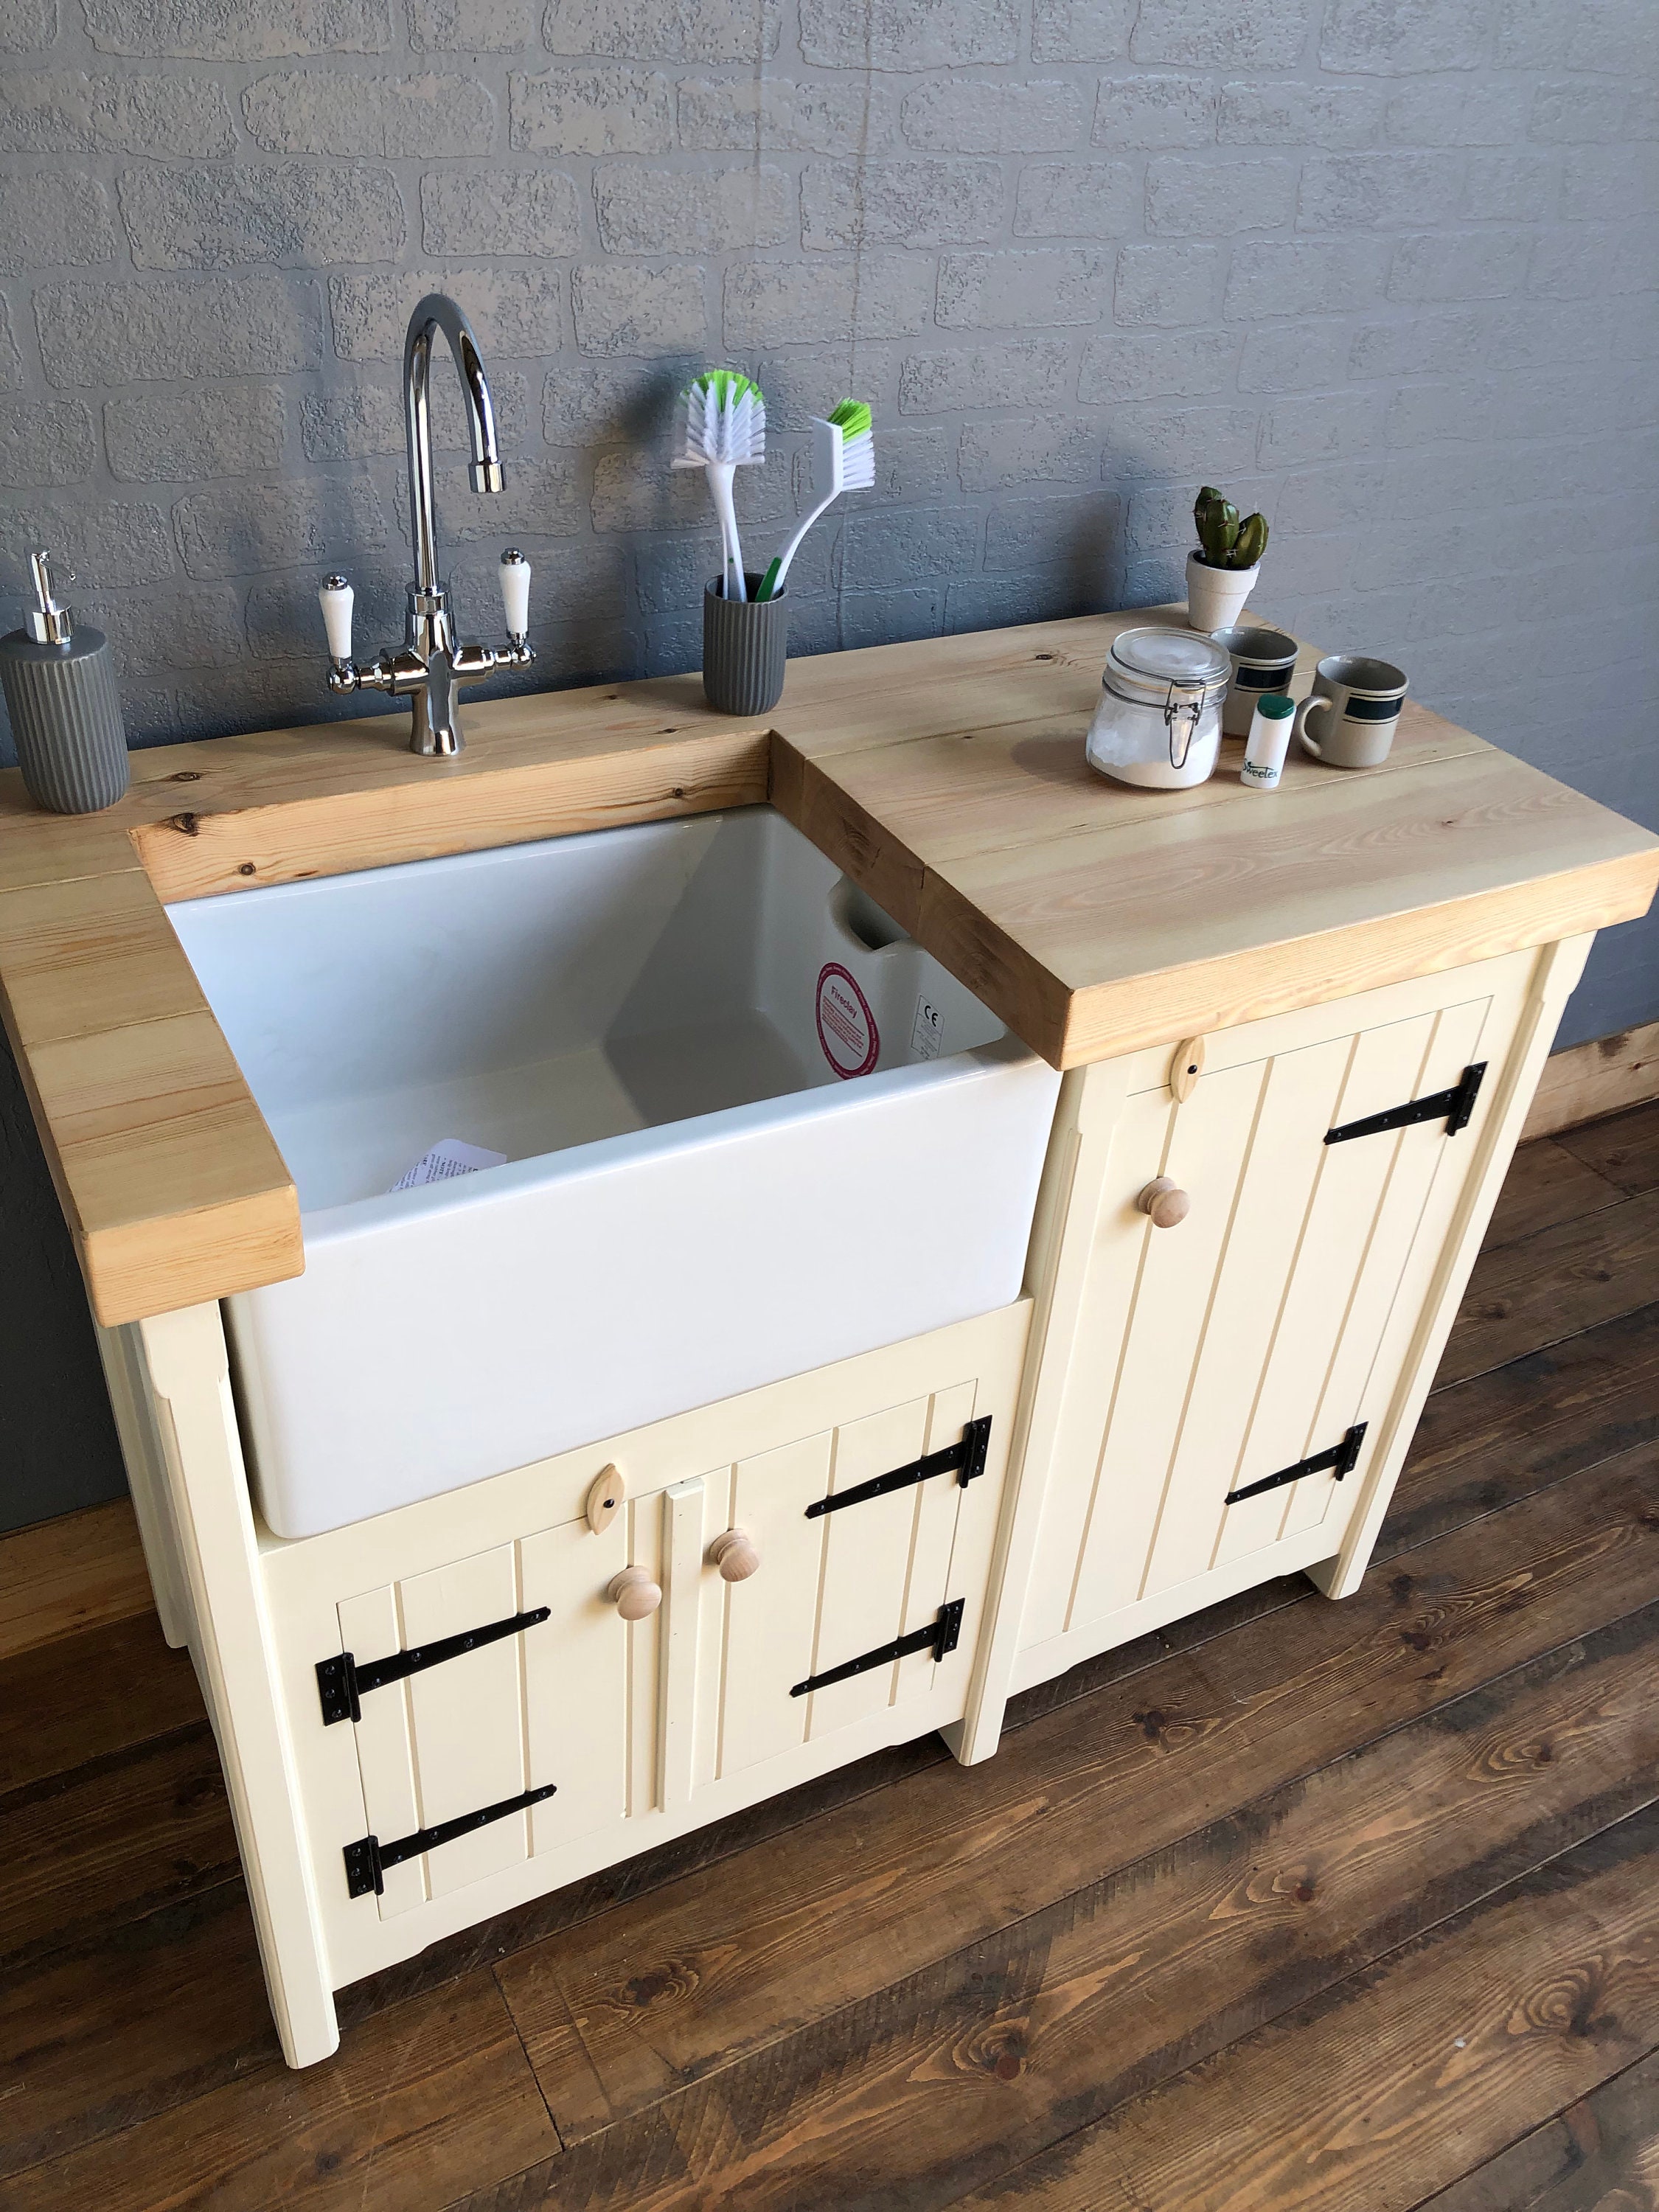
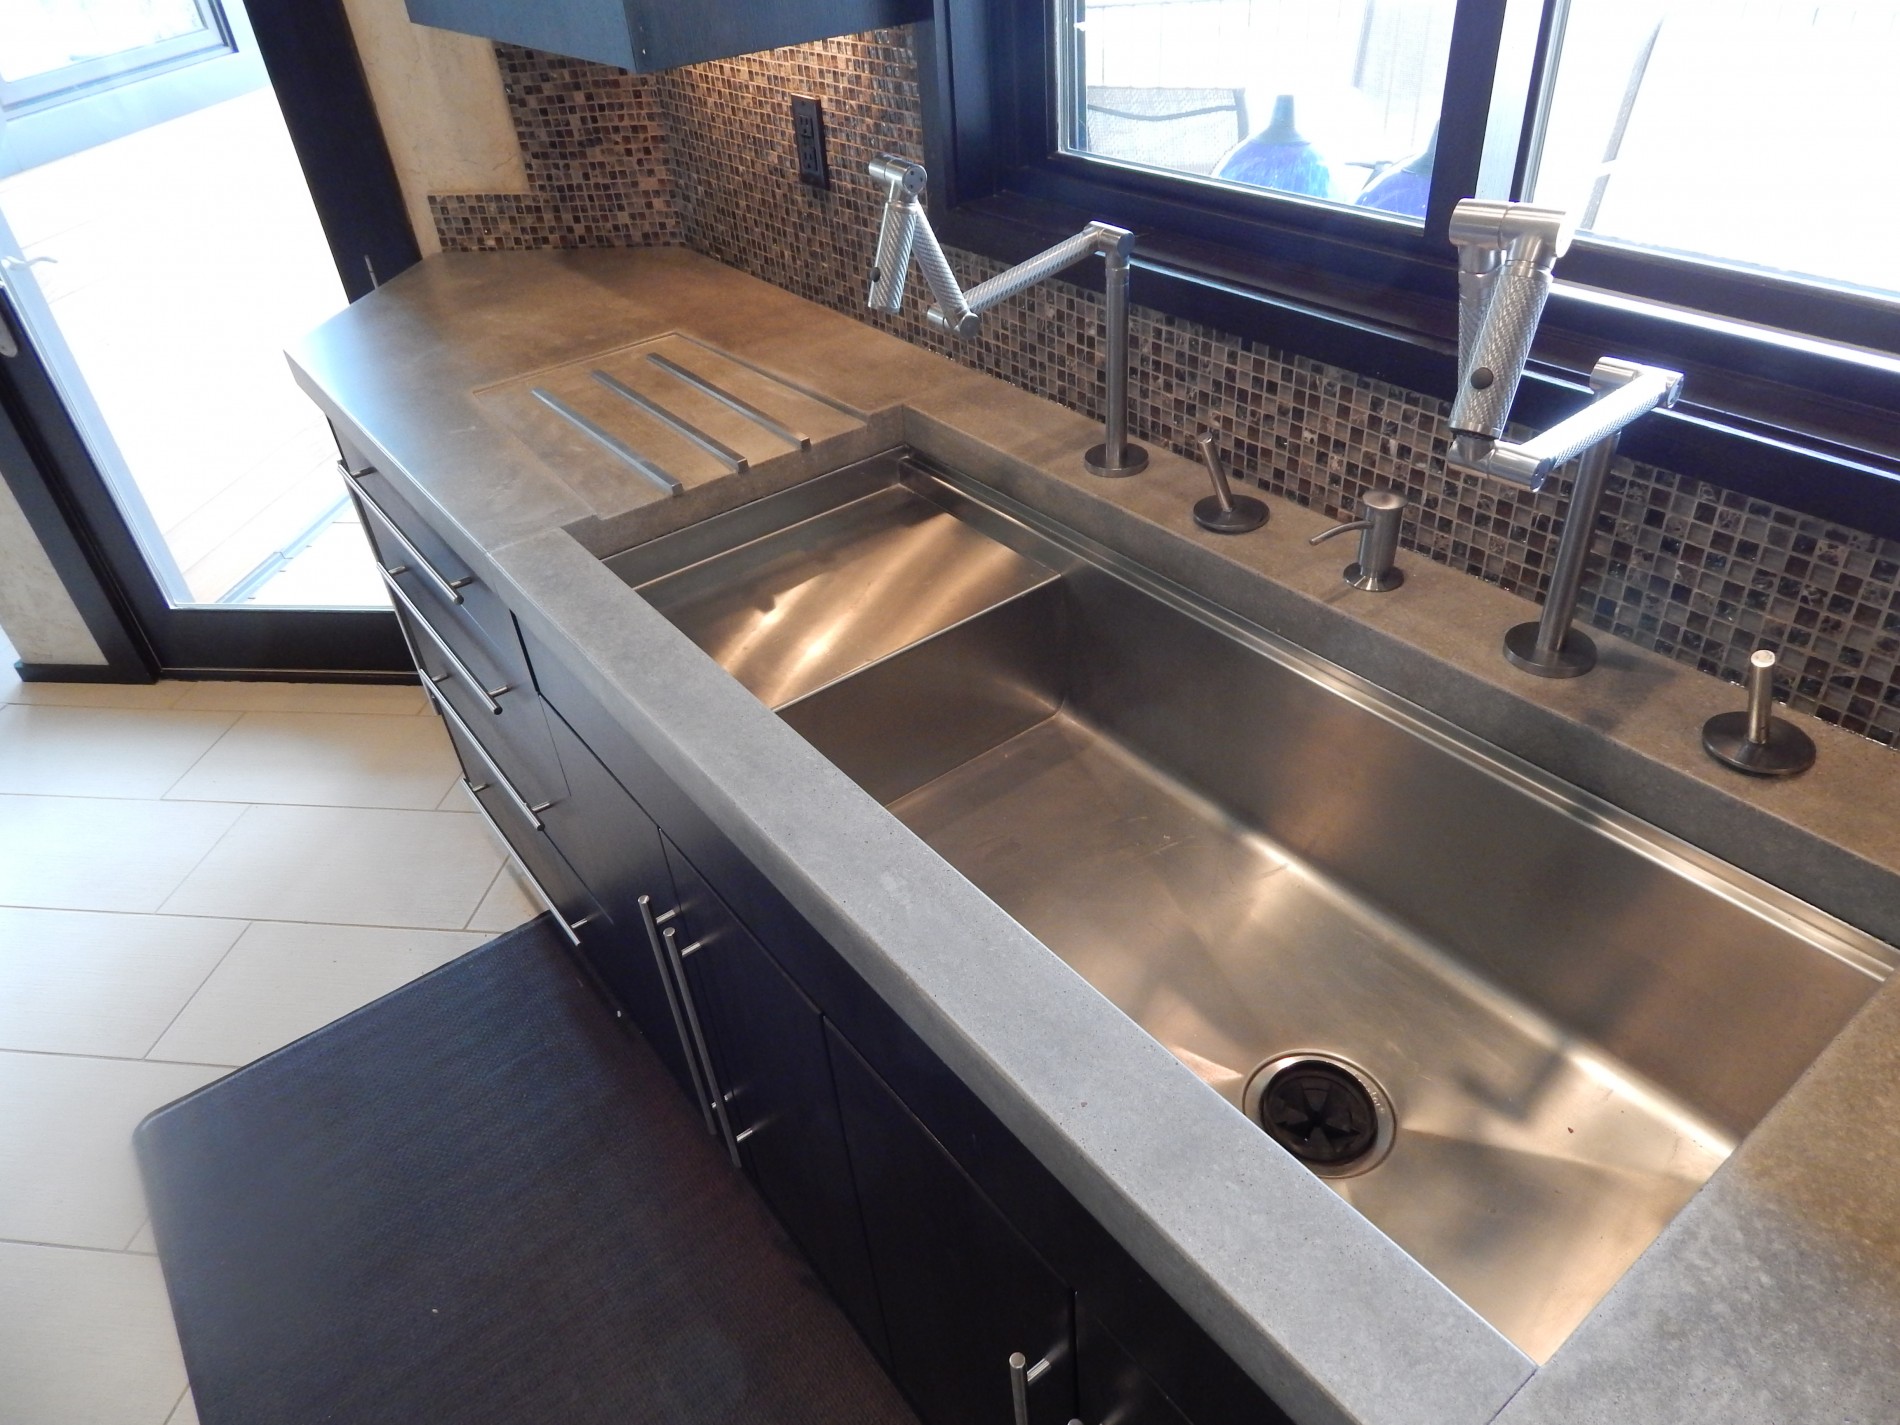
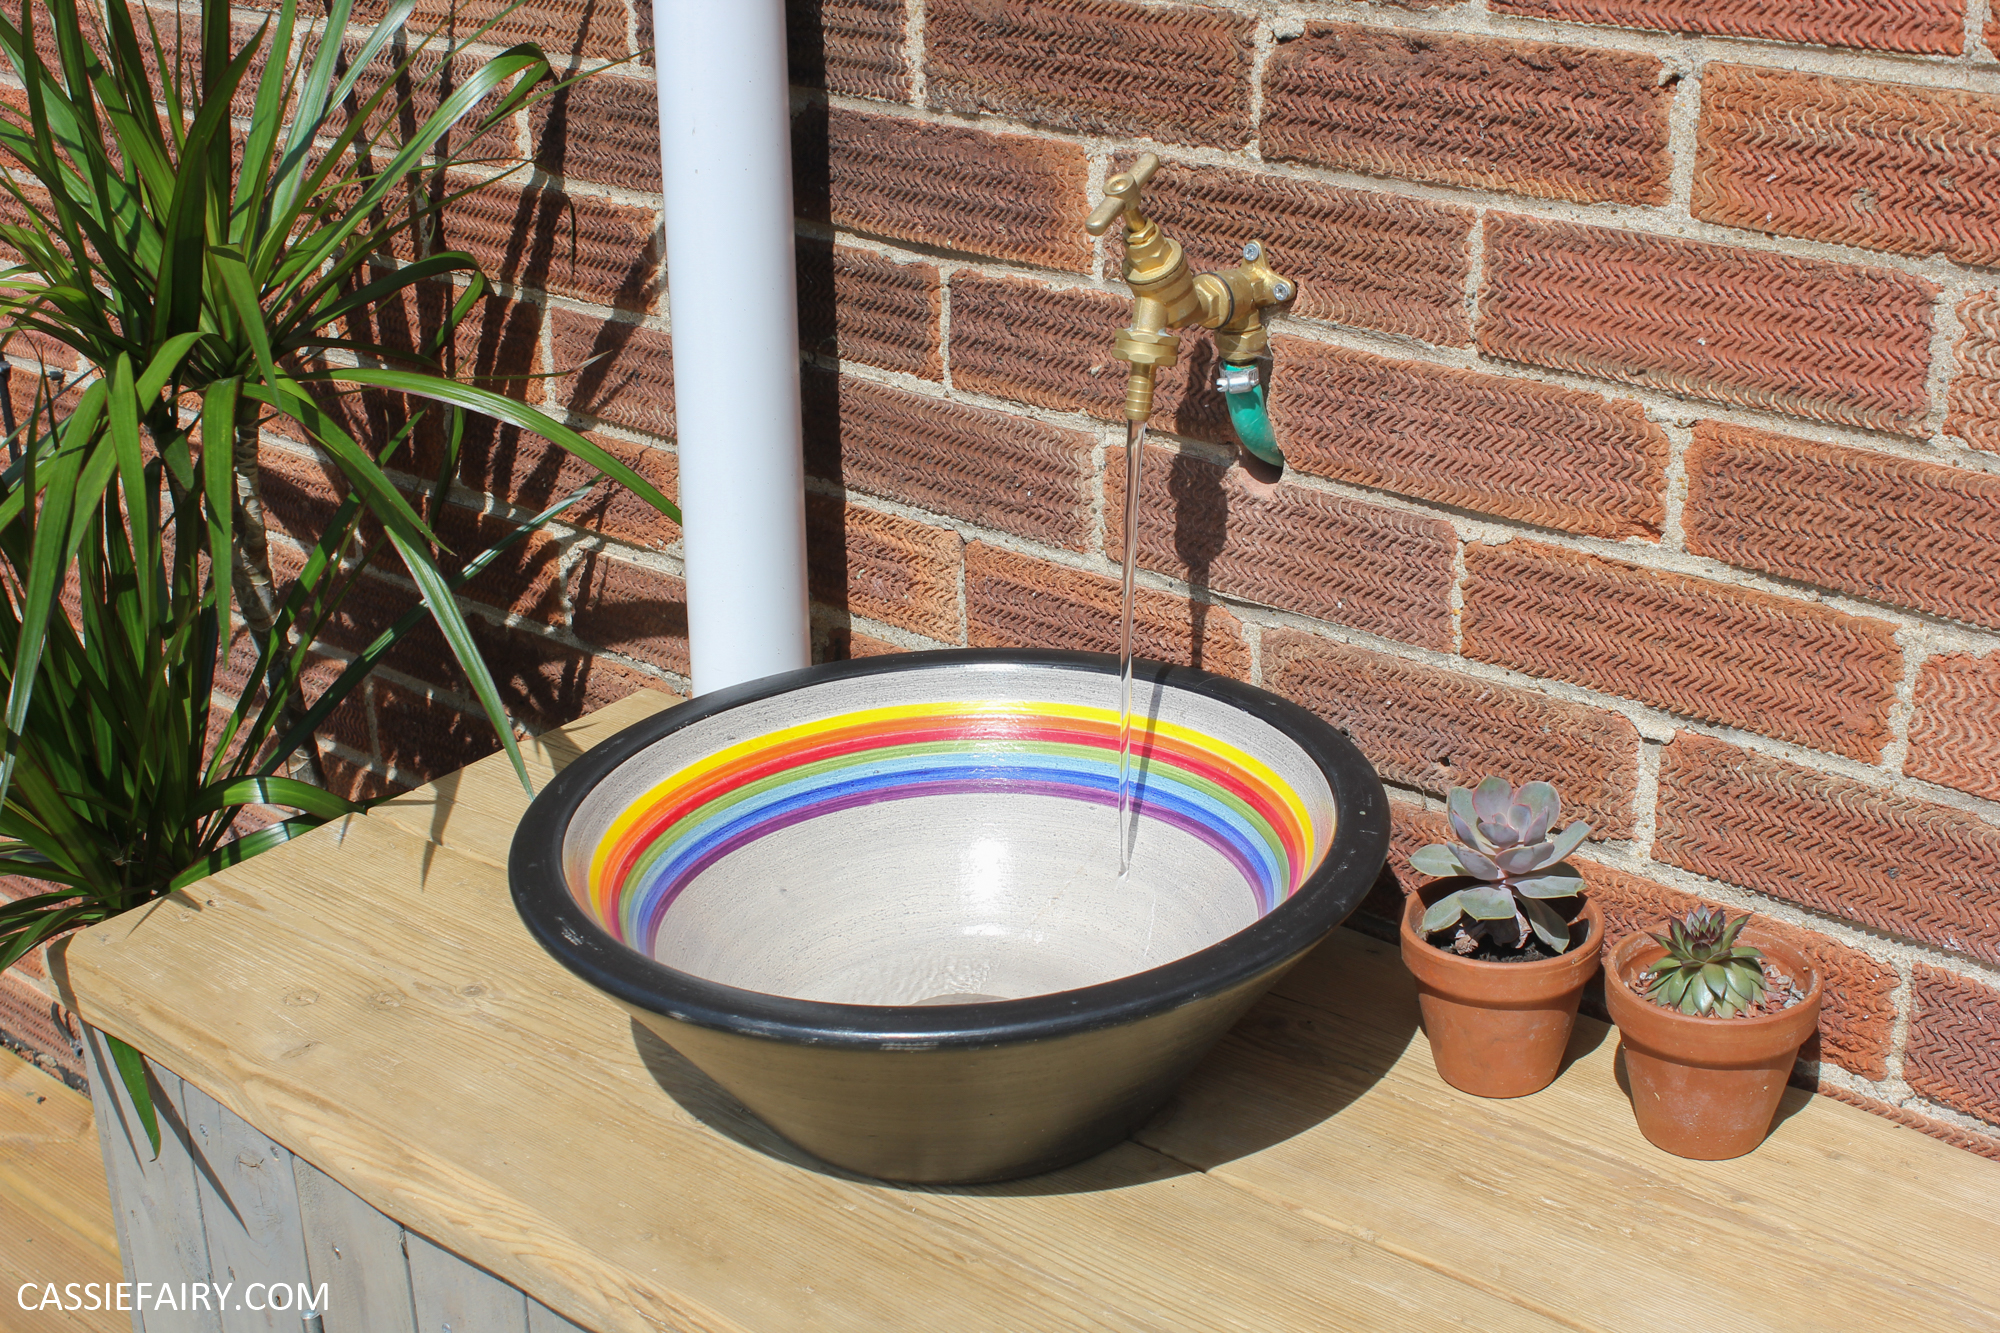
There are endless design possibilities when it comes to building a wooden kitchen sink. You can opt for a classic rectangular shape, or go for something more unique, such as a round or oval sink. You can also play with different types of wood, patterns, and finishes to create a truly customized look. Another popular design trend for wooden kitchen sinks is incorporating a farmhouse or country-style apron front. This adds a charming and rustic touch to your sink and can be achieved by simply extending the front of your sink base and attaching it to the slab of wood.7. Wooden Kitchen Sink Designs: Inspiration for Your DIY Project

7. Wooden Kitchen Sink Designs: Inspiration for Your DIY Project


Properly waterproofing your wooden kitchen sink is essential in ensuring its longevity and durability. As mentioned earlier, use a waterproof sealant and apply multiple coats for maximum protection. You can also add a layer of polyurethane for added durability and to prevent scratches and stains. Additionally, make sure to wipe down your sink after each use and avoid leaving standing water for extended periods. This will prevent any water damage and keep your sink looking like new.8. How to Waterproof Your Wooden Kitchen Sink

8. How to Waterproof Your Wooden Kitchen Sink


While building a wooden kitchen sink is a relatively simple DIY project, there are a few common mistakes to avoid. First, make sure to properly seal your sink to prevent any water damage. Skipping this step can result in warping, rotting, and even mold growth. Another mistake to avoid is using the wrong type of wood. As mentioned earlier, softwoods are not suitable for a kitchen sink and will not hold up well in a wet environment. Lastly, make sure to measure accurately and use proper tools to ensure a secure and sturdy sink.9. Building a Wooden Kitchen Sink: Common Mistakes to Avoid


9. Building a Wooden Kitchen Sink: Common Mistakes to Avoid


Maintaining and repairing your DIY wooden kitchen sink is relatively easy and can be done with minimal effort. As mentioned earlier, make sure to wipe down your sink after each use to prevent any water damage. If there are any scratches or stains, you can sand down the affected area and reapply a layer of sealant or polyurethane. In the event of any major damage, such as warping or rotting, you can easily replace the sink insert or even rebuild the entire sink. This is one of the many advantages of a wooden kitchen sink, as it is easily repairable and customizable. Now that you have a step-by-step guide and tips and tricks for building a wooden kitchen sink, it’s time to get started on your DIY project. With the right materials and tools, you can create a beautiful and functional wooden sink that will add character and charm to your kitchen for years to come.10. Maintaining and Repairing Your DIY Wooden Kitchen Sink


10. Maintaining and Repairing Your DIY Wooden Kitchen Sink


Why Choose a Wooden Kitchen Sink?

Sustainability and Durability
 Wood has been used in construction for centuries due to its strength and durability. When it comes to kitchen sinks, wooden sinks are a popular choice for their sustainability and longevity. Wood is a renewable resource and can be sourced from responsibly managed forests, making it an environmentally friendly option for your kitchen. Additionally, wooden sinks can withstand heavy use and are resistant to scratches and dents, making them a practical choice for a busy kitchen.
Natural Beauty and Customization
 One of the main reasons people choose a wooden kitchen sink is for its natural beauty. Each piece of wood has its own unique grain and color, giving your sink a one-of-a-kind look. Wooden sinks also offer a variety of customization options, from the type of wood used to the shape and size of the sink. This allows you to create a sink that perfectly complements your kitchen's design and adds a touch of warmth and character to the space.
Easy Maintenance
 Contrary to popular belief, wooden sinks are actually easy to maintain. They are naturally resistant to bacteria and mold, making them a hygienic choice for your kitchen. To keep your wooden sink looking its best, simply wipe it down with a mild soap and warm water after each use. Avoid using harsh chemicals or abrasive cleaners, as they can damage the wood and strip away its natural oils.
Affordability
 While wooden sinks may seem like a luxury item, they are actually quite affordable. Compared to other materials like stainless steel or granite, wooden sinks are a budget-friendly option that still offers style and functionality. With proper care and maintenance, a wooden sink can last for decades, making it a cost-effective investment for your kitchen.
In conclusion, a wooden kitchen sink is a sustainable, durable, and beautiful addition to any home. Its natural charm, customization options, and easy maintenance make it a practical and affordable choice for your kitchen. So why settle for a standard sink when you can have a unique and eco-friendly wooden one? Consider building a wooden kitchen sink for your next home renovation project and enjoy its beauty and functionality for years to come.
While wooden sinks may seem like a luxury item, they are actually quite affordable. Compared to other materials like stainless steel or granite, wooden sinks are a budget-friendly option that still offers style and functionality. With proper care and maintenance, a wooden sink can last for decades, making it a cost-effective investment for your kitchen.
In conclusion, a wooden kitchen sink is a sustainable, durable, and beautiful addition to any home. Its natural charm, customization options, and easy maintenance make it a practical and affordable choice for your kitchen. So why settle for a standard sink when you can have a unique and eco-friendly wooden one? Consider building a wooden kitchen sink for your next home renovation project and enjoy its beauty and functionality for years to come.