Dealing with a clogged kitchen sink faucet can be frustrating, especially when it disrupts your daily tasks in the kitchen. But before you call a plumber and spend money on their services, why not try using a compressor to clear the clog yourself? It's a simple and effective method that can save you time and money. In this guide, we'll show you how to blow out a clogged kitchen sink faucet with a compressor.How to Blow Out a Clogged Kitchen Sink Faucet with a Compressor
Before you get started, make sure you have the right tools and equipment. You will need a compressor, a blowgun or attachment, safety glasses, and a towel or cloth. Once you have everything ready, follow these steps: Step 1: Turn off the water supply to the sink. This is important to prevent any water from spraying out while you're using the compressor. Step 2: Remove the aerator from the end of the faucet. This is the small piece at the end of the faucet that helps control the water flow. Use pliers if it's difficult to remove by hand. Step 3: Attach the blowgun or attachment to the compressor. Make sure it's secured tightly before use. Step 4: Put on your safety glasses to protect your eyes from any debris that may come out of the faucet. Step 5: Place the towel or cloth around the faucet to catch any water or debris that may come out during the process. Step 6: Position the blowgun or attachment at the opening where the aerator was removed. Step 7: Turn on the compressor and gradually increase the pressure. Keep an eye on the water flow and pressure to avoid causing any damage to the faucet or pipes. Step 8: Continue blowing out the clog until the water runs freely and there are no more obstructions. Step 9: Turn off the compressor and carefully remove the blowgun or attachment from the faucet. Step 10: Put the aerator back onto the faucet and turn on the water supply. Your kitchen sink faucet should now be clear and functioning properly.Blowing Out a Clogged Kitchen Sink Faucet with a Compressor: Step-by-Step Guide
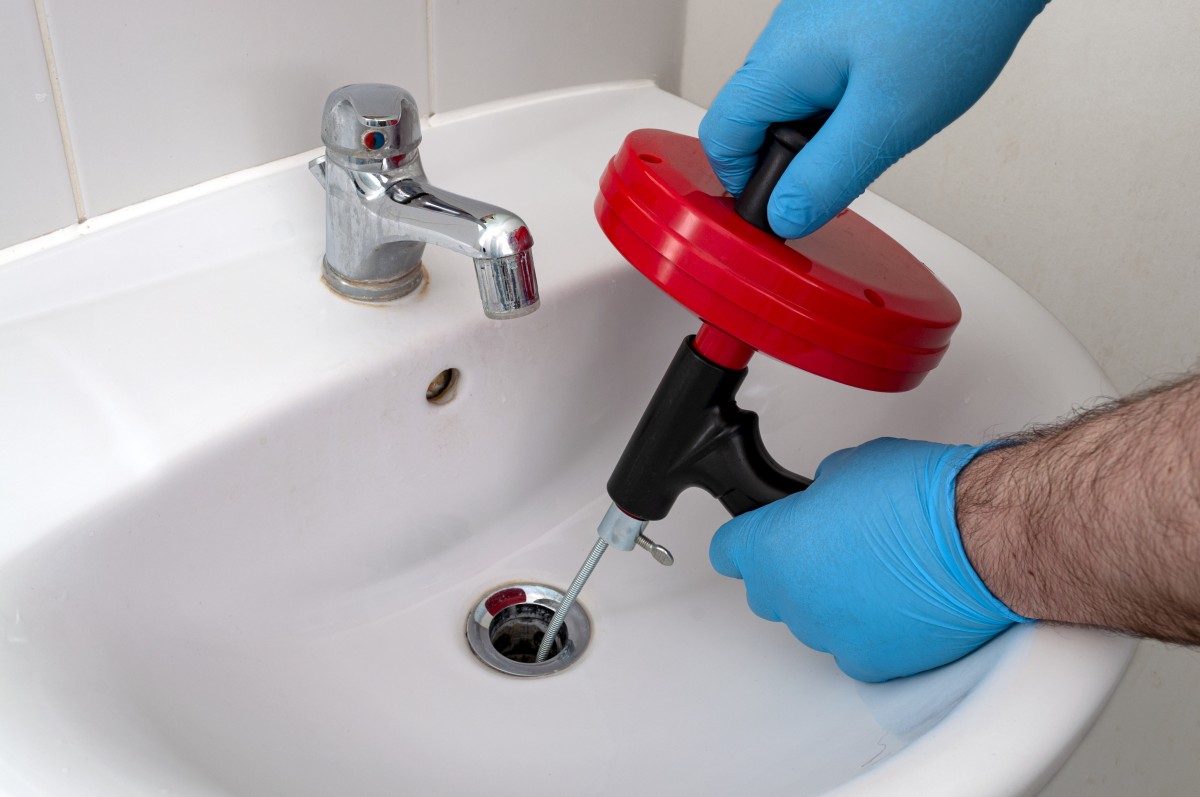
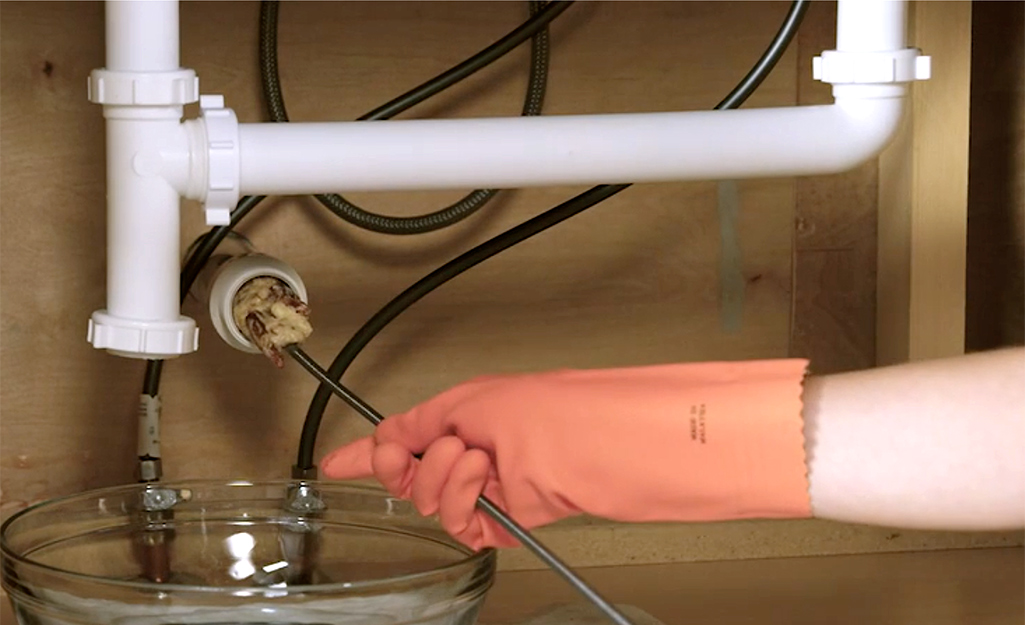
Now that you know the steps to blow out a clogged kitchen sink faucet with a compressor, let's discuss some tips and tricks to make the process even more effective: Tip 1: Start with the lowest pressure setting on your compressor and gradually increase it as needed. This will prevent any damage to the faucet or pipes. Tip 2: If the clog is stubborn, you can try using a plumbing snake or a wire hanger to dislodge it before using the compressor. Tip 3: If you don't have a blowgun or attachment for your compressor, you can use a rubber hose and attach it to the end of the compressor. This will create a more concentrated air flow. Tip 4: For tougher clogs, you can also try using a liquid drain cleaner before using the compressor. Just be sure to follow the instructions carefully and use caution when handling the chemicals.Using a Compressor to Clear a Clogged Kitchen Sink Faucet
Using a compressor to clear a clogged kitchen sink faucet is a simple and cost-effective DIY method. Not only will it save you money, but it will also save you the hassle of dealing with a clogged sink. Here are the main steps to follow: Step 1: Turn off the water supply to the sink. Step 2: Remove the aerator from the faucet. Step 3: Attach the blowgun or attachment to the compressor. Step 4: Put on safety glasses and position the blowgun at the faucet. Step 5: Turn on the compressor and gradually increase the pressure. Step 6: Continue blowing out the clog until the water runs freely. Step 7: Turn off the compressor and carefully remove the blowgun. Step 8: Put the aerator back onto the faucet and turn on the water supply.DIY: How to Use a Compressor to Blow Out a Clogged Kitchen Sink Faucet
Now that you know the steps and tips for using a compressor to clear a clogged kitchen sink faucet, let's dive into more details on the process: Step-by-Step Instructions: We have already covered the main steps to follow, but it's important to remember to turn off the water supply and wear safety glasses for protection. Pressure: It's crucial to monitor the pressure of the compressor while using it to blow out the clog. Too much pressure can cause damage to the faucet or pipes, while too little won't be effective in clearing the clog. Attachments: Make sure to use the appropriate attachment for your compressor. A blowgun or a rubber hose is recommended for this task. Preventative Measures: To avoid future clogs, it's important to regularly clean your kitchen sink and avoid putting large food scraps or grease down the drain.Blow Out a Clogged Kitchen Sink Faucet with a Compressor: A Comprehensive Guide
To ensure that your kitchen sink faucet is effectively cleared with a compressor, here are some additional tips to keep in mind: Tip 1: Use a cloth or towel to cover the faucet to prevent any debris from flying out during the process. Tip 2: If the clog is not clearing after a few attempts, it's best to call a professional plumber to avoid causing any damage. Tip 3: Always follow safety precautions when using a compressor, including wearing safety glasses and using caution when handling the equipment.How to Effectively Blow Out a Clogged Kitchen Sink Faucet with a Compressor
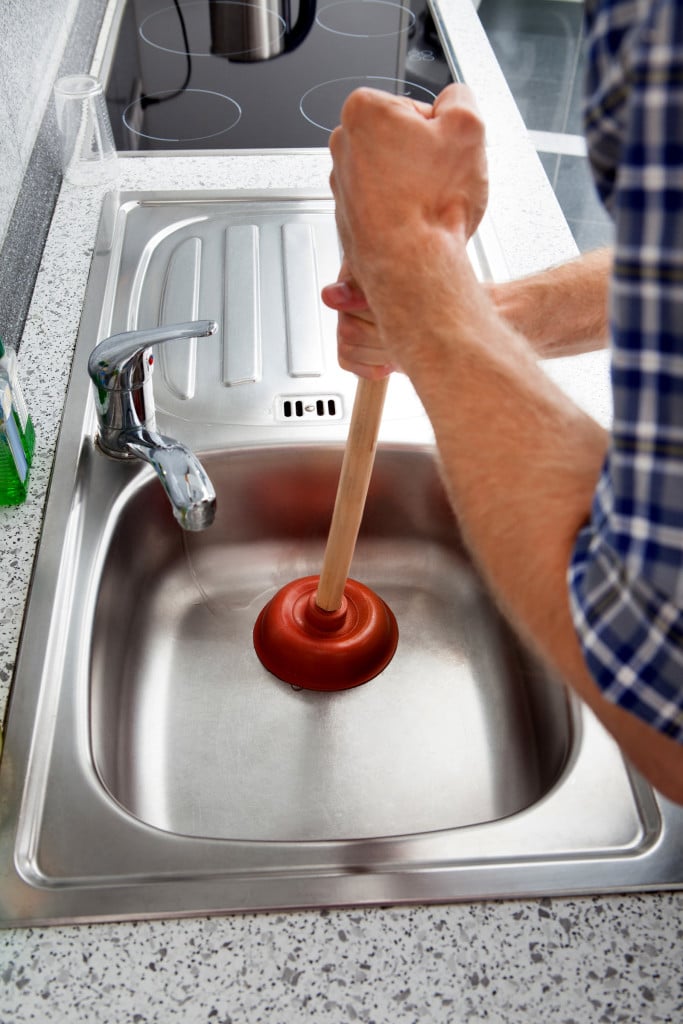
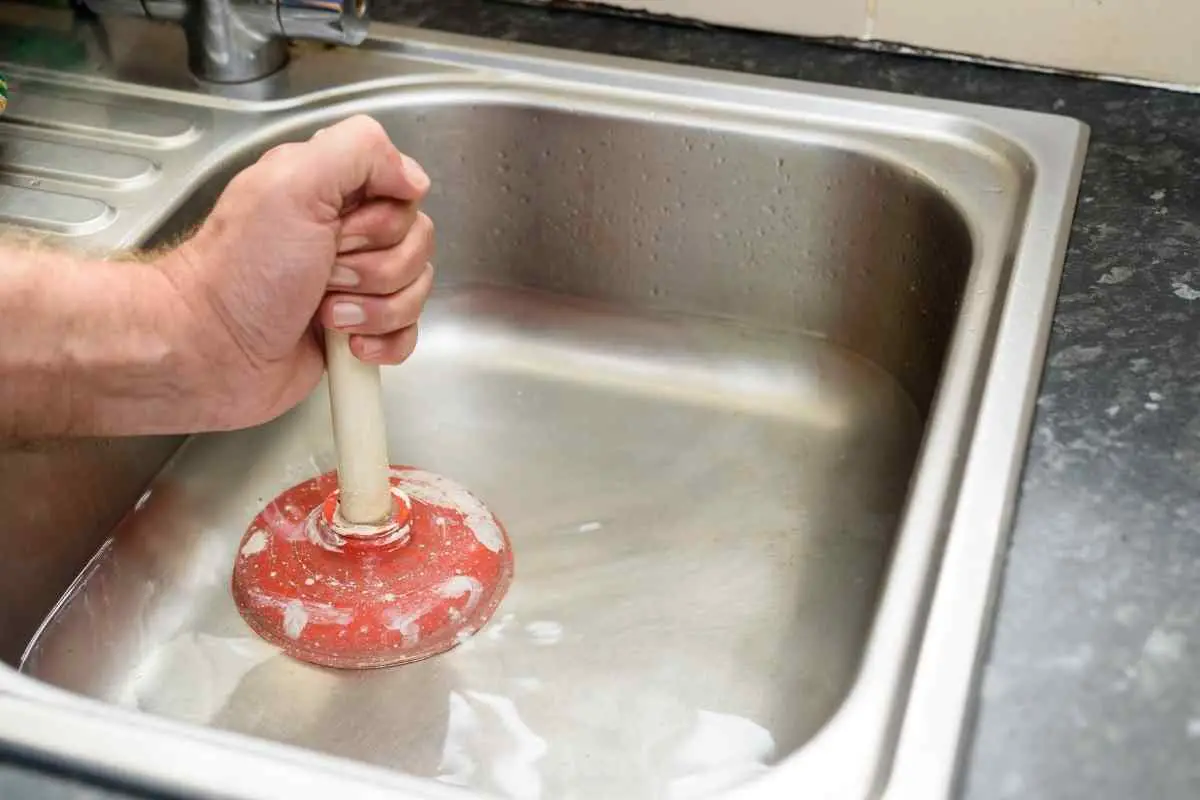
Before using a compressor to blow out a clogged kitchen sink faucet, there are a few things you should know: Compressor Size: The size and power of your compressor will determine how effective it will be in clearing the clog. A small or low-powered compressor may not be strong enough to do the job. Pipe Material: If you have older pipes, using a compressor may not be the best option as they can be more fragile and prone to damage. In this case, it's best to call a professional plumber. Other Options: If you don't have a compressor or are uncomfortable using one, there are other methods you can try to clear a clogged kitchen sink faucet, such as using a plunger or a plumbing snake.Clearing a Clogged Kitchen Sink Faucet with a Compressor: What You Need to Know
To ensure a successful result and avoid any mishaps, here are some common mistakes to avoid when using a compressor to clear a clogged kitchen sink faucet: Mistake 1: Not turning off the water supply. This can lead to water spraying out and making a bigger mess. Mistake 2: Using too much pressure. This can cause damage to the faucet or pipes. Mistake 3: Forgetting to wear safety glasses. This can be dangerous if any debris or water comes out of the faucet. Mistake 4: Not using the appropriate attachment for the compressor. This can result in an ineffective air flow.Blow Out a Clogged Kitchen Sink Faucet with a Compressor: Common Mistakes to Avoid
How to Effectively Use a Compressor to Blow Out a Clogged Kitchen Sink Faucet
Introduction
 When it comes to house design, the kitchen is often considered the heart of the home. It's where meals are prepared and memories are made. However, a clogged kitchen sink faucet can quickly put a damper on the functionality and aesthetics of your kitchen. Fortunately, a simple solution to this problem is using a compressor to blow out the clog. In this article, we will guide you through the steps of effectively using a compressor to blow out a clogged kitchen sink faucet.
Gather Your Tools
 Before you begin, make sure you have the necessary tools on hand. In addition to a compressor, you will also need a pair of pliers, a bucket or bowl, and a towel. It's also important to have protective gear such as safety goggles and gloves to avoid any potential injuries.
Prepare the Area
 To prevent any water from splashing onto your kitchen counters and floors, place a towel or bucket under the sink. This will also help to catch any debris that may come out during the process. You may also want to turn off the water supply to the sink to avoid any accidental spraying.
Remove the Aerator
 The aerator is the small screen at the end of your sink faucet. It is responsible for regulating the flow of water and can often become clogged with debris. Use a pair of pliers to carefully remove the aerator from the faucet. Once removed, clean it out with soap and water to remove any buildup.
Attach the Compressor
 Next, attach the compressor to the end of the faucet. Make sure it is securely in place to avoid any air leaks. Turn on the compressor and gradually increase the pressure until it reaches about 40-60 psi. This will create a strong burst of air to push out the clog.
Blow Out the Clog
 With the compressor turned on, place the end of the hose into the faucet opening. Hold it in place for a few seconds, then release the air. This burst of air should dislodge the clog and send it out of the faucet. Repeat this process a few times until the water starts to flow freely.
Reattach the Aerator
 After you have successfully blown out the clog, reattach the aerator to the faucet. Make sure it is properly secured to avoid any future clogs. Turn on the water supply and run the faucet for a few minutes to flush out any remaining debris.
Conclusion
 Using a compressor to blow out a clogged kitchen sink faucet is a simple and effective solution. By following these steps, you can quickly restore the functionality of your faucet and keep your kitchen running smoothly. Remember to always use caution and protective gear when working with a compressor. With this method, you can easily tackle any clogs and keep your kitchen looking and functioning at its best.








:max_bytes(150000):strip_icc()/freshen-and-unclog-drain-with-baking-soda-1900466-22-bbf940b70afa4d5abef0c54da23b1d3f.jpg)


