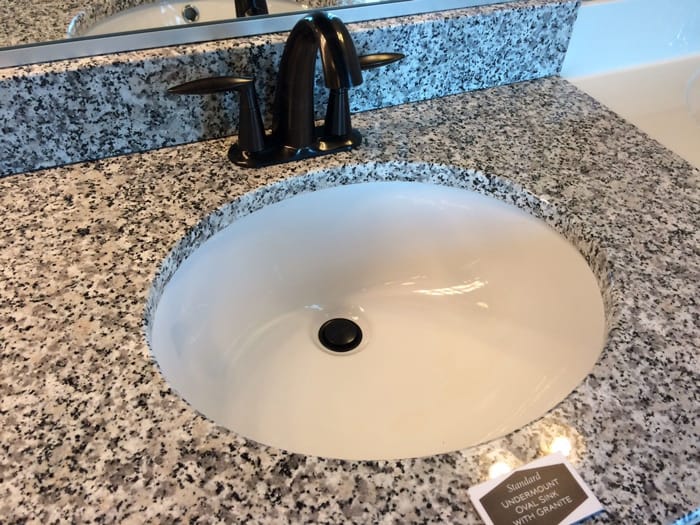
Uninstalling an undermount bathroom sink can be a daunting task, especially if you have never done it before. However, with the right tools and techniques, it can be a simple and stress-free process. In this guide, we will walk you through the steps of removing an undermount bathroom sink, ensuring that you do it safely and effectively.Removing an Undermount Bathroom Sink | How to Guide


1. Removing an Undermount Bathroom Sink


Before you begin, make sure you have all the necessary tools and materials. This includes a wrench, screwdriver, bucket, and a putty knife. Once you have everything you need, follow these step-by-step instructions: Step 1: Turn off the water supply to the sink. This can be done by turning off the valves under the sink or by shutting off the main water supply to your house. Step 2: Disconnect the sink drain. Use your wrench to loosen the nuts that hold the sink drain in place. Once they are loose, pull out the drain from the bottom of the sink. Step 3: Loosen the sink clips. Undermount sinks are typically held in place by clips that are attached to the underside of the countertop. Use your screwdriver to loosen these clips. Step 4: Remove the sink from the countertop. Once the clips are loosened, you should be able to lift the sink out of the countertop. Be sure to have someone assist you with this step, as the sink can be heavy. Step 5: Clean the area. Use a putty knife to remove any caulking or adhesive that was used to secure the sink to the countertop. This will ensure that the area is clean and ready for a new sink to be installed.Uninstalling an Undermount Bathroom Sink | Step by Step Instructions


How to Guide 2. Uninstalling an Undermount Bathroom Sink


While the above steps are the basic guidelines for removing an undermount bathroom sink, there are a few best practices that you should keep in mind: Tip 1: Always have a helper. As mentioned earlier, undermount sinks can be heavy and difficult to maneuver on your own. Having someone assist you will make the process much easier and safer. Tip 2: Turn off the water supply. This step is crucial and should not be skipped. You do not want to risk any water damage or accidents while removing the sink. Tip 3: Be gentle. Undermount sinks are typically made of delicate materials like porcelain or glass, so it is important to handle them with care. Avoid using excessive force or banging the sink against anything. Tip 4: Use the right tools. Make sure you have the proper tools for the job. Using the wrong tools can damage the sink or the countertop, making the removal process more difficult.Best Practices for Removing an Undermount Bathroom Sink


Step by Step Instructions 3. Best Practices for Removing an Undermount Bathroom Sink 4. Undermount Bathroom Sink Removal Tips and Tricks 5. DIY Undermount Bathroom Sink Removal Guide 6. The Easiest Way to Uninstall an Undermount Bathroom Sink 7. How to Properly Remove an Undermount Bathroom Sink 8. Step by Step Guide for Uninstalling an Undermount Bathroom Sink 9. Removing an Undermount Bathroom Sink Without Damaging Your Countertop 10. The Most Effective Method for Uninstalling an Undermount Bathroom Sink


The Importance of Properly Uninstalling Your Undermount Bathroom Sink
Why It's Important to Uninstall Your Undermount Bathroom Sink Correctly
 When it comes to remodeling or renovating your bathroom, one of the most important steps is to properly uninstall your undermount bathroom sink. This may seem like a simple task, but if not done correctly, it can lead to costly repairs and damage to your bathroom. In this article, we will discuss the best way to uninstall an undermount bathroom sink to ensure a smooth and hassle-free process.
Step 1: Turn off the Water Supply
 Before starting the uninstallation process, be sure to turn off the water supply to your sink. This can usually be done by turning off the water valves under the sink or by shutting off the main water supply to your home. This step is crucial to avoid any water leakage and potential damage to your bathroom.
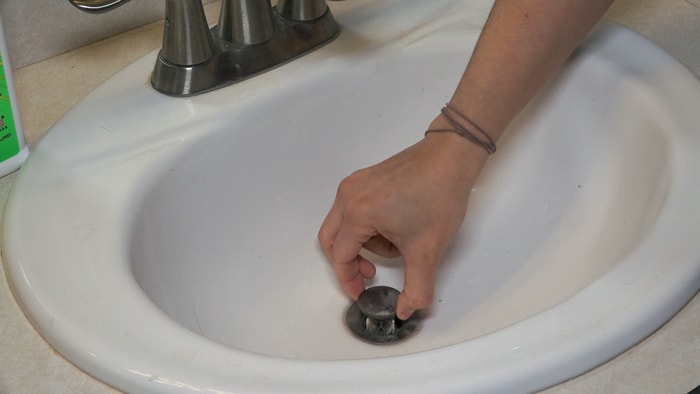
Step 2: Disconnect the Plumbing
 Once the water supply is turned off, you can begin to disconnect the plumbing from your undermount sink. Be sure to have a bucket or towel handy to catch any excess water that may still be in the pipes. Use pliers or a wrench to loosen and remove the nuts and bolts connecting the pipes to the sink. It is important to be gentle and not force anything to avoid damaging the pipes or sink.
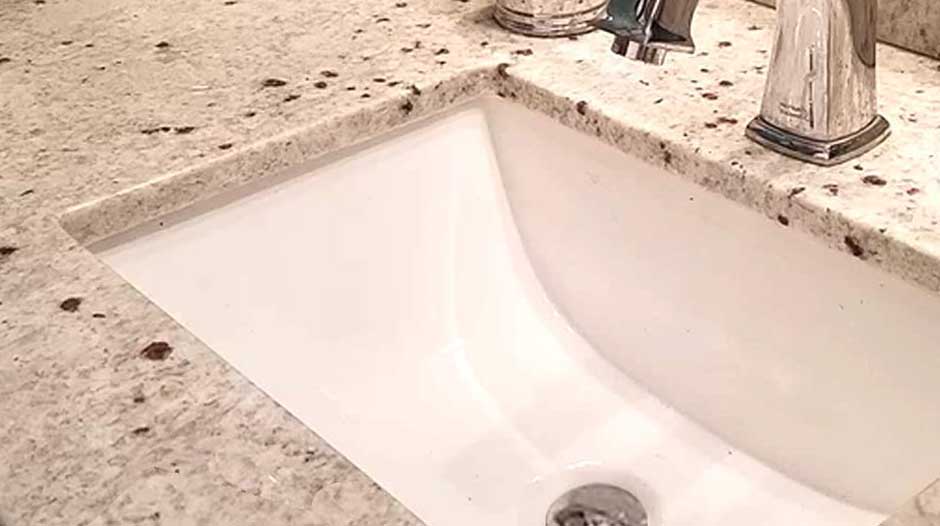
Step 3: Remove the Sink from the Countertop
 The next step is to remove the sink from the countertop. This can be done by carefully cutting through the caulk or adhesive holding the sink in place. Use a putty knife or scraper to gently pry the sink away from the countertop. It is important to be cautious and not apply too much force to avoid damaging the countertop.
Step 4: Clean and Prepare the Area
 Once the sink is removed, you can clean and prepare the area for the new sink installation. Use a cleaning solution to remove any residue left behind from the old sink. This will ensure a clean and smooth surface for the new sink to be installed.
Step 5: Dispose of the Old Sink
 Properly disposing of the old sink is an important step in the uninstallation process. Depending on the material of your sink, you may need to contact a professional to dispose of it. Some materials, such as porcelain or ceramic, can be recycled, while others may need to be disposed of in a landfill.
In Conclusion
 Uninstalling an undermount bathroom sink may seem like a simple task, but it is important to follow the proper steps to avoid any damage or costly repairs. By turning off the water supply, disconnecting the plumbing, removing the sink from the countertop, cleaning and preparing the area, and properly disposing of the old sink, you can ensure a smooth and successful uninstallation process. Remember to take your time and be gentle throughout the process to avoid any mishaps.