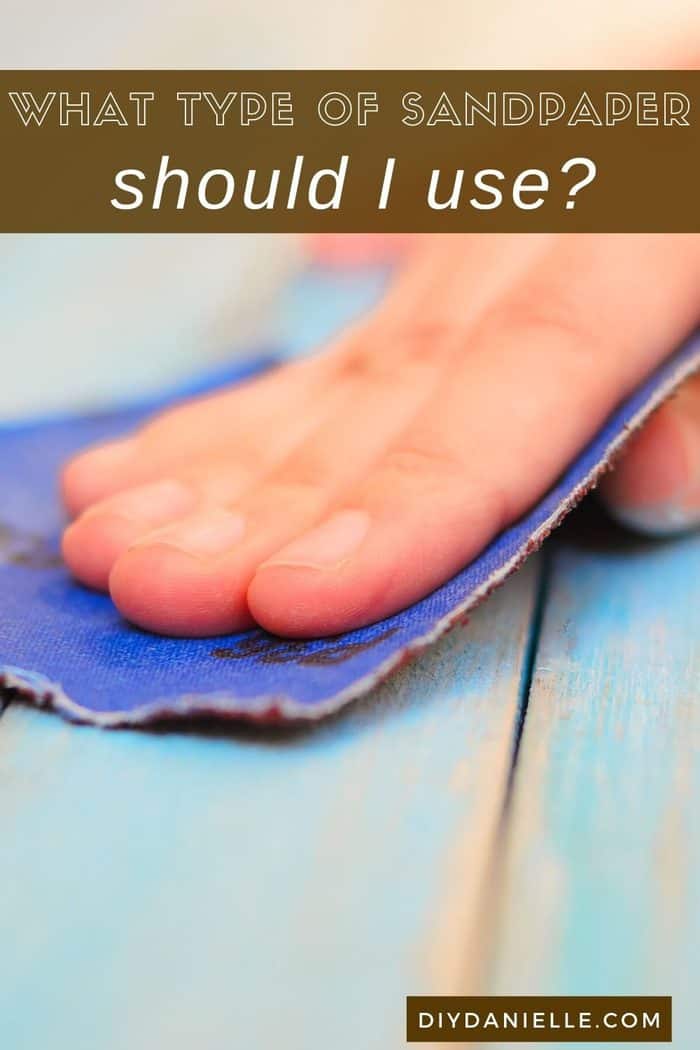
Whether you're refinishing an old kitchen table or giving a new one a fresh look, sanding is an essential step to achieving a smooth and professional finish. But sanding can be a daunting task, especially if you're not sure where to start or what tools to use. That's why we've compiled a list of tips and tricks to help you sand your kitchen table like a pro.1. Sanding a Kitchen Table: Tips and Tricks for a Smooth Finish


1. Sanding a Kitchen Table: Tips and Tricks for a Smooth Finish


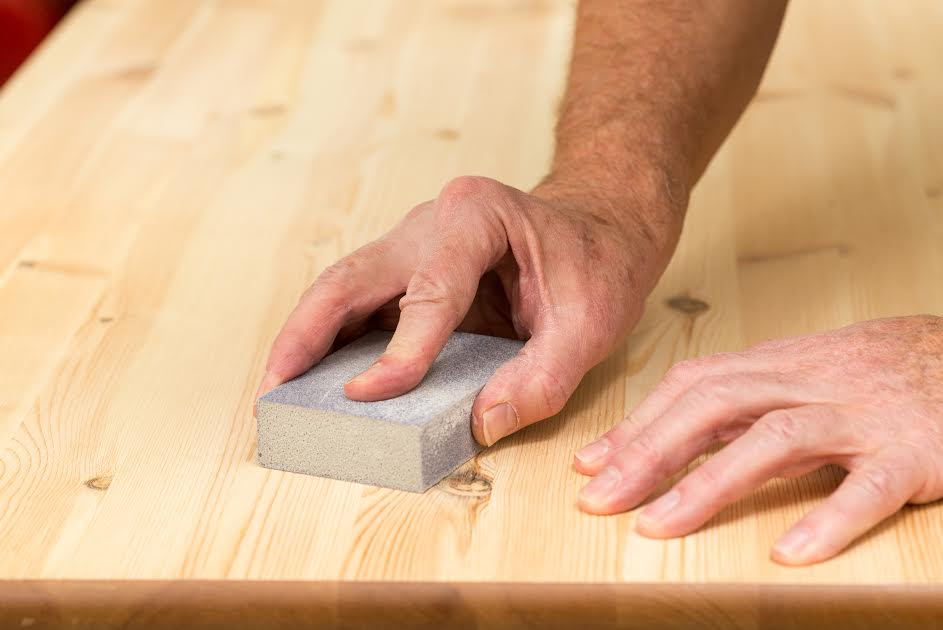
When it comes to sanding a kitchen table, the best way to achieve a professional look is to follow a specific process. First, start by removing any existing finish or paint using a paint stripper or sandpaper. Then, use a medium-grit sandpaper to smooth out any imperfections on the surface. Next, switch to a fine-grit sandpaper to create a smooth and even finish. Finally, use a handheld sanding block to get into the nooks and crannies of the table.2. The Best Way to Sand a Kitchen Table for a Professional Look


2. The Best Way to Sand a Kitchen Table for a Professional Look


Sanding a kitchen table may seem like a simple task, but it's important to follow the right steps to ensure a successful result. To start, gather all the necessary tools, including sandpaper, sanding block, and an electric sander if available. Then, begin by sanding in the direction of the wood grain, using even pressure and moving in a back and forth motion. Be sure to sand all areas of the table, including the legs and edges.3. How to Sand a Kitchen Table: A Step-by-Step Guide


3. How to Sand a Kitchen Table: A Step-by-Step Guide


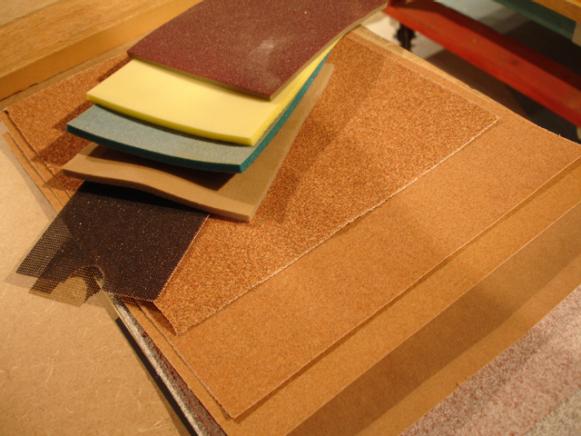
Choosing the right sandpaper for your kitchen table can make a significant difference in the final result. Generally, a medium-grit (around 120) sandpaper is best for removing old finishes or paint, while a fine-grit (around 220) sandpaper is ideal for creating a smooth finish. If you're using an electric sander, be sure to use the appropriate grit sandpaper for that specific tool.4. Choosing the Right Sandpaper for Sanding a Kitchen Table


4. Choosing the Right Sandpaper for Sanding a Kitchen Table


Proper sanding techniques are crucial to achieving a smooth and professional finish on your kitchen table. Be sure to sand in the direction of the wood grain to avoid scratches or unevenness. Also, use even pressure and avoid pressing too hard, as this can damage the wood. If you're using an electric sander, be sure to keep it moving at all times to prevent uneven sanding.5. The Importance of Proper Sanding Techniques for a Kitchen Table


5. The Importance of Proper Sanding Techniques for a Kitchen Table


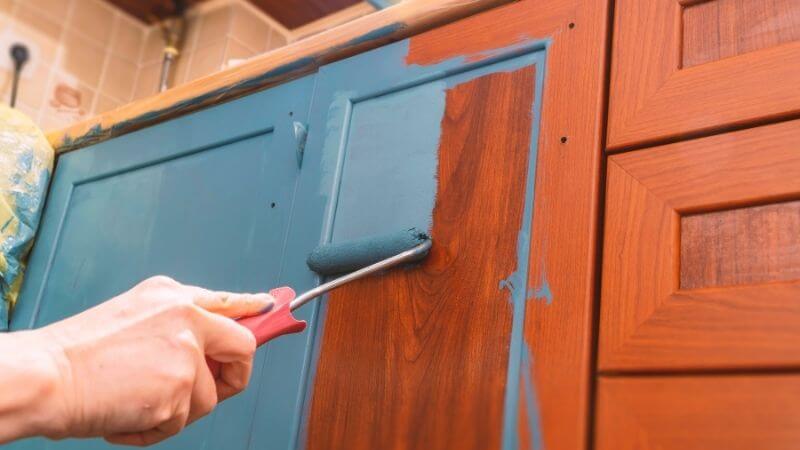
If you're planning to stain or paint your kitchen table after sanding, it's essential to follow the proper prep and sanding process. After sanding, wipe down the table with a damp cloth to remove any dust or debris. Then, use a wood conditioner to help the stain absorb evenly. If painting, use a primer to create a smooth and even surface for the paint to adhere to.6. How to Prep and Sand a Kitchen Table for Staining or Painting


6. How to Prep and Sand a Kitchen Table for Staining or Painting


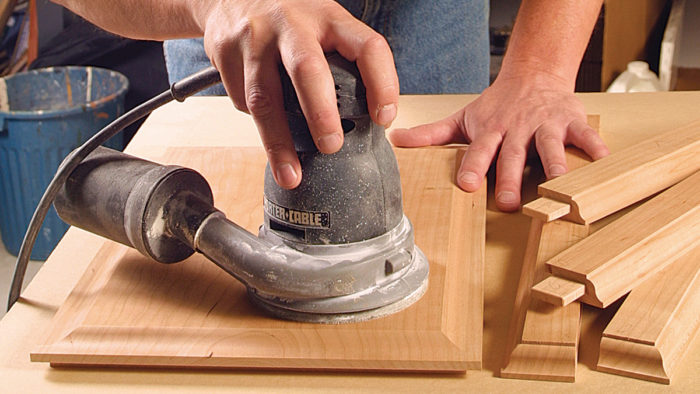
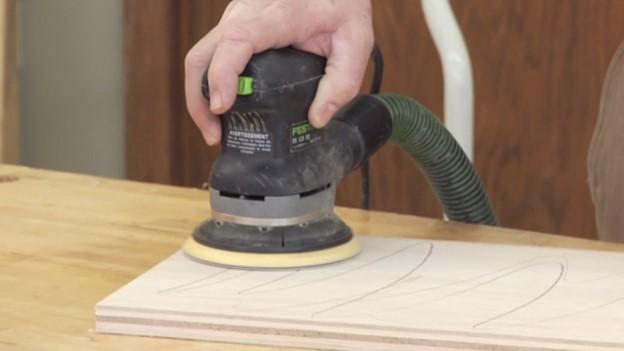
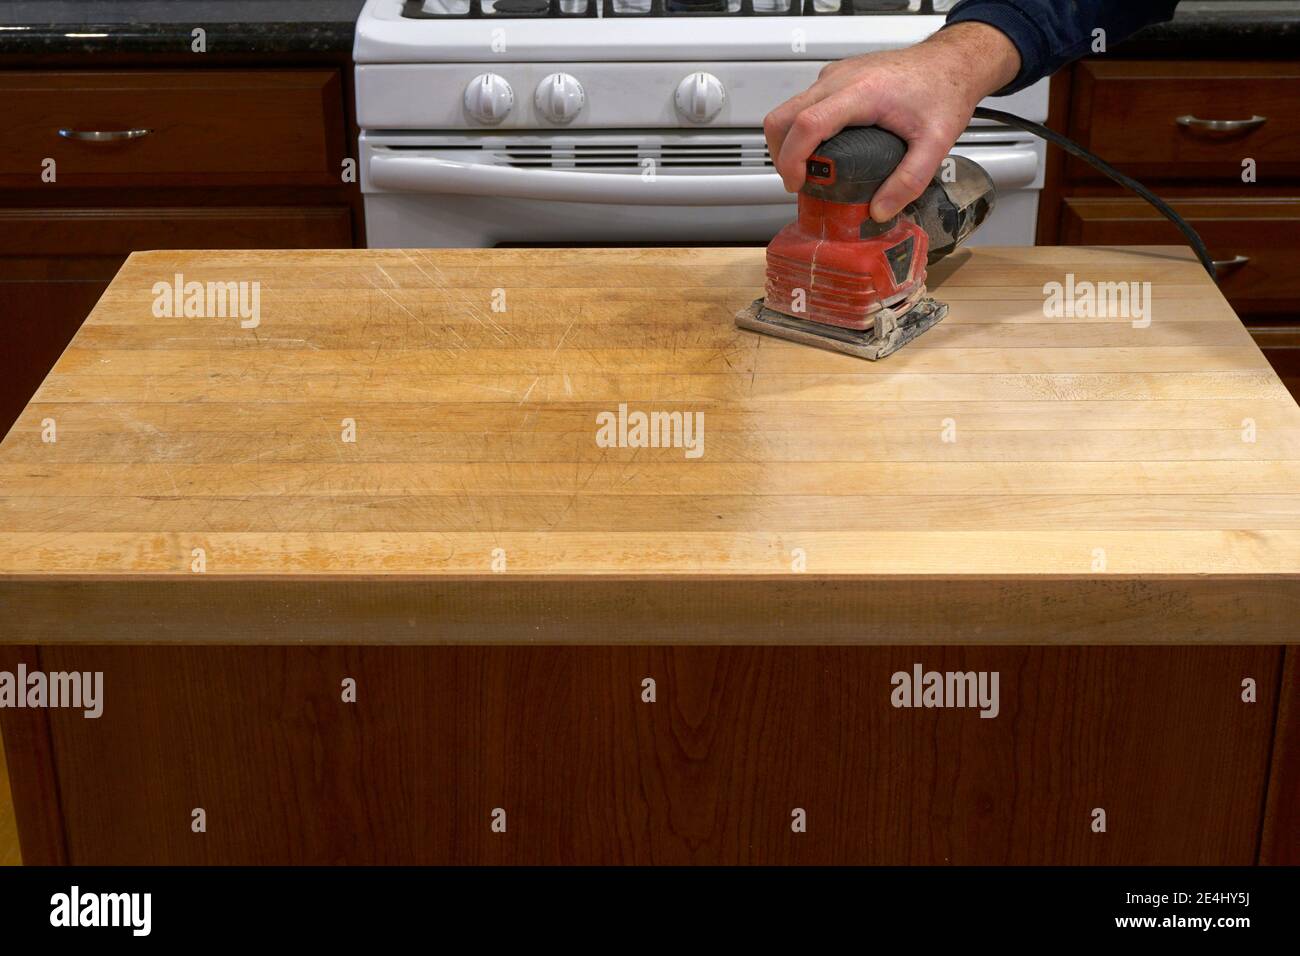
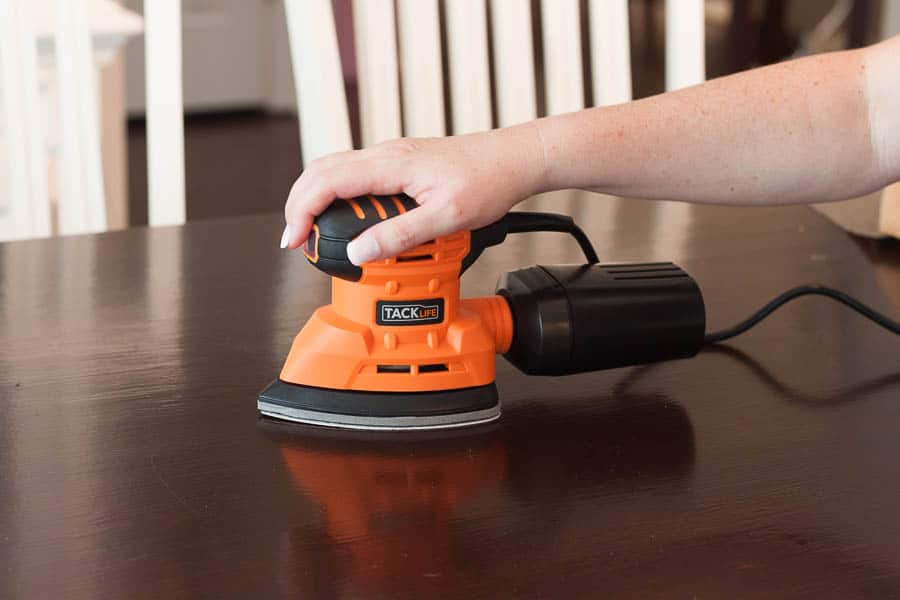
While sanding a kitchen table by hand is possible, it can be a time-consuming and tiring task. That's why we recommend using an electric sander for a more efficient and consistent result. There are various types of sanders to choose from, such as palm sanders, orbital sanders, and belt sanders. Consider the size of your table and the level of detail required before selecting the best sander for your project.7. The Best Tools for Sanding a Kitchen Table


7. The Best Tools for Sanding a Kitchen Table


One common question when it comes to refinishing a kitchen table is whether sanding or stripping is the best method. While both techniques can achieve a smooth finish, sanding is generally more suitable for small areas or detail work, while stripping is ideal for larger surfaces. If your table has a thick layer of paint or finish, stripping may be the better option.8. Sanding vs Stripping: Which is the Best Way to Refinish a Kitchen Table?


8. Sanding vs Stripping: Which is the Best Way to Refinish a Kitchen Table?
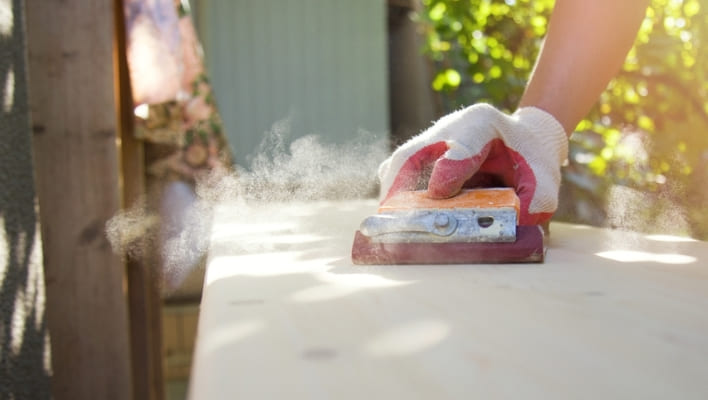


The thought of sanding a kitchen table can often bring to mind a messy and dusty task. However, there are ways to minimize the mess and create a cleaner sanding experience. To start, consider using a sanding block with a dust collection system or an electric sander with a built-in dust collector. You can also lay down a drop cloth or work outside to help contain the dust.9. How to Sand a Kitchen Table Without Creating Dust and Mess


9. How to Sand a Kitchen Table Without Creating Dust and Mess


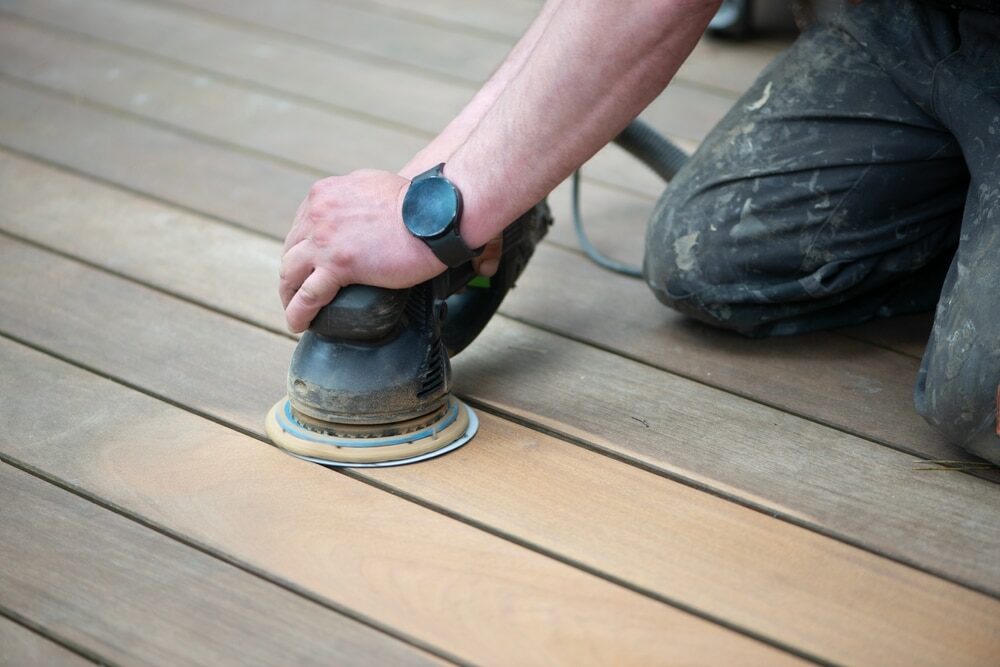
Using an electric sander for sanding a kitchen table offers many benefits. Not only does it save time and effort, but it also provides a more consistent and even finish. Electric sanders also come with different attachments and grits, making them versatile for various projects. Additionally, they often have dust collection systems, creating a cleaner and healthier work environment.10. The Benefits of Using an Electric Sander for Sanding a Kitchen Table


10. The Benefits of Using an Electric Sander for Sanding a Kitchen Table


Why Sanding is an Essential Step in Kitchen Table Refinishing

The Importance of Sanding
 Sanding
is a crucial step in refinishing a kitchen table. Many people may try to skip this step, thinking it is time-consuming and unnecessary. However,
sanding
is essential for achieving a smooth and professional finish on your kitchen table. It not only removes any existing finish or imperfections, but it also prepares the surface for the new stain or paint to adhere to.
Sanding
is a crucial step in refinishing a kitchen table. Many people may try to skip this step, thinking it is time-consuming and unnecessary. However,
sanding
is essential for achieving a smooth and professional finish on your kitchen table. It not only removes any existing finish or imperfections, but it also prepares the surface for the new stain or paint to adhere to.
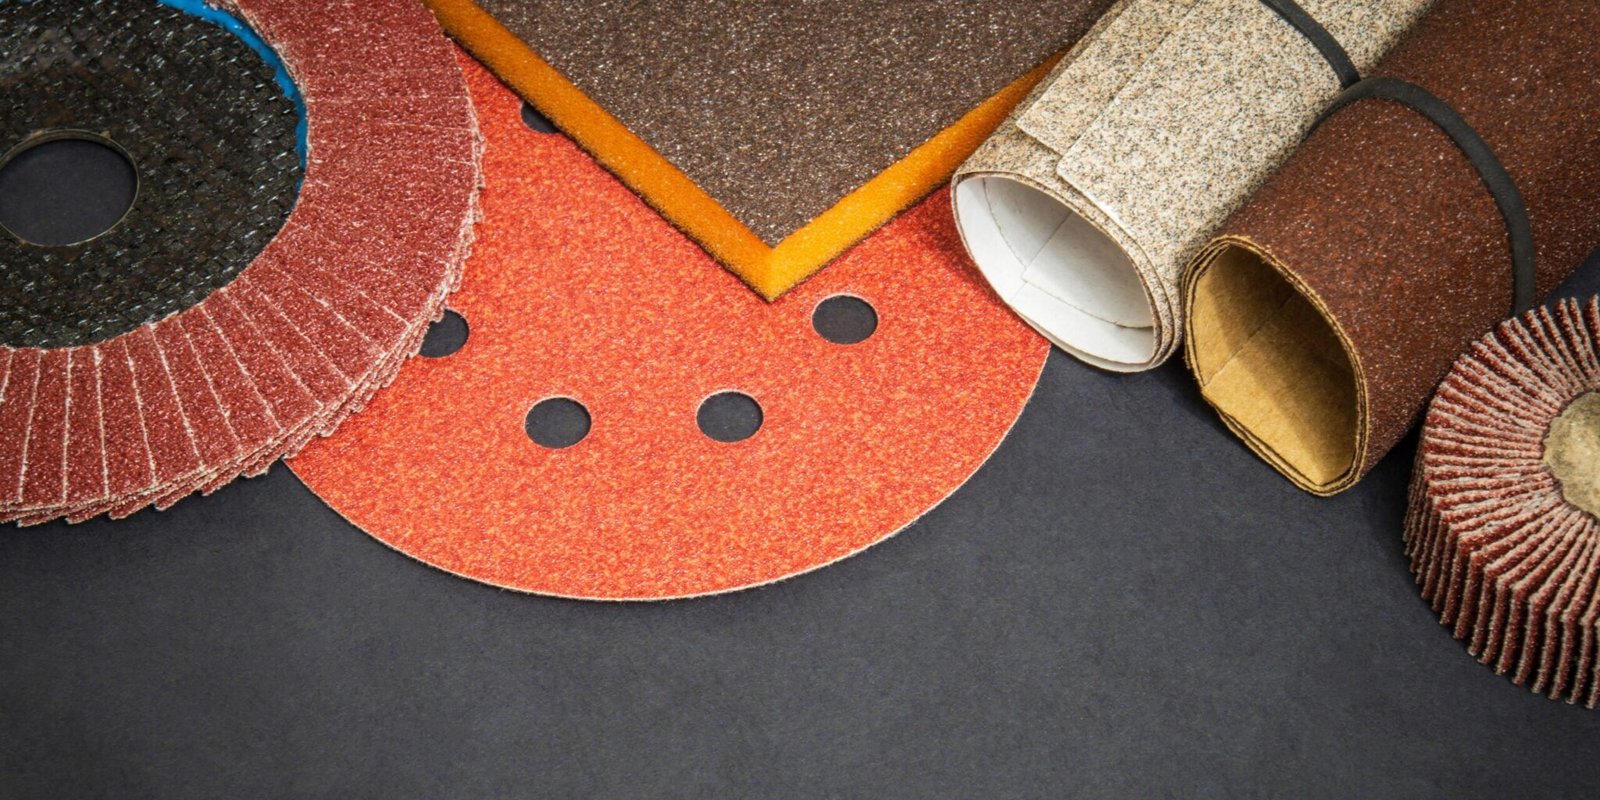
Choosing the Right Sandpaper
 When it comes to
sanding
, choosing the right sandpaper can make all the difference. For
wooden
kitchen tables, it is recommended to use 100-grit sandpaper to start with and then move onto a finer grit, such as 150 or 180, for a smoother finish. For
metal
tables, a coarser grit, such as 60 or 80, may be necessary to remove any rust or rough spots. Be sure to also use a sanding block or a power sander for more efficient and even sanding.
When it comes to
sanding
, choosing the right sandpaper can make all the difference. For
wooden
kitchen tables, it is recommended to use 100-grit sandpaper to start with and then move onto a finer grit, such as 150 or 180, for a smoother finish. For
metal
tables, a coarser grit, such as 60 or 80, may be necessary to remove any rust or rough spots. Be sure to also use a sanding block or a power sander for more efficient and even sanding.
The Sanding Process
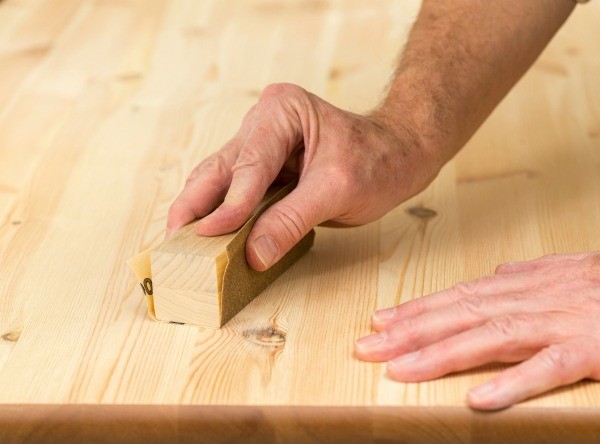
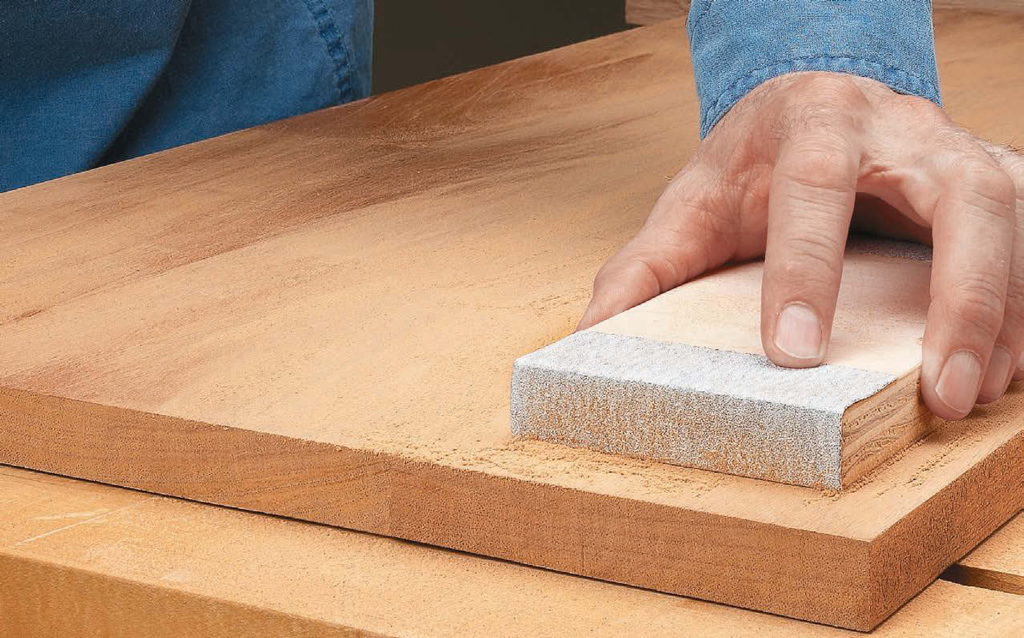
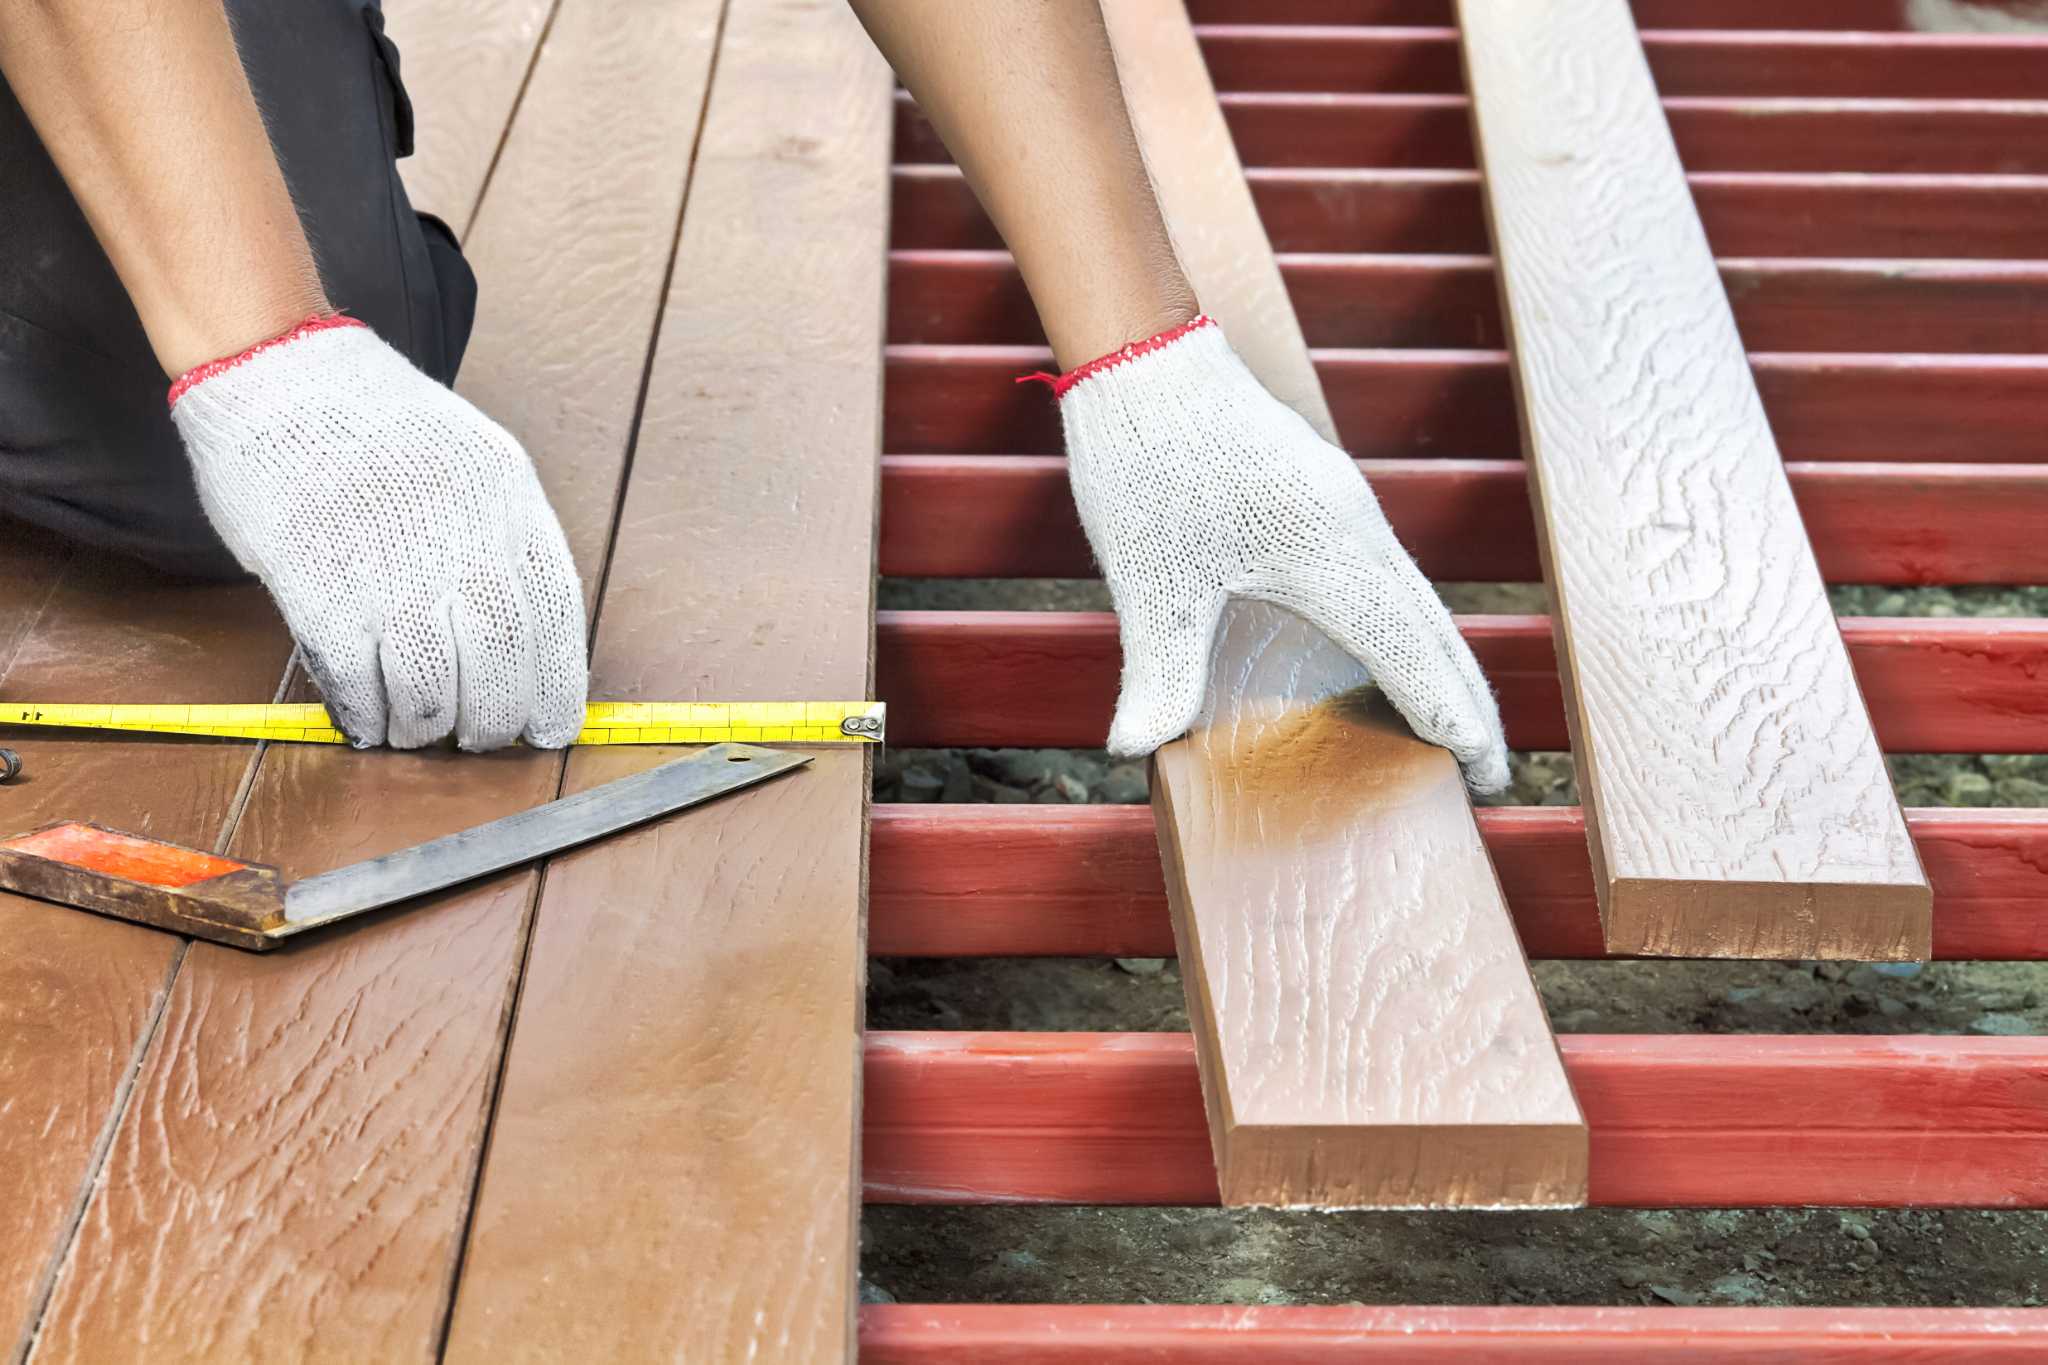
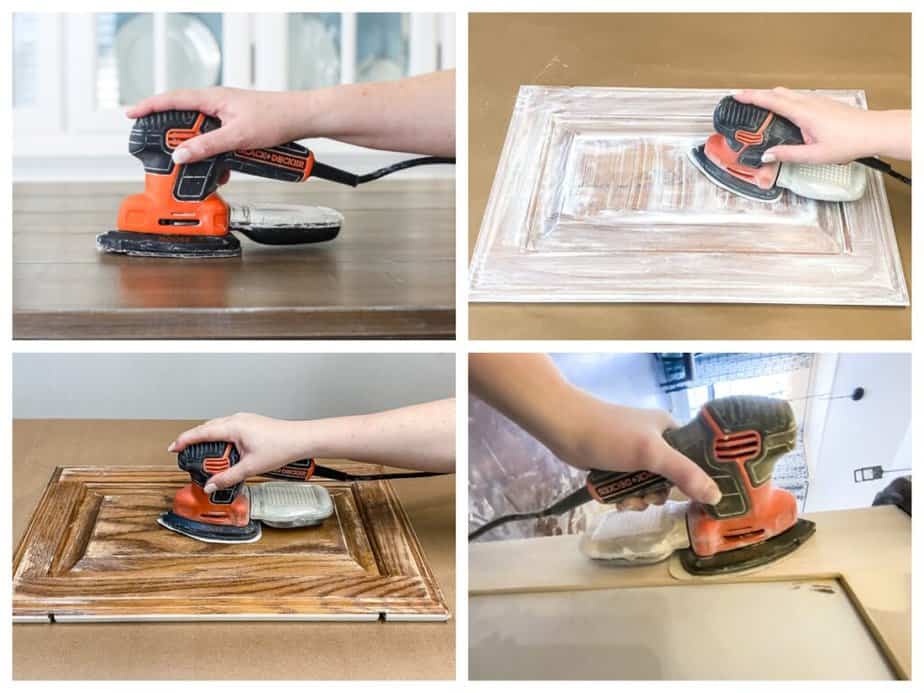
 To properly
sand
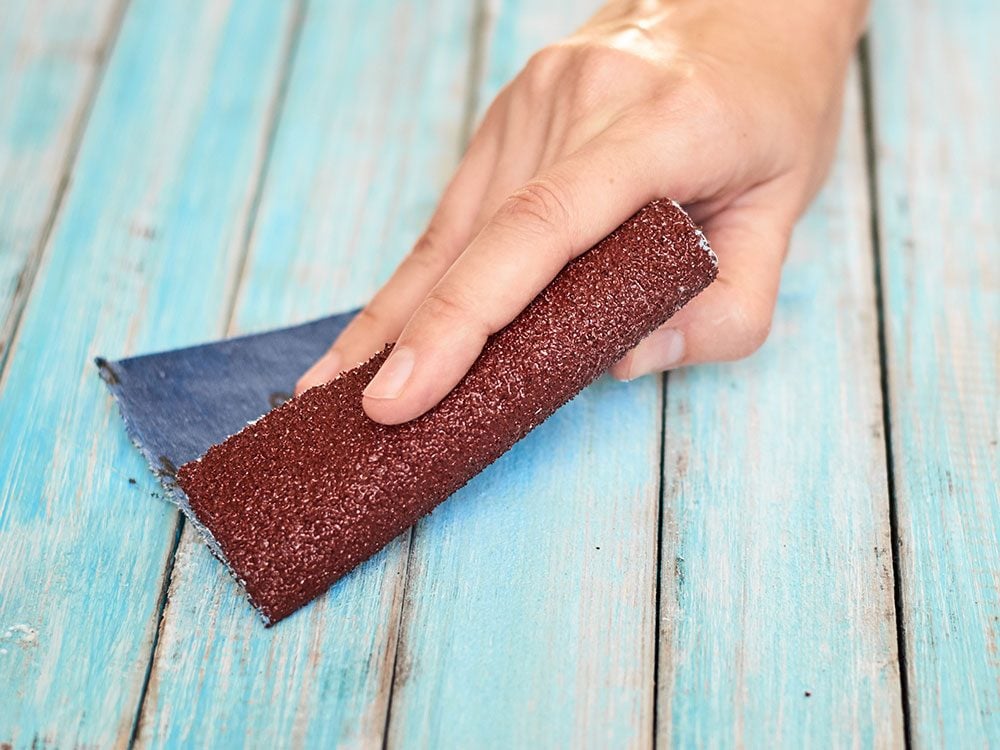
a kitchen table, start by removing any hardware, such as drawer pulls or table legs, that may get in the way. Then, using a back-and-forth motion, sand the entire surface of the table, making sure to follow the direction of the wood grain. Be sure to also sand the edges and corners of the table for a smooth and consistent finish. Once you have completed the initial sanding, wipe down the table with a damp cloth to remove any dust or debris.
To properly
sand
a kitchen table, start by removing any hardware, such as drawer pulls or table legs, that may get in the way. Then, using a back-and-forth motion, sand the entire surface of the table, making sure to follow the direction of the wood grain. Be sure to also sand the edges and corners of the table for a smooth and consistent finish. Once you have completed the initial sanding, wipe down the table with a damp cloth to remove any dust or debris.
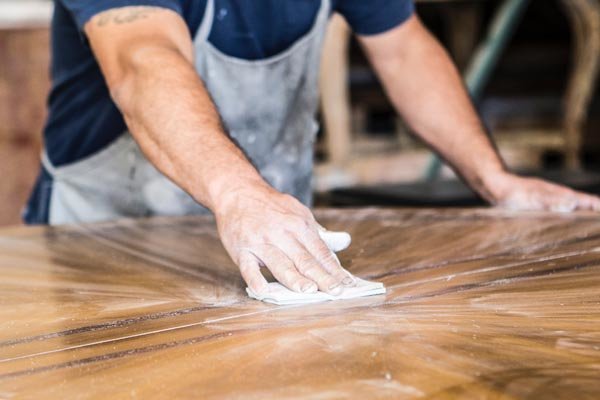
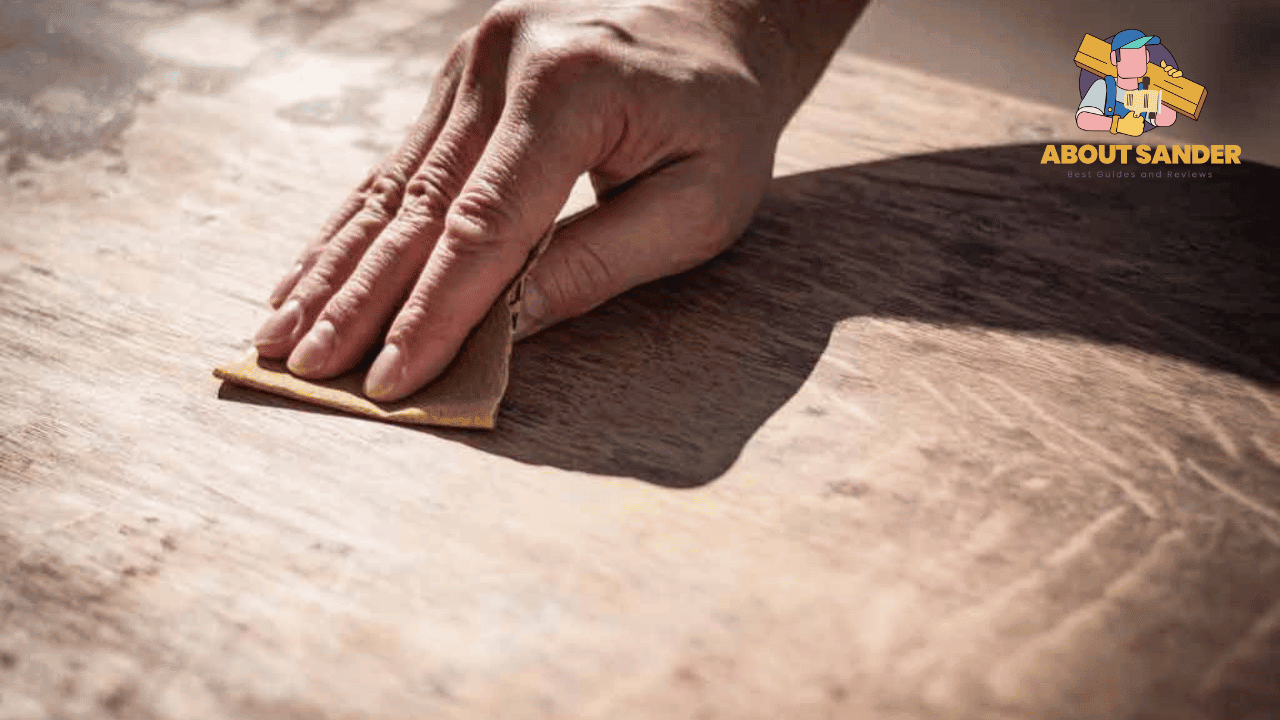
The Final Touches
 After sanding the table, you may notice some rough spots or uneven areas. In this case, use a finer grit sandpaper to smooth out these imperfections. Once you are satisfied with the smoothness of the table, wipe it down again with a damp cloth and let it dry completely before moving on to the next step of refinishing.
In conclusion, while
sanding
may seem like a tedious and time-consuming task, it is a necessary step in achieving a beautiful and professional finish on your kitchen table. By choosing the right sandpaper and following the proper
sanding
technique, you can ensure that your table will have a smooth and flawless surface for the new stain or paint to adhere to. Don't skip this step in your kitchen table refinishing process, and you will be rewarded with a stunning and long-lasting result.
After sanding the table, you may notice some rough spots or uneven areas. In this case, use a finer grit sandpaper to smooth out these imperfections. Once you are satisfied with the smoothness of the table, wipe it down again with a damp cloth and let it dry completely before moving on to the next step of refinishing.
In conclusion, while
sanding
may seem like a tedious and time-consuming task, it is a necessary step in achieving a beautiful and professional finish on your kitchen table. By choosing the right sandpaper and following the proper
sanding
technique, you can ensure that your table will have a smooth and flawless surface for the new stain or paint to adhere to. Don't skip this step in your kitchen table refinishing process, and you will be rewarded with a stunning and long-lasting result.