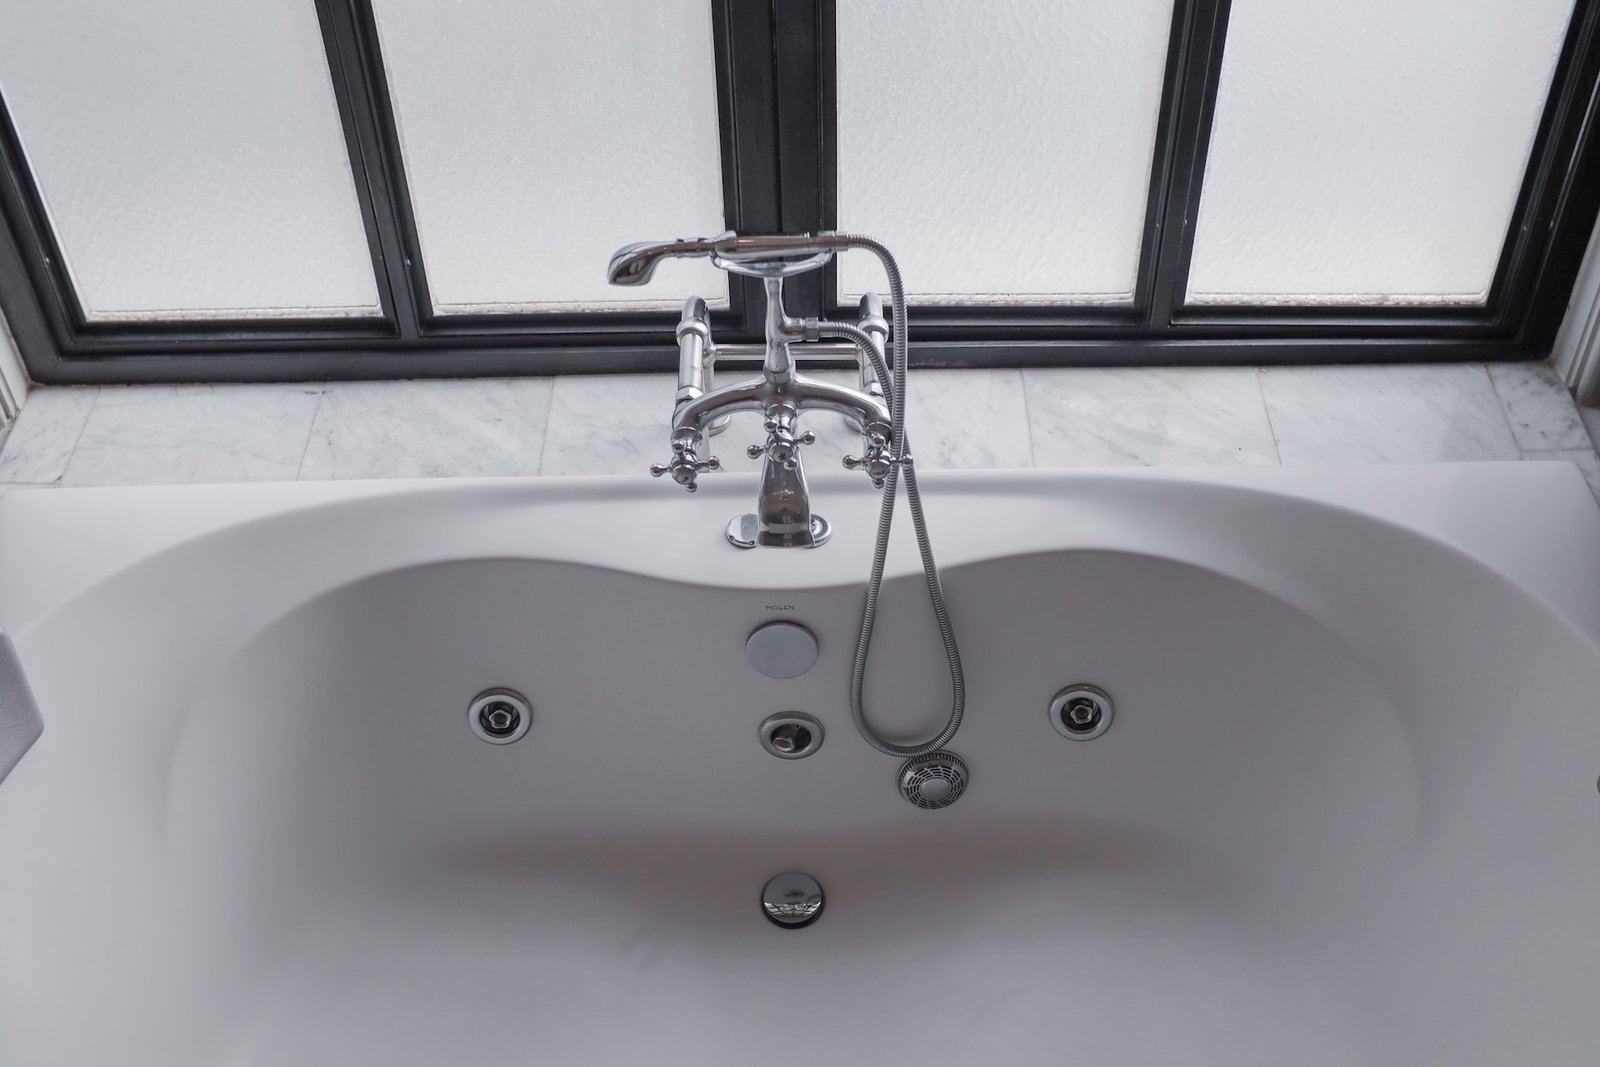
When it comes to keeping your bathroom clean and well-maintained, caulking is an important step that often gets overlooked. Specifically, caulking your bathroom sink is crucial in preventing water damage and keeping your sink looking fresh and new. However, many people may not know the best way to caulk their bathroom sink, leading to messy or ineffective results. In this article, we will discuss the top 10 best ways to caulk your bathroom sink, so you can achieve a professional-looking seal every time. Best Way to Caulk Bathroom Sink


Best Way to Caulk Bathroom Sink


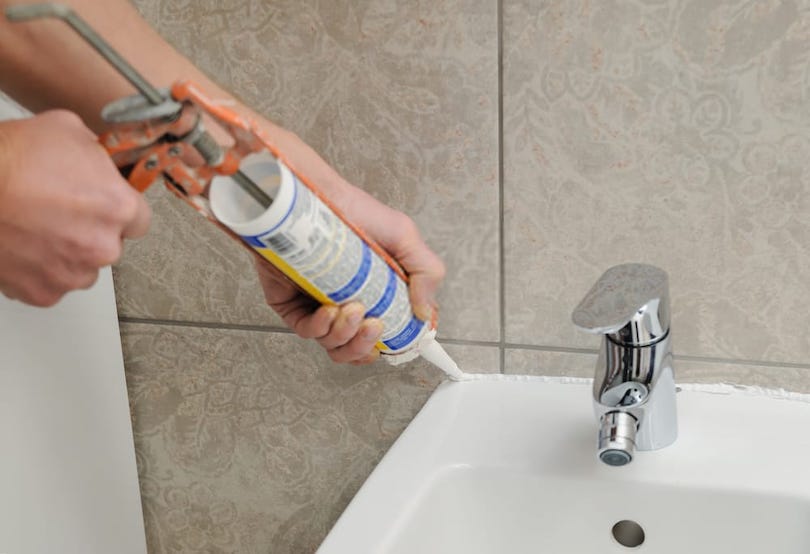
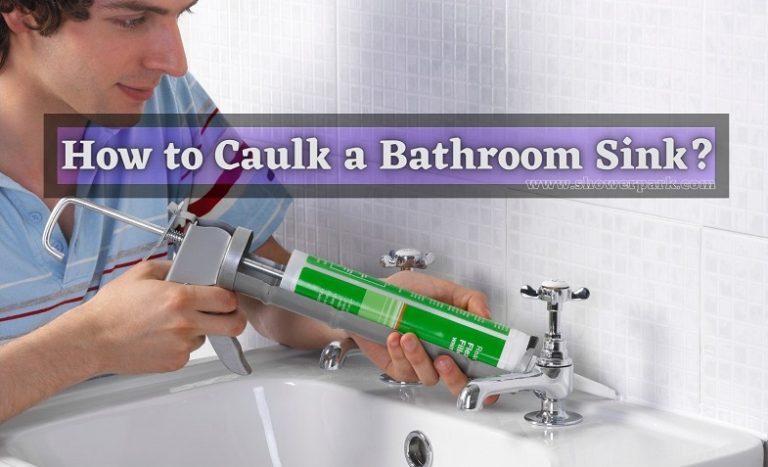
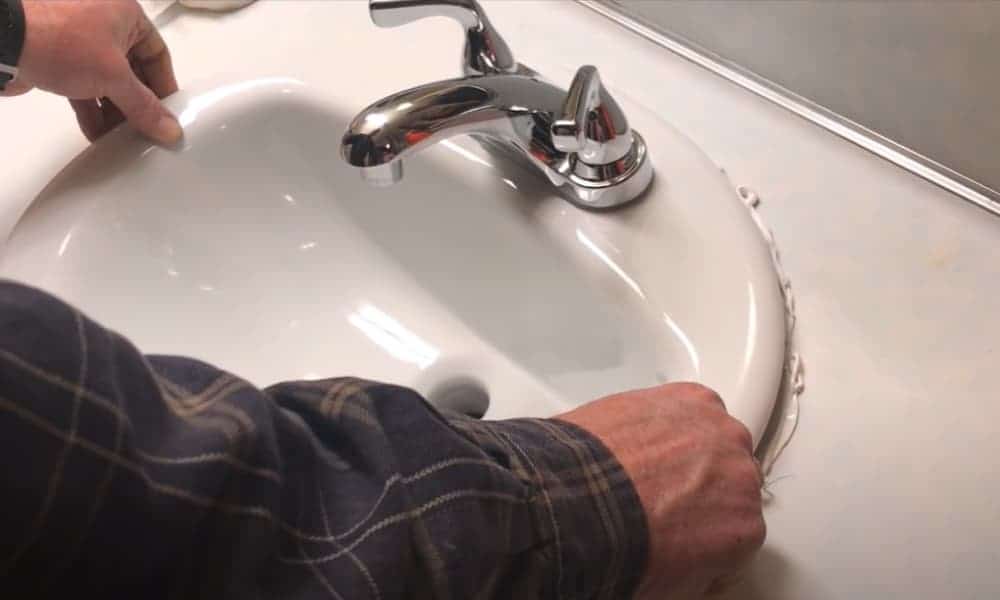
The process of caulking a bathroom sink may seem daunting, but it is actually a simple and straightforward task. The first step is to clean the area around the sink thoroughly, removing any old caulk, grime, or mildew. Next, apply a bead of caulk along the seam between the sink and the countertop, being careful not to apply too much. Then, using a caulk smoothing tool or your finger, smooth out the caulk and remove any excess. Finally, allow the caulk to dry completely before using the sink or getting it wet. How to Caulk a Bathroom Sink


How to Caulk a Bathroom Sink


Here are some helpful tips to keep in mind when caulking your bathroom sink: Caulking Bathroom Sink Tips


Caulking Bathroom Sink Tips


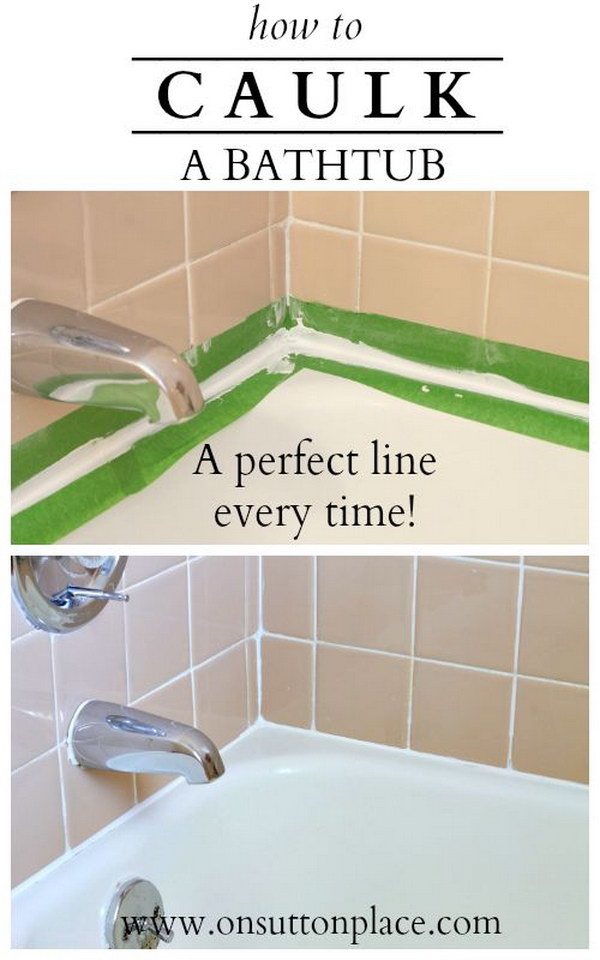
To help you achieve a perfectly sealed bathroom sink, here is a step-by-step guide to follow: Step-by-Step Guide to Caulking a Bathroom Sink


Step-by-Step Guide to Caulking a Bathroom Sink


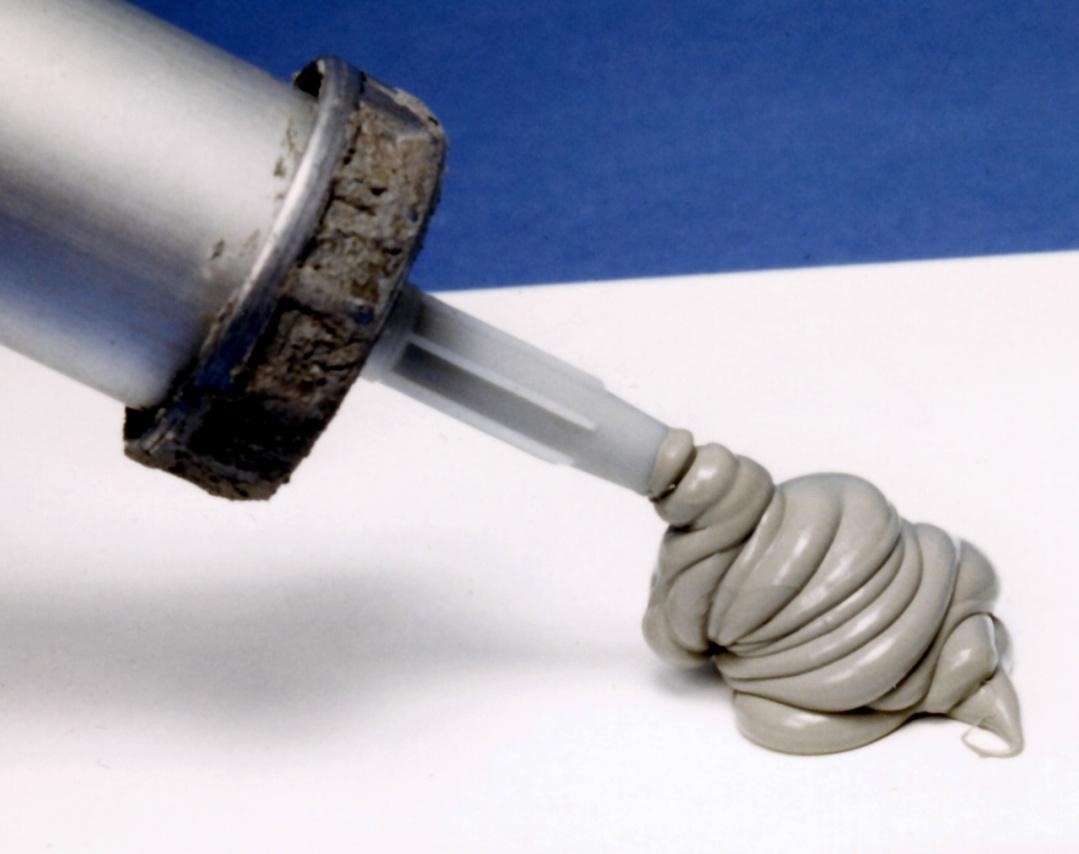
As mentioned before, it's important to choose the right caulk for your bathroom sink. Look for a caulk that is specifically designed for bathroom use and is waterproof. Additionally, consider the color of your sink and countertop and choose a caulk that will blend in seamlessly. It's also a good idea to check reviews and ratings to ensure you are choosing a high-quality caulk that will provide long-lasting results. Choosing the Right Caulk for Your Bathroom Sink


Choosing the Right Caulk for Your Bathroom Sink


While caulking a bathroom sink may seem like a simple task, there are some common mistakes that people make which can result in a messy or ineffective seal. Some of these mistakes include applying too much caulk, using the wrong type of caulk, not properly cleaning the area before applying caulk, and not smoothing out the caulk properly. To achieve the best results, make sure to follow the proper steps and avoid these common mistakes. Common Mistakes to Avoid When Caulking a Bathroom Sink


Common Mistakes to Avoid When Caulking a Bathroom Sink
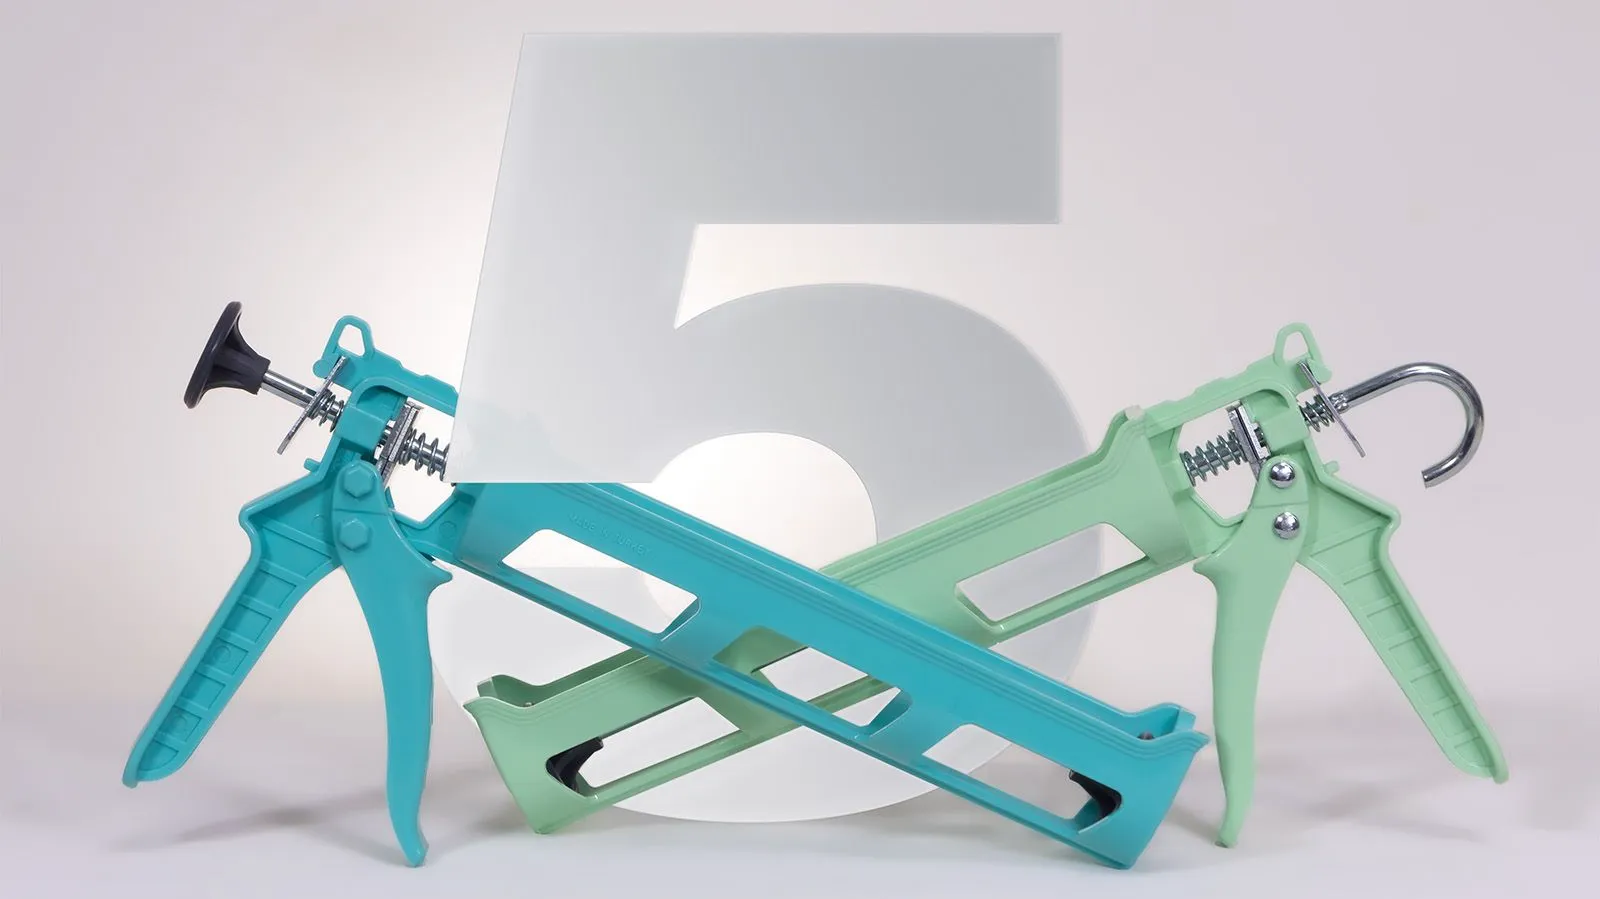


If you want to achieve a professional-looking seal on your bathroom sink, having the right tools is essential. Some top caulking tools to consider include a caulk gun, a caulk smoothing tool, a utility knife, and a damp rag. These tools will make the process much easier and help you achieve a clean and precise seal on your bathroom sink. Top Caulking Tools for a Perfectly Sealed Bathroom Sink


Top Caulking Tools for a Perfectly Sealed Bathroom Sink


While both caulking and grouting can be used to seal a bathroom sink, caulking is generally preferred. This is because caulk is more flexible and waterproof, making it better at preventing water damage and keeping your sink looking fresh. Grout, on the other hand, is more rigid and can crack over time, leading to water leakage and an unsightly appearance. Caulking vs. Grouting: Which is Better for Your Bathroom Sink?


Caulking vs. Grouting: Which is Better for Your Bathroom Sink?


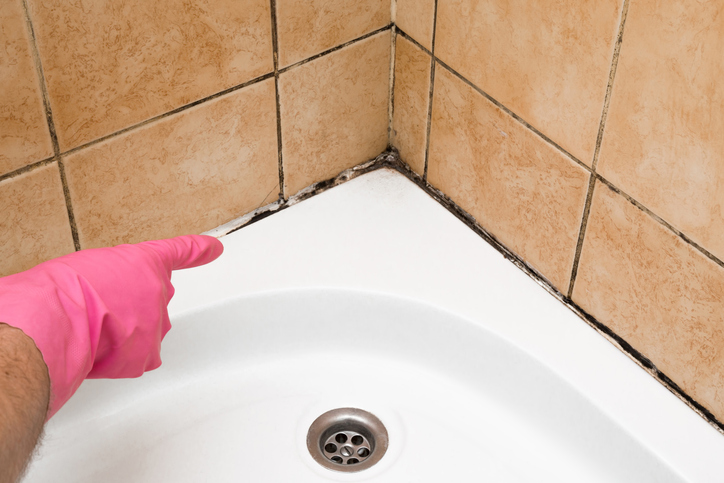


It's important to regularly check the caulk around your bathroom sink and re-caulk as needed. Over time, caulk can shrink, crack, or become discolored, which can lead to water leakage and damage. It's recommended to re-caulk your bathroom sink every 1-2 years, or as soon as you notice any signs of wear and tear. How Often Should You Re-Caulk Your Bathroom Sink?


How Often Should You Re-Caulk Your Bathroom Sink?


To achieve a professional-looking bathroom sink, here are some best caulking techniques to keep in mind: Best Caulking Techniques for a Professional-Looking Bathroom Sink


Best Caulking Techniques for a Professional-Looking Bathroom Sink


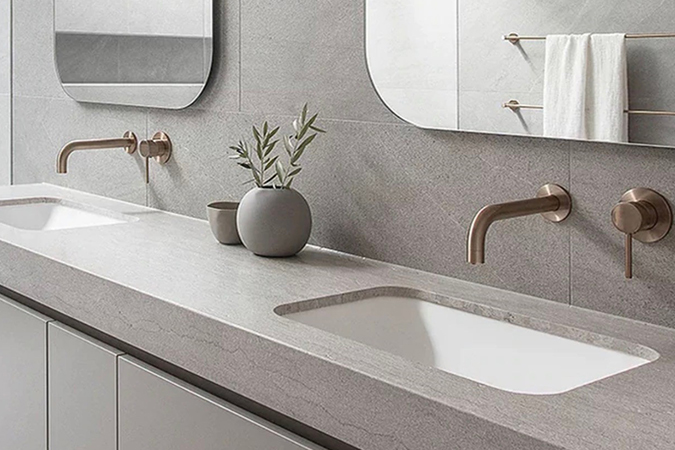
The Importance of Proper Caulking in Bathroom Sink Design
 When it comes to designing a bathroom, there are many factors to consider. From the color scheme to the fixtures, every detail plays a crucial role in creating a functional and aesthetically pleasing space. One aspect that is often overlooked but essential in bathroom design is proper caulking.
Caulking not only adds a finishing touch to the sink but also serves as a protective barrier against water damage and mold growth.
In this article, we will discuss the best way to caulk a bathroom sink to ensure a long-lasting and visually appealing result.
When it comes to designing a bathroom, there are many factors to consider. From the color scheme to the fixtures, every detail plays a crucial role in creating a functional and aesthetically pleasing space. One aspect that is often overlooked but essential in bathroom design is proper caulking.
Caulking not only adds a finishing touch to the sink but also serves as a protective barrier against water damage and mold growth.
In this article, we will discuss the best way to caulk a bathroom sink to ensure a long-lasting and visually appealing result.
Pick the Right Caulk
 Before beginning the caulking process, it is crucial to choose the right caulk for your bathroom sink.
There are various types of caulk available, including silicone, acrylic, and latex.
Silicone caulk is the most durable and waterproof option, making it ideal for areas prone to moisture, such as the bathroom. Acrylic caulk is best for areas that need to be painted over, while latex caulk is suitable for non-wet areas.
Be sure to read the label to ensure you are using the correct type of caulk for your bathroom sink.
Before beginning the caulking process, it is crucial to choose the right caulk for your bathroom sink.
There are various types of caulk available, including silicone, acrylic, and latex.
Silicone caulk is the most durable and waterproof option, making it ideal for areas prone to moisture, such as the bathroom. Acrylic caulk is best for areas that need to be painted over, while latex caulk is suitable for non-wet areas.
Be sure to read the label to ensure you are using the correct type of caulk for your bathroom sink.
Prepare the Surface
 Before applying caulk,
it is essential to thoroughly clean and dry the area around the sink.
Any dirt, grime, or old caulk residue can prevent the new caulk from adhering properly. Use a mild cleaner and a scrub brush to remove any buildup, then dry the surface with a clean cloth.
You may also want to use a caulk remover to get rid of old caulk completely.
Once the surface is clean and dry,
use painter's tape to mask off areas that you do not want to get caulk on, such as the sink and countertop.
Before applying caulk,
it is essential to thoroughly clean and dry the area around the sink.
Any dirt, grime, or old caulk residue can prevent the new caulk from adhering properly. Use a mild cleaner and a scrub brush to remove any buildup, then dry the surface with a clean cloth.
You may also want to use a caulk remover to get rid of old caulk completely.
Once the surface is clean and dry,
use painter's tape to mask off areas that you do not want to get caulk on, such as the sink and countertop.
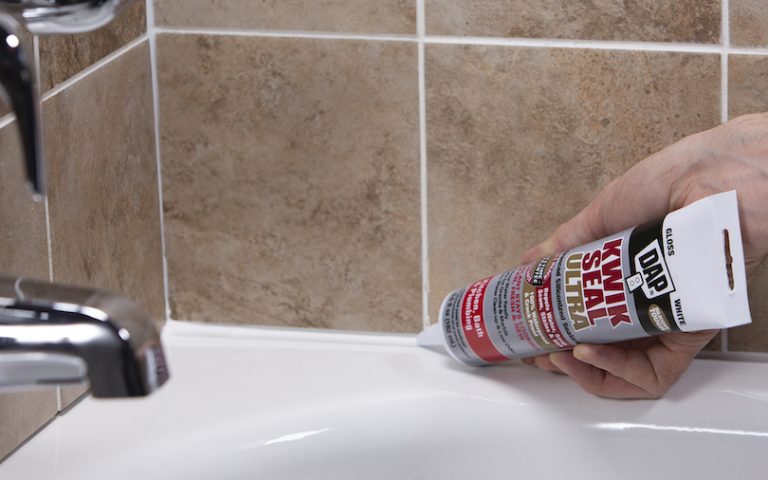
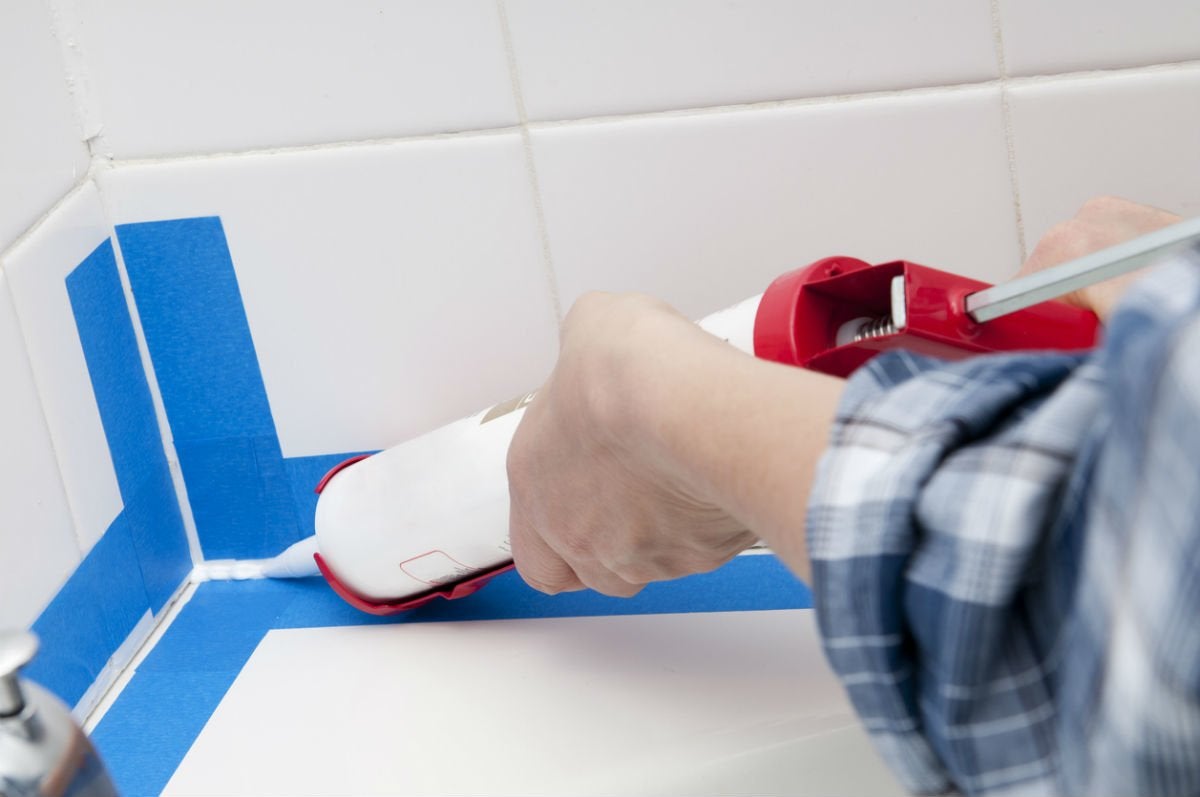
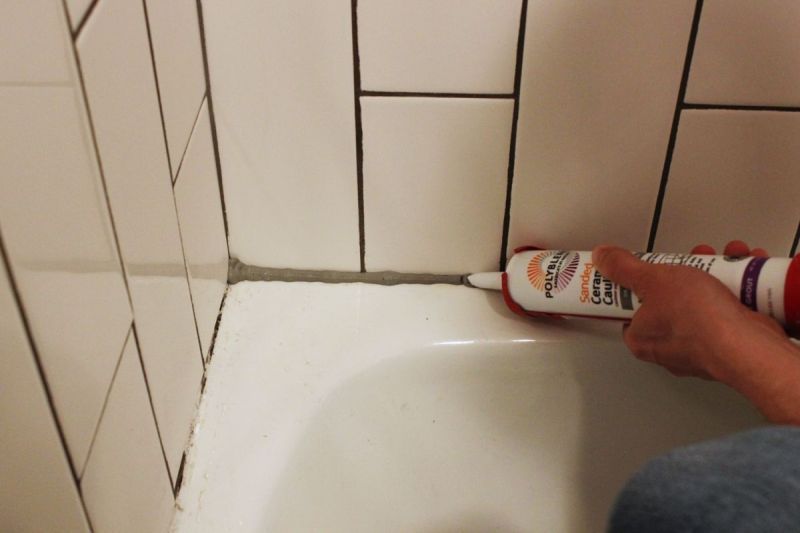
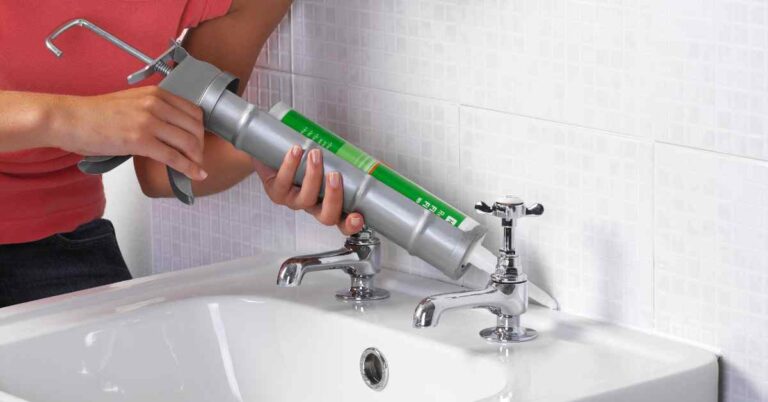
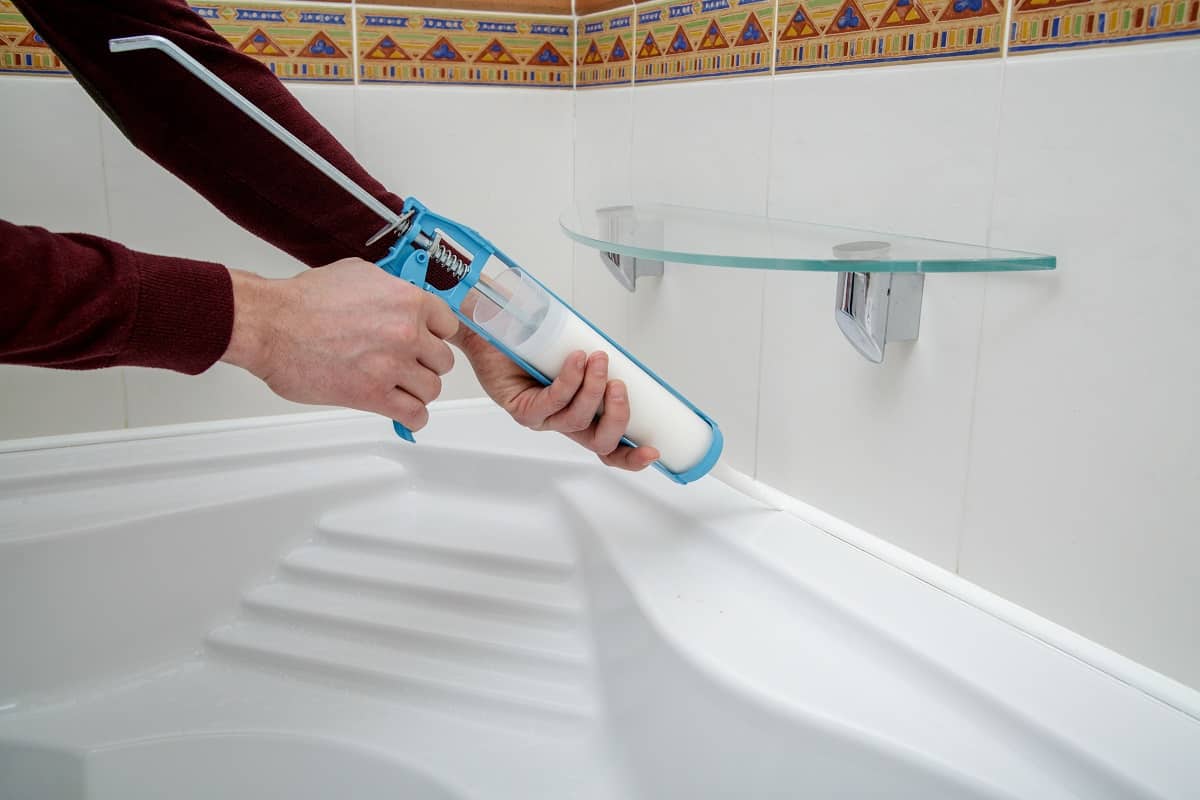
Apply the Caulk
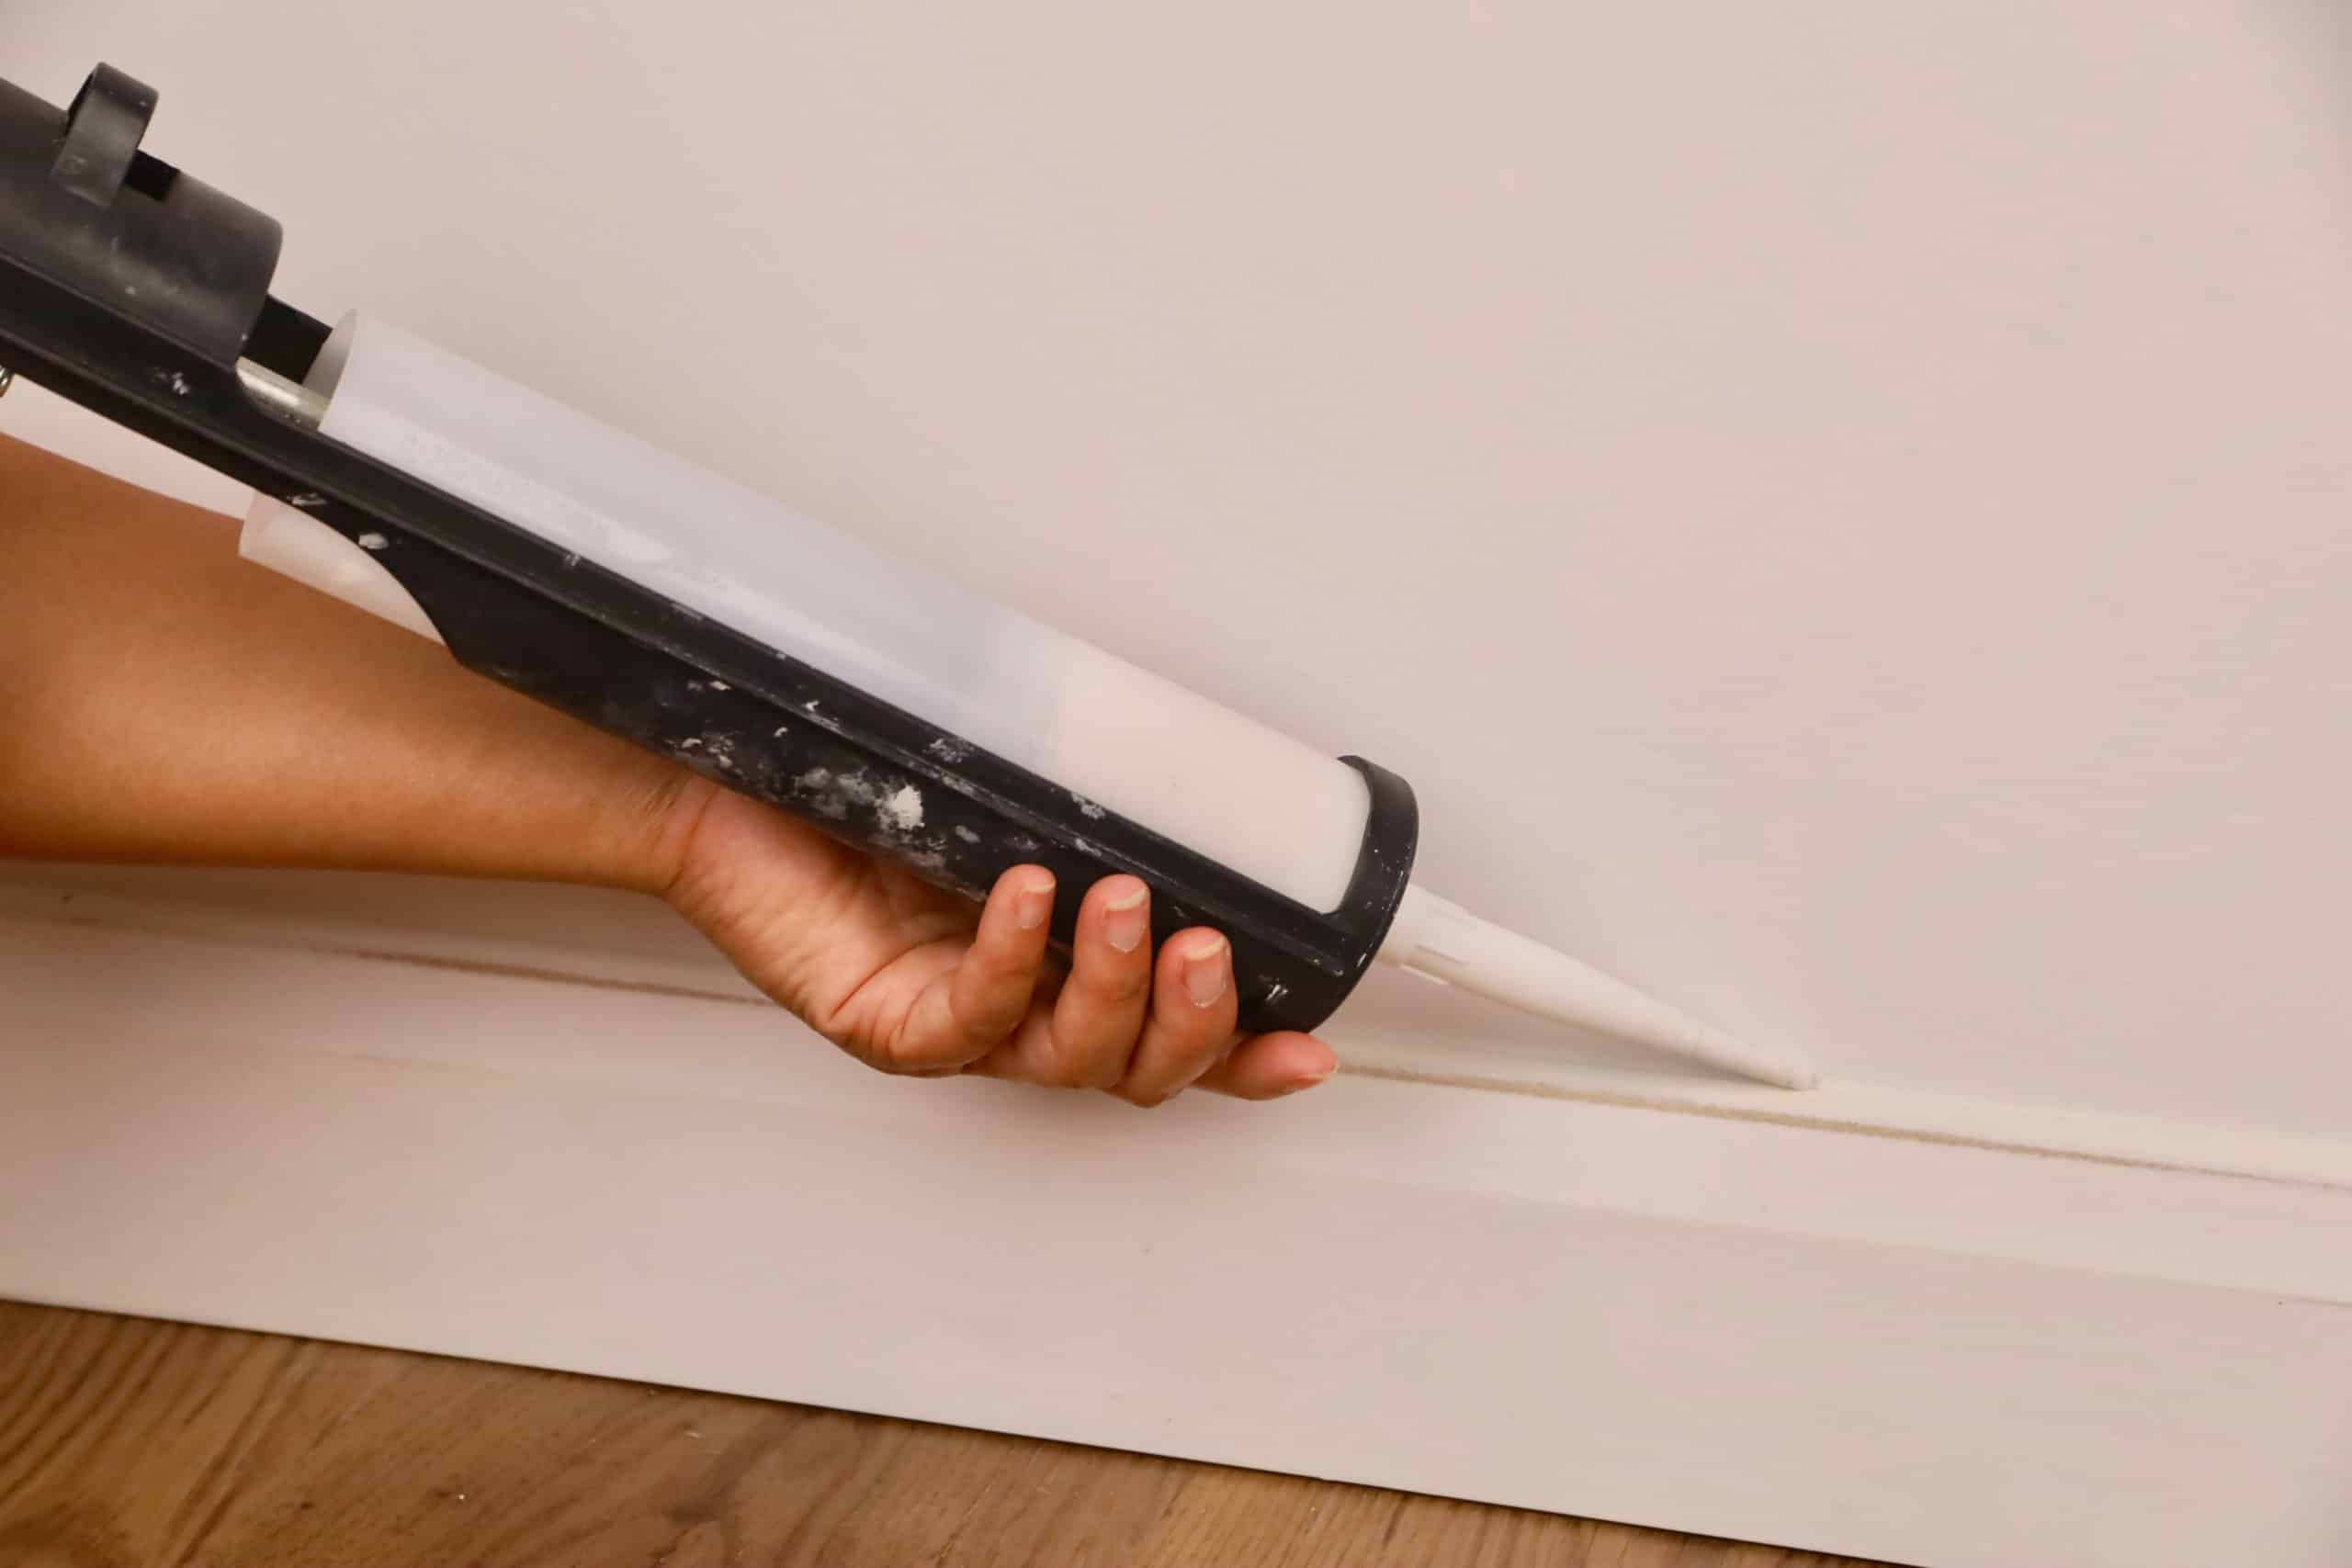
 Now that the surface is prepped, it's time to apply the caulk.
Using a caulk gun, apply a thin and even bead of caulk along the edge of the sink where it meets the countertop, as well as any other areas that need caulking.
Be sure to work in small sections and remove the tape immediately after applying the caulk to prevent it from drying and sticking to the tape.
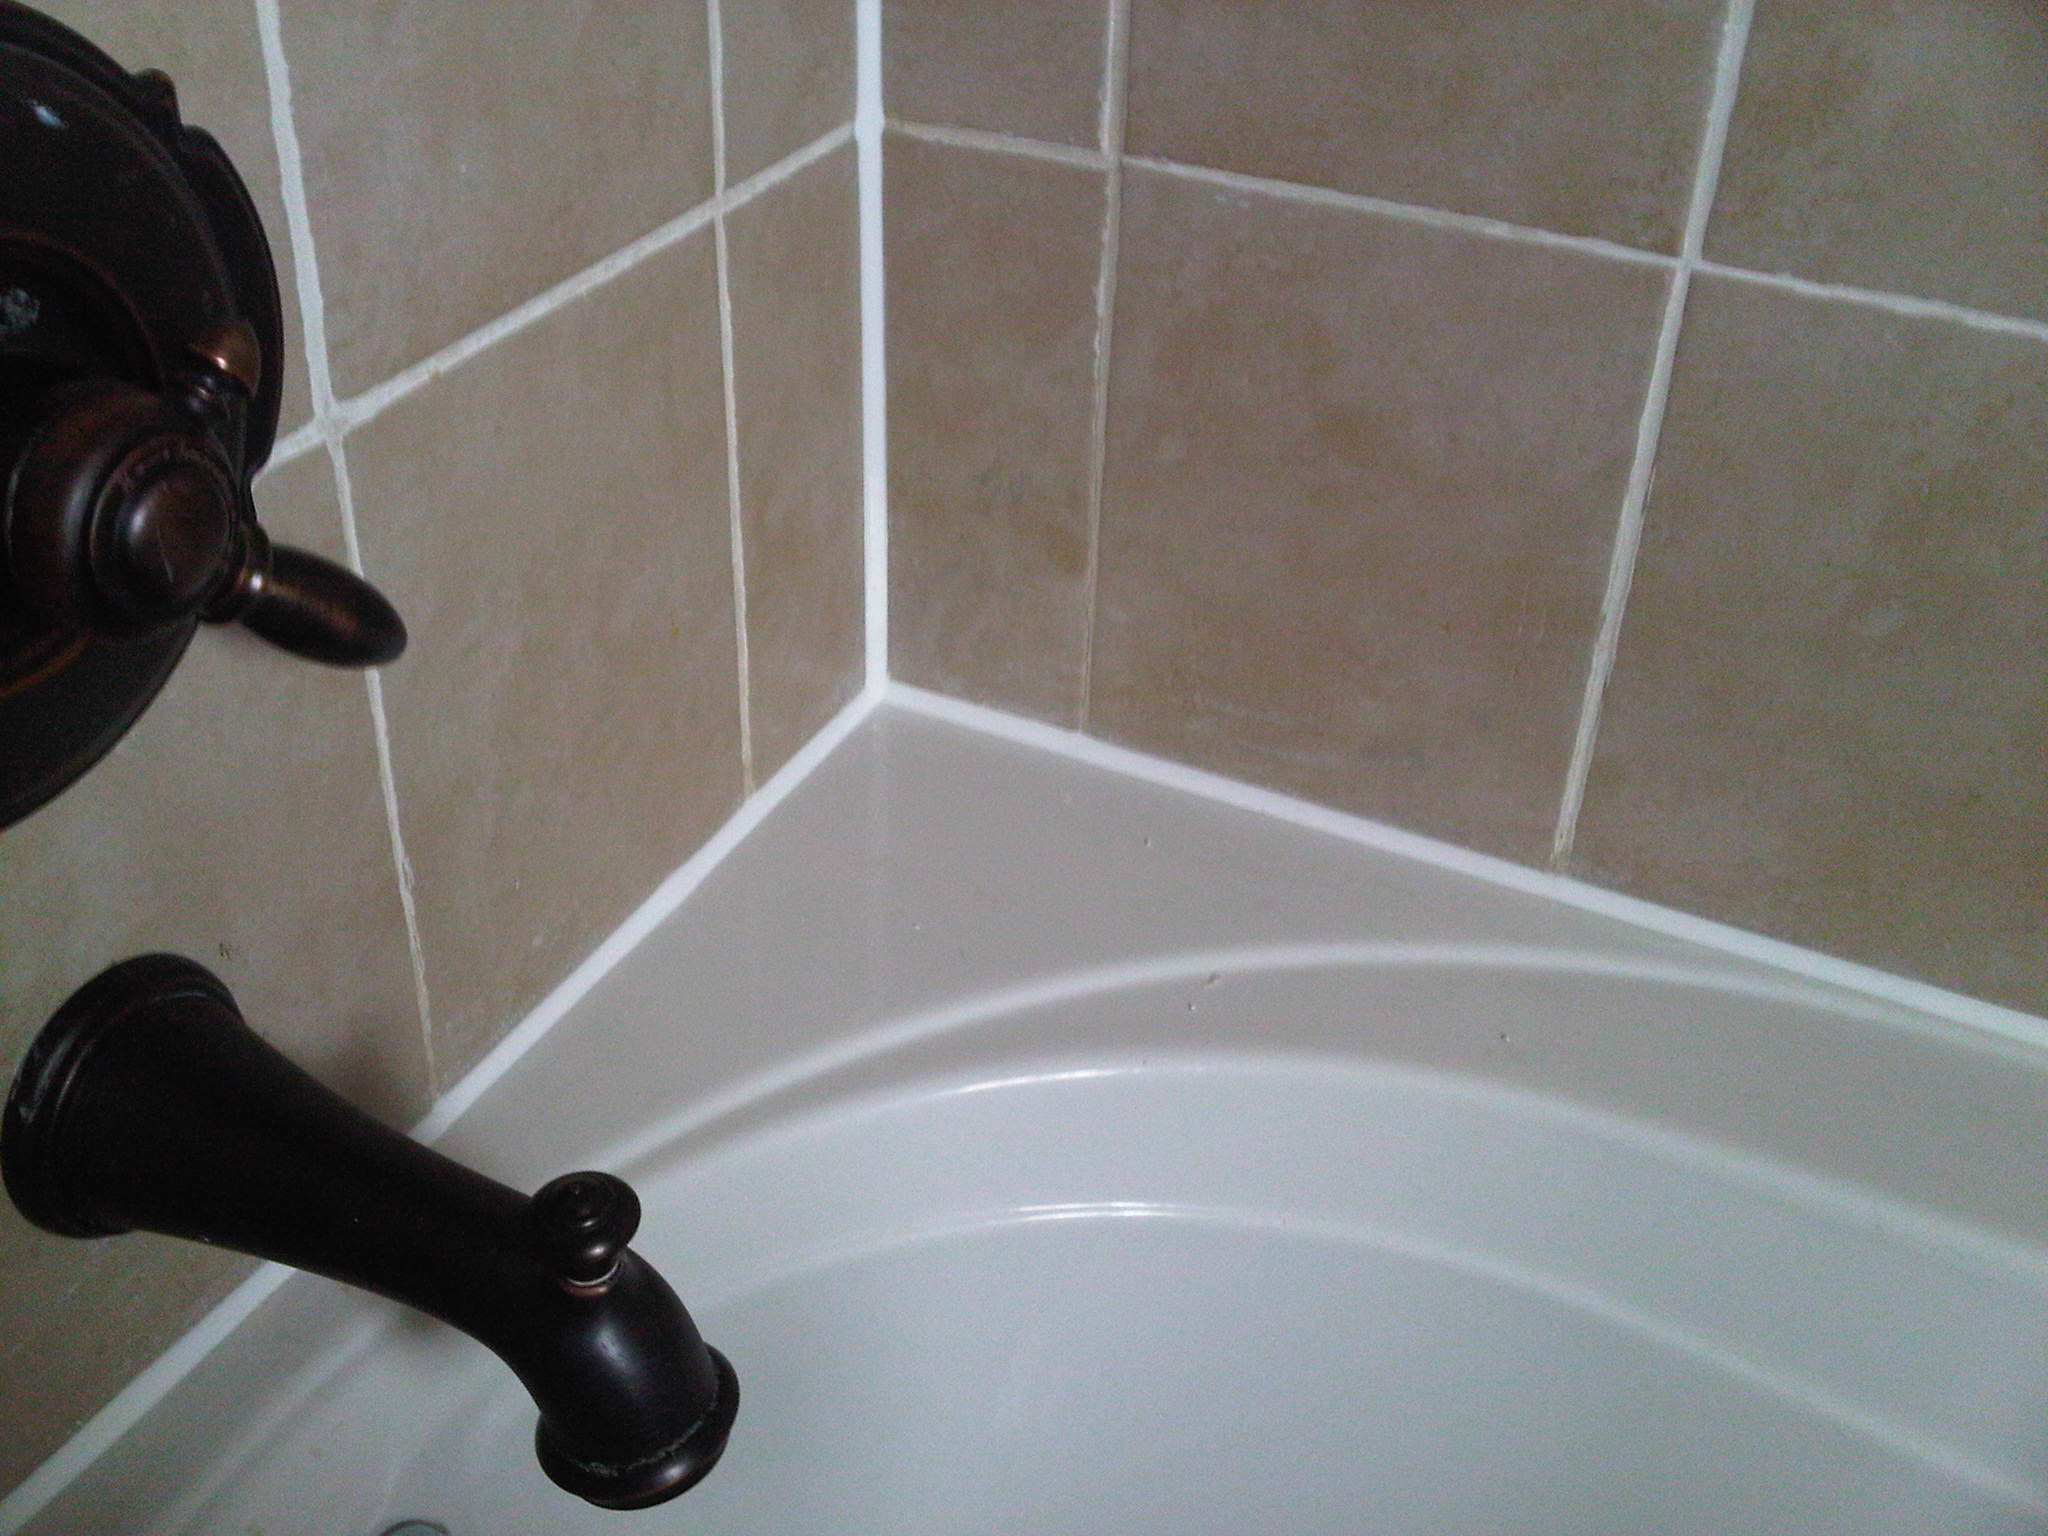
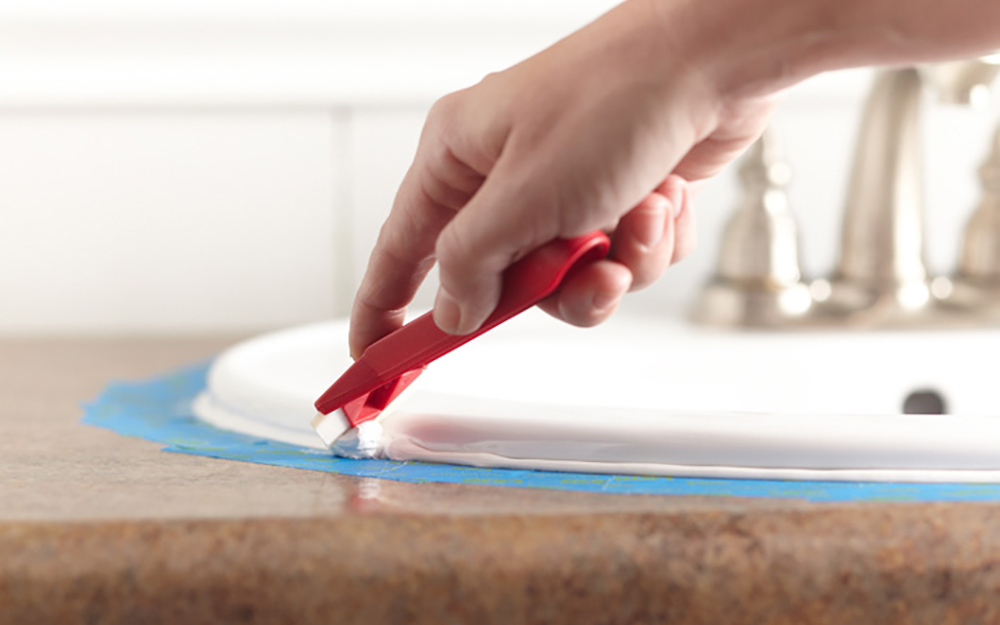
Use your finger or a caulk smoothing tool to smooth out the caulk and create a neat finish.
Wipe off any excess caulk with a damp cloth.
Now that the surface is prepped, it's time to apply the caulk.
Using a caulk gun, apply a thin and even bead of caulk along the edge of the sink where it meets the countertop, as well as any other areas that need caulking.
Be sure to work in small sections and remove the tape immediately after applying the caulk to prevent it from drying and sticking to the tape.
Use your finger or a caulk smoothing tool to smooth out the caulk and create a neat finish.
Wipe off any excess caulk with a damp cloth.
Let it Dry
 Allow the caulk to dry completely before using the sink or exposing it to water.
The drying time can vary depending on the type of caulk used, so be sure to read the label for specific instructions. Once the caulk is dry,
remove any remaining painter's tape and enjoy your newly caulked bathroom sink.
In conclusion, proper caulking is an essential step in creating a functional and visually appealing bathroom sink. By following the steps outlined in this article,
you can ensure that your caulk will last for years to come, protecting your sink and adding a professional finish to your bathroom design.
Don't forget to choose the right caulk, prepare the surface, apply it evenly, and let it dry before using your sink. With these tips, you can achieve a perfectly caulked bathroom sink that will enhance the overall design of your bathroom.
Allow the caulk to dry completely before using the sink or exposing it to water.
The drying time can vary depending on the type of caulk used, so be sure to read the label for specific instructions. Once the caulk is dry,
remove any remaining painter's tape and enjoy your newly caulked bathroom sink.
In conclusion, proper caulking is an essential step in creating a functional and visually appealing bathroom sink. By following the steps outlined in this article,
you can ensure that your caulk will last for years to come, protecting your sink and adding a professional finish to your bathroom design.
Don't forget to choose the right caulk, prepare the surface, apply it evenly, and let it dry before using your sink. With these tips, you can achieve a perfectly caulked bathroom sink that will enhance the overall design of your bathroom.