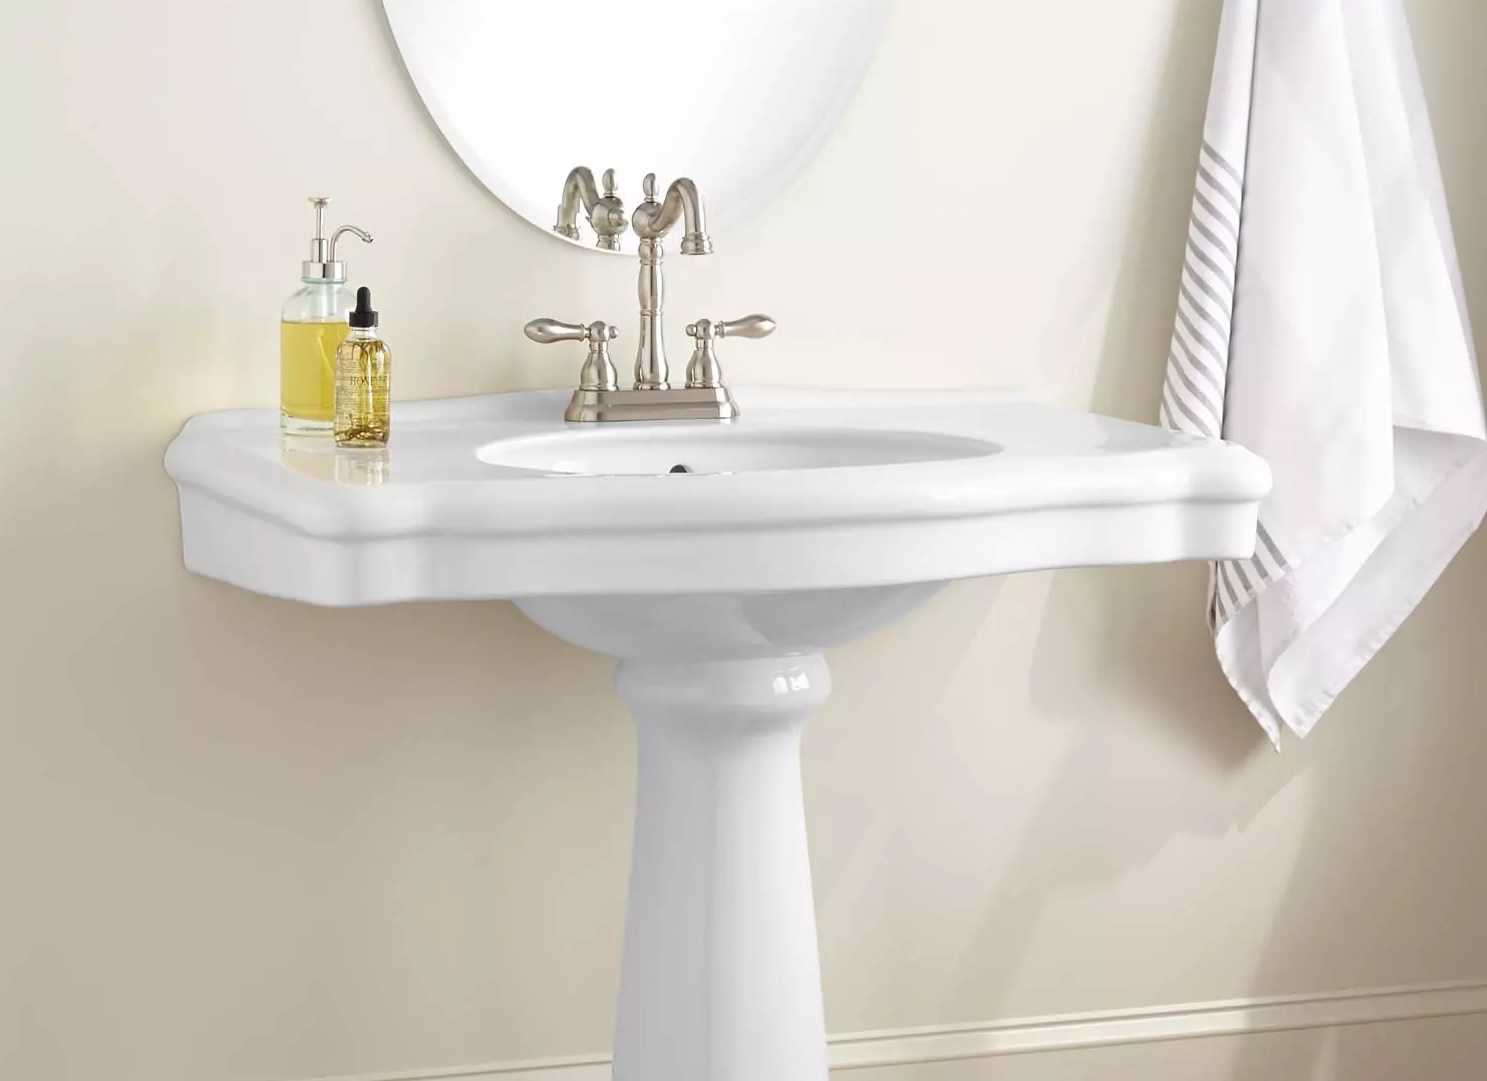
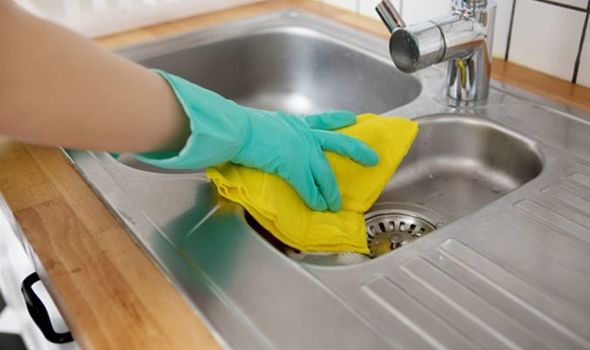
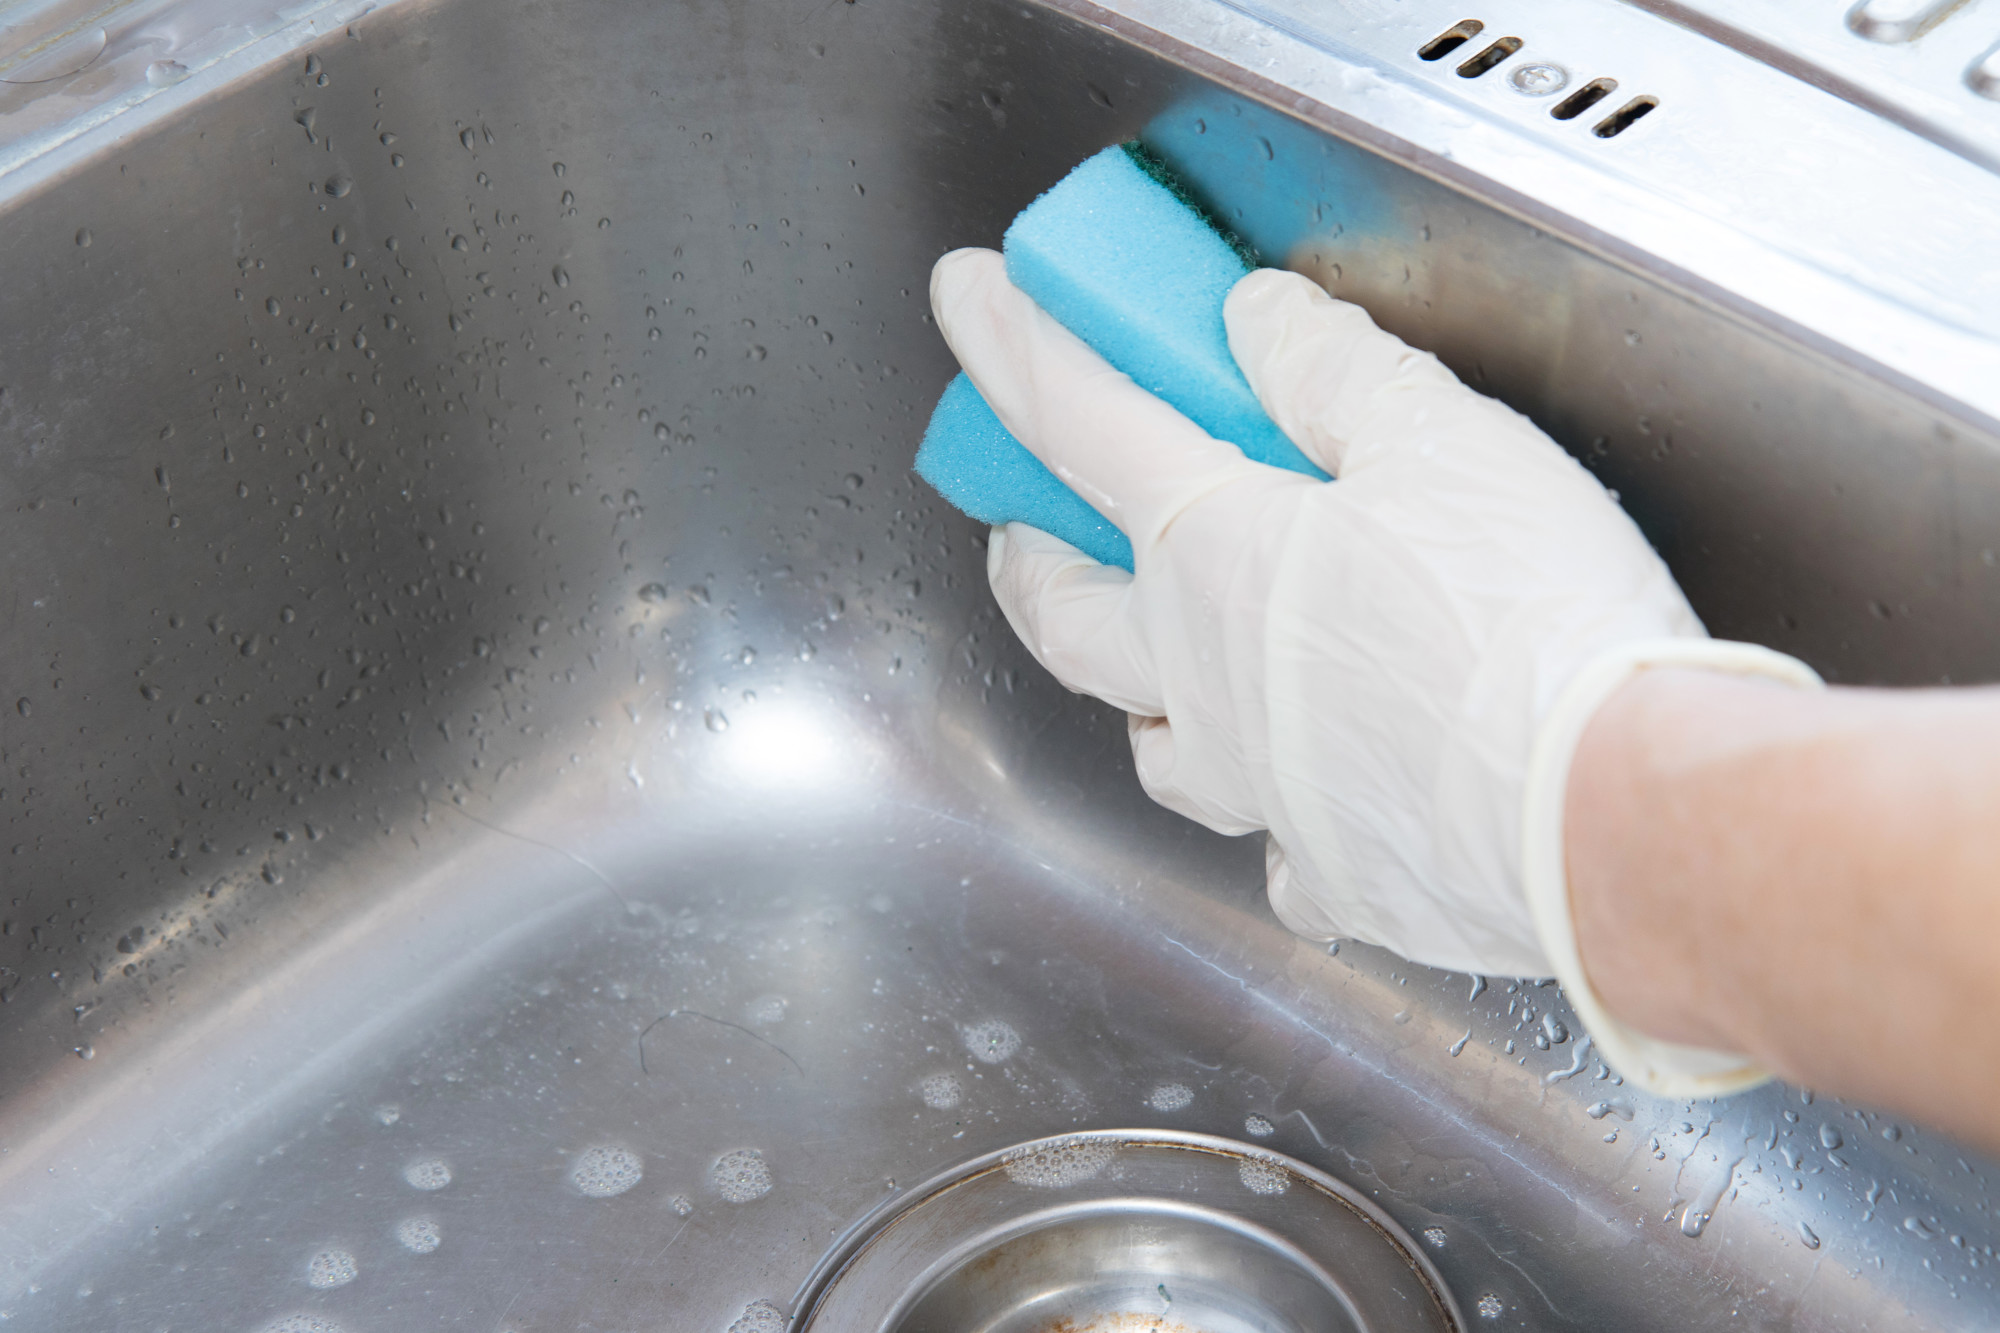
Before you start caulking your kitchen sink, it's important to make sure the area is clean and free of any debris. Use a damp cloth to wipe down the sink and surrounding countertop to remove any dirt or grime. This will ensure that the caulk adheres properly and creates a tight seal.1. Clean the area around the sink


1. Clean the area around the sink


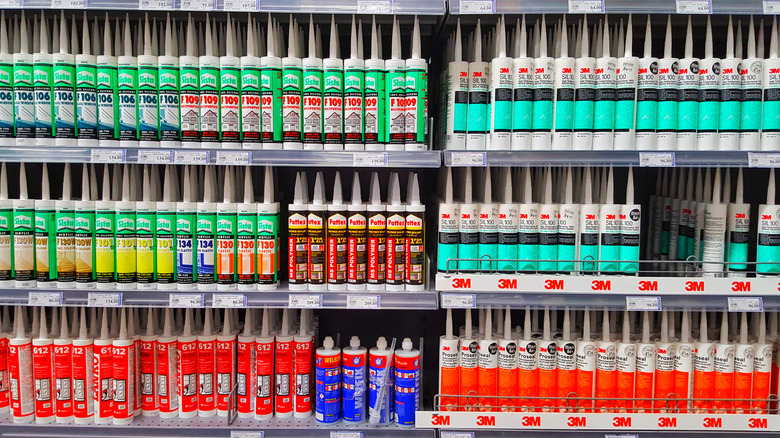
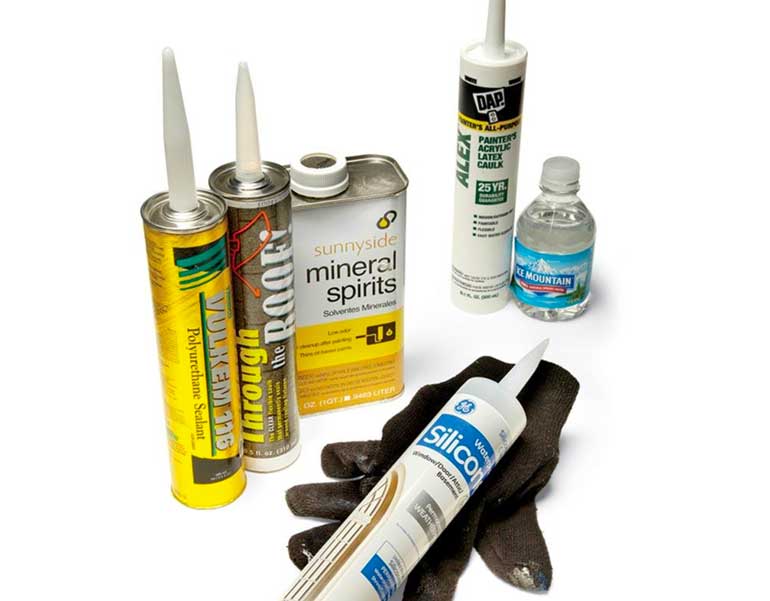
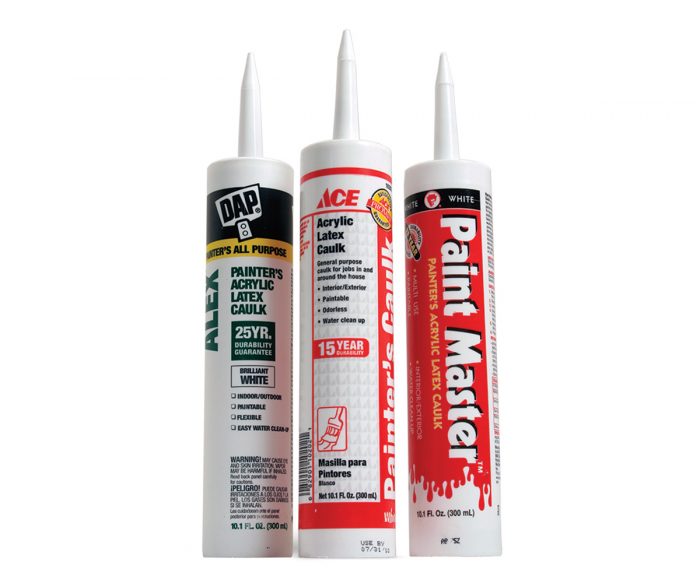
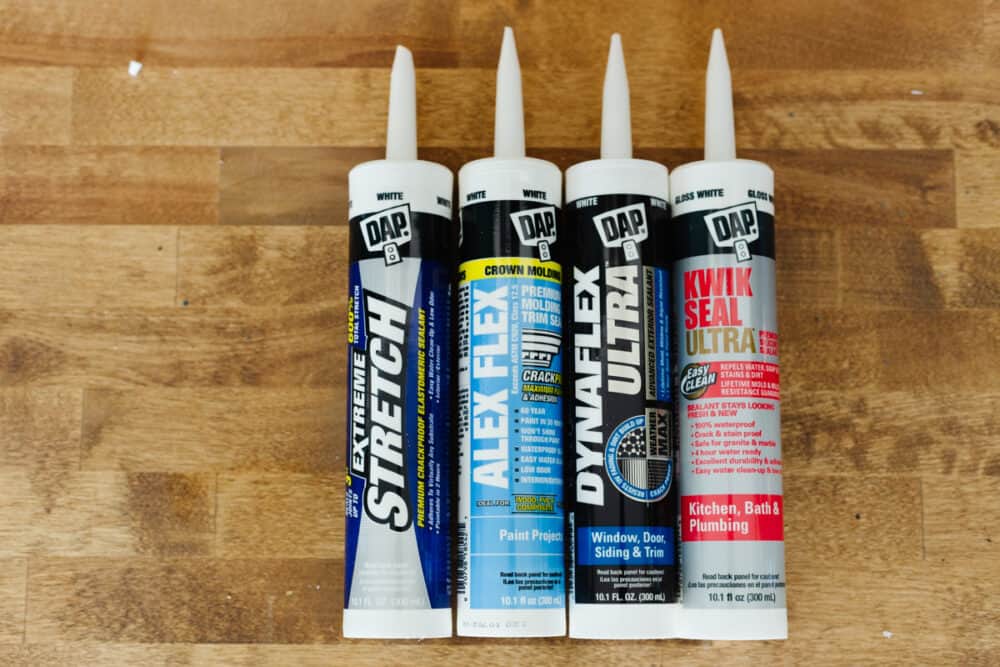
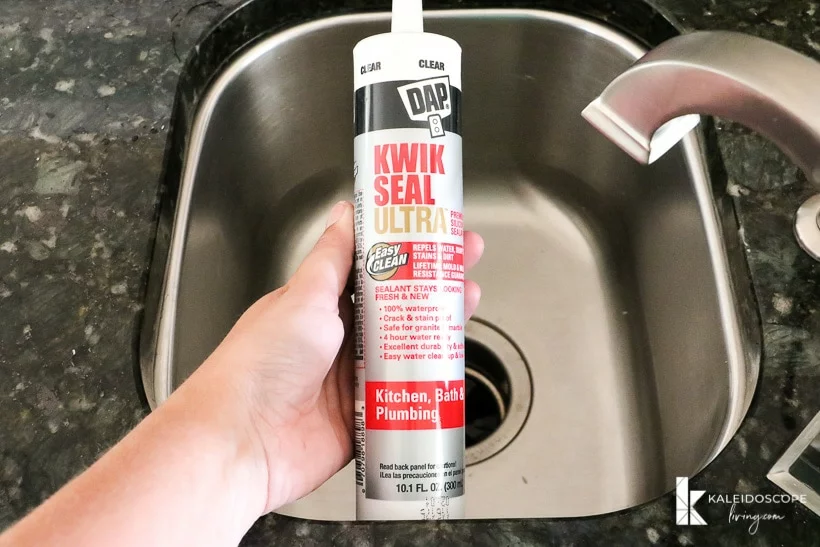
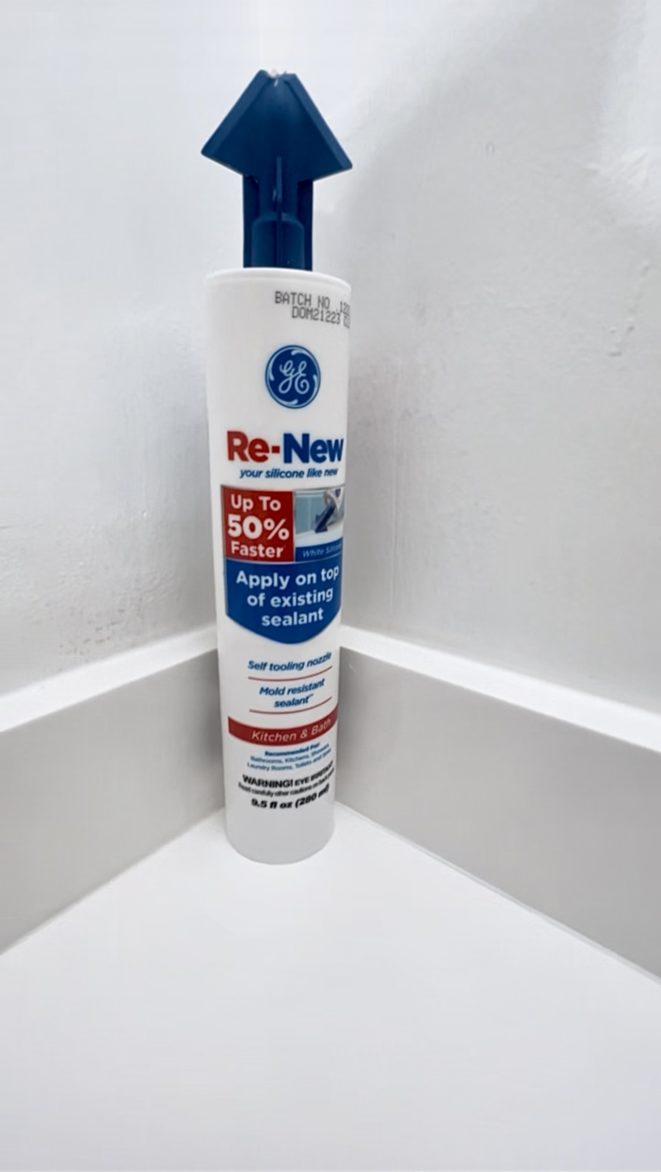
Not all caulk is created equal, and choosing the right one for your kitchen sink is essential for a successful caulking job. Look for a waterproof, silicone-based caulk that is specifically designed for use in kitchens and bathrooms. This will ensure that it can withstand moisture and won't crack or shrink over time.2. Choose the right caulk for your sink


2. Choose the right caulk for your sink


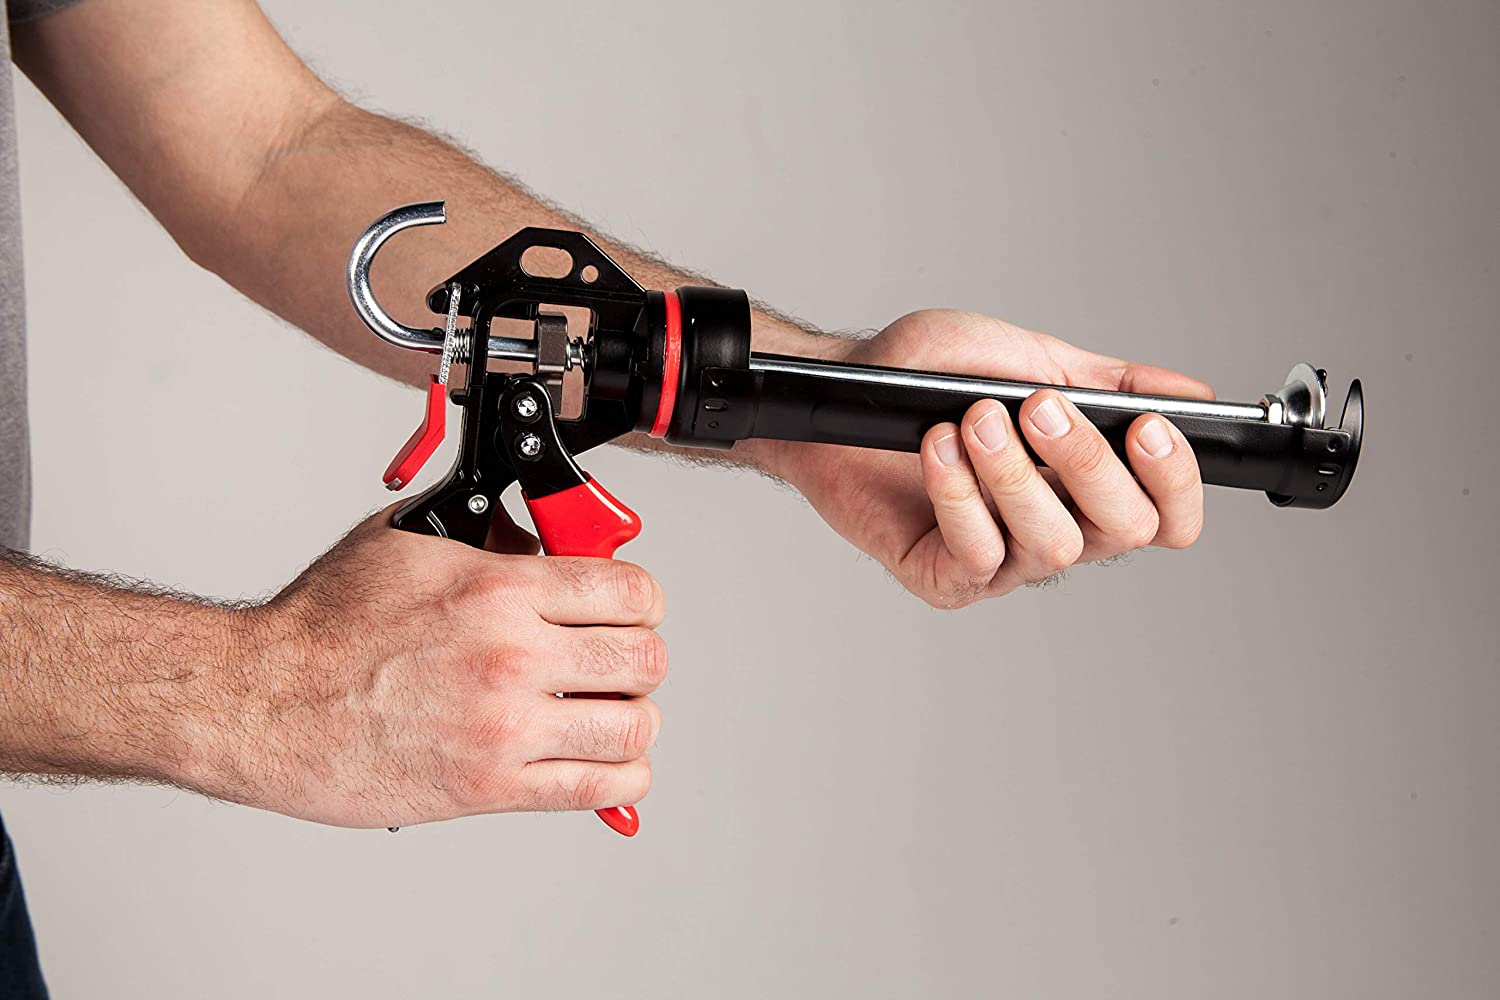
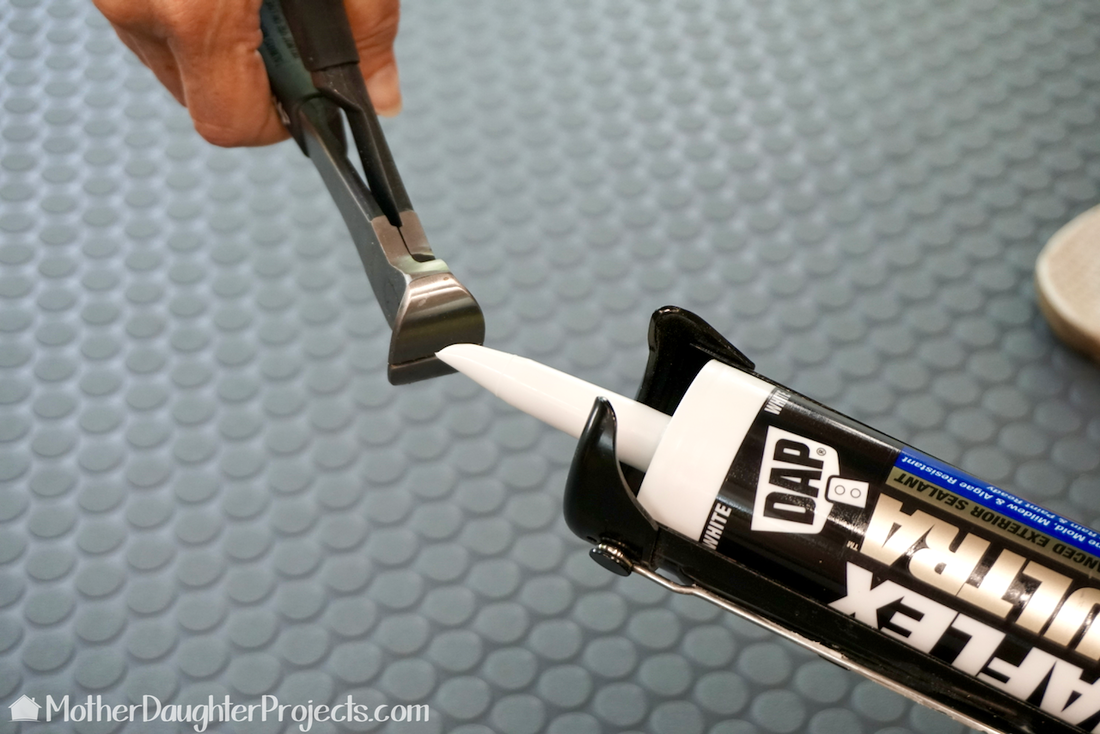
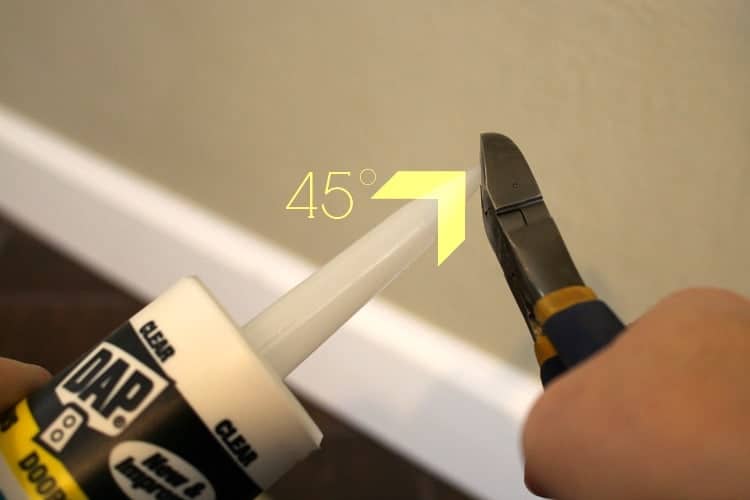
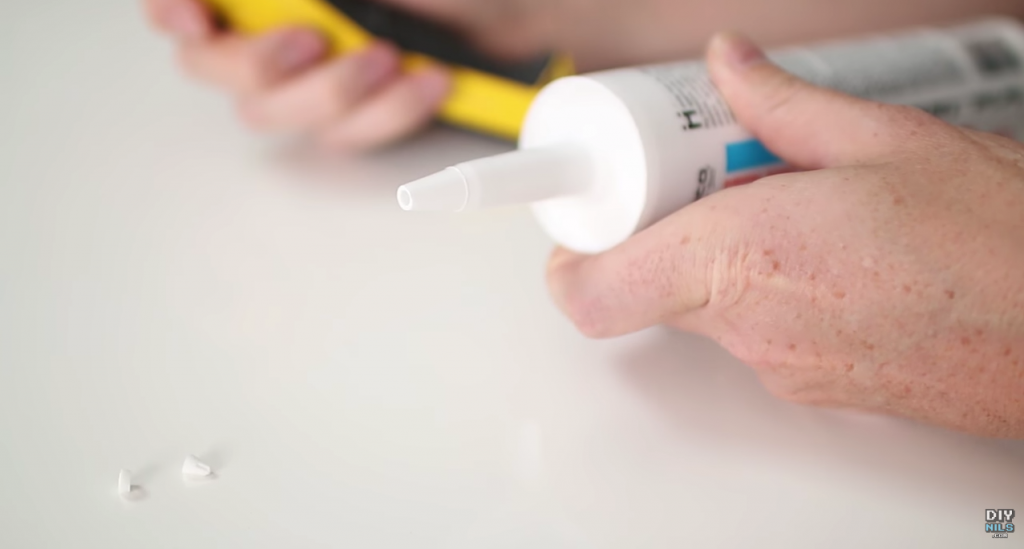
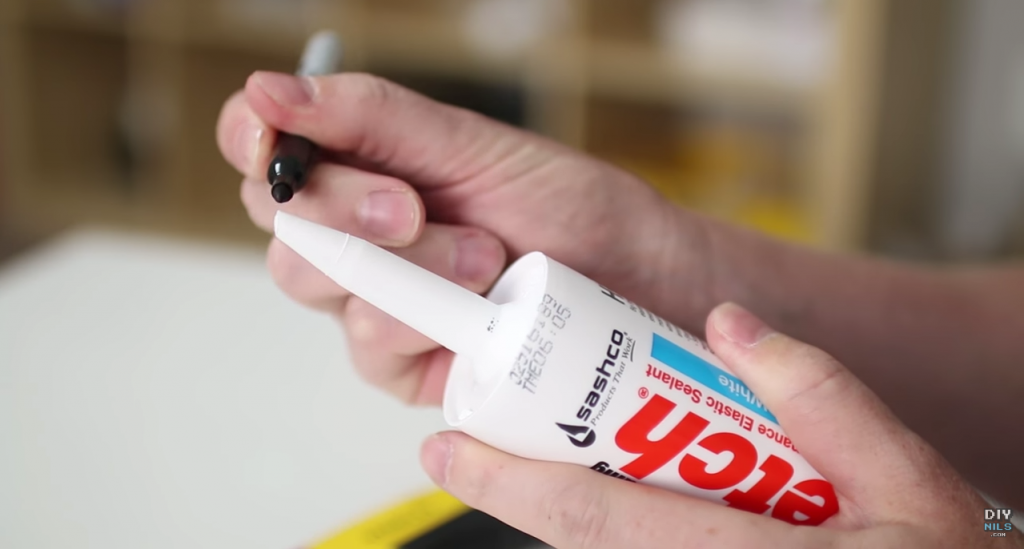
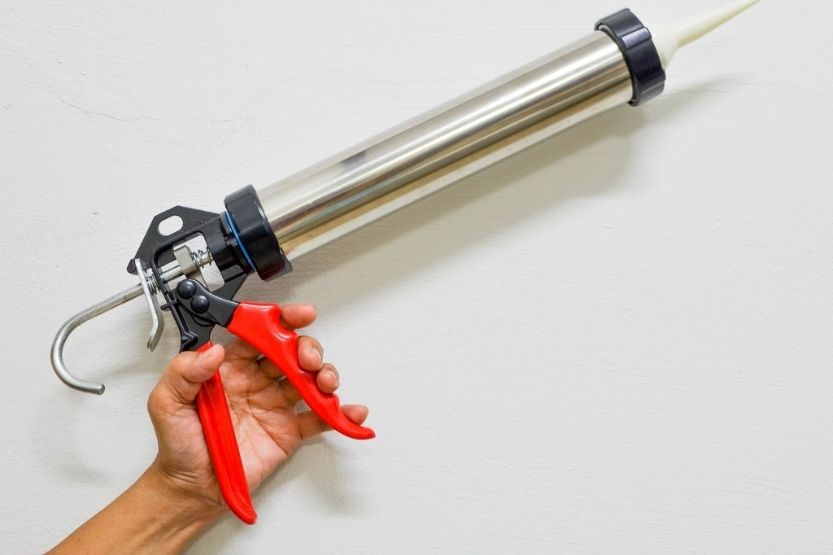
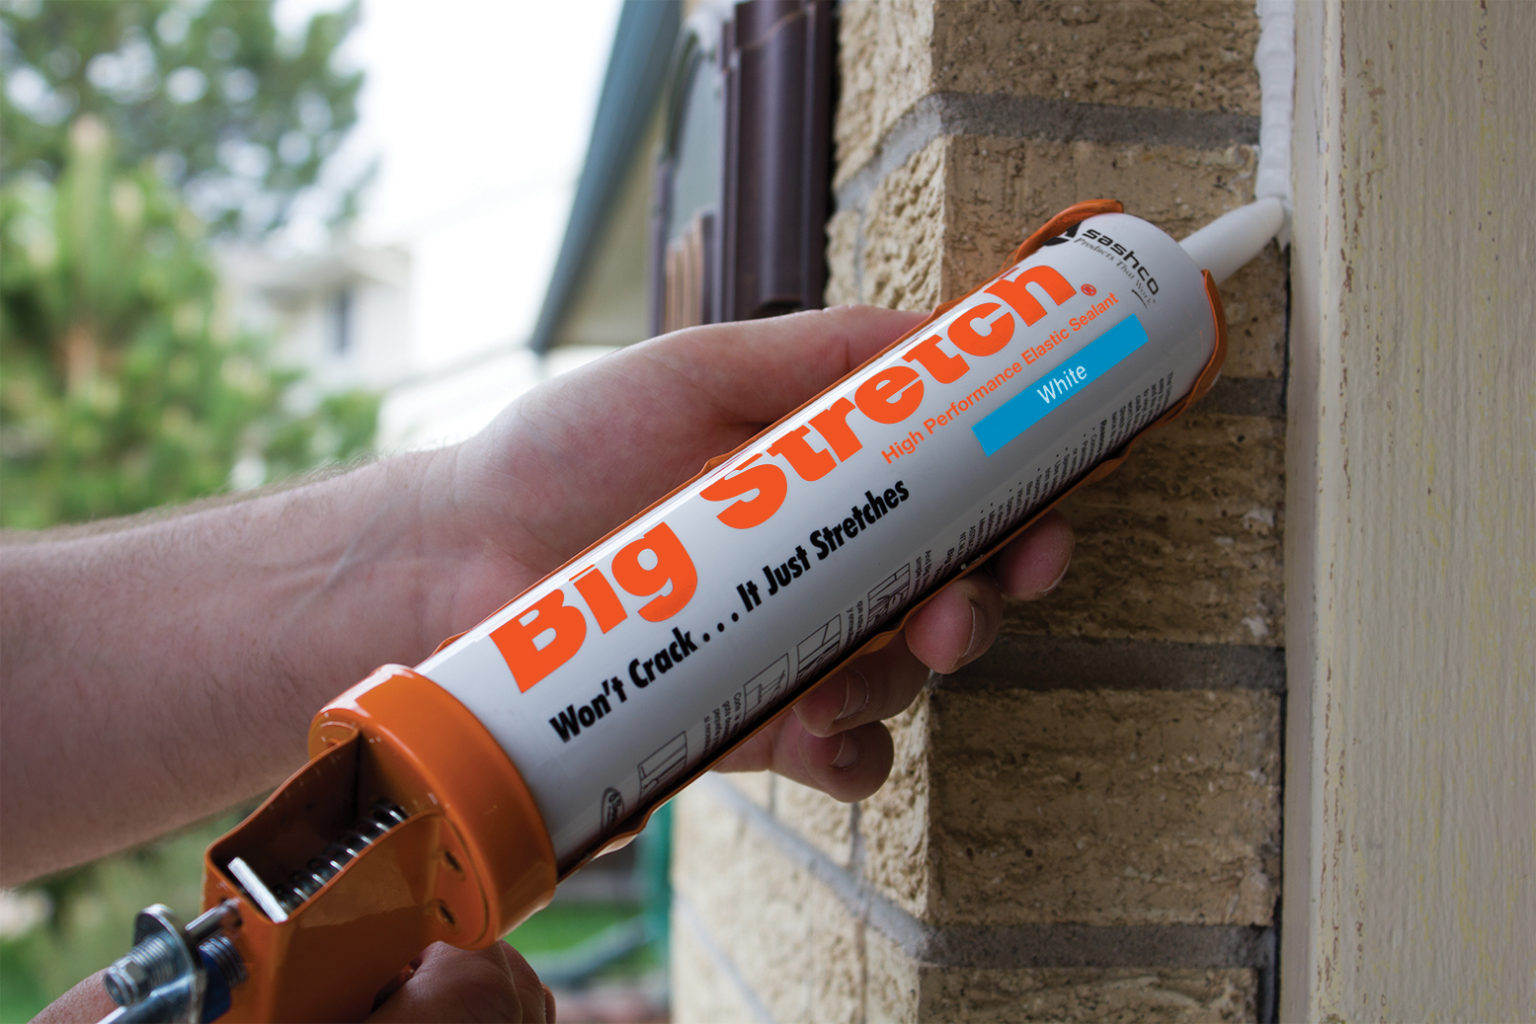
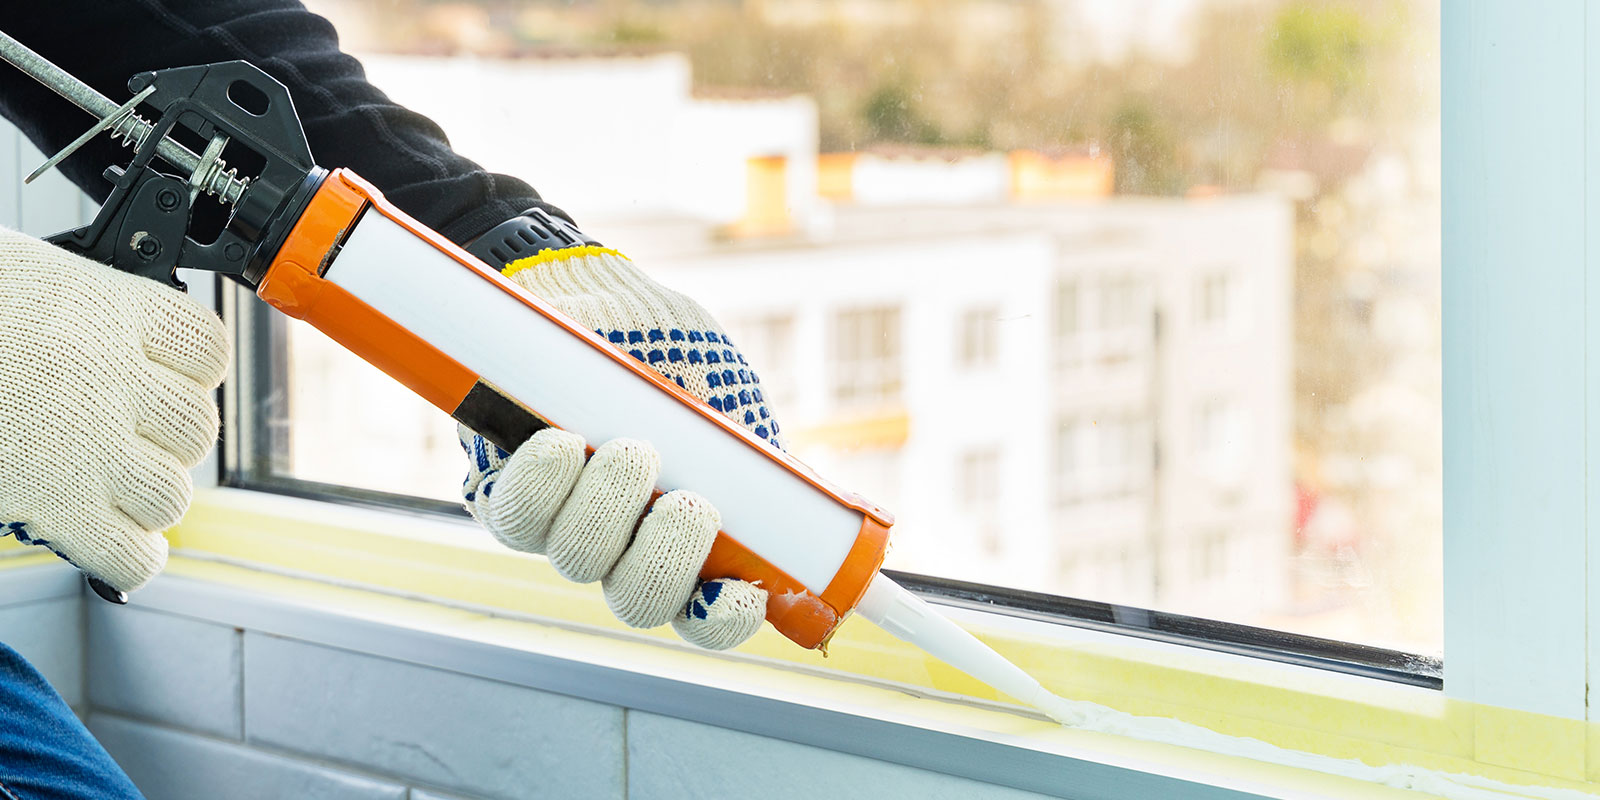
Before you begin applying the caulk, it's important to prepare the caulk and your caulking gun. Cut off the tip of the caulk tube at a 45-degree angle using a sharp utility knife. This will allow for a smooth and precise application. Then, load the caulk tube into the caulking gun, making sure it is securely in place.3. Prepare the caulk and caulking gun


3. Prepare the caulk and caulking gun
/Caulkinggun-GettyImages-157615010-59755efbd088c0001028ee22.jpg)


When it comes to applying the caulk, the angle of the cut on the caulk tube is crucial. Cutting it at a 45-degree angle will allow for a more controlled and even flow of caulk. This will make it easier to create a neat and tidy seal around your kitchen sink.4. Cut the tip of the caulk tube at a 45-degree angle


4. Cut the tip of the caulk tube at a 45-degree angle


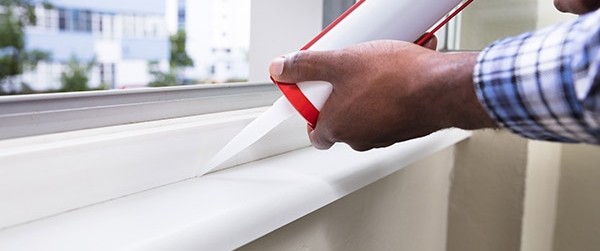
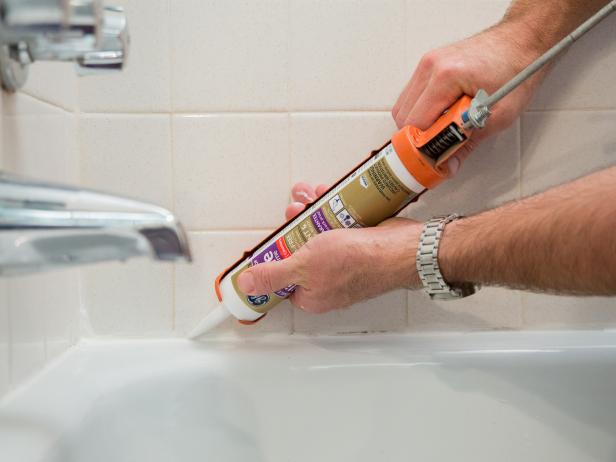
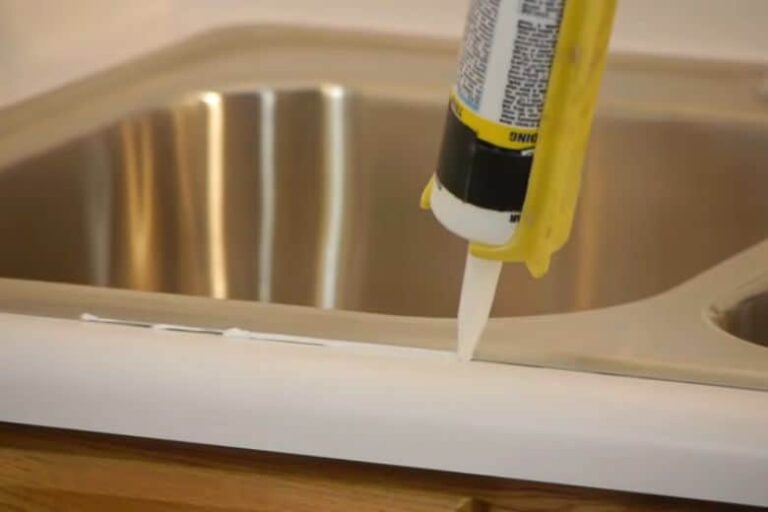
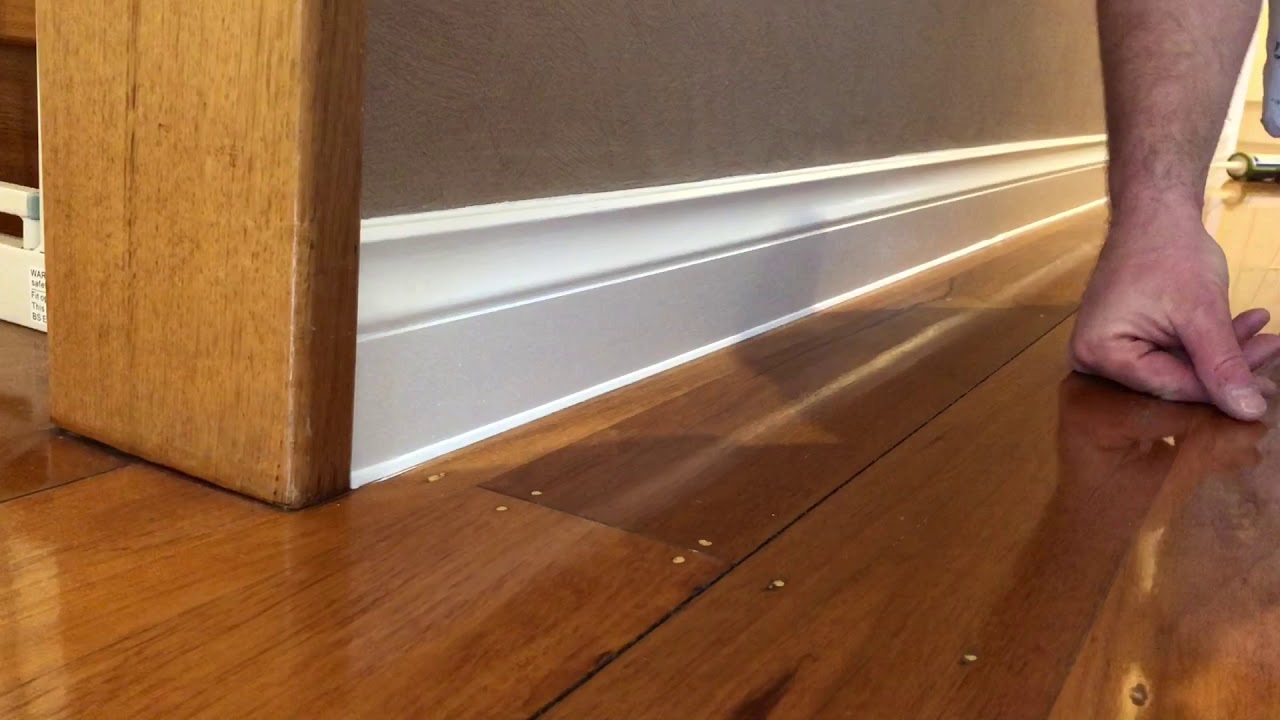
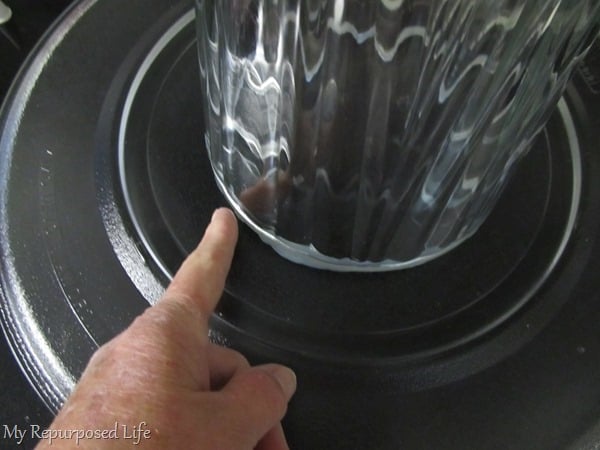
Starting at one end of the sink, place the tip of the caulk tube in the gap between the sink and countertop and gently squeeze the trigger of the caulking gun. Move the gun along the gap, applying a steady and even bead of caulk. Make sure to fill the entire gap, leaving no empty spaces.5. Apply caulk to the gap between the sink and countertop

5. Apply caulk to the gap between the sink and countertop


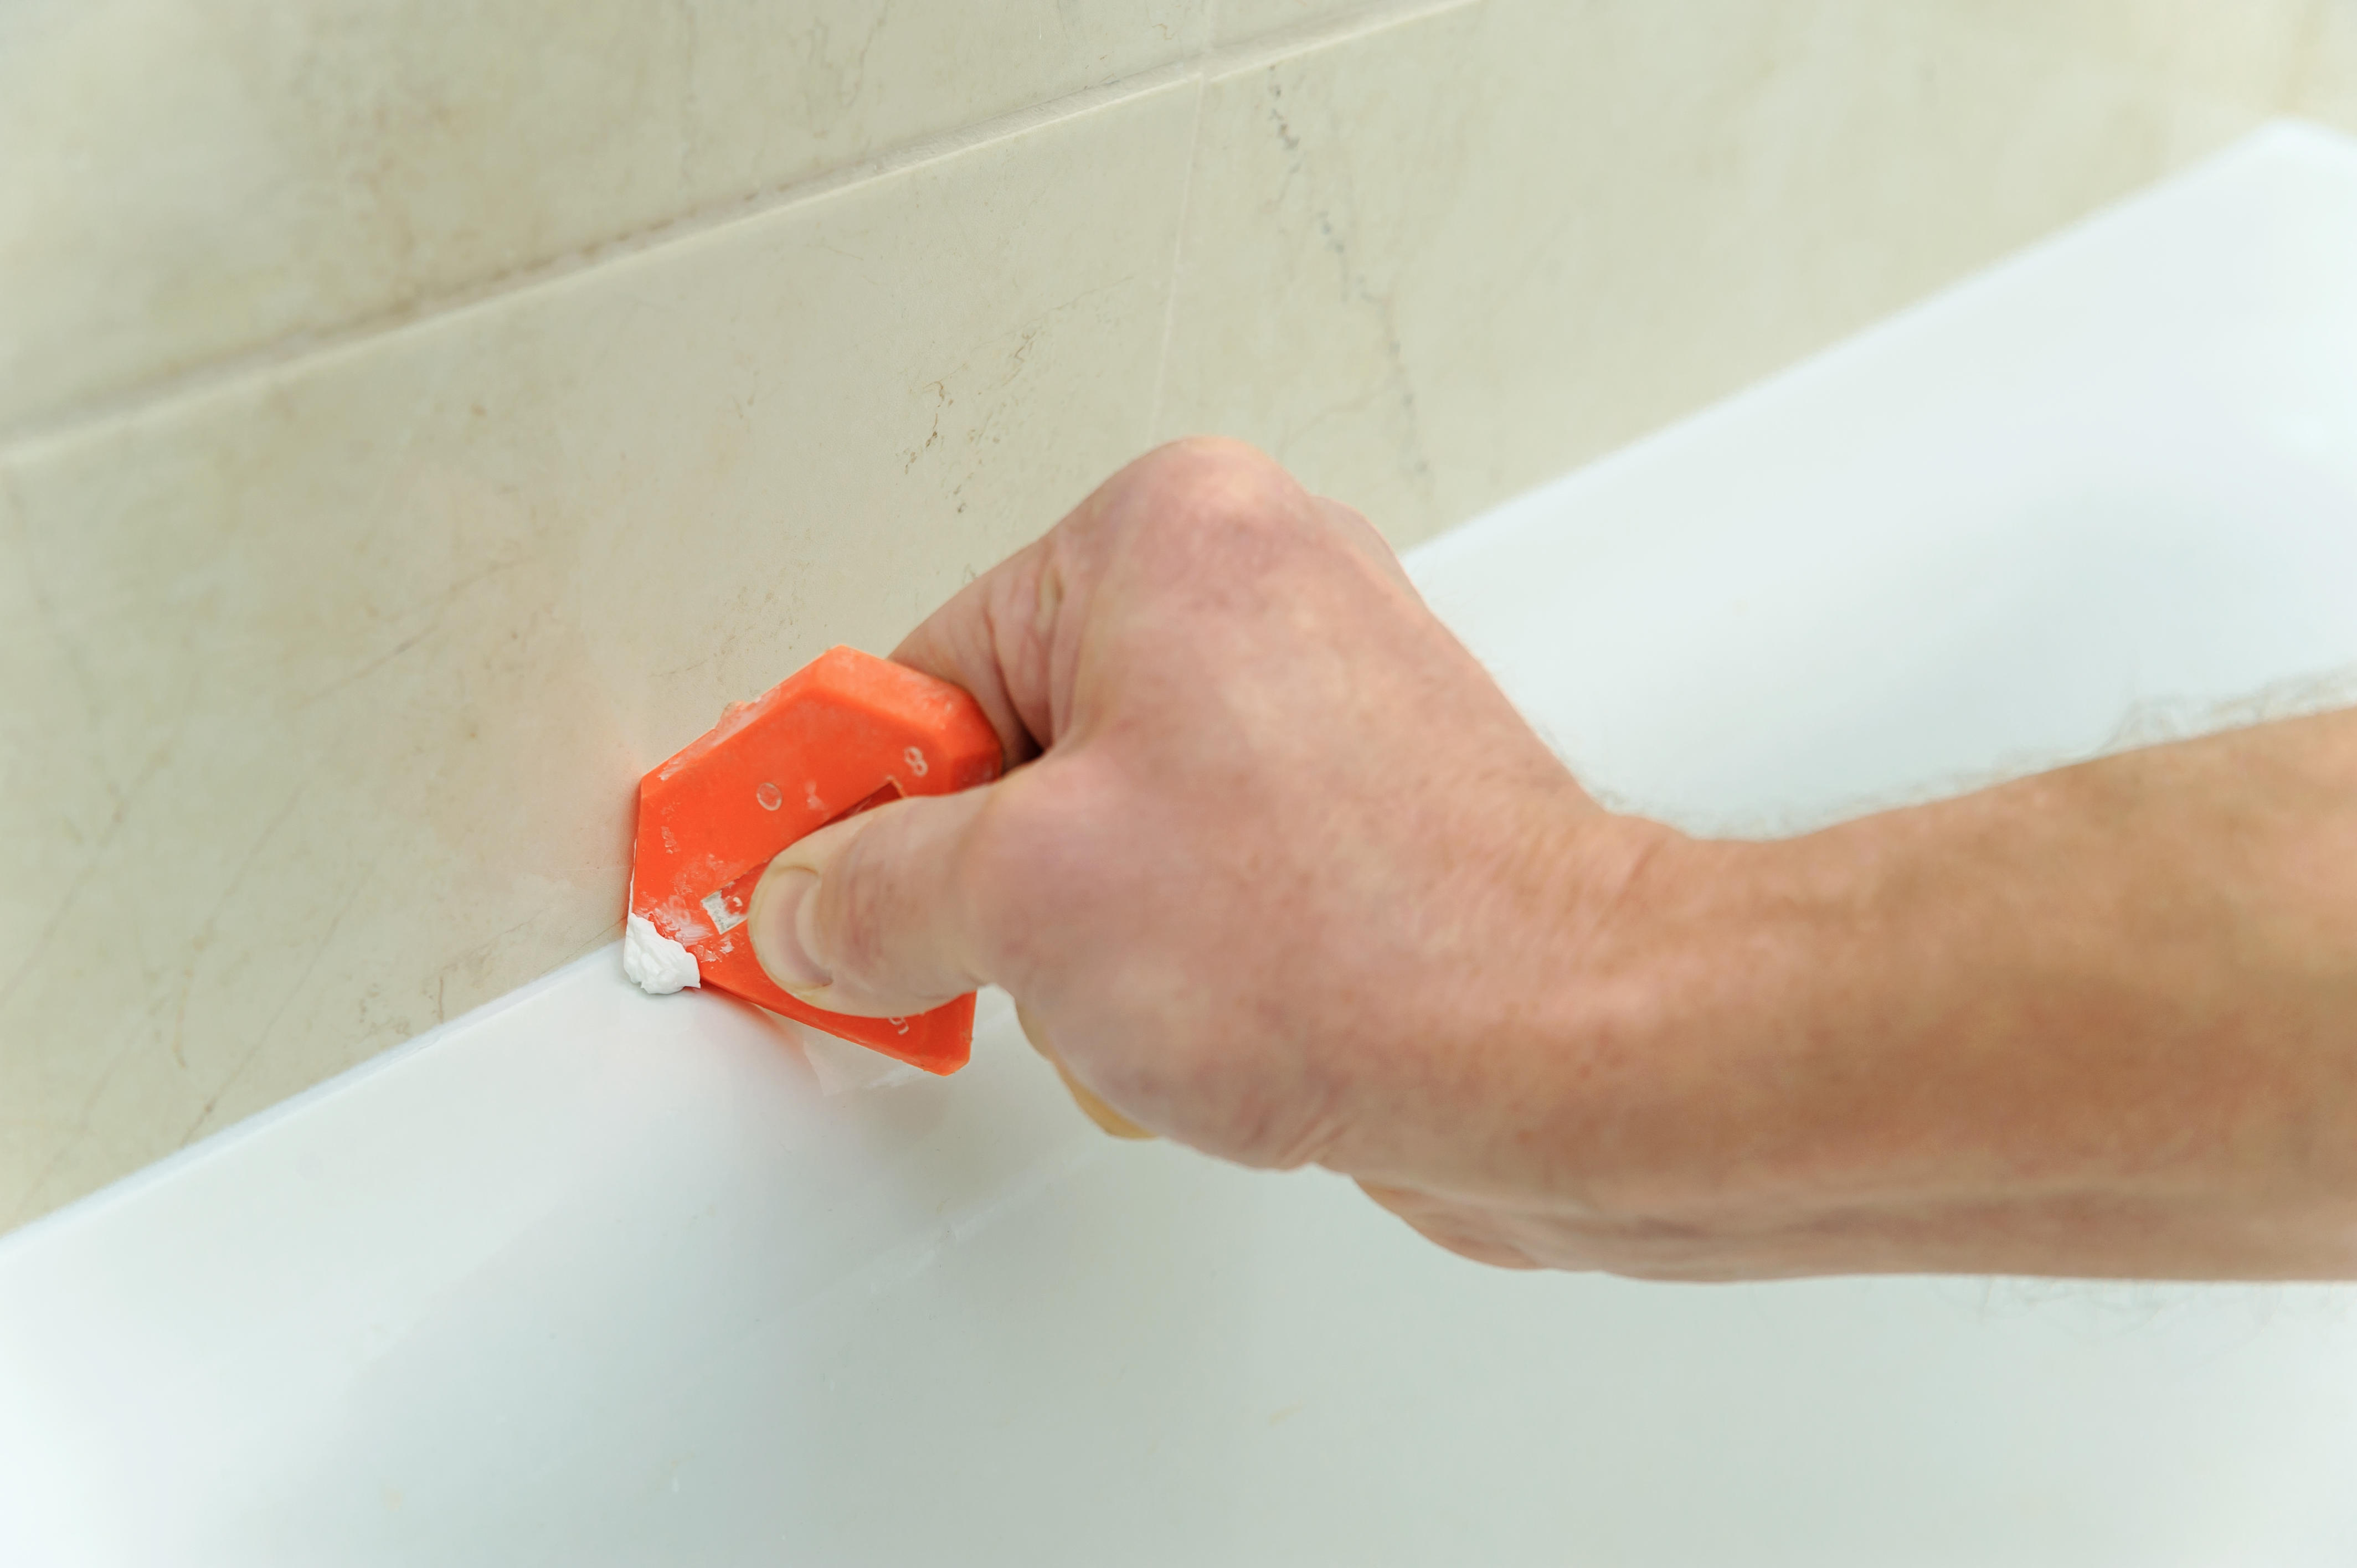
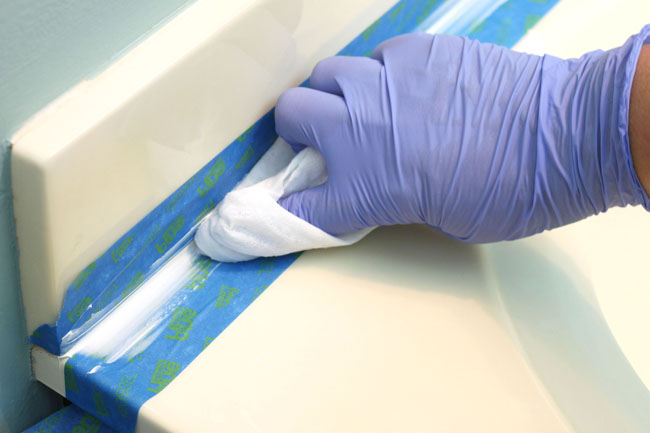
Once you have applied the caulk, use a caulk smoothing tool or your finger to smooth out the bead of caulk. This will help to create a clean and uniform seal around your kitchen sink. If using your finger, make sure to wet it with a small amount of water to prevent the caulk from sticking to your skin.6. Smooth out the caulk with a caulk smoothing tool or your finger


6. Smooth out the caulk with a caulk smoothing tool or your finger


:max_bytes(150000):strip_icc()/caulk-removal-tool-56ec7f1b3df78ce5f83535fe.jpg)
.jpg)
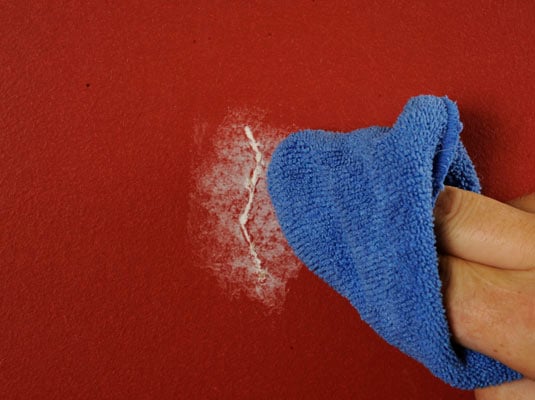
After smoothing out the caulk, use a damp cloth to wipe away any excess caulk from the sink and countertop. This will give your caulking job a professional-looking finish and prevent any mess from drying onto your sink.7. Wipe away any excess caulk
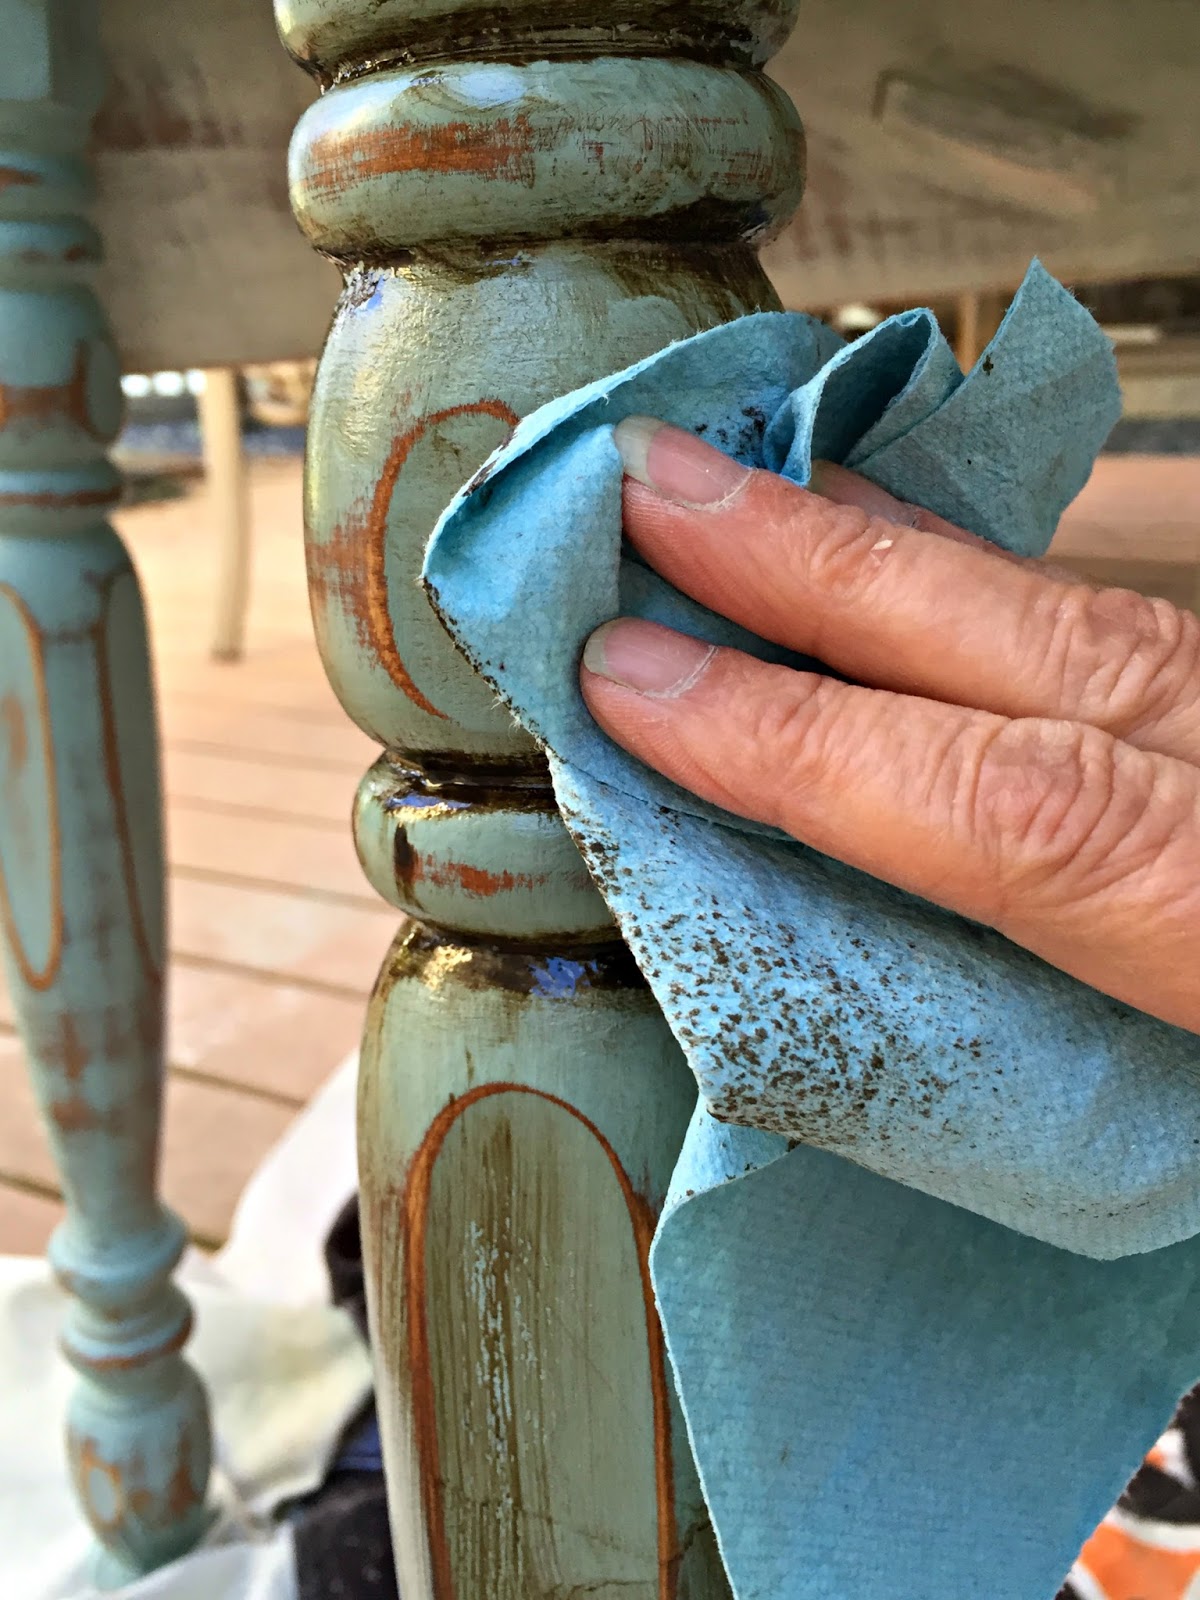


7. Wipe away any excess caulk


Allow the caulk to dry completely before using your sink or running any water over it. This can take anywhere from 24 to 48 hours, depending on the type of caulk used. Be sure to read the manufacturer's instructions for the recommended drying time.8. Let the caulk dry completely


8. Let the caulk dry completely


:max_bytes(150000):strip_icc()/how-to-remove-old-caulk-1824827-04-c71b38e1f79142e3b7b6656a81cdcdbb.jpg)


Once the caulk has dried, inspect the seal around your kitchen sink for any gaps or missed spots. If you find any, simply reapply the caulk and repeat the smoothing and wiping process. It's better to have a slightly thicker seal than to have any gaps that could lead to water damage.9. Check for any gaps or missed spots and reapply caulk if necessary


9. Check for any gaps or missed spots and reapply caulk if necessary


Finally, use a damp cloth or sponge to clean up any remaining caulk residue from the sink and countertop. This will give your sink a polished look and make it ready for use. Now you can enjoy a secure and waterproof seal around your kitchen sink, keeping your countertop and cabinets safe from water damage.10. Clean up any remaining caulk residue and enjoy your newly caulked kitchen sink


10. Clean up any remaining caulk residue and enjoy your newly caulked kitchen sink


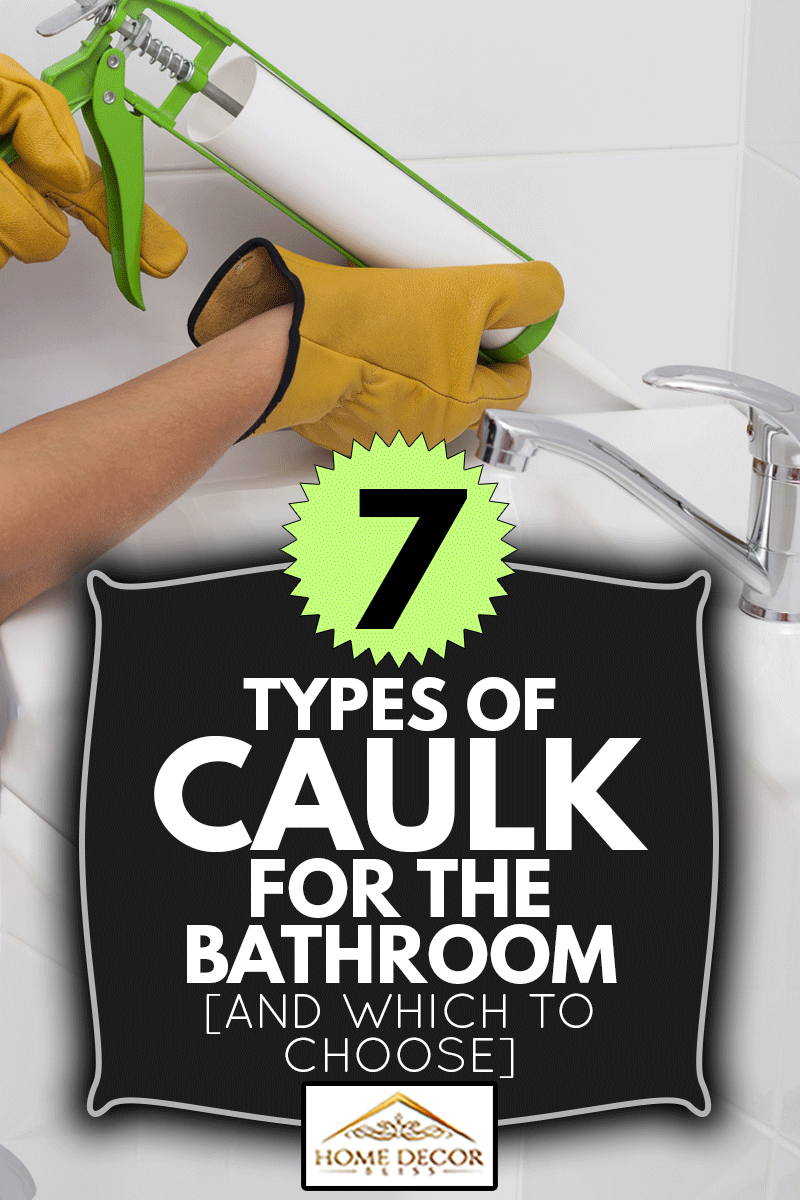
The Best Way to Caulk a Kitchen Sink

Importance of Properly Caulking a Kitchen Sink
 Proper caulking is an essential step when it comes to maintaining the functionality and appearance of your kitchen sink. Caulk not only seals any gaps or cracks between the sink and the countertop, but it also prevents water from seeping underneath and causing damage to the cabinets or floor below. Furthermore, caulk helps to keep your sink clean and free from mold and mildew by preventing water from getting trapped and creating a breeding ground for these unsightly and potentially harmful substances. In short, a well-caulked kitchen sink is crucial for both the aesthetics and longevity of your kitchen.
Gather Your Supplies
 Before you begin the caulking process, make sure you have all the necessary supplies. These include a caulk gun, a tube of caulk (silicone or latex-based), a utility knife or razor blade, a damp cloth, and painter's tape.
Silicone caulk
is more durable and waterproof, making it the top choice for kitchen sinks. However, if you are concerned about the caulk adhering to your sink's material,
latex-based caulk
is a suitable alternative.
Before you begin the caulking process, make sure you have all the necessary supplies. These include a caulk gun, a tube of caulk (silicone or latex-based), a utility knife or razor blade, a damp cloth, and painter's tape.
Silicone caulk
is more durable and waterproof, making it the top choice for kitchen sinks. However, if you are concerned about the caulk adhering to your sink's material,
latex-based caulk
is a suitable alternative.
Clean and Prep the Area
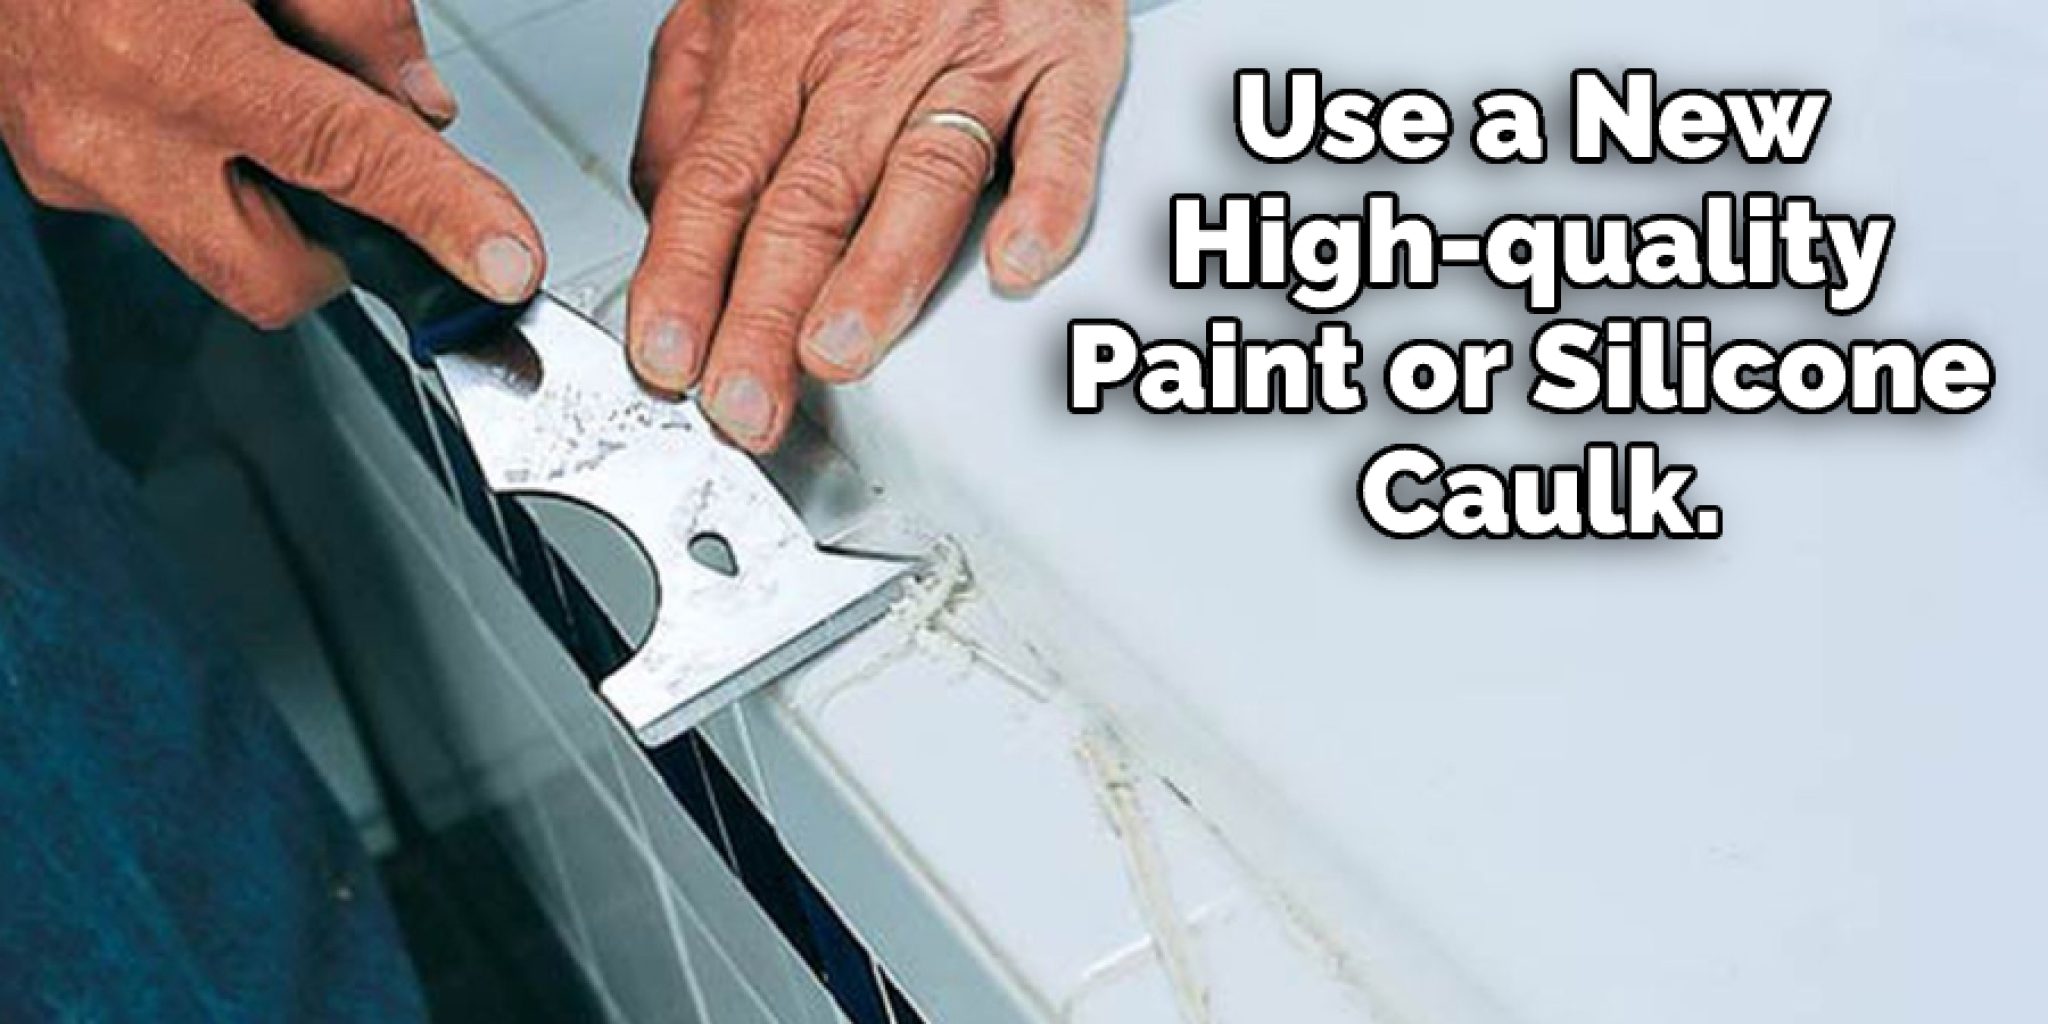
 Before applying new caulk, it is crucial to remove any old caulk or residue. Use a caulk remover or a utility knife to scrape off any old caulk. Then, thoroughly clean the area with a mild cleaner and a damp cloth. Be sure to dry the area completely before proceeding.
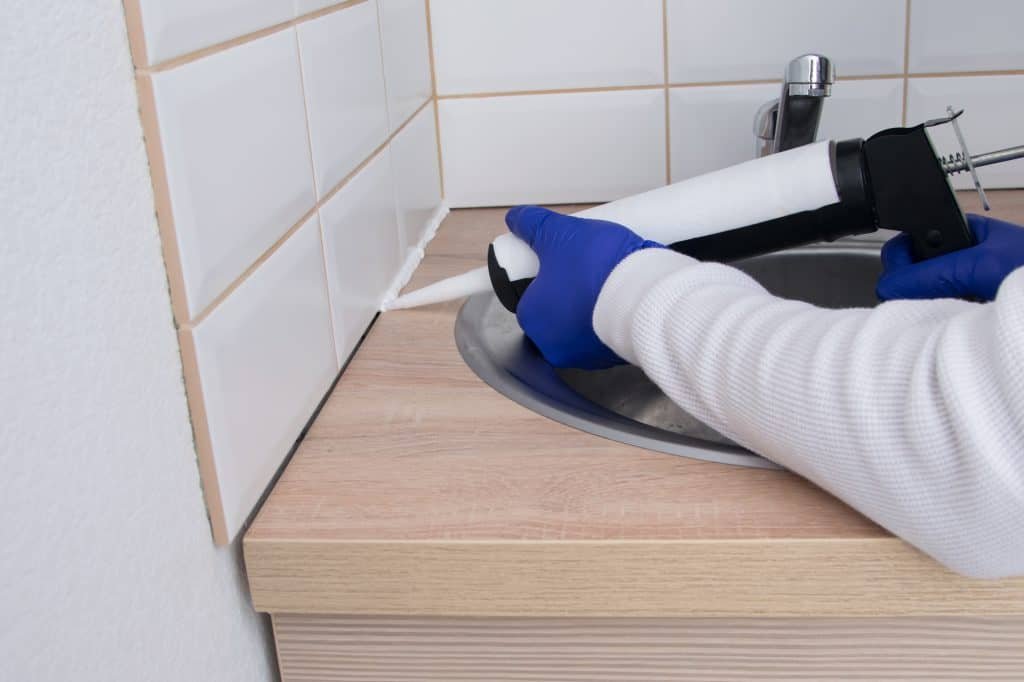
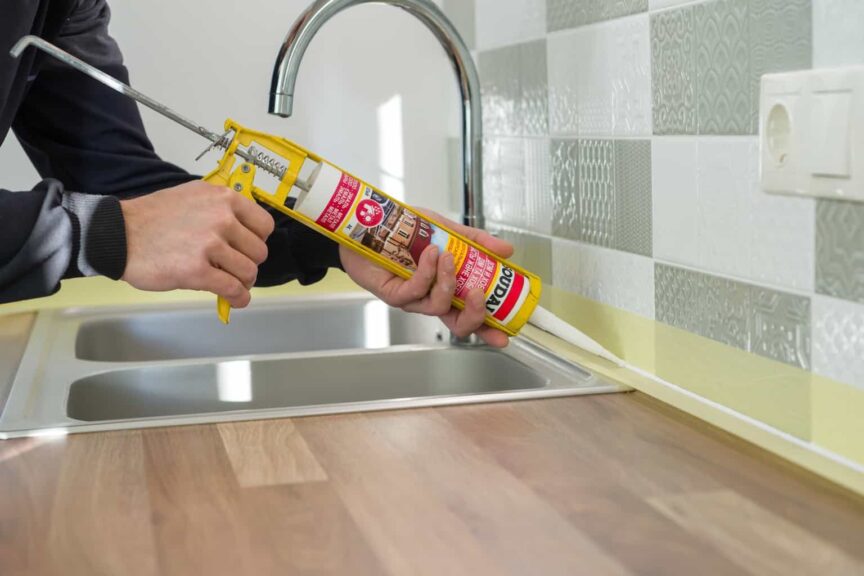
Start Caulking
 Using the caulk gun, apply a thin and even bead of caulk along the seam between the sink and the countertop. Work in small sections, and use your finger or a caulk smoothing tool to smooth out the caulk and remove any excess. Repeat this process until you have covered all the seams.
Clean Up
 Once you have finished caulking, use a damp cloth to remove any excess caulk and smooth out the seams. Use painter's tape to create clean, straight lines along the edges of the sink for a professional-looking finish.
Remove the tape before the caulk dries completely to avoid pulling it up with the tape.
Once you have finished caulking, use a damp cloth to remove any excess caulk and smooth out the seams. Use painter's tape to create clean, straight lines along the edges of the sink for a professional-looking finish.
Remove the tape before the caulk dries completely to avoid pulling it up with the tape.
Allow Time to Dry
.jpg) Depending on the type of caulk you used, it may take anywhere from 24 to 48 hours for it to dry completely. Avoid using your sink during this time to ensure the caulk sets properly.
Depending on the type of caulk you used, it may take anywhere from 24 to 48 hours for it to dry completely. Avoid using your sink during this time to ensure the caulk sets properly.
Maintain Your Caulk
 Regularly check the caulk around your sink for any signs of wear and tear, especially in areas that experience a lot of water exposure. If you notice any cracks or gaps, simply clean and reapply caulk to prevent any damage or mold growth.
In conclusion, properly caulking your kitchen sink is an essential step in maintaining the functionality and appearance of your kitchen. With the right supplies and techniques, you can easily achieve a professional-looking caulk job that will protect your sink and keep it looking its best for years to come. Remember to regularly check and maintain your caulk to ensure its effectiveness and prolong the lifespan of your kitchen sink.
Regularly check the caulk around your sink for any signs of wear and tear, especially in areas that experience a lot of water exposure. If you notice any cracks or gaps, simply clean and reapply caulk to prevent any damage or mold growth.
In conclusion, properly caulking your kitchen sink is an essential step in maintaining the functionality and appearance of your kitchen. With the right supplies and techniques, you can easily achieve a professional-looking caulk job that will protect your sink and keep it looking its best for years to come. Remember to regularly check and maintain your caulk to ensure its effectiveness and prolong the lifespan of your kitchen sink.