Vinyl air mattresses are a convenient and comfortable bedding option, but they are also prone to punctures and tears. If you find yourself with a leaky air mattress, it's important to know the best way to patch it up. Not only will this save you money from having to buy a new one, but it will also ensure that you can continue to enjoy a restful night's sleep. Here's a step-by-step guide on how to patch a vinyl air mattress.1. How to Patch a Vinyl Air Mattress
Before you begin the patching process, make sure you have all the necessary materials. This includes a vinyl repair patch, adhesive, and a pair of scissors. You can purchase a vinyl repair kit that contains all of these items, or you can buy them separately. Once you have everything you need, find a flat and clean surface to work on.2. Best Way to Repair a Vinyl Air Mattress
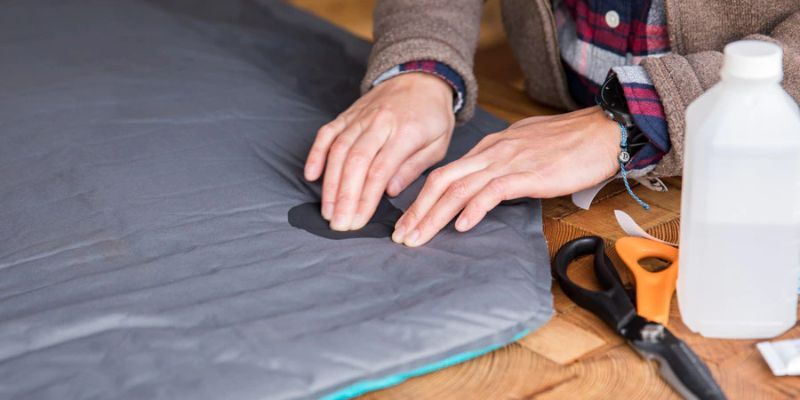
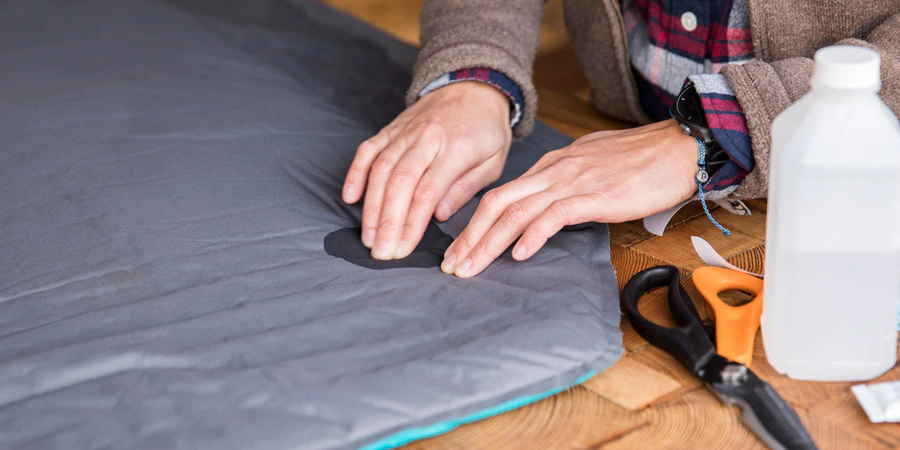
First, locate the source of the leak by inflating the air mattress and listening for the hissing sound of air escaping. Once you identify the puncture or tear, deflate the mattress completely. Next, clean the area around the leak with rubbing alcohol and let it dry completely. This will ensure that the patch adheres properly. Then, cut a vinyl repair patch that is slightly larger than the size of the hole. Apply a thin layer of adhesive to the back of the patch and the surrounding area of the mattress. Carefully place the patch over the hole, making sure there are no air bubbles. Press down firmly to ensure a strong bond. Allow the adhesive to dry completely before inflating the air mattress again. Once it's fully inflated, check for any remaining leaks. If there are no leaks, you have successfully patched your vinyl air mattress!3. Step-by-Step Guide for Patching a Vinyl Air Mattress
Patching a vinyl air mattress may seem like a simple task, but there are a few tips that can make the process even easier. Firstly, make sure you have enough adhesive to create a strong bond between the patch and the mattress. You may need to apply multiple layers of adhesive for larger holes. It's also important to let the adhesive dry completely before using the air mattress again. This will ensure that the patch stays in place and doesn't peel off. Lastly, if you don't have a vinyl repair patch, you can use a piece of vinyl from an old pool float or inflatable toy as a substitute.4. Top Tips for Patching a Vinyl Air Mattress
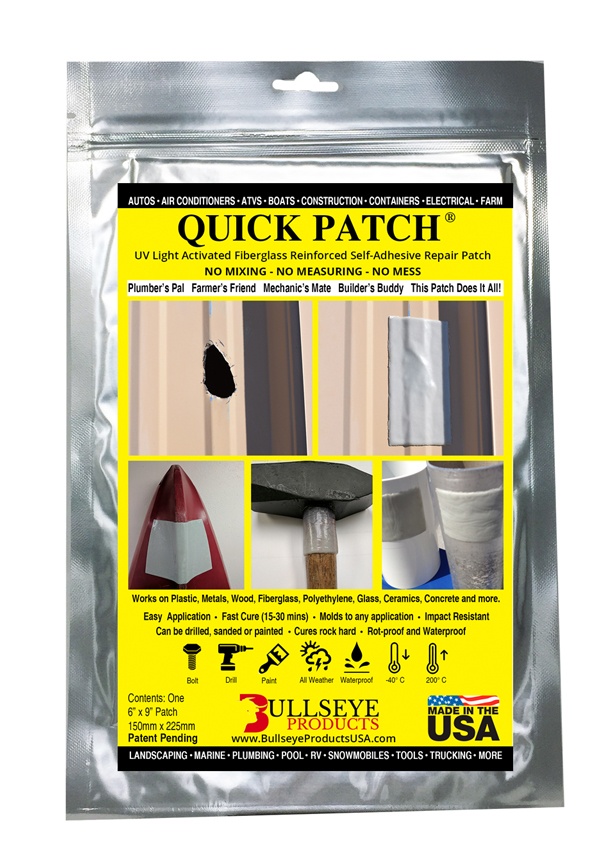
If you're looking for a quick and easy way to patch your vinyl air mattress, consider using a vinyl repair tape. This is a self-adhesive tape specifically designed for repairing vinyl materials. Simply cut a piece of tape slightly larger than the hole and apply it directly over the leak. Press down firmly and your air mattress will be good as new!5. The Easiest Method for Patching a Vinyl Air Mattress
In addition to repair patches and tape, there are a few other household items that can be used to patch a vinyl air mattress in a pinch. Duct tape, for example, can be a temporary fix for small holes. However, it's not a long-term solution and may not hold up well with repeated use. You can also use a hot glue gun to seal small punctures, but be careful not to burn the vinyl. Another option is using clear nail polish to seal the leak, but this may not hold up well with larger tears.6. Quick and Effective Ways to Patch a Vinyl Air Mattress
If you prefer a more natural and DIY approach to patching your vinyl air mattress, there are a few options you can try. One method is using a mixture of baking soda and super glue. Simply sprinkle baking soda over the leak and then apply a few drops of super glue. The baking soda will help the glue dry faster and create a strong bond. You can also use a piece of fabric and some fabric glue to patch your air mattress. Cut a piece of fabric slightly larger than the hole and apply fabric glue to both the fabric and the mattress. Press the fabric onto the mattress and hold it in place until the glue dries.7. DIY Solutions for Patching a Vinyl Air Mattress
While there are many DIY solutions for patching a vinyl air mattress, it's always best to use products specifically designed for repairing vinyl. These include repair patches, adhesive, and vinyl repair kits. It's also helpful to have a vinyl repair patch on hand for any future leaks that may occur.8. Best Products for Patching a Vinyl Air Mattress
When it comes to patching a vinyl air mattress, there are a few common mistakes that you should avoid. Firstly, make sure the area is completely dry before applying the patch or adhesive. Any moisture can prevent the patch from adhering properly. It's also important not to overinflate the air mattress, as this can put extra pressure on the patch and cause it to peel off. Lastly, be sure to read and follow the instructions on the patch or repair kit carefully to ensure the best results.9. Common Mistakes to Avoid When Patching a Vinyl Air Mattress
If you're still having trouble patching your vinyl air mattress, it's always helpful to seek advice from experts. Reach out to the manufacturer of your air mattress for specific recommendations and instructions. You can also consult with a professional repair person or an experienced friend for their tips and tricks. Remember, patching a vinyl air mattress may seem like a daunting task, but with the right materials and techniques, you can easily fix any leaks and continue to enjoy a comfortable and restful night's sleep.10. Expert Tips for Patching a Vinyl Air Mattress
The Best Way to Patch a Vinyl Air Mattress
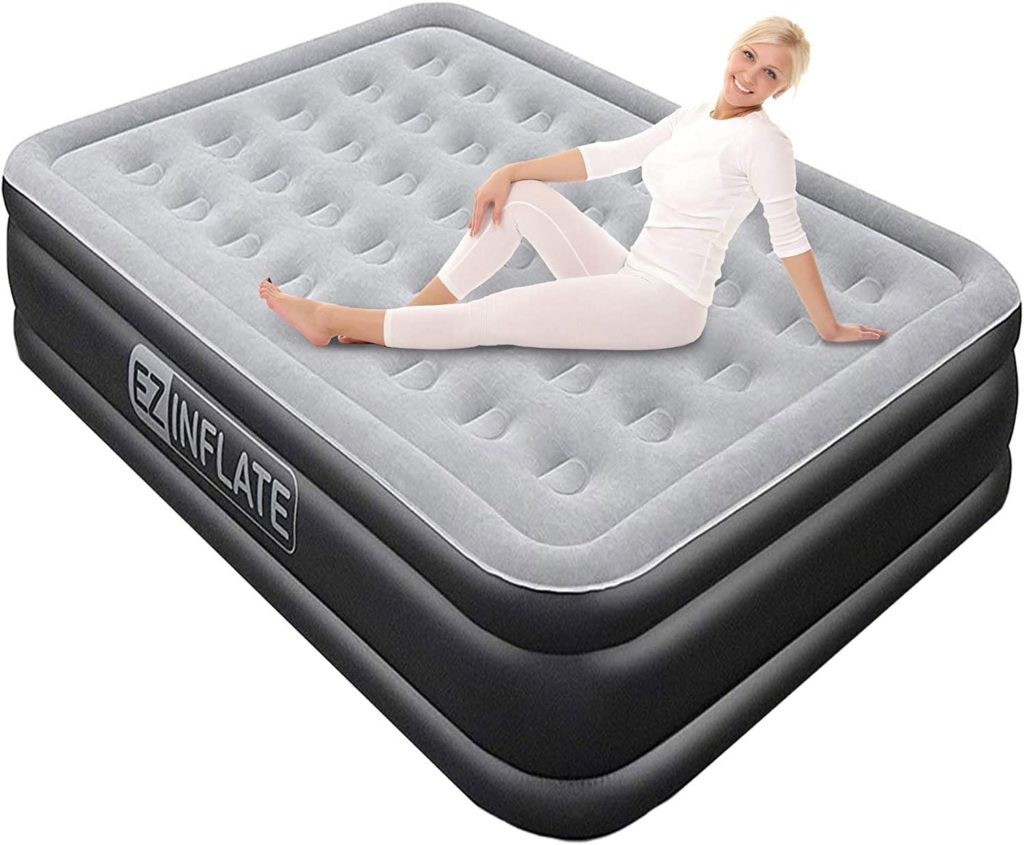
Why Patching a Vinyl Air Mattress is Important
 When it comes to house design, one of the most important aspects is ensuring that your space is comfortable and functional. And what could be more comfortable than a good night's sleep on a cozy air mattress? However, accidents happen and your vinyl air mattress may get punctured or torn. This can be a frustrating experience, especially if you don't know how to properly patch it. But fear not, as we have the best way to patch a vinyl air mattress that will have you sleeping soundly in no time.
What You Will Need
 Before we dive into the process of patching a vinyl air mattress, it's important to gather all the necessary materials. You will need a patch kit specifically designed for vinyl air mattresses, which can be purchased at any home goods store or online. The kit usually includes a patch, adhesive, and a small piece of sandpaper. You will also need rubbing alcohol and a clean cloth.
The Step-by-Step Process
 Now that you have all the materials, it's time to get to work. Follow these steps for the best way to patch your vinyl air mattress:
Step 1:
Locate the leak on your air mattress. This can be done by inflating the mattress and listening for a hissing sound or by spraying soapy water on the surface and looking for bubbles.
Step 2:
Deflate the mattress completely and clean the area around the leak with rubbing alcohol and a clean cloth. This will ensure that the patch properly adheres to the surface.
Step 3:
Cut the patch from the kit into a circle or square, making sure it is slightly larger than the size of the leak.
Step 4:
Apply a thin layer of adhesive to the patch and to the area around the leak.
Step 5:
Place the patch over the leak and press down firmly, making sure there are no air bubbles.
Step 6:
Let the adhesive dry completely, following the instructions on the patch kit.
Step 7:
Once the adhesive is dry, inflate the air mattress to check if the leak is sealed. If there are any remaining holes, repeat the process with another patch.
Additional Tips
 - It's important to let the adhesive dry completely before using the air mattress, as this will ensure a strong bond.
- For larger tears or punctures, you may need to use multiple patches to cover the area completely.
- To prevent future punctures, make sure to keep sharp objects away from your air mattress and avoid placing it on rough surfaces.
- Always keep a patch kit on hand for quick and easy repairs.
In Conclusion
 Patching a vinyl air mattress may seem like a daunting task, but with the right materials and technique, it can be easily done at home. By following these steps, you can ensure that your air mattress stays in top condition and provides you with a comfortable night's sleep. So the next time your air mattress gets a puncture, don't panic. Just remember the best way to patch it and you'll be back to enjoying a restful sleep in no time.


