Are you tired of looking at the same old boring bathroom vanity? Do you want to give your bathroom a fresh and updated look without breaking the bank? Look no further than a chalk paint bathroom vanity makeover! Chalk paint is a versatile and budget-friendly option for transforming your bathroom vanity into a beautiful focal point. In this article, we will guide you through the process of using chalk paint to give your bathroom vanity a much-needed makeover. So, grab your paintbrush and get ready to revamp your space!Chalk Paint Bathroom Vanity Makeover
Before we dive into the steps of a chalk paint bathroom vanity makeover, it's important to understand the benefits of using chalk paint. Unlike regular paint, chalk paint requires minimal prep work and can be applied directly to most surfaces, including wood, laminate, and metal. This makes it the perfect option for a quick and easy bathroom vanity makeover. Plus, with a wide range of colors and finishes available, you can create a truly unique and personalized look for your vanity.How to Transform Your Bathroom Vanity with Chalk Paint
Now that you understand the benefits of using chalk paint, let's get started on your DIY bathroom vanity makeover. The first step is to gather your supplies. You will need chalk paint (in your preferred color), paintbrushes, sandpaper, clear wax, and a soft cloth. Optional supplies include a paint sprayer, stencil, and new hardware for your vanity.DIY Chalk Paint Bathroom Vanity Makeover
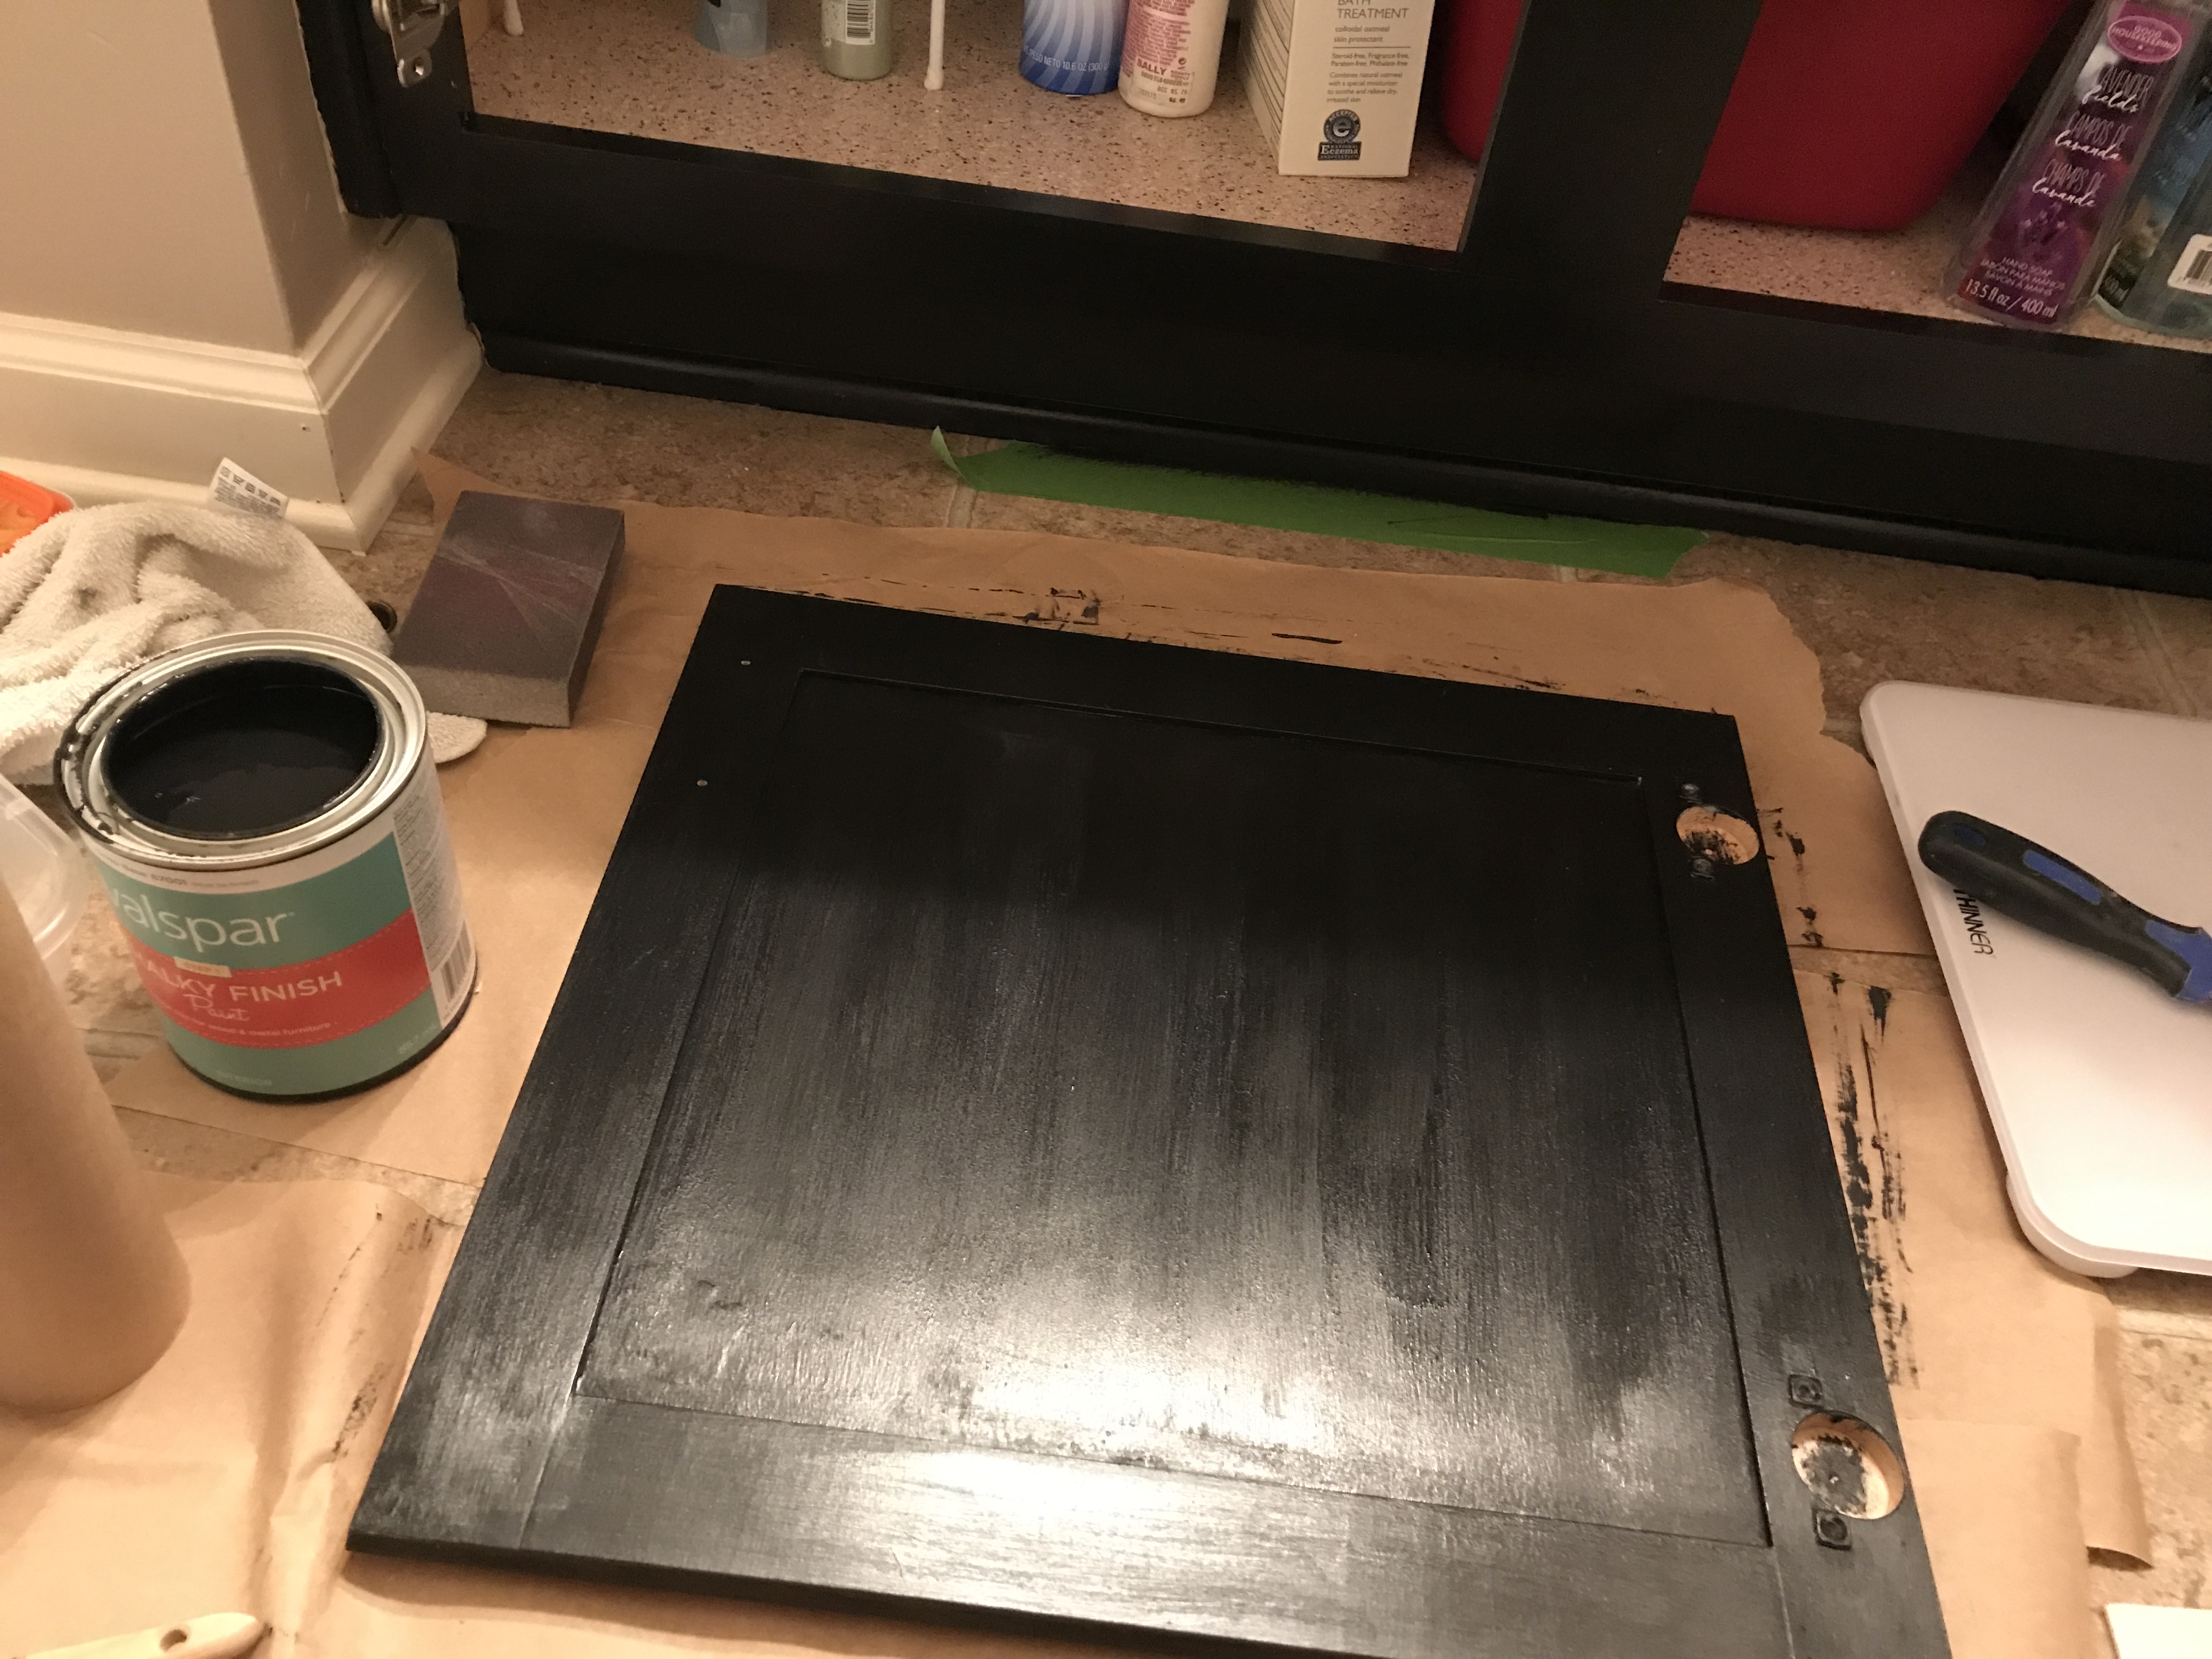
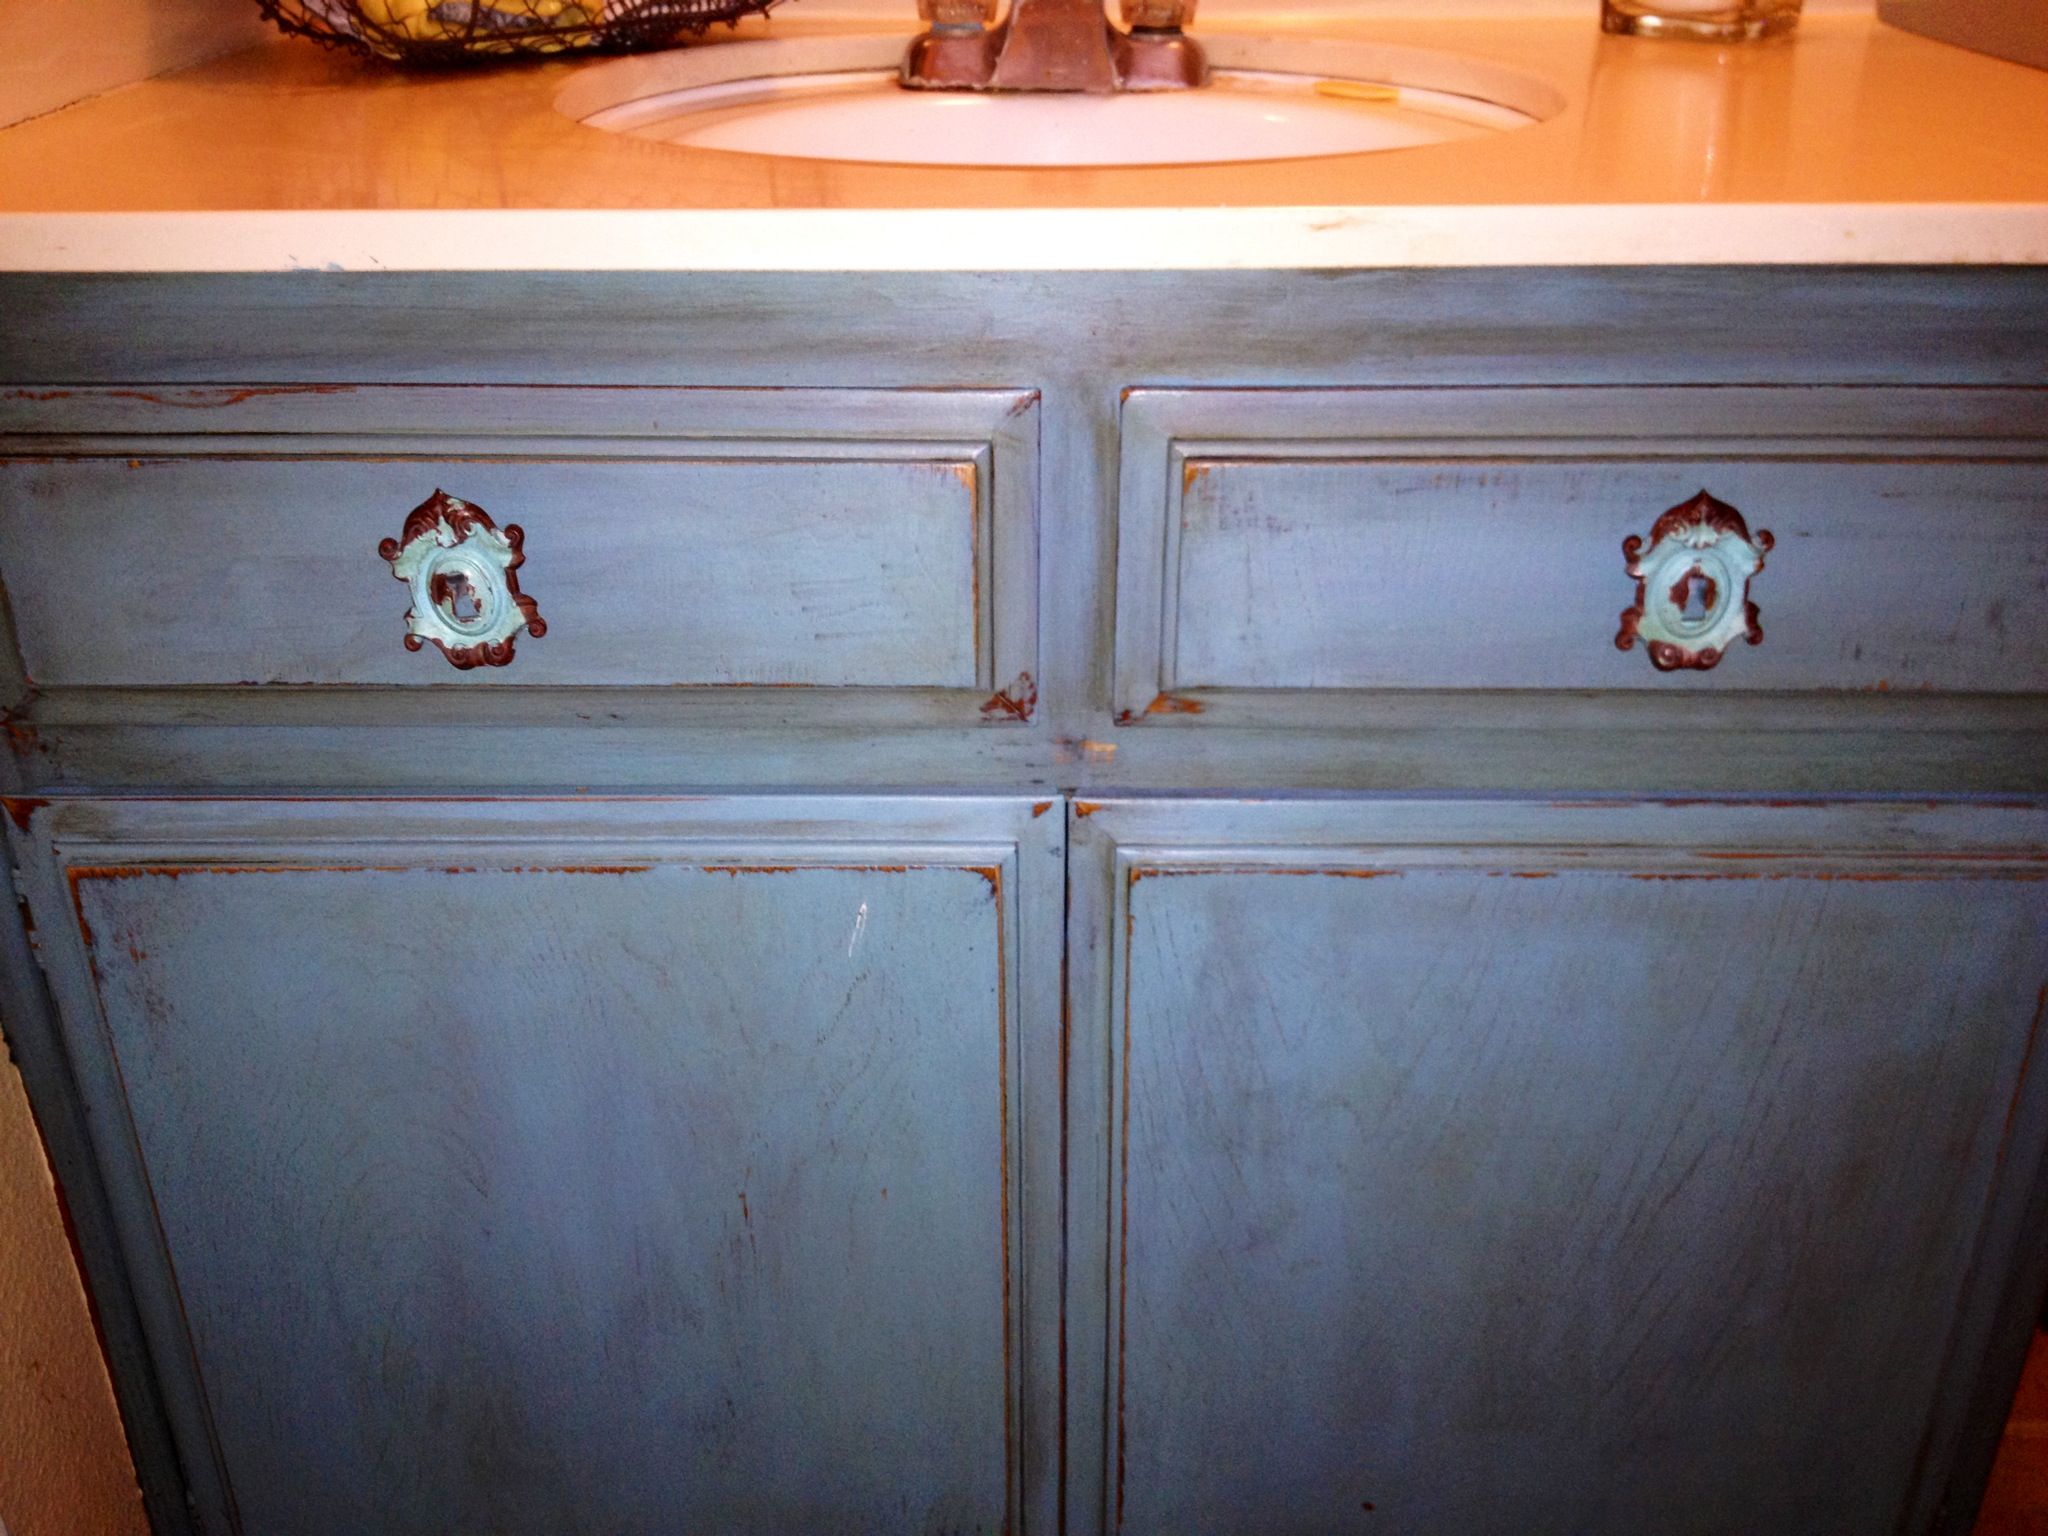
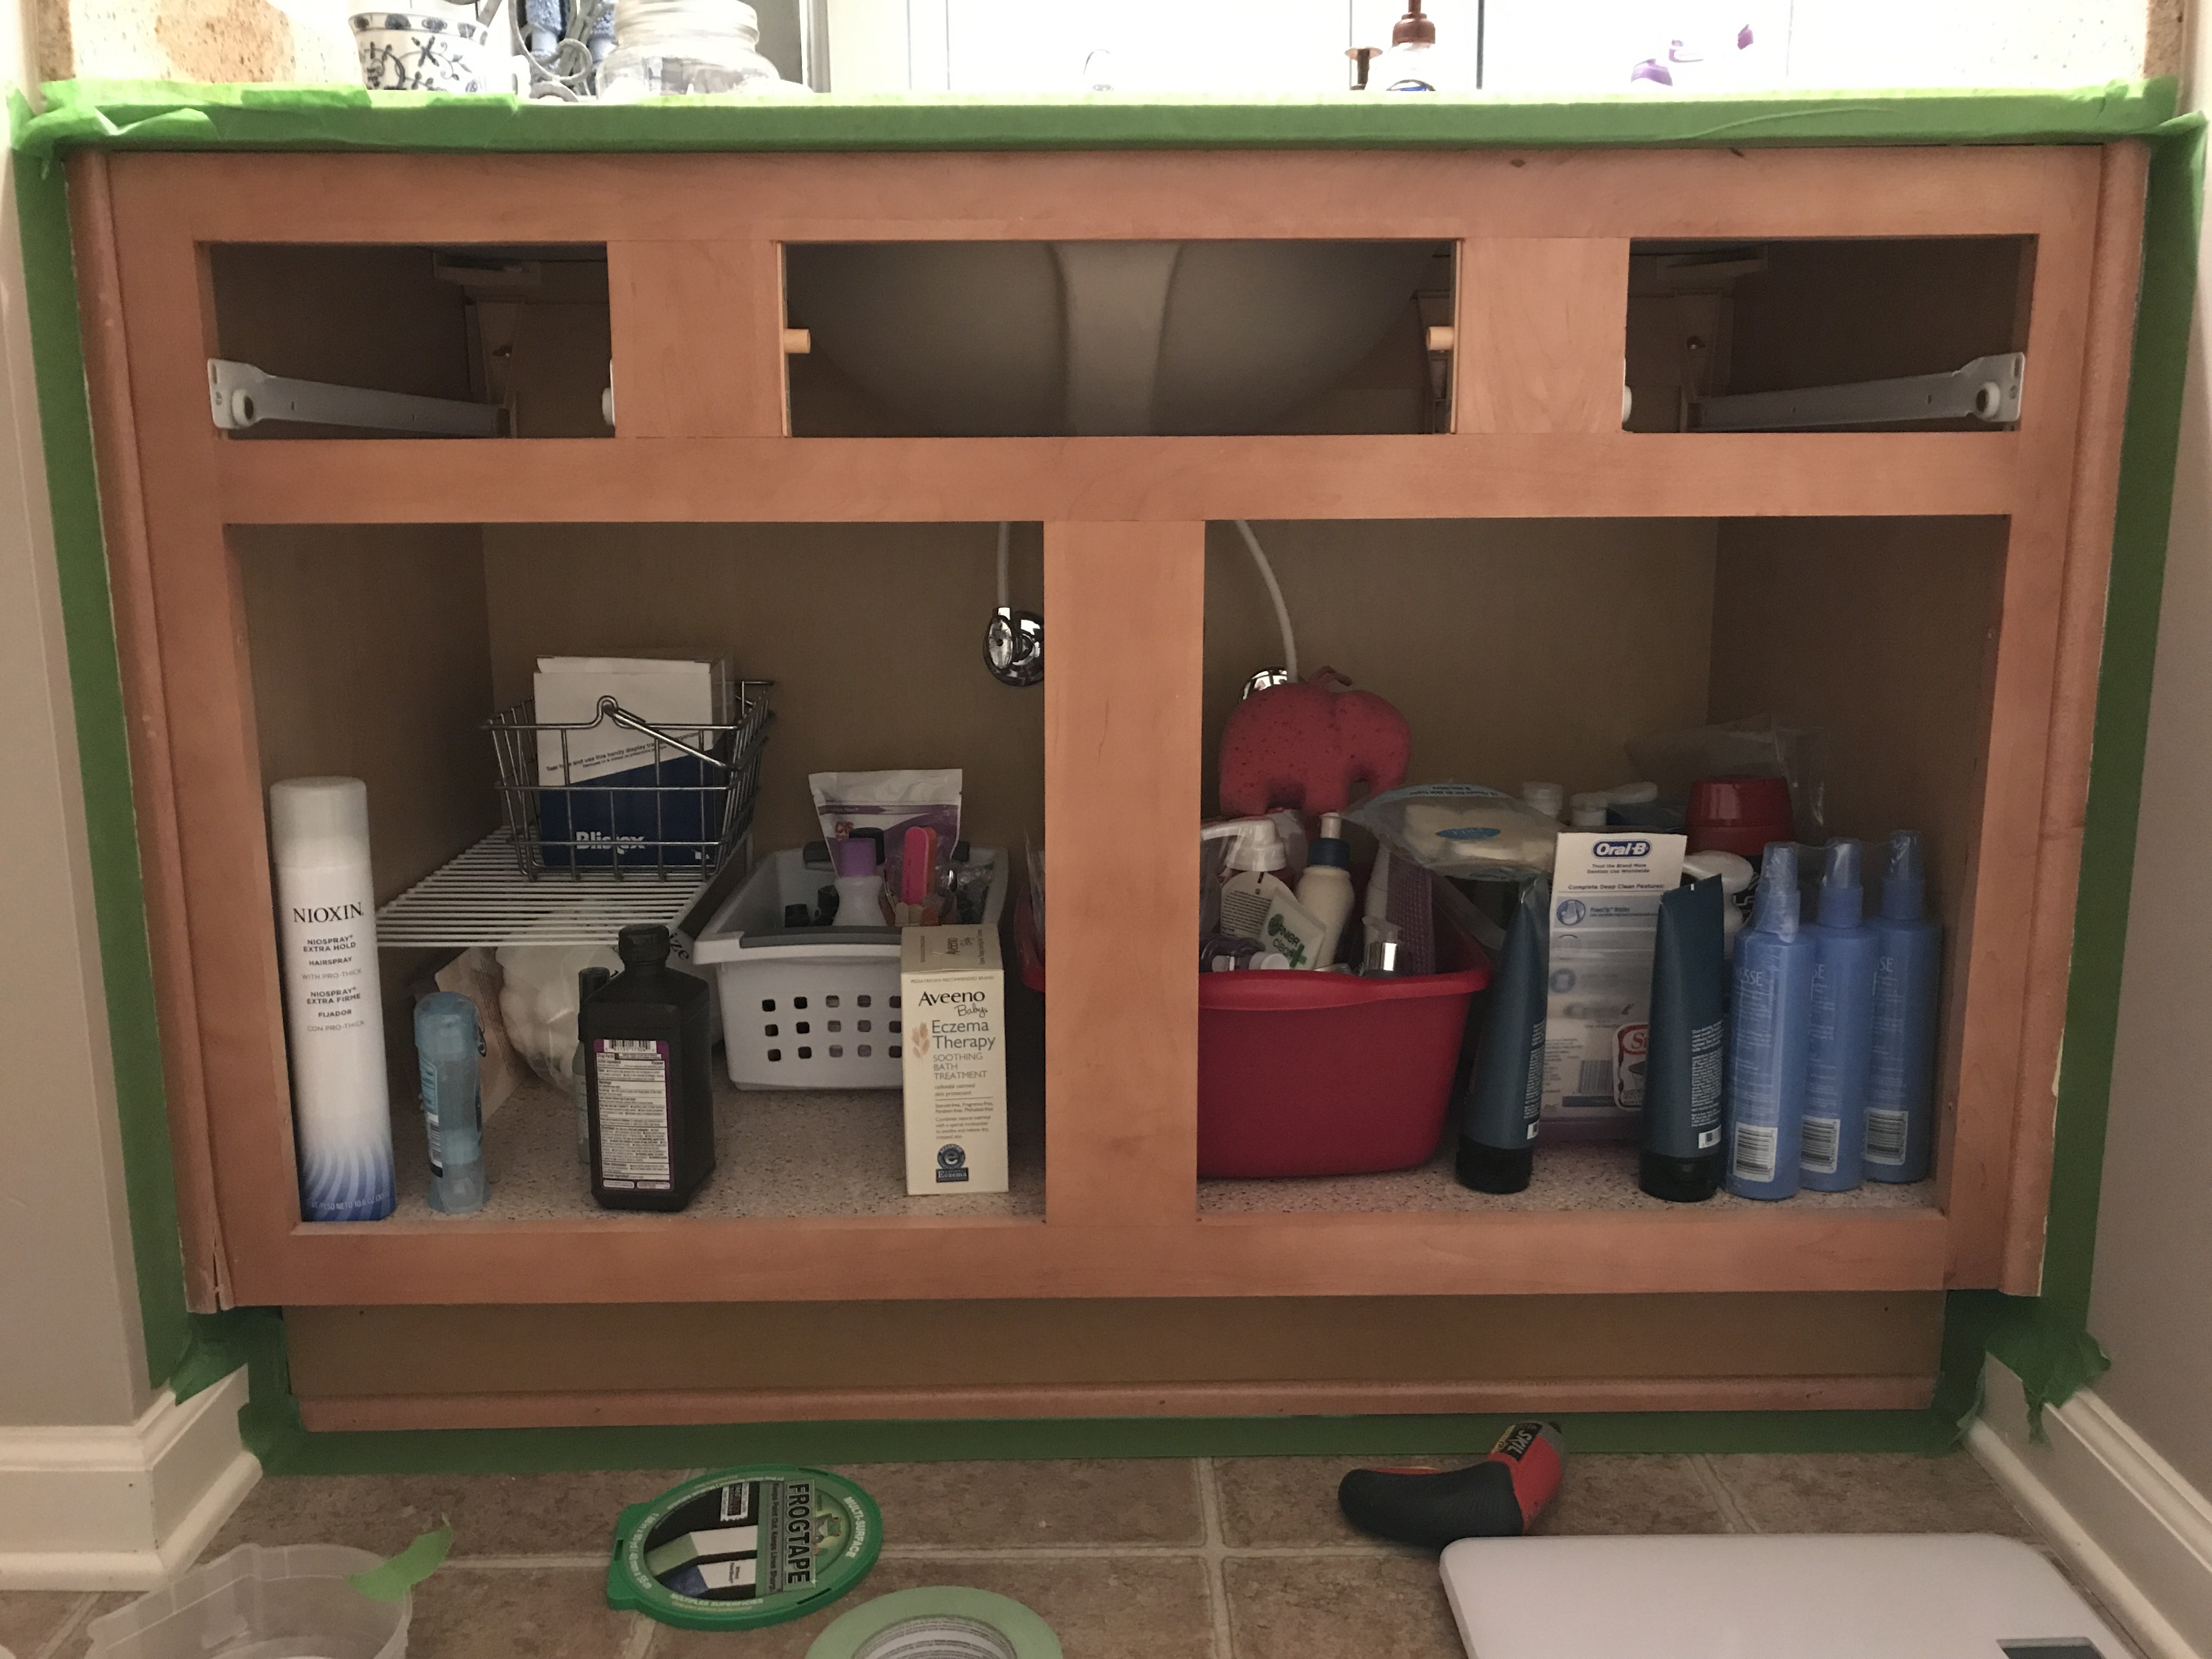
Step 1: Remove all hardware and clean your vanity thoroughly. Sand any rough areas to ensure a smooth surface for painting. Step 2: If you are using a paint sprayer, follow the manufacturer's instructions to apply an even coat of chalk paint to your vanity. If you are using a paintbrush, apply the chalk paint in long, smooth strokes, following the grain of the wood. Step 3: Let the first coat of paint dry completely before applying a second coat. Depending on the color and coverage you desire, you may need to apply multiple coats. Step 4: Once the final coat is dry, lightly sand the surface to distress the paint and give it a more rustic look. This step is optional and can be skipped if you prefer a smoother finish. Step 5: Apply a thin layer of clear wax to protect the paint and give it a subtle sheen. Use a soft cloth to buff the wax for a smooth and even finish. Step 6: If desired, you can add a stencil or new hardware to further personalize your bathroom vanity.Step-by-Step Chalk Paint Bathroom Vanity Tutorial
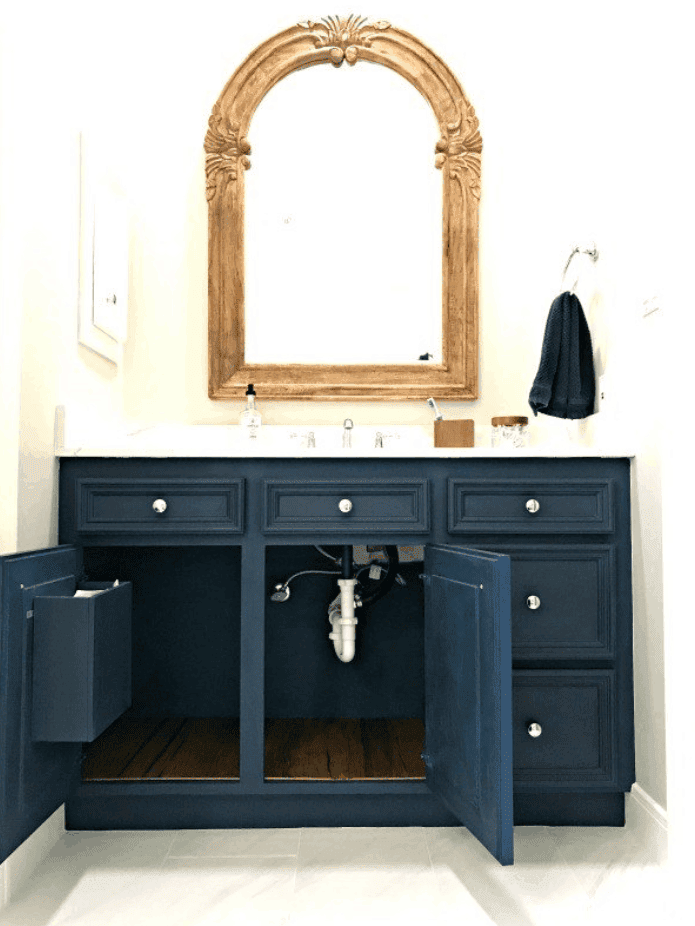
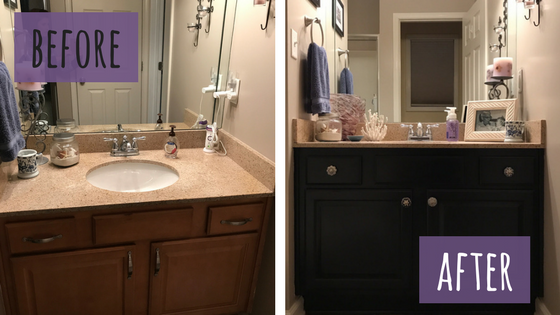
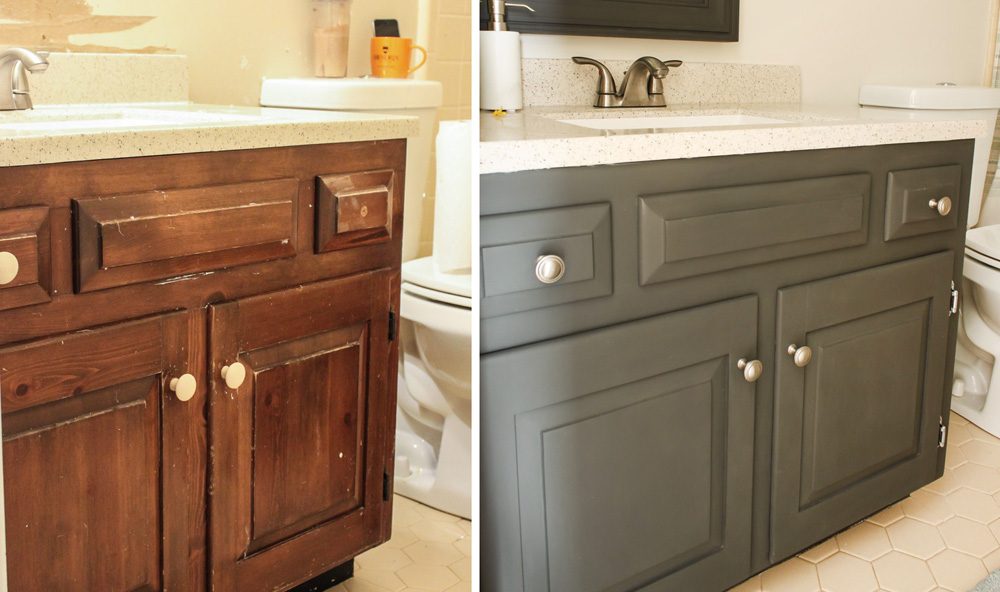
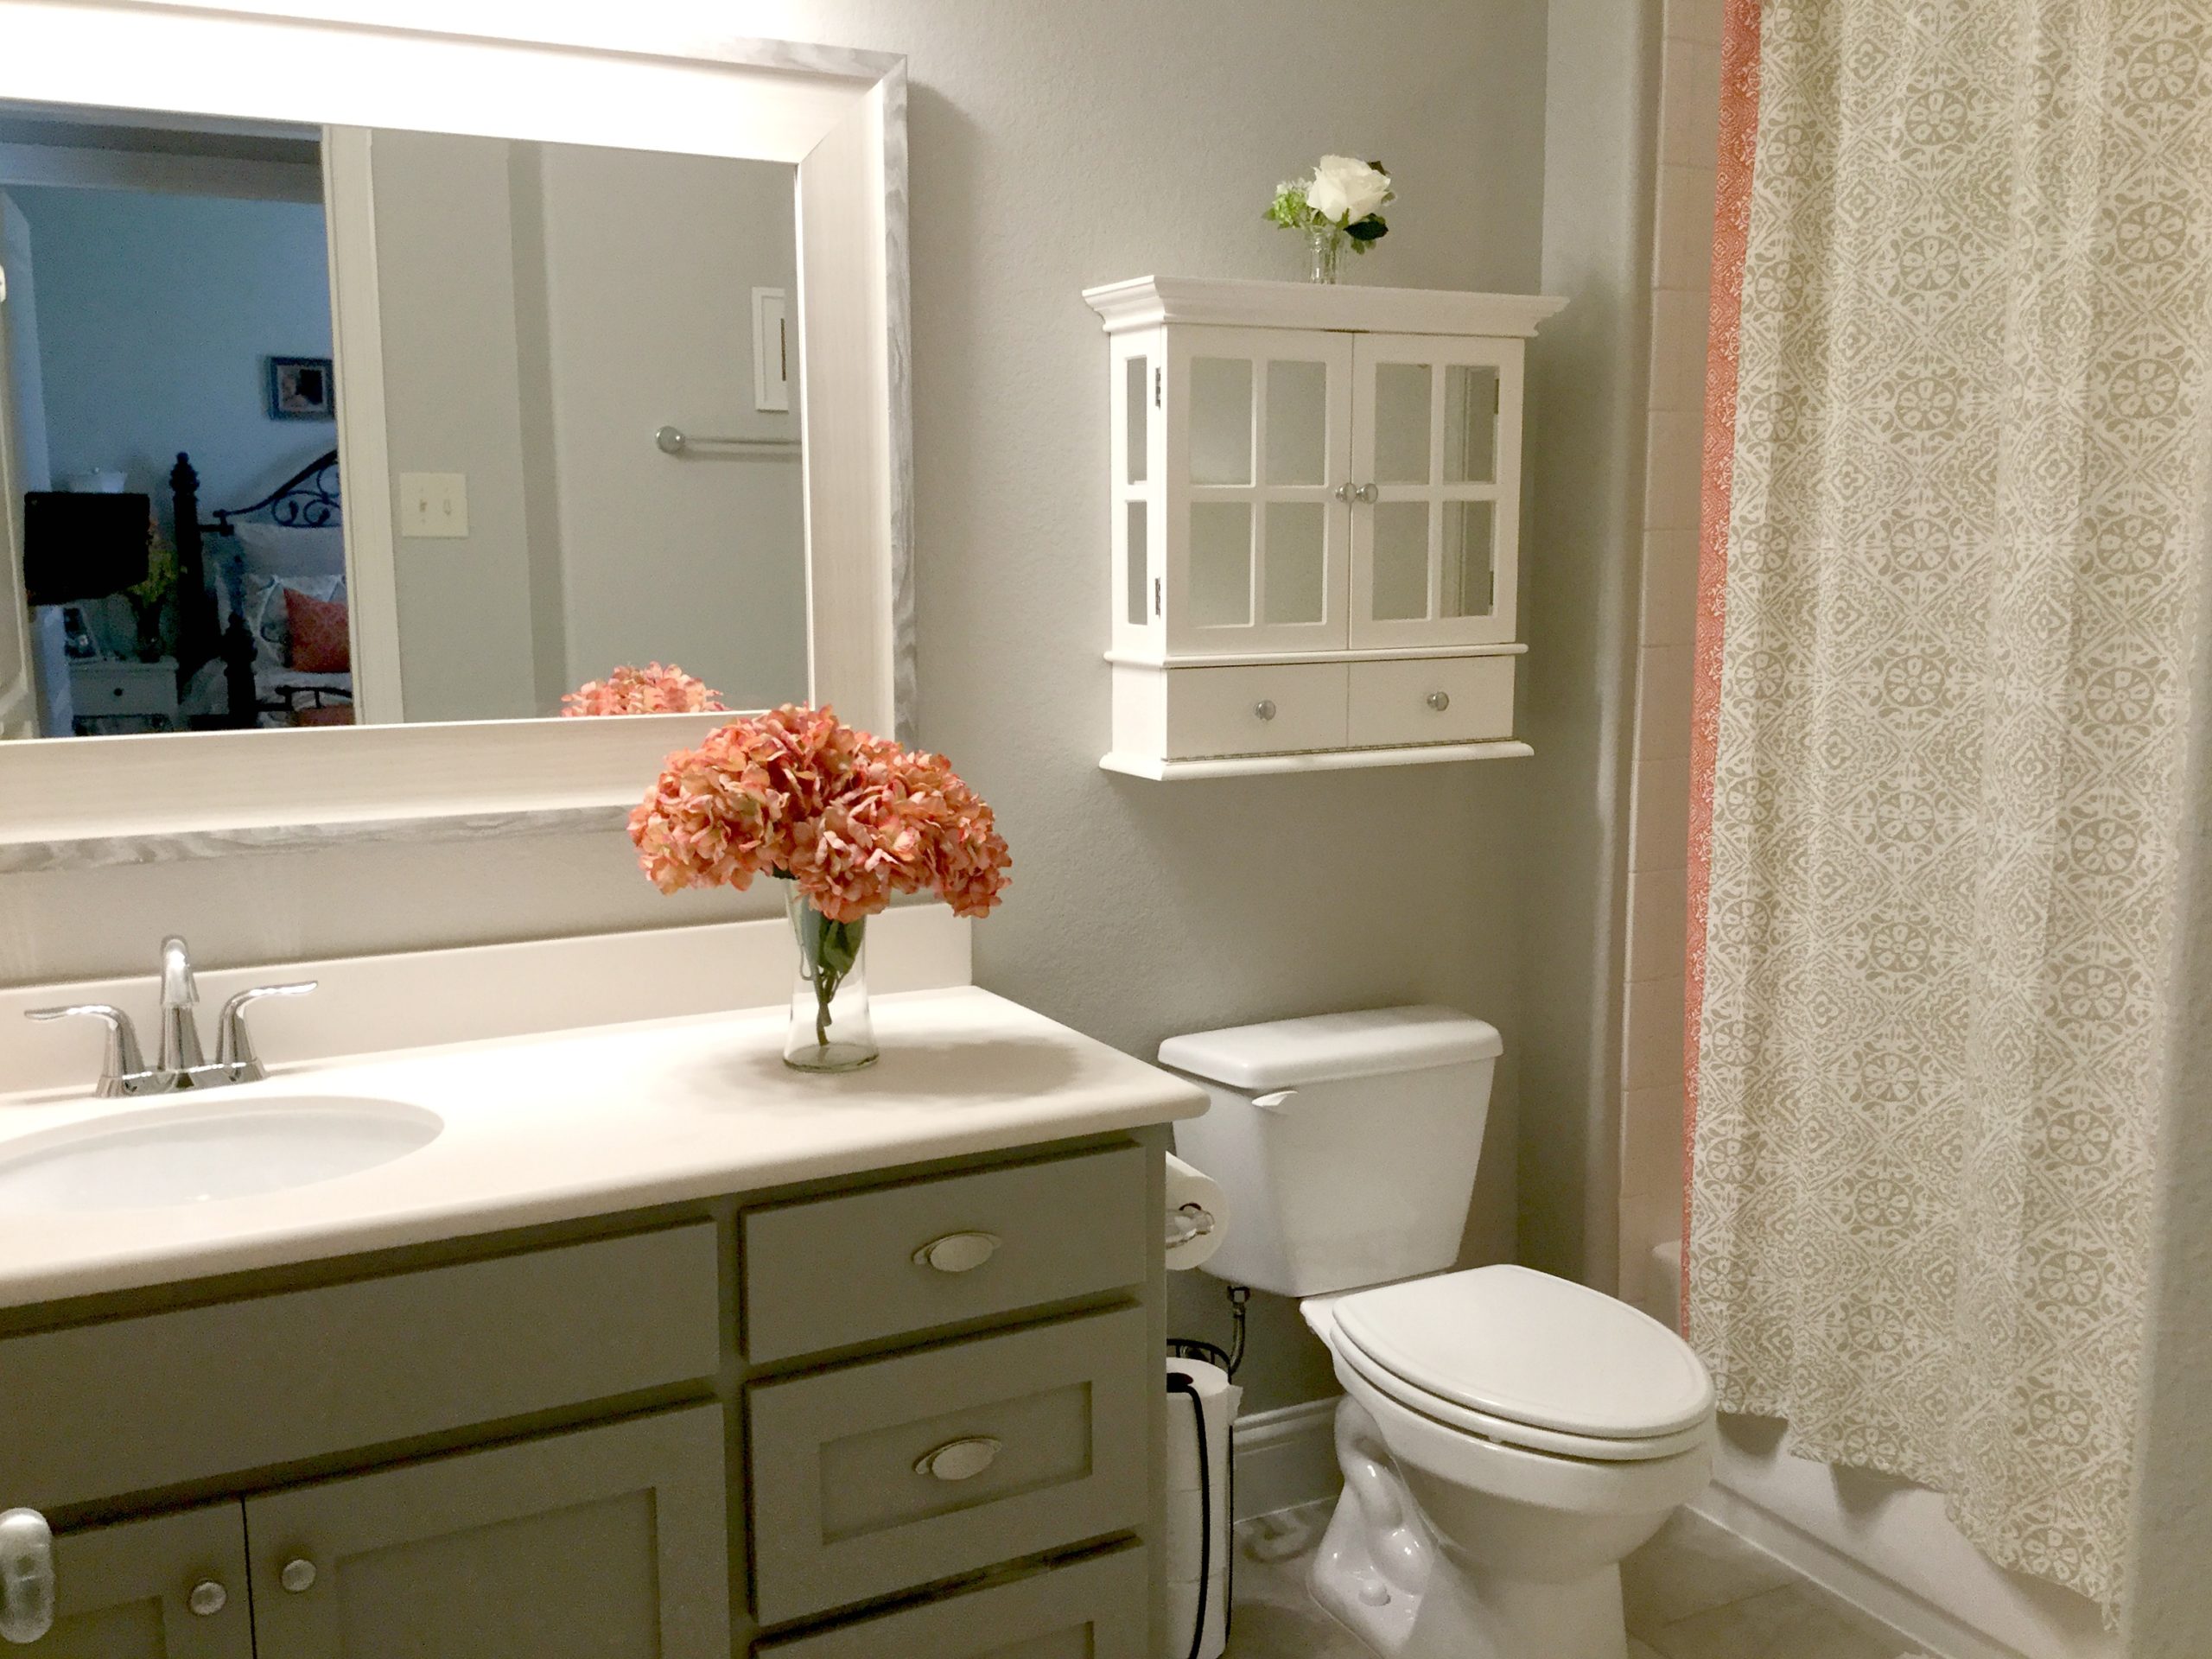
The best part about a chalk paint bathroom vanity makeover is the dramatic before and after transformation. What was once a dull and outdated vanity can now become a stunning and eye-catching piece in your bathroom. With the right color and techniques, you can achieve a variety of looks, from shabby chic to modern and sleek.Chalk Paint Bathroom Vanity Before and After
One of the great things about using chalk paint is how easy and forgiving it is to work with. Even if you are a beginner, you can achieve professional-looking results with minimal effort. Plus, the drying time for chalk paint is much quicker than regular paint, allowing you to complete your bathroom vanity makeover in just a few hours.Easy Chalk Paint Bathroom Vanity Makeover
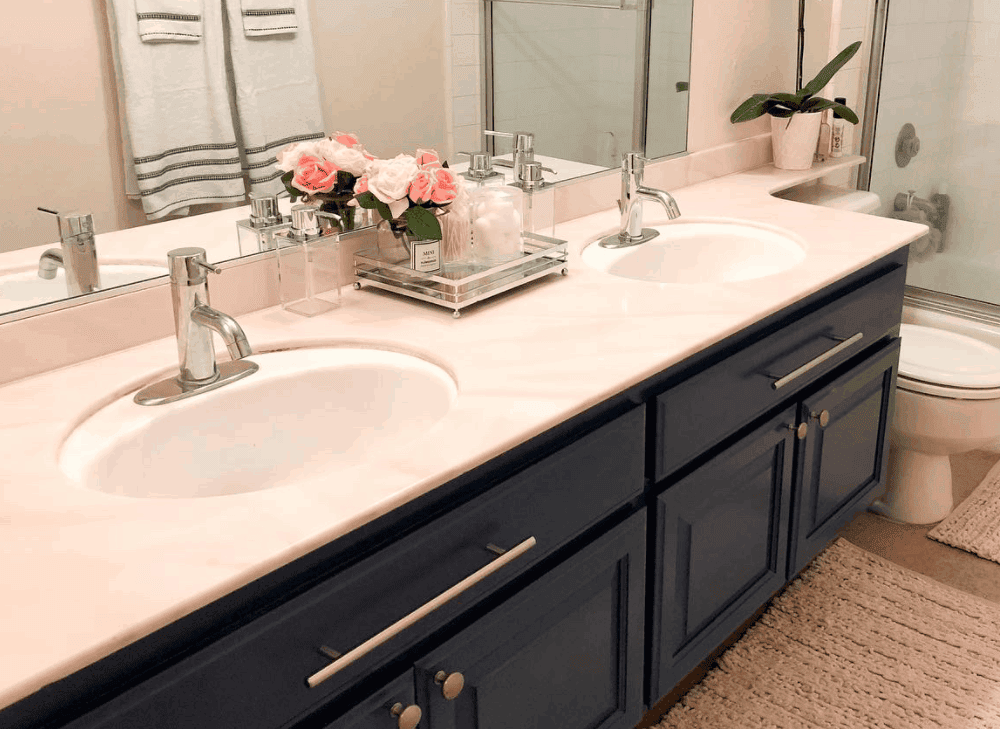
When it comes to choosing a color for your chalk paint bathroom vanity makeover, the sky's the limit. You can stick with a classic white or black for a timeless look, or experiment with bolder colors like navy blue or emerald green. You can also use multiple colors to create a unique and eye-catching pattern, or add a distressed effect for a more rustic look.Chalk Paint Bathroom Vanity Ideas
If you're feeling overwhelmed with color choices, here are a few popular options to inspire your chalk paint bathroom vanity makeover:Chalk Paint Bathroom Vanity Color Inspiration
Compared to other bathroom renovation options, a chalk paint bathroom vanity makeover is incredibly budget-friendly. Chalk paint is relatively inexpensive, and you can often find good quality brushes and supplies at affordable prices as well. Plus, with minimal prep work and no need for special tools or equipment, you can save even more money by doing it yourself.Budget-Friendly Chalk Paint Bathroom Vanity Makeover
While clear wax is the most common topcoat for chalk paint, there are other options to consider. You can use a dark wax to add depth and dimension to your vanity or use a polyurethane topcoat for added durability and protection against water and humidity in the bathroom. Be sure to test the topcoat on a small area first to ensure you achieve the desired look. Now that you have all the information and inspiration you need, it's time to start your chalk paint bathroom vanity makeover. With a little bit of time and effort, you can transform your bathroom into a stylish and inviting space with a beautifully painted vanity as the centerpiece. Happy painting!Chalk Paint Bathroom Vanity Topcoat Options
Transform Your Bathroom Vanity with Chalk Paint

Revamp Your Space
 Are you tired of looking at the same old bathroom vanity every day? Are you ready for a change but don't want to spend a fortune on a remodel? Look no further than chalk paint to give your vanity a fresh new look. This versatile and budget-friendly option is perfect for any DIY enthusiast looking to update their house design.
Why Chalk Paint?
 Chalk paint has gained popularity in recent years for its ability to transform and rejuvenate furniture and home décor. Its matte finish and creamy texture create a soft, vintage look that complements any style. Unlike traditional paint, chalk paint requires minimal prep work and can easily cover up imperfections in your vanity's surface. Its durable finish also makes it perfect for high-traffic areas like the bathroom.
The Process
 Transforming your bathroom vanity with chalk paint is a simple and straightforward process. First, remove all hardware and clean the surface of your vanity thoroughly. Next, give your vanity a light sanding to create a smooth surface for the paint to adhere to. Then, it's time to start painting! Use a brush or roller to apply the chalk paint in long, even strokes. You may need two to three coats for full coverage, depending on the color and condition of your vanity.
Get Creative
 One of the best things about using chalk paint is its versatility. You can use it to create a distressed look by lightly sanding certain areas or use different techniques like layering and blending for a more unique finish. You can also add a sealant or wax for added protection and to achieve different levels of shine.
Final Touches
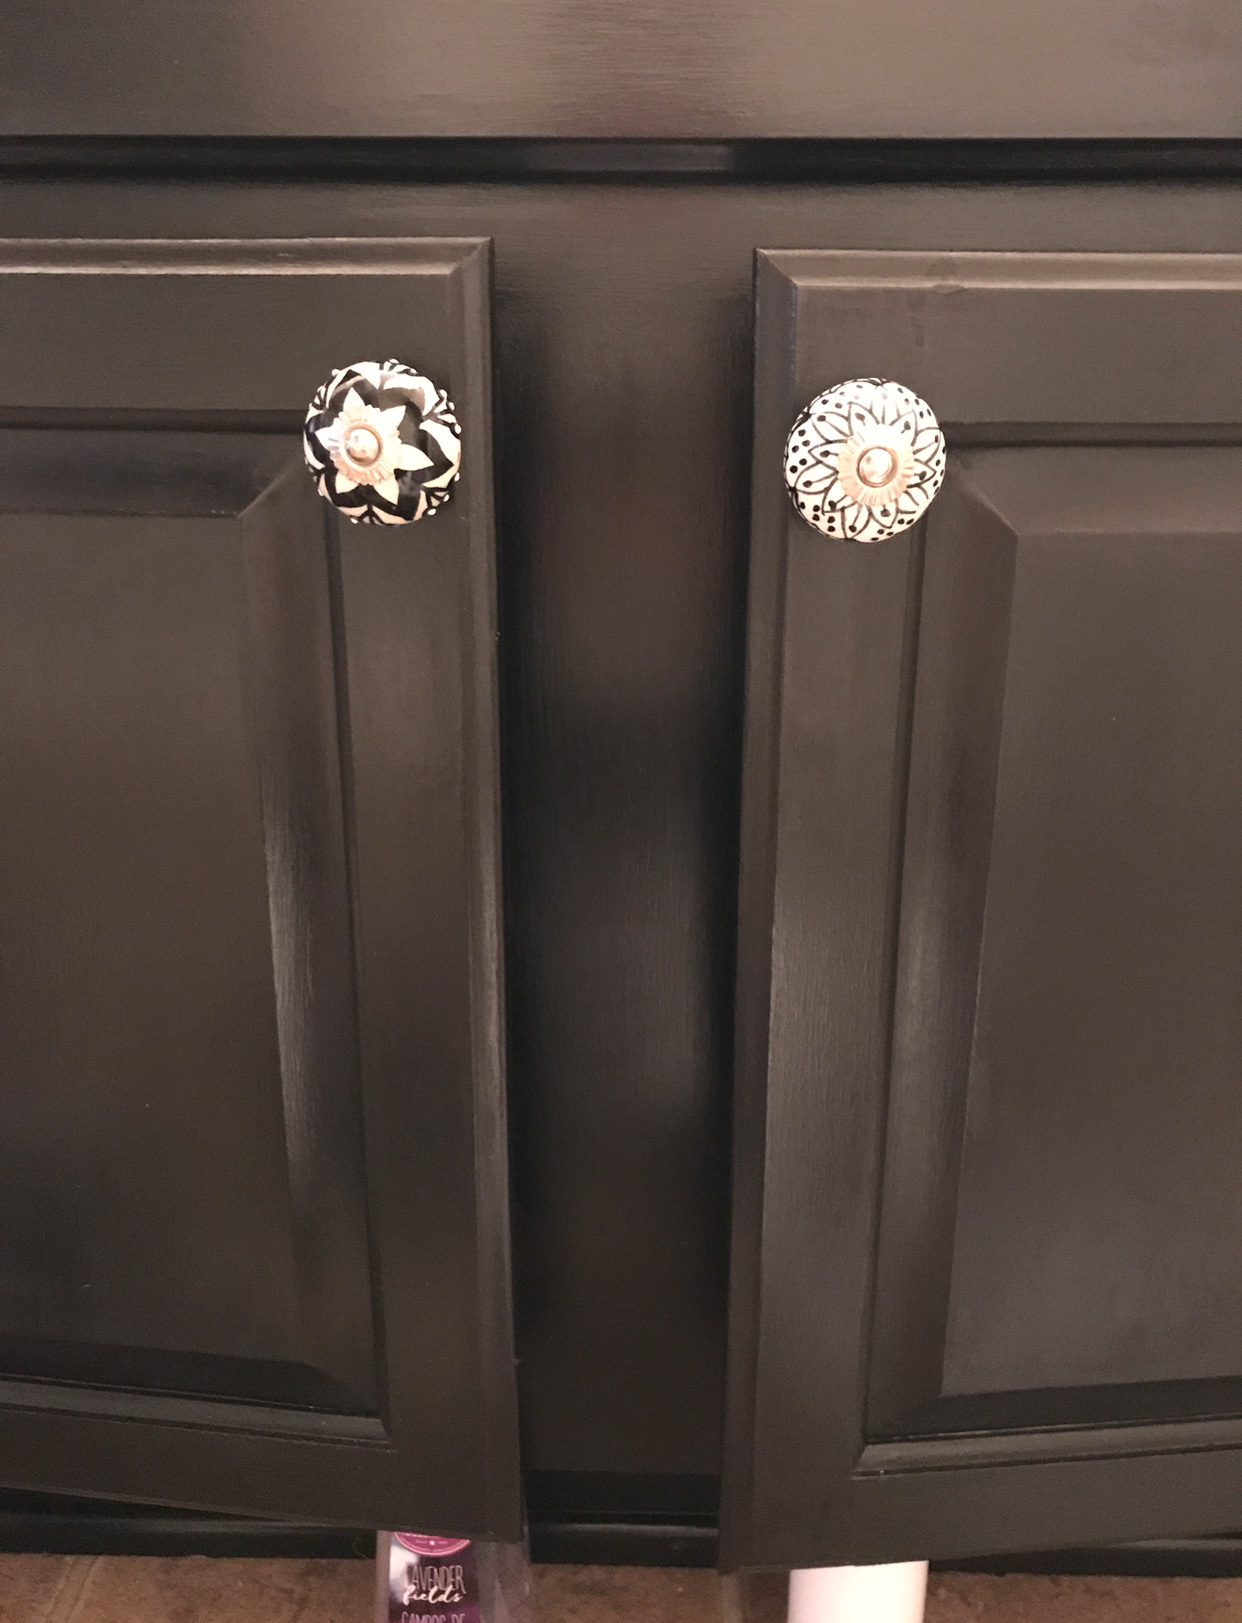
 Once your vanity is completely dry, it's time to add the finishing touches. Reattach the hardware or replace it with new ones for a more updated look. You can also add decorative elements like stenciling, new knobs, or a fresh coat of paint to the bathroom walls to tie the whole look together.
Conclusion
 Transforming your bathroom vanity with chalk paint is a budget-friendly and fun way to update your house design. With a little bit of creativity and some elbow grease, you can achieve a stunning new look for your bathroom. So, why wait? Gather your supplies and get ready to give your bathroom vanity a makeover that will leave you feeling refreshed and renewed.


