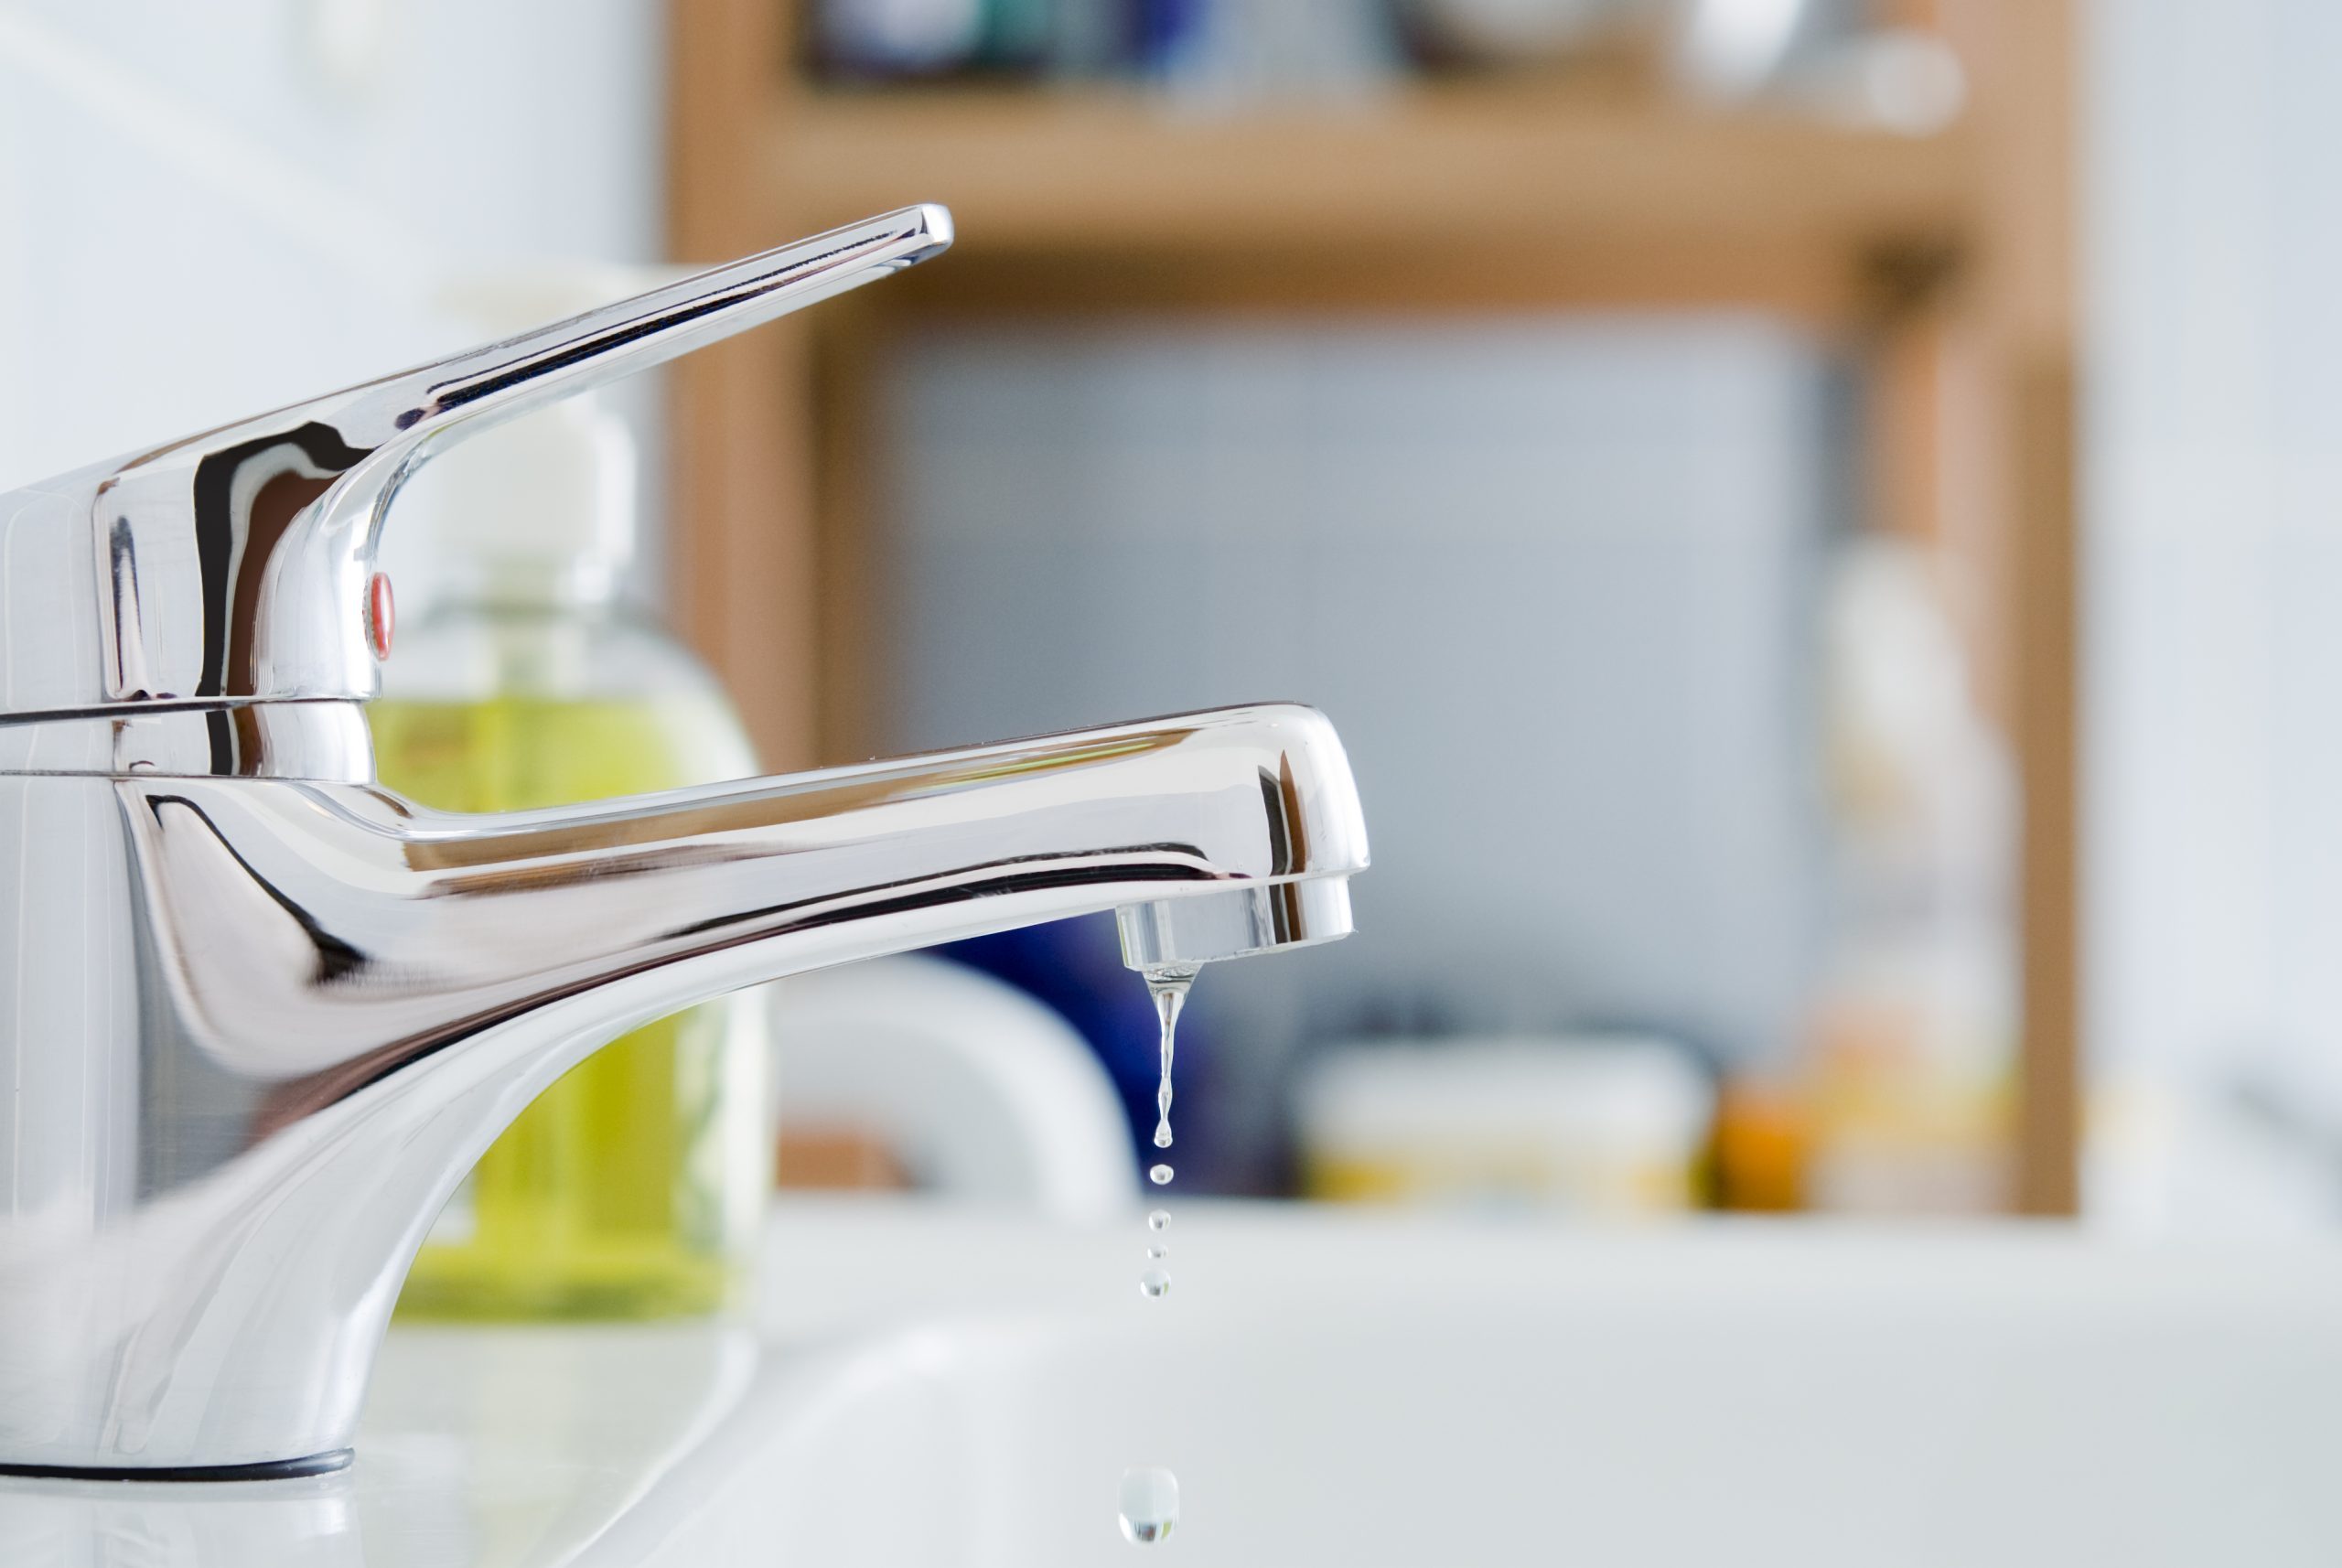
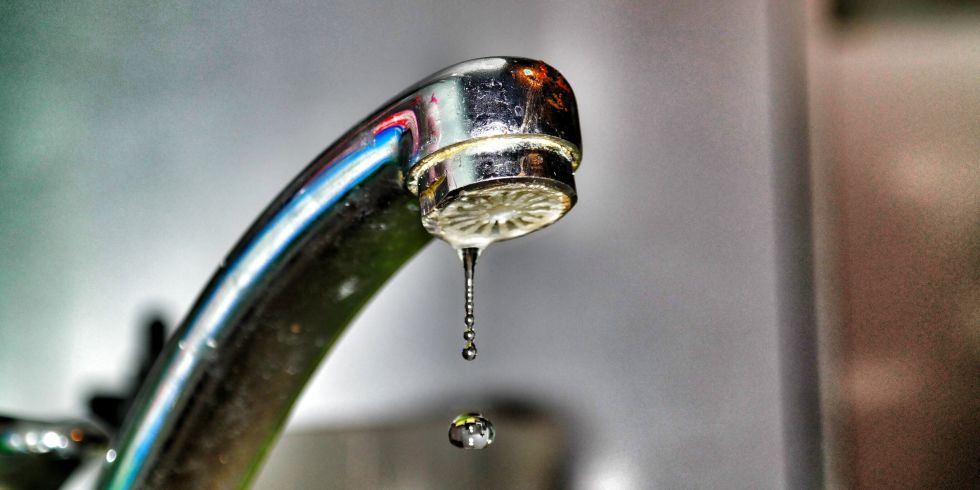
If the bathroom sink in your home is constantly dripping, it can be frustrating and wasteful. Not only does the sound of dripping water become annoying, but it can also lead to higher water bills. However, fixing a leaky bathroom sink doesn't have to be a difficult task. With the right tools and a little know-how, you can quickly and easily stop your bathroom sink from dripping. First, you'll need to determine the cause of the leak. There are a few common reasons why a bathroom sink may start dripping: 1. Worn out washer: The most common cause of a dripping bathroom sink is a worn out washer. The washer is a small rubber seal that sits inside the faucet and helps create a watertight seal. Over time, the constant use of the faucet can cause the washer to wear out, leading to a drip. 2. Loose or damaged O-ring: The O-ring is another small rubber seal that helps create a watertight seal. If the O-ring becomes loose or damaged, it can cause a leak in your bathroom sink. 3. Corroded valve seat: The valve seat is the part of the faucet that connects to the spout. Over time, it can become corroded and cause a leak in your bathroom sink. 4. High water pressure: If the water pressure in your home is too high, it can cause a leak in your bathroom sink. The excess pressure can put strain on the faucet, causing it to leak. Once you have determined the cause of the leak, you can move on to fixing it.How to Fix a Leaky Bathroom Sink
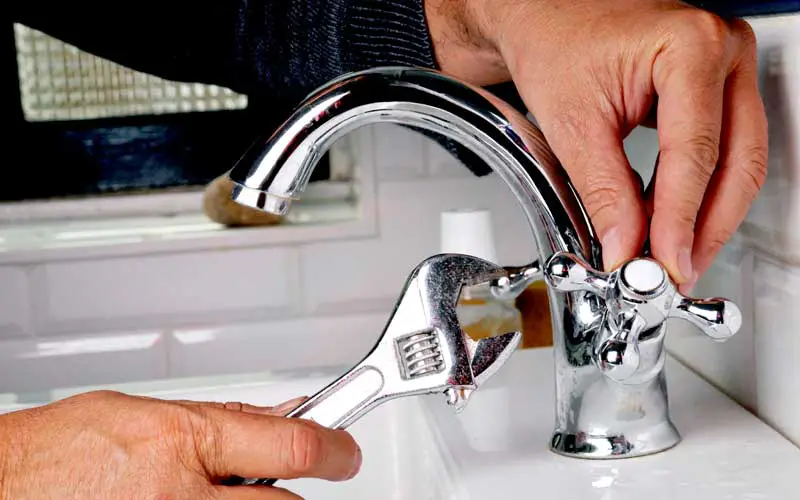
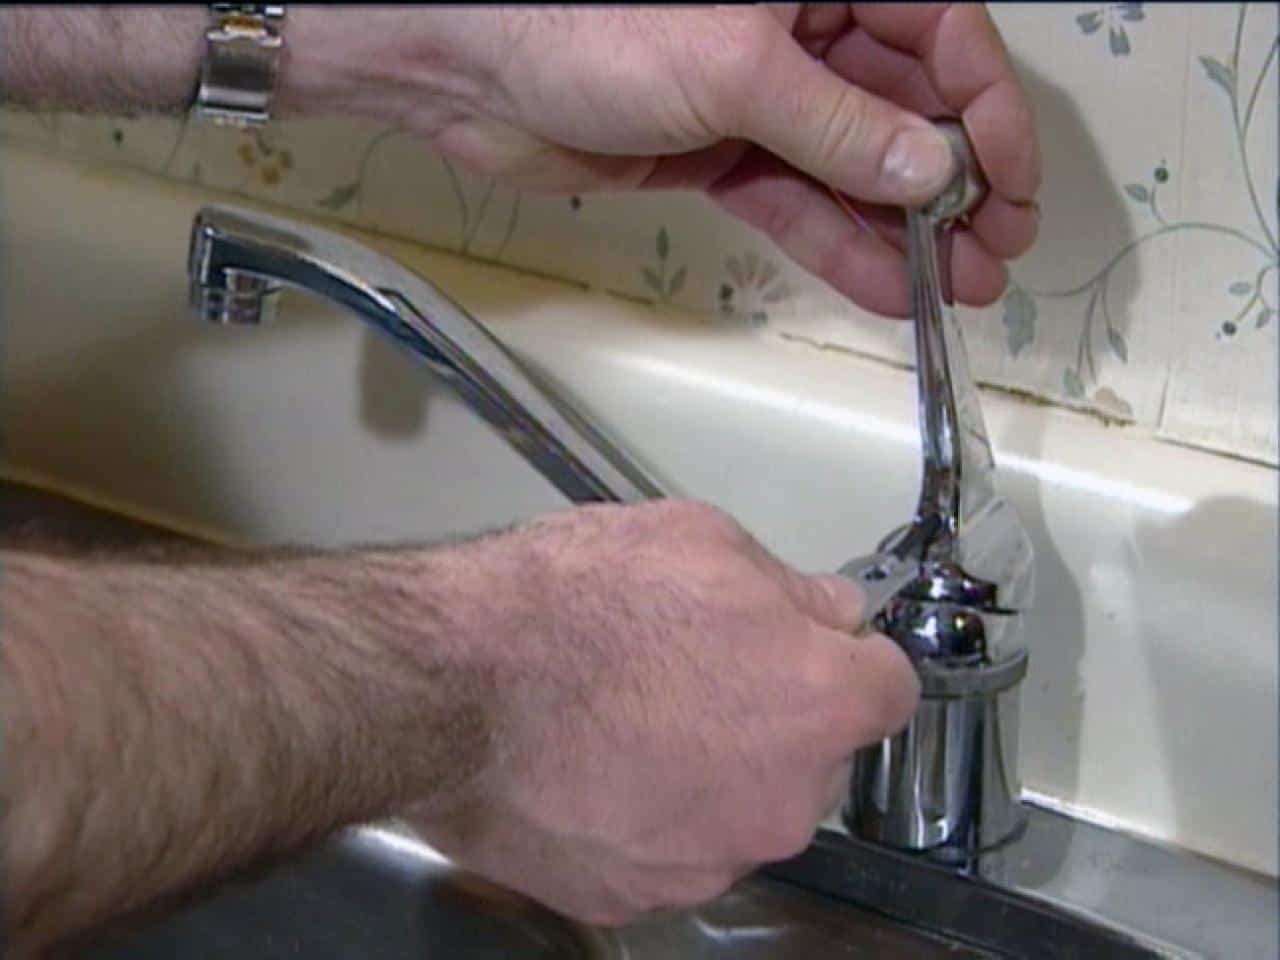
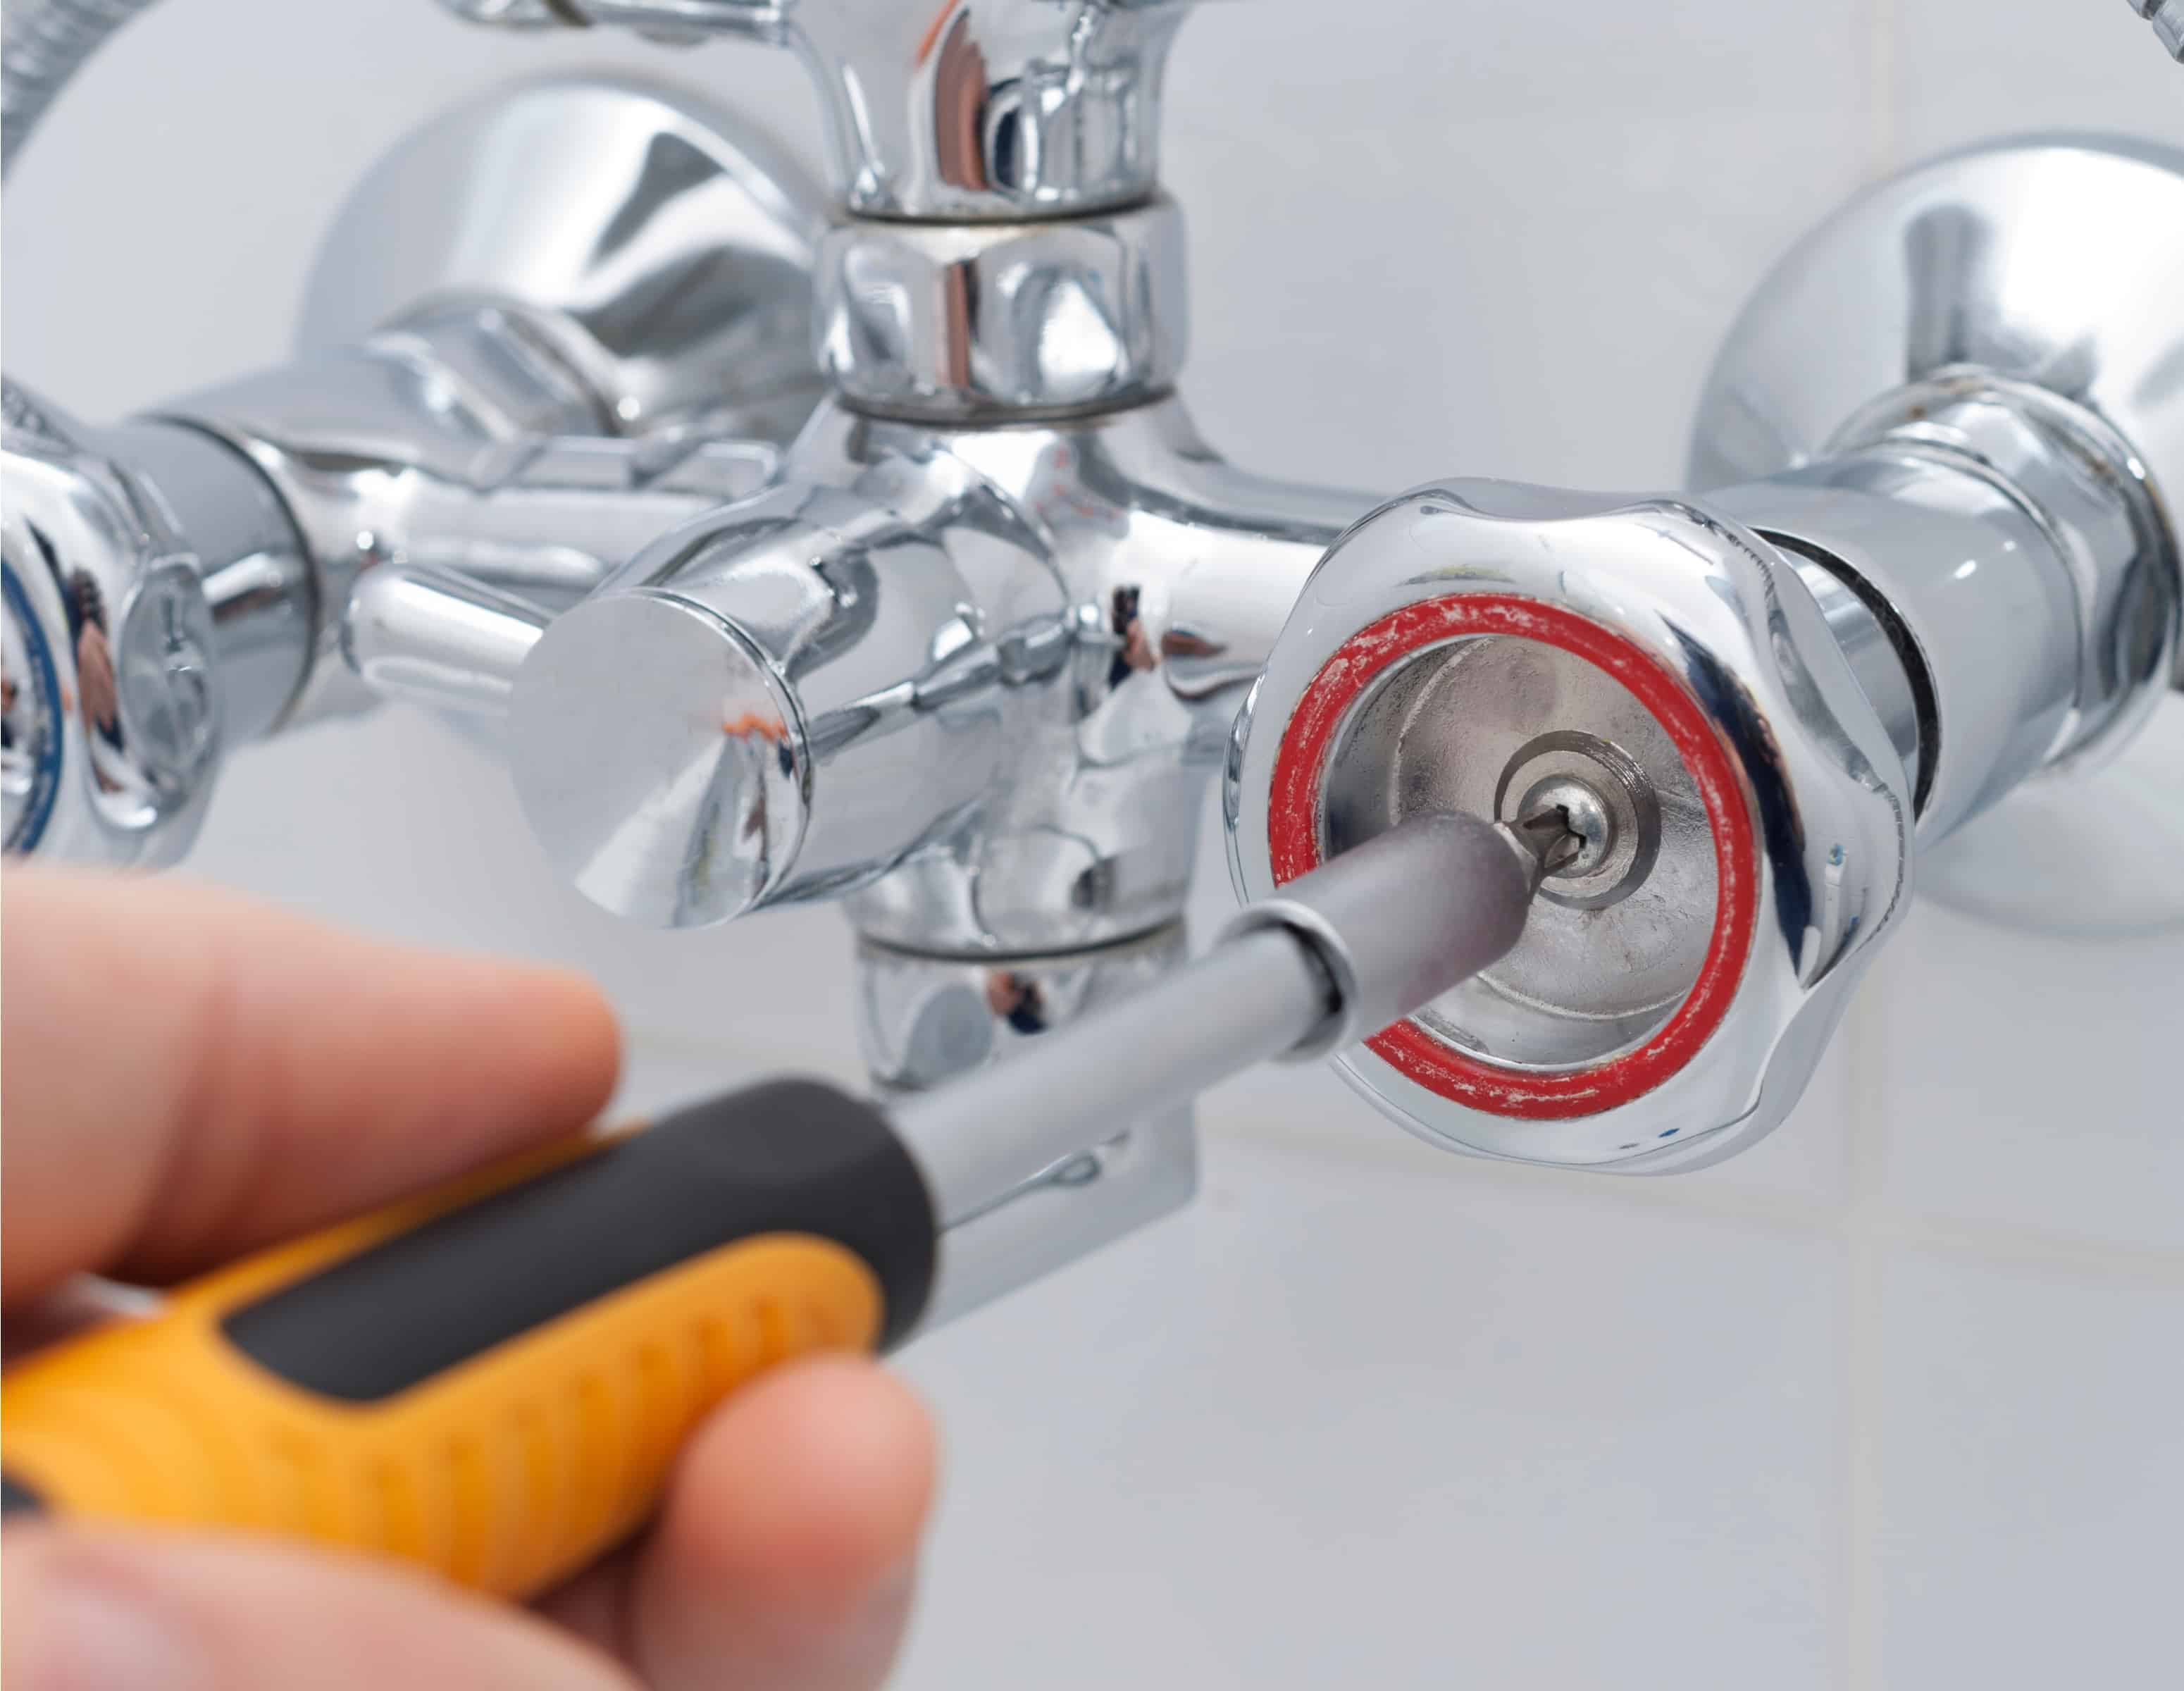
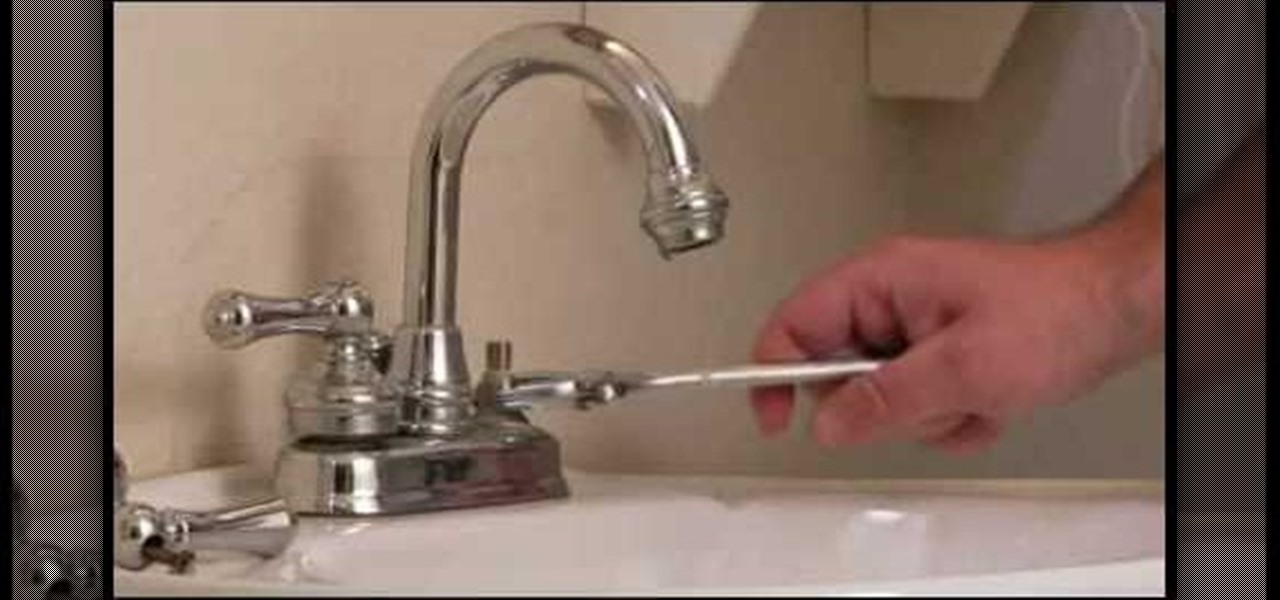
If the cause of your dripping bathroom sink is a worn out washer, you can easily replace it with a new one. First, turn off the water supply to the sink. Then, use a wrench to remove the handle of the faucet. Next, remove the stem of the faucet and take out the old washer. Replace it with a new one and reassemble the faucet. Turn the water supply back on and test the faucet to see if the drip has stopped. If the O-ring is the culprit, you can follow the same steps to replace it. However, make sure to use a wrench to tighten the O-ring securely in place. If the valve seat is corroded, you may need to call a professional plumber to replace it. They will have the necessary tools and expertise to fix the problem and stop your bathroom sink from dripping. To prevent high water pressure from causing leaks, you can install a pressure regulator on your main water supply line. This will help regulate the water pressure and prevent strain on your faucets.How to Stop a Dripping Bathroom Sink Faucet
If you are comfortable with basic plumbing tasks, you can try fixing your dripping bathroom sink yourself. Here is a step-by-step guide to help you: Step 1: Gather your tools and materials: You will need a wrench, pliers, a screwdriver, replacement washers and O-rings, and Teflon tape. Step 2: Turn off the water supply: Before you start any repairs, make sure to turn off the water supply to the sink. Step 3: Disassemble the faucet: Use a wrench to remove the handle and then unscrew the stem of the faucet. Take out the old washer and O-ring. Step 4: Replace the washer and O-ring: Use the new washers and O-rings to replace the old ones. Make sure they are securely in place. Step 5: Reassemble the faucet: Put the stem and handle back in place and use a wrench to tighten them securely. Step 6: Use Teflon tape: If there are any threads that connect the faucet to the sink, wrap Teflon tape around them to prevent leaks. Step 7: Turn on the water supply: Once you have reassembled the faucet, turn the water supply back on and test the faucet to see if the drip has stopped.DIY: Fixing a Dripping Bathroom Sink
Aside from the four common causes mentioned earlier, there are a few other reasons why your bathroom sink may be dripping: 1. Broken pipe: If the pipe connecting to your bathroom sink is damaged or broken, it can cause leaks. 2. Faulty cartridge or ball valve: These are the parts of your faucet that control the water flow. If they become damaged or worn out, they can cause leaks in your bathroom sink. 3. Mineral buildup: Over time, mineral deposits can build up in your faucet, causing it to leak. Regular cleaning and maintenance can help prevent this issue. Identifying the cause of your dripping bathroom sink can help you find the best solution to fix it.Common Causes of a Dripping Bathroom Sink
If you don't have the time or resources to fix your dripping bathroom sink, there are a few quick and easy solutions that can help: 1. Use a temporary fix: You can use plumber's putty or tape to temporarily stop the leak until you can get it fixed properly. 2. Place a container under the leak: This can help catch the water and prevent it from going down the drain and wasting water. 3. Turn off the water supply: If the drip is causing a significant increase in your water bill, you can turn off the water supply to the sink until you are able to fix it.Quick and Easy Solutions for a Dripping Bathroom Sink
If you have the time and resources to fix your dripping bathroom sink, here is a step-by-step guide to help you: Step 1: Gather your tools and materials: You will need a wrench, pliers, a screwdriver, replacement washers and O-rings, Teflon tape, and a new cartridge or ball valve if necessary. Step 2: Turn off the water supply: Make sure to turn off the water supply to the sink before starting any repairs. Step 3: Disassemble the faucet: Use a wrench to remove the handle and then unscrew the stem of the faucet. Take out the old washer and O-ring. If the cartridge or ball valve is damaged, replace it with a new one. Step 4: Clean and reassemble the faucet: Use a brush or cloth to clean any mineral buildup or debris from the faucet. Then, reassemble the faucet with the new parts. Step 5: Turn on the water supply: Once you have reassembled the faucet, turn the water supply back on and test the faucet to see if the drip has stopped.Step-by-Step Guide to Repairing a Dripping Bathroom Sink
If you have followed all of the steps to fix your dripping bathroom sink and it is still leaking, there may be a more serious issue at play. Some troubleshooting tips include: 1. Check the pipes: Make sure there are no leaks or cracks in the pipes connecting to your bathroom sink. 2. Inspect the faucet: If the faucet itself is damaged or worn out, it may need to be replaced entirely. 3. Call a professional: If you are unable to fix the problem on your own, it may be time to call a professional plumber for assistance.Troubleshooting a Dripping Bathroom Sink
The best way to deal with a dripping bathroom sink is to prevent it from happening in the first place. Here are a few tips to help prevent leaks in your bathroom sink: 1. Regularly clean and maintain your faucet: This can help prevent mineral buildup and damage to the parts of your faucet. 2. Don't use excessive force: Be gentle when turning the handle of your faucet to avoid putting strain on the parts. 3. Keep an eye out for leaks: If you notice any leaks or drips, address them promptly before they become a bigger issue.Preventing a Bathroom Sink from Dripping
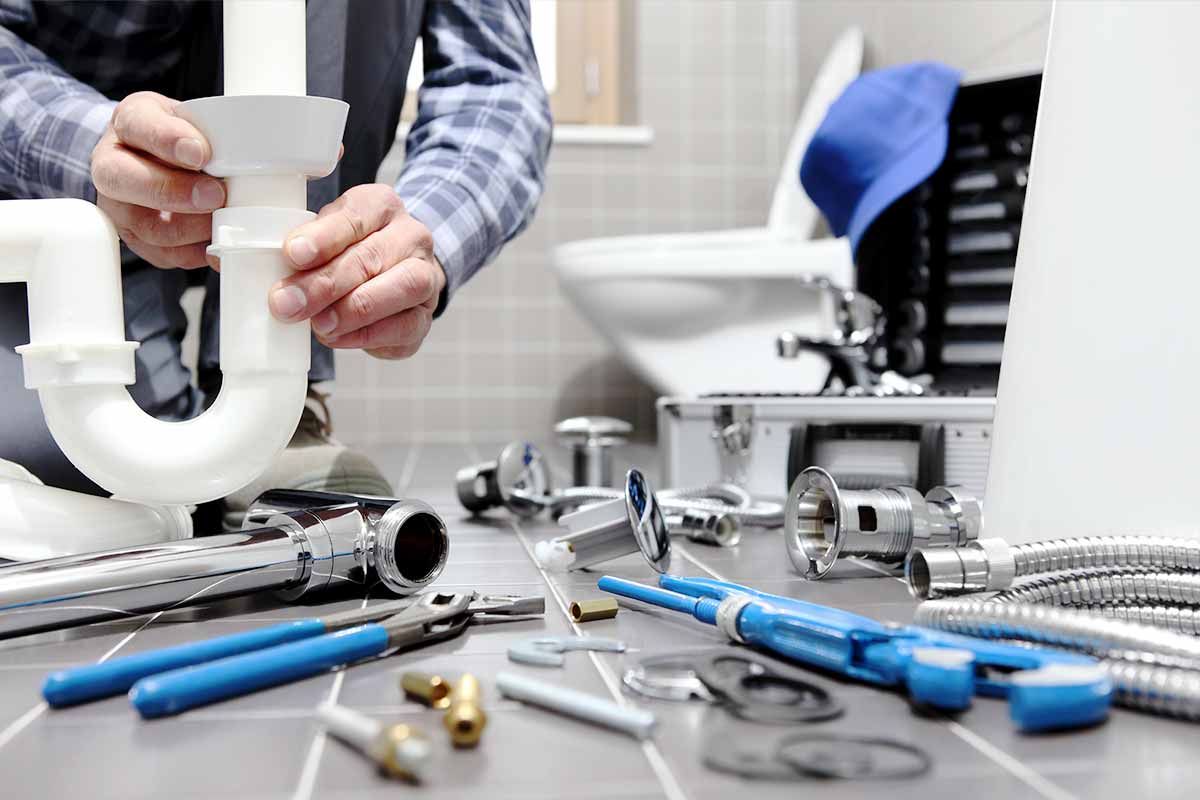
If you plan on fixing your dripping bathroom sink yourself, here are the tools and materials you will need: 1. Wrench 2. Pliers 3. Screwdriver 4. Replacement washers and O-rings 5. Teflon tape 6. New cartridge or ball valve (if necessary)Tools and Materials Needed to Fix a Dripping Bathroom Sink
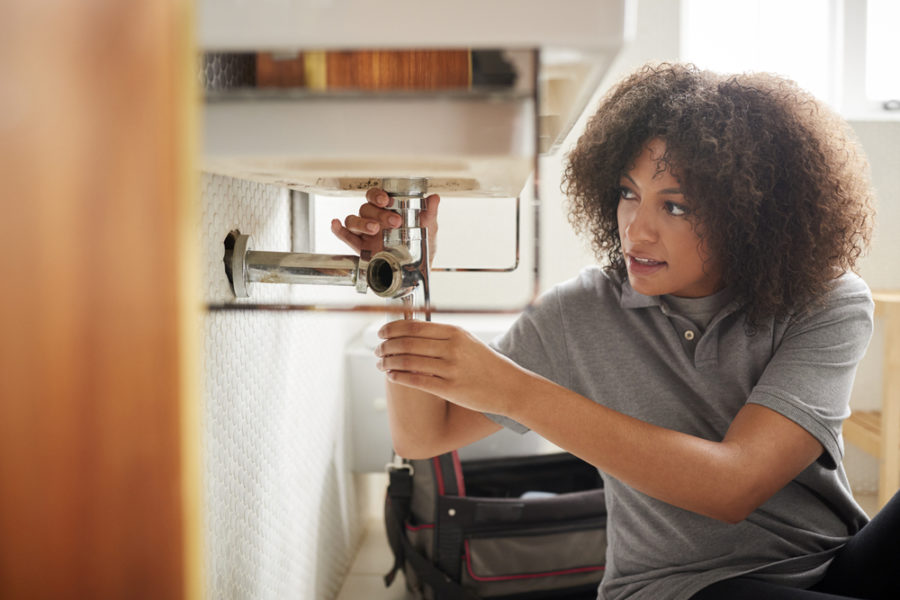
If you are unable to fix your dripping bathroom sink yourself or are not comfortable with DIY repairs, it may be best to call a professional plumber. They have the necessary tools and expertise to fix the problem and ensure that your bathroom sink is no longer dripping. While it may cost more upfront, it can save you time and hassle in the long run. In conclusion, a dripping bathroom sink is a common household issue that can be easily fixed with the right tools and knowledge. By following these tips and steps, you can put an end to the frustrating sound and wastefulness of a dripping bathroom sink. Remember to regularly maintain and inspect your faucet to prevent leaks from occurring in the future.Professional Plumbing Services for a Dripping Bathroom Sink
How to Fix a Dripping Bathroom Sink: A Quick Guide for Homeowners
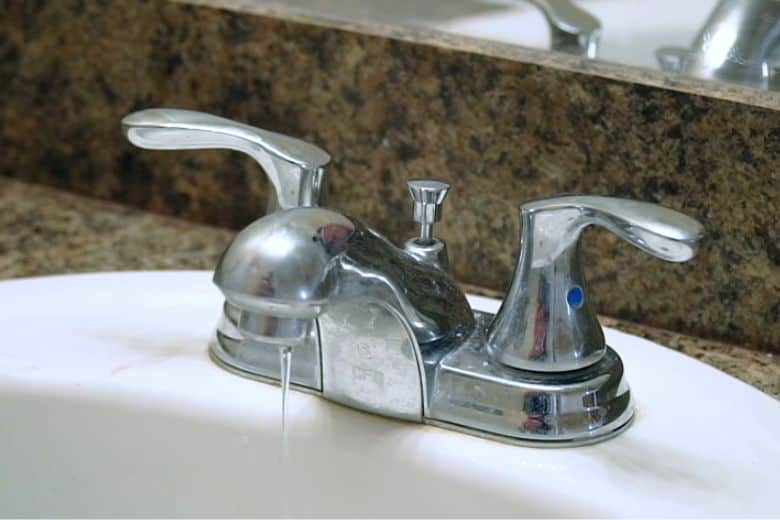
A dripping bathroom sink can be a major annoyance for homeowners. Not only does it waste water and drive up your water bill, but the constant dripping sound can also be enough to drive anyone crazy. Fortunately, fixing a dripping bathroom sink is a relatively simple task that can be done by any homeowner with just a few basic tools. In this guide, we will walk you through the steps to fix your bathroom sink and get it back to working properly.
Step 1: Identify the Source of the Dripping
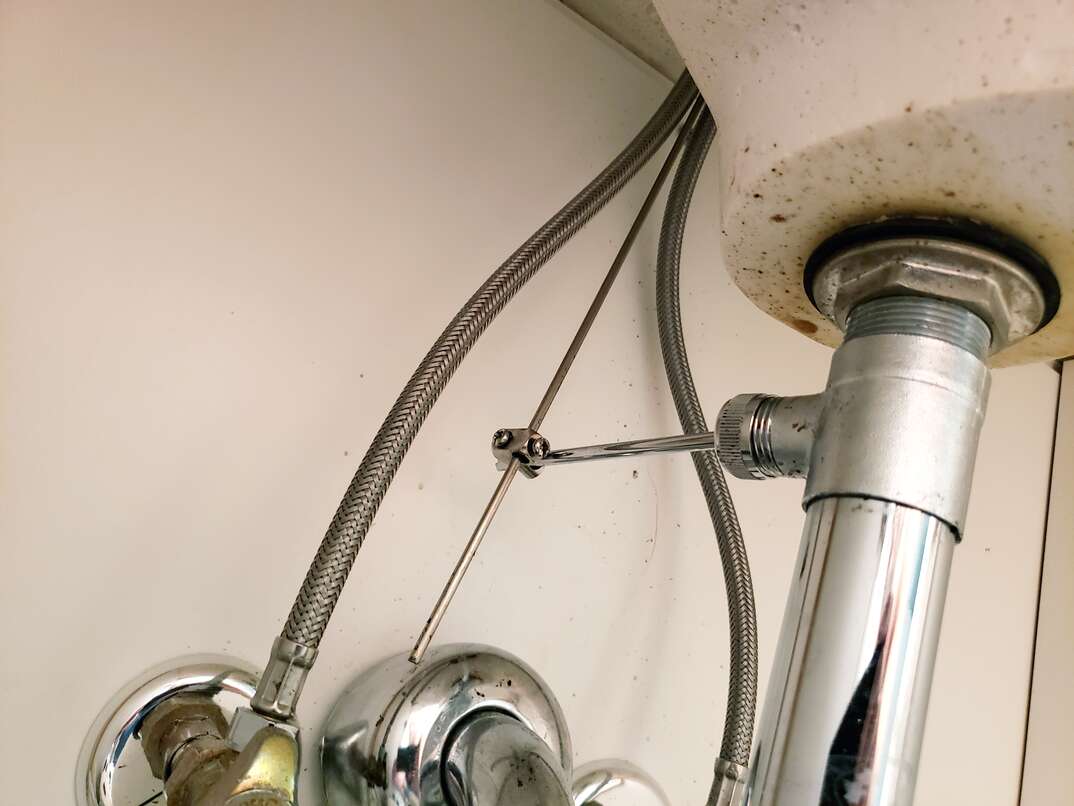
The first step to fixing a dripping bathroom sink is to identify where the leak is coming from. In most cases, the leak is caused by a faulty faucet or valve . Start by turning off the water supply to your bathroom sink and then turn on the faucet to release any remaining water pressure. Next, inspect the faucet and valve for any signs of damage or wear and tear.
Step 2: Replace the O-Rings and Washers

If you notice that the faucet or valve is damaged or worn, the next step is to replace the O-rings and washers . These small pieces are responsible for creating a tight seal and preventing leaks. They can become worn over time and need to be replaced to stop the dripping. You can find replacement O-rings and washers at your local hardware store.
Step 3: Tighten Loose Parts

If the faucet and valve appear to be in good condition, the cause of the dripping may be loose parts. Use a wrench to tighten any loose nuts or bolts, being careful not to overtighten and cause further damage.
Step 4: Consider Replacing the Faucet

If the above steps do not stop the dripping, it may be time to replace the entire faucet . Over time, faucets can become worn and damaged, causing constant leaks. A new faucet can not only fix the dripping but also give your bathroom sink a fresh new look.
By following these simple steps, you can fix a dripping bathroom sink and save yourself the frustration and expense of a constantly running faucet. If you are uncomfortable attempting these repairs yourself, it is always best to consult a professional plumber for assistance. With a properly functioning bathroom sink , you can enjoy a peaceful and stress-free bathroom experience.


