Replacing a tapered ball washer in your bathroom sink may seem like a daunting task, but it's actually a simple and affordable DIY project that can save you time and money in the long run. In this guide, we'll walk you through the top 10 reasons why you should consider replacing your bathroom sink's tapered ball washer and provide you with step-by-step instructions on how to do it yourself. Bathroom Sink Tapered Ball Washer Replacement: The Ultimate Guide
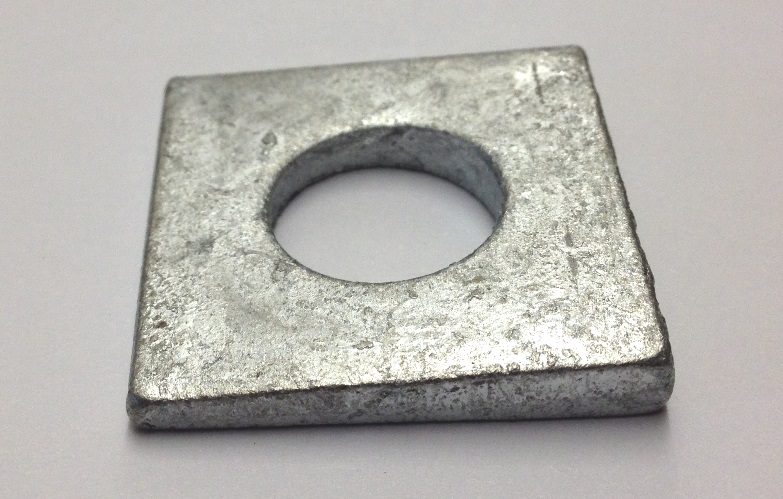
First things first, let's define what a tapered ball washer is. This small but crucial part is located at the bottom of your bathroom sink's faucet. Its purpose is to provide a tight seal and prevent leaks by keeping the ball and stem in place. Over time, this washer can wear out, causing leaks and other issues. 1. What is a Tapered Ball Washer?
There are several reasons why you should consider replacing your bathroom sink's tapered ball washer. The most common reason is that the washer has worn out and is no longer providing a proper seal. This can lead to leaks, which can cause water damage to your sink and surrounding areas. Replacing the washer can also improve water flow and pressure, as well as prevent rust and corrosion. 2. Why Replace Your Tapered Ball Washer?
It's important to know the signs of a worn-out tapered ball washer so you can address the issue before it causes any major damage. Some common signs include leaks or drips from the faucet, reduced water flow or pressure, and difficulty turning the faucet handle. If you notice any of these signs, it's time to replace your washer. 3. Signs That Your Tapered Ball Washer Needs Replacing
Before you begin the replacement process, make sure you have all the necessary tools and materials. You'll need an adjustable wrench, pliers, a flathead screwdriver, a new tapered ball washer, and plumber's tape. It's also a good idea to have a towel or rag on hand to clean up any water that may leak during the process. 4. Tools and Materials You'll Need
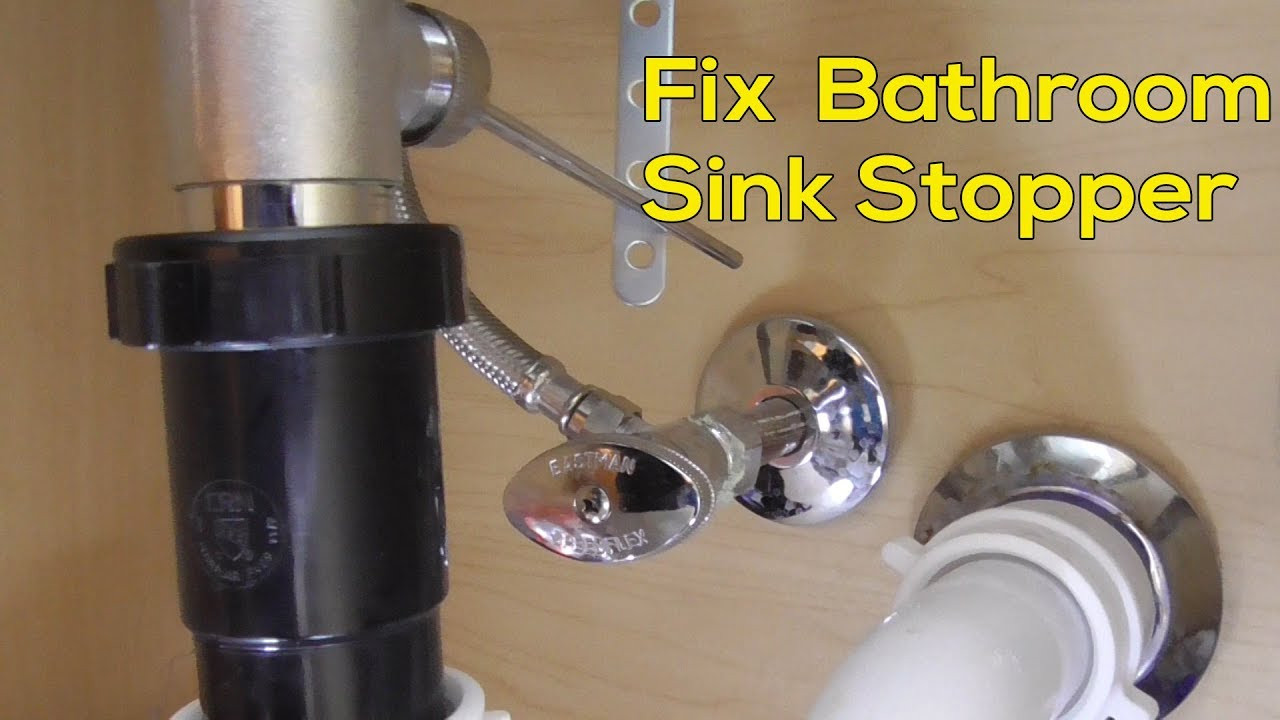
The first step in replacing your tapered ball washer is to shut off the water supply to your bathroom sink. Look for the shut-off valves under the sink and turn them to the off position. If you can't find the valves, you can shut off the main water supply to your house. 5. Shut Off the Water Supply
Using your adjustable wrench, loosen the nut that holds the faucet handle in place. Once the nut is loose, you can remove the handle and set it aside. Next, use your pliers to remove the retaining clip that holds the ball and stem in place. Once the clip is removed, you can pull out the ball and stem, revealing the old tapered ball washer. 6. Remove the Old Washer
Before installing the new tapered ball washer, make sure the area is clean and free of any debris. Use a clean rag or towel to wipe away any buildup or residue. You can also use a small brush to clean the inside of the faucet and remove any buildup that may be hindering water flow. 7. Clean and Prepare the Area
Now it's time to install the new tapered ball washer. Place the washer on the stem and make sure it is positioned correctly. Then, insert the ball and stem back into the faucet and secure it with the retaining clip. Make sure the clip is secure and in the proper position to prevent any leaks. 8. Install the New Washer
Once the new washer is in place, you can reassemble the faucet. First, apply plumber's tape to the threads on the bottom of the faucet handle. Then, reattach the handle and use your adjustable wrench to tighten the nut. Turn the water supply back on and test your faucet to make sure it is functioning properly. 9. Reassemble the Faucet
The Importance of a Bathroom Sink Tapered Ball Washer Replacement in House Design

What is a Bathroom Sink Tapered Ball Washer?
 When it comes to bathroom design, every small detail matters. One often overlooked component is the tapered ball washer in the bathroom sink. This small, circular piece sits at the base of the sink's faucet and helps to create a tight seal, preventing water from leaking out. Over time, this washer can become worn out or damaged, leading to leaks and potential water damage in your bathroom. That's why it's important to know when and how to replace this essential part.
The Signs of a Worn Out Tapered Ball Washer
 It's important to regularly check your bathroom sink for any signs of wear and tear, as this can help you catch any issues before they become major problems. If you notice any of the following signs, it may be time to replace your tapered ball washer:
- Leaking or dripping faucet
- Loose or wobbly faucet handle
- Difficulty turning the faucet on or off
- Water pooling around the base of the faucet
If you experience any of these issues, it's best to address them as soon as possible to prevent further damage.
The Benefits of a Bathroom Sink Tapered Ball Washer Replacement
 Replacing your tapered ball washer may seem like a small and insignificant task, but it can actually have a significant impact on the overall design and functionality of your bathroom. A new washer can provide a tight seal, preventing leaks and reducing the risk of water damage. It can also improve the performance of your faucet, making it easier to turn on and off. Additionally, a new washer can enhance the aesthetic of your bathroom sink, giving it a fresh and updated look.
How to Replace a Bathroom Sink Tapered Ball Washer
 Replacing a tapered ball washer is a fairly simple process that can be done at home with the right tools. First, turn off the water supply to the sink and close the drain to prevent any small parts from falling down. Next, using a wrench, loosen and remove the faucet handle. Then, remove the old washer and replace it with a new one. Finally, reattach the faucet handle and turn the water supply back on. If you're unsure of how to complete this task, it's always best to consult a professional.


