Replacing a bathroom sink stopper may seem like a daunting task, but with the right tools and knowledge, it can be a quick and easy process. Whether your old stopper is broken or you simply want to update the look of your sink, this step-by-step guide will walk you through the process of replacing a bathroom sink stopper.How to Replace a Bathroom Sink Stopper


How to Replace a Bathroom Sink Stopper


The first step in replacing a bathroom sink stopper is to gather all the necessary tools and materials. You will need a pair of pliers, a wrench, a new stopper, and possibly some plumber's putty or silicone sealant. Next, locate the pivot rod under the sink. This is the metal rod that connects the stopper to the sink drain. Use your pliers to loosen the nut holding the pivot rod in place, then remove the rod and the old stopper. If your new stopper requires a different size pivot rod, use your wrench to remove the old rod and replace it with the new one. Make sure it is securely tightened in place. Then, insert the new stopper into the sink drain and secure it with the pivot rod. Use your pliers to tighten the nut and make sure the stopper is securely in place. If your new stopper does not come with a rubber gasket, you may need to apply a small amount of plumber's putty or silicone sealant around the edge of the drain before inserting the stopper. This will help create a watertight seal. Finally, test your new stopper by filling the sink with water and checking for any leaks. If there are no leaks, you have successfully replaced your bathroom sink stopper!Step-by-Step Guide for Replacing a Bathroom Sink Stopper


Step-by-Step Guide for Replacing a Bathroom Sink Stopper


If you are feeling adventurous and want to save some money, you can replace your bathroom sink stopper yourself with just a few tools and some patience. Follow the steps outlined in the previous section and you will have a new stopper in no time. Remember to take your time and be careful when working with plumbing. If you are unsure about anything, it is always best to consult a professional.DIY Bathroom Sink Stopper Replacement Procedure


DIY Bathroom Sink Stopper Replacement Procedure


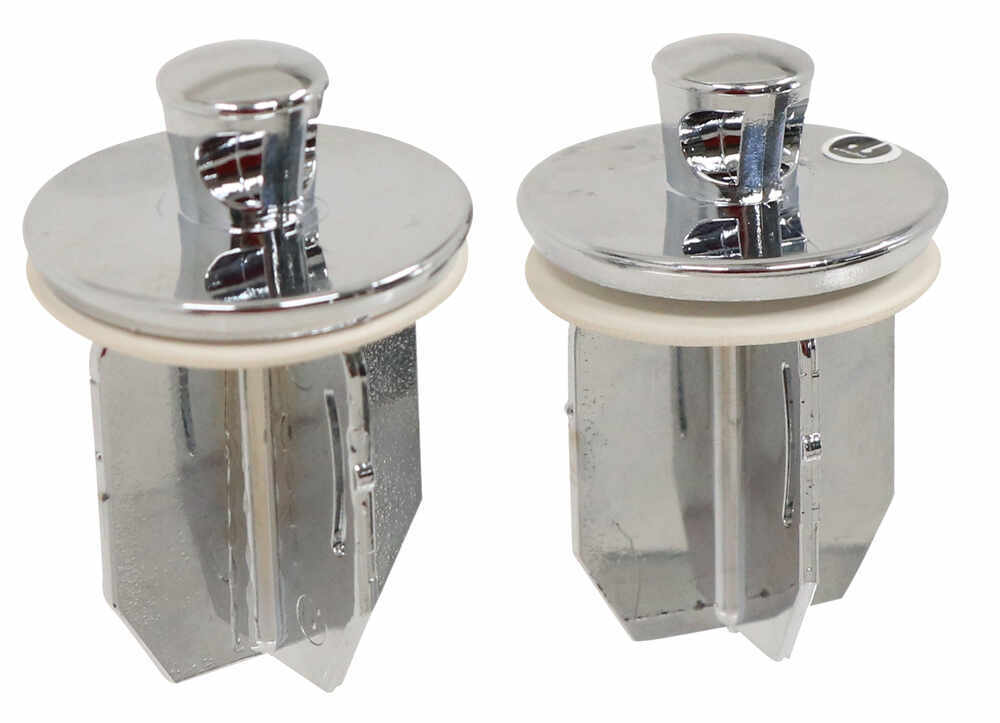
If you are short on time and just want a quick and easy fix for your bathroom sink stopper, you can try a universal stopper replacement. These stoppers are designed to fit most standard sink drains and can be easily installed without any tools. Simply remove the old stopper by twisting it counterclockwise and insert the new stopper in its place. This is a temporary solution and may not provide a watertight seal, but it can be a convenient fix in a pinch.Quick and Easy Bathroom Sink Stopper Replacement


Quick and Easy Bathroom Sink Stopper Replacement

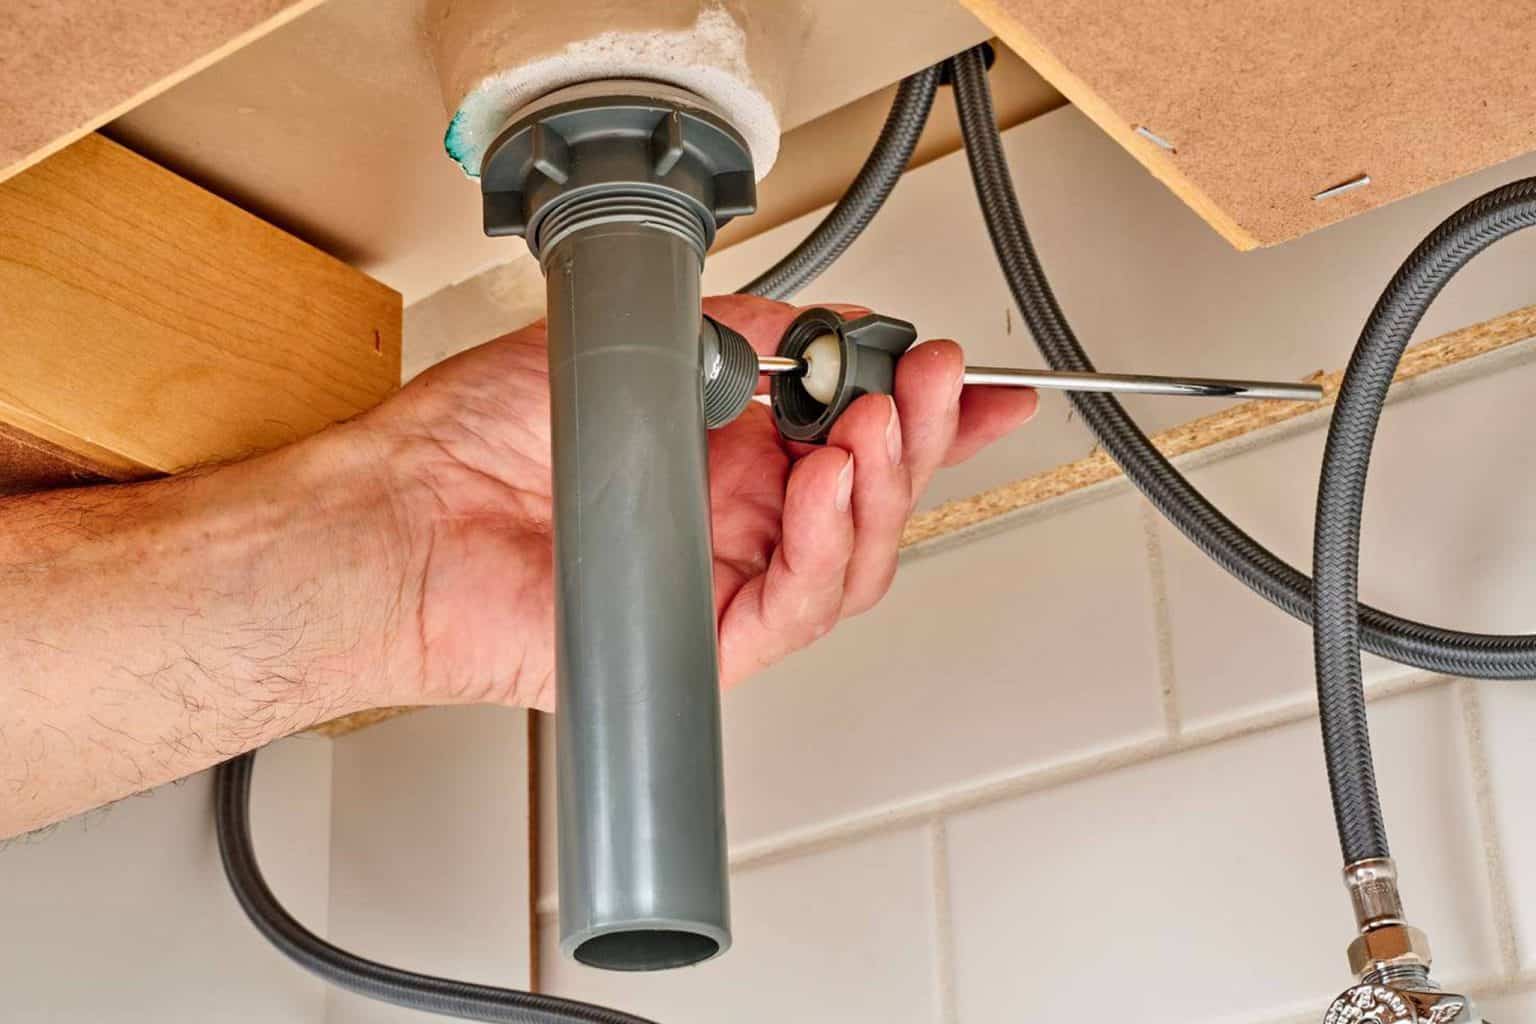


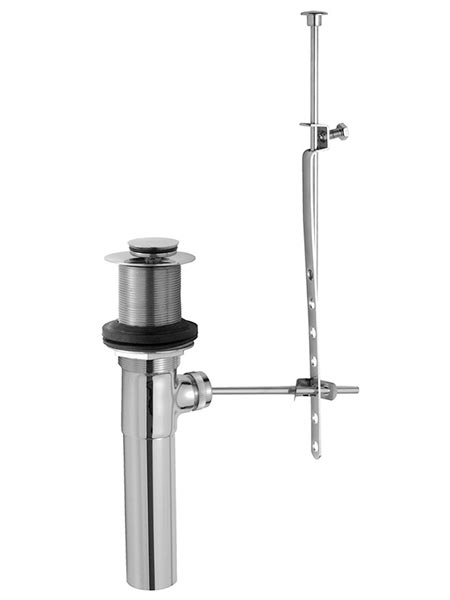
Replacing a bathroom sink stopper can be a bit more complicated if you have a pop-up drain assembly. In this case, you will need to remove the entire drain assembly from the sink in order to replace the stopper. Start by loosening the locknut at the bottom of the drain assembly with your pliers. Then, twist and pull the entire assembly out of the sink. You may need to use some force to remove it, but be careful not to damage the sink or any plumbing pipes. Once the assembly is out, you can easily remove the old stopper and replace it with the new one. Then, reassemble the drain and reattach it to the sink. Again, make sure everything is securely tightened and test for leaks before using the sink.Replacing a Bathroom Sink Stopper: A Comprehensive Guide


Replacing a Bathroom Sink Stopper: A Comprehensive Guide

Having the right tools is crucial for a successful bathroom sink stopper replacement. Some essential tools you will need include pliers, a wrench, and a screwdriver. You may also need a putty knife and some plumber's putty or silicone sealant, depending on the type of stopper you are replacing. It is important to make sure your tools are in good condition and the correct size for the job. Using the wrong tools can result in damage to your sink or plumbing, so invest in quality tools and take care of them for future projects.Essential Tools for Bathroom Sink Stopper Replacement Procedure


Essential Tools for Bathroom Sink Stopper Replacement Procedure


Replacing a bathroom sink stopper can come with its fair share of challenges. Some common problems you may encounter include difficult-to-remove stoppers, leaky connections, or incompatible parts. To remove a stubborn stopper, you can try using a lubricant such as WD-40 to loosen it. For leaky connections, make sure everything is tightly secured and consider using some Teflon tape for a better seal. If you encounter incompatible parts, you may need to consult a professional or purchase a different stopper.Common Problems and Solutions for Bathroom Sink Stopper Replacement

Common Problems and Solutions for Bathroom Sink Stopper Replacement


Here are some helpful tips and tricks to keep in mind while replacing your bathroom sink stopper:Tips and Tricks for a Successful Bathroom Sink Stopper Replacement

Tips and Tricks for a Successful Bathroom Sink Stopper Replacement

If you prefer visual instructions, there are many helpful video tutorials available online that can guide you through the process of replacing a bathroom sink stopper. Watching someone else do it can make it easier to understand and replicate the steps for yourself. Just make sure to watch a reputable source and follow the steps carefully. If anything does not make sense or you feel uncomfortable, it is always best to consult a professional for assistance.Step-by-Step Video Tutorial for Bathroom Sink Stopper Replacement


Step-by-Step Video Tutorial for Bathroom Sink Stopper Replacement

If you are not confident in your plumbing skills or encounter any difficulties during the process, do not hesitate to seek advice from a professional plumber. They have the knowledge and experience to help you successfully replace your bathroom sink stopper. Additionally, seeking advice from a professional can also help prevent any potential damage or costly mistakes that may arise from DIY attempts.Expert Advice on Bathroom Sink Stopper Replacement Procedure
Expert Advice on Bathroom Sink Stopper Replacement Procedure


Why Should You Consider Replacing Your Bathroom Sink Stopper?
The Importance of a Functional Bathroom Sink Stopper
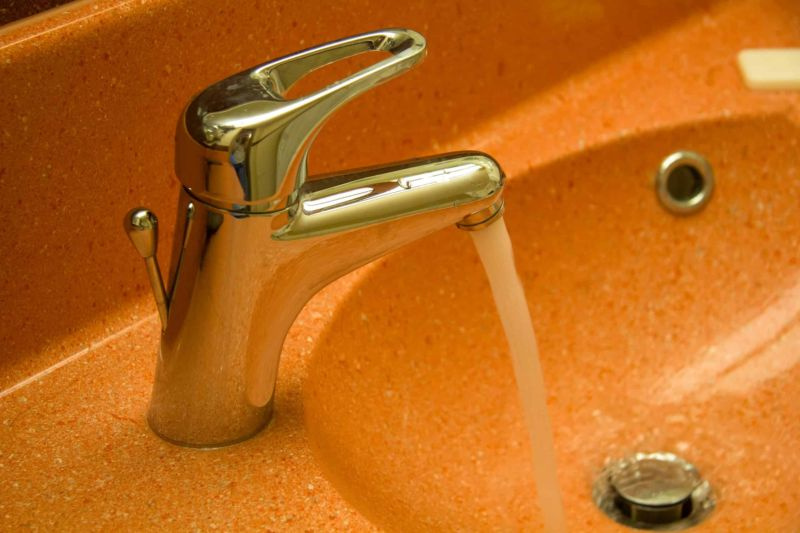
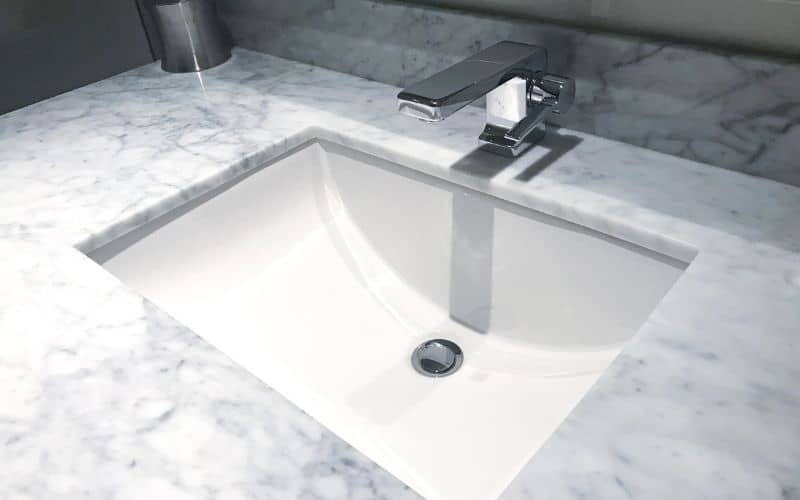
 Having a properly functioning bathroom sink stopper may seem like a small detail, but it actually plays a crucial role in your daily routine. A sink stopper is responsible for preventing water from draining out of the sink, allowing you to fill it with water for tasks such as washing your face or brushing your teeth. Without a functional stopper, you may find yourself constantly dealing with slow draining or clogged sinks, creating a hassle and potentially damaging your plumbing system. Additionally, a broken or old sink stopper can be an eyesore in an otherwise well-designed bathroom. That's why it's important to know the bathroom sink stopper replacement procedure and keep your sink functioning at its best.
Signs of a Damaged Sink Stopper
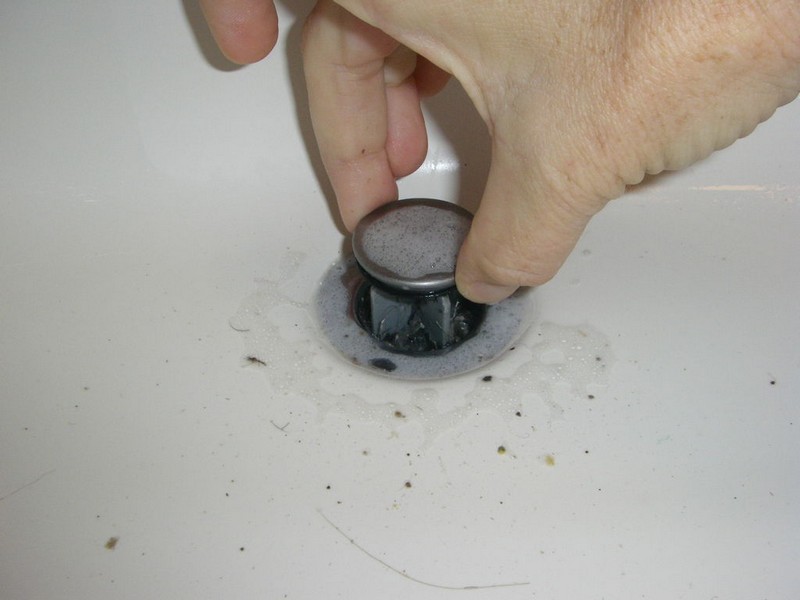
:max_bytes(150000):strip_icc()/bathroom-sink-drain-installation-2718843-07-2b728cbd5c994dc39179346f51bb6421.jpg) Before diving into the replacement procedure, it's important to know the signs that your sink stopper may need to be replaced. If you notice that your sink is draining slowly or not at all, it could be a sign that the stopper is not creating a proper seal. This may be due to a worn out rubber gasket or other internal parts. If you find that your sink stopper is difficult to pull up or push down, it may be time for a replacement. Additionally, if your stopper is corroded or discolored, it can be an indication that it's time for an upgrade.
Before diving into the replacement procedure, it's important to know the signs that your sink stopper may need to be replaced. If you notice that your sink is draining slowly or not at all, it could be a sign that the stopper is not creating a proper seal. This may be due to a worn out rubber gasket or other internal parts. If you find that your sink stopper is difficult to pull up or push down, it may be time for a replacement. Additionally, if your stopper is corroded or discolored, it can be an indication that it's time for an upgrade.
The Bathroom Sink Stopper Replacement Procedure
 Replacing a sink stopper may seem like a daunting task, but with the right tools and a bit of know-how, it can be a simple and straightforward process. First, gather your tools: a wrench, pliers, and a new sink stopper. Next, turn off the water supply to your sink and place a towel or bucket underneath the sink to catch any excess water. Then, use your wrench to loosen the nut holding the sink stopper in place and remove the old stopper. Install the new stopper by inserting it into the drain and tightening the nut with your pliers. Test the stopper by pulling it up and down to make sure it creates a tight seal.
Final Thoughts
 A properly functioning bathroom sink stopper not only helps with daily tasks, but it also adds to the overall aesthetic of your bathroom. By following the simple replacement procedure, you can ensure that your sink remains functional and visually appealing. However, if you encounter any difficulties or are unsure about the process, it's always best to consult a professional plumber for assistance. Don't let a faulty sink stopper be a nuisance in your daily routine, take the necessary steps to replace it and keep your bathroom running smoothly.