Restoring an old bathroom sink faucet may seem like a daunting task, but with the right tools and techniques, it can be a simple and rewarding DIY project. Not only will it save you money, but it will also give your bathroom a fresh new look. Here is a step-by-step guide on how to restore your bathroom sink faucet in 5 easy steps. Bathroom Sink Faucet Restoration: A Step-by-Step Guide


Bathroom Sink Faucet Restoration: A Step-by-Step Guide


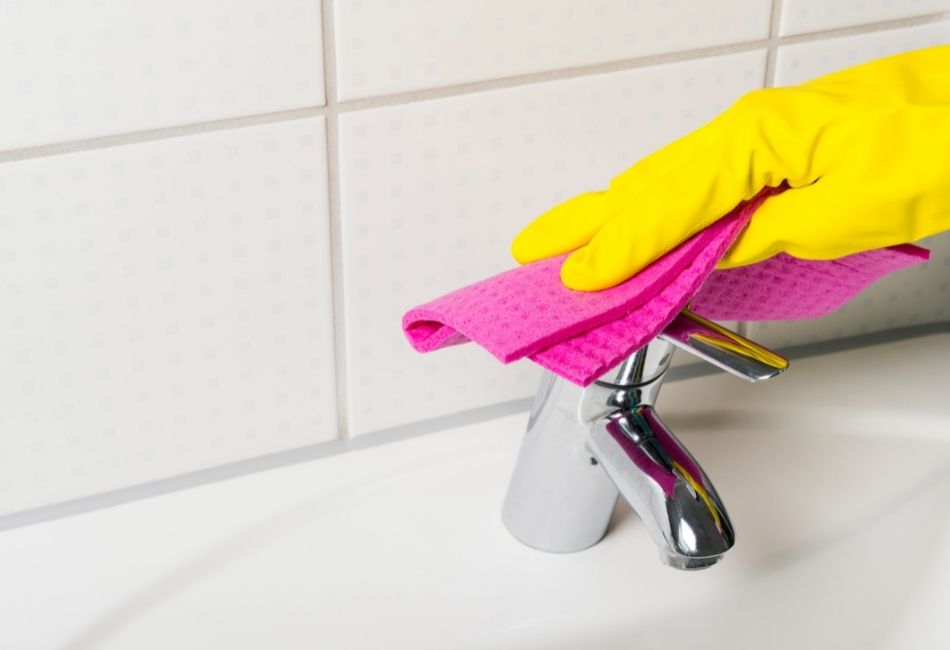
Step 1: Preparation Before starting your restoration project, make sure to turn off the water supply to your sink faucet. This can usually be done by turning off the water valves located under the sink. Next, gather all the necessary tools and materials such as a wrench, pliers, cleaning solution, and replacement parts if needed. Step 2: Disassembly Using a wrench and pliers, carefully remove the handles, spout, and any other components of your sink faucet. Be sure to keep all the parts organized and take note of their placement for reassembly later on. Step 3: Cleaning Using a cleaning solution or a mixture of vinegar and water, thoroughly clean all the parts of your faucet. You can use a toothbrush or small brush to scrub away any built-up grime or mineral deposits. For tougher stains, you can soak the parts in the cleaning solution for a few minutes before scrubbing. Step 4: Replacement If your faucet is damaged or has worn out parts, now is the time to replace them. You can find replacement parts at most hardware stores. Be sure to match the parts with the brand and model of your faucet for a proper fit. Step 5: Reassembly Once all the parts are clean and dry, it's time to put everything back together. Follow the notes you made during disassembly to ensure all the parts are in the correct place. Use a wrench and pliers to securely tighten all the components. How to Restore a Bathroom Sink Faucet in 5 Easy Steps

How to Restore a Bathroom Sink Faucet in 5 Easy Steps


Here are some additional tips and tricks to keep in mind during your bathroom sink faucet restoration: • Don't be afraid to ask for help - If you're not confident in your DIY skills, don't hesitate to ask for help from a friend or family member who has experience with plumbing. • Take pictures - Before disassembling your faucet, take pictures from different angles. This will serve as a helpful guide during reassembly. • Use a lubricant - If any parts are stuck or difficult to remove, use a lubricant such as WD-40 to loosen them up. • Be gentle - When cleaning or handling the parts, be gentle to avoid causing any damage. • Use a water filter - To prevent mineral deposits and prolong the life of your faucet, consider installing a water filter in your sink. DIY Bathroom Sink Faucet Restoration: Tips and Tricks


DIY Bathroom Sink Faucet Restoration: Tips and Tricks


Now that you have the basic steps and tips for restoring your bathroom sink faucet, here are some additional factors to consider for a successful restoration: • Budget - Before starting your project, make sure to set a budget for any replacement parts or tools you may need. • Time - Depending on the condition of your faucet, the restoration process can take anywhere from a few hours to a full day. Make sure to set aside enough time to complete the project without feeling rushed. • Style - Consider the style and design of your bathroom when choosing replacement parts. You want your faucet to match the overall aesthetic of the space. • Maintenance - Once your faucet is restored, make sure to regularly clean and maintain it to prevent any future issues. The Ultimate Guide to Restoring Your Bathroom Sink Faucet


The Ultimate Guide to Restoring Your Bathroom Sink Faucet


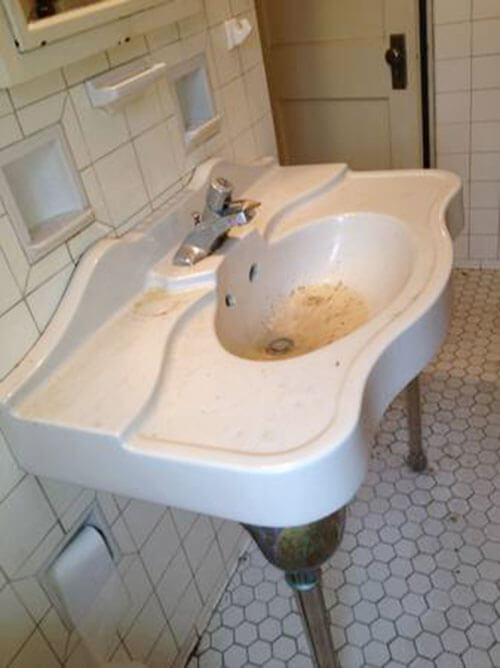
Restoring an old bathroom sink faucet is not only a cost-effective solution but also a sustainable one. By fixing and reusing an old faucet instead of buying a new one, you are reducing your environmental impact. Additionally, restoring an old faucet can add character and uniqueness to your bathroom, as well as a sense of accomplishment for completing a DIY project. Restoring an Old Bathroom Sink Faucet: What You Need to Know

Restoring an Old Bathroom Sink Faucet: What You Need to Know


Whether you have a modern or vintage bathroom sink faucet, the restoration process is relatively similar. The key is to take your time and be thorough in cleaning and reassembling the parts. By following this guide, you can revive your old faucet and give it a new lease on life. Reviving Your Bathroom Sink Faucet: A Comprehensive Restoration Guide


Reviving Your Bathroom Sink Faucet: A Comprehensive Restoration Guide


Here are some dos and don'ts to keep in mind when restoring your bathroom sink faucet: • Do turn off the water supply - Always turn off the water supply before starting any restoration work. • Don't force any parts - If a part is stuck or difficult to remove, don't force it. Instead, try using a lubricant or seek professional help. • Do clean and maintain regularly - To prevent future issues, make sure to regularly clean and maintain your faucet. • Don't ignore any leaks - If you notice any leaks or other issues with your faucet, address them immediately to prevent further damage. The Dos and Don'ts of Bathroom Sink Faucet Restoration

The Dos and Don'ts of Bathroom Sink Faucet Restoration


If you have a vintage bathroom sink faucet, it may require some extra care and attention during restoration. Here are some tips for restoring a vintage faucet: • Research - Before starting your project, research the history and design of your faucet to ensure you are using the correct replacement parts and techniques. • Be gentle - Vintage faucets may be more delicate, so be extra careful when handling and cleaning the parts. • Seek professional help - If you're not confident in your abilities, it's best to seek professional help for restoring a vintage faucet to avoid causing any damage. Restoring a Vintage Bathroom Sink Faucet: A Beginner's Guide


Restoring a Vintage Bathroom Sink Faucet: A Beginner's Guide

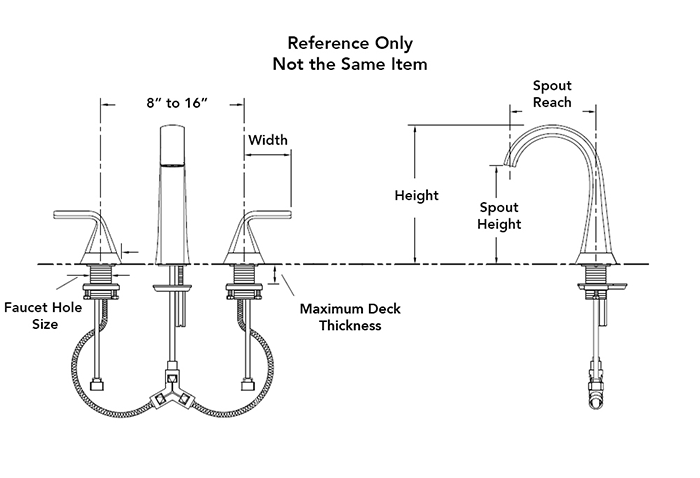
When it comes to choosing products for your bathroom sink faucet restoration, here are some key factors to consider: • Material - Make sure to choose cleaning products that are safe for the material of your faucet. For example, avoid using abrasive cleaners on chrome faucets. • Brand and model - If you need to replace any parts, make sure to match them with the brand and model of your faucet for a proper fit. • Budget - Consider your budget when choosing replacement parts or tools. You don't want to overspend on a project that can be done for a fraction of the cost. How to Choose the Right Products for Bathroom Sink Faucet Restoration

How to Choose the Right Products for Bathroom Sink Faucet Restoration


Lastly, here are some common mistakes to avoid when restoring your bathroom sink faucet: • Skipping cleaning - Don't skip the cleaning step or rush through it. Properly cleaning all the parts is crucial for a successful restoration. • Using incorrect tools - Make sure to use the correct tools for the job to avoid causing any damage to the faucet or yourself. • Not following instructions - Whether you're using a cleaning solution or replacing parts, always follow the instructions provided to ensure proper usage and results. Now that you have a comprehensive guide on restoring your bathroom sink faucet, it's time to put on your DIY hat and give it a go. With some patience and the right techniques, you can have a beautifully restored faucet in no time. Remember to take your time, be thorough, and don't be afraid to ask for help if needed. Happy restoring! Common Mistakes to Avoid When Restoring a Bathroom Sink Faucet


Common Mistakes to Avoid When Restoring a Bathroom Sink Faucet


Transform Your Bathroom with a Faucet Restoration

Reviving the Heart of Your Bathroom
 When it comes to designing and renovating a house, the bathroom is often overlooked. However, the bathroom is an essential part of any home, and its design can greatly impact the overall aesthetic. A small but impactful change that can transform the look and feel of your bathroom is a
faucet restoration
. This simple project can bring new life to your bathroom sink and elevate the entire space.
When it comes to designing and renovating a house, the bathroom is often overlooked. However, the bathroom is an essential part of any home, and its design can greatly impact the overall aesthetic. A small but impactful change that can transform the look and feel of your bathroom is a
faucet restoration
. This simple project can bring new life to your bathroom sink and elevate the entire space.
The Importance of a Faucet
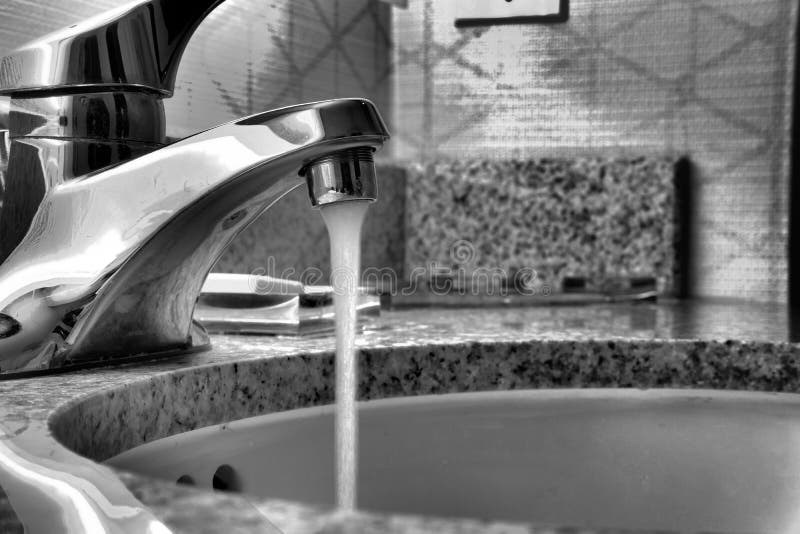
 The bathroom sink faucet is not only a functional tool but also a design element that can tie the entire bathroom together. It is often the first thing that catches the eye when entering a bathroom. A worn-out or outdated faucet can make the entire space look dull and uninviting. By
restoring
your faucet, you can give your bathroom a fresh and updated look without breaking the bank.
The bathroom sink faucet is not only a functional tool but also a design element that can tie the entire bathroom together. It is often the first thing that catches the eye when entering a bathroom. A worn-out or outdated faucet can make the entire space look dull and uninviting. By
restoring
your faucet, you can give your bathroom a fresh and updated look without breaking the bank.
Restoration vs. Replacement
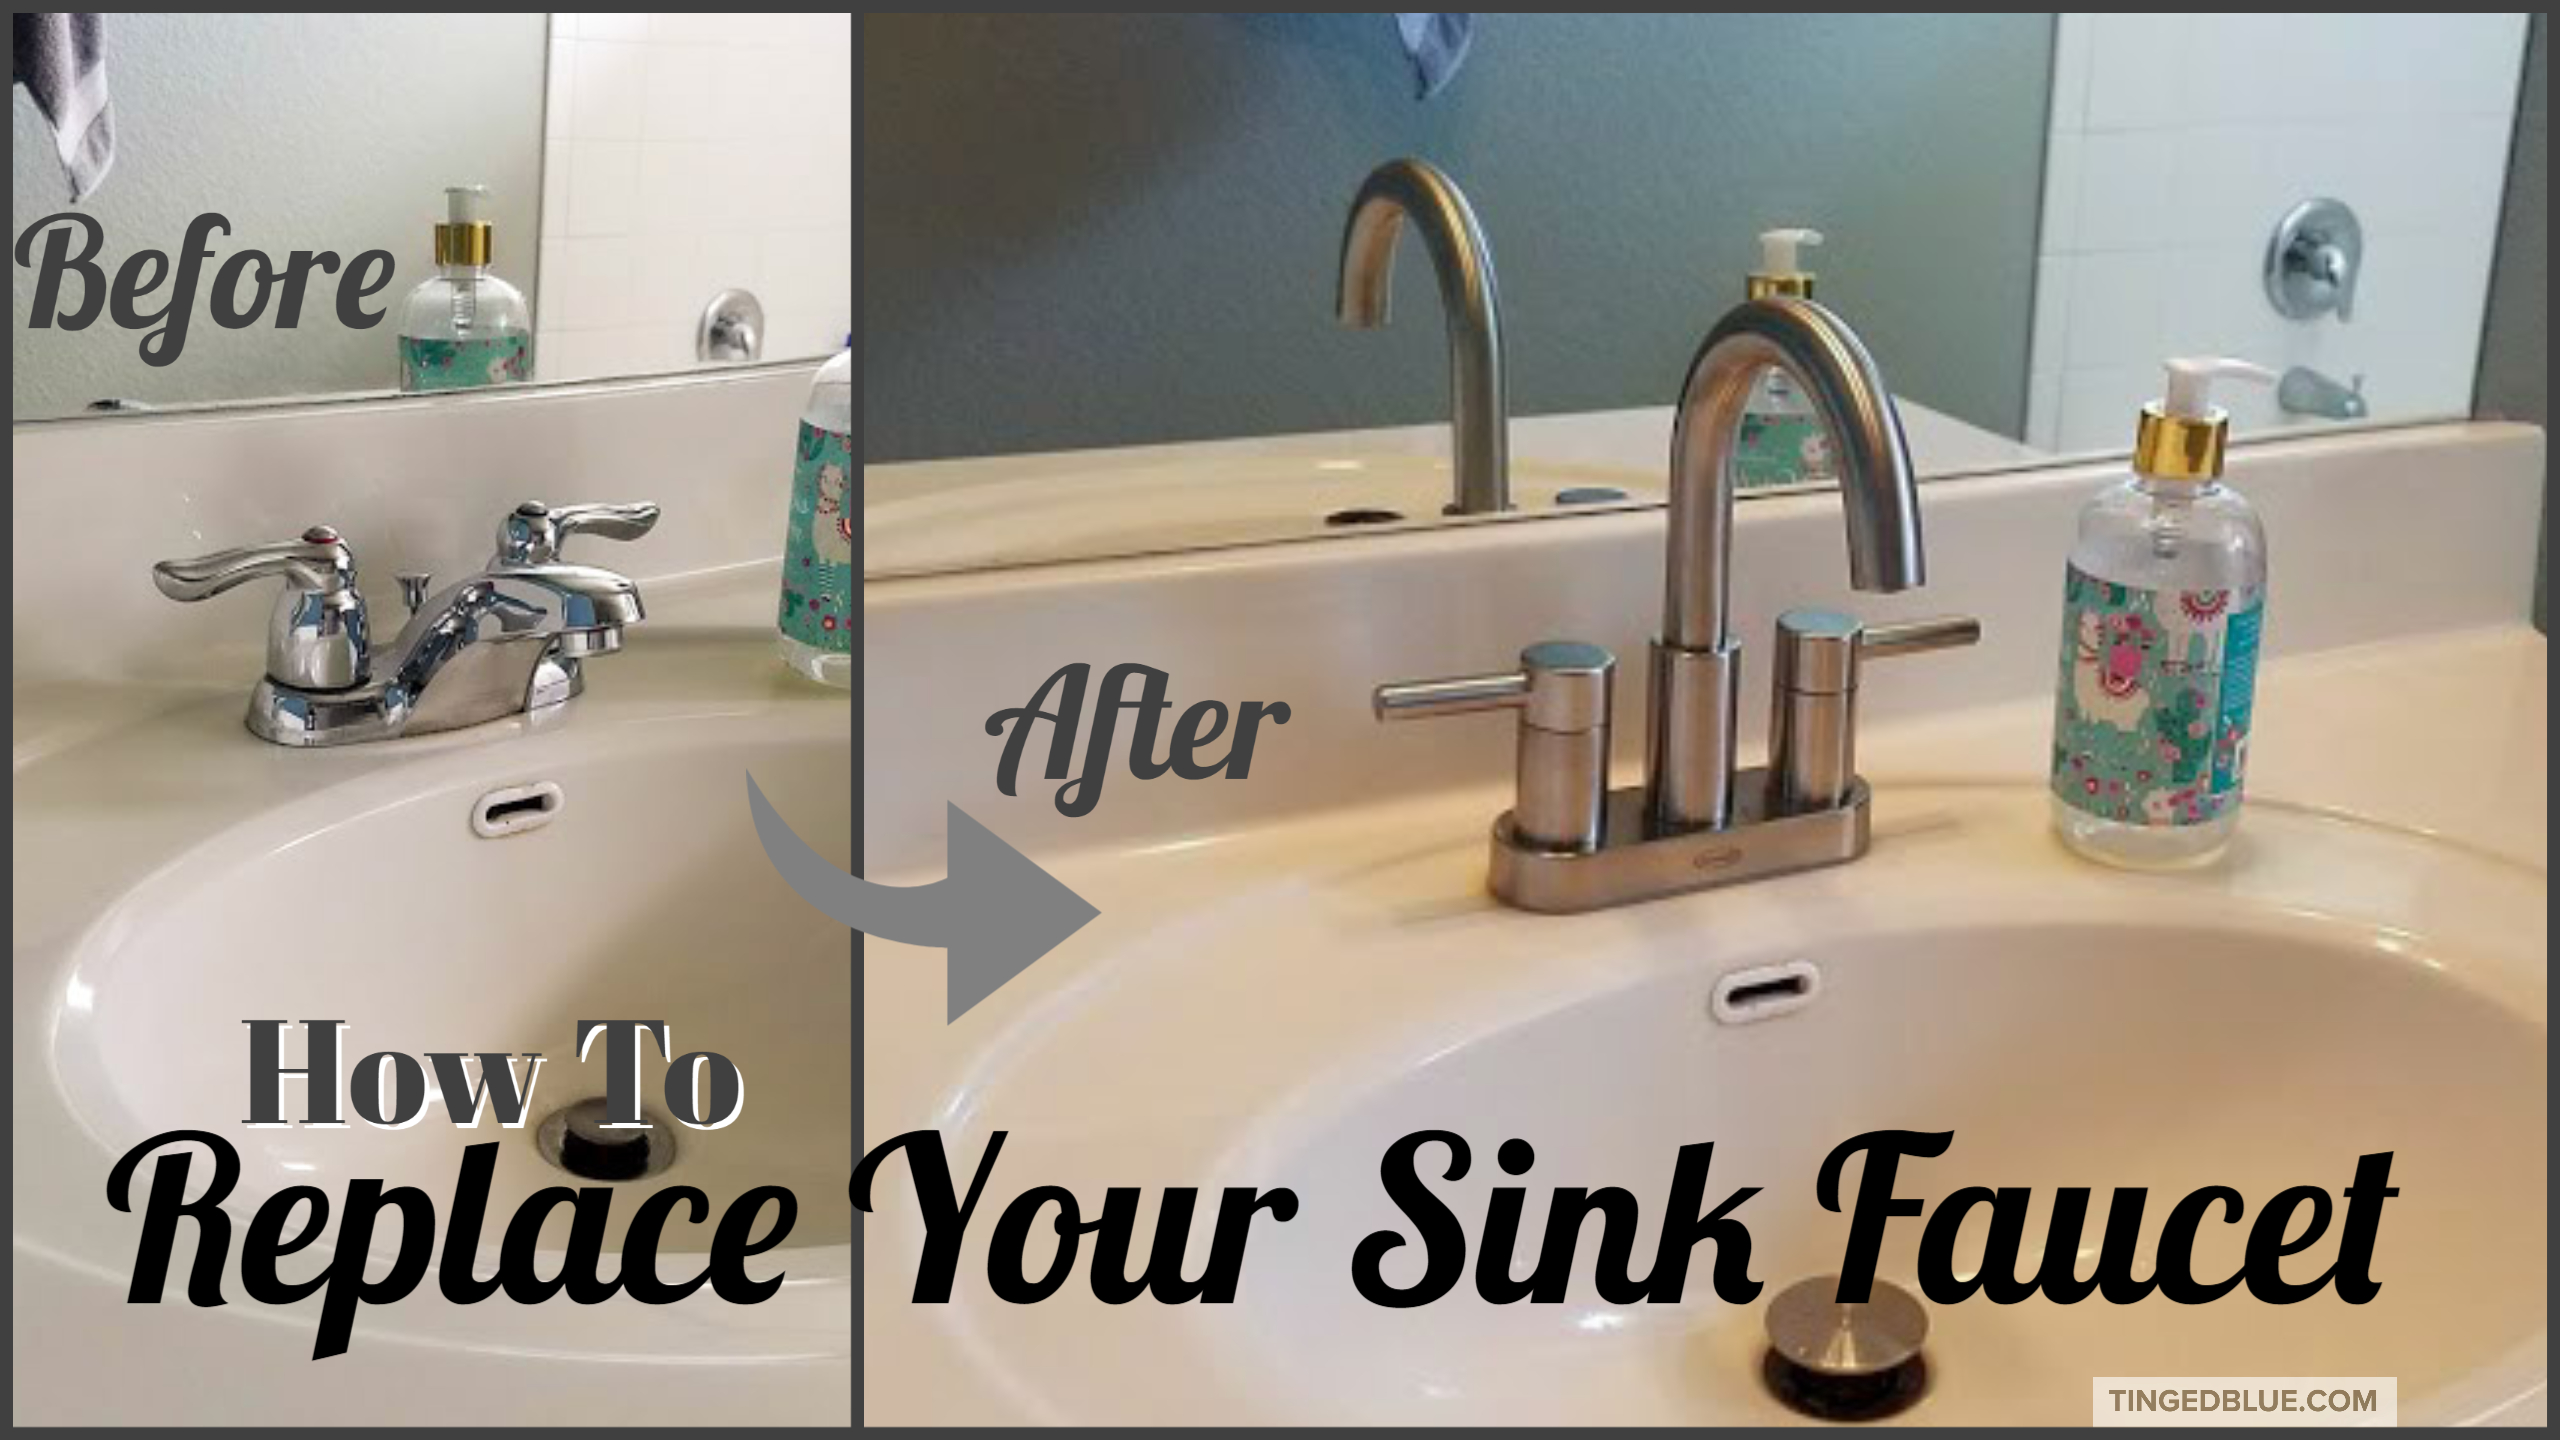
 Many homeowners may consider replacing their old faucet with a new one. However, this can be a costly and time-consuming process. A faucet restoration, on the other hand, is a more affordable and efficient option. It involves cleaning, repairing, and refinishing the existing faucet to bring back its original shine and appeal. Not only does it save you money, but it is also a more environmentally friendly choice as it reduces waste.
The Process of Faucet Restoration
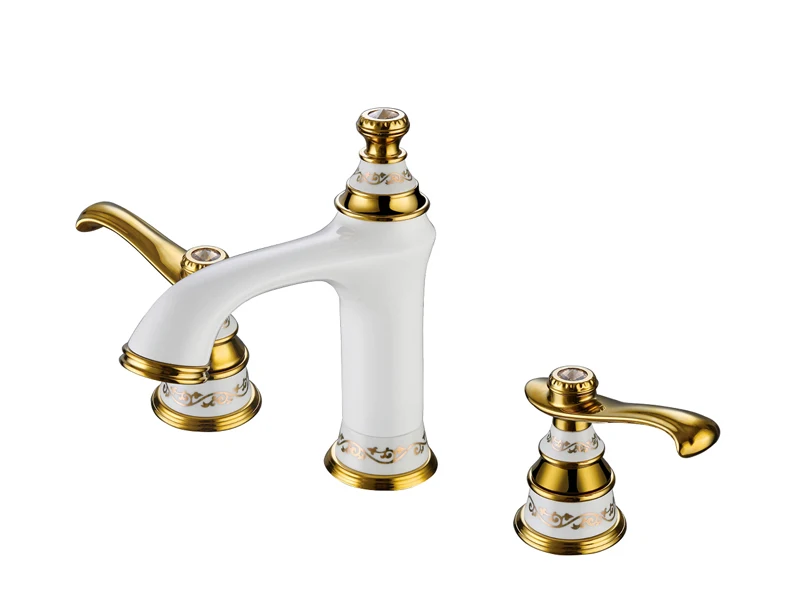
 A faucet restoration typically involves cleaning the faucet with a gentle cleaner to remove any dirt or grime. Next, any damaged parts are repaired or replaced. The faucet is then sanded and polished to remove any scratches or stains. Finally, a new finish is applied, giving the faucet a brand new look. This process can be done on various types of faucets, including stainless steel, chrome, and brass.
Final Thoughts
 A faucet restoration is a cost-effective and simple way to update your bathroom and give it a fresh new look. It is a small change that can make a big impact on the overall design of your home. So next time you are considering a bathroom renovation, don't forget about the
faucet
. With a little bit of love and restoration, it can become the centerpiece of your bathroom and bring new life to the space.
A faucet restoration is a cost-effective and simple way to update your bathroom and give it a fresh new look. It is a small change that can make a big impact on the overall design of your home. So next time you are considering a bathroom renovation, don't forget about the
faucet
. With a little bit of love and restoration, it can become the centerpiece of your bathroom and bring new life to the space.