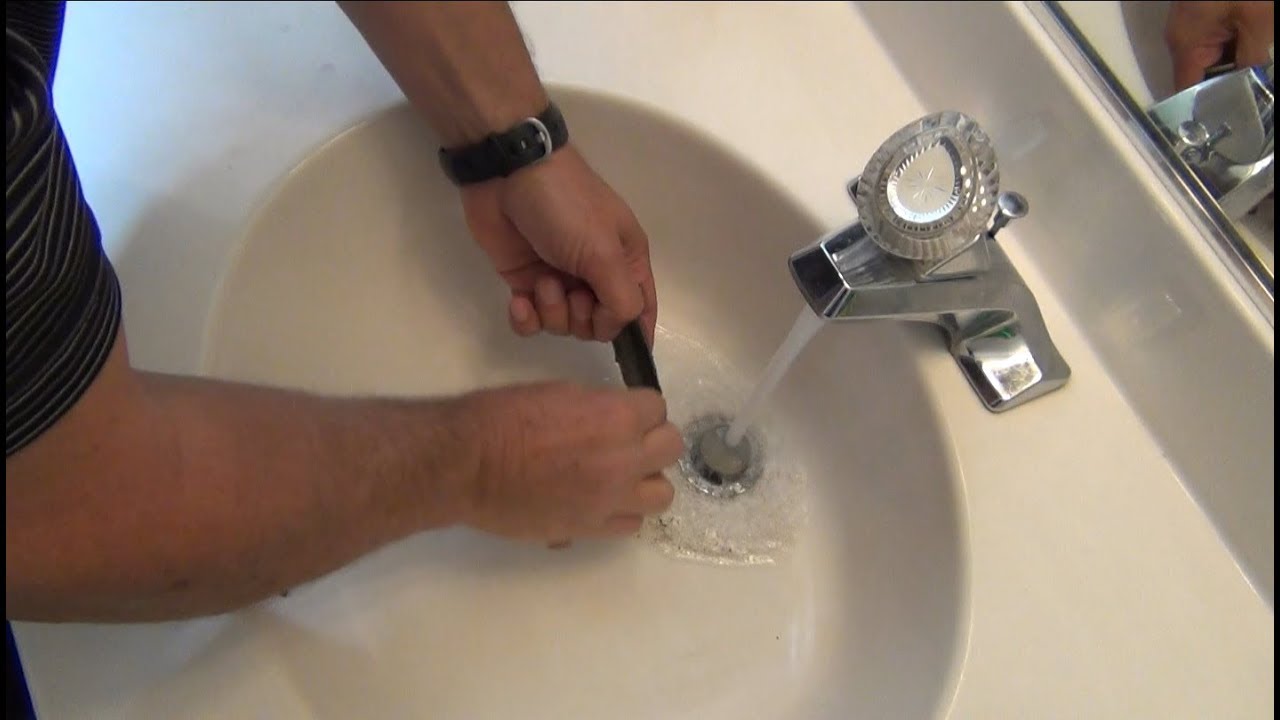
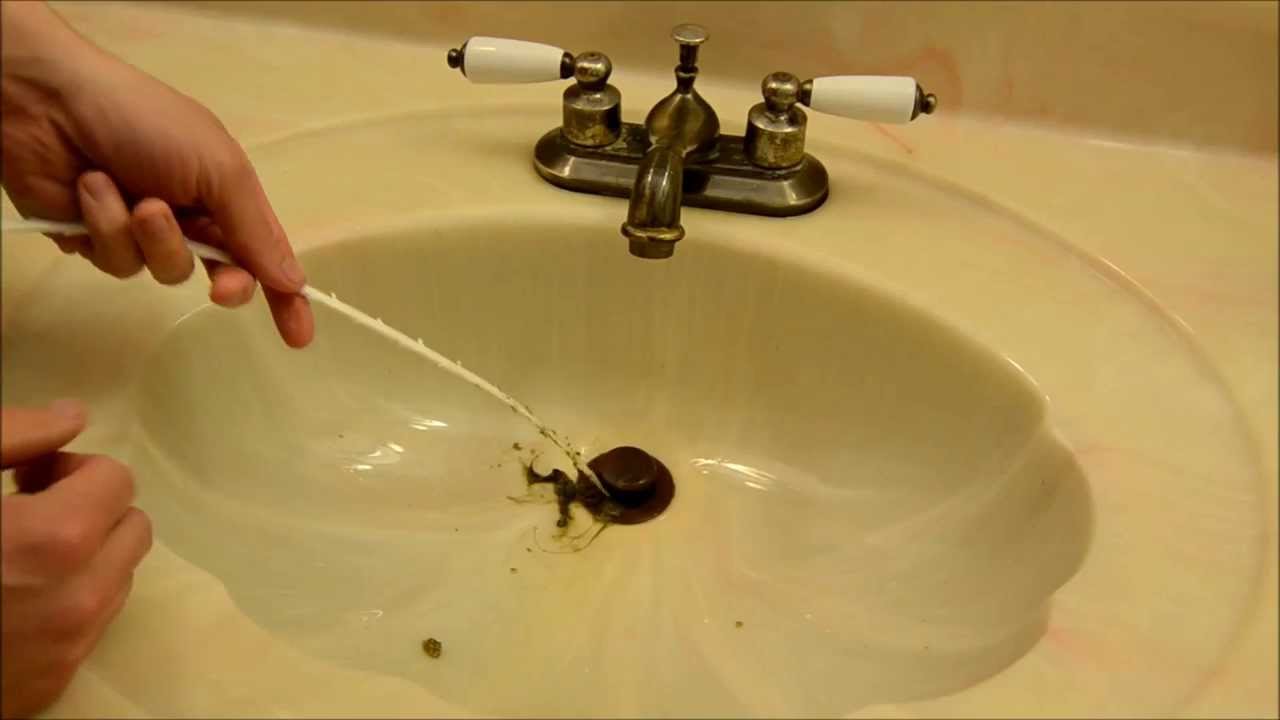
Dealing with a clogged bathroom sink can be a frustrating and messy experience. But before you call a plumber and spend a fortune, try these simple steps to unclog your bathroom sink drain. Step 1: Remove any visible debris The first step in unclogging a bathroom sink drain is to remove any visible debris that may be blocking the drain. Use a pair of gloves and a paper towel to remove any hair, soap scum, or other gunk that may be stuck in the drain. Step 2: Use a plunger If there is still standing water in your sink, use a plunger to try and dislodge the clog. Make sure to cover the overflow drain with a wet cloth to create a seal. Plunge vigorously for a few minutes and then check to see if the water is draining. Step 3: Try a homemade drain cleaner If the plunger doesn't work, try using a homemade drain cleaner before resorting to harsh chemicals. Mix equal parts of baking soda and vinegar and pour it down the drain. Let it sit for about 30 minutes and then pour hot water down the drain to flush it out. Step 4: Use a drain snake If the clog is too stubborn for a plunger or homemade cleaner, it's time to use a drain snake. Insert the snake into the drain and turn it clockwise to break up the clog. Once you feel the snake hit the clog, turn it counterclockwise to pull it out. Step 5: Call a professional If none of the above methods work, it's time to call a professional plumber. They have the tools and expertise to unclog even the toughest bathroom sink drains.How to Unclog a Bathroom Sink Drain | MAIN_bathroom sink drain instructions


How to Unclog a Bathroom Sink Drain
:max_bytes(150000):strip_icc()/freshen-and-unclog-drain-with-baking-soda-1900466-22-bbf940b70afa4d5abef0c54da23b1d3f.jpg)


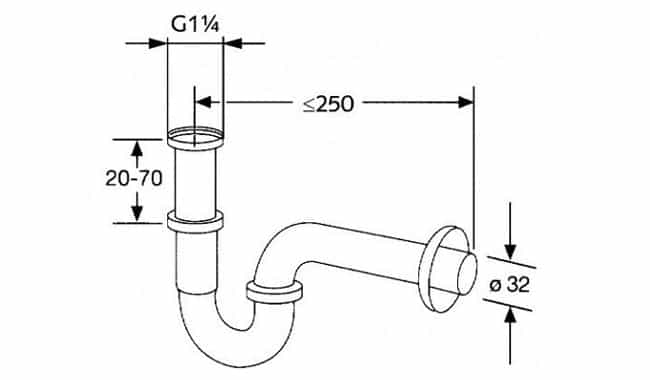
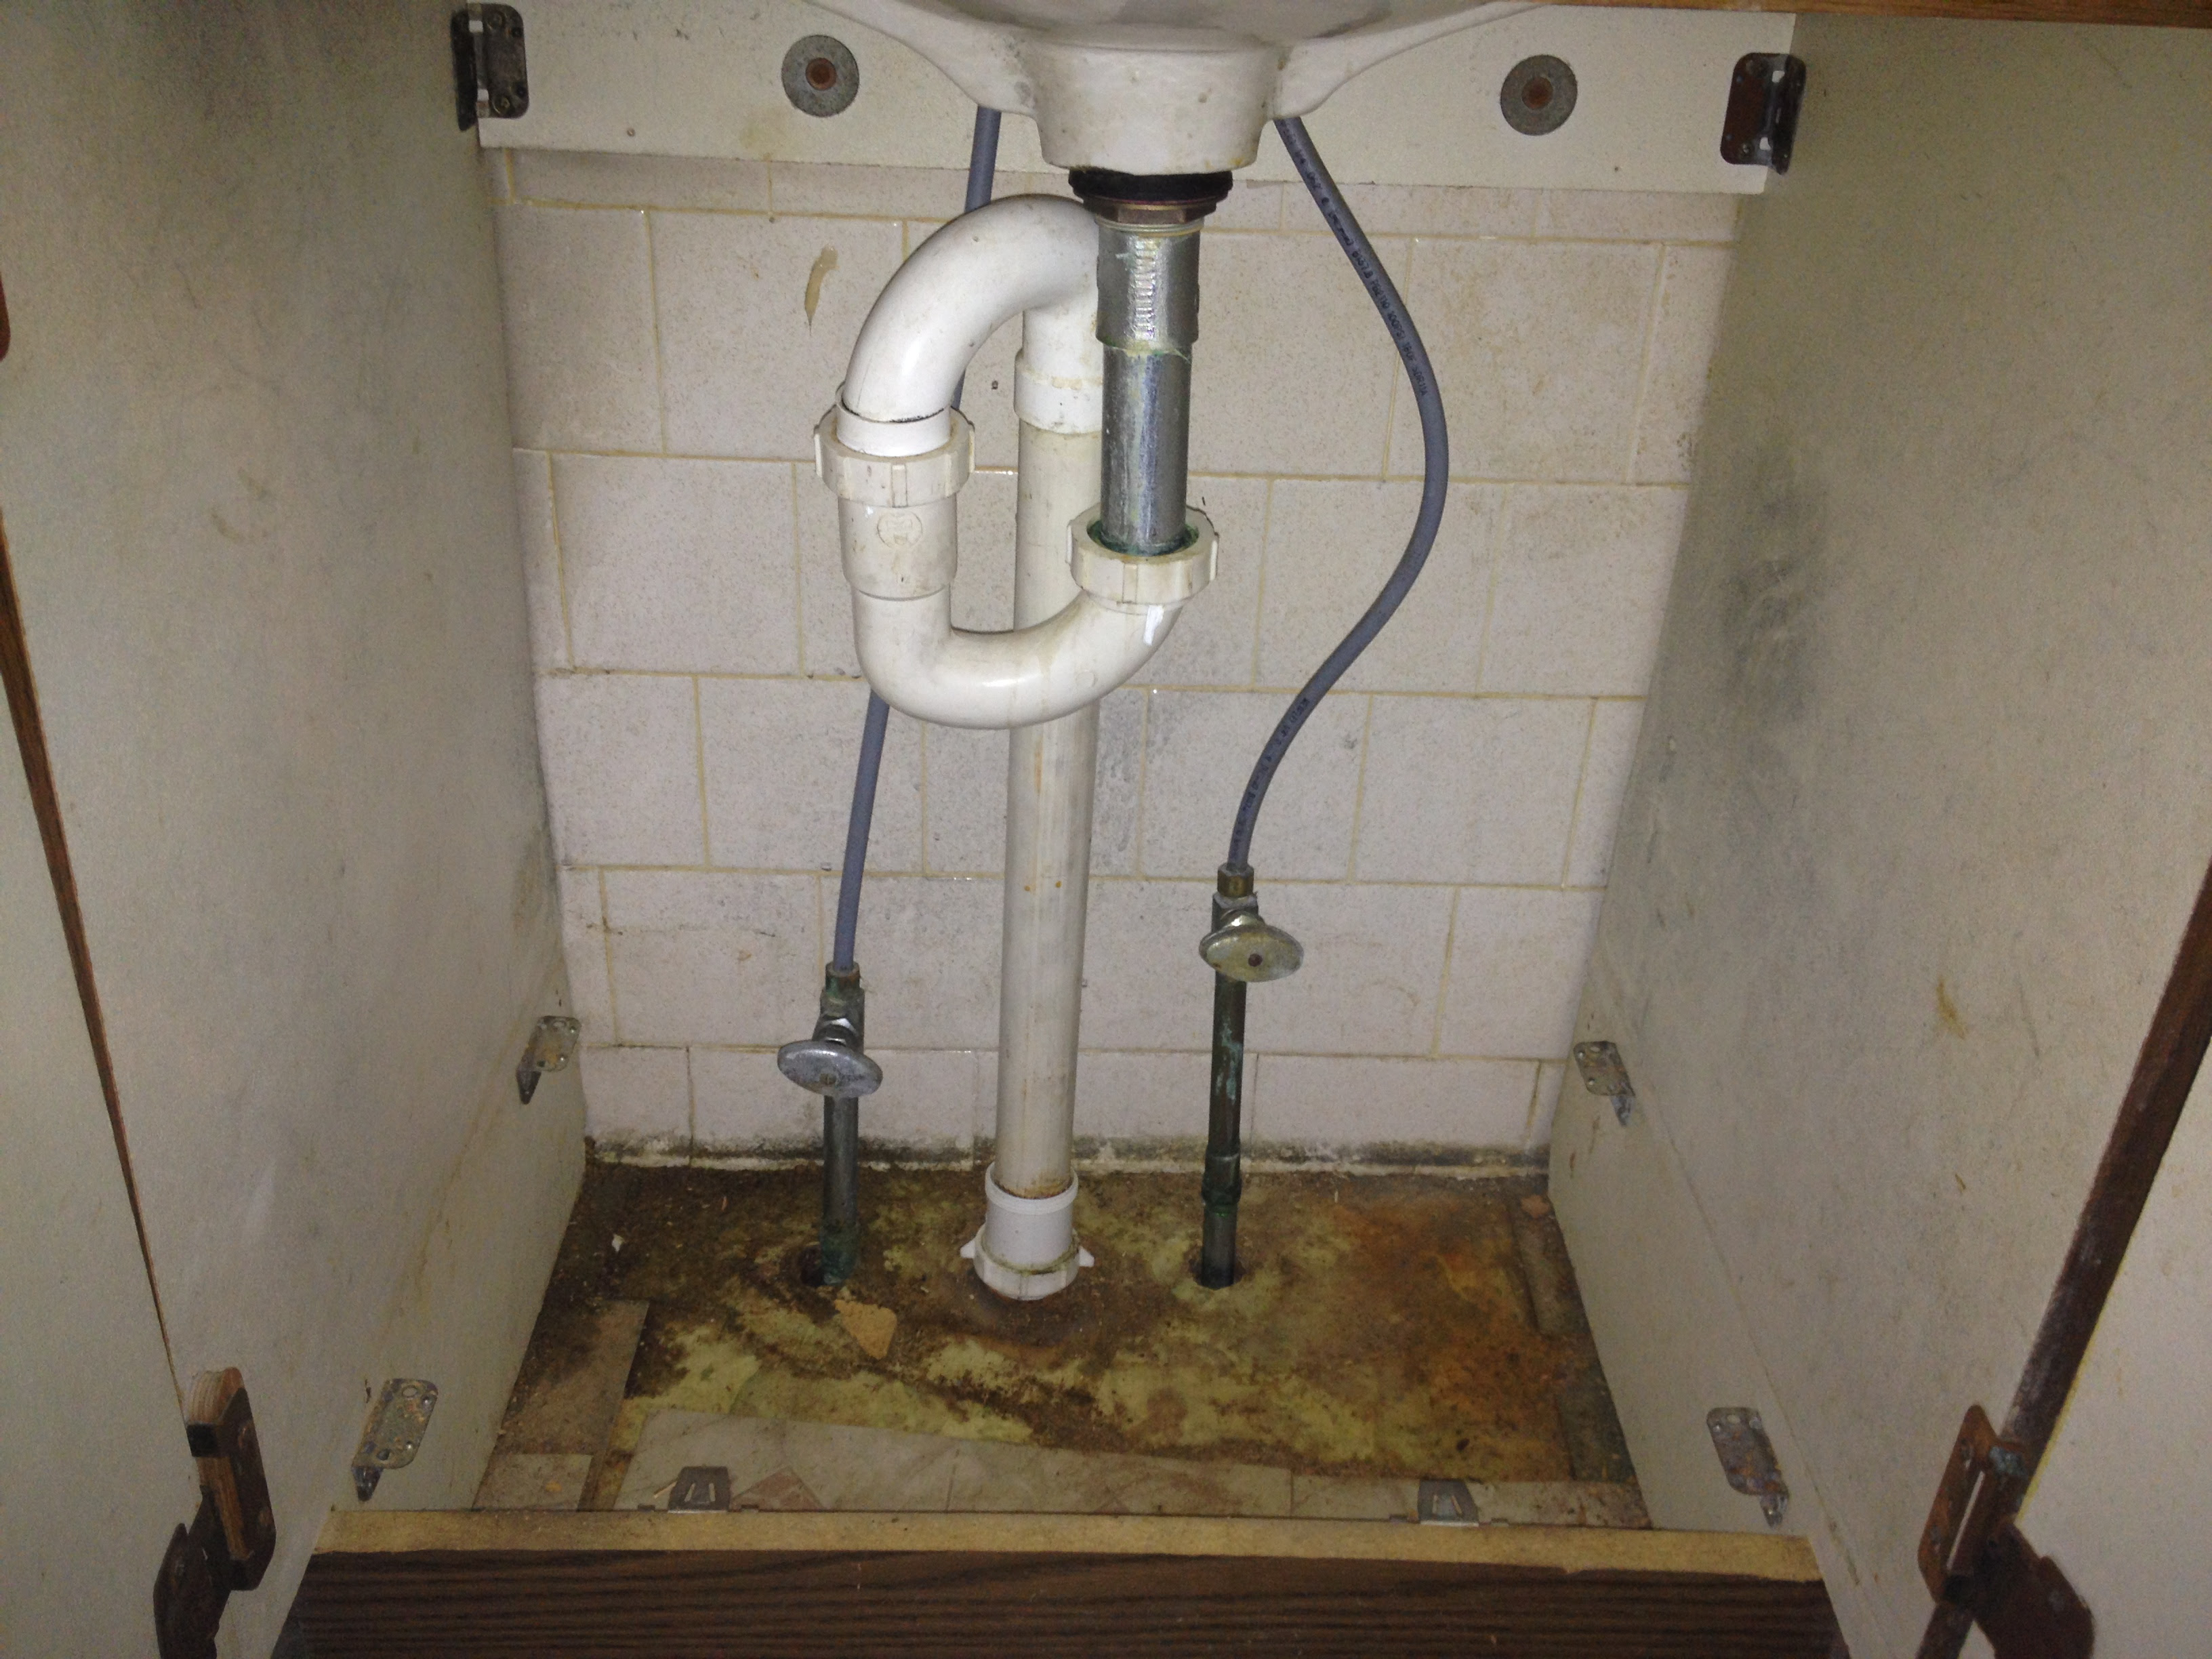
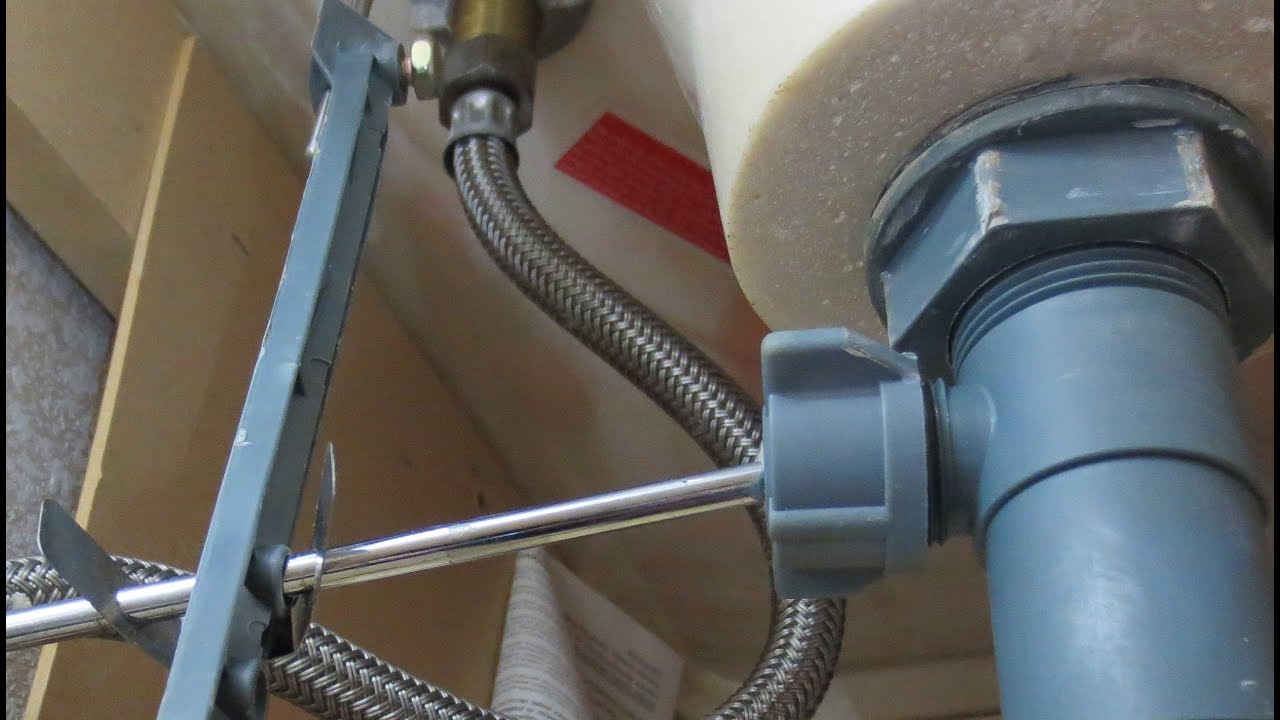
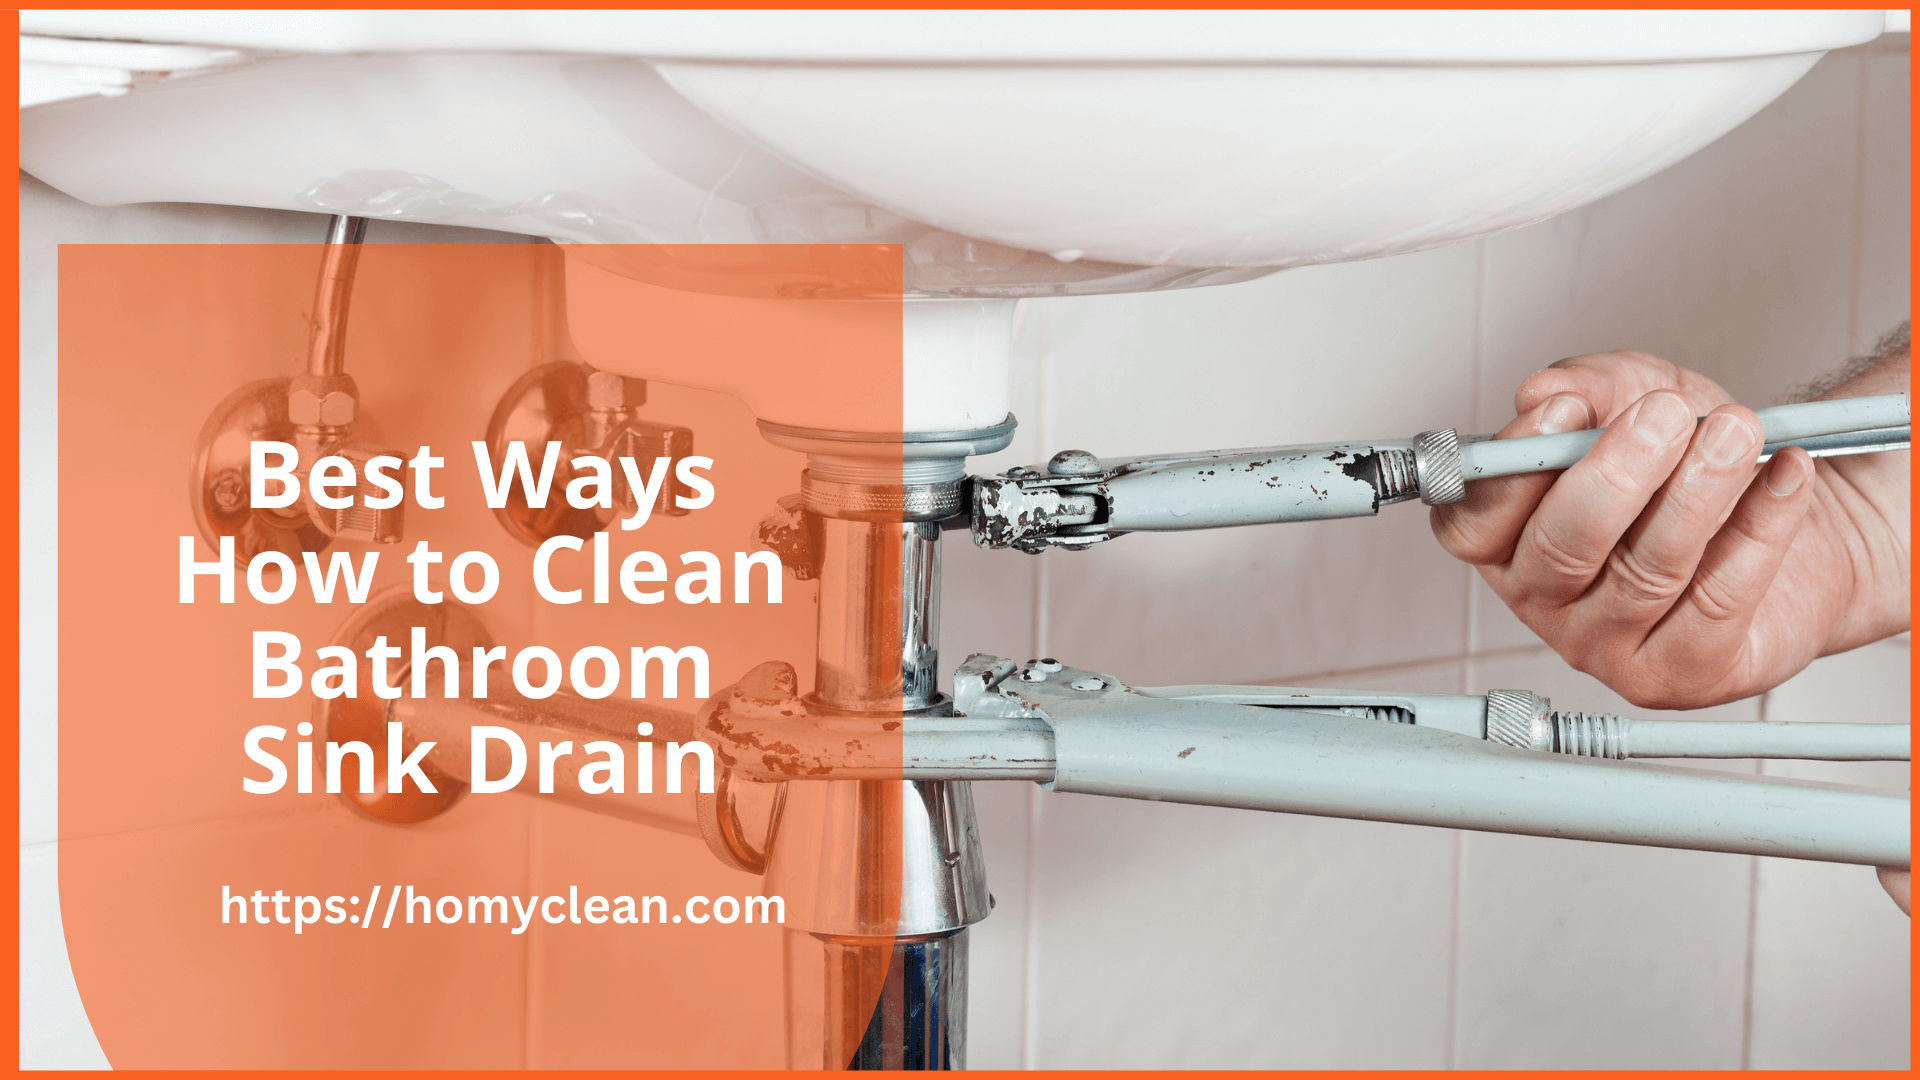
Installing a new bathroom sink drain may seem like a daunting task, but with the right tools and a little know-how, you can do it yourself in no time. Follow these steps to install a bathroom sink drain. Step 1: Gather your tools Before you begin, make sure you have all the necessary tools on hand. This includes a wrench, plumber's putty, a drain assembly kit, and any necessary PVC piping. Step 2: Remove the old drain Using your wrench, unscrew the old drain from the bottom of the sink. If the sealant is stuck, use a putty knife to scrape it off. Make sure to also remove any old putty or debris from the sink. Step 3: Apply putty Roll a small amount of plumber's putty into a thin rope and place it around the bottom of the drain opening. This will create a watertight seal when you install the new drain. Step 4: Install the new drain Place the new drain in the opening and secure it from underneath using the screws provided in the drain assembly kit. Make sure to tighten the screws evenly to ensure a proper seal. Step 5: Connect the P-trap Using PVC piping, connect the P-trap to the bottom of the drain. Make sure the connections are tight and secure. Step 6: Test for leaks Turn on the water and let it run for a few minutes to test for any leaks. If you notice any, tighten the connections or add more putty as needed.How to Install a Bathroom Sink Drain | MAIN_bathroom sink drain instructions


MAIN_bathroom sink drain instructions


Dealing with a slow draining bathroom sink can be frustrating, especially when you're in a hurry. But before you call a plumber, try these simple steps to fix a slow draining bathroom sink. Step 1: Remove any visible debris The first step to fixing a slow draining bathroom sink is to remove any visible debris that may be blocking the drain. Use a pair of gloves and a paper towel to remove any hair, soap scum, or other gunk that may be stuck in the drain. Step 2: Use a plunger If there is still standing water in your sink, use a plunger to try and dislodge the clog. Make sure to cover the overflow drain with a wet cloth to create a seal. Plunge vigorously for a few minutes and then check to see if the water is draining. Step 3: Try a homemade drain cleaner If the plunger doesn't work, try using a homemade drain cleaner before resorting to harsh chemicals. Mix equal parts of baking soda and vinegar and pour it down the drain. Let it sit for about 30 minutes and then pour hot water down the drain to flush it out. Step 4: Use a drain snake If the clog is too stubborn for a plunger or homemade cleaner, it's time to use a drain snake. Insert the snake into the drain and turn it clockwise to break up the clog. Once you feel the snake hit the clog, turn it counterclockwise to pull it out. Step 5: Call a professional If none of the above methods work, it's time to call a professional plumber. They have the tools and expertise to fix even the most stubborn slow draining bathroom sinks.How to Fix a Slow Draining Bathroom Sink | MAIN_bathroom sink drain instructions


How to Install a Bathroom Sink Drain


:max_bytes(150000):strip_icc()/bathroom-sink-drain-installation-2718843-07-2b728cbd5c994dc39179346f51bb6421.jpg)


/bathroom-sink-drain-installation-2718843-03-6fee5b9d9f7d475abfe06a95ddb1f695.jpg)

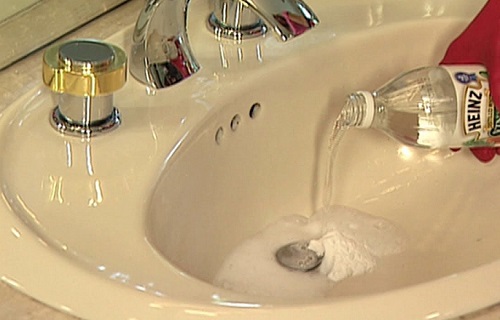
Keeping your bathroom sink drain clean is essential for preventing clogs and maintaining proper drainage. Follow these steps to clean your bathroom sink drain and keep it running smoothly. Step 1: Remove any visible debris The first step in cleaning your bathroom sink drain is to remove any visible debris that may be blocking the drain. Use a pair of gloves and a paper towel to remove any hair, soap scum, or other gunk that may be stuck in the drain. Step 2: Use a homemade cleaner Mix equal parts of baking soda and vinegar and pour it down the drain. Let it sit for about 30 minutes and then pour hot water down the drain to flush it out. This will not only clean the drain but also help prevent future clogs. Step 3: Use a drain brush If there is still debris stuck in the drain, use a drain brush to scrub away any remaining buildup. Make sure to clean the brush thoroughly before and after use. Step 4: Rinse with hot water Once you've removed all the debris, run hot water down the drain for a few minutes to flush out any remaining residue. Step 5: Repeat regularly To keep your bathroom sink drain clean and prevent clogs, repeat this cleaning process on a regular basis, at least once a month.How to Clean a Bathroom Sink Drain | MAIN_bathroom sink drain instructions


MAIN_bathroom sink drain instructions
If your bathroom sink drain is damaged or beyond repair, it's time to replace it. Follow these steps to replace a bathroom sink drain and restore proper drainage. Step 1: Gather your tools Before you begin, make sure you have all the necessary tools on hand. This includes a wrench, plumber's putty, a drain assembly kit, and any necessary PVC piping. Step 2: Remove the old drain Using your wrench, unscrew the old drain from the bottom of the sink. If the sealant is stuck, use a putty knife to scrape it off. Make sure to also remove any old putty or debris from the sink. Step 3: Apply putty Roll a small amount of plumber's putty into a thin rope and place it around the bottom of the drain opening. This will create a watertight seal when you install the new drain. Step 4: Install the new drain Place the new drain in the opening and secure it from underneath using the screws provided in the drain assembly kit. Make sure to tighten the screws evenly to ensure a proper seal. Step 5: Connect the P-trap Using PVC piping, connect the P-trap to the bottom of the drain. Make sure the connections are tight and secure. Step 6: Test for leaks Turn on the water and let it run for a few minutes to test for any leaks. If you notice any, tighten the connections or add more putty as needed.How to Replace a Bathroom Sink Drain | MAIN_bathroom sink drain instructions


How to Fix a Slow Draining Bathroom Sink


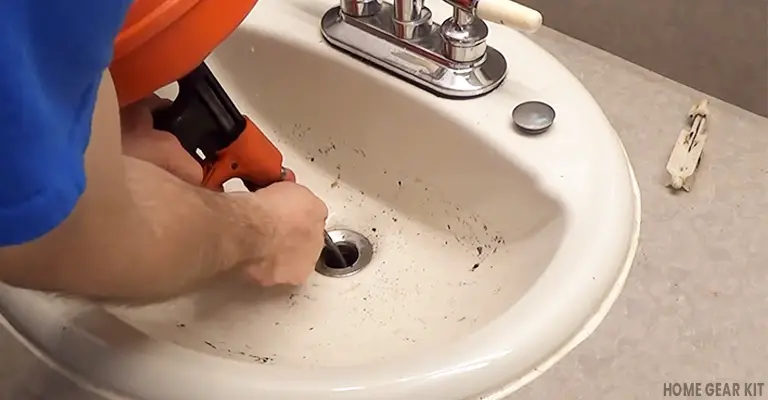
If your bathroom sink is clogged and won't drain, it's time to use a snake to break up the clog. Follow these steps to snake your bathroom sink drain and restore proper drainage. Step 1: Gather your tools Before you begin, make sure you have a drain snake on hand. You can purchase one at your local hardware store or rent one from a home improvement store. Step 2: Insert the snake Insert the snake into the drain and turn it clockwise to break up the clog. Once you feel the snake hit the clog, turn it counterclockwise to pull it out. Step 3: Flush with hot water After snaking the drain, run hot water down the drain for a few minutes to flush out any remaining debris. Step 4: Repeat as needed If the clog is still not fully cleared, repeat the snaking process until the water drains freely.How to Snake a Bathroom Sink Drain | MAIN_bathroom sink drain instructions
MAIN_bathroom sink drain instructions
:max_bytes(150000):strip_icc()/bathroom-sink-drain-installation-2718843-02-61e5ecbee1e949be8d8f45ac4f5a6797.jpg)

If you need to replace your bathroom sink drain, you'll first need to remove the old one. Follow these steps to remove a bathroom sink drain and prepare for installation of a new one. Step 1: Gather your tools Before you begin, make sure you have all the necessary tools on hand. This includes a wrench, plumber's putty, a drain assembly kit, and any necessary PVC piping. Step 2: Remove the stopper Using your wrench, unscrew the retaining nut on the bottom of the sink that holds the stopper in place. Once the nut is removed, pull the stopper out of the drain. Step 3: Unscrew the drain flange Using your wrench, unscrew the drain flange from the bottom of the sink. Make sure to also remove any old putty or debris from the sink. Step 4: Clean the drain opening Once the drain flange is removed, clean the drain opening thoroughly with a brush or cloth to remove any buildup or residue. Step 5: Remove the drain pipe If you're replacing the entire drain assembly, unscrew the drain pipe from the bottom of the drain and remove it from the sink.How to Remove a Bathroom Sink Drain | MAIN_bathroom sink drain instructions


How to Clean a Bathroom Sink Drain


A clogged bathroom sink can be a major inconvenience, but with the right tools and techniques, you can clear the clog and restore proper drainage. Follow these steps to clear a clogged bathroom sink drain. Step 1: Remove any visible debris The first step in clearing a clogged bathroom sink drain is to remove any visible debris that may be blocking the drain. Use a pair of gloves and a paper towel to remove any hair, soap scum, or other gunk that may be stuck in the drain. Step 2: Use a plunger If there is still standing water in your sink, use a plunger to try and dislodge the clog. Make sure to cover the overflow drain with a wet cloth to create a seal. Plunge vigorously for a few minutes and then check to see if the water is draining. Step 3: Try a homemade drain cleaner If the plunger doesn't work, try using a homemade drain cleaner before resorting to harsh chemicals. Mix equal parts of baking soda and vinegar and pour it down the drain. Let it sit for about 30 minutes and then pour hot water down the drain to flush it out. Step 4: Use a drain snake If the clog is too stubborn for a plunger or homemade cleaner, it's time to use a drain snake. Insert the snake into the drain and turn it clockwise to break up the clog. Once you feel the snake hit the clog, turn it counterclockwise to pull it out. Step 5: Call a professionalHow to Clear a Clogged Bathroom Sink Drain | MAIN_bathroom sink drain instructions
MAIN_bathroom sink drain instructions
Why Proper Drain Maintenance is Essential for Your Bathroom Sink

The Importance of a Clean and Clear Bathroom Sink Drain
 When it comes to maintaining a clean and functional bathroom, the sink may not be the first thing that comes to mind. However, the sink drain is a crucial component of any bathroom and should not be overlooked. Not only does a clogged or dirty
bathroom sink drain
affect the overall appearance of the room, but it can also lead to bigger plumbing issues down the line. By following these simple instructions, you can keep your bathroom sink drain clear and avoid any potential problems.
When it comes to maintaining a clean and functional bathroom, the sink may not be the first thing that comes to mind. However, the sink drain is a crucial component of any bathroom and should not be overlooked. Not only does a clogged or dirty
bathroom sink drain
affect the overall appearance of the room, but it can also lead to bigger plumbing issues down the line. By following these simple instructions, you can keep your bathroom sink drain clear and avoid any potential problems.
Step-by-Step Instructions for a Clear Bathroom Sink Drain
 The first step in maintaining a clear bathroom sink drain is to remove any visible debris. This can include hair, soap scum, and toothpaste residue. Use a pair of gloves and a
drain cleaning tool
to remove any buildup from the surface of the drain. Once this is done, fill the sink with hot water and a few tablespoons of baking soda. Let it sit for a few minutes before pouring a cup of vinegar down the drain. The combination of baking soda and vinegar will create a chemical reaction that helps break down any remaining debris.
Next, use a plunger to create suction and push any remaining debris through the drain. If the clog persists, you may need to use a
chemical drain cleaner
. Be sure to read the instructions carefully and use caution when handling these products. After the drain is clear, run hot water down the drain for a few minutes to ensure everything is flushed out.
The first step in maintaining a clear bathroom sink drain is to remove any visible debris. This can include hair, soap scum, and toothpaste residue. Use a pair of gloves and a
drain cleaning tool
to remove any buildup from the surface of the drain. Once this is done, fill the sink with hot water and a few tablespoons of baking soda. Let it sit for a few minutes before pouring a cup of vinegar down the drain. The combination of baking soda and vinegar will create a chemical reaction that helps break down any remaining debris.
Next, use a plunger to create suction and push any remaining debris through the drain. If the clog persists, you may need to use a
chemical drain cleaner
. Be sure to read the instructions carefully and use caution when handling these products. After the drain is clear, run hot water down the drain for a few minutes to ensure everything is flushed out.
Preventative Measures for a Clear and Clean Bathroom Sink Drain
/bathroom-sink-drain-installation-2718843-01-4955fe1f576b447a91abe51c126d220b.jpg) To keep your bathroom sink drain clear in the future, it is important to implement some preventative measures. Use a
drain cover
to catch any hair or debris that may fall into the sink. Be sure to clean the cover regularly. Additionally, avoid pouring any grease or oil down the drain, as this can lead to clogs. Finally, once a month, pour boiling water down the drain to help dislodge any buildup that may be forming.
By following these simple instructions and implementing preventative measures, you can ensure that your bathroom sink drain remains clean and clear. Not only will this improve the overall appearance of your bathroom, but it will also save you from potential plumbing headaches in the future. So take the time to properly maintain your bathroom sink drain and enjoy a functional and beautiful bathroom.
To keep your bathroom sink drain clear in the future, it is important to implement some preventative measures. Use a
drain cover
to catch any hair or debris that may fall into the sink. Be sure to clean the cover regularly. Additionally, avoid pouring any grease or oil down the drain, as this can lead to clogs. Finally, once a month, pour boiling water down the drain to help dislodge any buildup that may be forming.
By following these simple instructions and implementing preventative measures, you can ensure that your bathroom sink drain remains clean and clear. Not only will this improve the overall appearance of your bathroom, but it will also save you from potential plumbing headaches in the future. So take the time to properly maintain your bathroom sink drain and enjoy a functional and beautiful bathroom.