How to Attach a Bathroom Sink to a Countertop
Installing a new bathroom sink can give your bathroom a fresh and updated look. However, attaching the sink to the countertop can be a daunting task, especially for beginners. To help you out, we have put together a step-by-step guide on how to attach a bathroom sink to a countertop. Follow these easy steps and you'll have your new sink securely in place in no time.


How to Attach a Bathroom Sink to a Countertop


:max_bytes(150000):strip_icc()/8_IMG_3767-56a4a2753df78cf772835b72.JPG)

Attaching a New Bathroom Sink to a Countertop: Step-by-Step Guide
Before you begin, make sure you have all the necessary tools and materials. You will need a drill, plumber's putty, silicone sealant, wrench, and screws. Also, ensure that the sink and countertop are clean and dry before starting the installation process.
Step 1: Measure and mark the placement of the sink on the countertop. Use a pencil to mark the outline of the sink on the countertop, following the manufacturer's instructions for the size and placement.
Step 2: Apply plumber's putty to the underside of the sink. This will help create a watertight seal between the sink and the countertop. Make sure to apply the putty evenly around the edges of the sink.
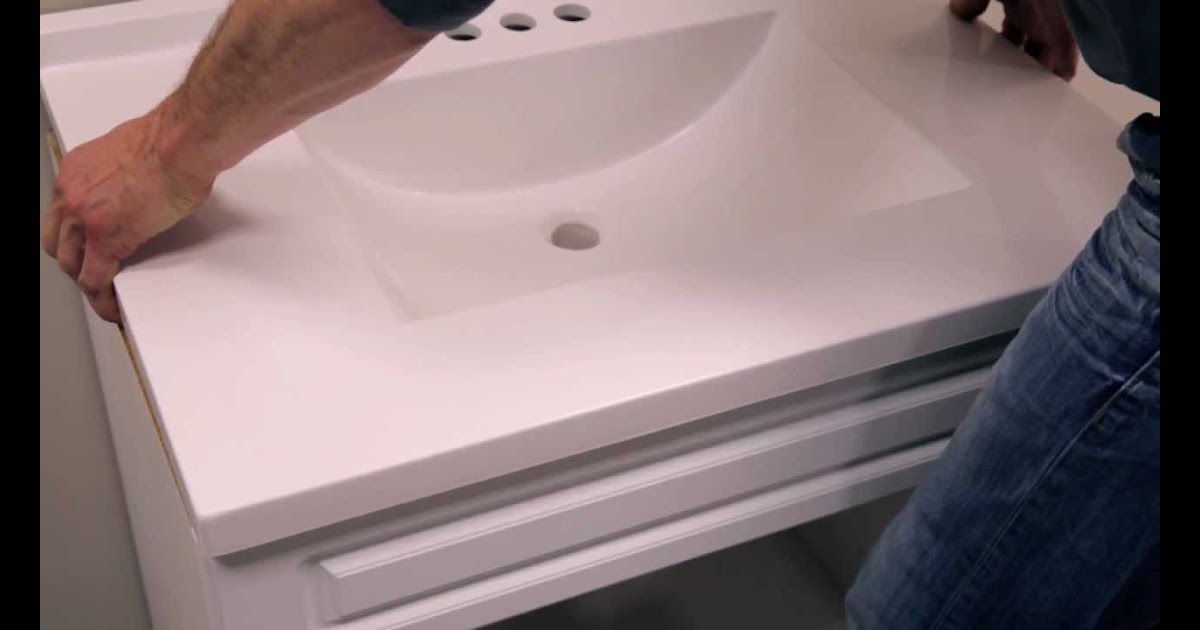
Step 3: Carefully place the sink onto the marked area on the countertop. Press down firmly to secure the sink in place. Wipe off any excess putty that may have squeezed out from the edges of the sink.
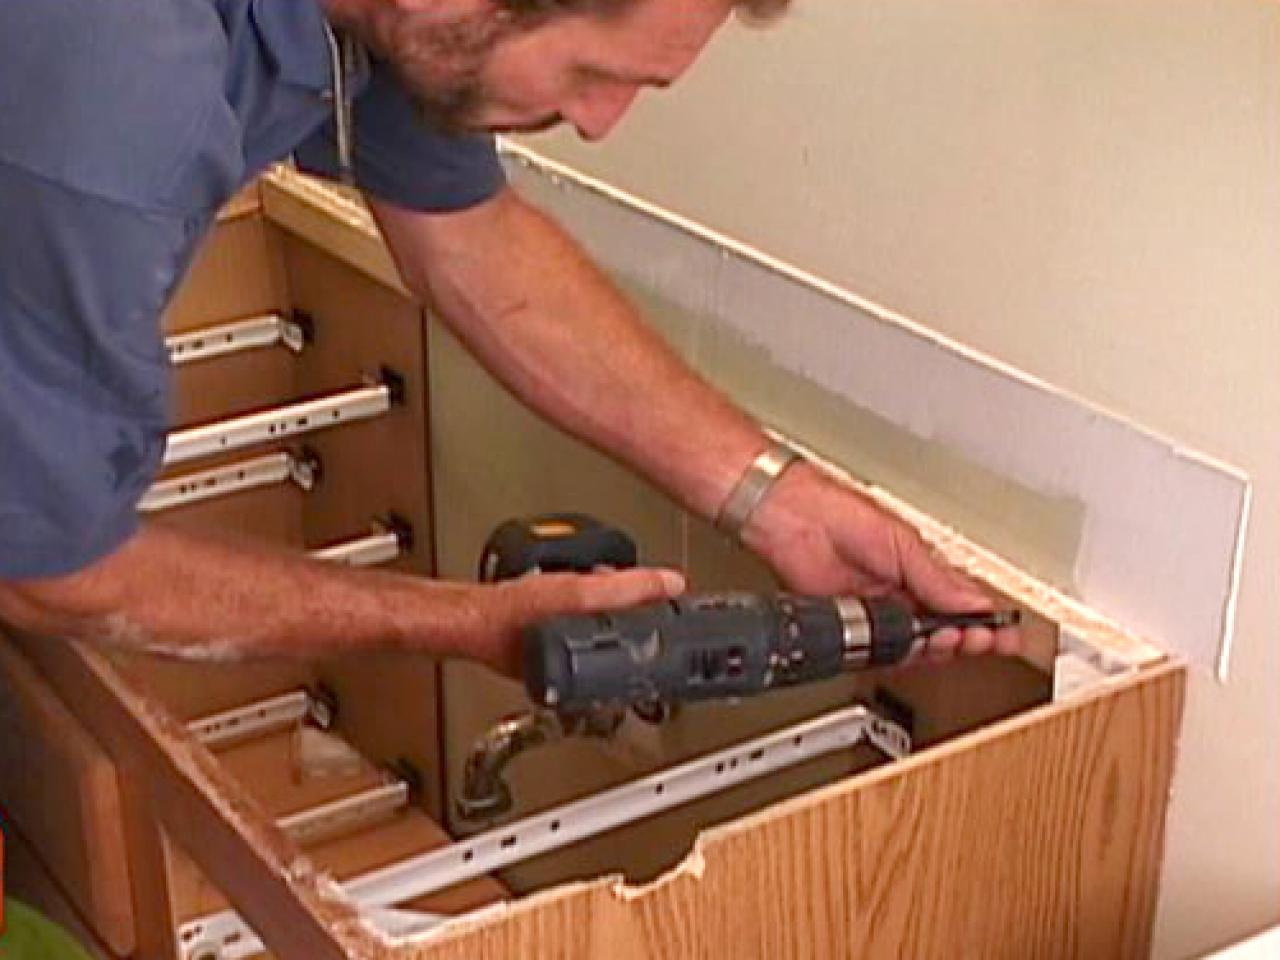
Step 4: Use a wrench to tighten the mounting clips on the underside of the sink. These clips will help hold the sink in place and prevent it from shifting. Make sure the sink is level and centered on the countertop.
Step 5: Now it's time to secure the sink to the countertop. Drill pilot holes through the mounting holes on the sink and into the countertop. Use screws to attach the sink to the countertop. Be careful not to over-tighten the screws, as it could damage the sink or countertop.
Step 6: Apply a thin bead of silicone sealant around the edges of the sink where it meets the countertop. This will create a waterproof seal and prevent any water from seeping in between the sink and the countertop. Smooth out the sealant with your finger for a clean finish.


Attaching a New Bathroom Sink to a Countertop: Step-by-Step Guide


DIY: How to Install a Bathroom Sink on a Countertop
Installing a bathroom sink on a countertop doesn't have to be a difficult task. With the right tools and proper instructions, it can be done easily as a DIY project. Follow these simple steps for a successful installation.
Step 1: Gather all the necessary tools and materials. You will need a drill, silicone sealant, plumber's putty, wrench, and screws.
Step 2: Measure and mark the placement of the sink on the countertop. Use a pencil to mark the outline of the sink, following the manufacturer's instructions for the size and placement.
Step 3: Apply plumber's putty to the underside of the sink. This will create a watertight seal between the sink and the countertop.
Step 4: Place the sink onto the marked area on the countertop and press down firmly to secure it in place.
Step 5: Use a wrench to tighten the mounting clips on the underside of the sink.
Step 6: Drill pilot holes through the mounting holes on the sink and into the countertop. Use screws to attach the sink to the countertop. Be careful not to over-tighten the screws.
Step 7: Apply a thin bead of silicone sealant around the edges of the sink to create a waterproof seal.


DIY: How to Install a Bathroom Sink on a Countertop


Easy Steps for Attaching a Bathroom Sink to a Countertop
If you're looking for a quick and easy way to attach a bathroom sink to a countertop, follow these simple steps for a hassle-free installation.
Step 1: Make sure you have all the necessary tools and materials, including a drill, silicone sealant, plumber's putty, wrench, and screws.
Step 2: Measure and mark the placement of the sink on the countertop. Use a pencil to mark the outline of the sink, following the manufacturer's instructions for the size and placement.
Step 3: Apply plumber's putty to the underside of the sink and place it onto the marked area on the countertop.
Step 4: Tighten the mounting clips on the underside of the sink using a wrench.
Step 5: Drill pilot holes through the mounting holes on the sink and into the countertop. Use screws to attach the sink to the countertop.
Step 6: Apply a thin bead of silicone sealant around the edges of the sink for a waterproof seal.

Easy Steps for Attaching a Bathroom Sink to a Countertop


Installing a New Bathroom Sink on a Countertop: A Beginner's Guide
If you're new to DIY projects, attaching a bathroom sink to a countertop may seem intimidating. But with these easy-to-follow instructions, even beginners can successfully install a sink on a countertop.
Step 1: Gather all the necessary tools and materials, including a drill, silicone sealant, plumber's putty, wrench, and screws.
Step 2: Measure and mark the placement of the sink on the countertop. Use a pencil to mark the outline of the sink, following the manufacturer's instructions for the size and placement.
Step 3: Apply plumber's putty to the underside of the sink and place it onto the marked area on the countertop.
Step 4: Tighten the mounting clips on the underside of the sink using a wrench.
Step 5: Drill pilot holes through the mounting holes on the sink and into the countertop. Use screws to attach the sink to the countertop.
Step 6: Apply a thin bead of silicone sealant around the edges of the sink for a waterproof seal.


Installing a New Bathroom Sink on a Countertop: A Beginner's Guide
:max_bytes(150000):strip_icc()/8_IMG_3767-56a4a2753df78cf772835b72.JPG)


Attaching a Bathroom Sink to a Countertop: Tips and Tricks
Here are some helpful tips and tricks to keep in mind when attaching a bathroom sink to a countertop.
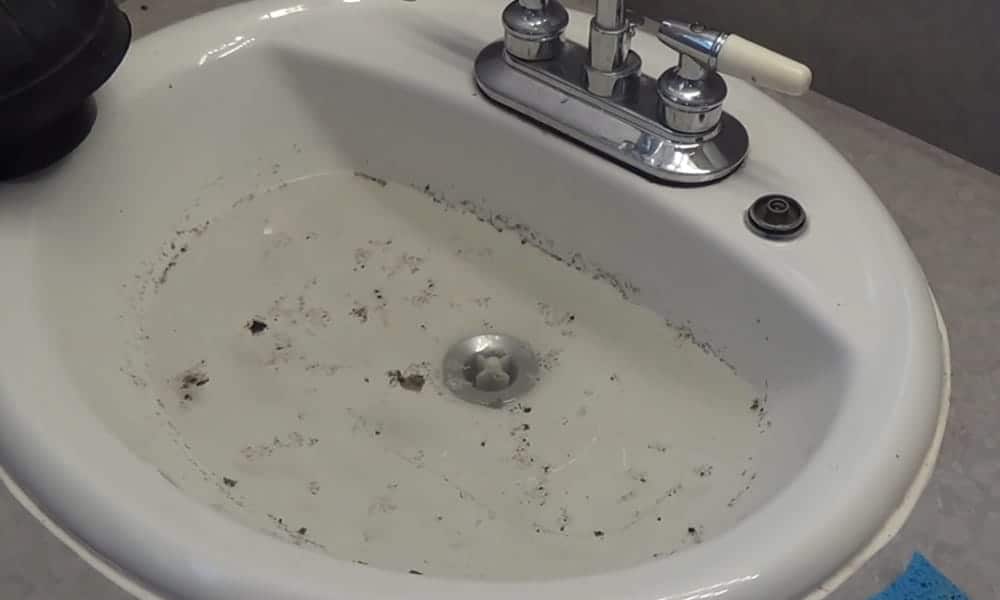
Tip 1: Make sure the sink and countertop are clean and dry before starting the installation process.
Tip 2: Use a level to ensure the sink is straight and even on the countertop.
Tip 3: Apply a generous amount of plumber's putty to ensure a watertight seal.
Tip 4: Use a wrench to tighten the mounting clips instead of using your hands.
Tip 5: Don't over-tighten the screws, as it could damage the sink or countertop.


Attaching a Bathroom Sink to a Countertop: Tips and Tricks


Step-by-Step Guide for Attaching a New Bathroom Sink to a Countertop
For a detailed, step-by-step guide on how to attach a new bathroom sink to a countertop, follow these instructions.
Step 1: Gather all the necessary tools and materials, including a drill, silicone sealant, plumber's putty, wrench, and screws.
Step 2: Measure and mark the placement of the sink on the countertop. Use a pencil to mark the outline of the sink, following the manufacturer's instructions for the size and placement.
Step 3: Apply plumber's putty to the underside of the sink and place it onto the marked area on the countertop.
Step 4: Tighten the mounting clips on the underside of the sink using a wrench.
Step 5: Drill pilot holes through the mounting holes on the sink and into the countertop. Use screws to attach the sink to the countertop.
Step 6: Apply a thin bead of silicone sealant around the edges of the sink for a waterproof seal.


Step-by-Step Guide for Attaching a New Bathroom Sink to a Countertop

How to Securely Attach a Bathroom Sink to a Countertop
It's important to ensure that your bathroom sink is securely attached to the countertop to prevent any accidents or damage. Follow these steps to securely attach your bathroom sink to the countertop.
Step 1: After installing the sink, check to make sure it is level and centered on the countertop.
Step 2: Tighten the mounting clips on the underside of the sink using a wrench.
Step 3: Drill pilot holes through the mounting holes on the sink and into the countertop. Use screws to securely attach the sink to the countertop.
Step 4: Apply a generous amount of silicone sealant around the edges of the sink for a watertight seal.
How to Securely Attach a Bathroom Sink to a Countertop

Attaching a Bathroom Sink to a Countertop: Common Mistakes to Avoid
Here are some common mistakes to avoid when attaching a bathroom sink to a countertop.
Mistake 1: Not following the manufacturer's instructions for the size and placement of the sink.
Mistake 2: Not using enough plumber's putty, resulting in a poor seal.
Mistake 3: Over-tightening the mounting clips and screws, causing damage to the sink or countertop.
Mistake 4: Not using a level to ensure the sink is straight and even on the countertop.
Mistake 5: Not applying enough silicone sealant, resulting in water leakage.


Attaching a Bathroom Sink to a Countertop: Common Mistakes to Avoid


DIY: Installing a New Bathroom Sink on a Countertop Made Easy
With the right tools and instructions, installing a new bathroom sink on a countertop can be a simple and easy DIY project. Follow these steps for a successful installation.
Step 1: Gather all the necessary tools and materials, including a drill, silicone sealant, plumber's putty, wrench, and screws.
Step 2: Measure and mark the placement of the sink on the countertop. Use a pencil to mark the outline of the sink, following the manufacturer's instructions for the size and placement.
Step 3: Apply plumber's putty to the underside of the sink and place it onto the marked area on the countertop.
Step 4: Tighten the mounting clips on the underside of the sink using a wrench.
Step 5: Drill pilot holes through the mounting holes on the sink and into the countertop. Use screws to attach the sink to the countertop.
Step 6: Apply a thin bead of silicone sealant around the edges of the sink for a waterproof seal.

DIY: Installing a New Bathroom Sink on a Countertop Made Easy


Attaching Your New Bathroom Sink to Your Countertop

Why a Bathroom Sink is an Essential Part of Your House Design
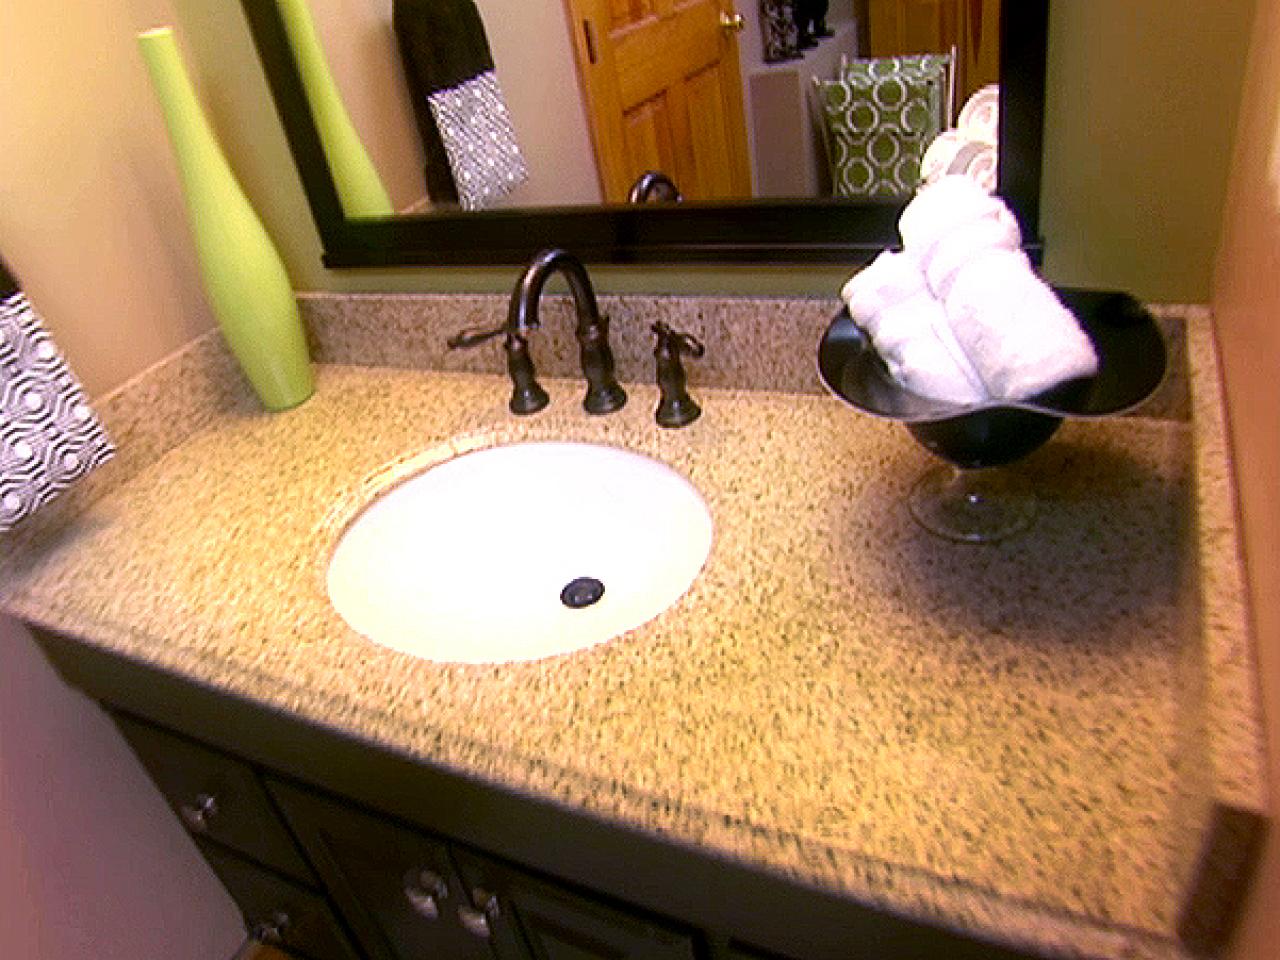
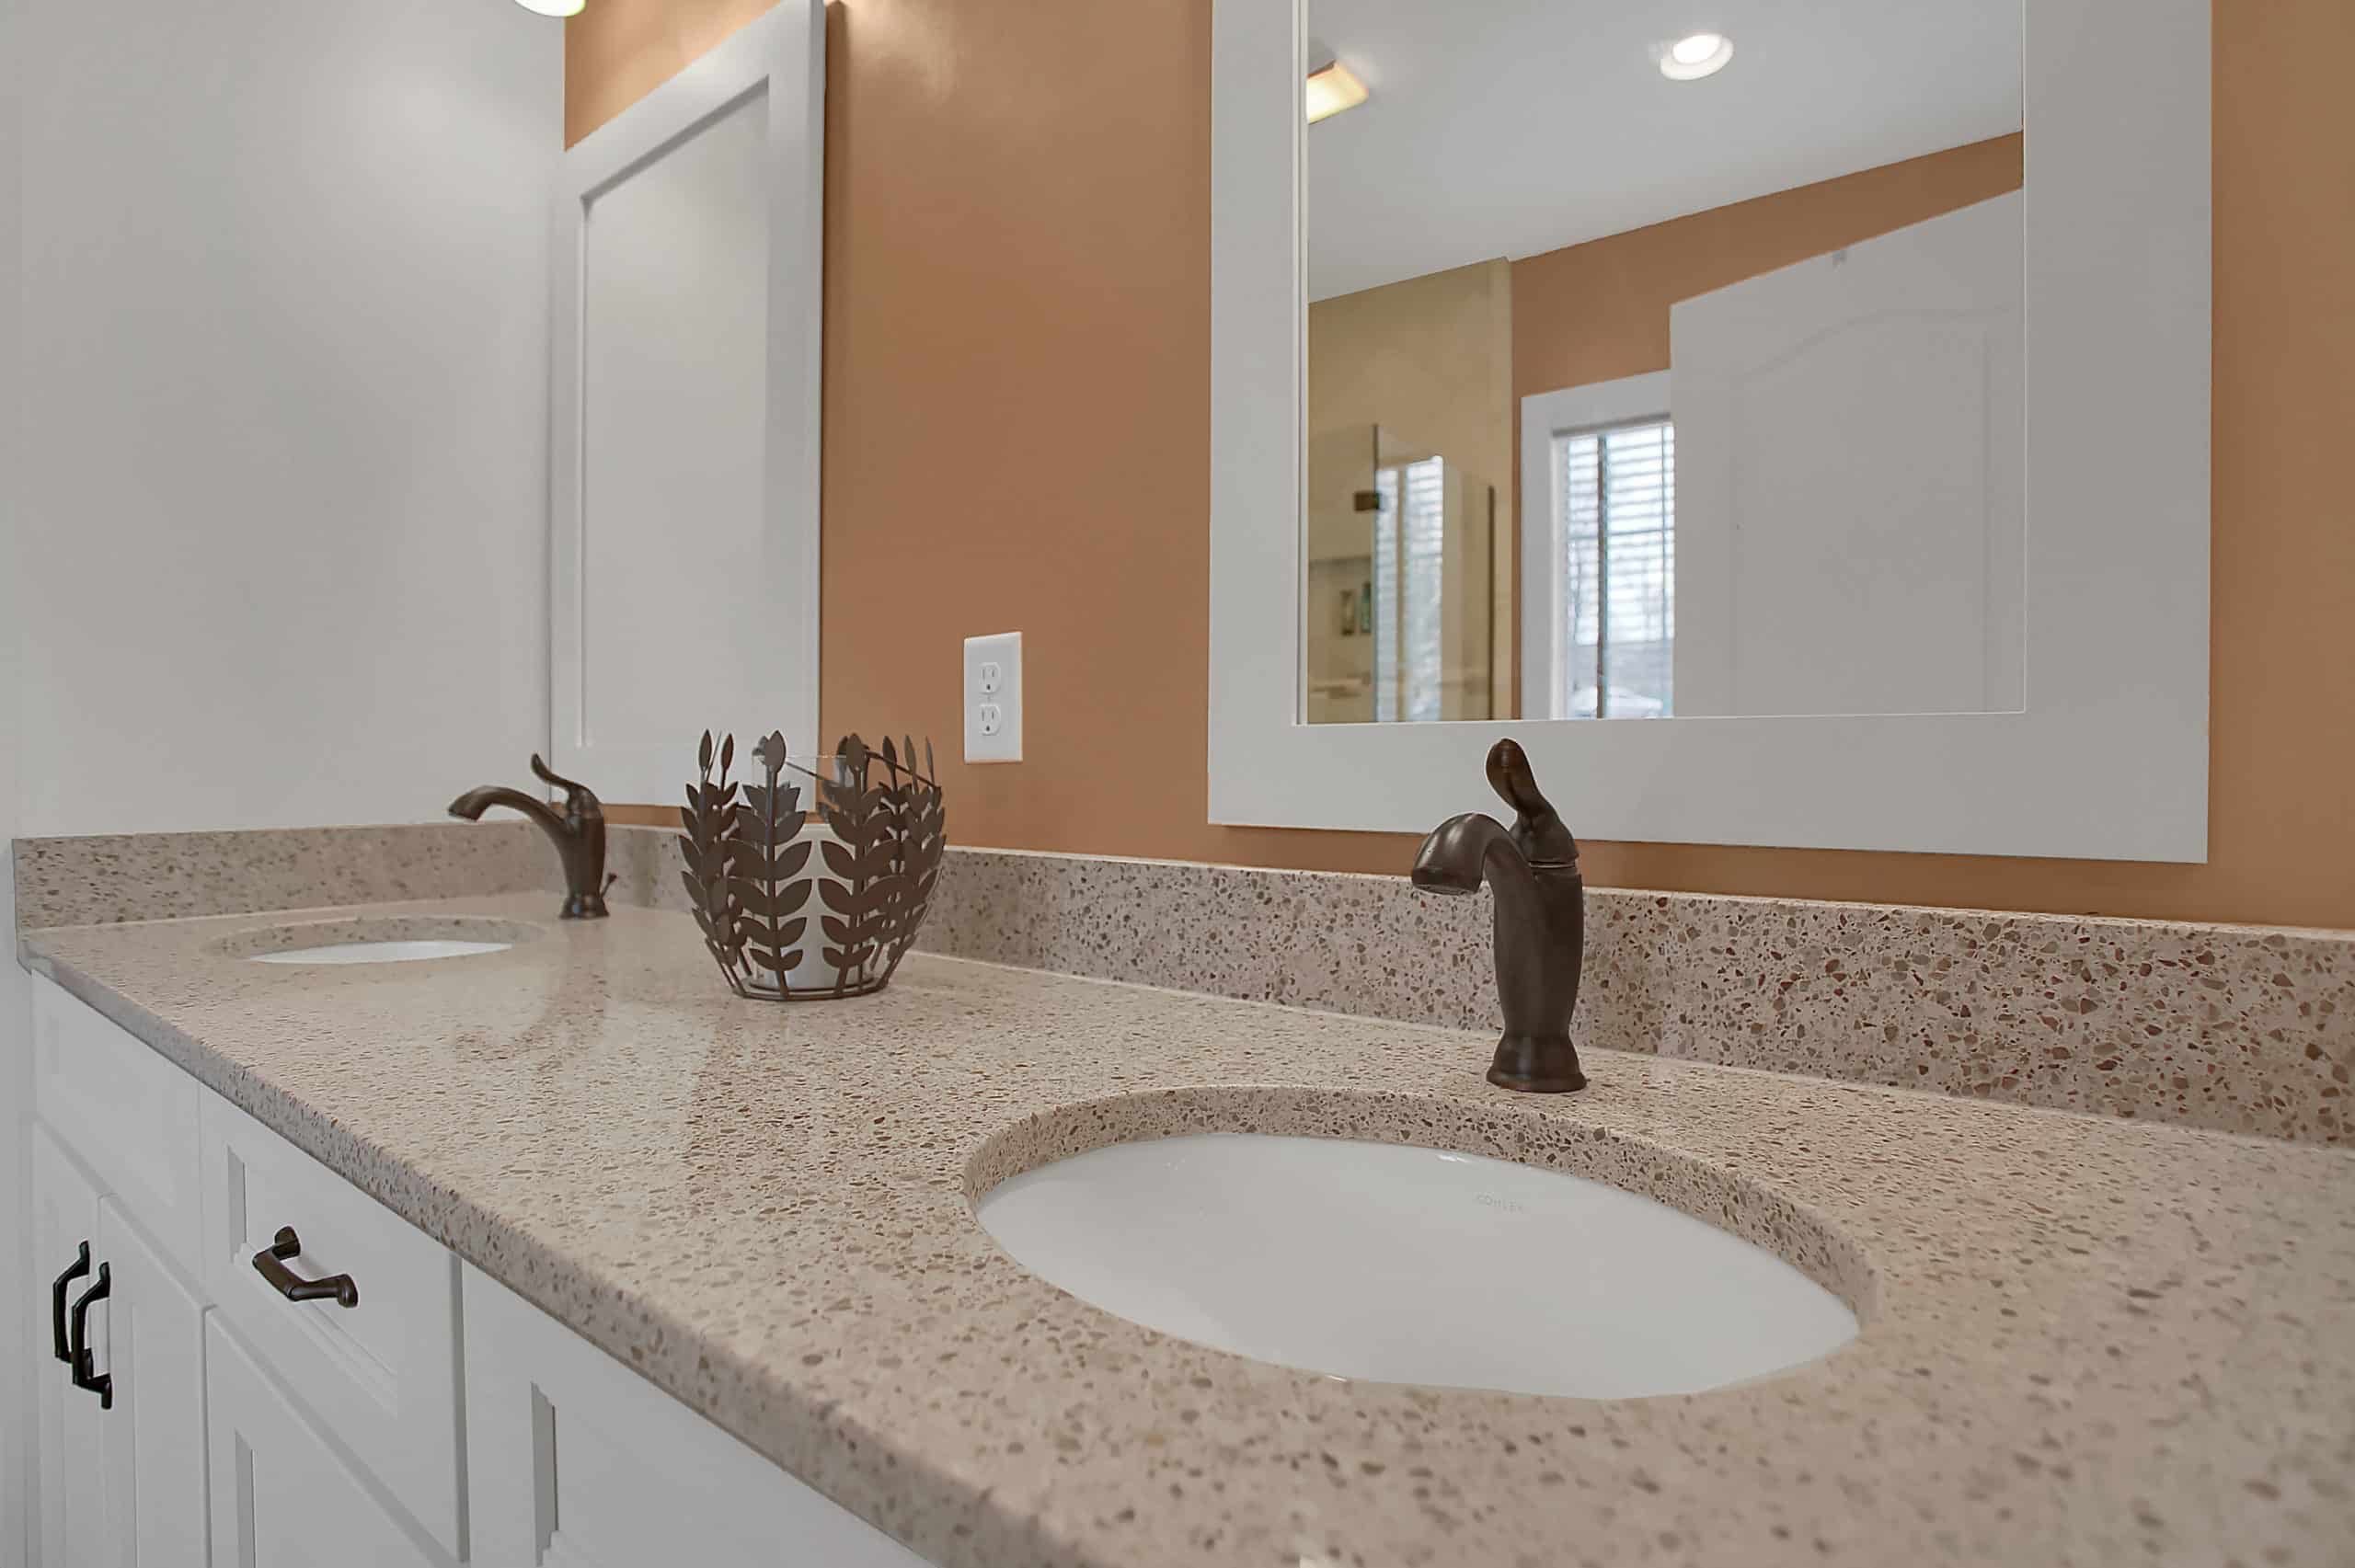
 Your bathroom sink is not just a functional item, but it is also an important design element in your home. It is one of the most used fixtures in your bathroom, and therefore, it should not only be practical and durable, but also aesthetically pleasing. A well-designed bathroom sink can enhance the overall look and feel of your bathroom, making it a more enjoyable and comfortable space.
Why You Should Consider Attaching Your New Bathroom Sink to Your Countertop
 When it comes to installing a new bathroom sink, you have the option of attaching it to your countertop or having it freestanding. While both options have their own advantages, attaching your sink to your countertop can offer more benefits in terms of functionality and design. By attaching your sink to your countertop, you create a seamless look that can make your bathroom appear more spacious and organized. It also allows for easier cleaning and maintenance, as there are no gaps or spaces for dirt and grime to accumulate.
Step-by-Step Guide for Attaching Your New Bathroom Sink to Your Countertop
 Now that you have decided to attach your new bathroom sink to your countertop, here is a step-by-step guide to help you with the installation process:
Step 1:
Measure and mark the placement of your sink on the countertop. Make sure it is centered and there is enough space for the sink to fit comfortably.
Step 2:
Use a jigsaw to cut out the marked area on the countertop. Be sure to follow the instructions provided by the manufacturer for the specific sink model you have chosen.
Step 3:
Apply a bead of silicone adhesive around the edge of the sink cutout on the underside of the countertop.
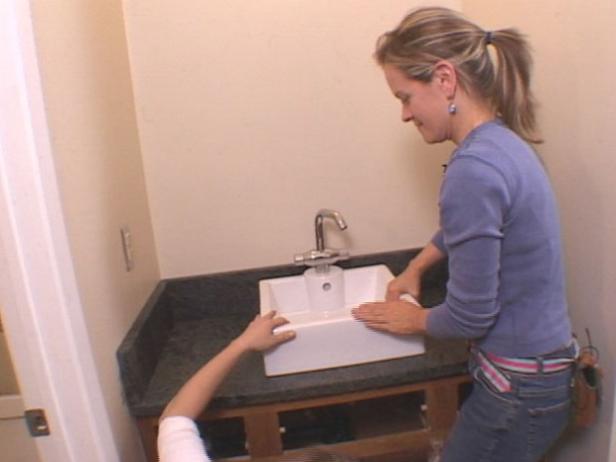
Step 4:
Carefully lower the sink into the cutout, making sure it is properly aligned and level.
Step 5:
Use mounting brackets or clips to secure the sink to the countertop. These are usually provided with the sink or can be purchased separately.
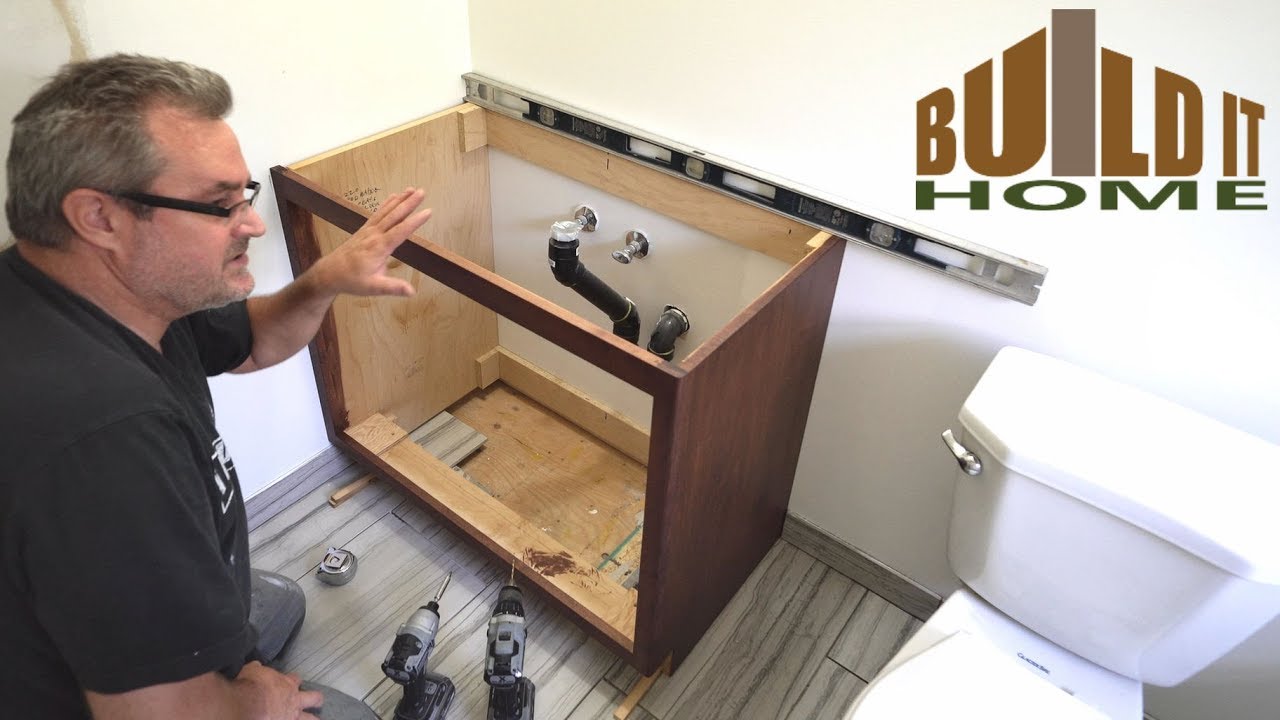
Step 6:
Connect the sink's drain and water supply lines according to the manufacturer's instructions.
Step 7:
Apply a bead of caulk around the edges of the sink to create a waterproof seal between the sink and countertop.
Step 8:
Allow the caulk and adhesive to dry completely before using the sink.
Now that you have decided to attach your new bathroom sink to your countertop, here is a step-by-step guide to help you with the installation process:
Step 1:
Measure and mark the placement of your sink on the countertop. Make sure it is centered and there is enough space for the sink to fit comfortably.
Step 2:
Use a jigsaw to cut out the marked area on the countertop. Be sure to follow the instructions provided by the manufacturer for the specific sink model you have chosen.
Step 3:
Apply a bead of silicone adhesive around the edge of the sink cutout on the underside of the countertop.
Step 4:
Carefully lower the sink into the cutout, making sure it is properly aligned and level.
Step 5:
Use mounting brackets or clips to secure the sink to the countertop. These are usually provided with the sink or can be purchased separately.
Step 6:
Connect the sink's drain and water supply lines according to the manufacturer's instructions.
Step 7:
Apply a bead of caulk around the edges of the sink to create a waterproof seal between the sink and countertop.
Step 8:
Allow the caulk and adhesive to dry completely before using the sink.
Final Thoughts
 Attaching your new bathroom sink to your countertop is a relatively simple process that can greatly enhance the design and functionality of your bathroom. By following these steps and using the proper tools and materials, you can achieve a professional-looking installation that will last for years to come. Remember to regularly clean and maintain your sink to keep it looking and functioning at its best.