How to Repair a Slow Leak in an Air Mattress
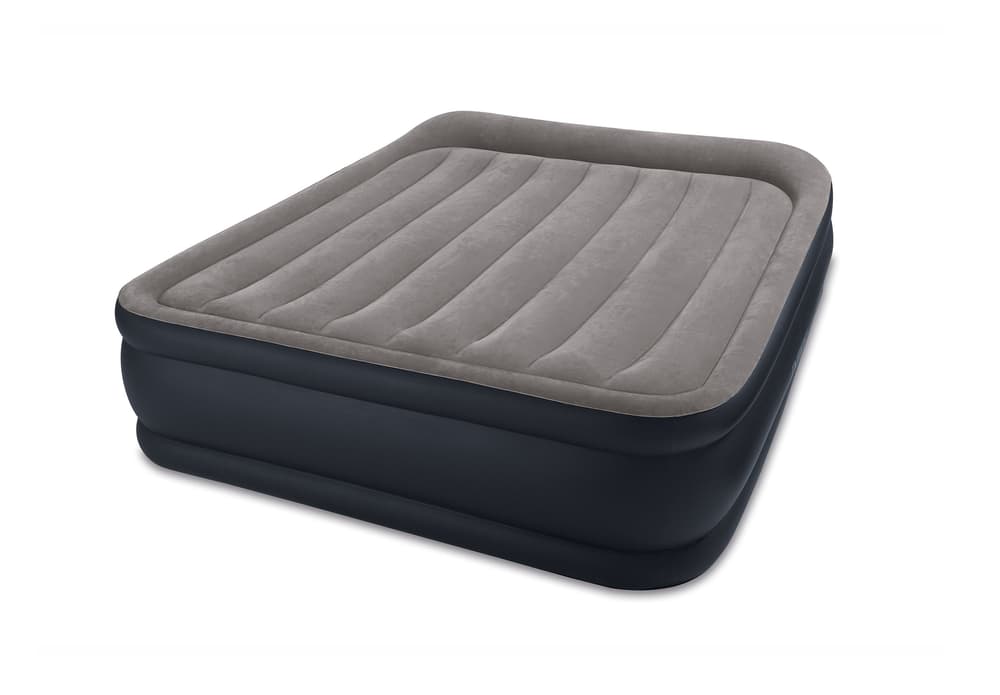
An air mattress can be a convenient and comfortable sleeping option, but it can quickly become a nuisance if it develops a slow leak. This can happen due to various reasons, such as punctures, wear and tear, or even just a faulty valve. But don't worry, repairing a slow leak in an air mattress is not as difficult as it may seem. With the right tools and techniques, you can easily fix the problem and have your air mattress ready for a good night's sleep.


How to Repair a Slow Leak in an Air Mattress


How to Find and Fix a Slow Leak in an Air Mattress
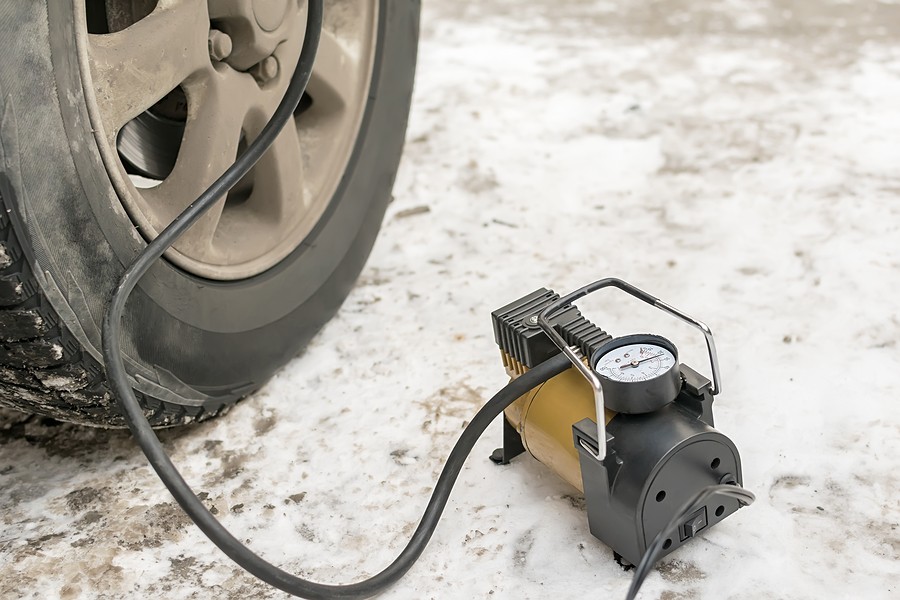
The first step in repairing a slow leak in an air mattress is to locate the source of the leak. This can be done by inflating the mattress and listening for any hissing sounds or feeling for any air escaping. You can also try submerging the mattress in water and looking for bubbles. Once you have located the leak, you can move on to fixing it.


How to Find and Fix a Slow Leak in an Air Mattress


DIY Air Mattress Slow Leak Repair
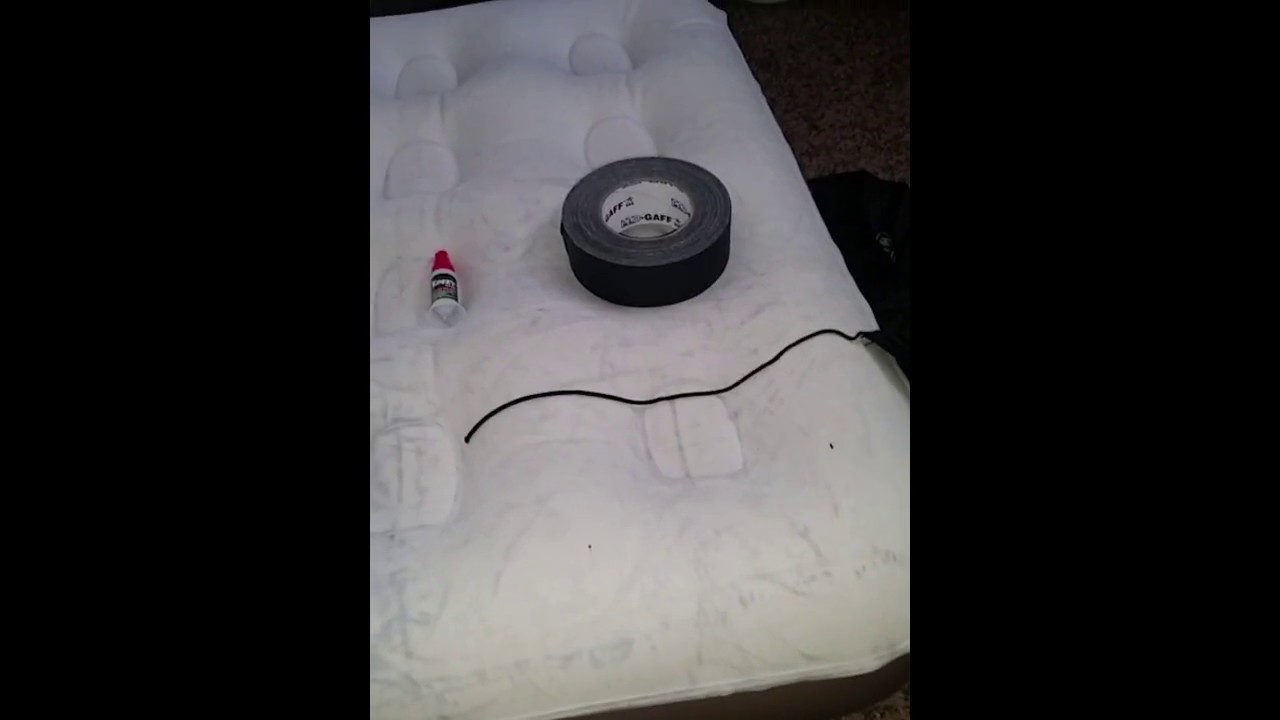
If you don't want to spend money on a new air mattress or a repair kit, you can try fixing the slow leak yourself. One easy DIY method is to use duct tape to cover the puncture or hole in the mattress. Simply clean and dry the area, then apply a generous amount of duct tape over the leak. Make sure to smooth out any air bubbles and allow the tape to set for a few hours before inflating the mattress again.


DIY Air Mattress Slow Leak Repair


Quick and Easy Air Mattress Slow Leak Repair
If you're looking for a quick and easy fix for a slow leak in your air mattress, you can use a bicycle tire repair kit. These kits typically come with patches and glue that can be used to cover the leak. Clean and dry the area, then apply the patch and glue according to the instructions on the kit. Allow the patch to dry completely before inflating the mattress again.


Quick and Easy Air Mattress Slow Leak Repair


Effective Methods for Repairing a Slow Leak in an Air Mattress
If you want a more permanent solution for your slow leak problem, you can invest in an air mattress repair kit. These kits come with various tools and materials, such as patches, adhesive, and a valve wrench, to help you fix the leak effectively. Follow the instructions on the kit and make sure to properly clean and dry the area before applying the patch.

Effective Methods for Repairing a Slow Leak in an Air Mattress


Step-by-Step Guide for Fixing a Slow Leak in an Air Mattress
If you're new to repairing air mattresses, here's a step-by-step guide to help you through the process:


Step-by-Step Guide for Fixing a Slow Leak in an Air Mattress

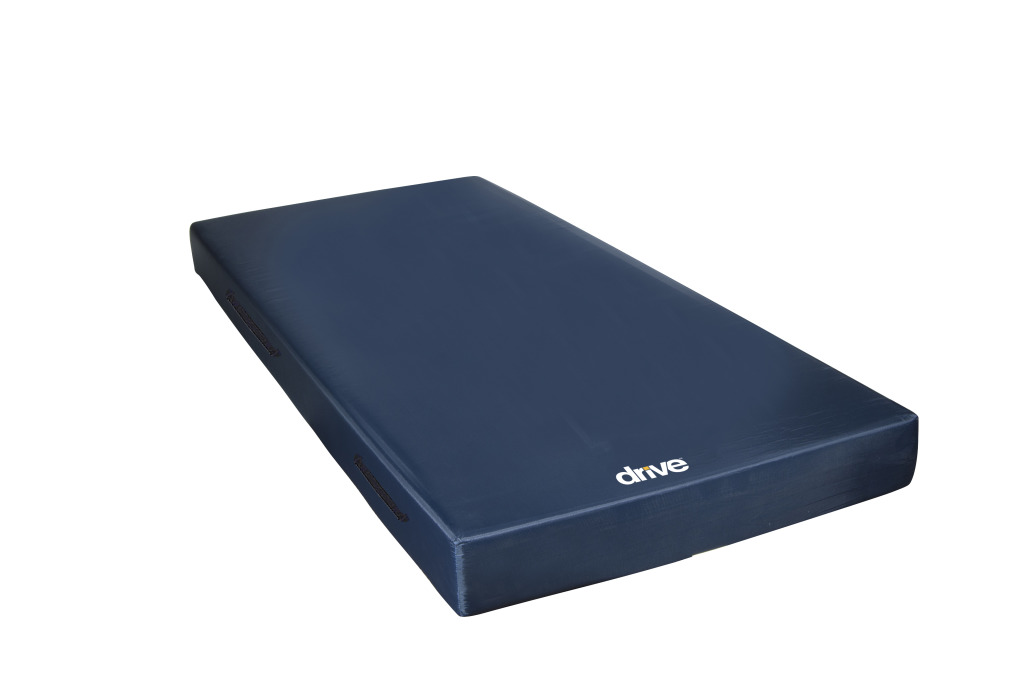
Best Products for Repairing a Slow Leak in an Air Mattress
If you're looking for the best products to repair a slow leak in your air mattress, here are a few options to consider:


Best Products for Repairing a Slow Leak in an Air Mattress

:max_bytes(150000):strip_icc()/aerobed-opti-comfort-queen-air-mattress-with-headboard-93c9f99d65ee4cce88edf90b9411b1cd.jpg)
/cdn.vox-cdn.com/uploads/chorus_image/image/65892275/howto_fixplaster_01.0.jpg)
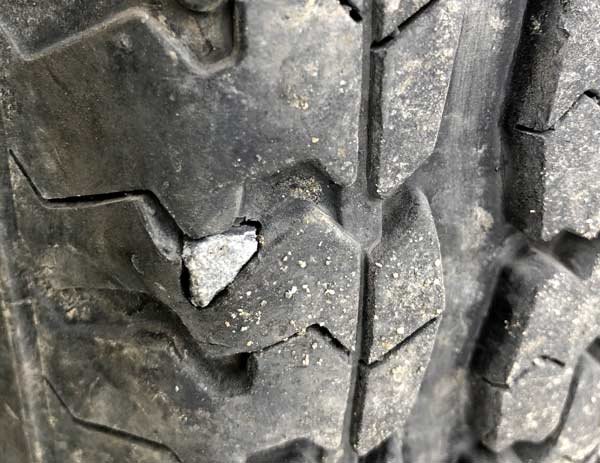
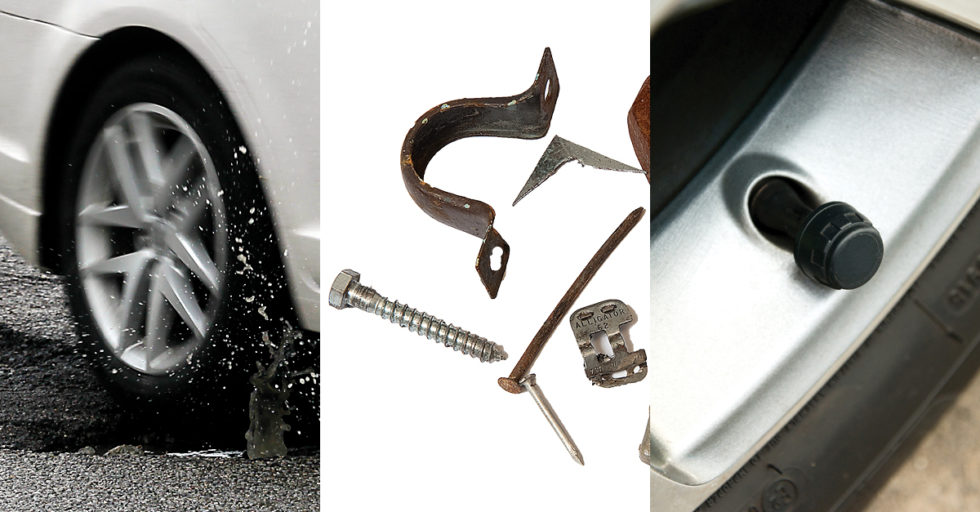
Common Causes of Slow Leaks in Air Mattresses and How to Fix Them
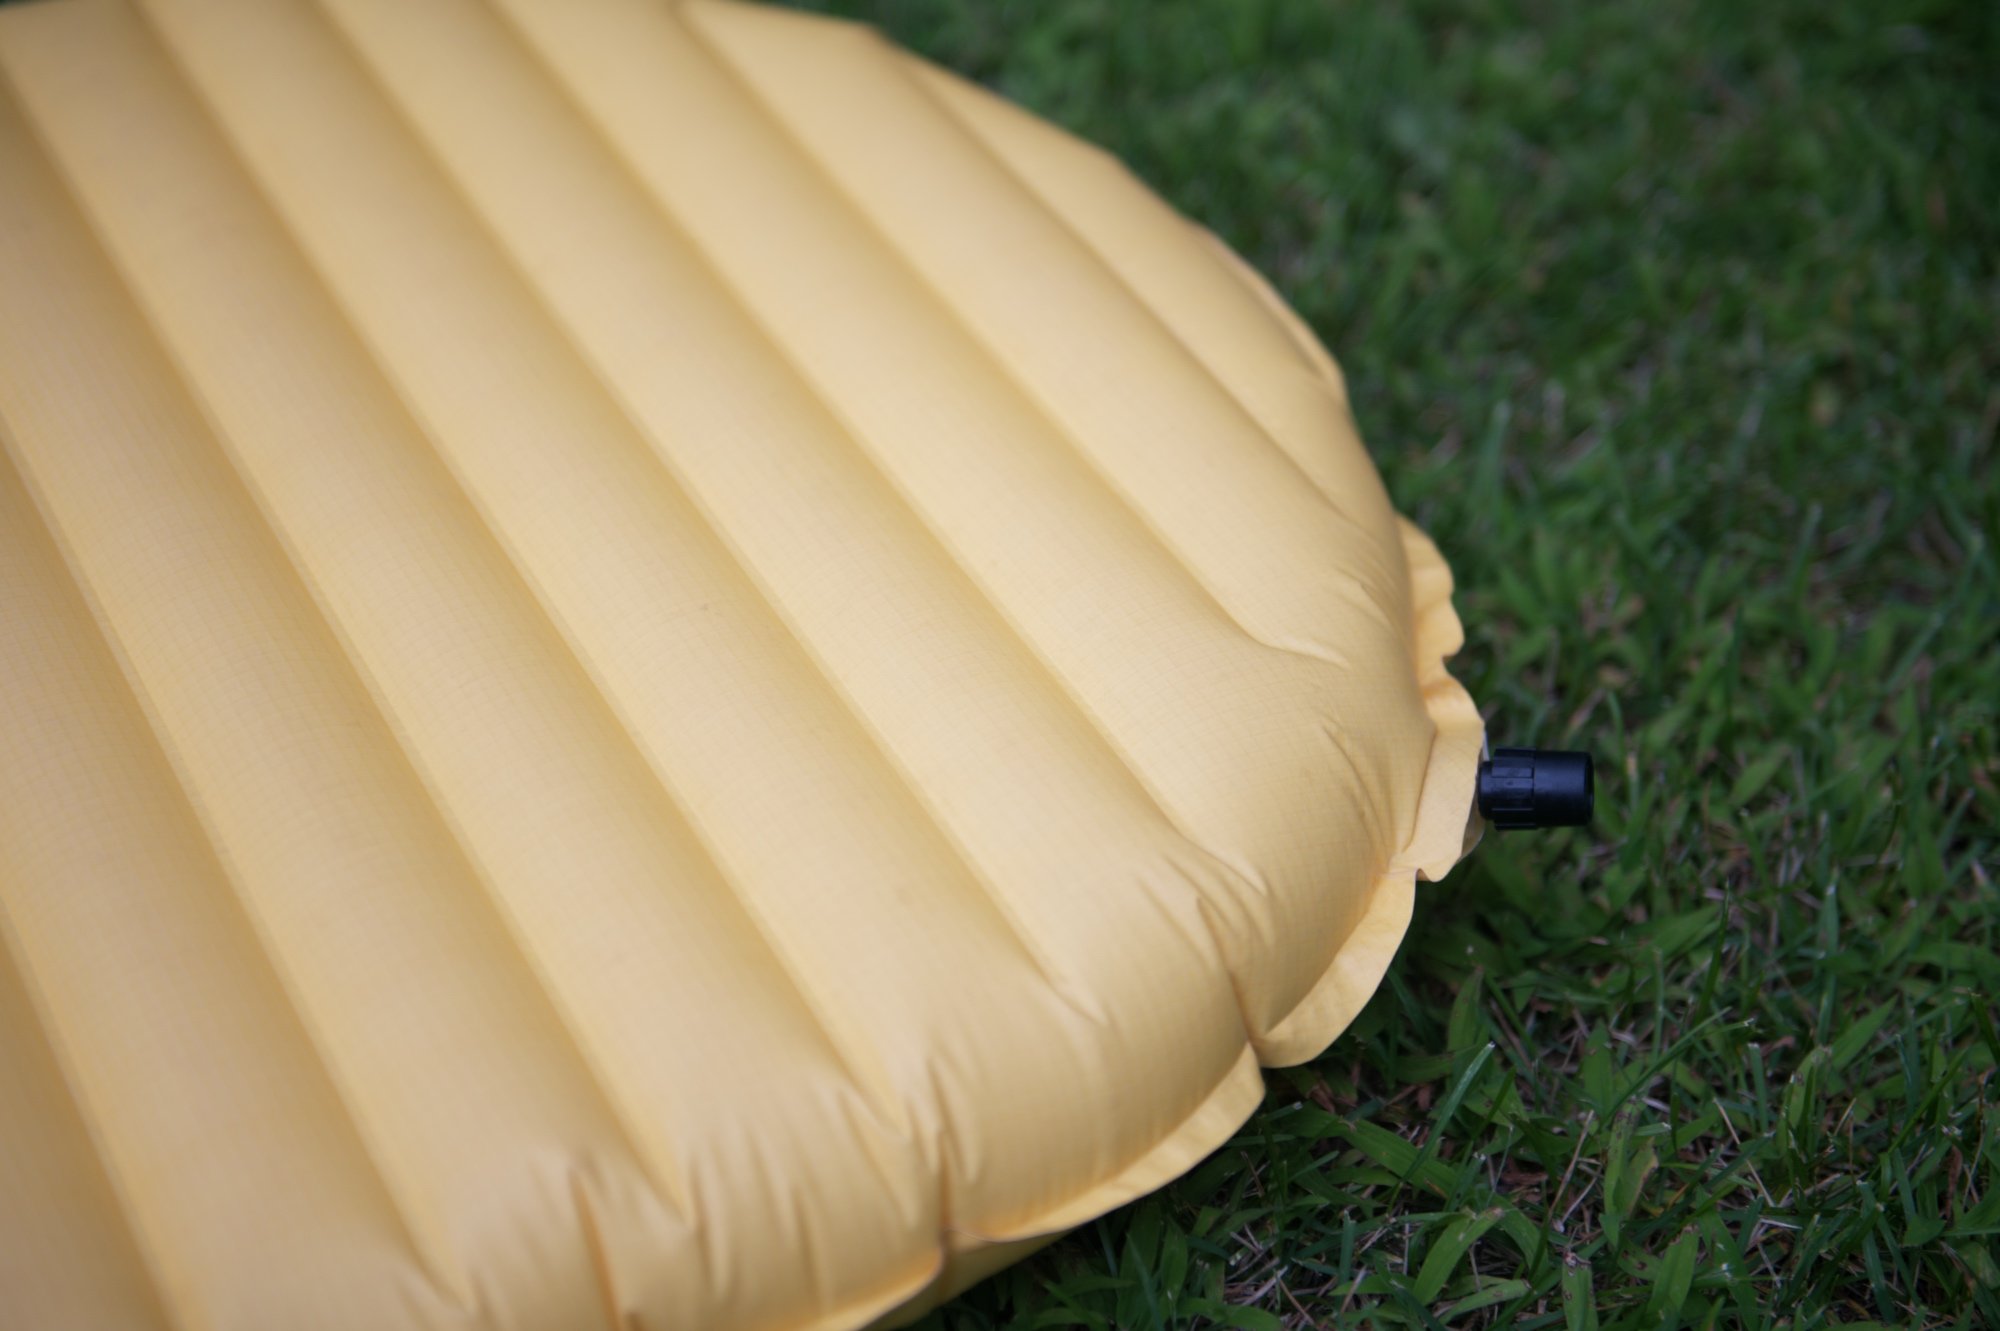
There are a few common reasons why air mattresses develop slow leaks, such as punctures, wear and tear, and faulty valves. If you're dealing with a puncture or hole, you can use the methods mentioned above to fix it. For wear and tear, you may need to invest in a new mattress. If the problem is a faulty valve, you can try tightening or replacing it.


Common Causes of Slow Leaks in Air Mattresses and How to Fix Them


Tips and Tricks for Repairing a Slow Leak in an Air Mattress
Here are a few tips and tricks to keep in mind when repairing a slow leak in your air mattress:

Tips and Tricks for Repairing a Slow Leak in an Air Mattress


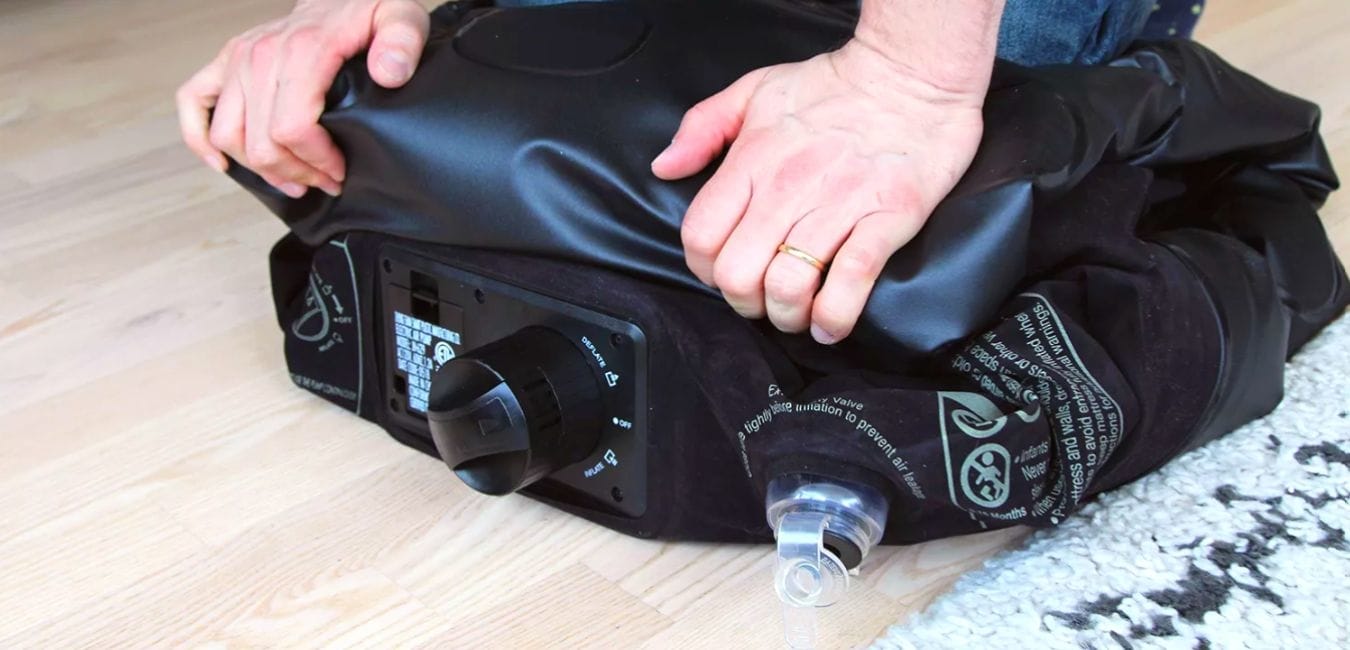
Preventing Slow Leaks in Air Mattresses and How to Repair Them
To prevent slow leaks from occurring in the first place, you can take some precautions such as avoiding sharp objects around the mattress and properly inflating and deflating it. However, if a leak does occur, now you know how to easily repair it and get your air mattress back in top condition.
Repairing a slow leak in an air mattress may seem like a daunting task, but with the right techniques and products, it can be a simple and cost-effective solution. So the next time you notice a slow leak in your air mattress, don't panic. Follow these tips and you'll have your mattress fixed in no time.


Preventing Slow Leaks in Air Mattresses and How to Repair Them


Air Mattress Slow Leak Repair: A Must-Know Guide for a Good Night's Sleep

Introduction
 Having a comfortable and supportive mattress is essential for a good night's sleep. However, even the most expensive and high-quality air mattresses can develop leaks over time. This can be frustrating and disrupt your sleep, especially if you have guests staying over. But fear not, repairing a slow leak in your air mattress is not as complicated as it may seem. With a few simple steps, you can have your air mattress back to its fully inflated and comfortable state. In this article, we will guide you through the process of
air mattress slow leak repair
so that you can enjoy a peaceful and restful sleep.
Having a comfortable and supportive mattress is essential for a good night's sleep. However, even the most expensive and high-quality air mattresses can develop leaks over time. This can be frustrating and disrupt your sleep, especially if you have guests staying over. But fear not, repairing a slow leak in your air mattress is not as complicated as it may seem. With a few simple steps, you can have your air mattress back to its fully inflated and comfortable state. In this article, we will guide you through the process of
air mattress slow leak repair
so that you can enjoy a peaceful and restful sleep.
Step 1: Locate the Leak
 The first step in
air mattress slow leak repair
is to locate the leak. This can be done by inflating the mattress and listening for the sound of air escaping. If you cannot hear any sound, try running your hand over the surface of the mattress to feel for any air escaping. Another method is to apply soapy water to the surface of the mattress and look for bubbles, which indicate the location of the leak.
The first step in
air mattress slow leak repair
is to locate the leak. This can be done by inflating the mattress and listening for the sound of air escaping. If you cannot hear any sound, try running your hand over the surface of the mattress to feel for any air escaping. Another method is to apply soapy water to the surface of the mattress and look for bubbles, which indicate the location of the leak.
Step 2: Clean and Dry the Area
 Once you have located the leak, make sure to clean and dry the area thoroughly. This will ensure that the patch adheres properly and provides a long-lasting repair. Use a mild soap and water to clean the surface, and then dry it with a clean cloth or towel.
Step 3: Apply the Patch
 The next step is to apply the patch to the leak. There are different types of patches available, such as adhesive patches or patches that require heat to bond to the surface. Make sure to follow the instructions provided with the patch for the best results. Apply pressure to the patch to ensure a secure bond.
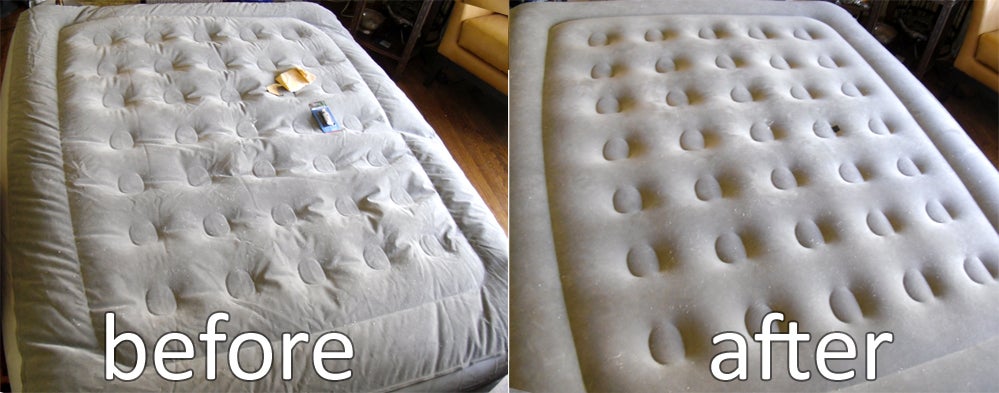
Step 4: Test the Repair
 After applying the patch, give it some time to bond with the surface before inflating the mattress. Once the patch has fully adhered, inflate the mattress and check for any air leaks. If there are no more leaks, then your repair was successful. If there are still leaks, repeat the process or try a different type of patch.
Prevent Future Leaks
 To prevent future leaks, make sure to take proper care of your air mattress. Avoid placing it on sharp or rough surfaces, and always store it in a dry and clean place. It is also a good idea to invest in a mattress protector to provide an extra layer of protection against leaks.
In Conclusion
 A slow leak in your air mattress can be a nuisance, but with the right tools and techniques, you can easily repair it. By following the steps outlined in this guide, you can ensure a good night's sleep on your comfortable and fully inflated air mattress. Remember to take proper care of your mattress to prevent future leaks and to always be prepared for unexpected guests. Say goodbye to sleepless nights and hello to a comfortable and supportive air mattress.