Adding an outdoor kitchen sink to your backyard oasis is a great way to enhance your outdoor cooking and entertaining experience. However, one crucial element that often gets overlooked is the sink drain. Without a proper drain, your outdoor kitchen sink can become a breeding ground for bacteria and a hassle to clean. In this guide, we will walk you through the steps of installing an outdoor kitchen sink drain to ensure a functional and hygienic outdoor kitchen space.
1. Outdoor Kitchen Sink Drain Installation Guide


1. Outdoor Kitchen Sink Drain Installation Guide


:max_bytes(150000):strip_icc()/how-to-install-a-sink-drain-2718789-hero-24e898006ed94c9593a2a268b57989a3.jpg?strip=all)

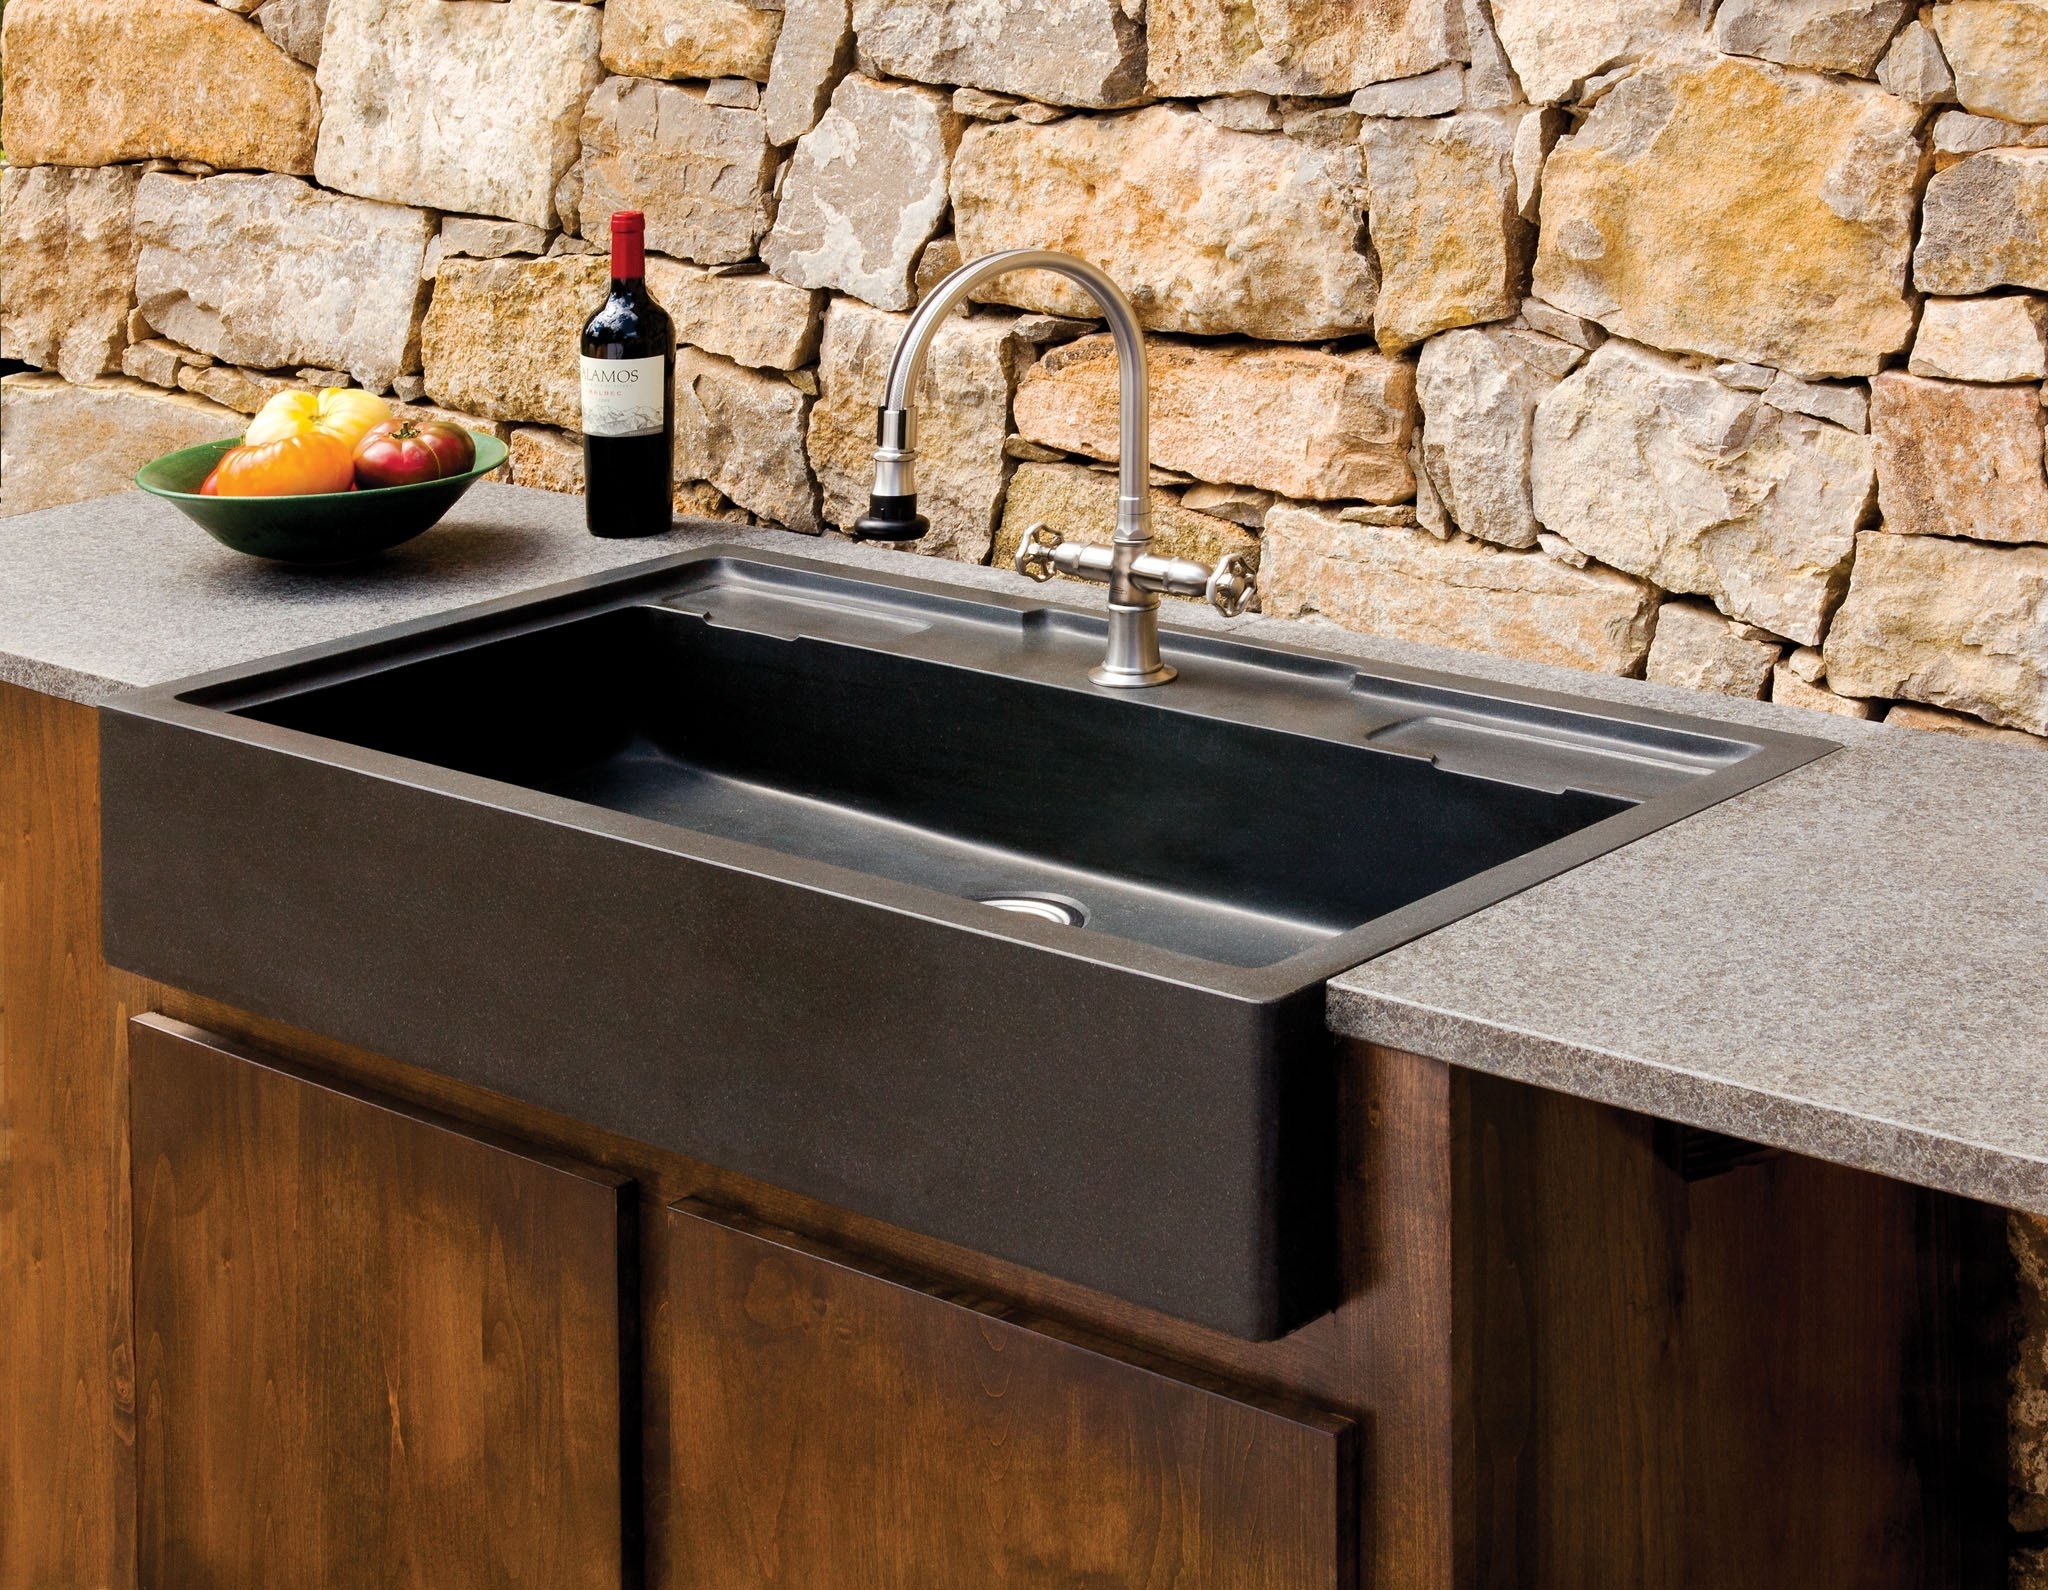
Adding a drain to your outdoor kitchen sink may seem like a daunting task, but with the right tools and a little know-how, it can be a simple and straightforward process. The first step is to determine the location of your sink and the most suitable spot for the drain. Ideally, it should be placed towards the back of the sink to allow for proper water flow and avoid any potential clogging. Once you have decided on the location, you can begin the installation process.
2. How to Add a Drain to an Outdoor Kitchen Sink


2. How to Add a Drain to an Outdoor Kitchen Sink

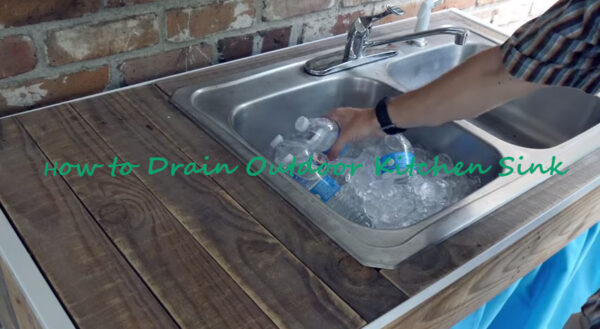
/how-to-install-a-sink-drain-2718789-hero-b5b99f72b5a24bb2ae8364e60539cece.jpg)


If you are a handy DIY enthusiast, you may opt to install your outdoor kitchen sink drain yourself. To do this, you will need a few essential tools such as a pipe wrench, PVC pipe cutter, and plumber's putty. Make sure to follow the manufacturer's instructions for the specific drain you have chosen and take your time to ensure all connections are secure and leak-free.
3. DIY Outdoor Kitchen Sink Drain


3. DIY Outdoor Kitchen Sink Drain


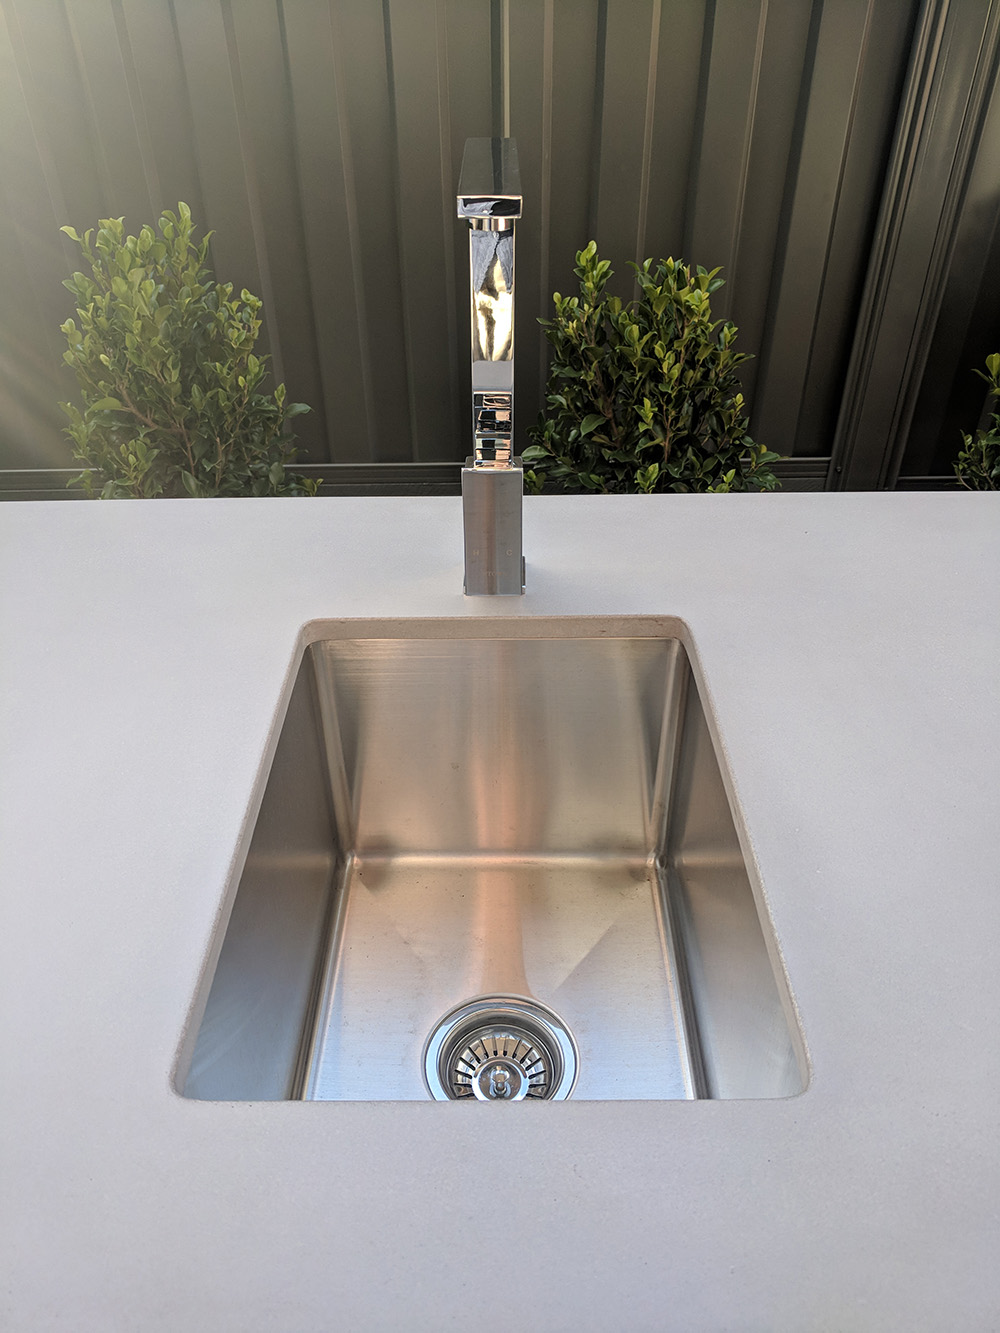
When it comes to outdoor kitchen sink drains, you have a variety of options to choose from. The most common types are PVC, stainless steel, and brass drains. PVC drains are budget-friendly and easy to install, while stainless steel and brass drains offer a more durable and stylish option. Consider the design and functionality of your outdoor kitchen when selecting the right drain for you.
4. Outdoor Kitchen Sink Drain Options


4. Outdoor Kitchen Sink Drain Options


To help you through the installation process, here is a step-by-step guide for adding a drain to your outdoor kitchen sink:
Step 1: Begin by assembling the drain parts according to the manufacturer's instructions.
5. Adding a Drain to Your Outdoor Kitchen Sink: Step-by-Step Guide
Step 2: Apply plumber's putty to the underside of the sink strainer and place it into the sink's drain hole.
Step 3: Secure the strainer in place by tightening the locknut from underneath the sink using a pipe wrench.
Step 4: Connect the sink strainer to the P-trap using a PVC pipe cutter to adjust the length of the pipe if necessary.
Step 5: Attach the P-trap to the drainpipe coming out of the wall and tighten the connections with a pipe wrench.
Step 6: Run water through the sink to test for any leaks and make any necessary adjustments.

5. Adding a Drain to Your Outdoor Kitchen Sink: Step-by-Step Guide


To ensure a successful and long-lasting installation, here are some best practices to keep in mind:
- Always follow the manufacturer's instructions for the specific drain you have chosen.
6. Best Practices for Installing an Outdoor Kitchen Sink Drain
- Take your time and double-check all connections to avoid any leaks.
- Use a pipe wrench to tighten connections securely.
- Consider hiring a professional if you are unsure of your DIY skills or need help with more complex installations.


6. Best Practices for Installing an Outdoor Kitchen Sink Drain


To keep your outdoor kitchen sink drain running smoothly, it is essential to perform regular maintenance. Here are some tips to help you keep your drain in top condition:
- Use a drain strainer to catch any food particles and prevent clogging.
7. Outdoor Kitchen Sink Drain Maintenance Tips
- Avoid pouring grease or oil down the drain as it can solidify and cause blockages.
- Regularly clean the drain with a mixture of hot water and vinegar to prevent buildup.
- Inspect and clean the P-trap regularly to prevent any buildup or blockages.


7. Outdoor Kitchen Sink Drain Maintenance Tips


When selecting a drain for your outdoor kitchen sink, it is essential to consider both the design and functionality. For a more budget-friendly option, PVC drains are a practical choice. However, if you are looking for a more durable and stylish option, stainless steel or brass drains are worth the investment. Additionally, make sure to choose a drain with a size and style that complements your sink and outdoor kitchen.
8. Choosing the Right Drain for Your Outdoor Kitchen Sink


8. Choosing the Right Drain for Your Outdoor Kitchen Sink


While adding a drain to an outdoor kitchen sink may seem like a simple task, there are some common mistakes to avoid to ensure a successful installation. These include:
- Not properly securing the sink strainer, leading to leaks.
9. Common Mistakes to Avoid When Adding an Outdoor Kitchen Sink Drain
- Not using a plumber's putty to create a watertight seal.
- Not checking for proper water flow before finalizing the installation.
- Not taking the time to properly align and secure all connections.


9. Common Mistakes to Avoid When Adding an Outdoor Kitchen Sink Drain


Despite your best efforts, you may encounter some issues with your outdoor kitchen sink drain. Here are some common problems and how to troubleshoot them:
Problem: Slow draining sink.
In conclusion, adding a drain to your outdoor kitchen sink is a crucial step in creating a functional and hygienic outdoor cooking and entertaining space. By following the steps and tips outlined in this guide, you can ensure a successful and hassle-free installation. Remember to choose a suitable drain for your sink, perform regular maintenance, and avoid common mistakes to keep your outdoor kitchen sink drain in top condition.
10. Outdoor Kitchen Sink Drain Troubleshooting: Common Issues and Solutions
Solution: Use a plunger or a drain snake to clear any blockages.
Problem: Leaking connections.
Solution: Tighten all connections with a pipe wrench and use plumber's tape to create a watertight seal.
Problem: Unpleasant odors.
Solution: Pour a mixture of hot water and vinegar down the drain to clear any buildup and eliminate odors.


10. Outdoor Kitchen Sink Drain Troubleshooting: Common Issues and Solutions


Why You Should Consider Adding an Outdoor Kitchen Sink Drain to Your Home Design

A Functional and Convenient Addition
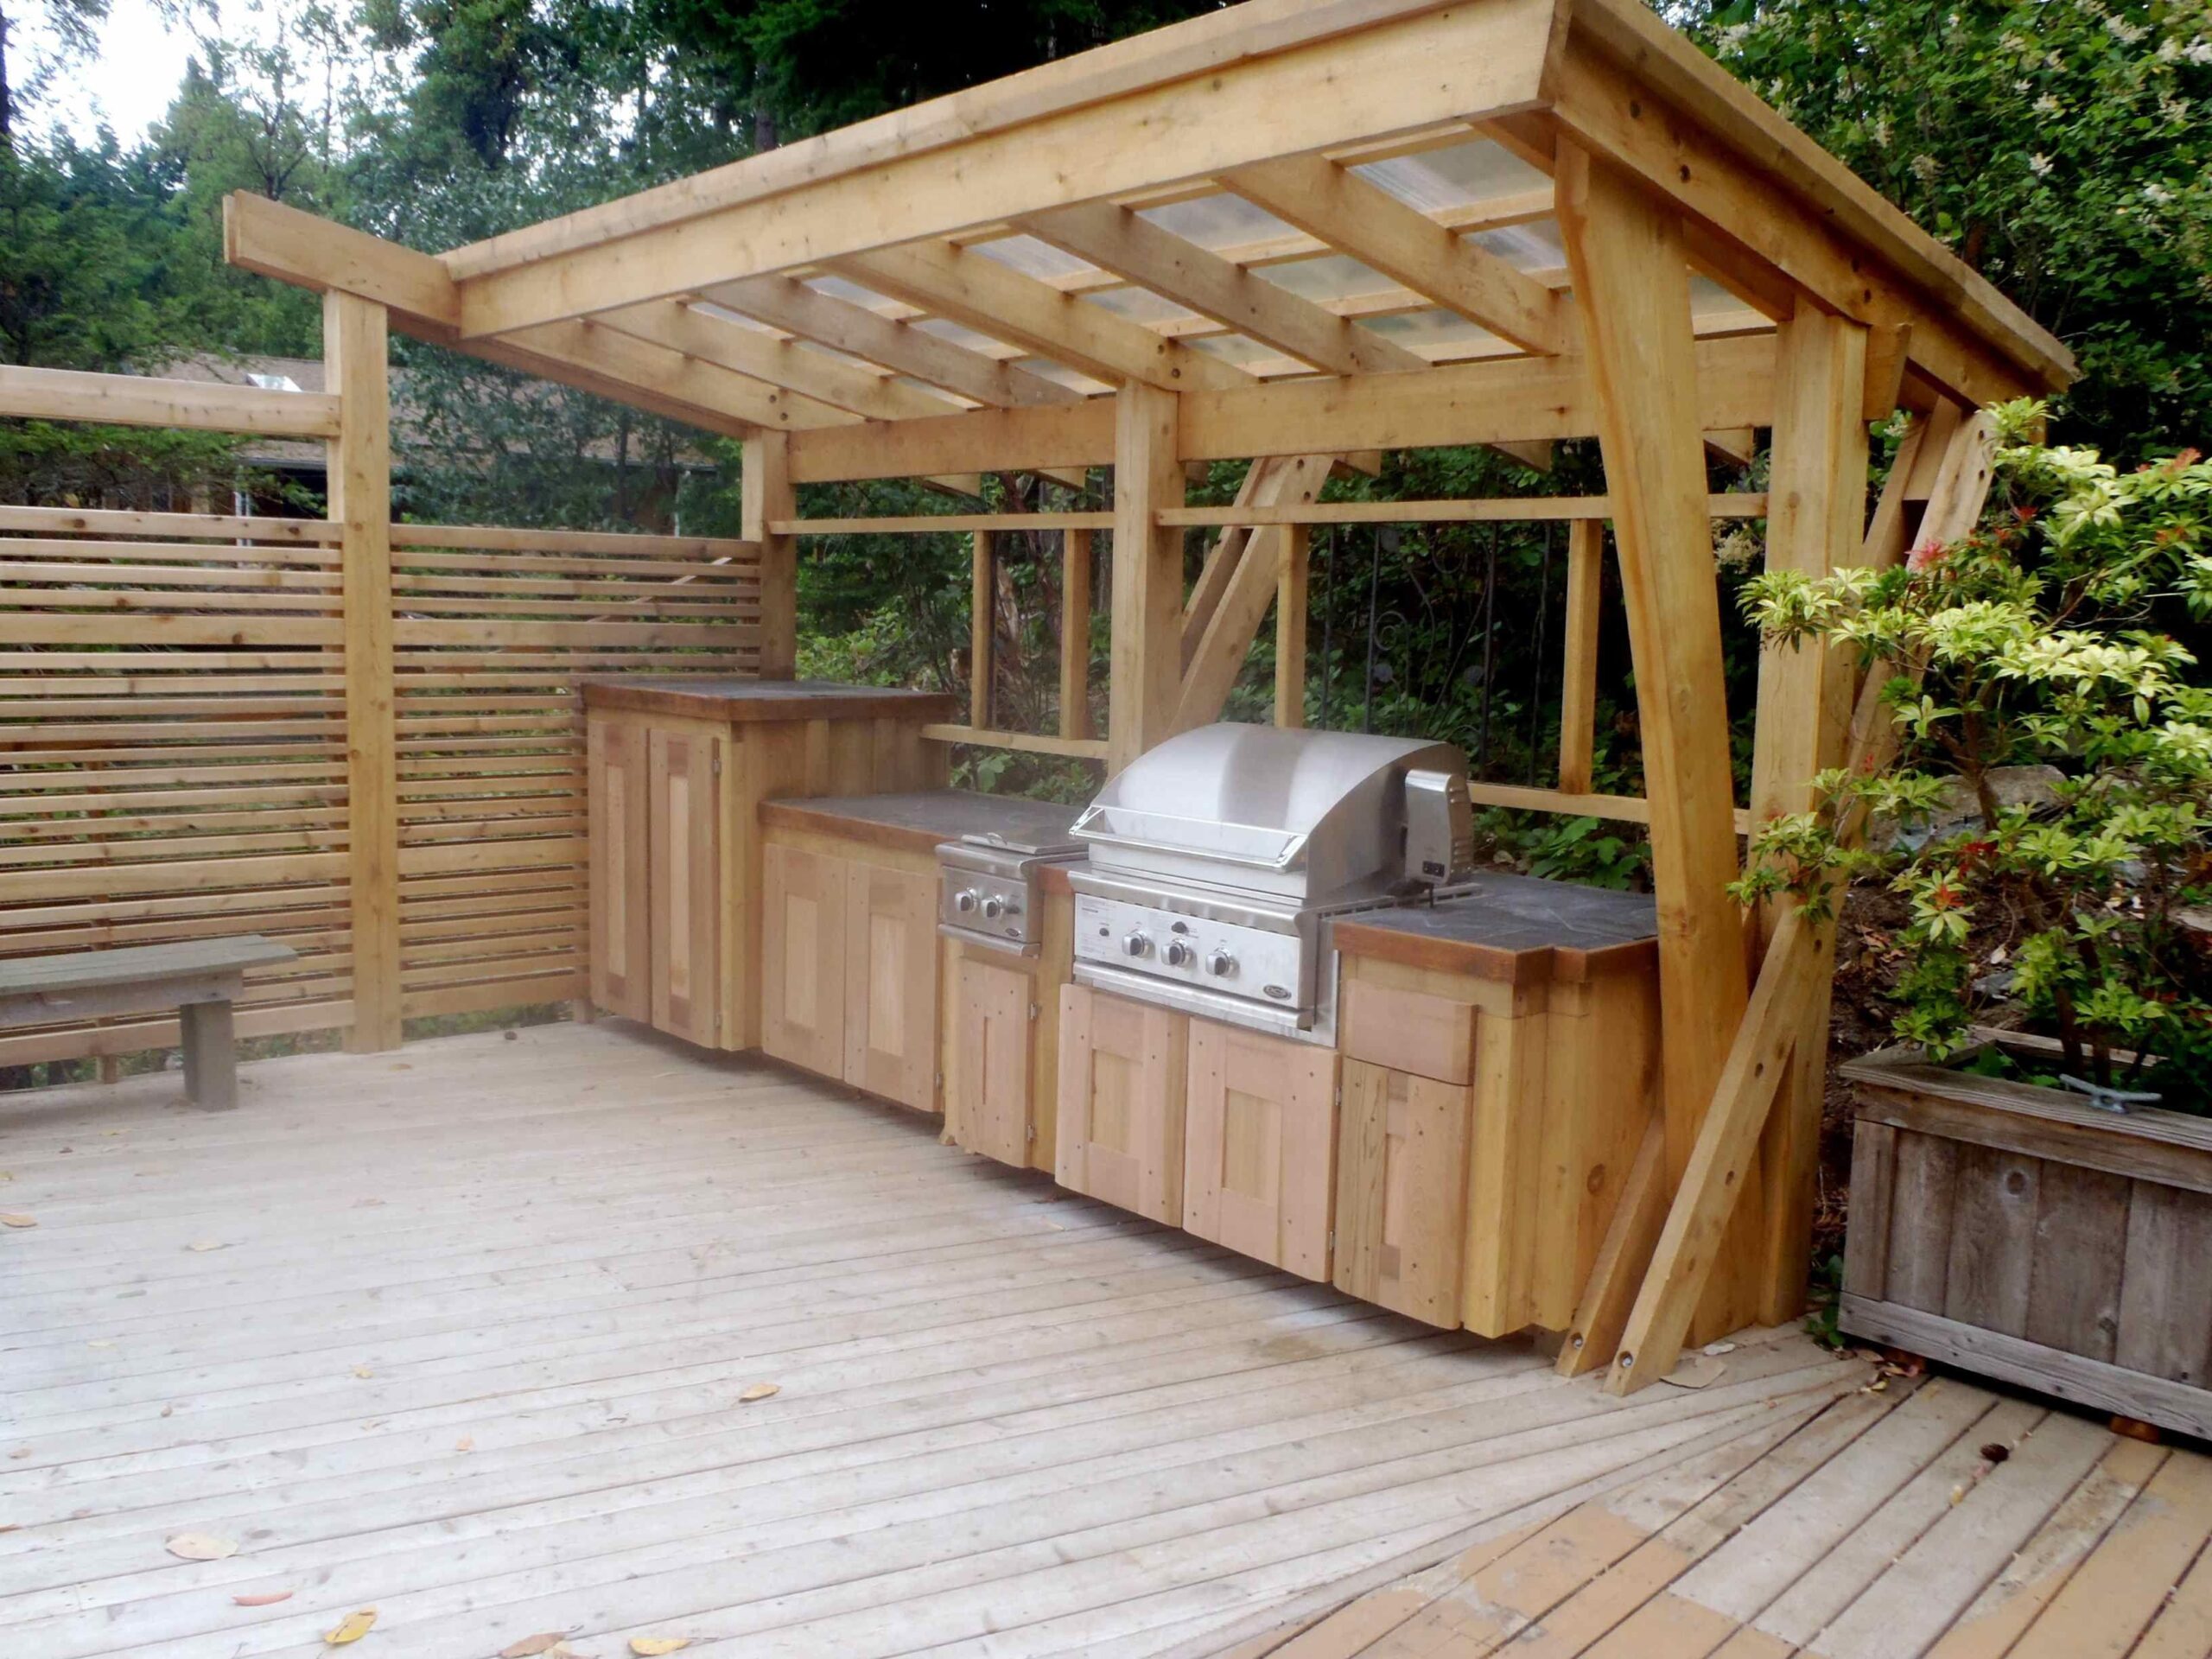
 When it comes to designing a dream outdoor kitchen, homeowners are often focused on creating a beautiful and functional space that is perfect for entertaining and cooking. However, one important element that is often overlooked is the outdoor kitchen sink drain. This essential feature not only adds convenience to your outdoor cooking and cleaning experience, but it also plays a crucial role in maintaining the overall functionality and hygiene of your outdoor kitchen.
Outdoor kitchen sink drains are designed specifically for outdoor use, meaning they are made to withstand harsh weather conditions and heavy use.
They are typically made with durable materials such as stainless steel or stone, making them resistant to rust and corrosion. This ensures that your outdoor sink will last for years to come, even in the face of rain, sun, and wind.
When it comes to designing a dream outdoor kitchen, homeowners are often focused on creating a beautiful and functional space that is perfect for entertaining and cooking. However, one important element that is often overlooked is the outdoor kitchen sink drain. This essential feature not only adds convenience to your outdoor cooking and cleaning experience, but it also plays a crucial role in maintaining the overall functionality and hygiene of your outdoor kitchen.
Outdoor kitchen sink drains are designed specifically for outdoor use, meaning they are made to withstand harsh weather conditions and heavy use.
They are typically made with durable materials such as stainless steel or stone, making them resistant to rust and corrosion. This ensures that your outdoor sink will last for years to come, even in the face of rain, sun, and wind.
Efficient Cleaning and Maintenance
 One of the main benefits of having an outdoor kitchen sink drain is the convenience it offers for cleaning and maintenance.
With an outdoor sink, you can easily wash and rinse off dirty dishes, utensils, and cooking equipment without having to go back and forth between your indoor and outdoor kitchens.
This not only saves time and effort, but it also keeps your indoor kitchen clean and free from the mess of outdoor cooking.
Additionally, outdoor kitchen sink drains come with built-in features that make cleaning and maintenance a breeze. For example, some models have a removable grate that helps catch food particles and debris, preventing clogs and making it easier to clean. Others have a built-in trash chute that allows you to easily dispose of food scraps and waste. These features not only make cleaning easier but also help keep your outdoor kitchen sink smelling fresh and clean.
One of the main benefits of having an outdoor kitchen sink drain is the convenience it offers for cleaning and maintenance.
With an outdoor sink, you can easily wash and rinse off dirty dishes, utensils, and cooking equipment without having to go back and forth between your indoor and outdoor kitchens.
This not only saves time and effort, but it also keeps your indoor kitchen clean and free from the mess of outdoor cooking.
Additionally, outdoor kitchen sink drains come with built-in features that make cleaning and maintenance a breeze. For example, some models have a removable grate that helps catch food particles and debris, preventing clogs and making it easier to clean. Others have a built-in trash chute that allows you to easily dispose of food scraps and waste. These features not only make cleaning easier but also help keep your outdoor kitchen sink smelling fresh and clean.
Aesthetically Pleasing Design
:max_bytes(150000):strip_icc()/how-to-install-a-sink-drain-2718789-hero-24e898006ed94c9593a2a268b57989a3.jpg) Aside from being functional and convenient, outdoor kitchen sink drains can also add to the overall aesthetic of your outdoor kitchen.
They come in a variety of styles and designs, allowing you to choose one that complements the design of your outdoor space.
You can opt for a sleek and modern look with a stainless steel sink, or go for a more natural and rustic feel with a stone sink. Some models even come with decorative features such as mosaic tiles or intricate designs on the faucet handles, adding a unique touch to your outdoor kitchen.
In conclusion, adding an outdoor kitchen sink drain to your home design is a practical and beneficial choice. It not only adds convenience and efficiency to your outdoor cooking and cleaning experience, but it also contributes to the overall functionality and aesthetic of your outdoor kitchen. So why not consider this essential feature when designing your dream outdoor kitchen?
Aside from being functional and convenient, outdoor kitchen sink drains can also add to the overall aesthetic of your outdoor kitchen.
They come in a variety of styles and designs, allowing you to choose one that complements the design of your outdoor space.
You can opt for a sleek and modern look with a stainless steel sink, or go for a more natural and rustic feel with a stone sink. Some models even come with decorative features such as mosaic tiles or intricate designs on the faucet handles, adding a unique touch to your outdoor kitchen.
In conclusion, adding an outdoor kitchen sink drain to your home design is a practical and beneficial choice. It not only adds convenience and efficiency to your outdoor cooking and cleaning experience, but it also contributes to the overall functionality and aesthetic of your outdoor kitchen. So why not consider this essential feature when designing your dream outdoor kitchen?