Are you tired of constantly lugging around heavy pots and pans to fill them up at the kitchen sink? Adding a sprayer to your kitchen sink can make your daily tasks much easier and efficient. Not only does it provide convenience, but it also adds a touch of modernity to your kitchen. In this guide, we will walk you through the steps of installing a sprayer on your kitchen sink.1. Install a Sprayer on a Kitchen Sink


1. Install a Sprayer on a Kitchen Sink


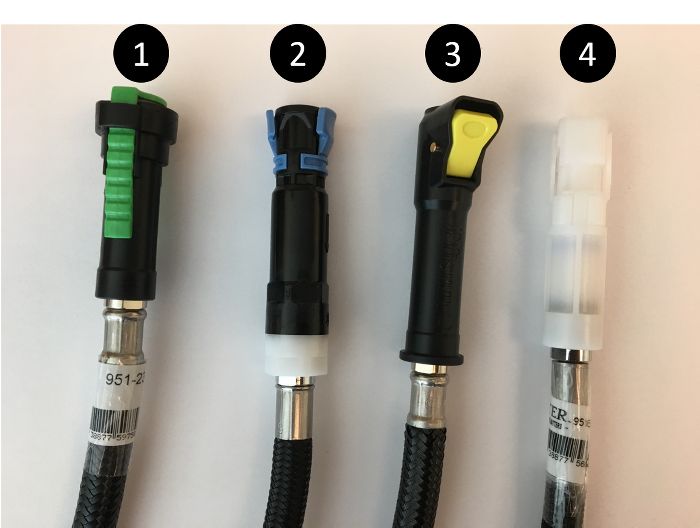


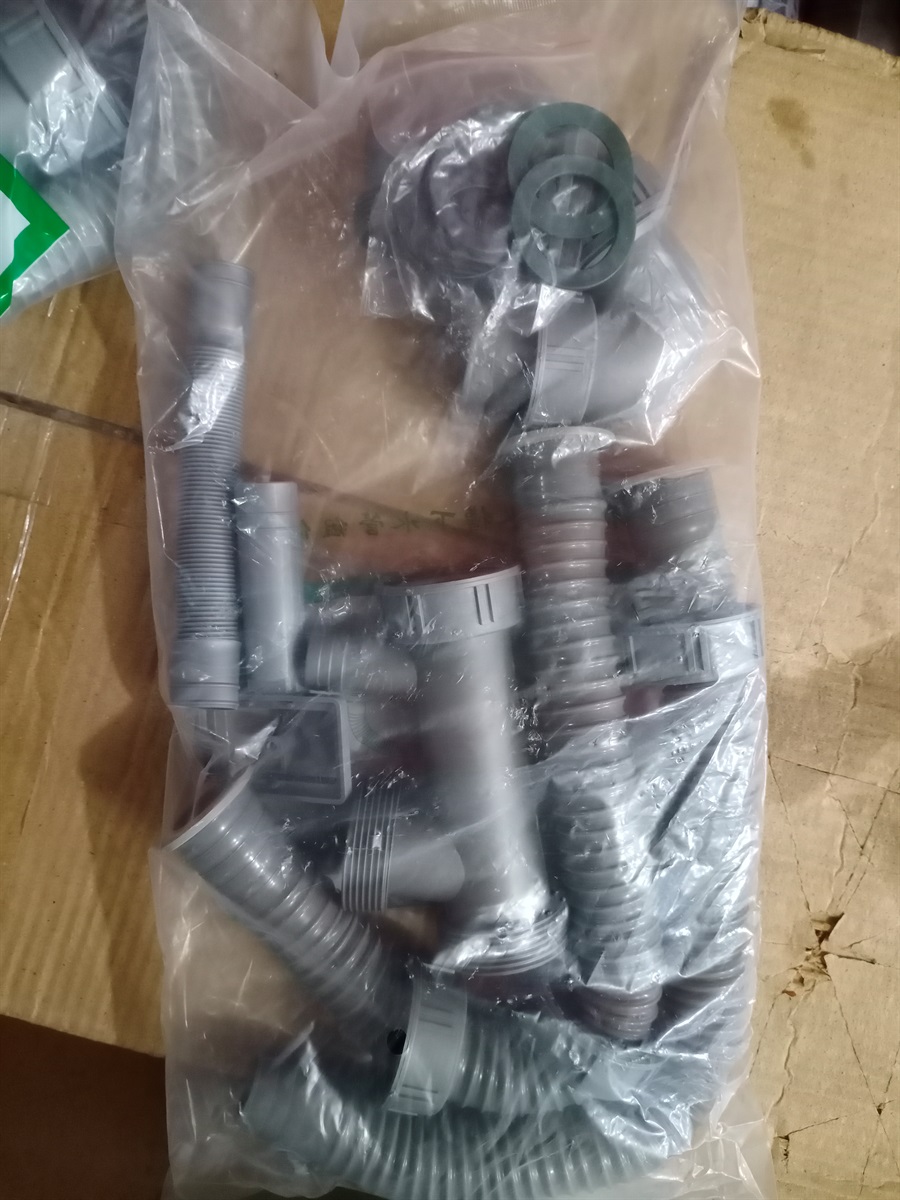
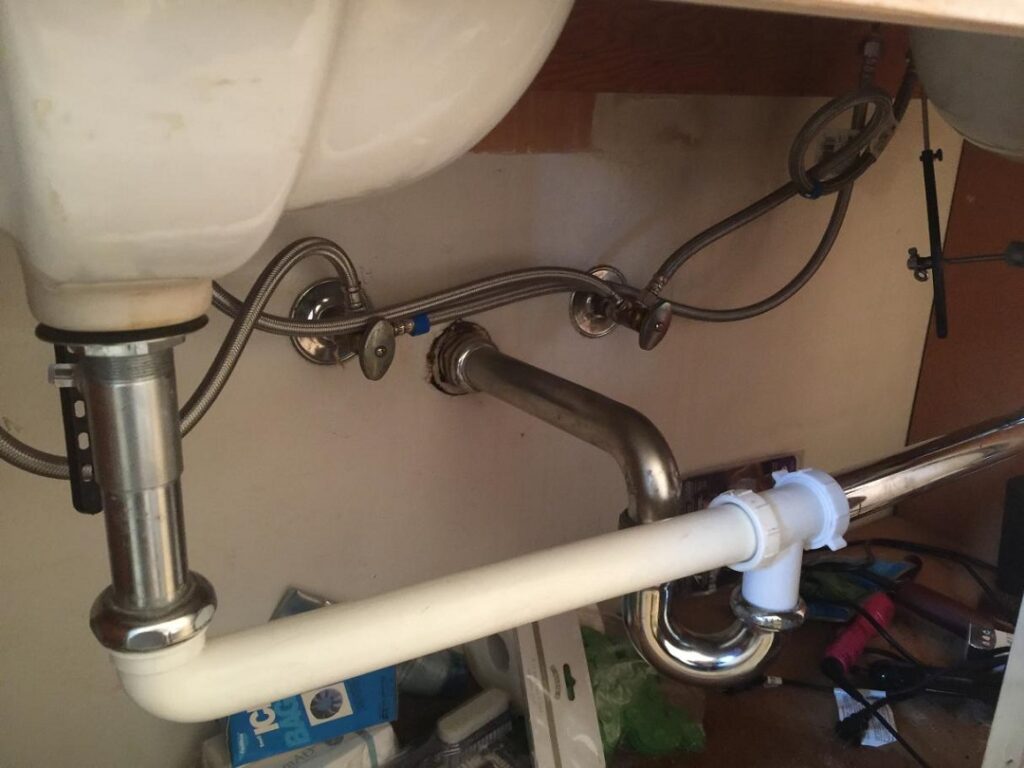
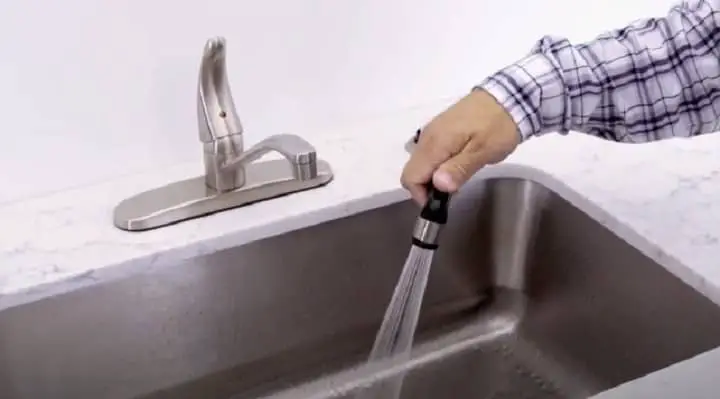
Adding a sprayer to your kitchen sink may seem like a daunting task, but with the right tools and instructions, it can be a simple DIY project. The first step is to gather all the necessary tools, including a sprayer kit, adjustable wrench, and plumber's tape. Once you have your tools ready, follow these steps: Step 1: Shut off the water supply by turning off the main valve. This is usually located under the sink or in the basement. Step 2: Remove the old faucet and sprayer if you have one. You can do this by using an adjustable wrench to loosen and remove the nuts and washers that hold the sprayer and faucet in place. Step 3: Prepare the sprayer kit by following the instructions provided. This may involve attaching a hose to the sprayer head and the other end to the water supply valve. Step 4: Install the sprayer base by inserting it into the hole in the sink and securing it with a mounting nut and washer. Step 5: Connect the sprayer hose to the water supply valve using plumber's tape to ensure a tight seal. Step 6: Turn on the water supply and test the sprayer to make sure it is working properly. Adjust the water pressure as needed.2. How to Add a Sprayer to Your Kitchen Sink


2. How to Add a Sprayer to Your Kitchen Sink

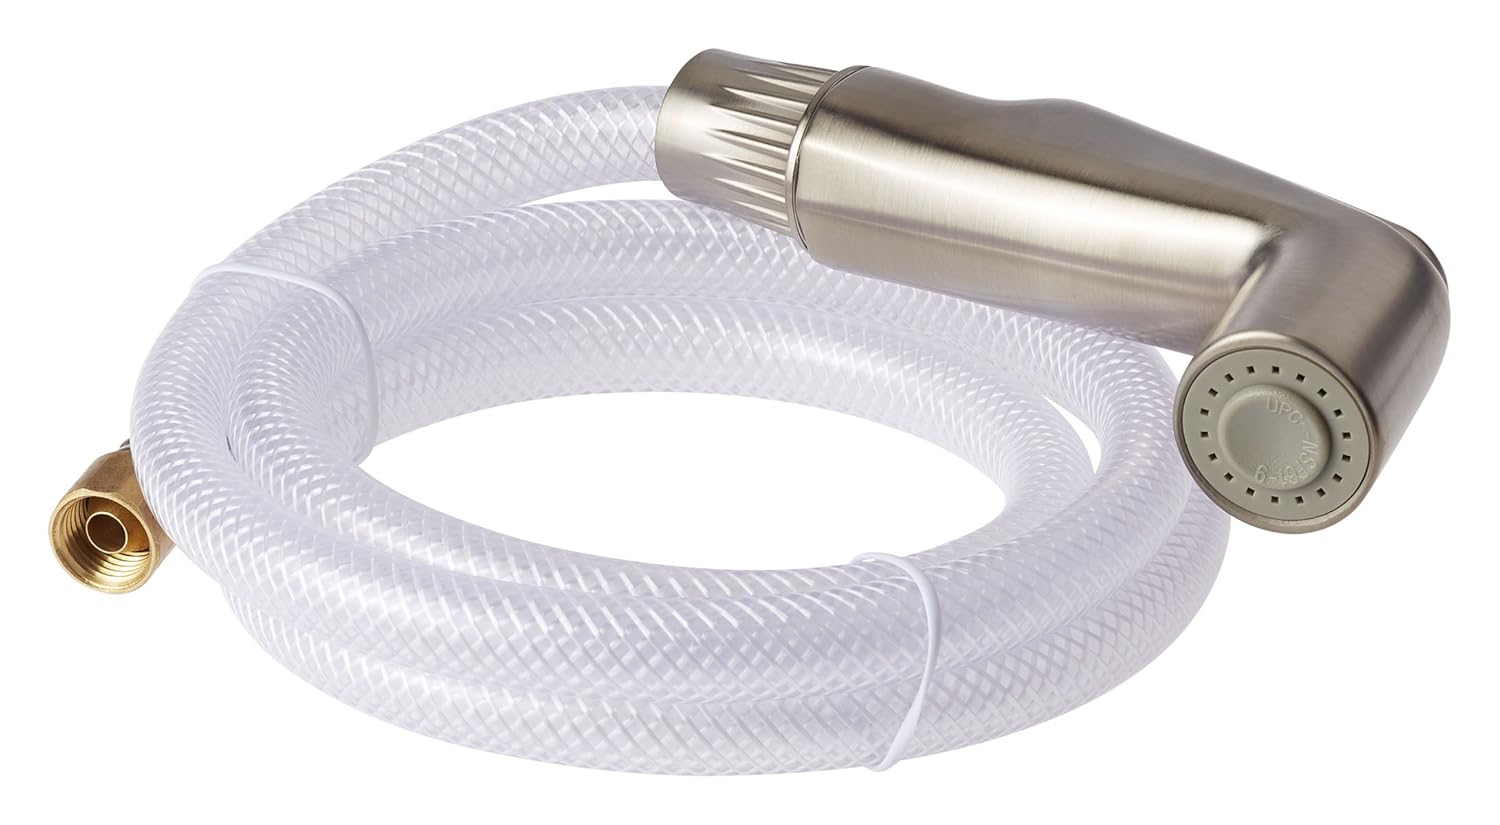
/installing-a-kitchen-sink-sprayer-2718817-hero-2b7047468d594da6be2494ba0eebb480.jpg)


Adding a sprayer to your kitchen sink is a simple DIY project that can be completed in just a few hours. Not only will it save you from constantly running back and forth to the sink, but it also adds functionality and style to your kitchen. Follow these steps to add a sprayer to your kitchen sink: Step 1: Gather all the necessary tools, including a sprayer kit, adjustable wrench, and plumber's tape. Step 2: Turn off the water supply by closing the main valve. Step 3: Remove the old faucet and sprayer if you have one. Use an adjustable wrench to loosen and remove the nuts and washers that hold them in place. Step 4: Assemble the sprayer kit according to the instructions provided. Step 5: Install the sprayer base by inserting it into the sink hole and securing it with a mounting nut and washer. Step 6: Connect the sprayer hose to the water supply valve using plumber's tape for a tight seal. Step 7: Turn on the water supply and test the sprayer to make sure it is working properly. Adjust the water pressure as needed.3. DIY: Adding a Sprayer to Your Kitchen Sink


3. DIY: Adding a Sprayer to Your Kitchen Sink

Adding a sprayer to your kitchen sink may seem like a complicated task, but with a step-by-step guide, it can be a simple and easy DIY project. Follow these steps to install a sprayer on your kitchen sink: Step 1: Start by gathering all the necessary tools, including a sprayer kit, adjustable wrench, and plumber's tape. Step 2: Turn off the water supply by closing the main valve. Step 3: Remove the old faucet and sprayer if you have one. Use an adjustable wrench to loosen and remove the nuts and washers that hold them in place. Step 4: Prepare the sprayer kit according to the instructions provided. Step 5: Install the sprayer base by inserting it into the sink hole and securing it with a mounting nut and washer. Step 6: Connect the sprayer hose to the water supply valve using plumber's tape. Step 7: Turn on the water supply and test the sprayer to ensure it is working properly. Adjust the water pressure as needed.4. Step-by-Step Guide to Adding a Sprayer to Your Kitchen Sink


4. Step-by-Step Guide to Adding a Sprayer to Your Kitchen Sink


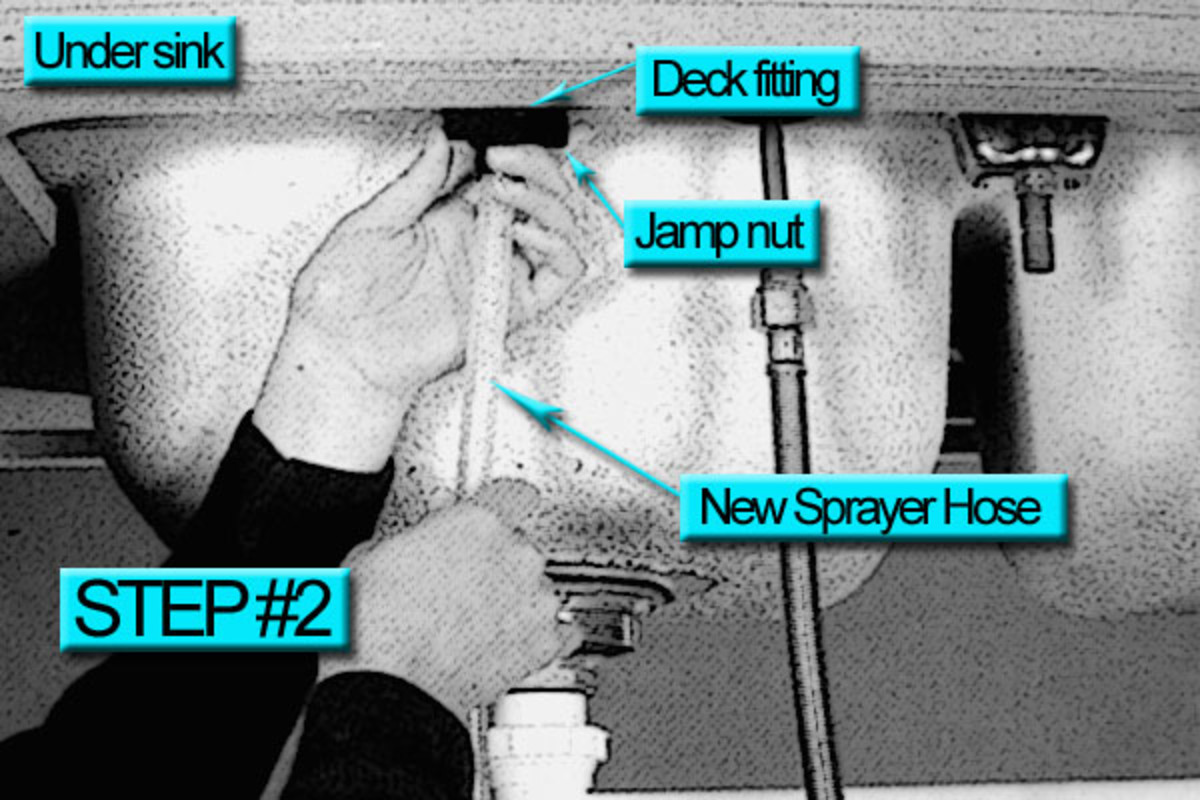
Adding a sprayer to your kitchen sink is a great way to upgrade your kitchen and make everyday tasks easier. With just a few simple steps, you can have a functional and stylish sprayer in your kitchen. Here are the steps to follow: Step 1: Gather all the necessary tools, including a sprayer kit, adjustable wrench, and plumber's tape. Step 2: Turn off the water supply by closing the main valve. Step 3: Remove the old faucet and sprayer if you have one. Use an adjustable wrench to loosen and remove the nuts and washers that hold them in place. Step 4: Assemble the sprayer kit according to the instructions provided. Step 5: Install the sprayer base by inserting it into the sink hole and securing it with a mounting nut and washer. Step 6: Connect the sprayer hose to the water supply valve using plumber's tape for a tight seal. Step 7: Turn on the water supply and test the sprayer to make sure it is working properly. Adjust the water pressure as needed.5. Upgrading Your Kitchen Sink: Adding a Sprayer


5. Upgrading Your Kitchen Sink: Adding a Sprayer


There are many benefits to adding a sprayer to your kitchen sink. Not only does it provide convenience, but it also adds functionality and style to your kitchen. Here are some of the top benefits of installing a sprayer on your kitchen sink: Convenience: With a sprayer, you no longer have to carry heavy pots and pans to the sink to fill them up. This makes your daily tasks much easier and efficient. Efficiency: A sprayer allows you to control the water flow, making it easier to wash dishes and clean the sink. Style: Adding a sprayer to your kitchen sink can give it a modern and updated look.6. The Benefits of Adding a Sprayer to Your Kitchen Sink


6. The Benefits of Adding a Sprayer to Your Kitchen Sink

When it comes to choosing a sprayer for your kitchen sink, there are a few things to consider. Here are some tips to help you choose the right sprayer: Style: Consider the style of your kitchen and choose a sprayer that complements it. There are various styles available, such as pull-down, pull-out, and side spray. Material: Look for a sprayer made of durable materials such as stainless steel or brass to ensure longevity. Water Pressure: Make sure to choose a sprayer that can handle your water pressure to prevent any issues in the future.7. Choosing the Right Sprayer for Your Kitchen Sink

7. Choosing the Right Sprayer for Your Kitchen Sink

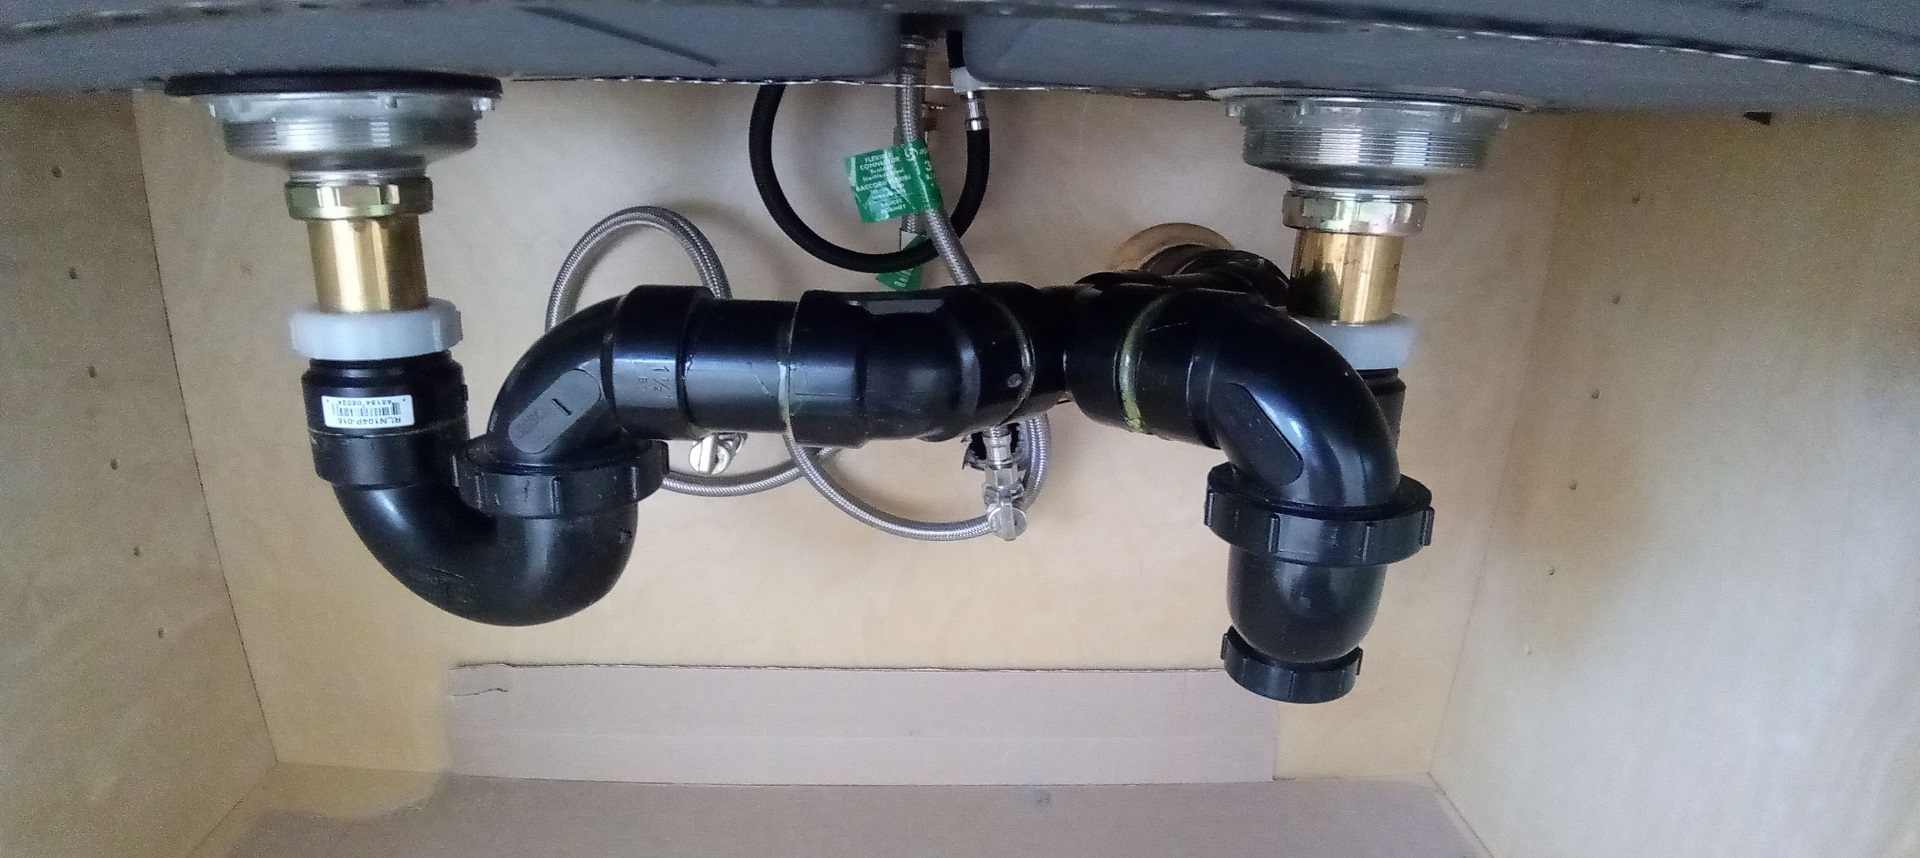
If you have a double kitchen sink, you may be wondering how to add a sprayer to it. The process is similar to adding a sprayer to a single sink, with a few additional steps. Here is how you can add a sprayer to a double kitchen sink: Step 1: Gather all the necessary tools, including a sprayer kit, adjustable wrench, and plumber's tape. Step 2: Turn off the water supply by closing the main valve. Step 3: Remove the old faucet and sprayer if you have one. Use an adjustable wrench to loosen and remove the nuts and washers that hold them in place. Step 4: Prepare the sprayer kit according to the instructions provided. Step 5: Install the sprayer base by inserting it into the sink hole and securing it with a mounting nut and washer. Step 6: Connect the sprayer hose to the water supply valve using plumber's tape for a tight seal. Step 7: Install a T-valve under the sink to connect both the sprayer and the faucet to the water supply. Step 8: Turn on the water supply and test the sprayer to make sure it is working properly. Adjust the water pressure as needed.8. How to Add a Sprayer to a Double Kitchen Sink


8. How to Add a Sprayer to a Double Kitchen Sink


A farmhouse kitchen sink has a unique design that may require some additional steps when adding a sprayer. Here is how you can add a sprayer to a farmhouse kitchen sink: Step 1: Gather all the necessary tools, including a sprayer kit, adjustable wrench, and plumber's tape. Step 2: Turn off the water supply by closing the main valve. Step 3: Remove the old faucet and sprayer if you have one. Use an adjustable wrench to loosen and remove the nuts and washers that hold them in place. Step 4: Attach a hose to the sprayer head and the other end to the water supply valve. Step 5: Install the sprayer base by inserting it into the sink hole and securing it with a mounting nut and washer. Step 6: Connect the sprayer hose to the water supply valve using plumber's tape for a tight seal. Step 7: Turn on the water supply and test the sprayer to make sure it is working properly. Adjust the water pressure as needed.9. Adding a Sprayer to a Farmhouse Kitchen Sink


9. Adding a Sprayer to a Farmhouse Kitchen Sink


Before you start installing a sprayer on your kitchen sink, here are some helpful tips to keep in mind: Tip 1: Make sure to shut off the water supply before starting the installation process. Tip 2: Use plumber's tape to ensure a tight seal and prevent any leaks. Tip 3: Read the instructions carefully before assembling the sprayer kit. Tip 4: Test the sprayer after installation to ensure it is working properly and adjust the water pressure if needed. With these tips and steps, you can easily add a sprayer to your kitchen sink and enjoy the convenience and functionality it provides. Upgrade your kitchen and make your daily tasks easier by following this guide. Happy installing!10. Tips for Installing a Sprayer on Your Kitchen Sink
10. Tips for Installing a Sprayer on Your Kitchen Sink

Why You Should Add a Sprayer to Your Kitchen Sink
Efficient Cleaning
 Adding a
sprayer
to your kitchen sink can greatly improve the efficiency of your cleaning routine. With a high-pressure
spray
nozzle, you can easily clean dishes, pots, and pans with tough, stuck-on food. This is especially helpful for those who have a busy lifestyle and need to quickly clean up after meals.
Adding a
sprayer
to your kitchen sink can greatly improve the efficiency of your cleaning routine. With a high-pressure
spray
nozzle, you can easily clean dishes, pots, and pans with tough, stuck-on food. This is especially helpful for those who have a busy lifestyle and need to quickly clean up after meals.
Convenient Features
 A
kitchen sink sprayer
offers many convenient features that traditional faucets do not. Most sprayers have a retractable
hose
that can be easily pulled out and extended to reach all areas of the sink. This allows for easier rinsing and filling of large pots and pans, eliminating the need to carry them to the faucet.
A
kitchen sink sprayer
offers many convenient features that traditional faucets do not. Most sprayers have a retractable
hose
that can be easily pulled out and extended to reach all areas of the sink. This allows for easier rinsing and filling of large pots and pans, eliminating the need to carry them to the faucet.
Multi-Purpose Use
 Not only does a
sprayer
make cleaning dishes easier, but it also has many other uses. You can use it to water plants, fill up buckets or vases, and even give your pet a bath. This versatility makes it a valuable addition to any kitchen, providing convenience and functionality.
Not only does a
sprayer
make cleaning dishes easier, but it also has many other uses. You can use it to water plants, fill up buckets or vases, and even give your pet a bath. This versatility makes it a valuable addition to any kitchen, providing convenience and functionality.
Modern and Stylish Design
 Aside from its practical uses, a
kitchen sink sprayer
can also add a touch of modern and stylish design to your kitchen. With sleek and compact designs, sprayers can complement any kitchen style, from traditional to contemporary. Plus, they are available in various finishes and materials to match your existing kitchen fixtures.
Aside from its practical uses, a
kitchen sink sprayer
can also add a touch of modern and stylish design to your kitchen. With sleek and compact designs, sprayers can complement any kitchen style, from traditional to contemporary. Plus, they are available in various finishes and materials to match your existing kitchen fixtures.
Easy Installation
 Adding a
sprayer
to your kitchen sink is a simple and straightforward process. Most sprayers come with easy-to-follow instructions and can be installed without the need for a plumber. This cost-effective upgrade can instantly enhance the functionality and appearance of your kitchen.
In conclusion, adding a
sprayer
to your kitchen sink is a practical and beneficial addition to your home. It offers efficient cleaning, convenient features, multi-purpose use, modern design, and easy installation. Upgrade your kitchen today and experience the convenience and functionality of a
kitchen sink sprayer
.
Adding a
sprayer
to your kitchen sink is a simple and straightforward process. Most sprayers come with easy-to-follow instructions and can be installed without the need for a plumber. This cost-effective upgrade can instantly enhance the functionality and appearance of your kitchen.
In conclusion, adding a
sprayer
to your kitchen sink is a practical and beneficial addition to your home. It offers efficient cleaning, convenient features, multi-purpose use, modern design, and easy installation. Upgrade your kitchen today and experience the convenience and functionality of a
kitchen sink sprayer
.