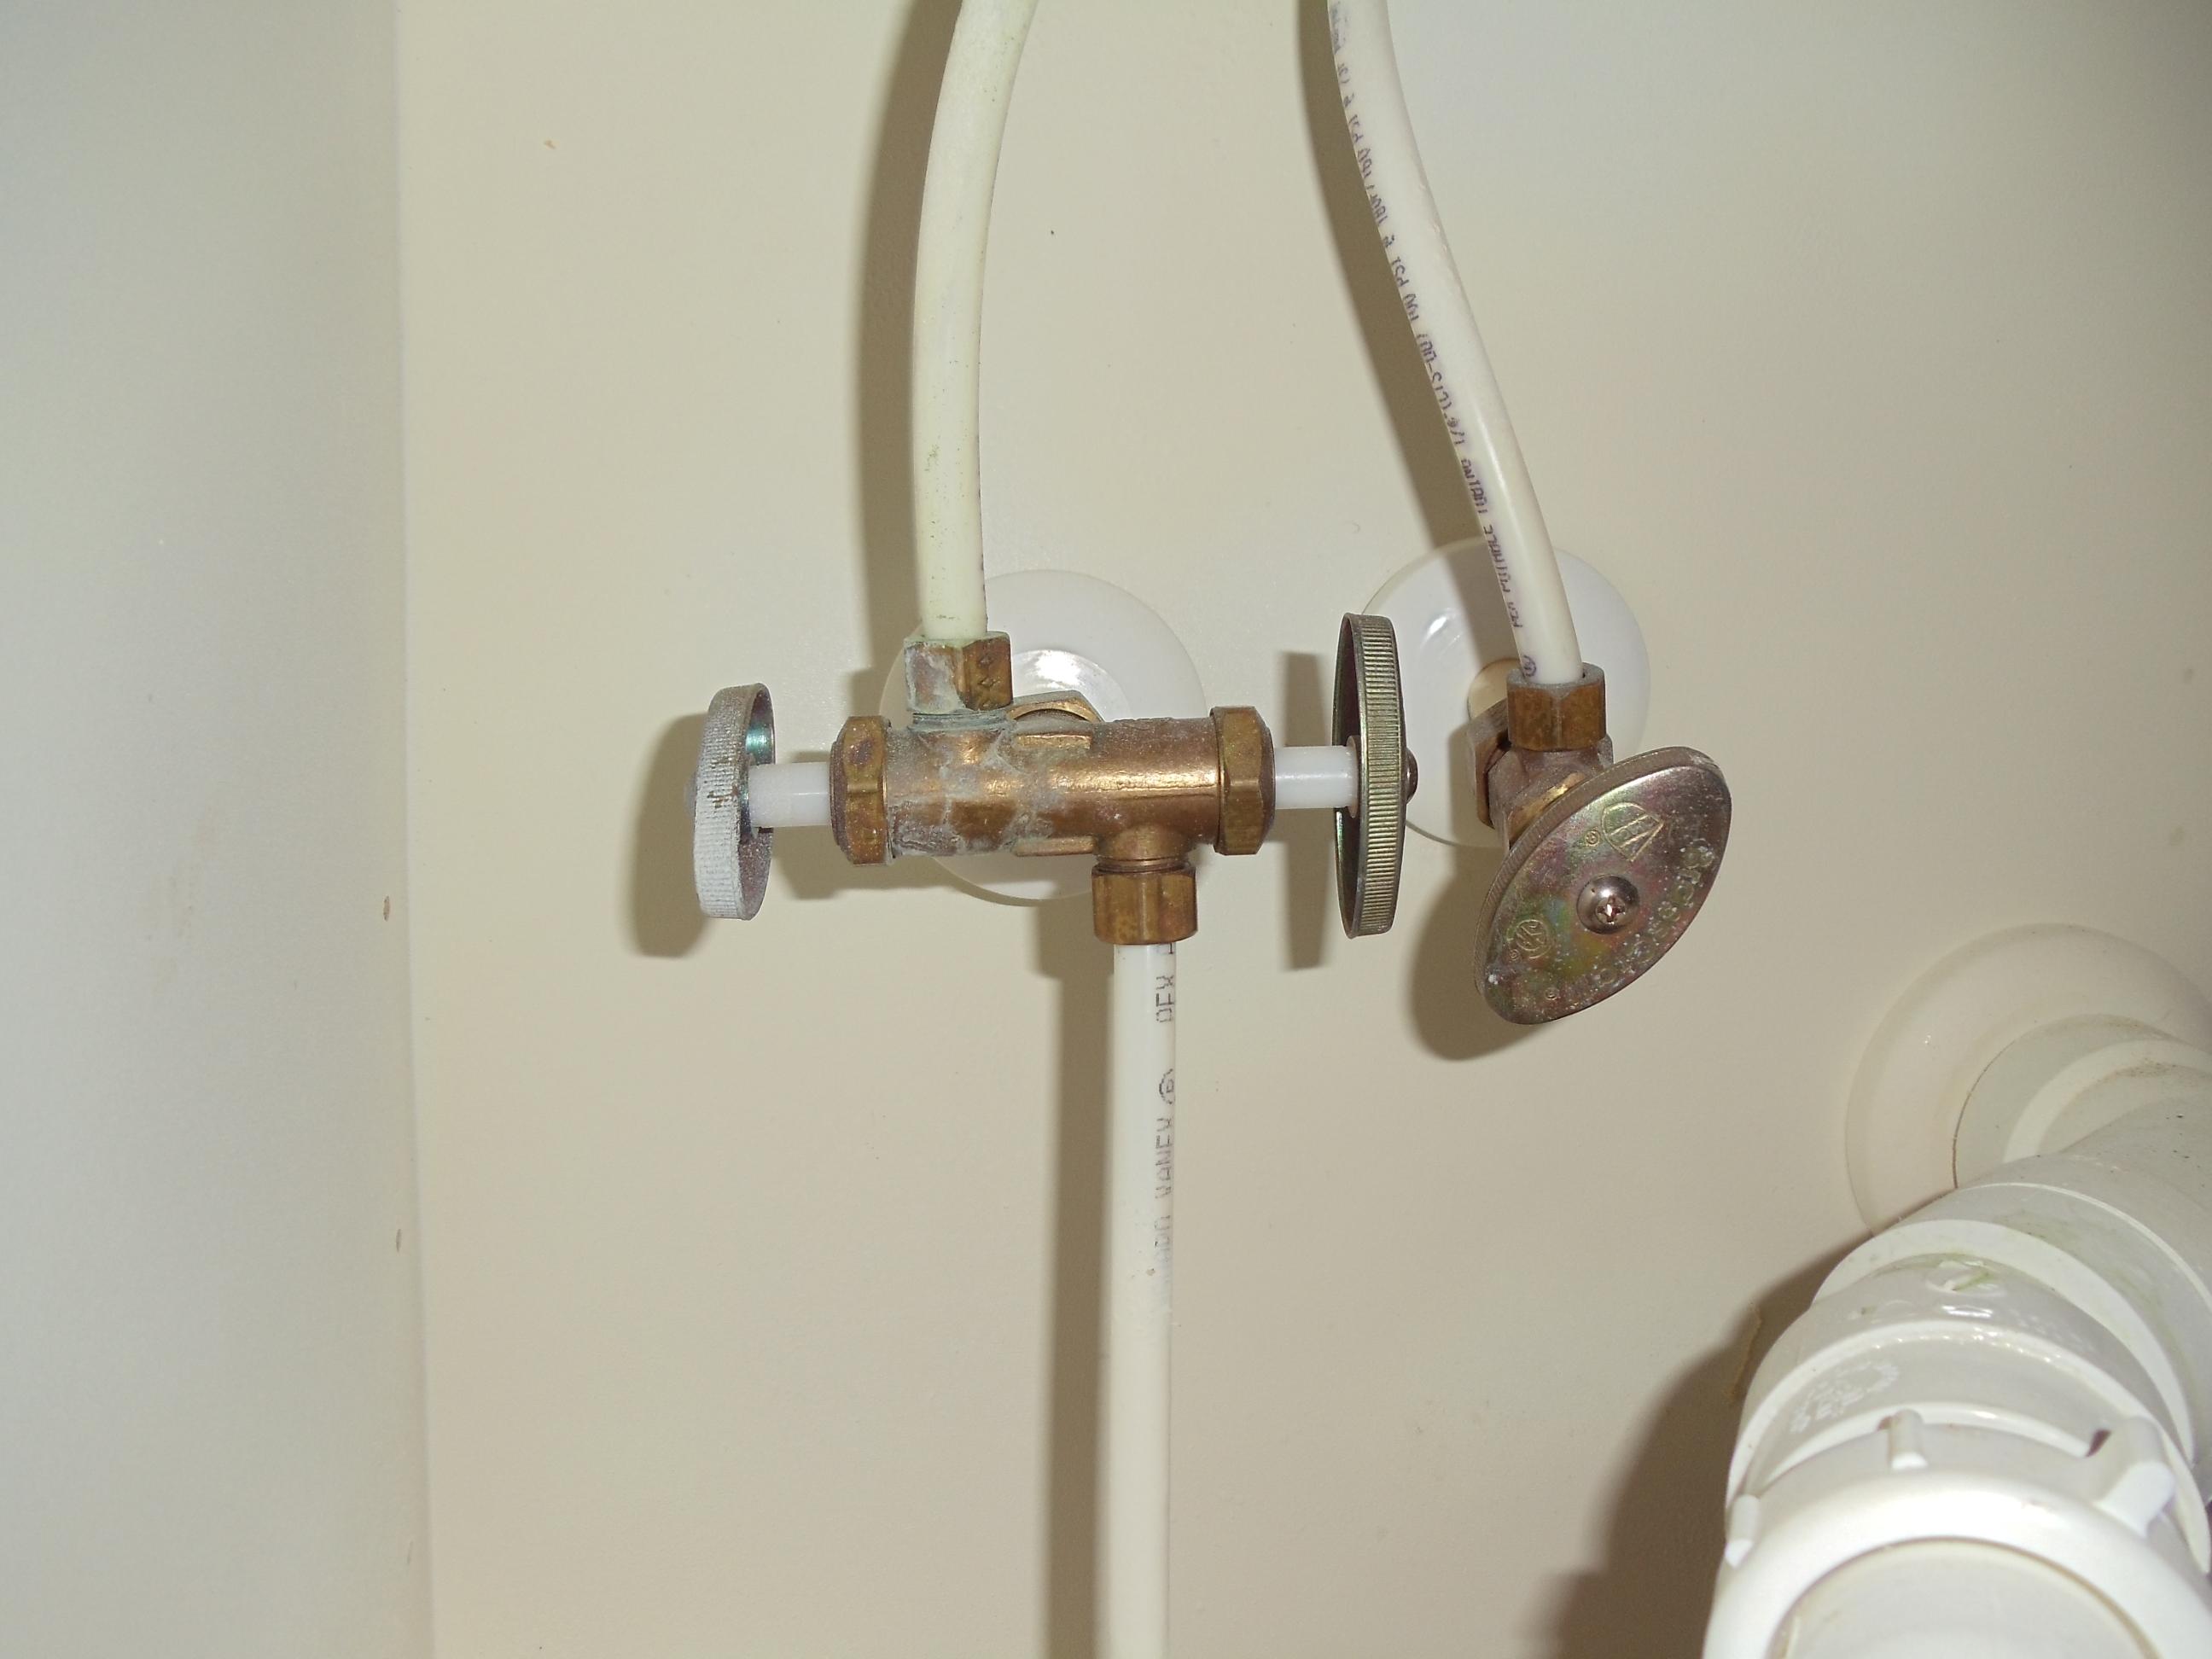
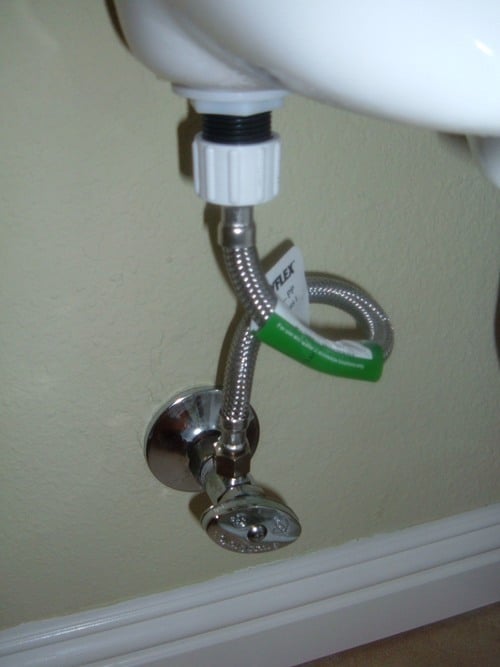
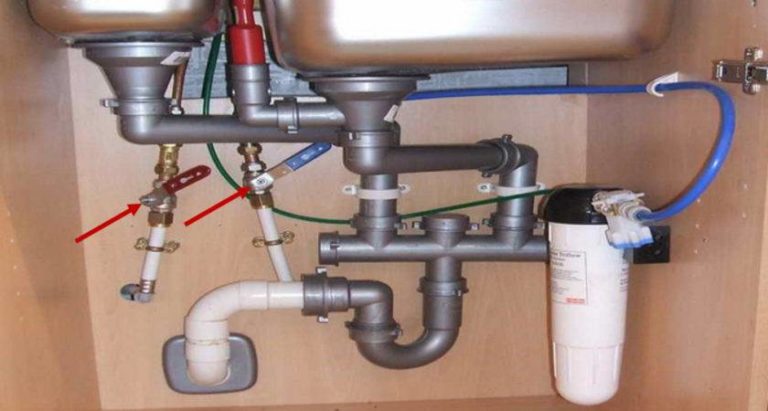
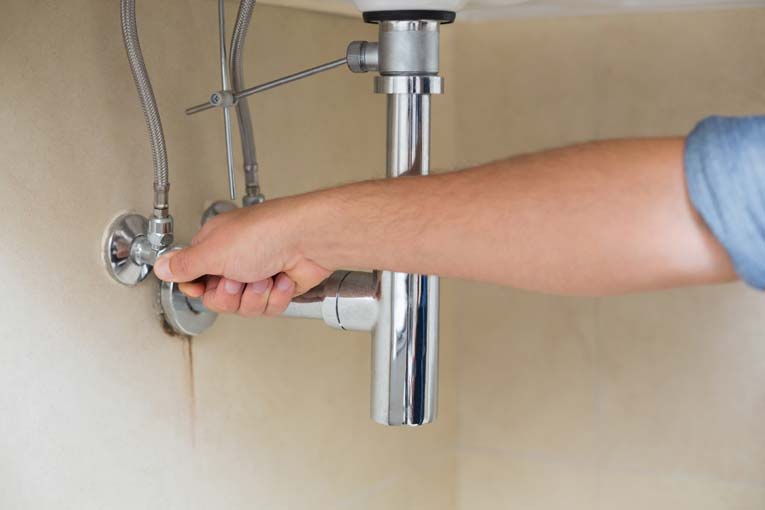
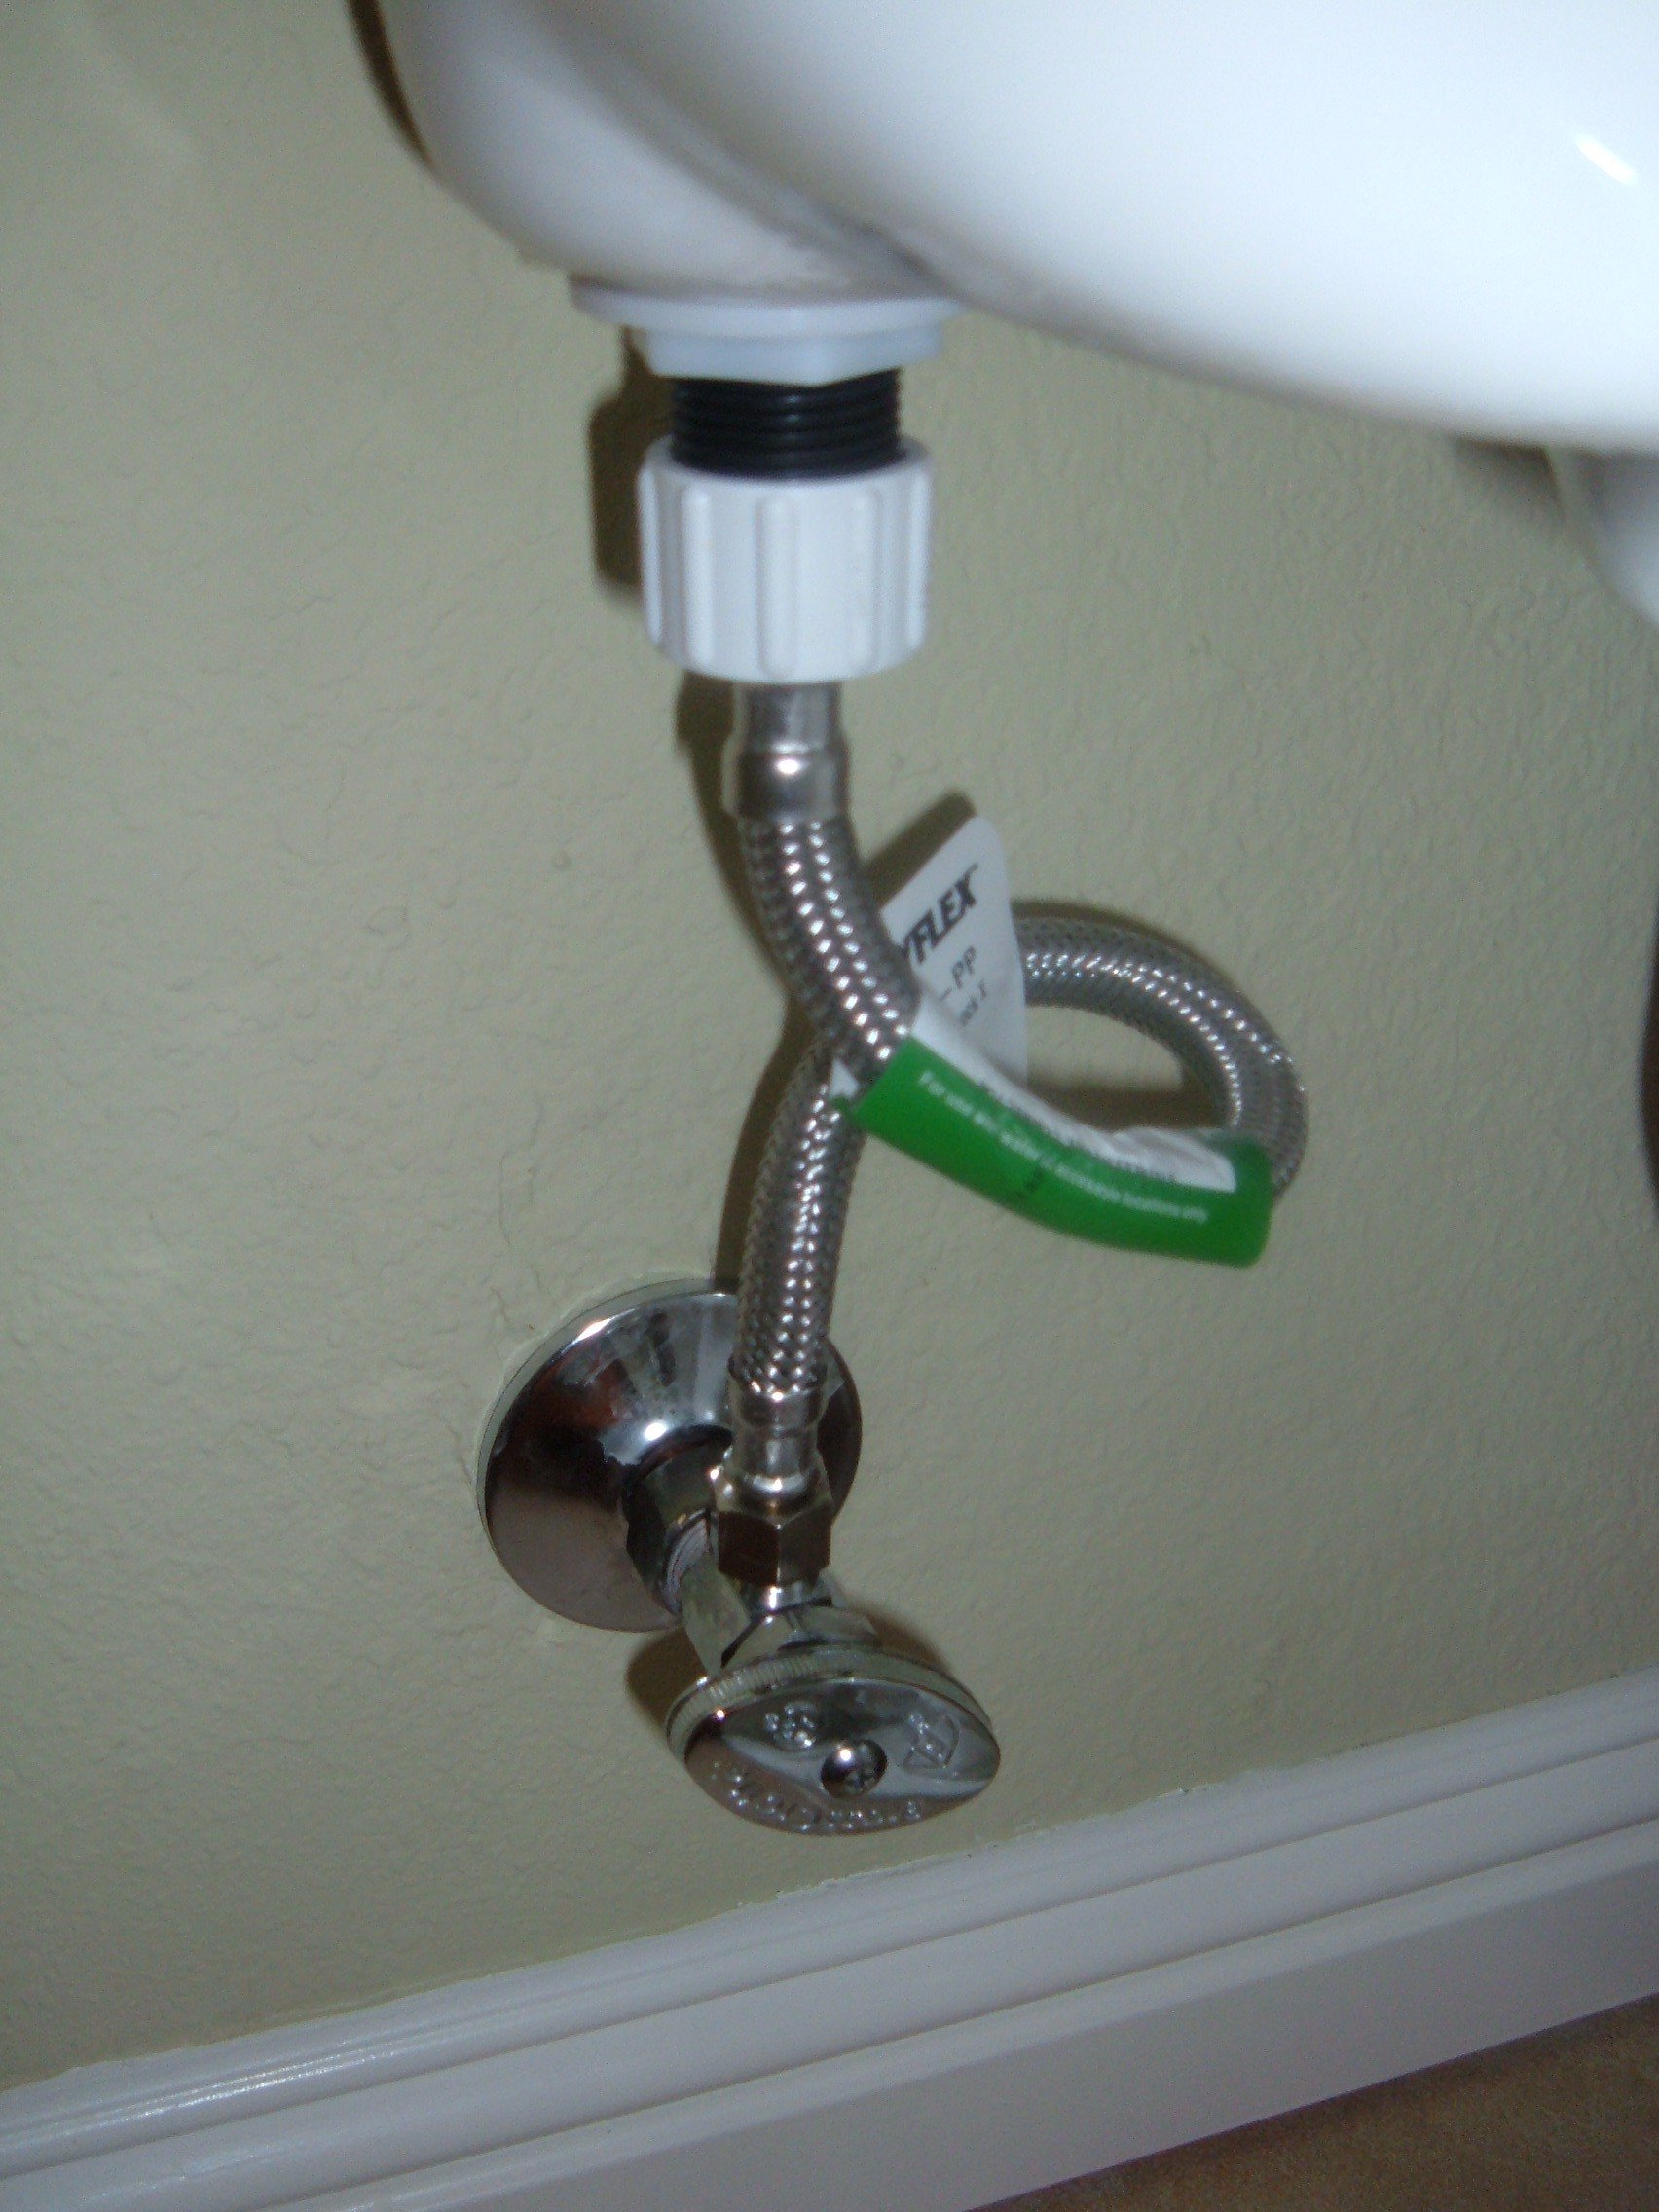
The water valve under your kitchen sink is an important component of your plumbing system, as it controls the flow of water to your sink. In case of a leak or emergency, it's crucial to know how to locate and turn off this valve. Here's a simple step-by-step guide to help you do just that. To start, look under your kitchen sink for a small valve that is connected to the water supply line. This valve may be a knob or a lever, depending on the type of valve you have. Once you've located it, turn the valve clockwise to shut off the water supply to your sink. It's always a good idea to familiarize yourself with the location and function of this valve, so you can quickly turn off the water supply in case of a plumbing emergency.1. How to Locate and Turn Off the Water Valve Under Your Kitchen Sink
If your kitchen sink water valve is old or damaged, it may need to be replaced. Here's a step-by-step guide to help you do this task yourself: Step 1: Turn off the water supply to your sink by closing the valve under your sink, as mentioned in the previous heading. Step 2: Disconnect the water supply line from the valve using a wrench or pliers. Step 3: Remove the old valve by unscrewing it from the water supply line. Step 4: Install the new valve by screwing it onto the water supply line and tightening it with a wrench or pliers. Step 5: Reconnect the water supply line to the new valve and turn the water supply back on. Replacing a kitchen sink water valve is a simple task that can save you from potential leaks and damage. However, if you're not confident in your DIY skills, it's always best to call a professional plumber.2. Step-by-Step Guide to Replacing a Kitchen Sink Water Valve
Kitchen sink water valves can experience various problems over time, leading to leaks or malfunctions. Here are some common issues you may encounter and how to fix them: Leaking valve: A leaking valve is usually caused by worn out or damaged seals. To fix this, you can try tightening the valve with a wrench or replacing the seals. Difficulty turning off valve: If your valve is difficult to turn off, it may be due to corrosion or buildup. Try cleaning the valve with a mixture of vinegar and water to remove any buildup that may be causing the issue. Valve not shutting off completely: This can be caused by a faulty valve or debris blocking the valve. In this case, you may need to replace the valve or clean it thoroughly to remove any debris. It's essential to address these problems as soon as you notice them to prevent further damage and ensure the proper functioning of your kitchen sink water valve.3. Common Problems with Kitchen Sink Water Valves and How to Fix Them
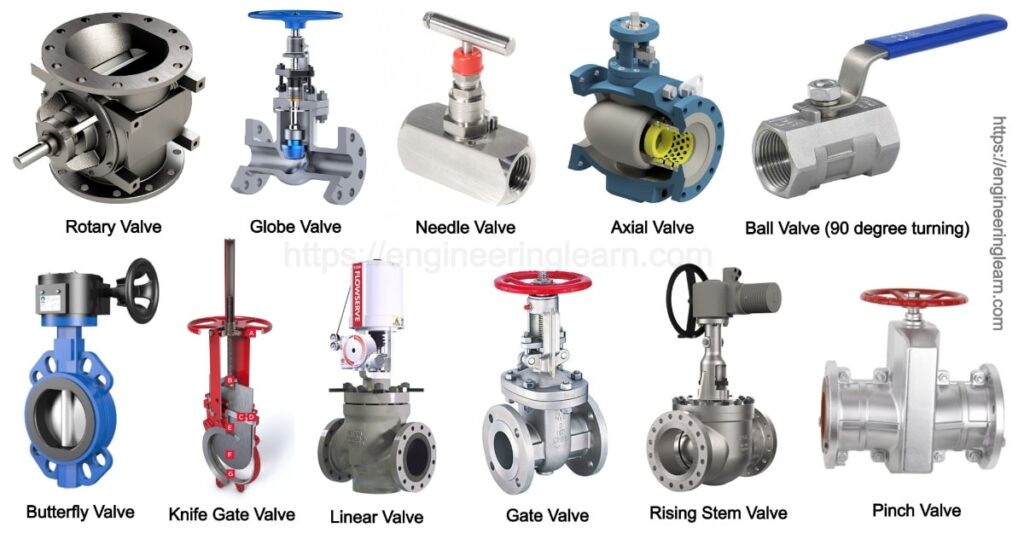
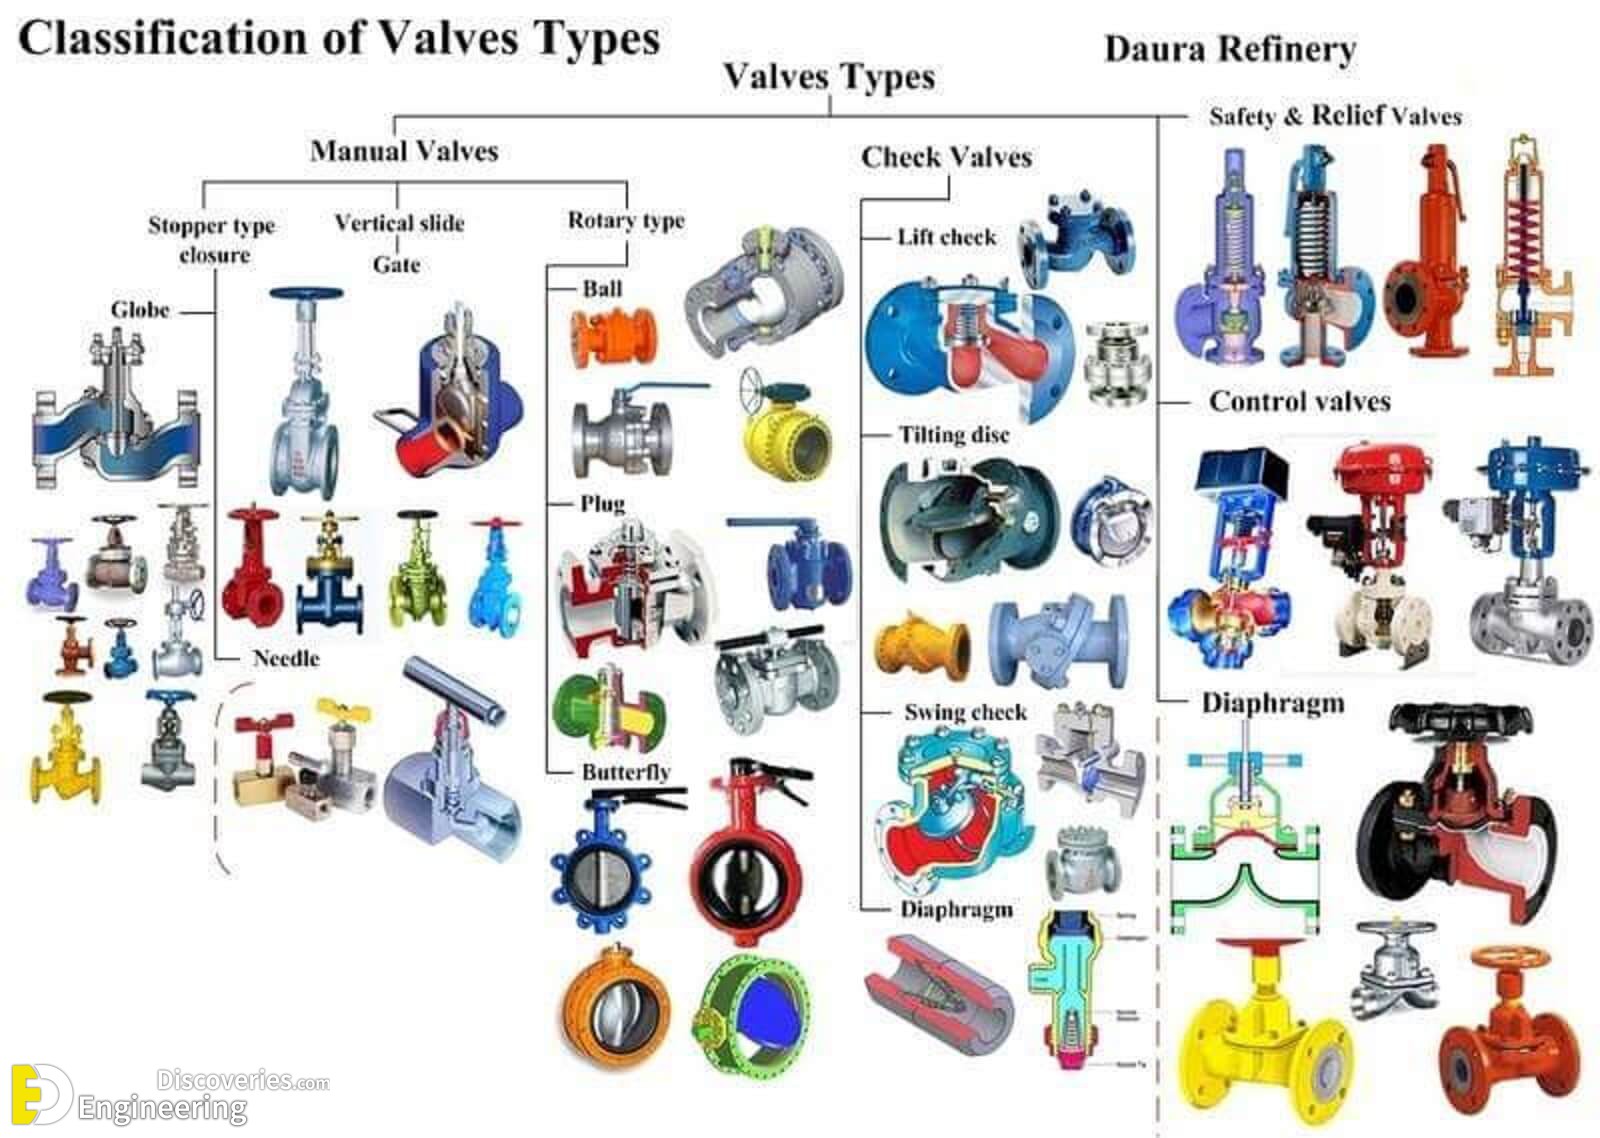
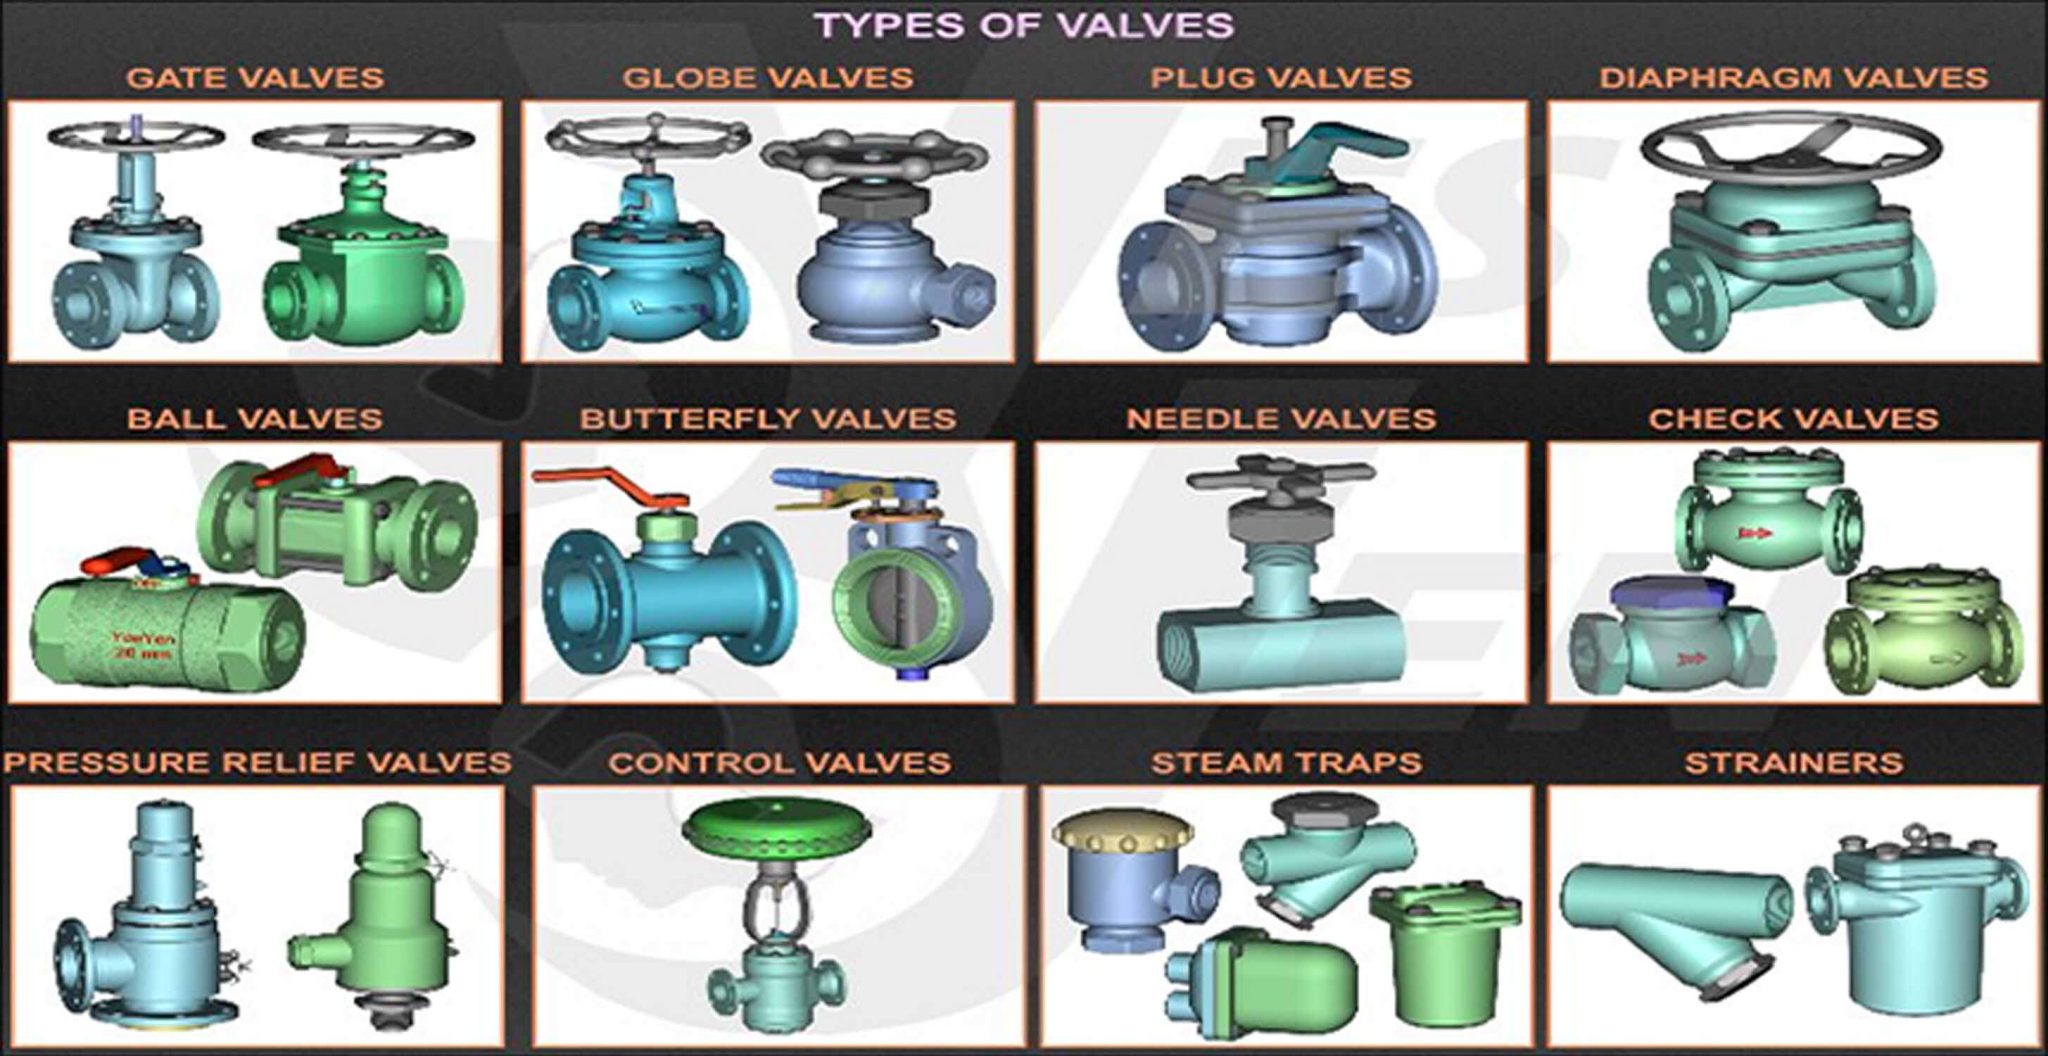
There are several types of water valves that can be used for kitchen sinks, each with its own unique features and functions. Here are the most common types you may encounter: Compression valve: This type of valve uses a rubber washer to control the flow of water. It's the most common type of valve and can be found in older homes. Ball valve: A ball valve uses a ball with a hole in it to regulate the water flow. This type of valve is more durable and long-lasting than a compression valve. Cartridge valve: A cartridge valve uses a stem-like cartridge to control the water flow. It's more reliable and efficient than a compression valve. Gate valve: A gate valve uses a gate that is raised or lowered to control the water flow. It's not commonly used in kitchen sinks but can be found in some homes. Understanding the different types of water valves can help you choose the right one for your kitchen sink and make necessary repairs or replacements.4. Understanding the Different Types of Water Valves for Kitchen Sinks
Proper maintenance and cleaning of your kitchen sink water valve can help prolong its lifespan and prevent problems. Here are some tips to keep in mind: Regular inspections: Make it a habit to inspect your water valve every few months for any signs of wear or damage. Clean regularly: Cleaning your valve with a mixture of vinegar and water can help remove any buildup or debris that may cause issues. Replace worn out seals: If you notice any signs of wear or damage on the seals of your valve, it's best to replace them as soon as possible. By taking these simple steps, you can ensure that your kitchen sink water valve is always in good working condition.5. Tips for Maintaining and Cleaning Your Kitchen Sink Water Valve
If you're remodeling your kitchen or need to replace your old water valve, here's a quick guide to help you install a new one: Step 1: Turn off the water supply to your sink by closing the valve under your sink. Step 2: Measure and cut the water supply line to fit the new valve. Step 3: Attach the new valve to the water supply line using a compression fitting. Step 4: Turn the water supply back on and check for any leaks. Installing a new water valve may seem daunting, but with the right tools and knowledge, it can be a simple DIY task.6. How to Install a New Water Valve Under Your Kitchen Sink
A leaking water valve can cause water damage and lead to various other problems. Here are some troubleshooting tips to help you fix a leaking water valve under your kitchen sink: Identify the source of the leak: The first step is to identify where the leak is coming from. It could be from the valve itself, the connections, or the water supply line. Tighten connections: If the leak is coming from the connections, try tightening them with a wrench or pliers. Replace seals: If the leak is coming from the valve, it may be due to worn out or damaged seals. In this case, replacing the seals should solve the problem. If the leak persists, it's best to call a professional plumber to address the issue.7. Troubleshooting Tips for a Leaking Water Valve Under Your Kitchen Sink
Regularly checking your kitchen sink water valve is crucial for the proper functioning of your plumbing system. Here's why: Prevent leaks: By inspecting your valve regularly, you can identify and fix any potential problems before they turn into leaks. Ensure emergency readiness: In case of a plumbing emergency, knowing the location and function of your water valve can save you from significant damage and costs. Prolong lifespan: Proper maintenance and timely repairs can help prolong the lifespan of your kitchen sink water valve. By making it a habit to check your water valve every few months, you can avoid potential problems and ensure the smooth functioning of your plumbing system.8. The Importance of Regularly Checking Your Kitchen Sink Water Valve
The water valve under your kitchen sink is the primary way to shut off the water supply to your sink. Here's how to do it: Step 1: Locate the water valve under your sink and turn it clockwise to shut off the water supply. Step 2: Turn on the faucet to drain any remaining water from the pipes. Step 3: Once you've completed your task, turn the water valve counterclockwise to turn the water supply back on. Knowing how to quickly shut off the water supply can help prevent any damage in case of a plumbing emergency.9. How to Shut Off the Water Supply to Your Kitchen Sink Using the Water Valve
If you have an old or outdated water valve, it may be time to upgrade to a newer and more efficient model. Here are some benefits of upgrading your kitchen sink water valve: Better performance: Newer valves are designed to provide better control and water flow, improving the overall performance of your sink. Water conservation: Upgrading to a water-efficient valve can help you save on your water bill and reduce your environmental impact. Longer lifespan: Investing in a high-quality valve can save you from frequent repairs or replacements and give you peace of mind. If you're considering upgrading your kitchen sink water valve, consult a professional plumber for guidance on choosing the right valve for your needs.10. Upgrading Your Kitchen Sink Water Valve for Better Performance and Efficiency
The Importance of a Water Valve Under the Kitchen Sink
Why Every Homeowner Should Have One
 When it comes to designing a house, every detail counts. From the color of the walls to the type of flooring, homeowners put a lot of thought and effort into creating their perfect living space. However, there is one important aspect of house design that often gets overlooked – the water valve under the kitchen sink.
What is a Water Valve?
A water valve is a small but crucial component of the plumbing system in a house. It controls the flow of water to a specific area, such as a sink or toilet. Most homes have a main water valve, usually located outside, that controls the water supply to the entire house. However, having a water valve specifically under the kitchen sink provides easy access to shut off the water supply in case of emergencies or repairs.
The Benefits of Having a Water Valve Under the Kitchen Sink
One of the main benefits of having a water valve under the kitchen sink is convenience. If there is a leak or a burst pipe, having a water valve within reach will save you time and hassle in shutting off the water supply. This can prevent further damage to your kitchen and the rest of your home.
Another advantage of having a water valve under the kitchen sink is that it allows for individual control of the water flow. This means you can easily turn off the water to the kitchen sink without affecting the rest of the house. This can be helpful when doing repairs or installing new appliances, as you won't have to shut off the water supply to the entire house.
How to Install a Water Valve Under the Kitchen Sink
Installing a water valve under the kitchen sink is a simple and straightforward process. First, you will need to locate the main water supply line under the sink. Then, using a pipe cutter, cut the supply line and install a T-fitting. This fitting will allow you to connect the water valve to the supply line. Next, attach the water valve to the T-fitting and secure it in place. Finally, turn on the water supply and test the valve to make sure it is working properly.
In conclusion, the small addition of a water valve under the kitchen sink can make a big difference in the overall design and functionality of your house. It provides convenience, control, and peace of mind for homeowners. So next time you are renovating or building a new house, don't forget to include a water valve under your kitchen sink – you'll thank yourself later.



:max_bytes(150000):strip_icc()/GettyImages-1057621140-78ab2e946841421d9a7efeebe02935d2.jpg)

:max_bytes(150000):strip_icc()/sink-pipe-under-wash-basin-119001607-75542e154b364e7bb52032249f293908.jpg)







:max_bytes(150000):strip_icc()/water-shut-off-valve-types-2718739-02-431bc79d943a40eaaaa731c4e1f0791d.jpg)



:max_bytes(150000):strip_icc()/sink-pipe-under-wash-basin-119001607-6f28aec4c66944efb7a9a38cb622ab8b.jpg)




:max_bytes(150000):strip_icc()/under-sink-shut-off-valves-2718738-01-4584f904e3f84770bef0a44af58a73ac.jpg)


