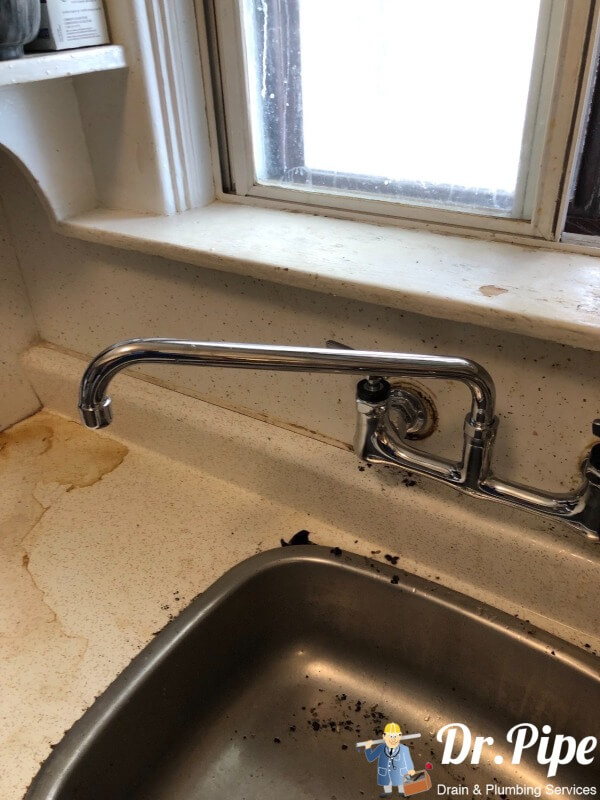
Are you experiencing leaks or low water pressure in your wall-mounted kitchen faucet? The problem may lie with the cartridge. Over time, the cartridge in your faucet can wear out or become clogged, affecting the performance of your faucet. However, replacing the cartridge is a simple and cost-effective solution to get your faucet running like new again. In this guide, we will walk you through the steps of replacing a cartridge in a wall-mounted kitchen faucet.1. Introduction
The first step in replacing a cartridge is to identify the type of faucet you have. Wall-mounted kitchen faucets come in various designs and styles, and each may have a different type of cartridge. Some common types of cartridges are ceramic disc, compression, and ball. It is essential to identify the type of cartridge your faucet has before proceeding with the replacement.2. Identify Your Faucet
Before starting the replacement process, make sure you have all the necessary tools and materials. These may include a screwdriver, adjustable wrench, pliers, replacement cartridge, and Teflon tape. Having everything prepared beforehand will save you time and frustration during the replacement process.3. Gather Tools and Materials
Before working on your faucet, it is crucial to shut off the water supply. Look for the shut-off valve under the sink and turn it off. If you cannot find the valve, you can also shut off the main water supply to your home. This step is essential to prevent any water damage while you work on the faucet.4. Shut Off Water Supply
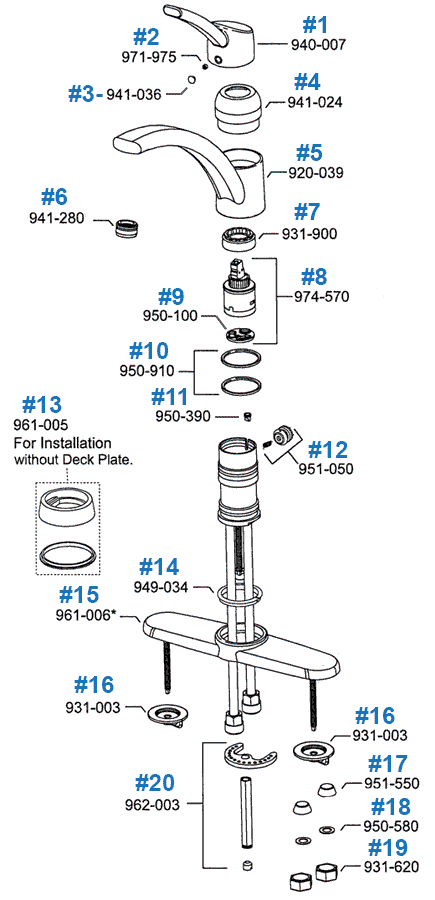
Using a screwdriver or an Allen wrench, remove the handles of your faucet. Next, remove the trim or escutcheon, which is the decorative plate that covers the handle screws. Be gentle when removing these parts to avoid causing any damage.5. Remove Handles and Trim
Once the handles and trim are removed, you will see the cartridge retainer, which is a large nut that holds the cartridge in place. Use an adjustable wrench to unscrew the retainer and remove it from the faucet.6. Unscrew Cartridge Retainer
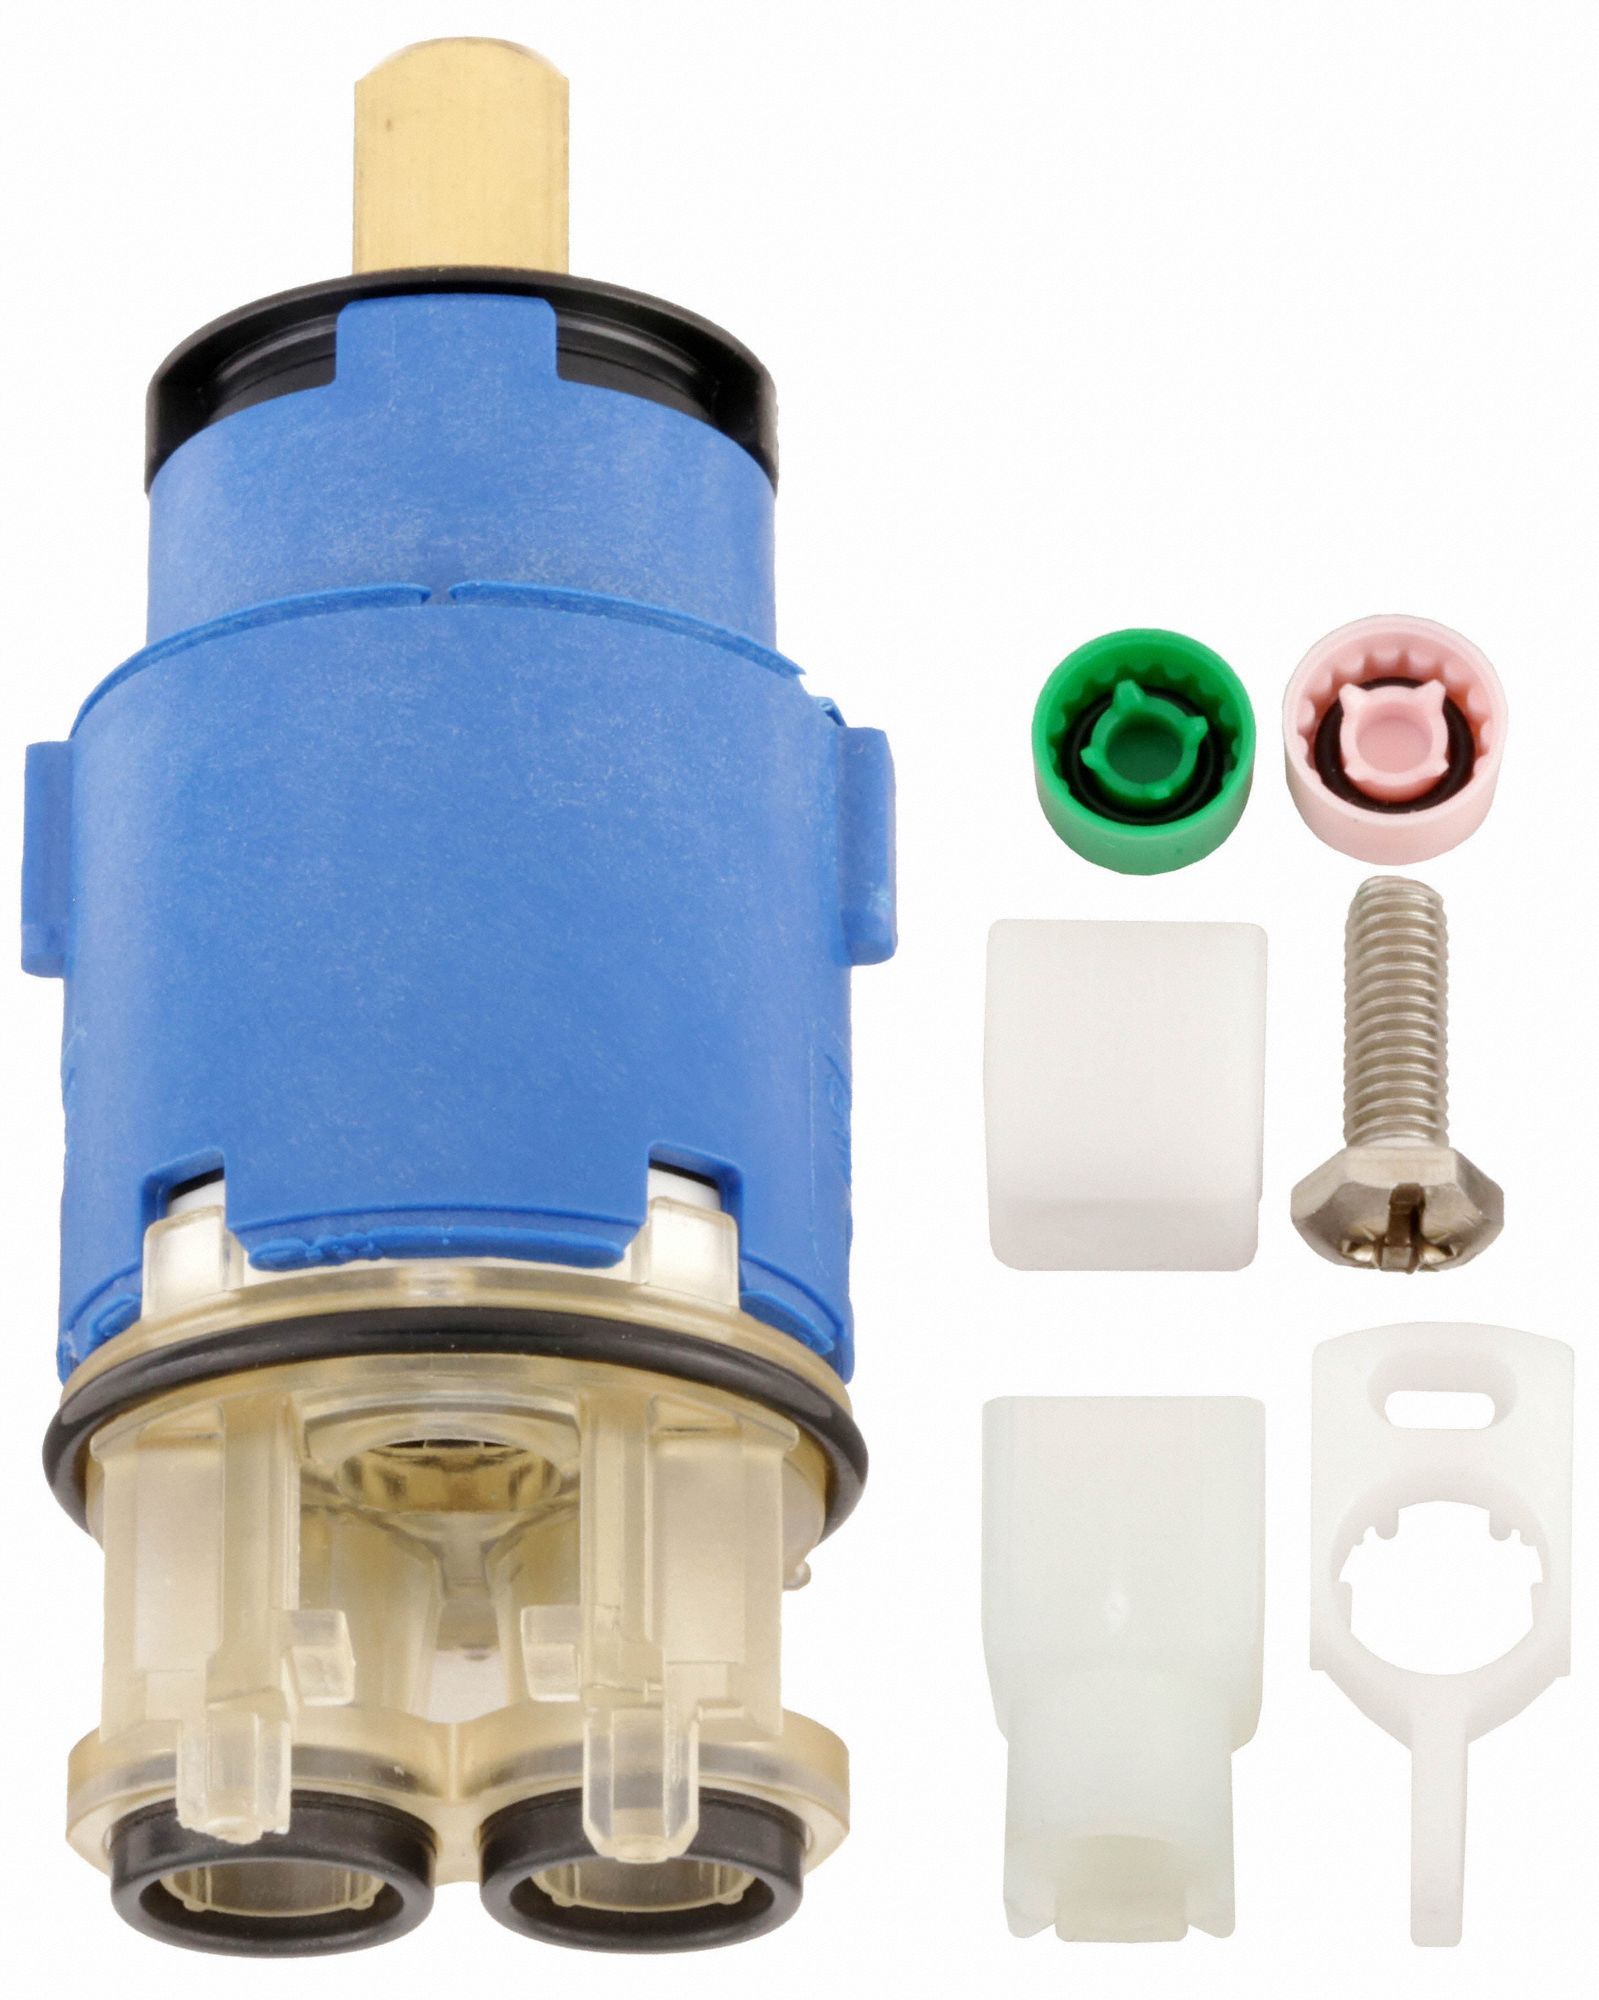
After removing the retainer, you can now remove the old cartridge. Depending on the type of cartridge, you may need to use pliers or a cartridge removal tool to pull it out. Be careful not to damage any other parts of the faucet while removing the cartridge.7. Remove Old Cartridge
Take your new cartridge and insert it into the same position as the old one. Make sure it is properly aligned and fits snugly in place. If your cartridge has O-rings, it is recommended to apply some plumber's grease to ensure a tight seal.8. Install New Cartridge
Once the new cartridge is in place, you can reassemble the faucet by following the steps in reverse order. Make sure to tighten all screws and nuts securely to prevent any leaks. If your faucet has a trim or escutcheon, use some Teflon tape to wrap around the base before screwing it back on for a better seal.9. Reassemble Faucet
Finally, turn the water supply back on and test your faucet. If you replaced the cartridge correctly, your faucet should no longer leak or have low water pressure. It is also a good idea to check for any leaks or loose parts and make sure everything is functioning properly before using the faucet regularly.10. Turn Water Supply Back On
Choosing the Right Cartridge for Your Wall Mounted Kitchen Faucet Replacement
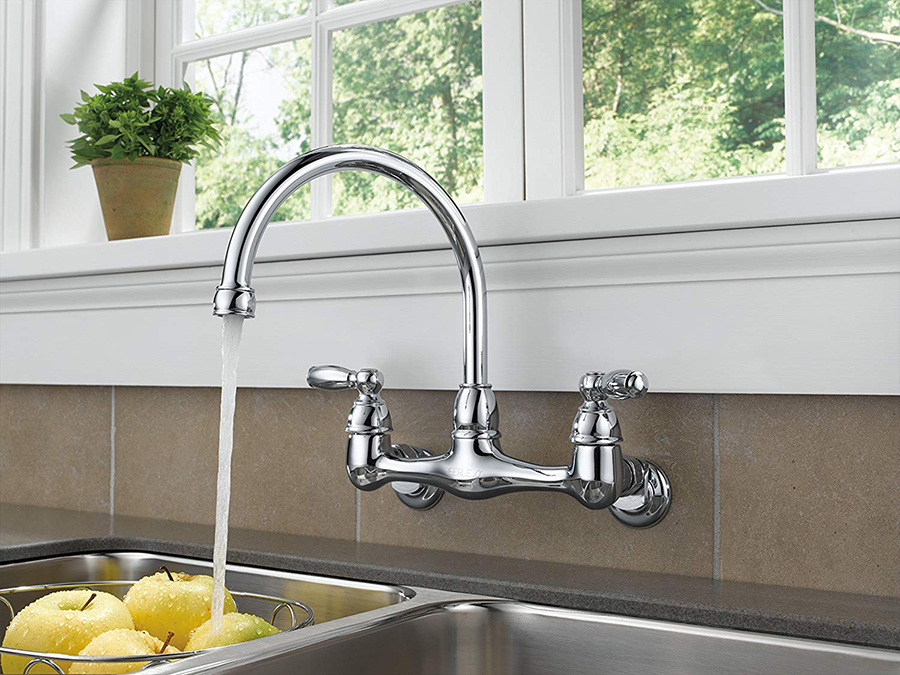
Understanding the Importance of a Quality Cartridge
 When it comes to replacing your wall mounted kitchen faucet cartridge, it’s important to choose a high-quality replacement. The cartridge is a crucial component of your faucet, responsible for controlling the flow and temperature of water. A faulty or low-quality cartridge can lead to leaks, inconsistent water pressure, and even damage to your faucet. Therefore, it’s essential to select a cartridge that is durable, reliable, and compatible with your specific faucet model.
Types of Cartridges
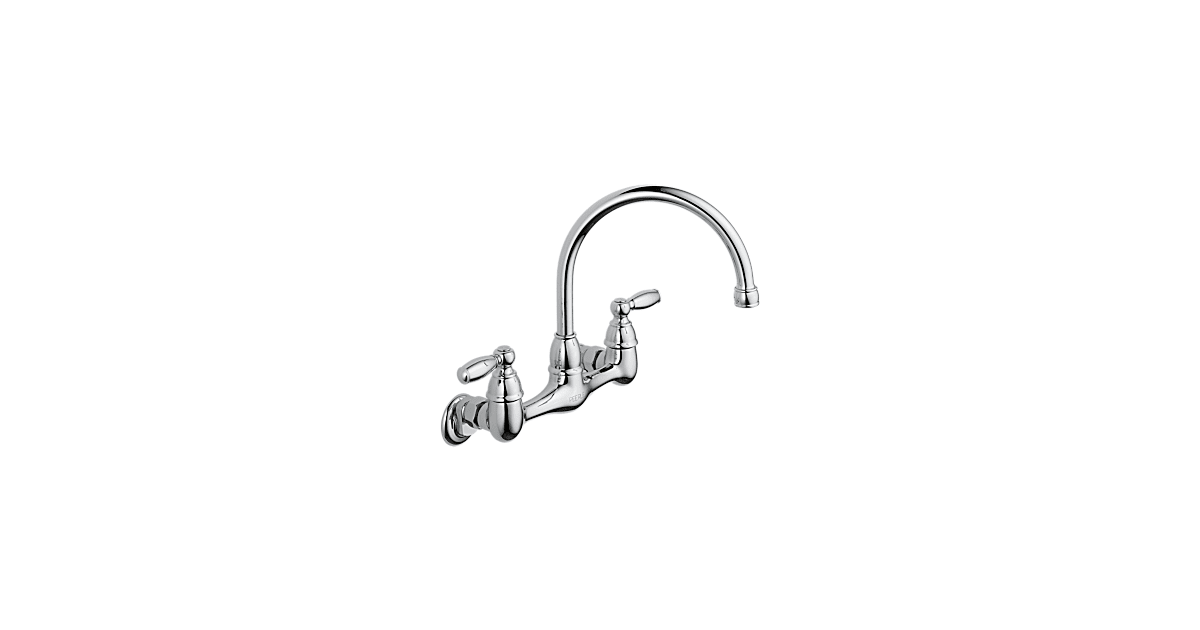 There are two main types of cartridges: ceramic and compression. Ceramic cartridges are made from a sturdy material that can withstand high levels of water pressure and temperature. They also have a longer lifespan compared to compression cartridges, making them a popular choice for kitchen faucets. On the other hand, compression cartridges are made of rubber and plastic and are more affordable. However, they are less durable and may need to be replaced more frequently.
Consider Your Faucet Model
 Before purchasing a replacement cartridge, it’s crucial to check the manufacturer’s specifications for your faucet model. Each faucet may require a specific type and size of cartridge, and using the wrong one can lead to issues. It’s also essential to note the number of handles on your faucet, as this can determine the type of cartridge needed. For example, a single-handle faucet will require a different cartridge than a double-handle faucet.
Other Factors to Consider
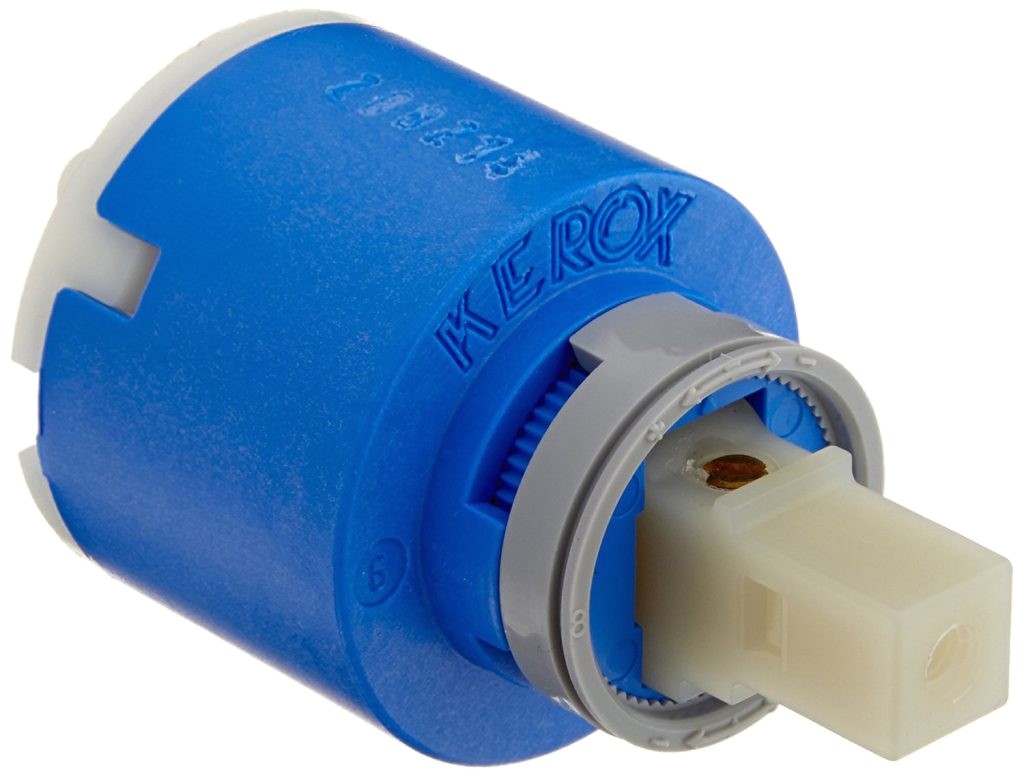 Aside from the type and size of the cartridge, there are other factors to consider when choosing a replacement. Look for cartridges that come with a warranty, as this can give you peace of mind in case of any defects or issues. It’s also essential to consider the flow rate and temperature range of the cartridge, as these can impact your water usage and comfort in the kitchen.
Conclusion
 Replacing your wall mounted kitchen faucet cartridge may seem like a daunting task, but with the right information and product, it can be a simple and straightforward process. By understanding the importance of a quality cartridge, knowing the different types available, and considering your faucet model and other factors, you can choose the perfect replacement for a smooth and hassle-free experience. Remember to always follow the manufacturer’s instructions and consult a professional if needed.
