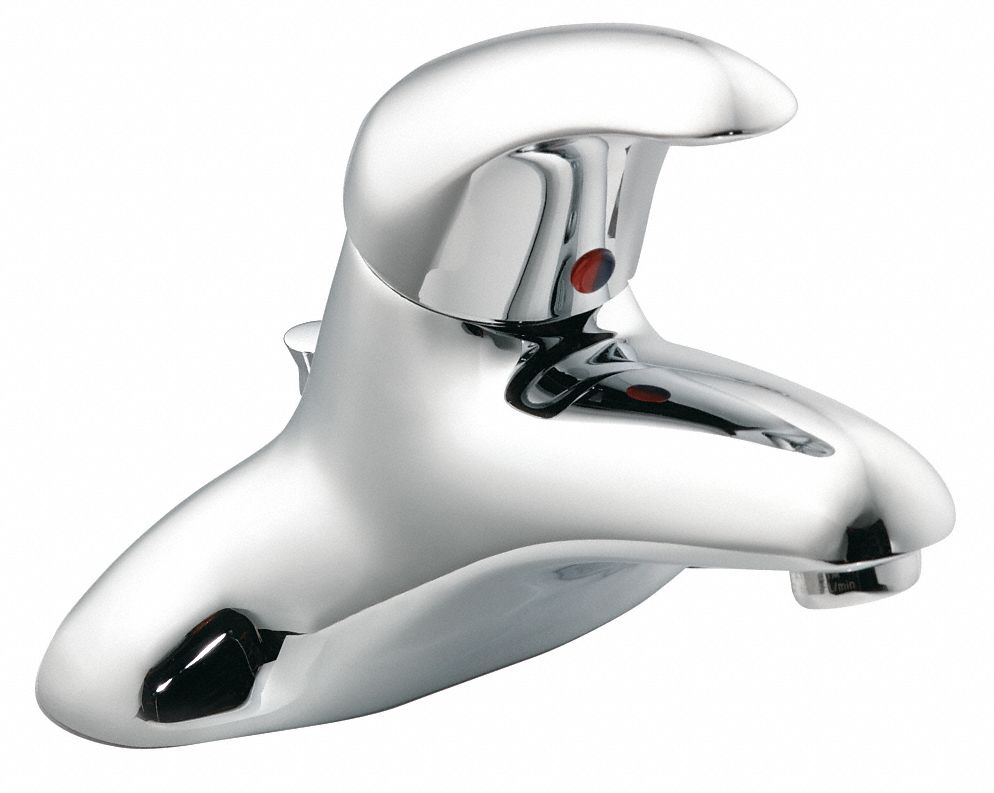
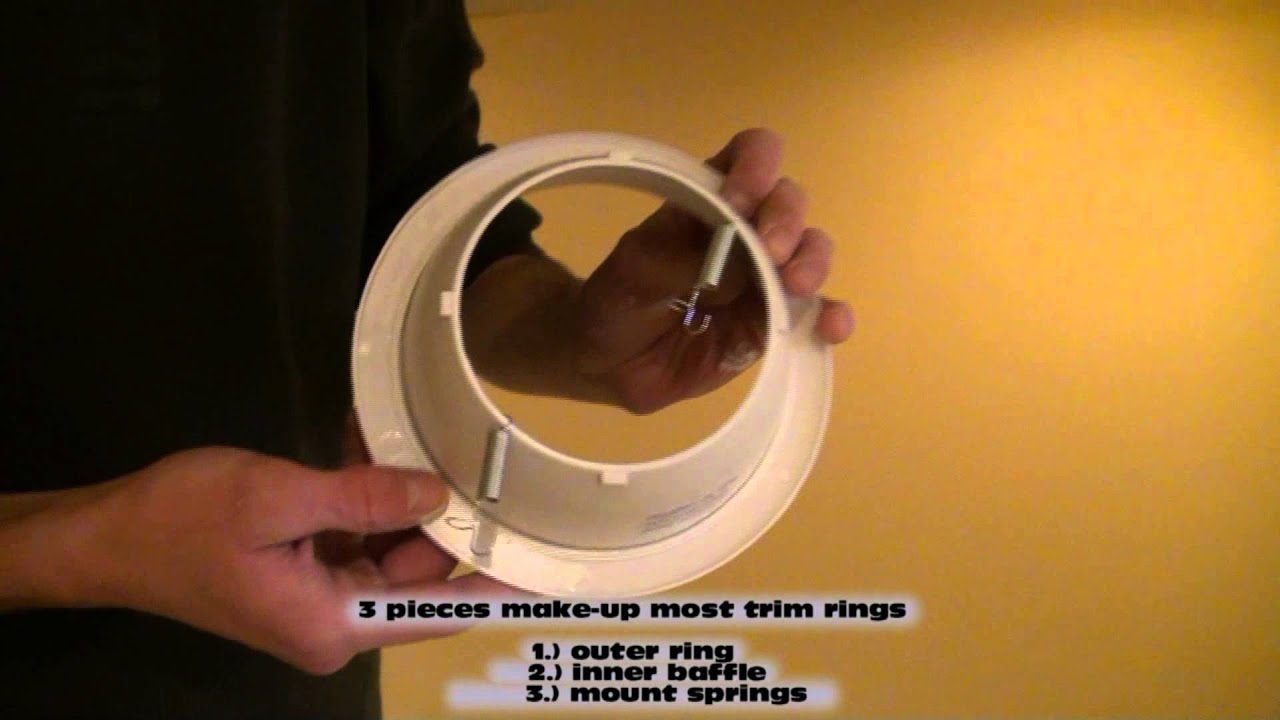
If you're thinking of giving your bathroom a makeover, removing the trim ring from your sink faucet is a great place to start. The trim ring, also known as the escutcheon, is the circular plate that covers the base of your faucet, providing a clean and finished look. Over time, the trim ring may become damaged or outdated, making it necessary to remove and replace it. In this article, we'll take a look at the top 10 ways to uninstall a trim ring on your bathroom sink faucet.Uninstall Trim Ring: A Step-by-Step Guide for Your Bathroom Sink Faucet
Before you begin, it's important to have all the necessary tools at hand. You'll need an adjustable wrench, pliers, a screwdriver, and a cloth to protect your sink from scratches. Having all your tools ready will ensure a smooth and efficient uninstallation process.1. Gather Your Tools
Before removing the trim ring, it's crucial to turn off the water supply to your bathroom sink. Look for the shut-off valves under the sink and turn them clockwise until they are fully closed. This will prevent any water from leaking out and making a mess during the uninstallation process.2. Turn Off the Water Supply
Next, you'll need to remove the faucet handle to access the trim ring. Depending on the type of faucet you have, the handle may be held in place by a screw or a small cap. Use your screwdriver or pliers to remove the screw or cap and gently pull off the handle.3. Remove the Faucet Handle
Underneath the handle, you'll find a large nut that holds the trim ring in place. Use your adjustable wrench to loosen the nut and remove it from the faucet. If the nut is difficult to loosen, you can use some penetrating oil to help loosen it.4. Loosen the Nut
Once the nut is removed, you can now easily slide the trim ring off the faucet. Be sure to keep it in a safe place if you plan on reusing it. If the trim ring is stuck, you can use a pair of pliers to gently twist and pull it off.5. Remove the Trim Ring
With the trim ring removed, you may notice some dirt or grime buildup around the base of your faucet. Take this opportunity to thoroughly clean the area with a mild cleaner and a cloth. This will ensure a smooth and clean surface for your new trim ring.6. Clean the Area
If you're planning on replacing your trim ring, now is the time to install the new one. Simply slide it onto the faucet and secure it in place with the large nut. Make sure it is aligned properly and tighten the nut with your adjustable wrench.7. Install the New Trim Ring
Once the trim ring is securely in place, you can now reattach the faucet handle. Simply place it back onto the faucet and tighten the screw or cap. Give it a few turns to ensure it is securely in place.8. Reattach the Faucet Handle
With the trim ring installed and the faucet handle reattached, you can now turn the water supply back on. Turn the shut-off valves counterclockwise until they are fully open. This will allow the water to flow back to your bathroom sink.9. Turn On the Water Supply
Uninstalling the Trim Ring on Your Bathroom Sink Faucet

Why You May Need to Uninstall Your Trim Ring
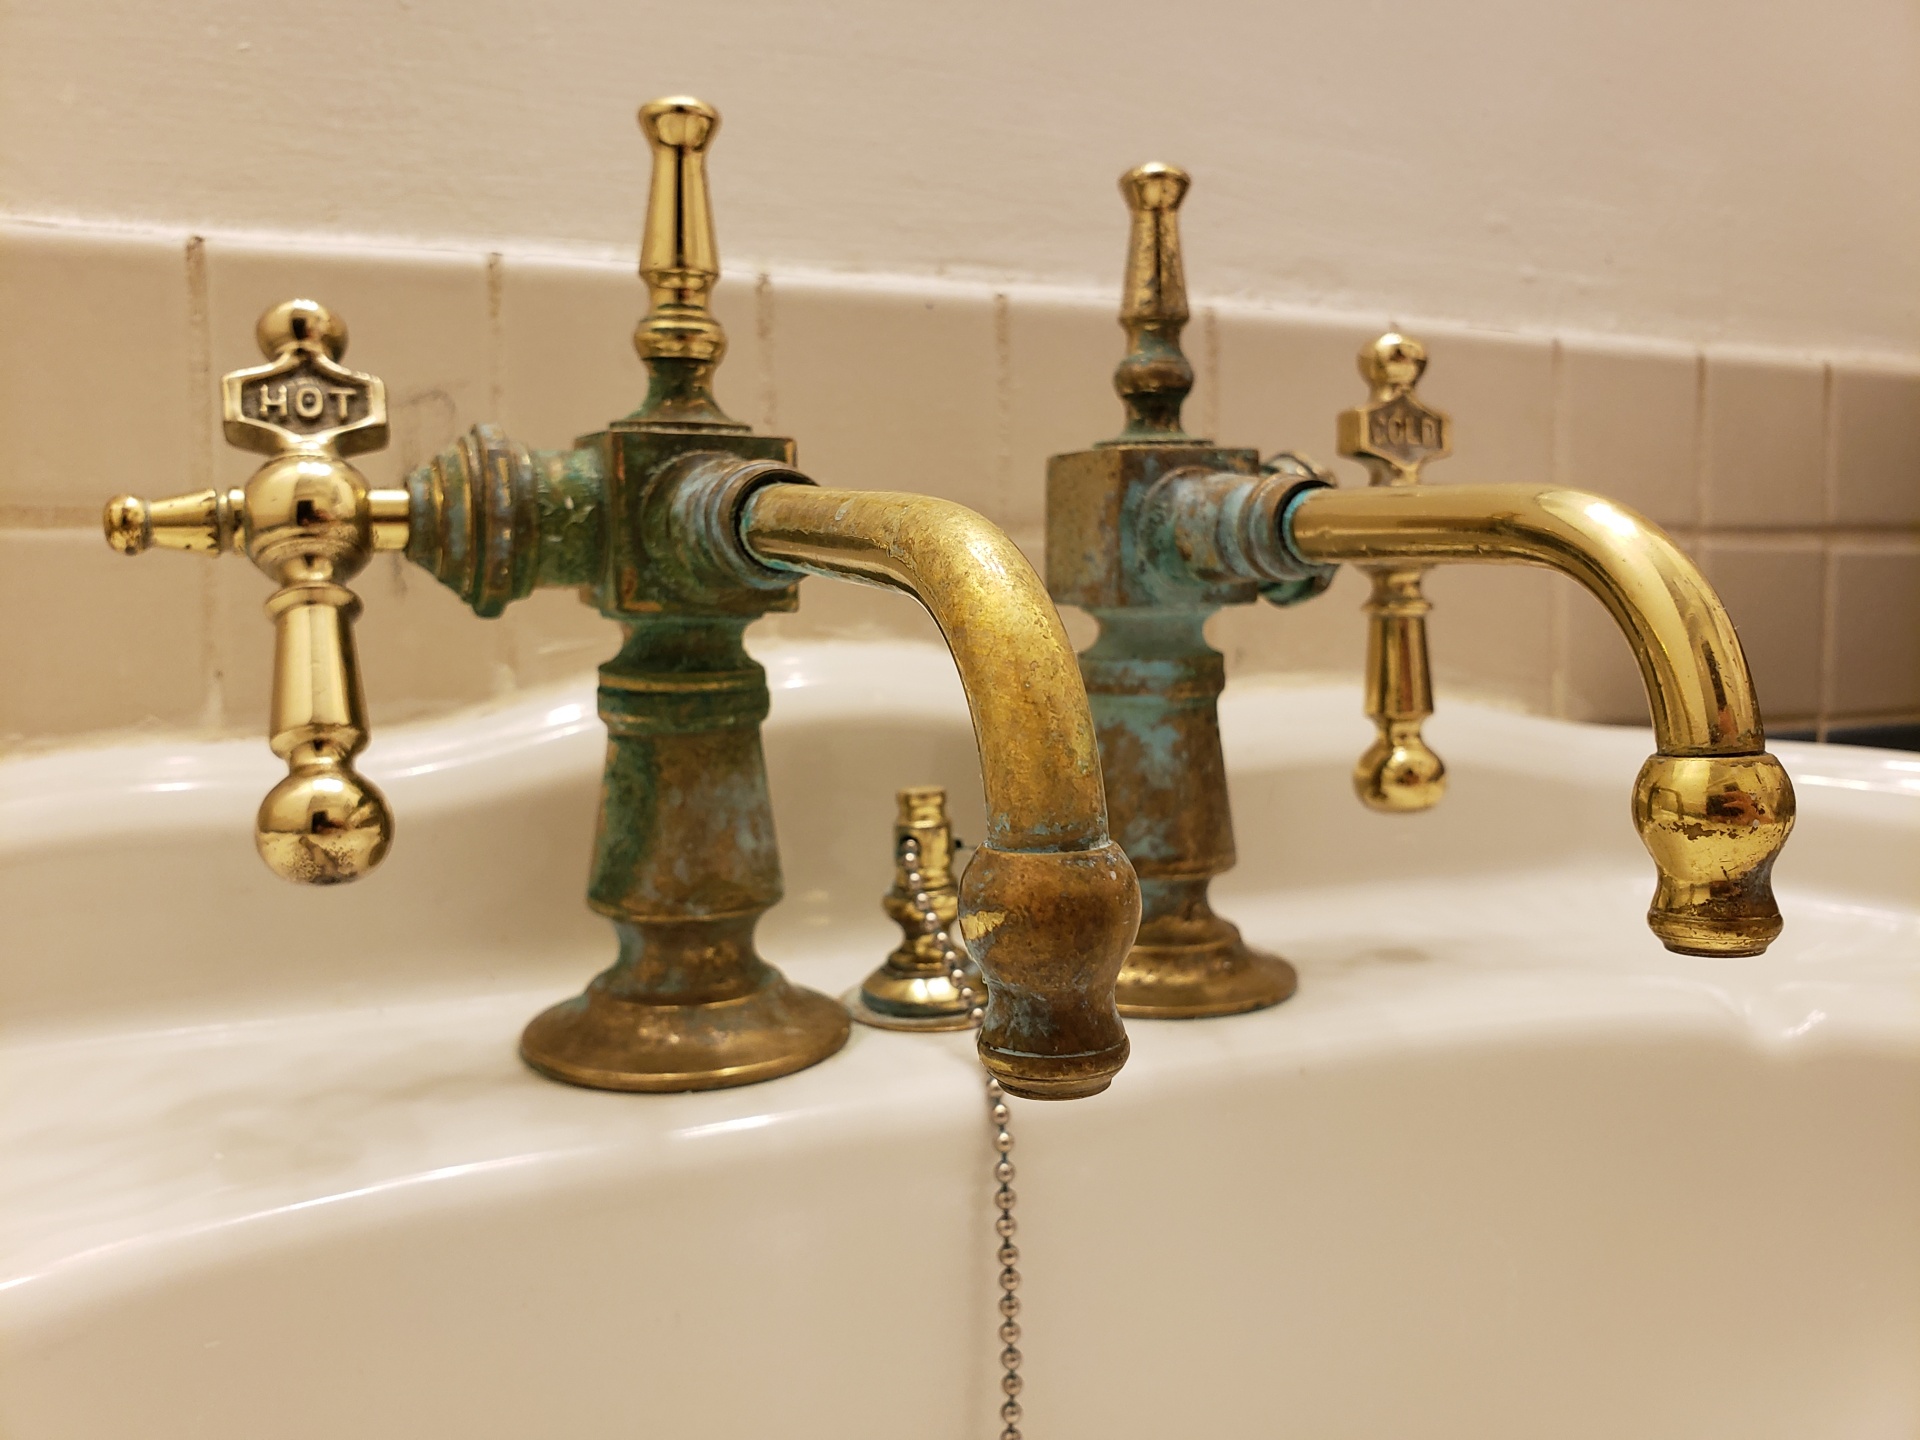
 The trim ring on your bathroom sink faucet is the decorative piece that covers the area where the faucet meets the sink. Over time, this piece may become worn, damaged, or simply outdated. Uninstalling it can give your bathroom a fresh new look and make your faucet easier to clean. It's a relatively simple process that can be done in just a few steps.
Step 1: Gather Your Tools
 Before you begin, make sure you have all the necessary tools. This usually includes an adjustable wrench, a screwdriver, and possibly a pair of pliers. You may also need a putty knife if the trim ring is caulked to the sink.
Step 2: Turn Off the Water
Step 3: Remove the Faucet Handle
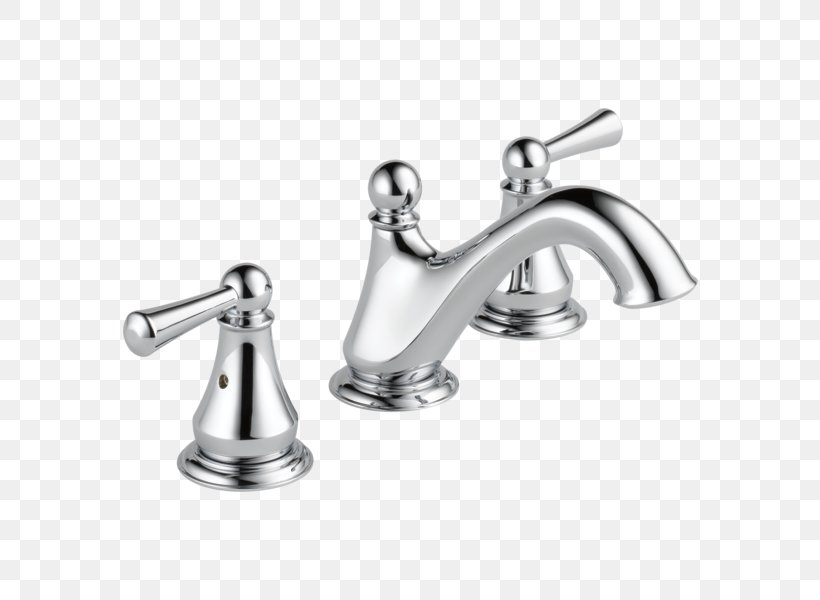 Using your screwdriver, remove the screw that holds the faucet handle in place. Once the screw is removed, you should be able to gently pull the handle off.
Step 4: Loosen the Nut
 Using your adjustable wrench, loosen the nut that holds the faucet in place. This may require some force, so be careful not to damage the sink or faucet.
Step 5: Remove the Trim Ring
 Once the nut is loosened, you can remove the trim ring by pulling it straight up. If it's caulked to the sink, use a putty knife to gently pry it off.
Step 6: Clean the Sink
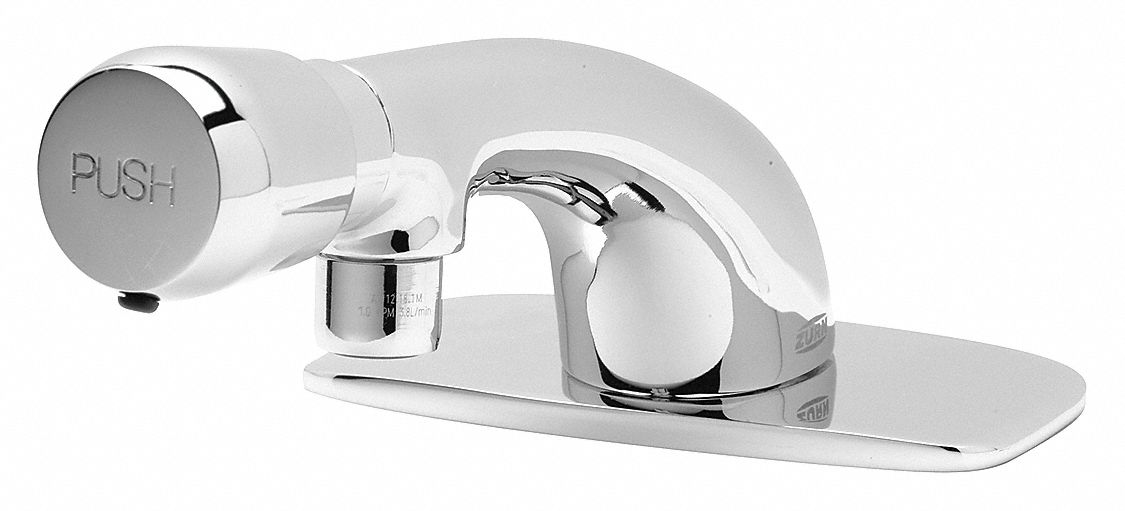 With the trim ring removed, you may notice some residue or old caulk on the sink. Use a mild cleaner and a cloth to clean the area before installing your new faucet.
Step 7: Reassemble the Faucet
 Now it's time to put everything back together. Simply follow the steps in reverse order, starting with placing the new trim ring in place. Make sure to tighten the nut securely and reattach the faucet handle.
Uninstalling the trim ring on your bathroom sink faucet
is a simple and cost-effective way to update the look of your bathroom. With just a few tools and some basic knowledge, you can have a new faucet installed in no time. Remember to turn the water supply back on before testing your new faucet, and enjoy your refreshed bathroom space.



























:max_bytes(150000):strip_icc()/007-windows-uninstaller-to-remove-unused-programs-3506955-368bfda246864d5e83cff7d33e17239f.jpg)


.jpg)


.jpg)


